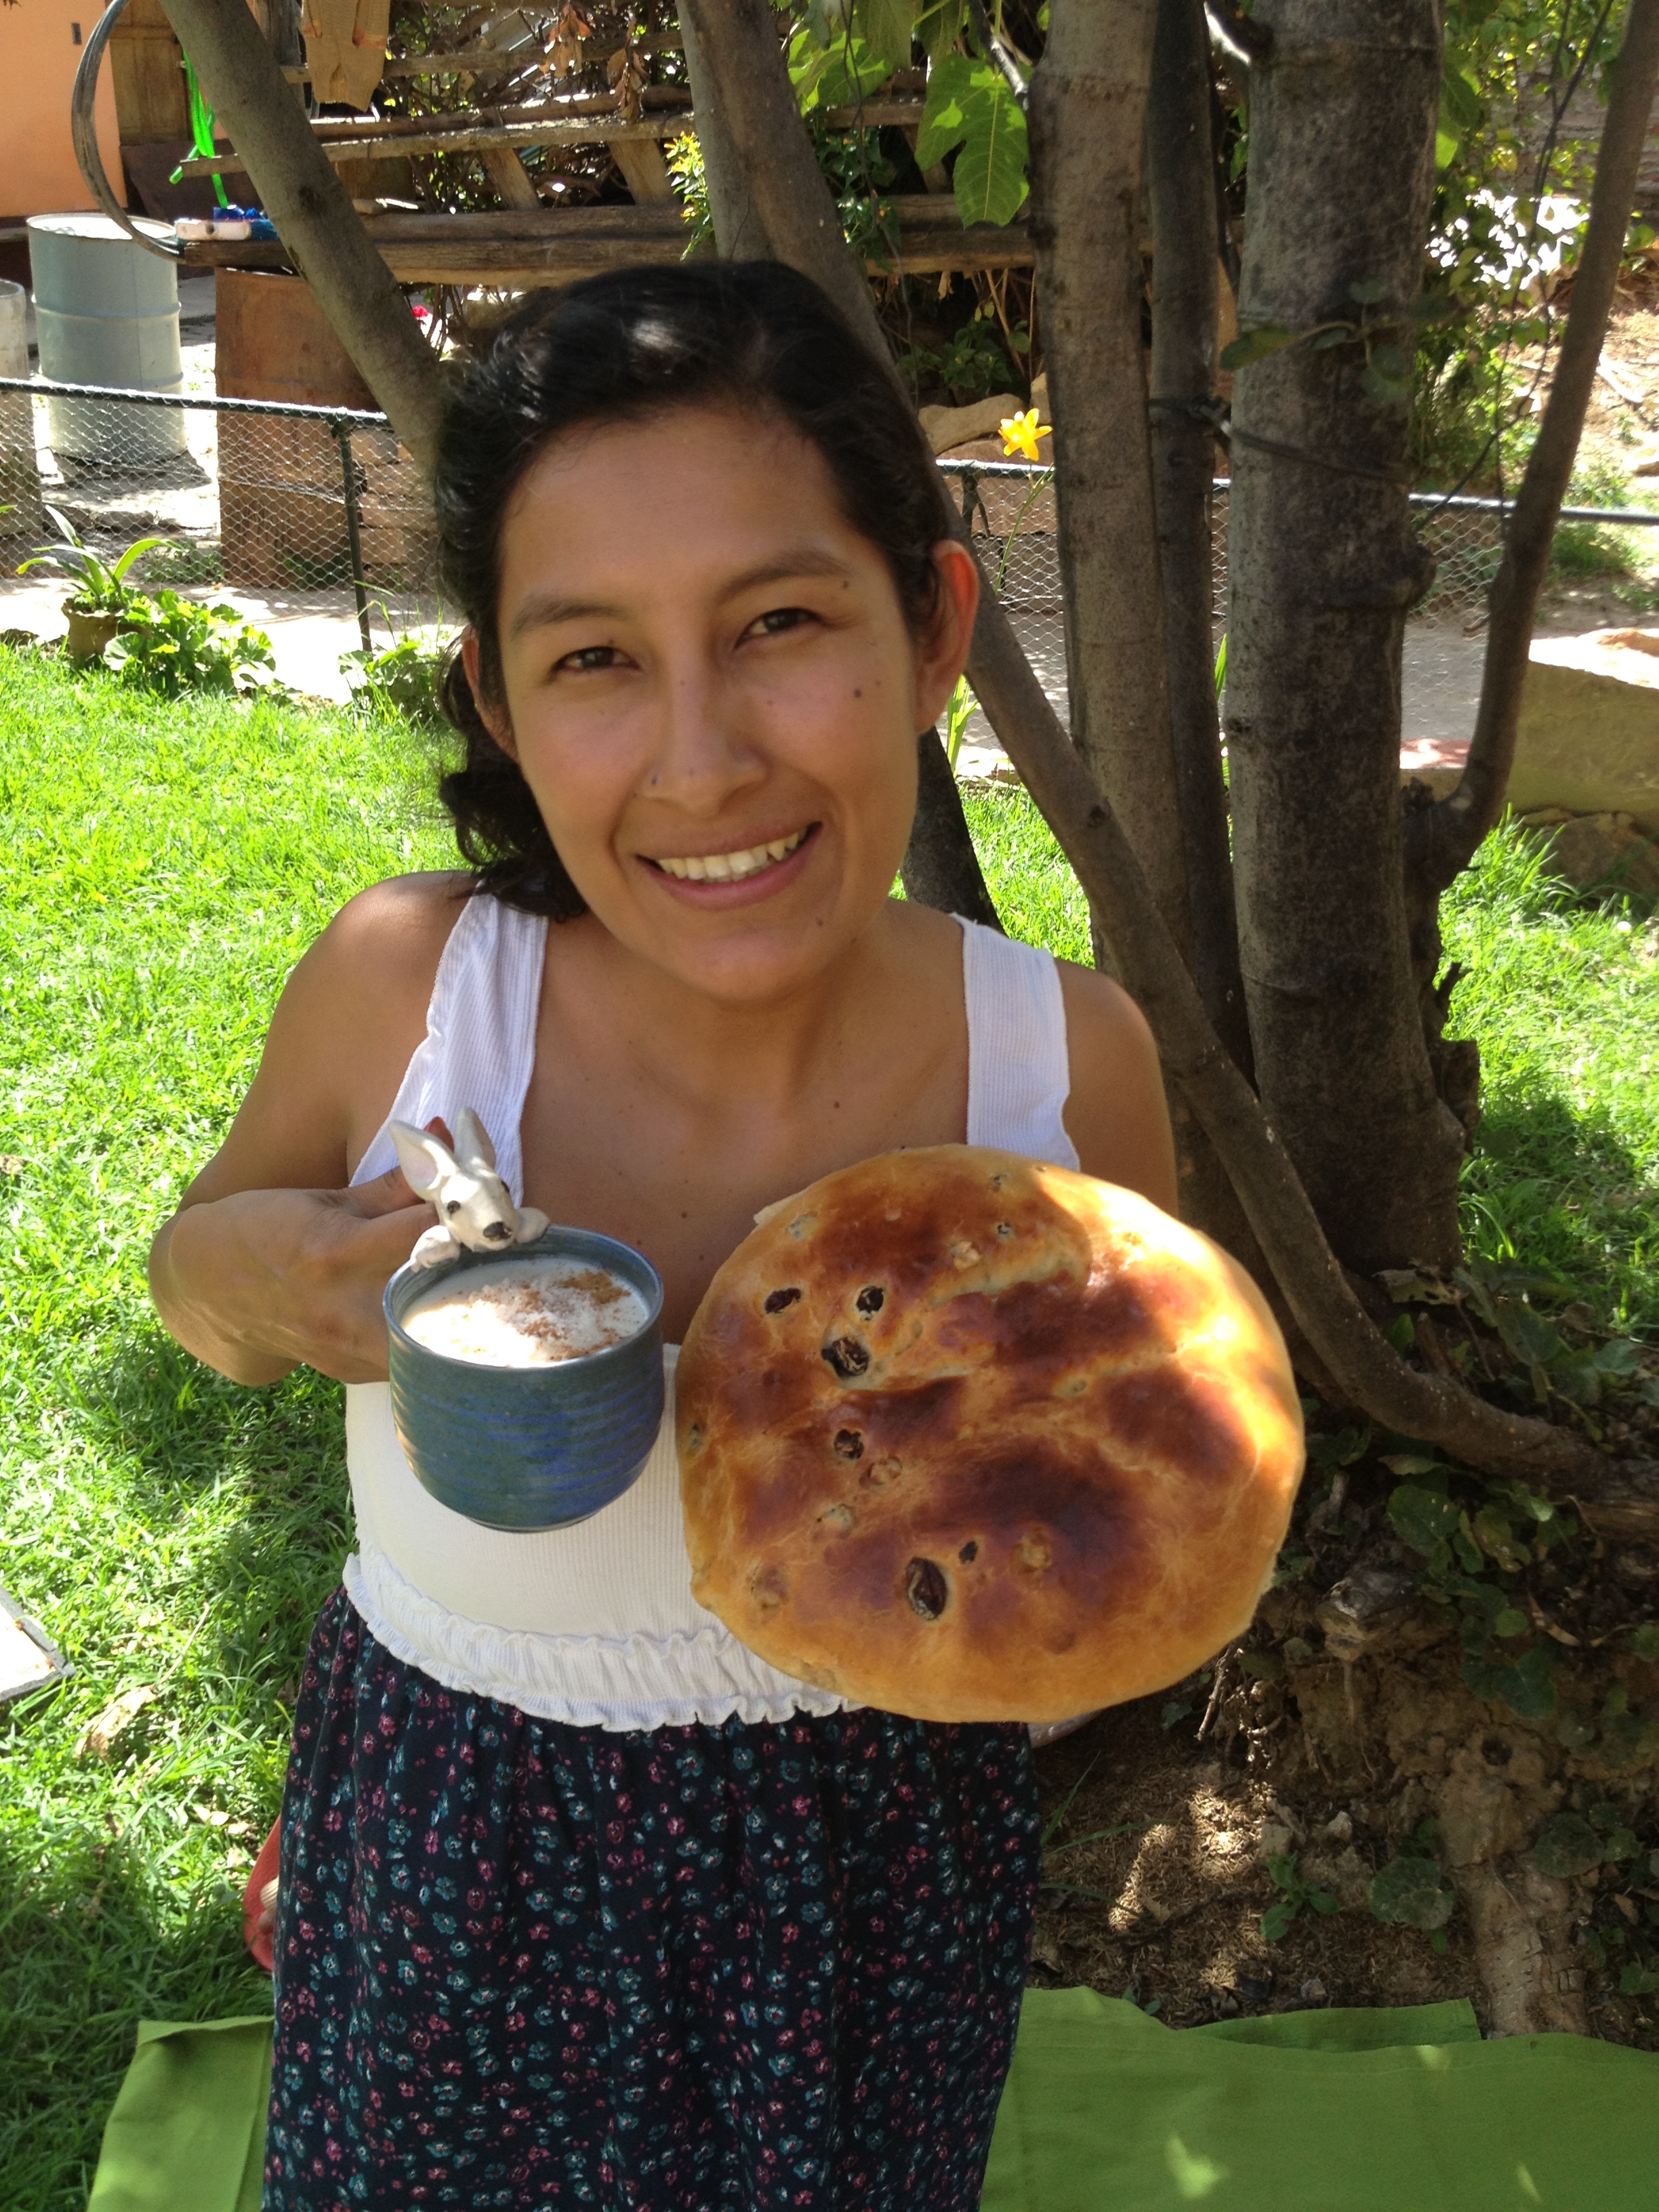
Sopa de Pan
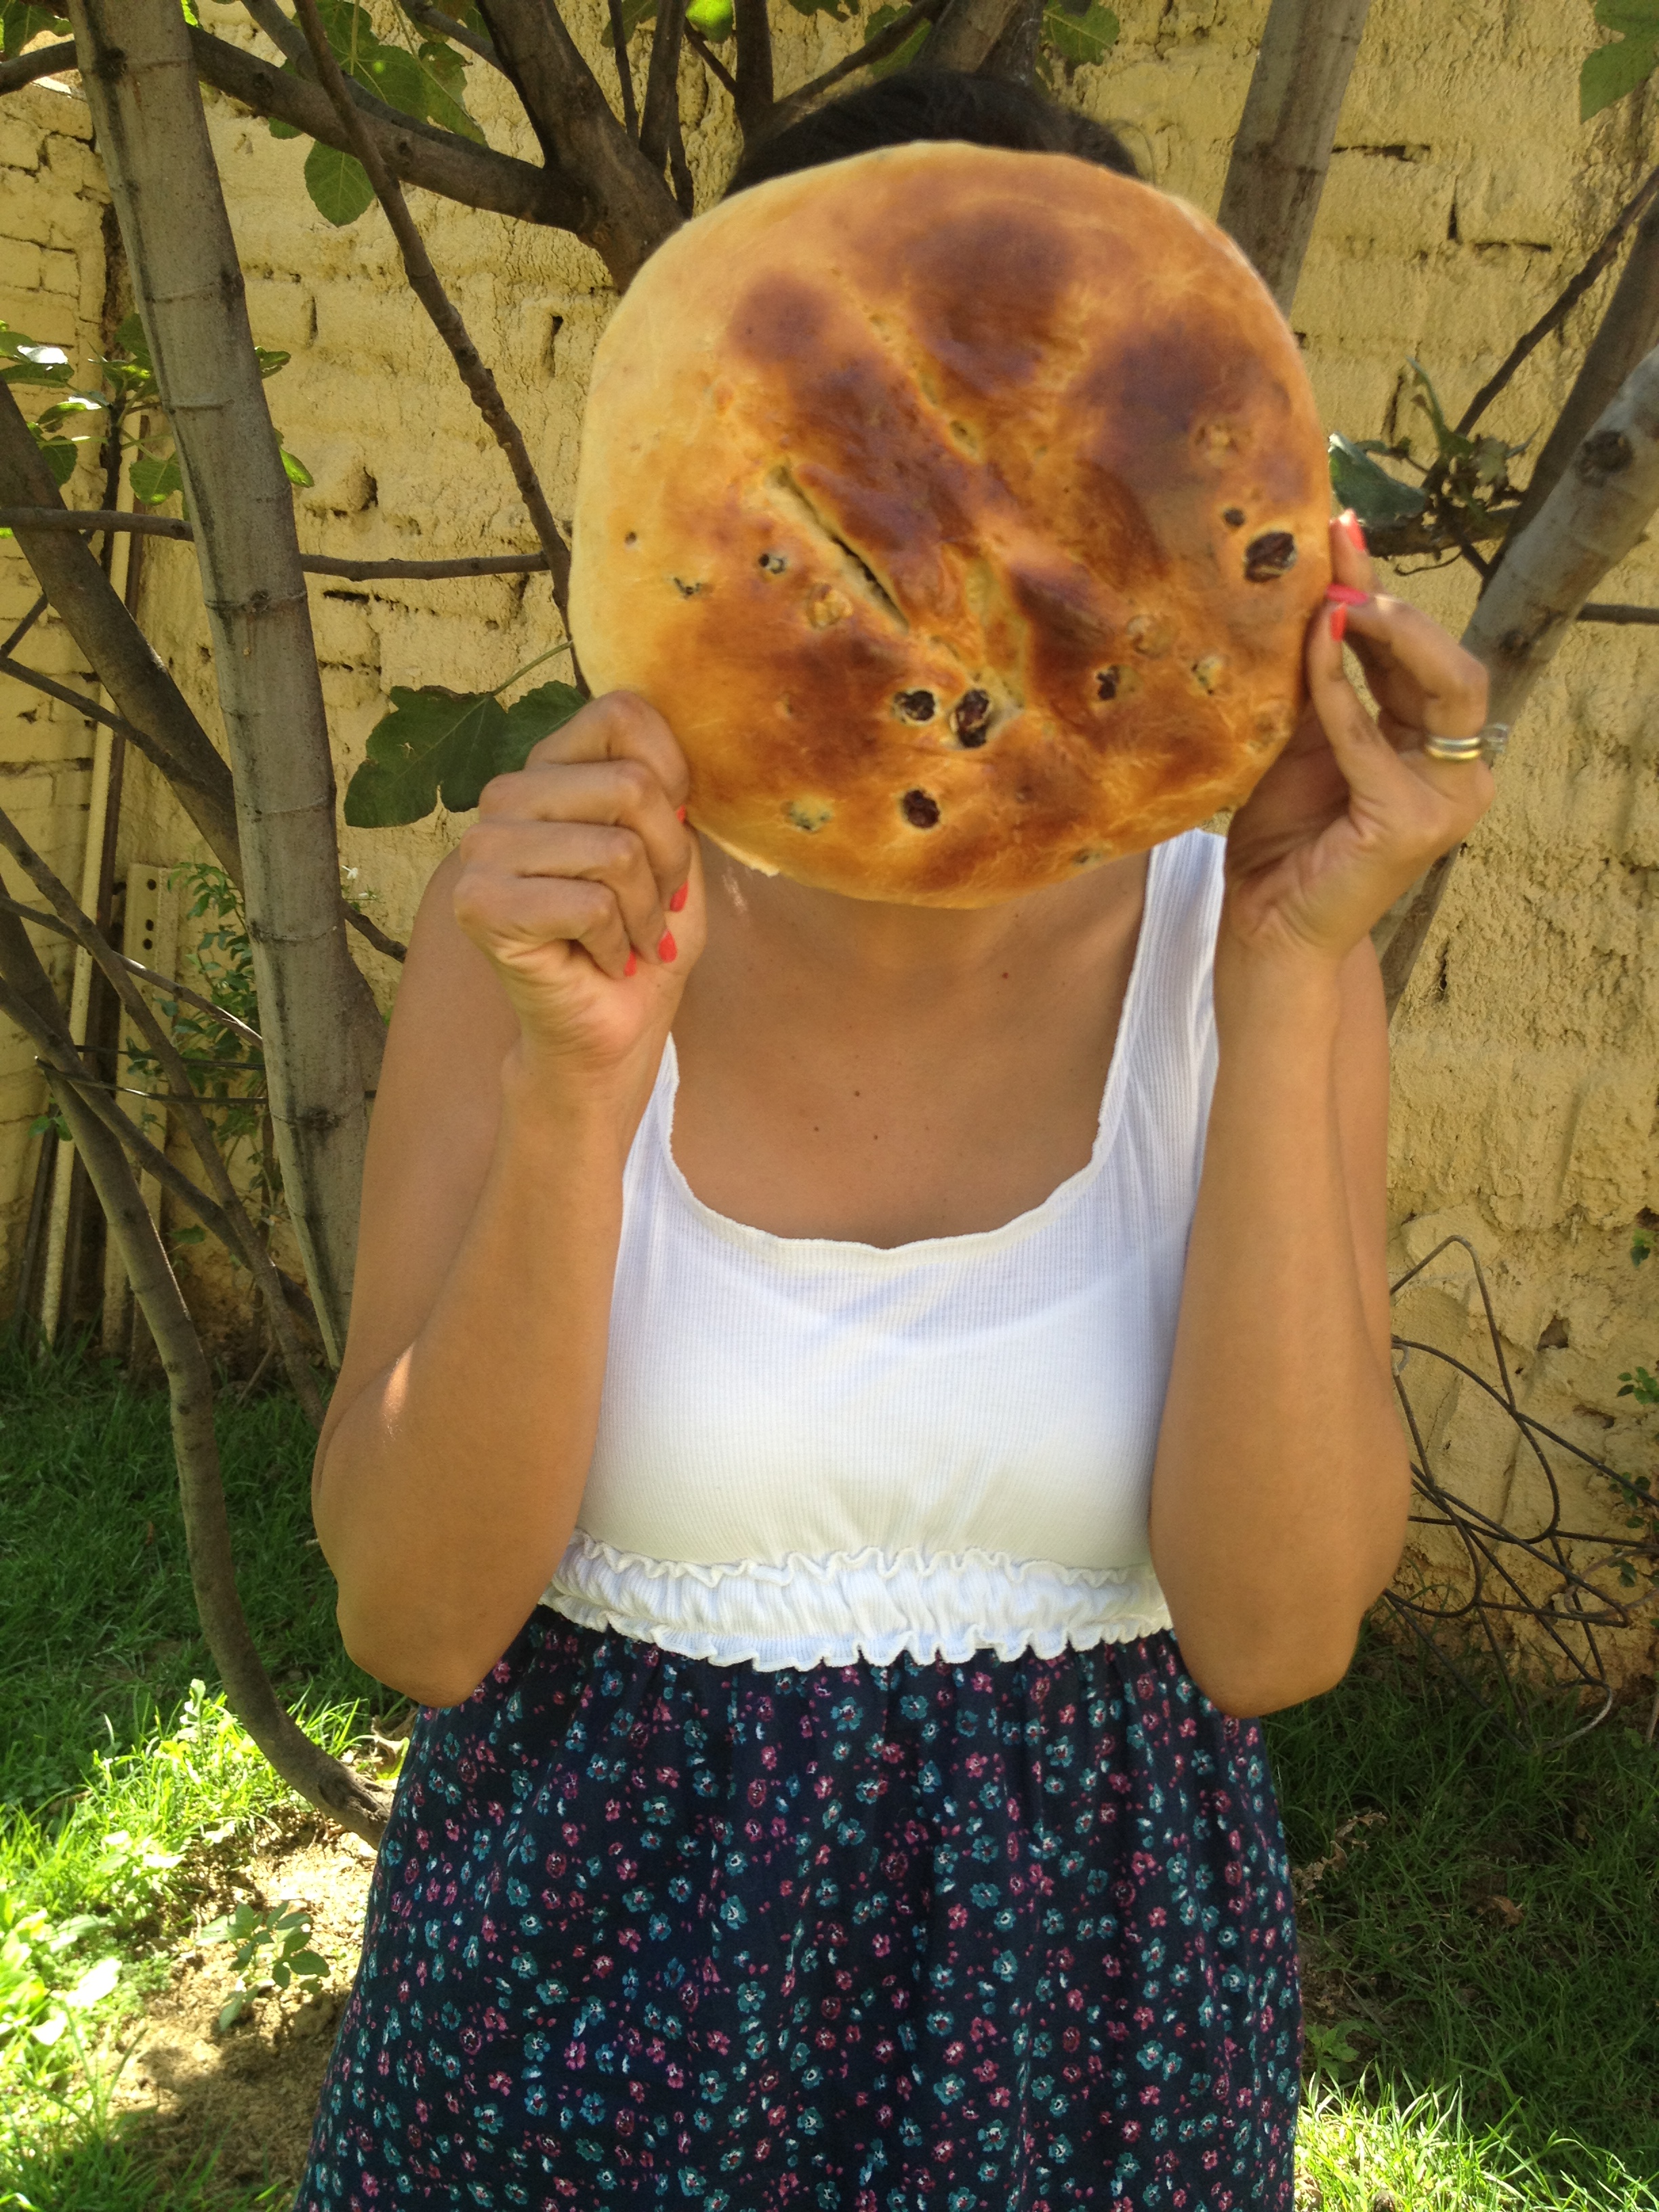
My dad and mom used to talk how my grandmother Esperanza (my dad’s mom) would make this amazing sopa de pan for Semana Santa. My mom was always sad that she never learned how to make it from Esperanza. So I asked my dad’s sister, Rosa to teach us how to make this dish. I thought that this was a real soup made with bread, I didn’t have any idea that sopa de pan is more similar to a pizza than a soup. So my aunt Rosa told us how to make it. I guess each family has their own way to do it and the main ingredient is Pan de Arani. This bread has a particular flavor and consistency. You can substitute the pan de arani for a bagguete or a rustica bread. You can bake it or cook it in a pot on the stove but the final product is so delicious that you will end up eating more than one piece, especially if you love pizza. Enjoy!
9 inch baking dish.
Ingredients:
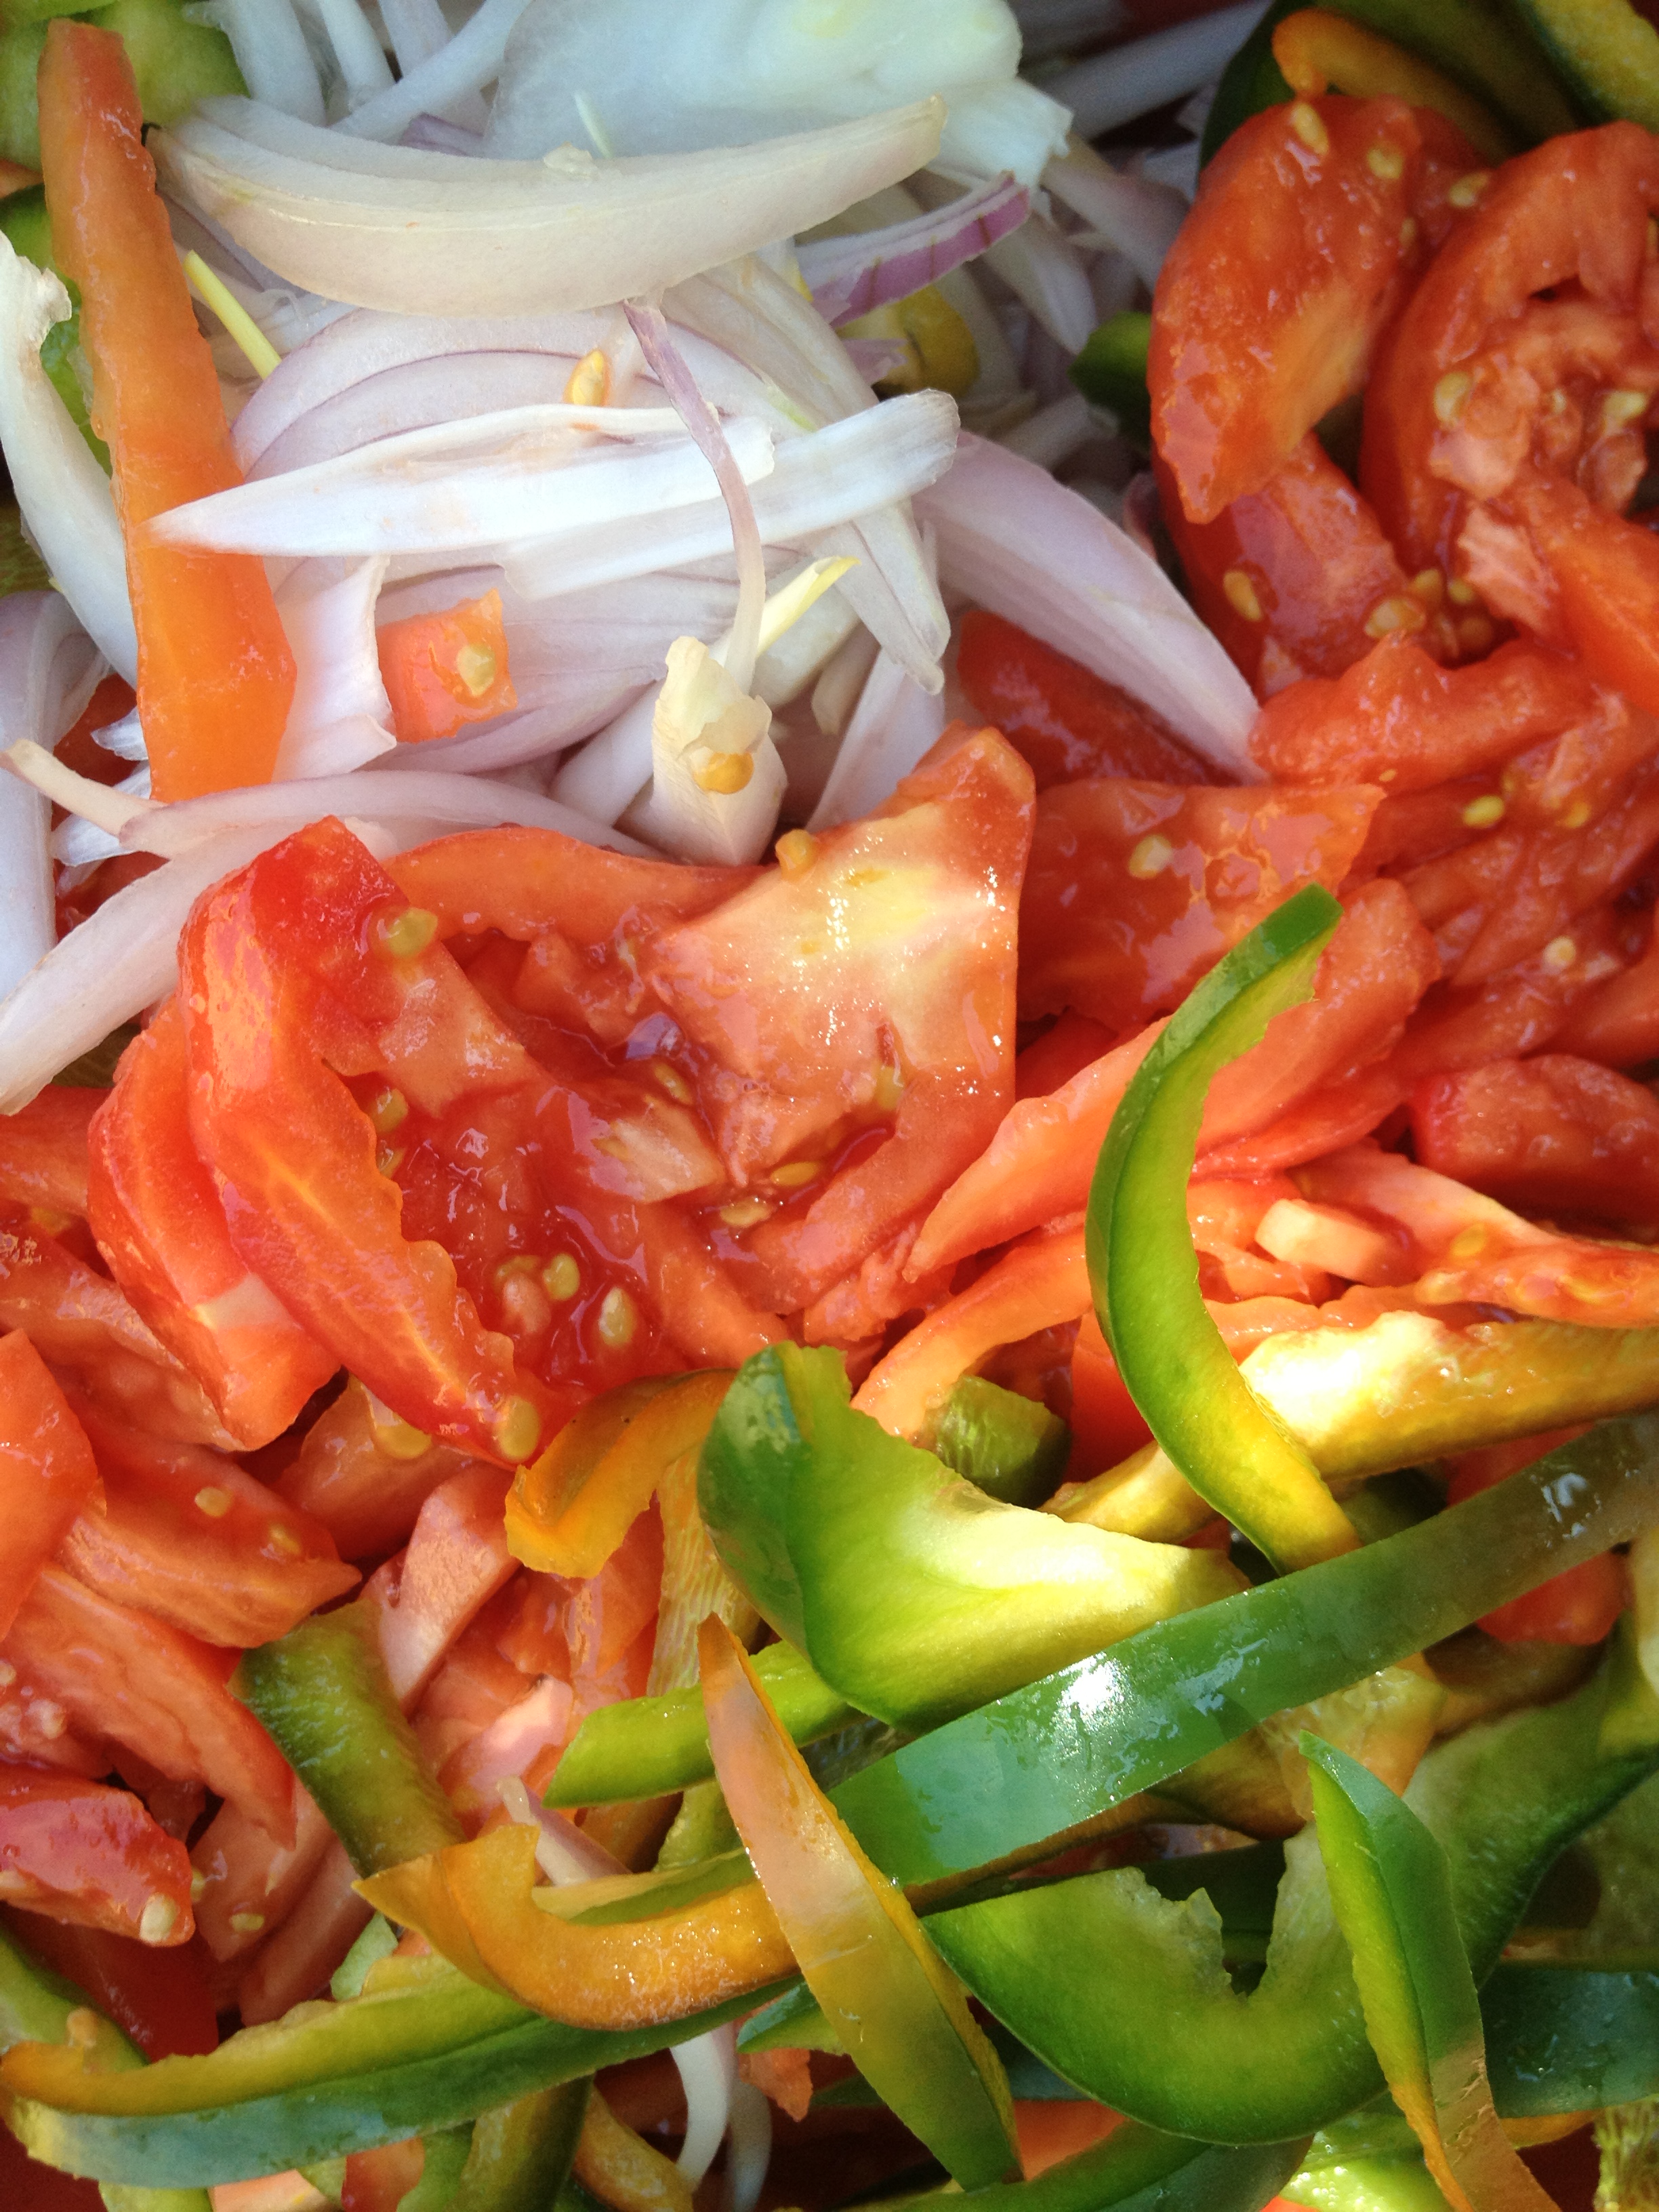
2 red onions medium size
2 peeled tomatoes
1 large green pepper
3 tbsp vegetable oil
salt and pepper
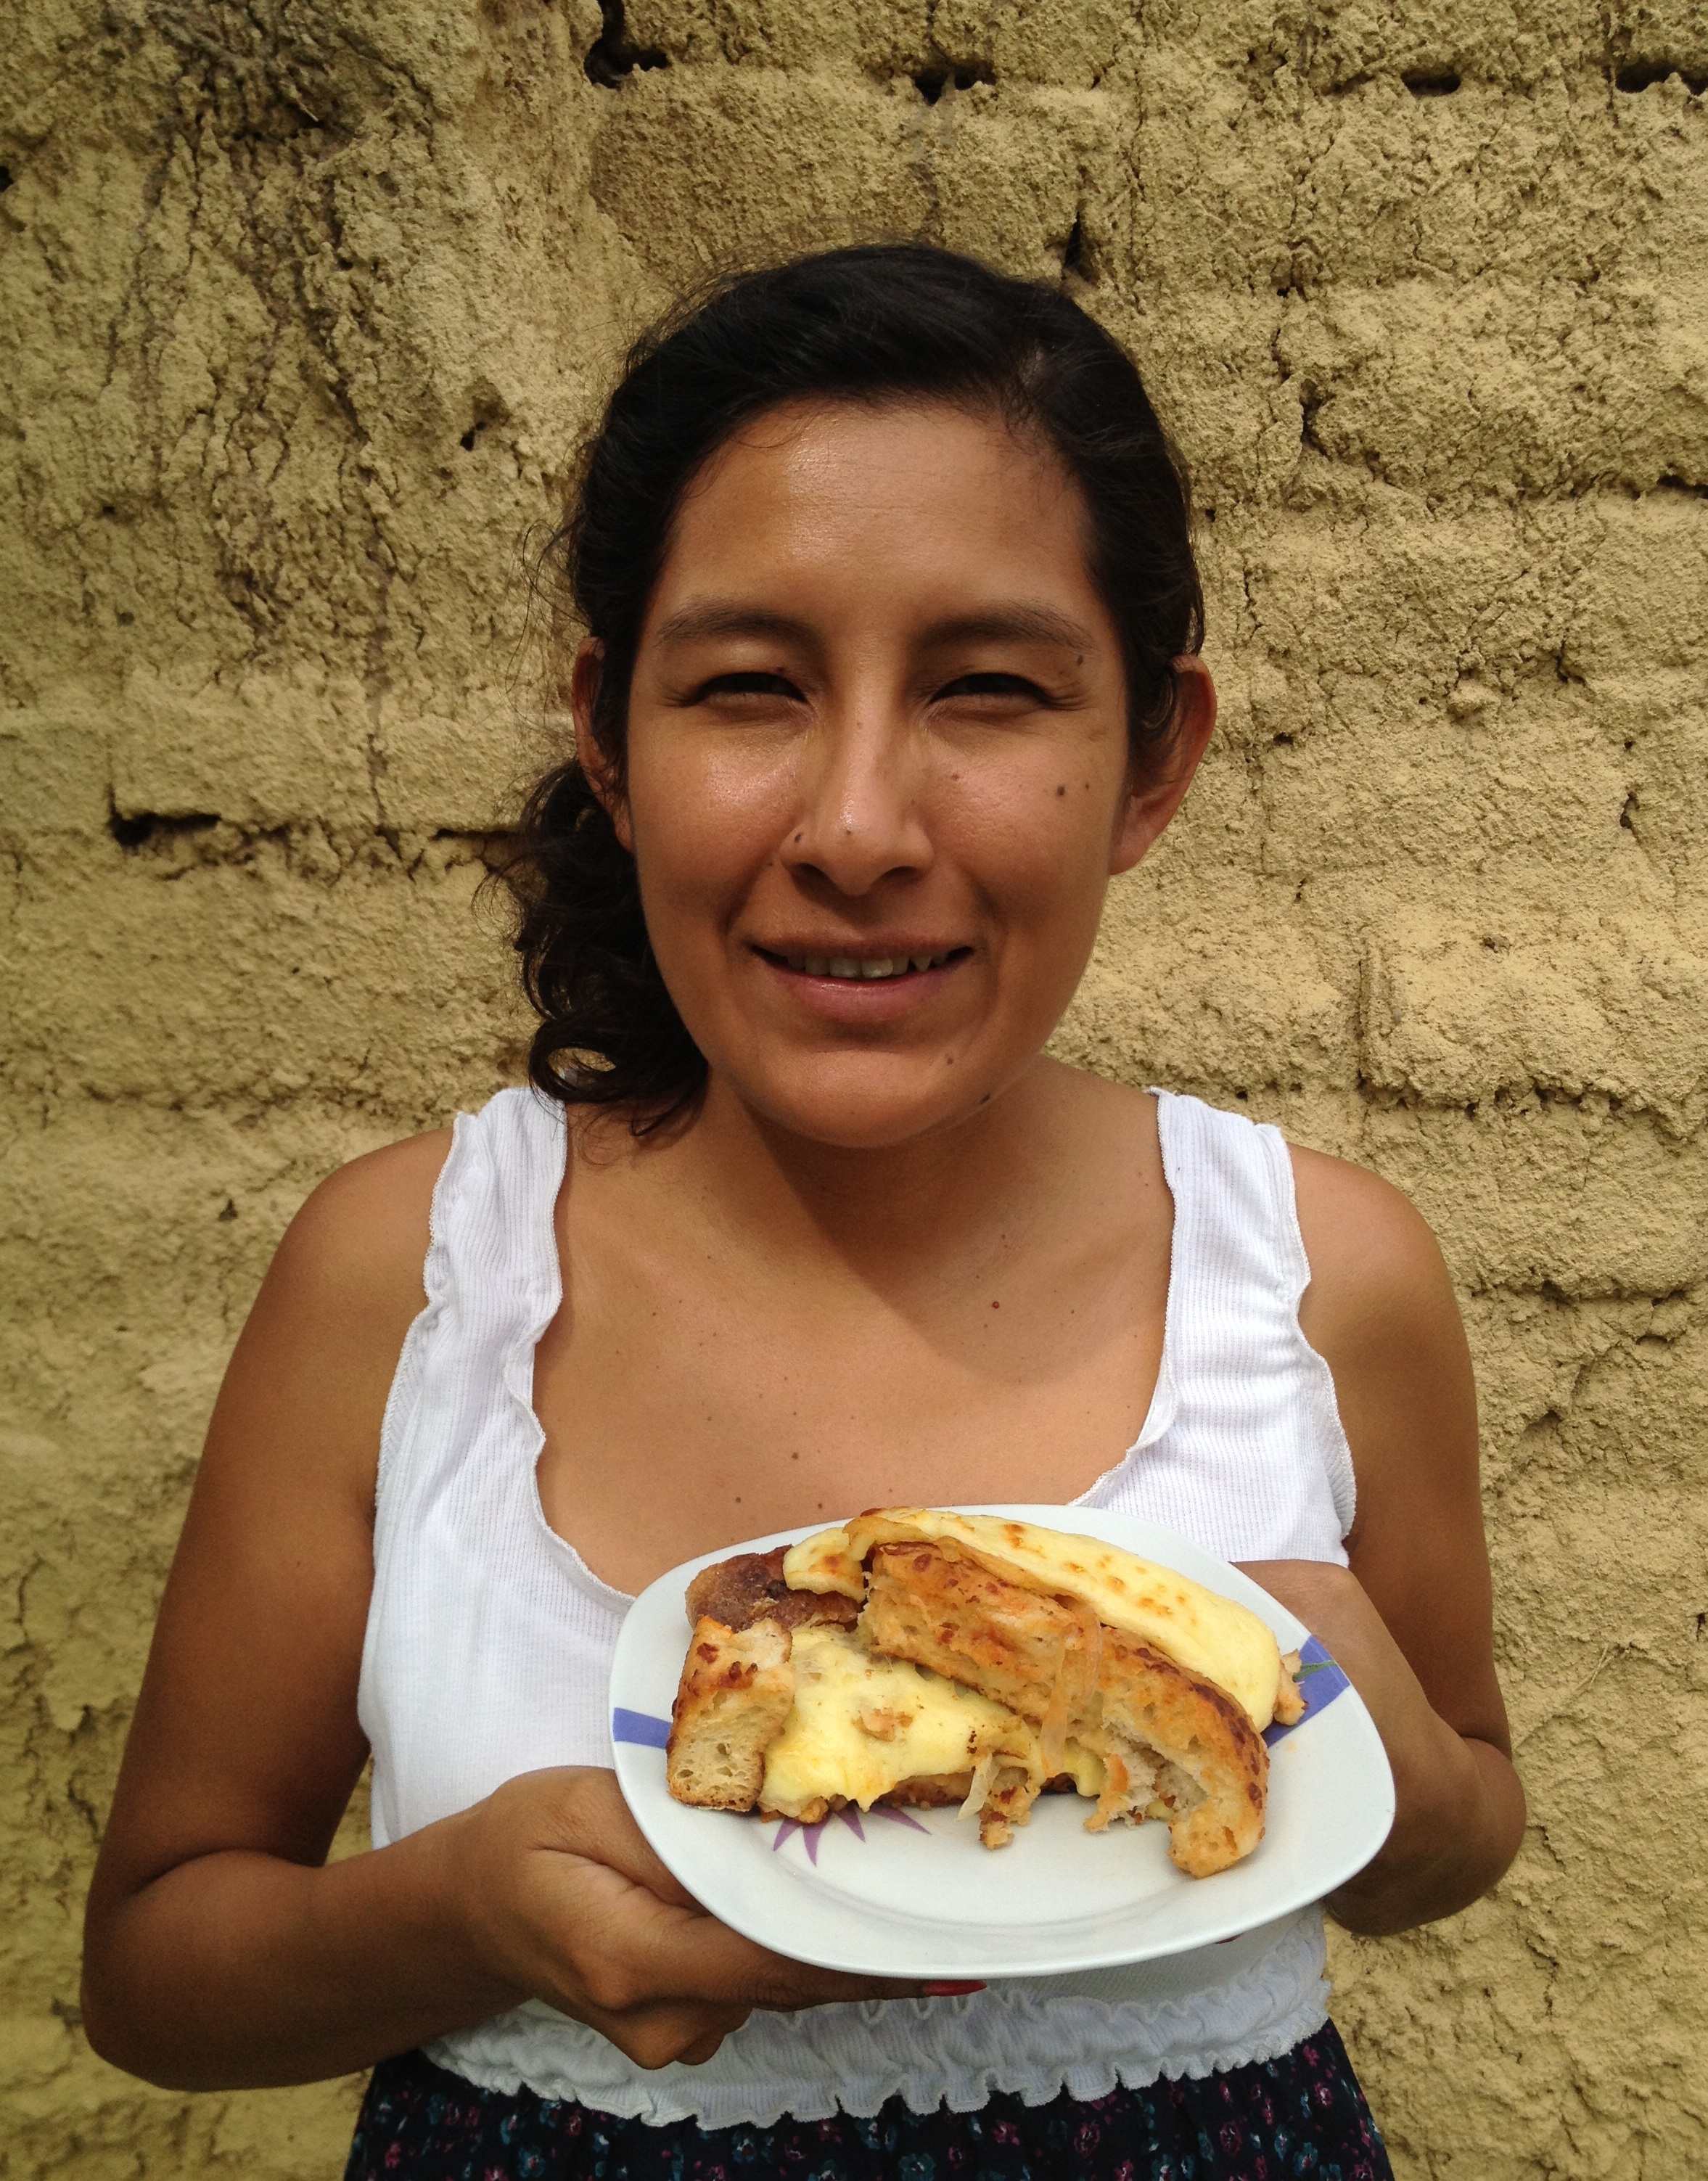
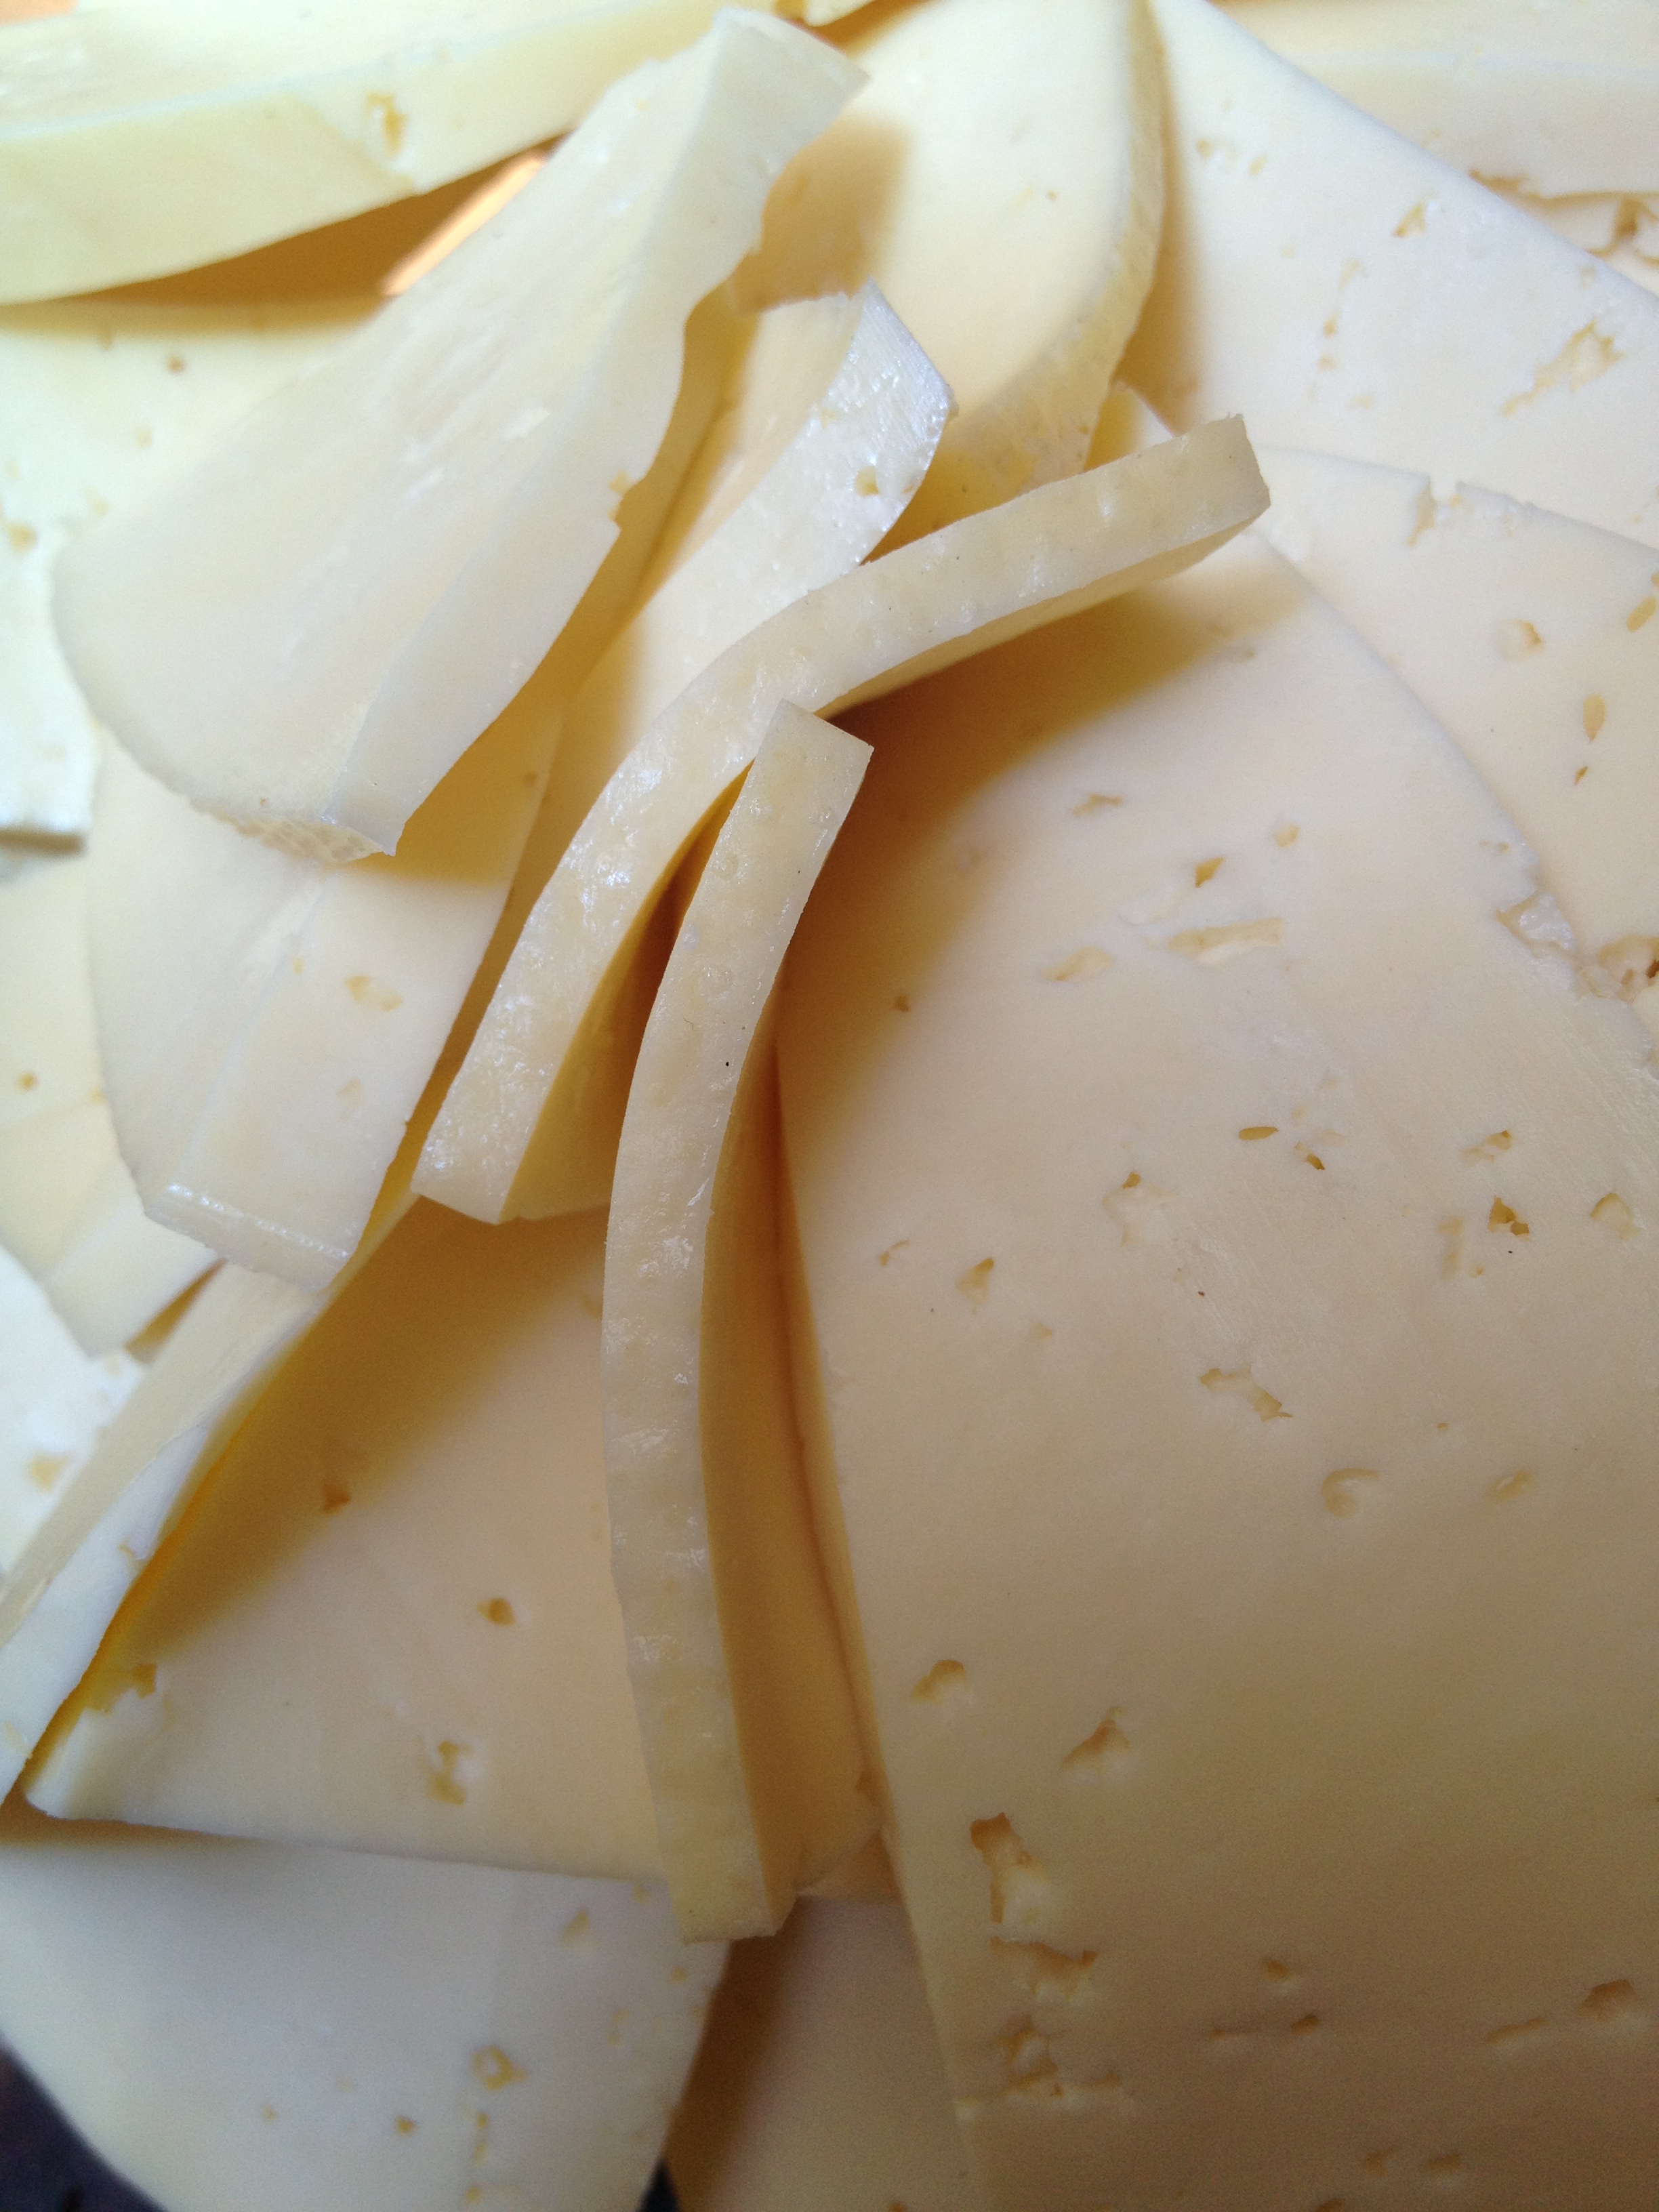
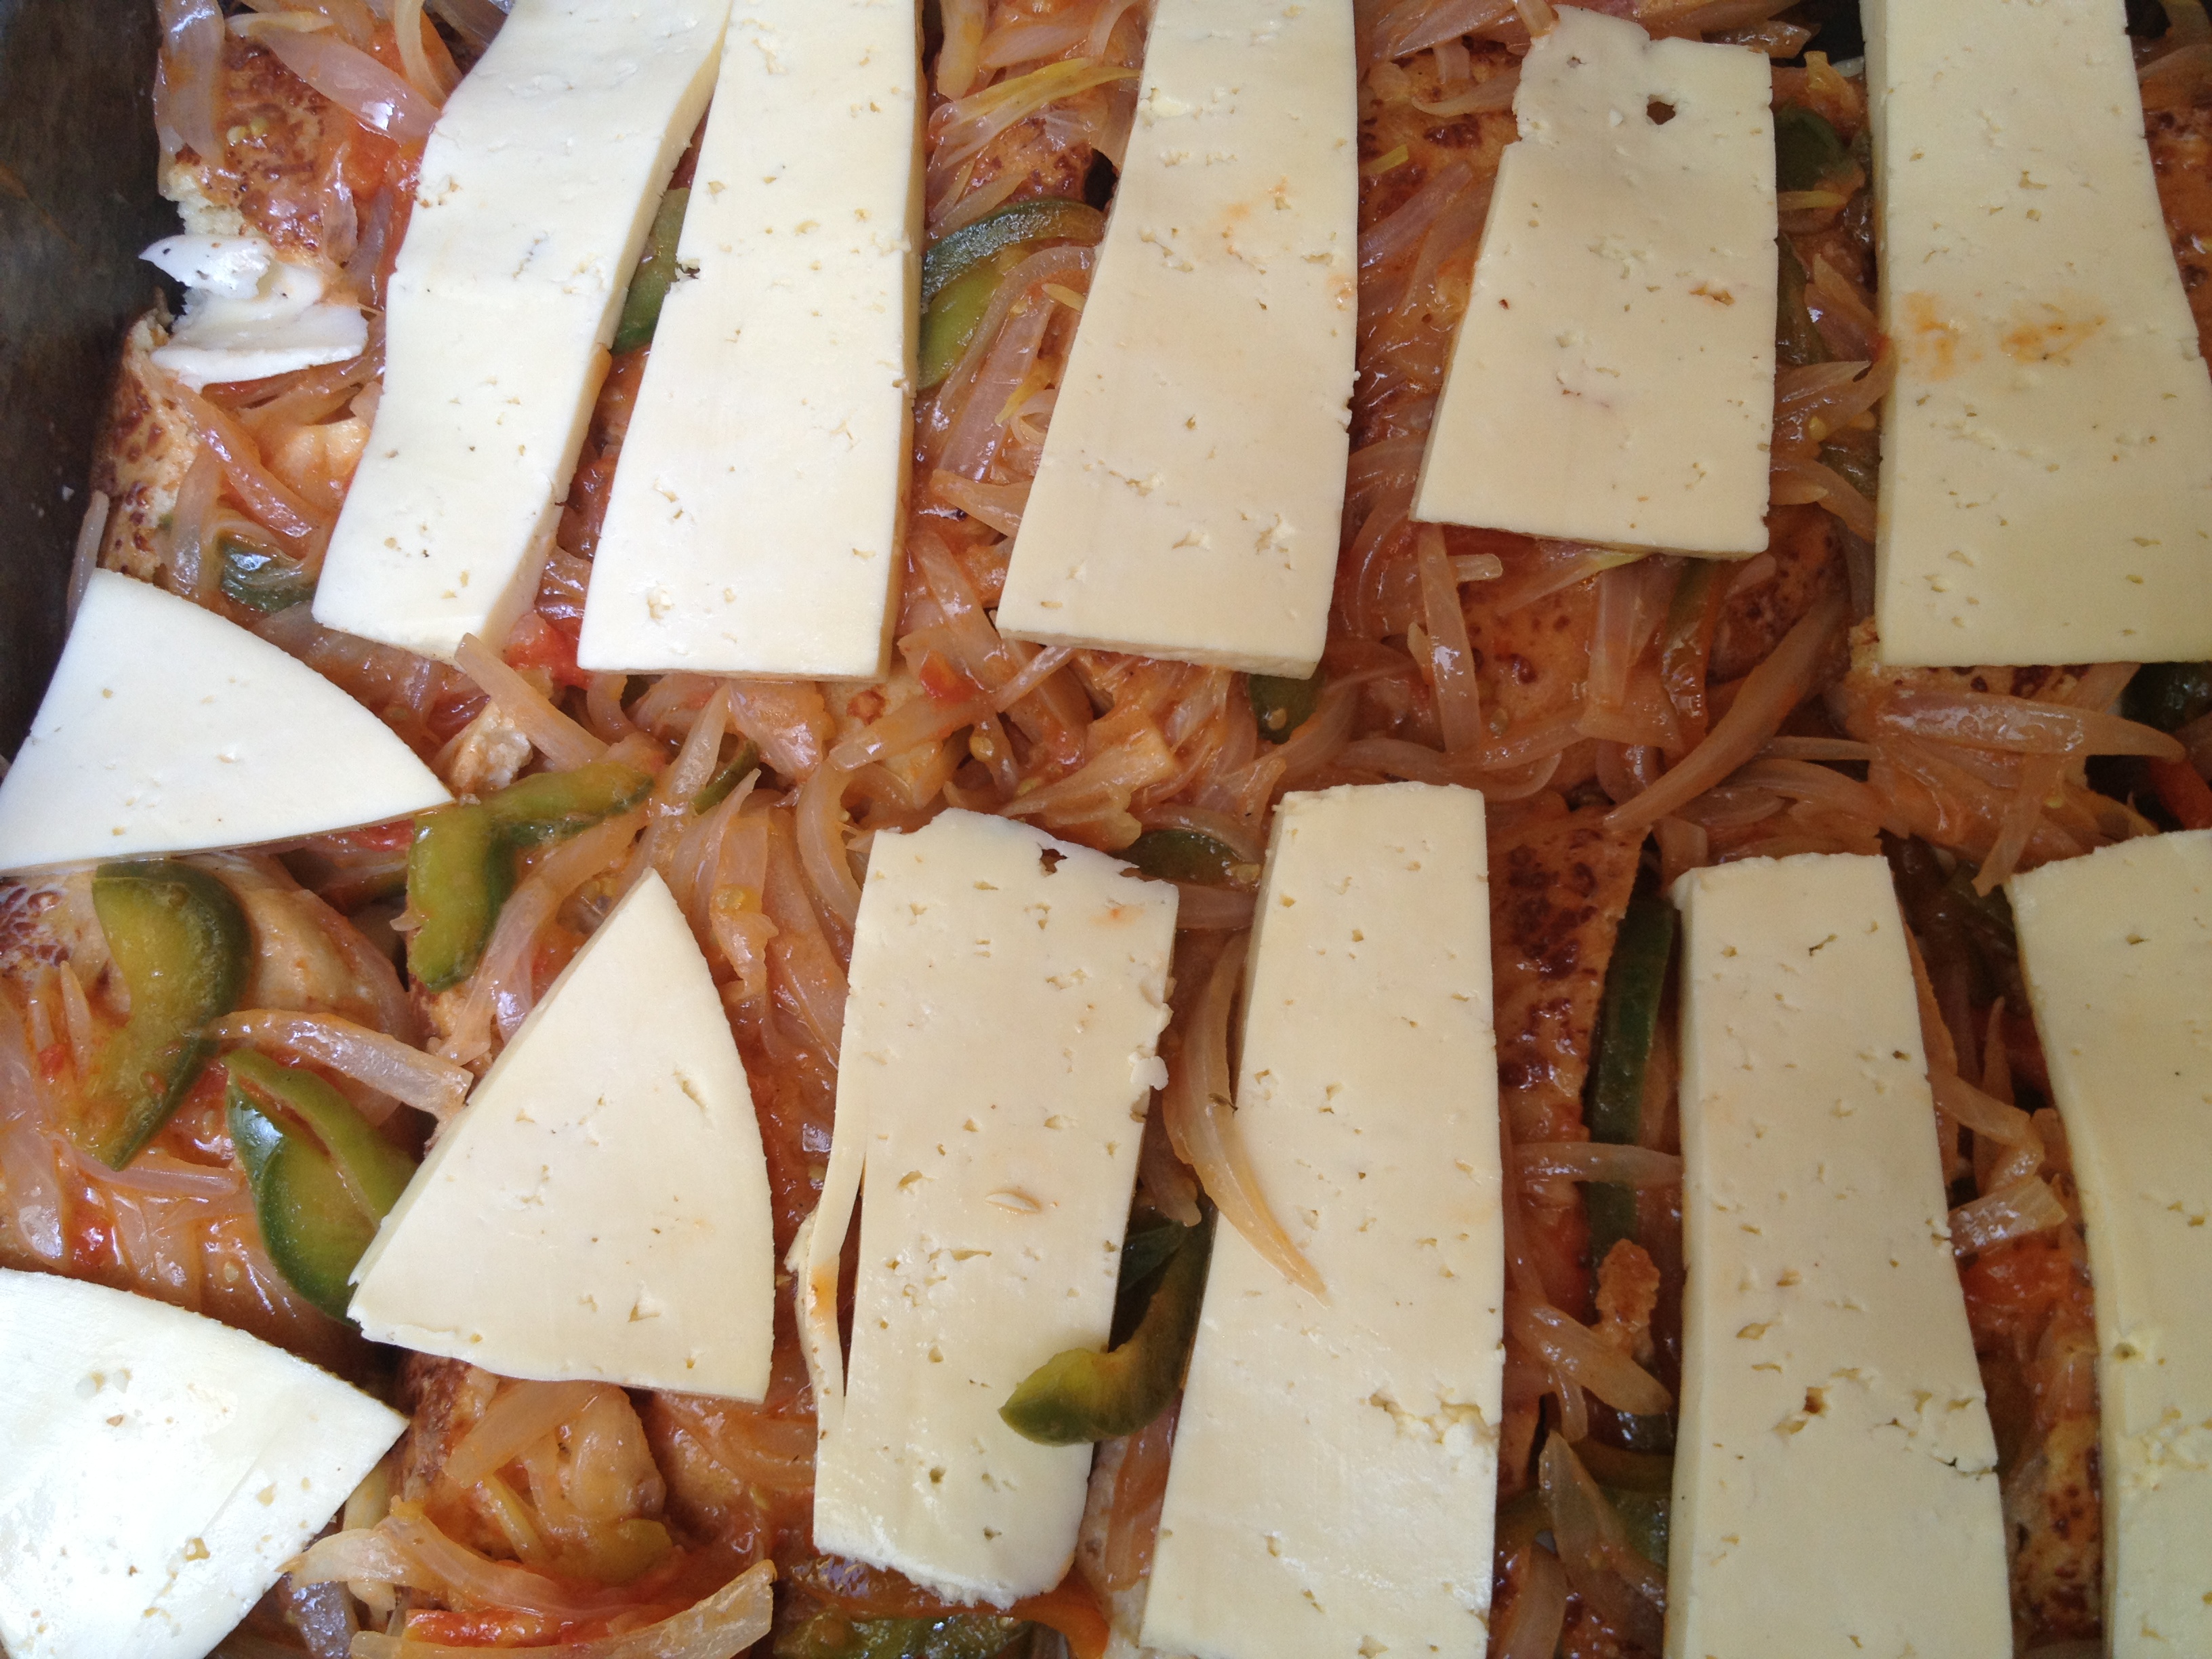
24 slices Monterrey Jack or Cheddar cheese
1 cup of milk
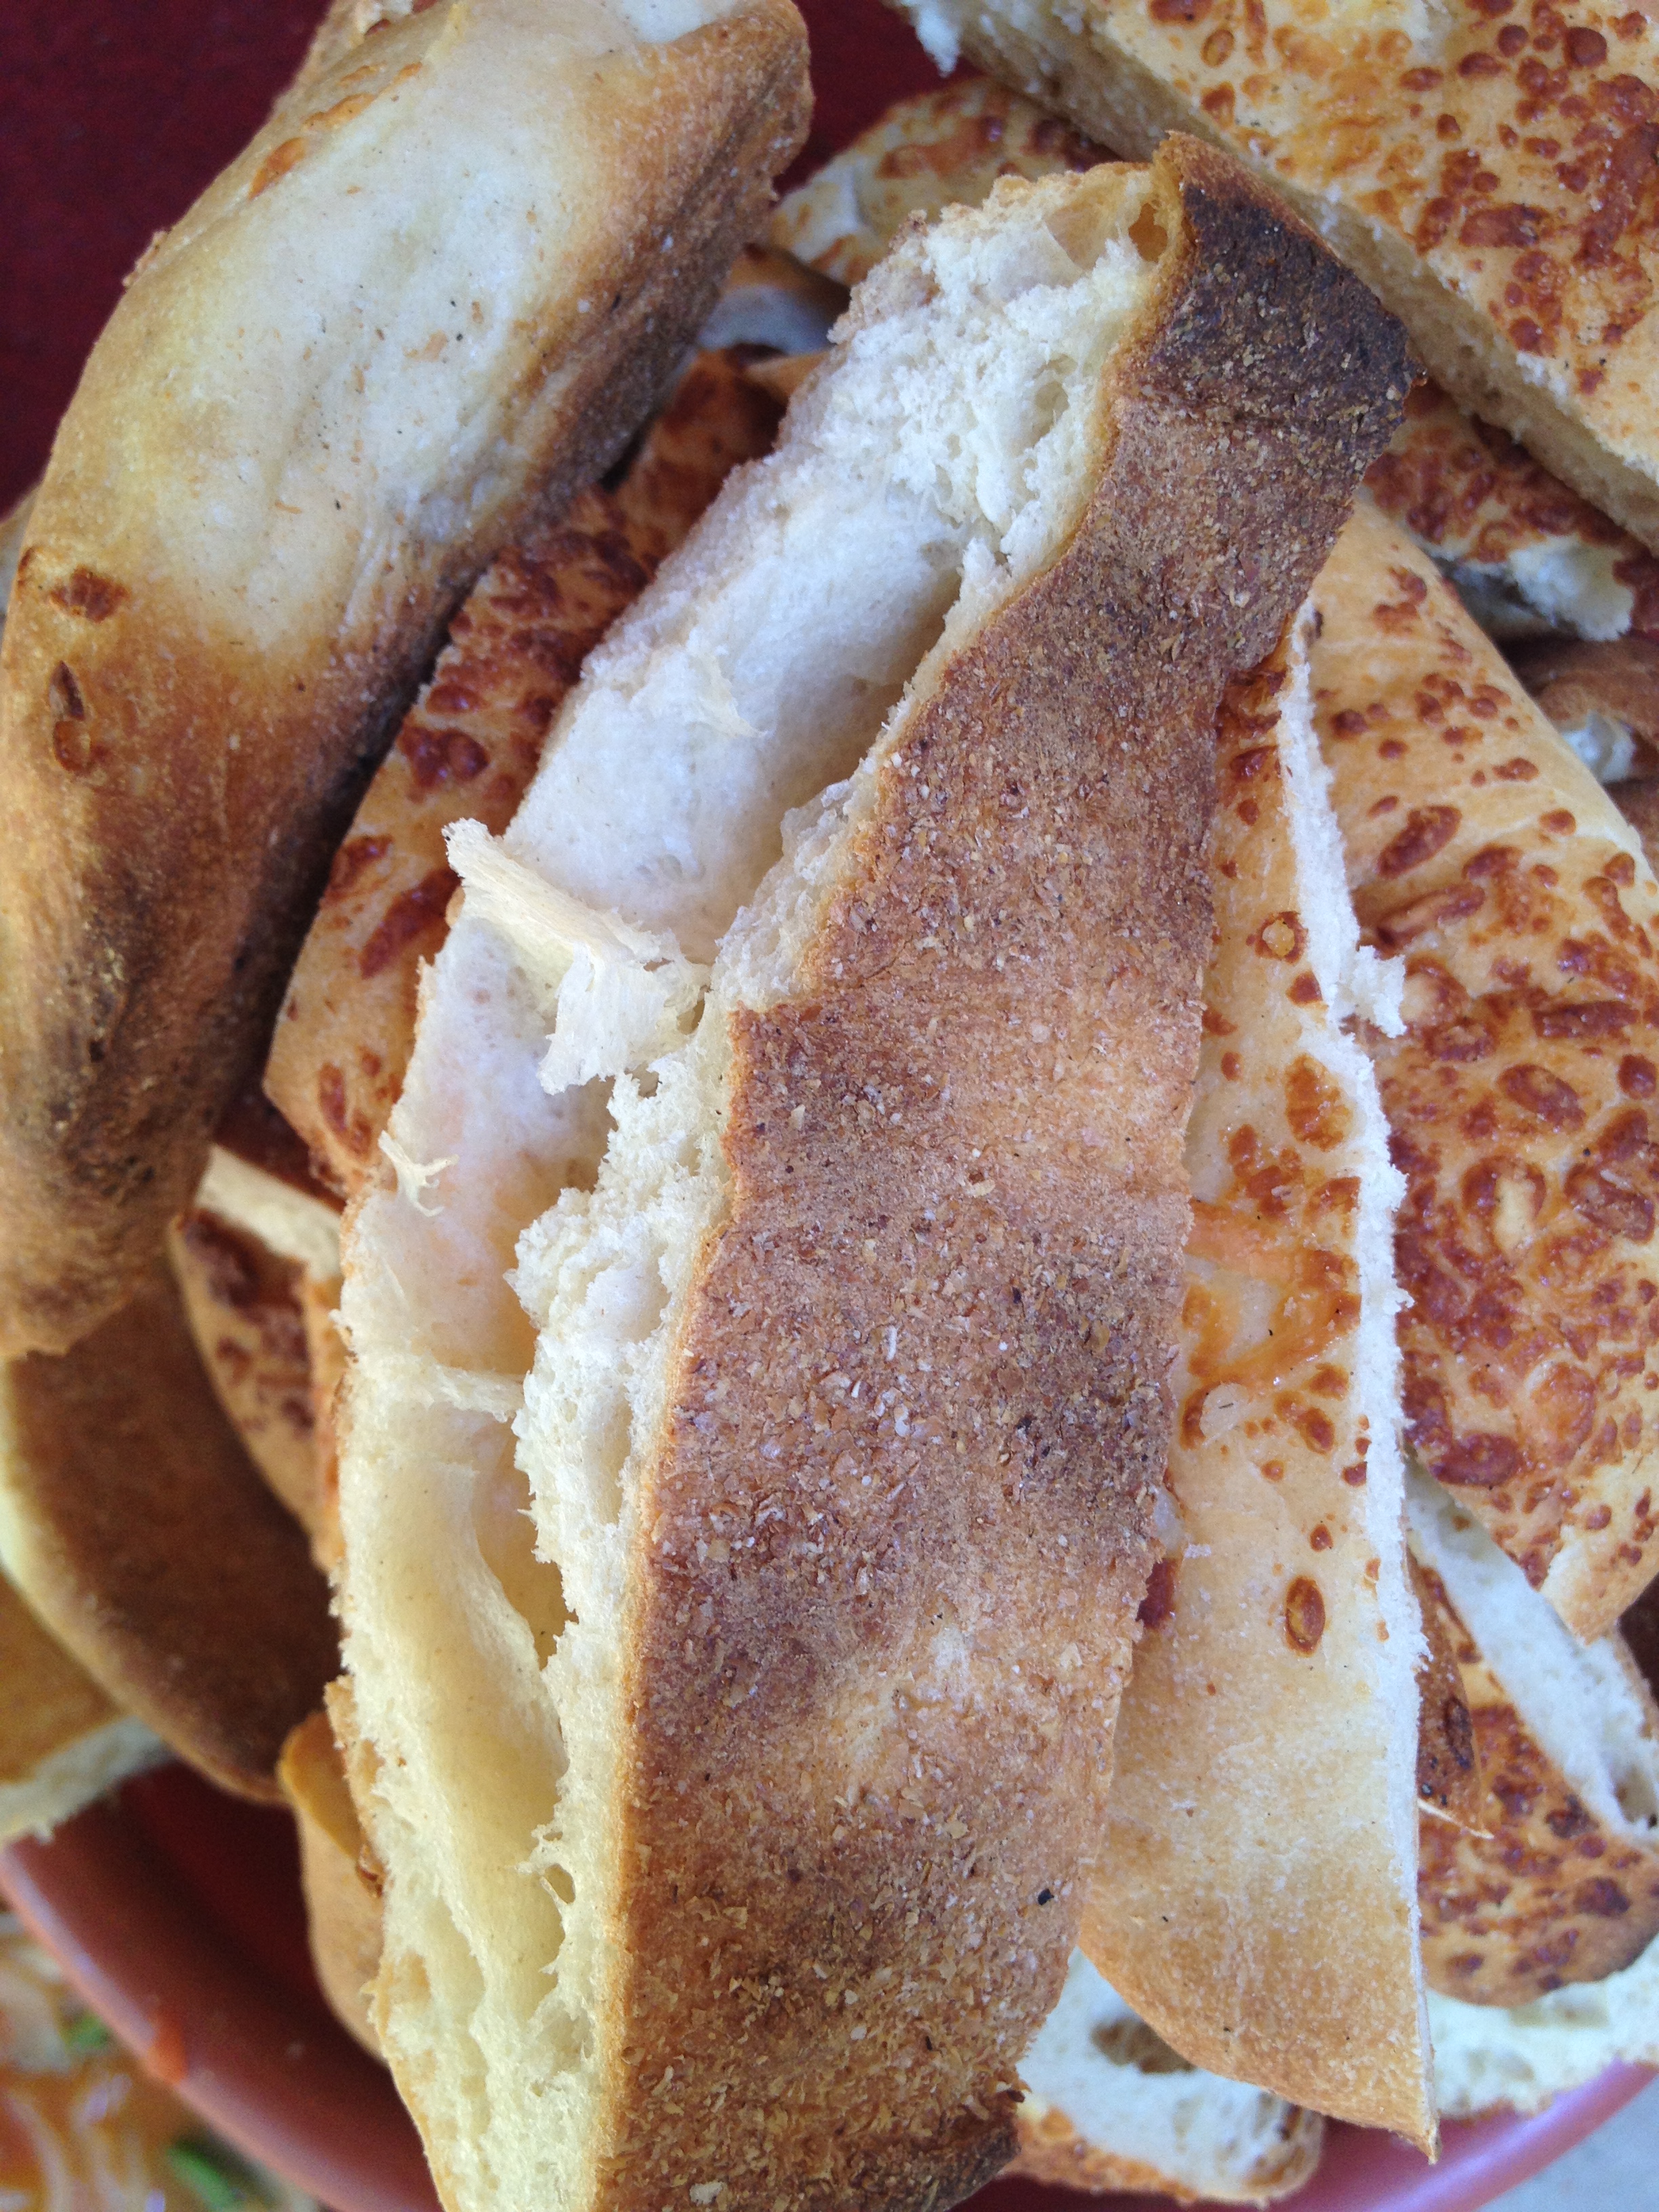
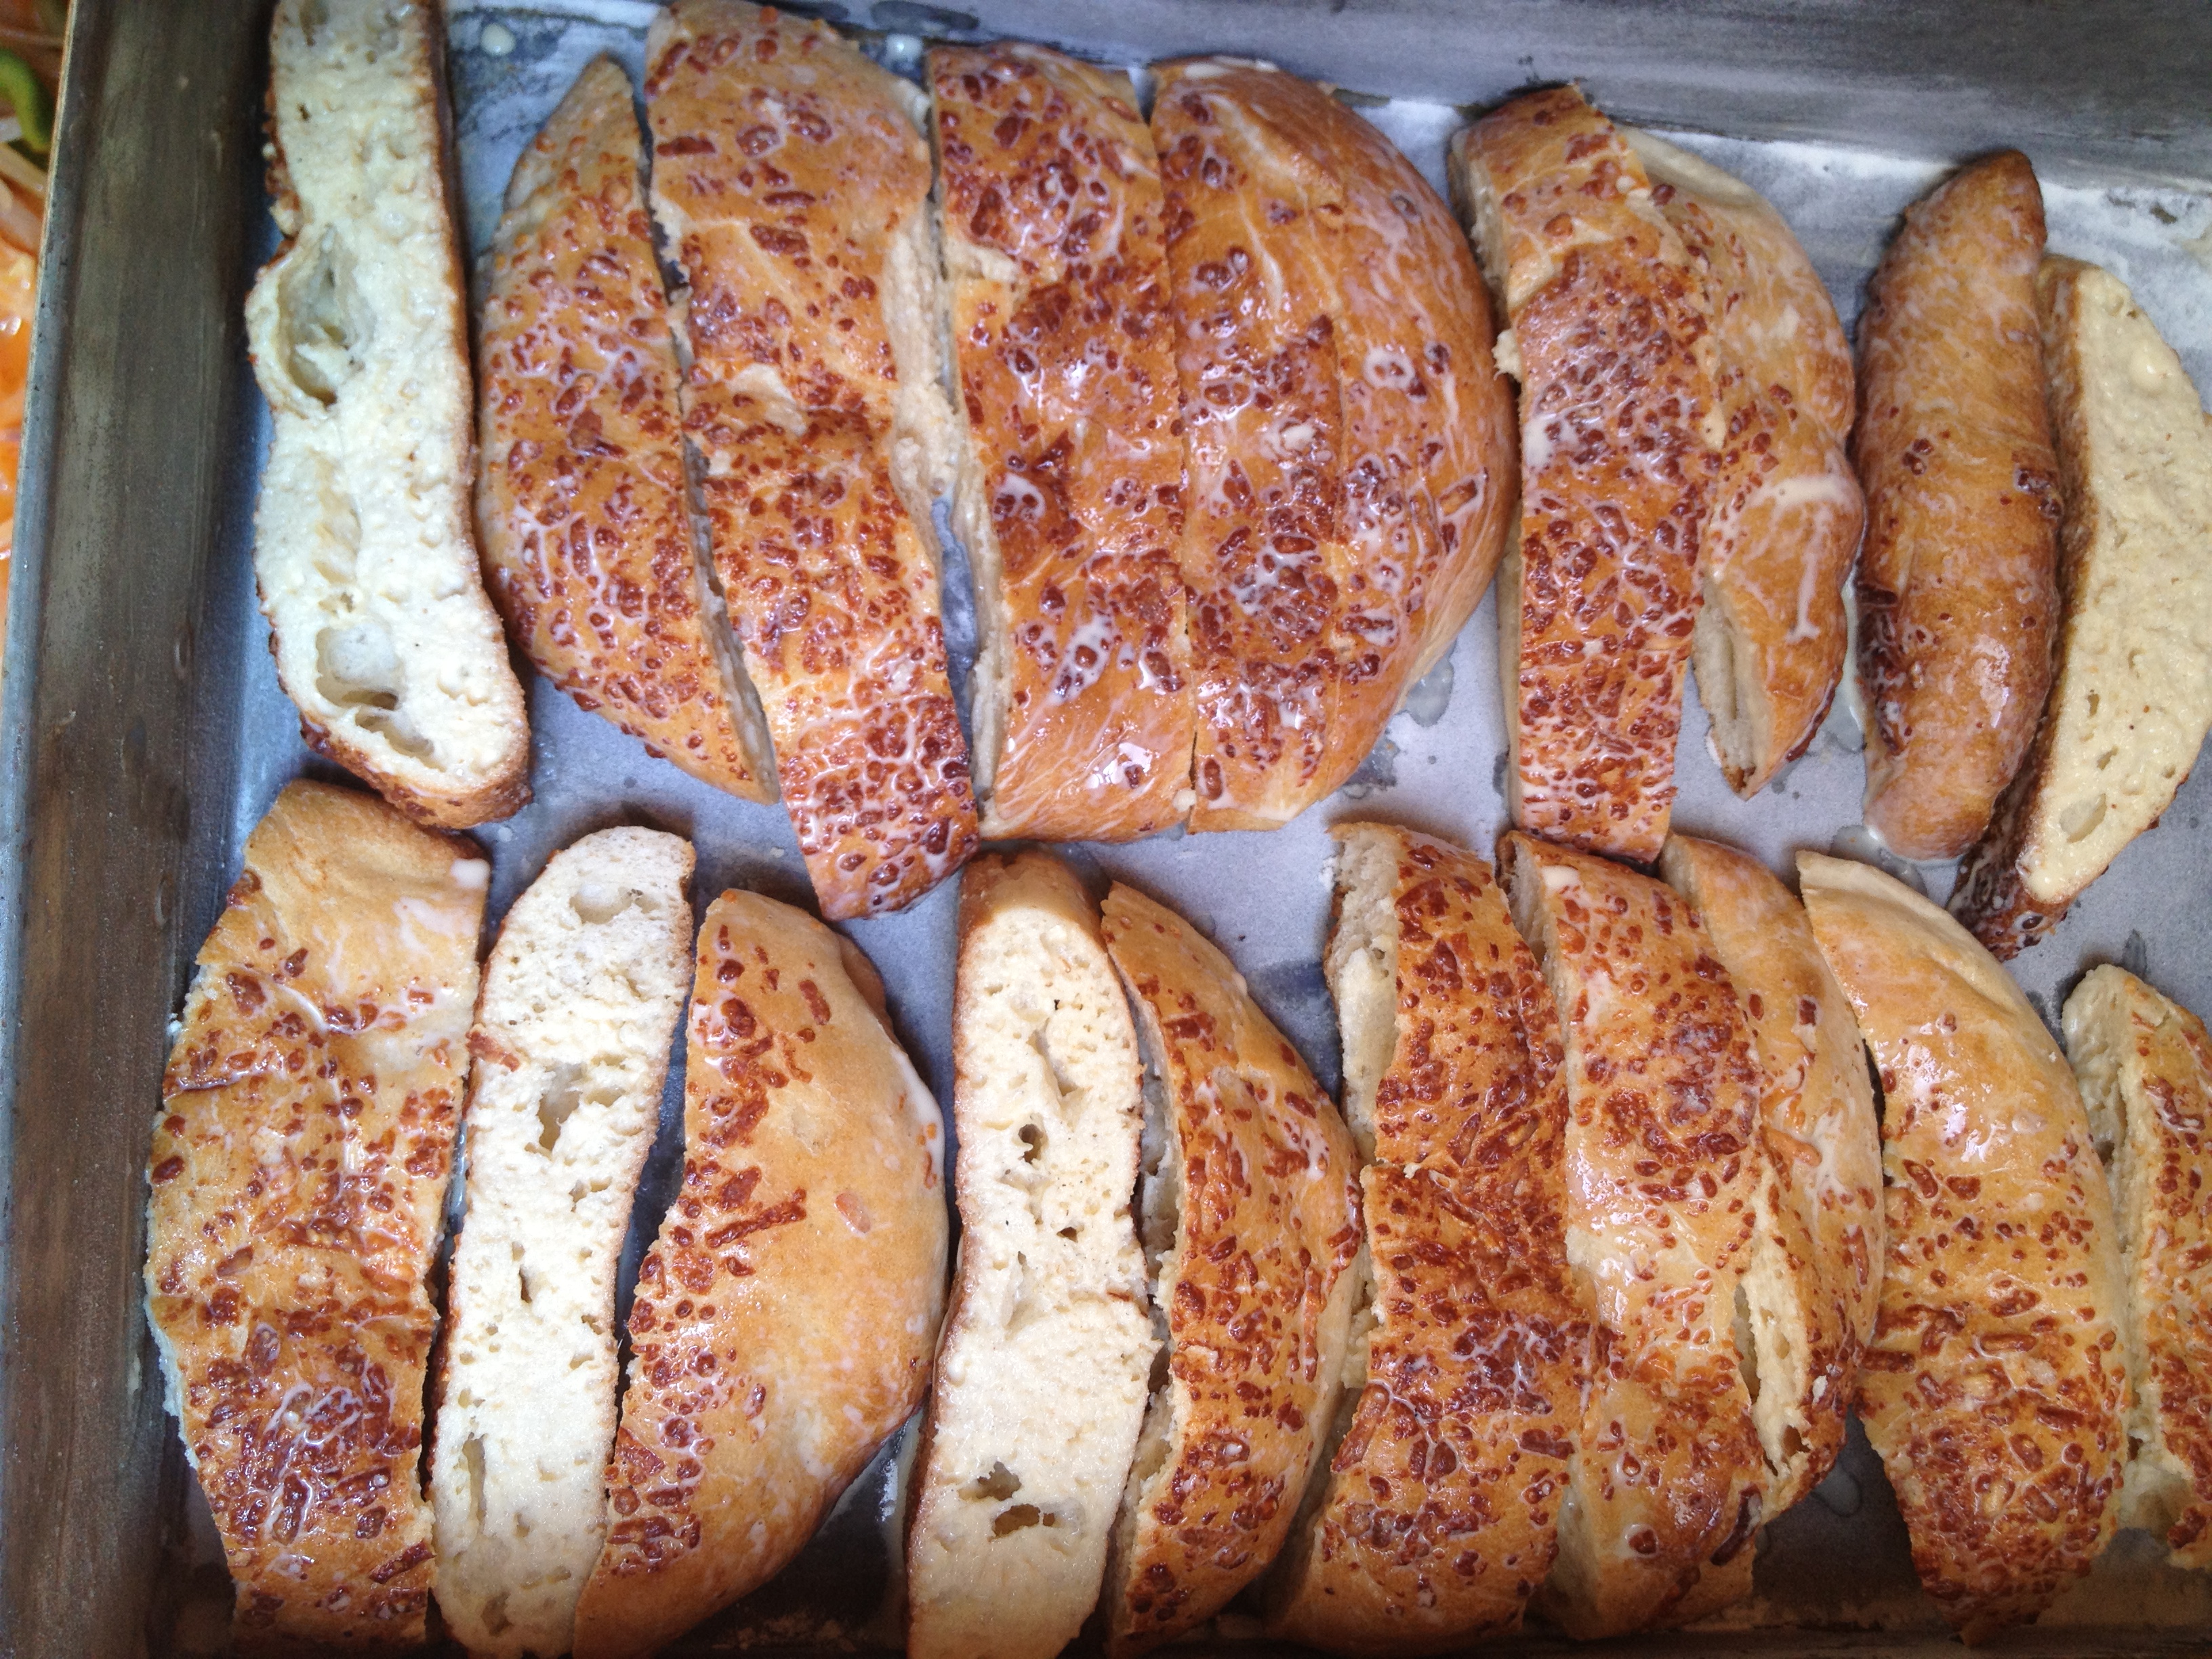
2 baguette
Preparation:
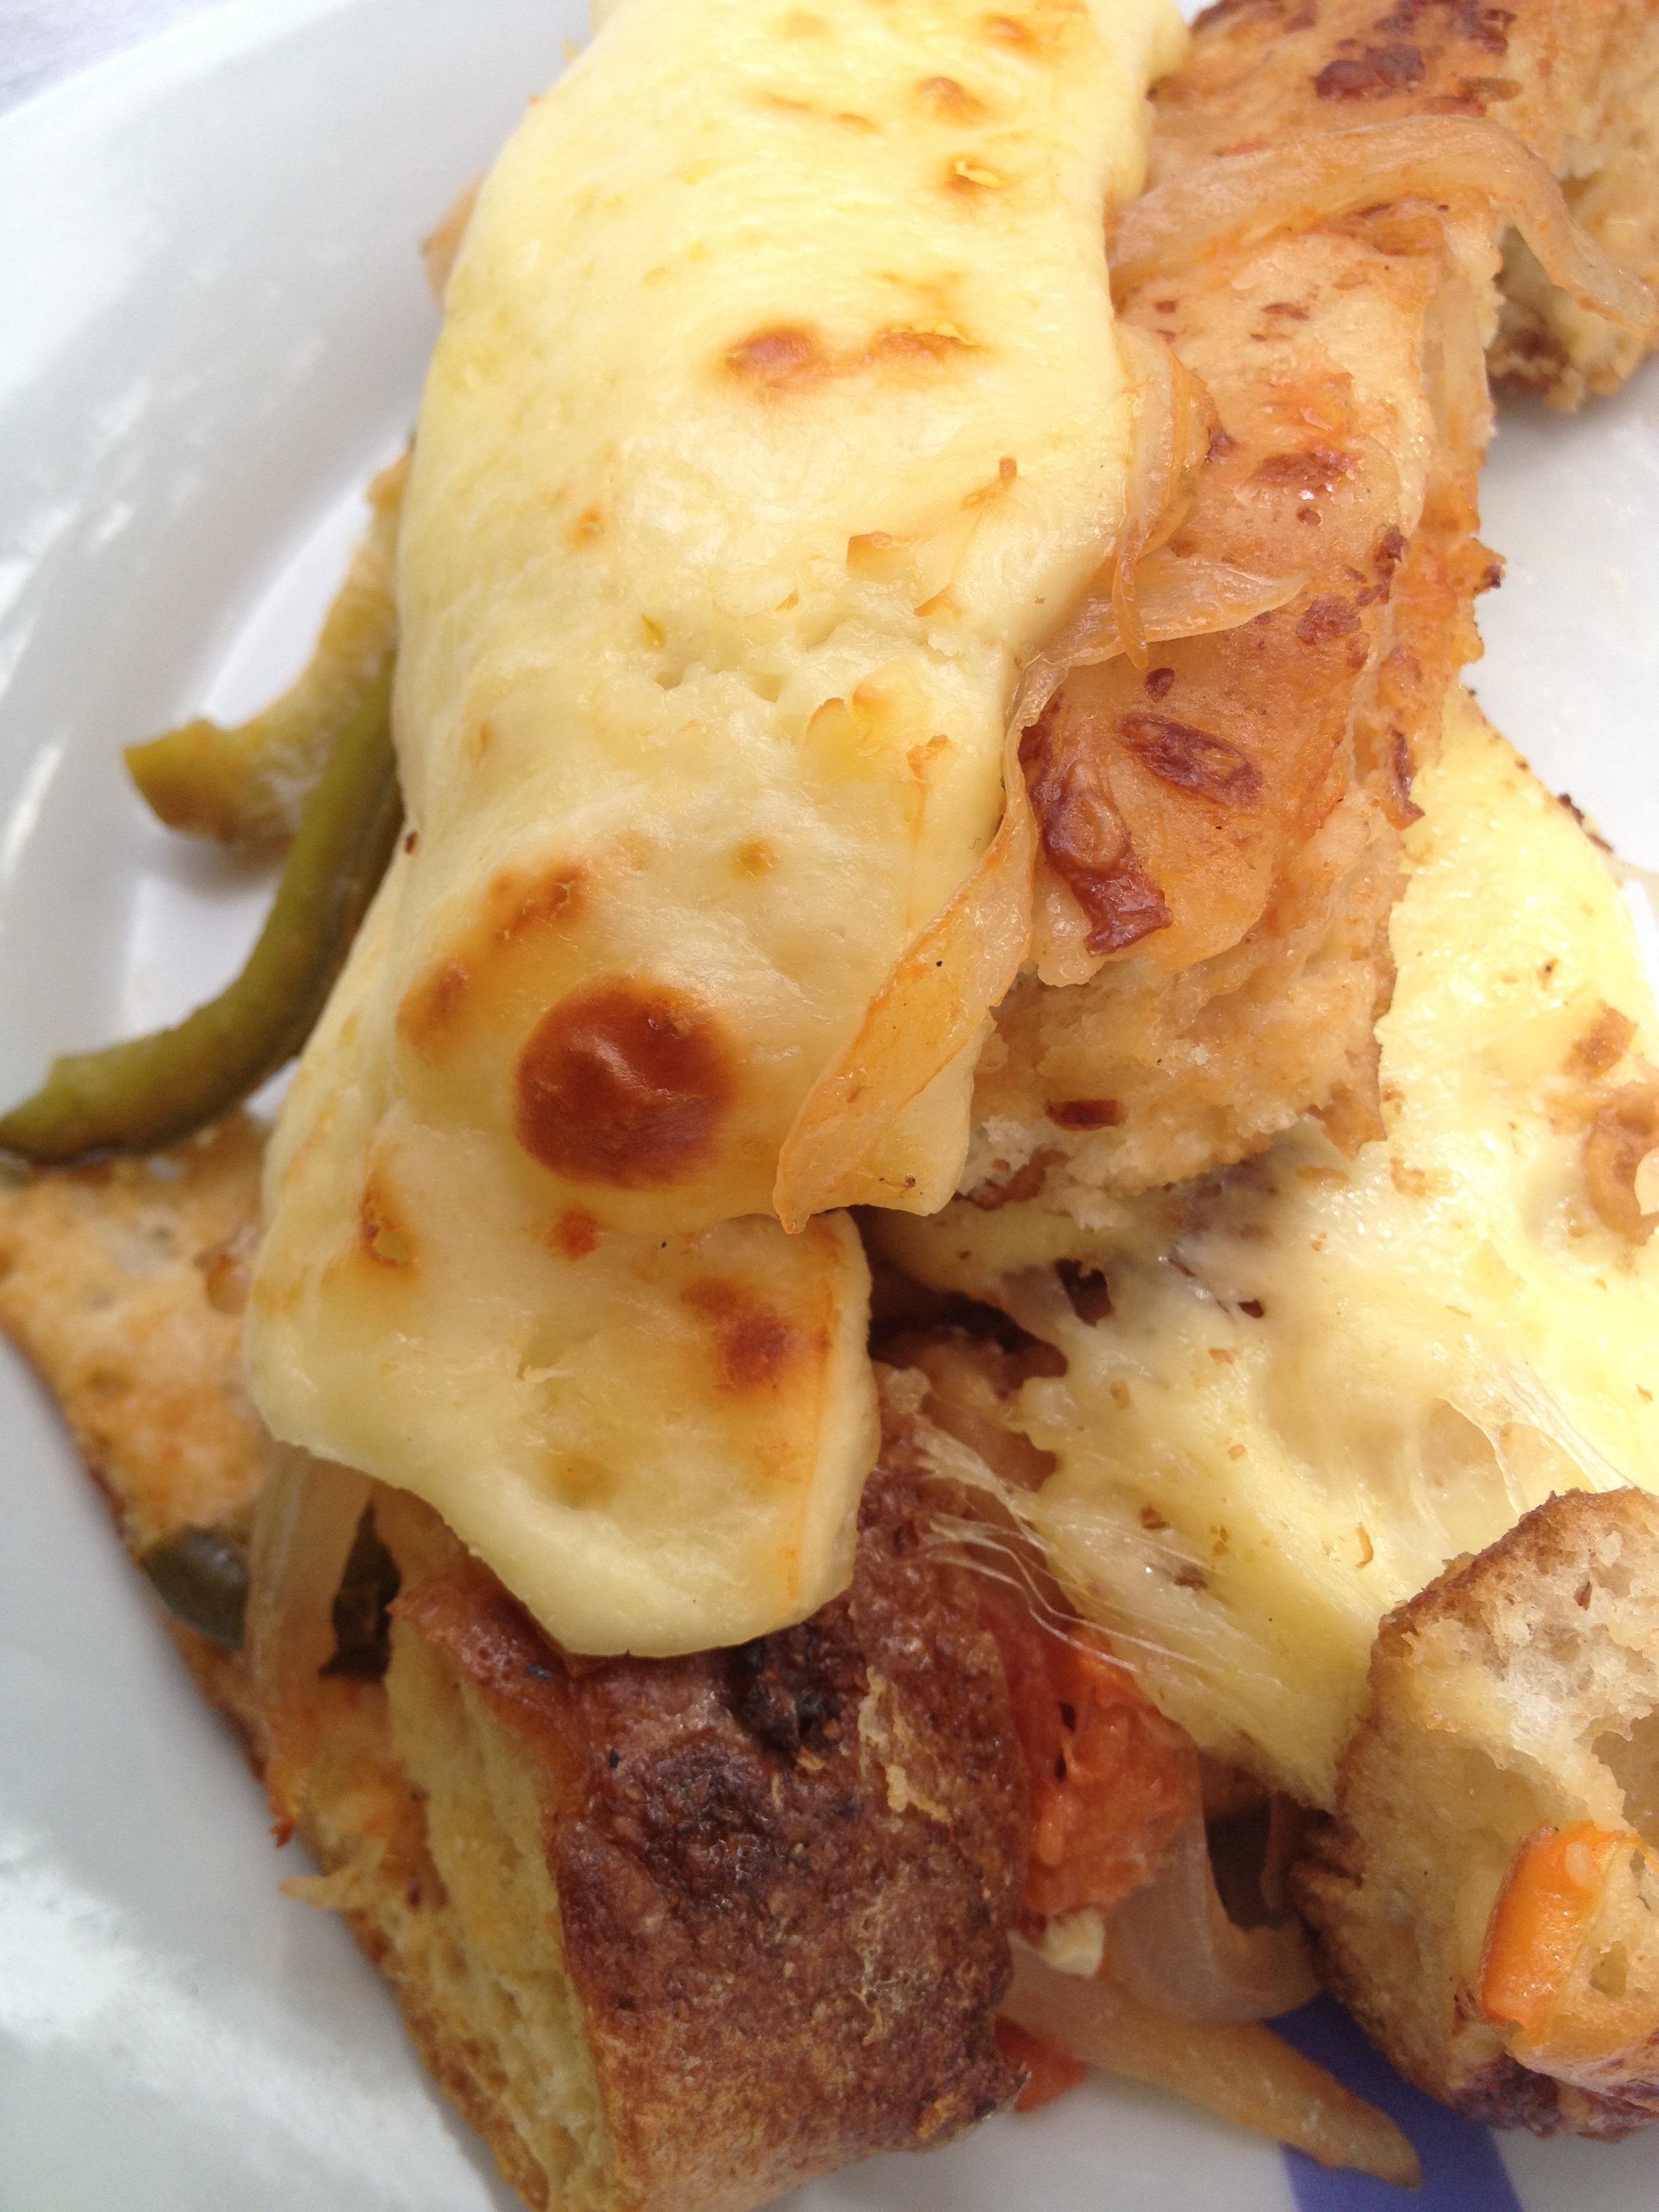
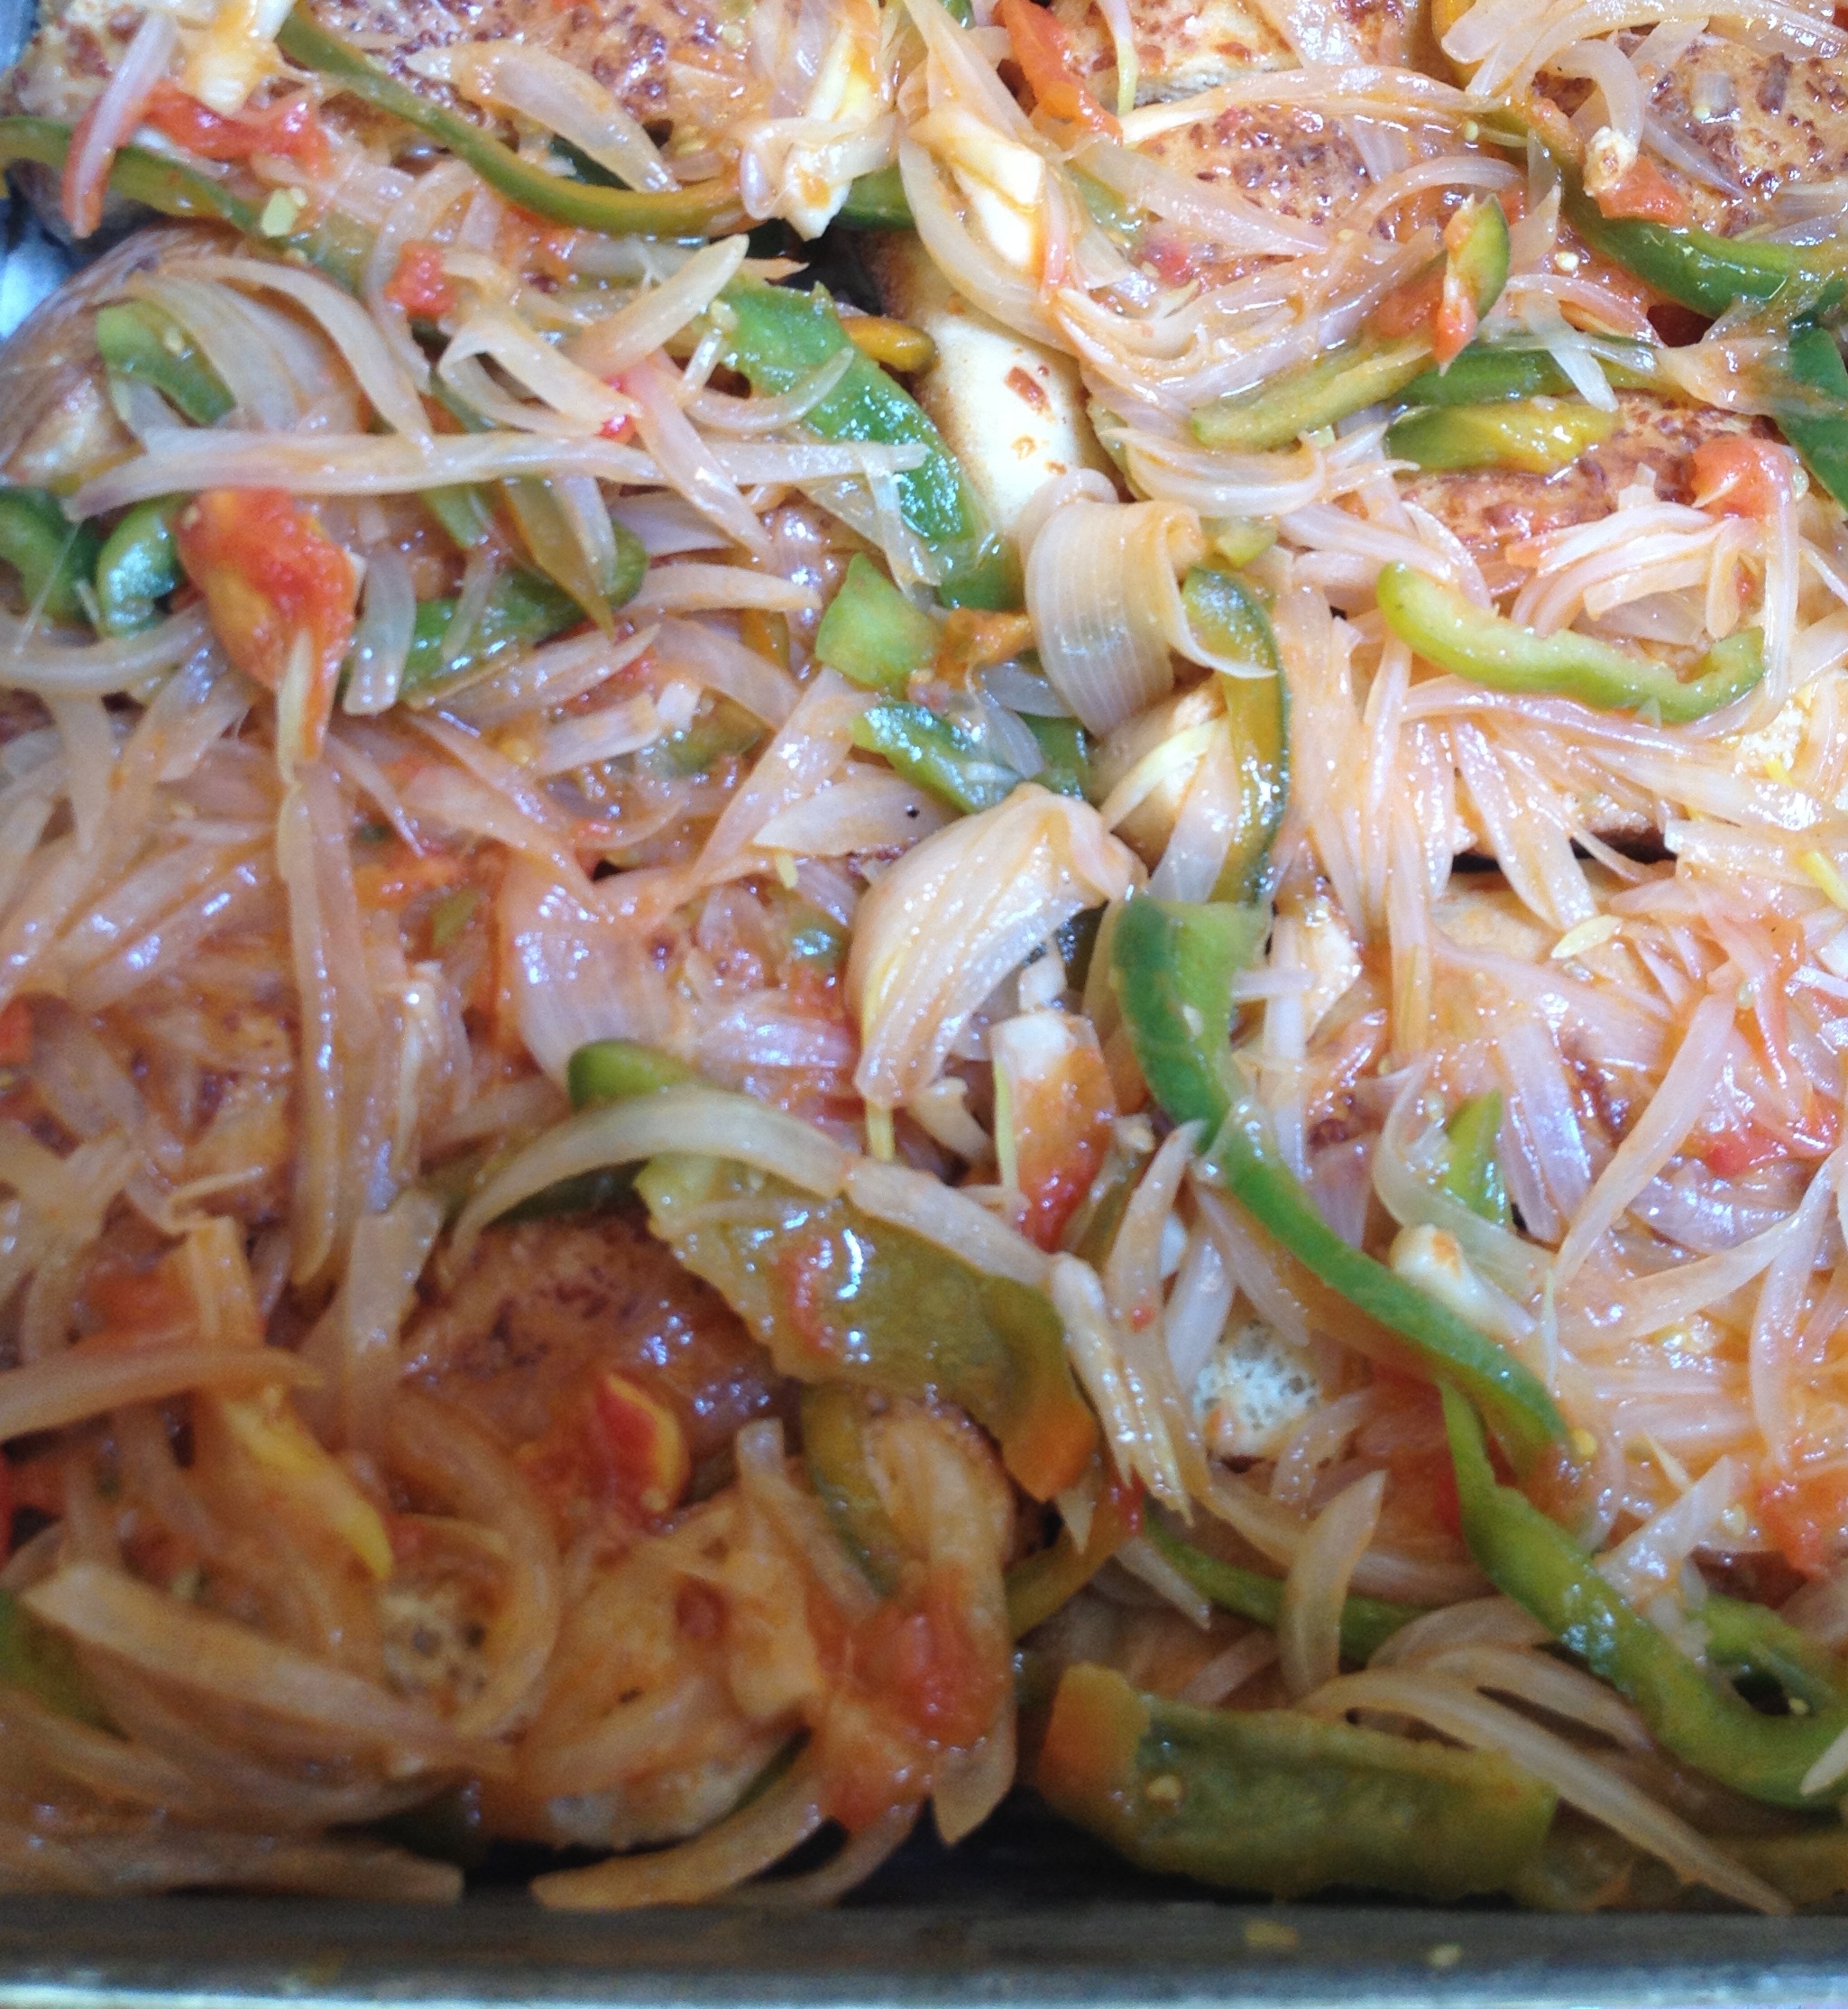
Slice the onion tomatoes and pepper in long strip (corte juliana). Heat the oil in a large frying pan. Cook the onion for 3 min add tomatoes and pepper and cook for 10 min. Add salt and pepper and taste, the onion should be soft and the pepper should still be crispy.

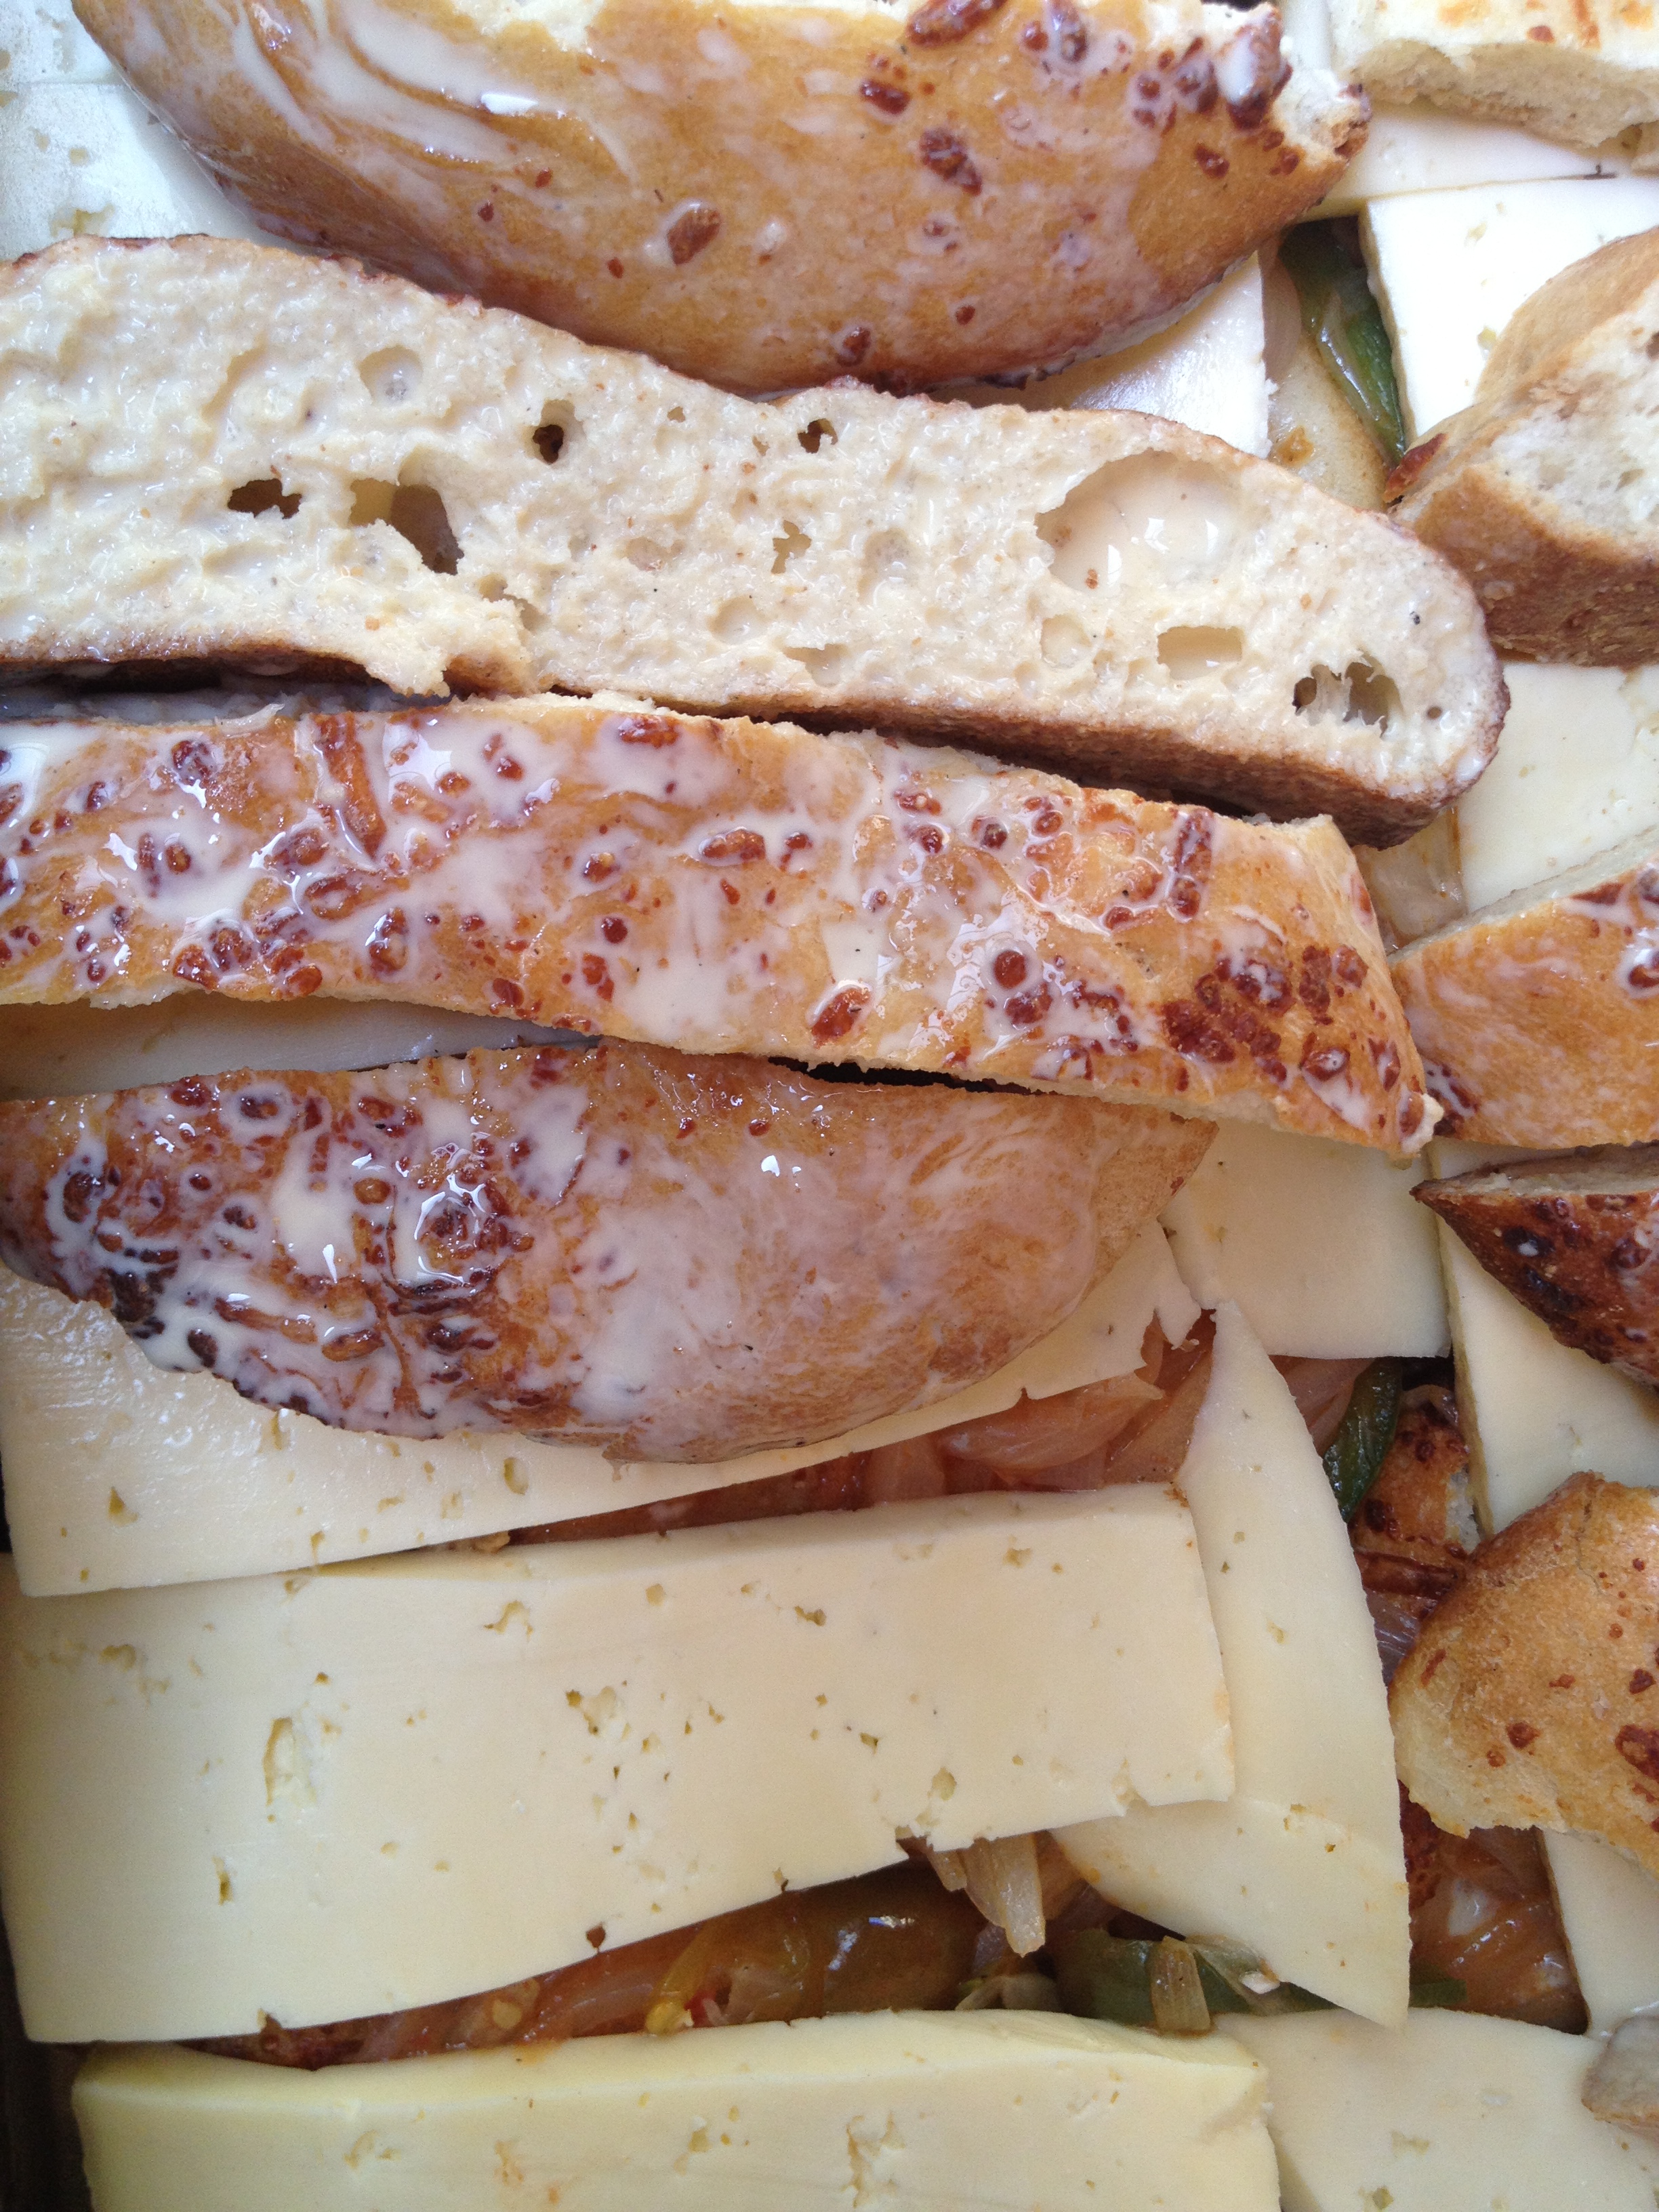
Slice the cheese and bread. The bread should not be too thin.
Preheat the oven to 400F
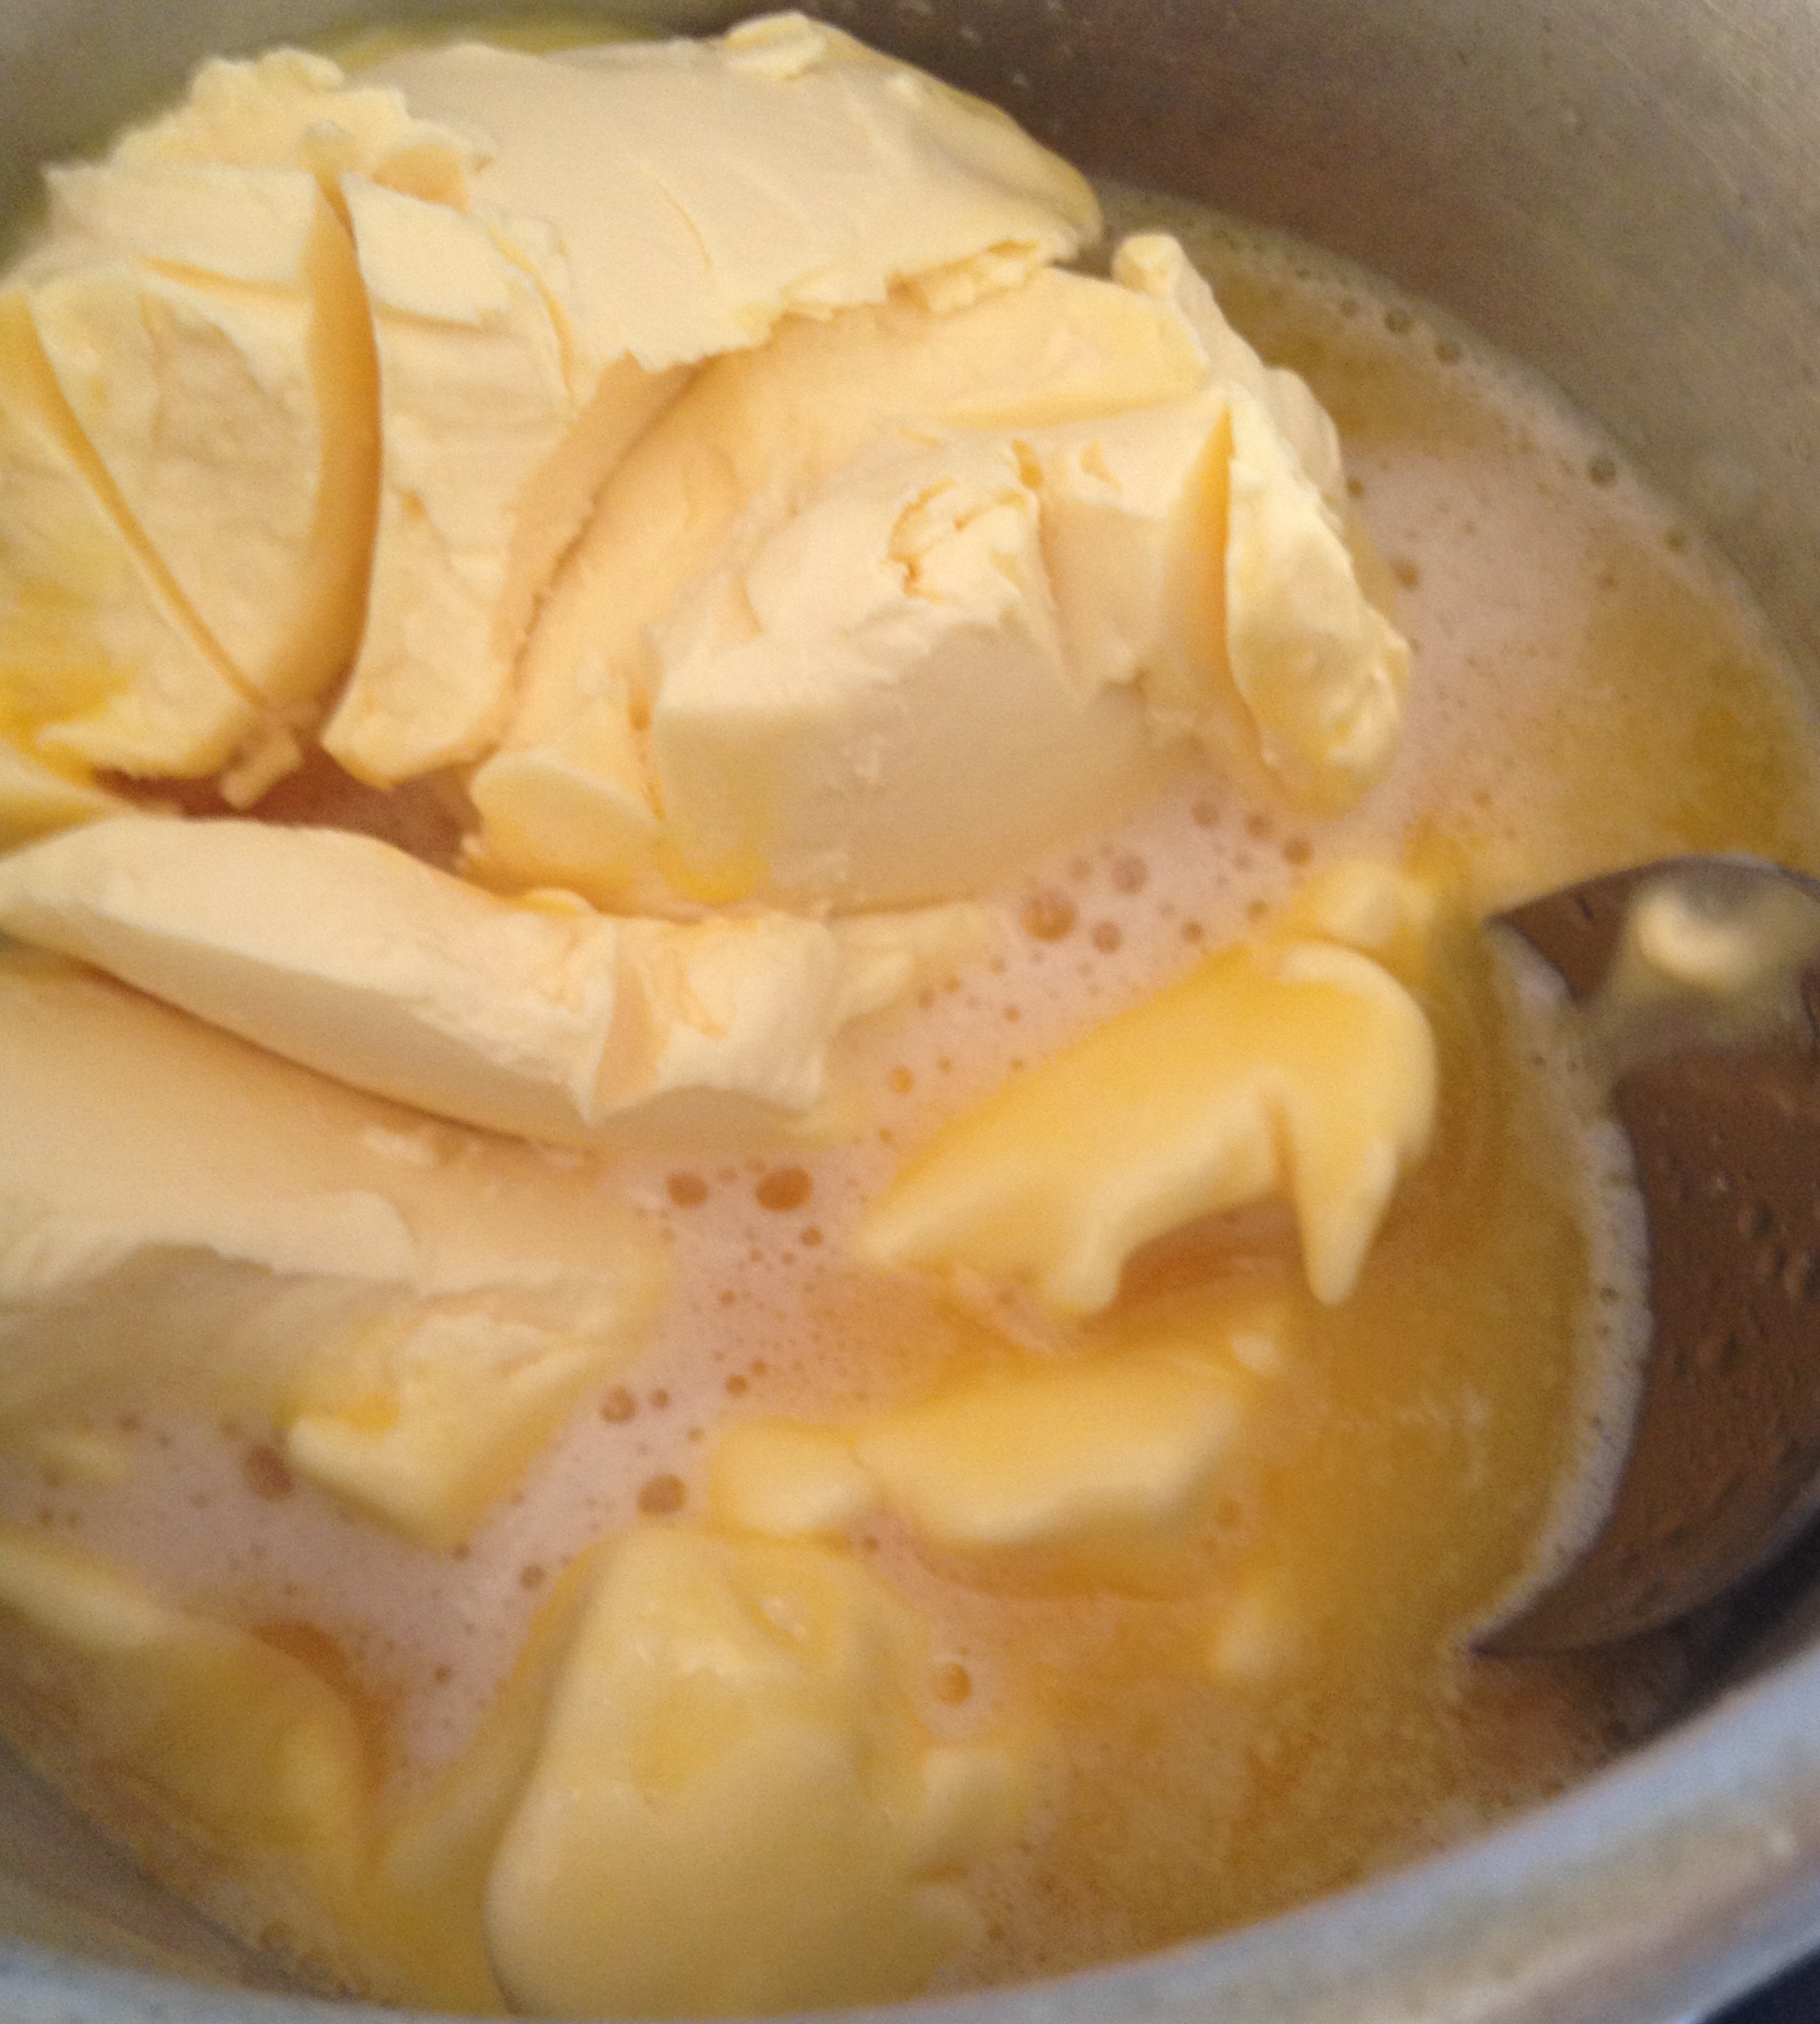
Butter and flour the baking dish.
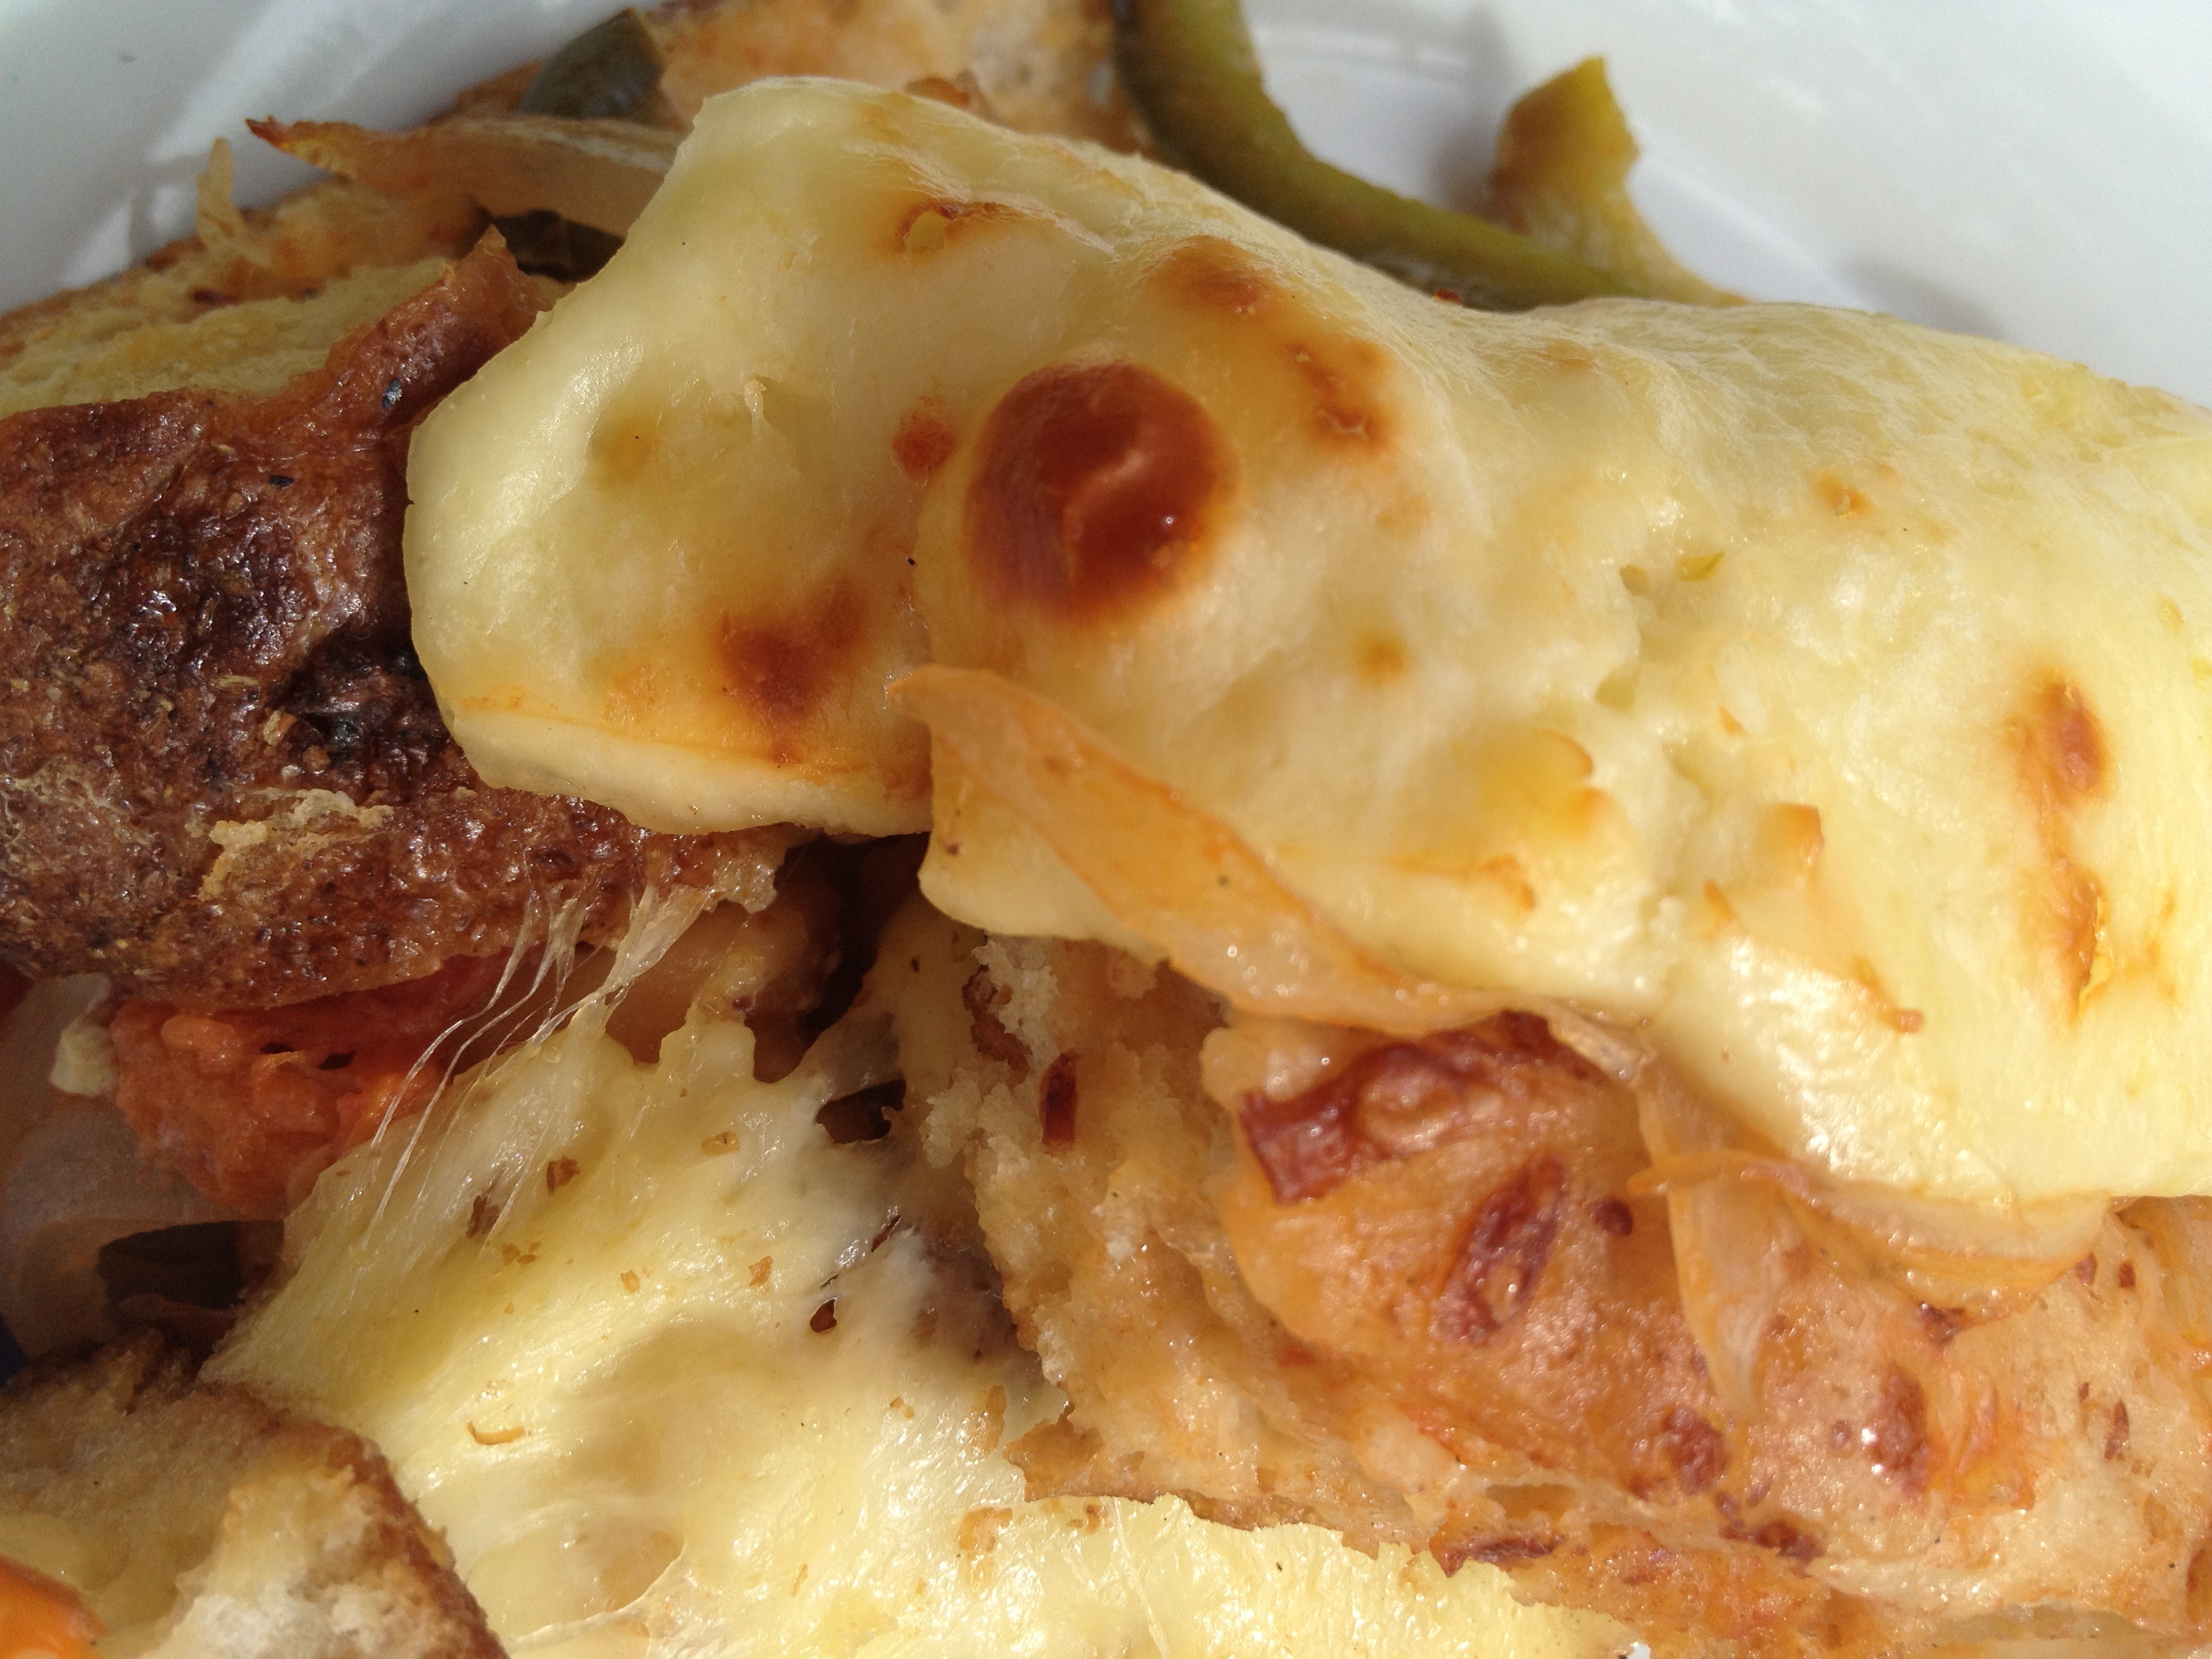
Soak each piece of bread at a time in milk and accommodate in a layer on the baking dish. Then add a layer of the vegetable mix and a layer of cheese.

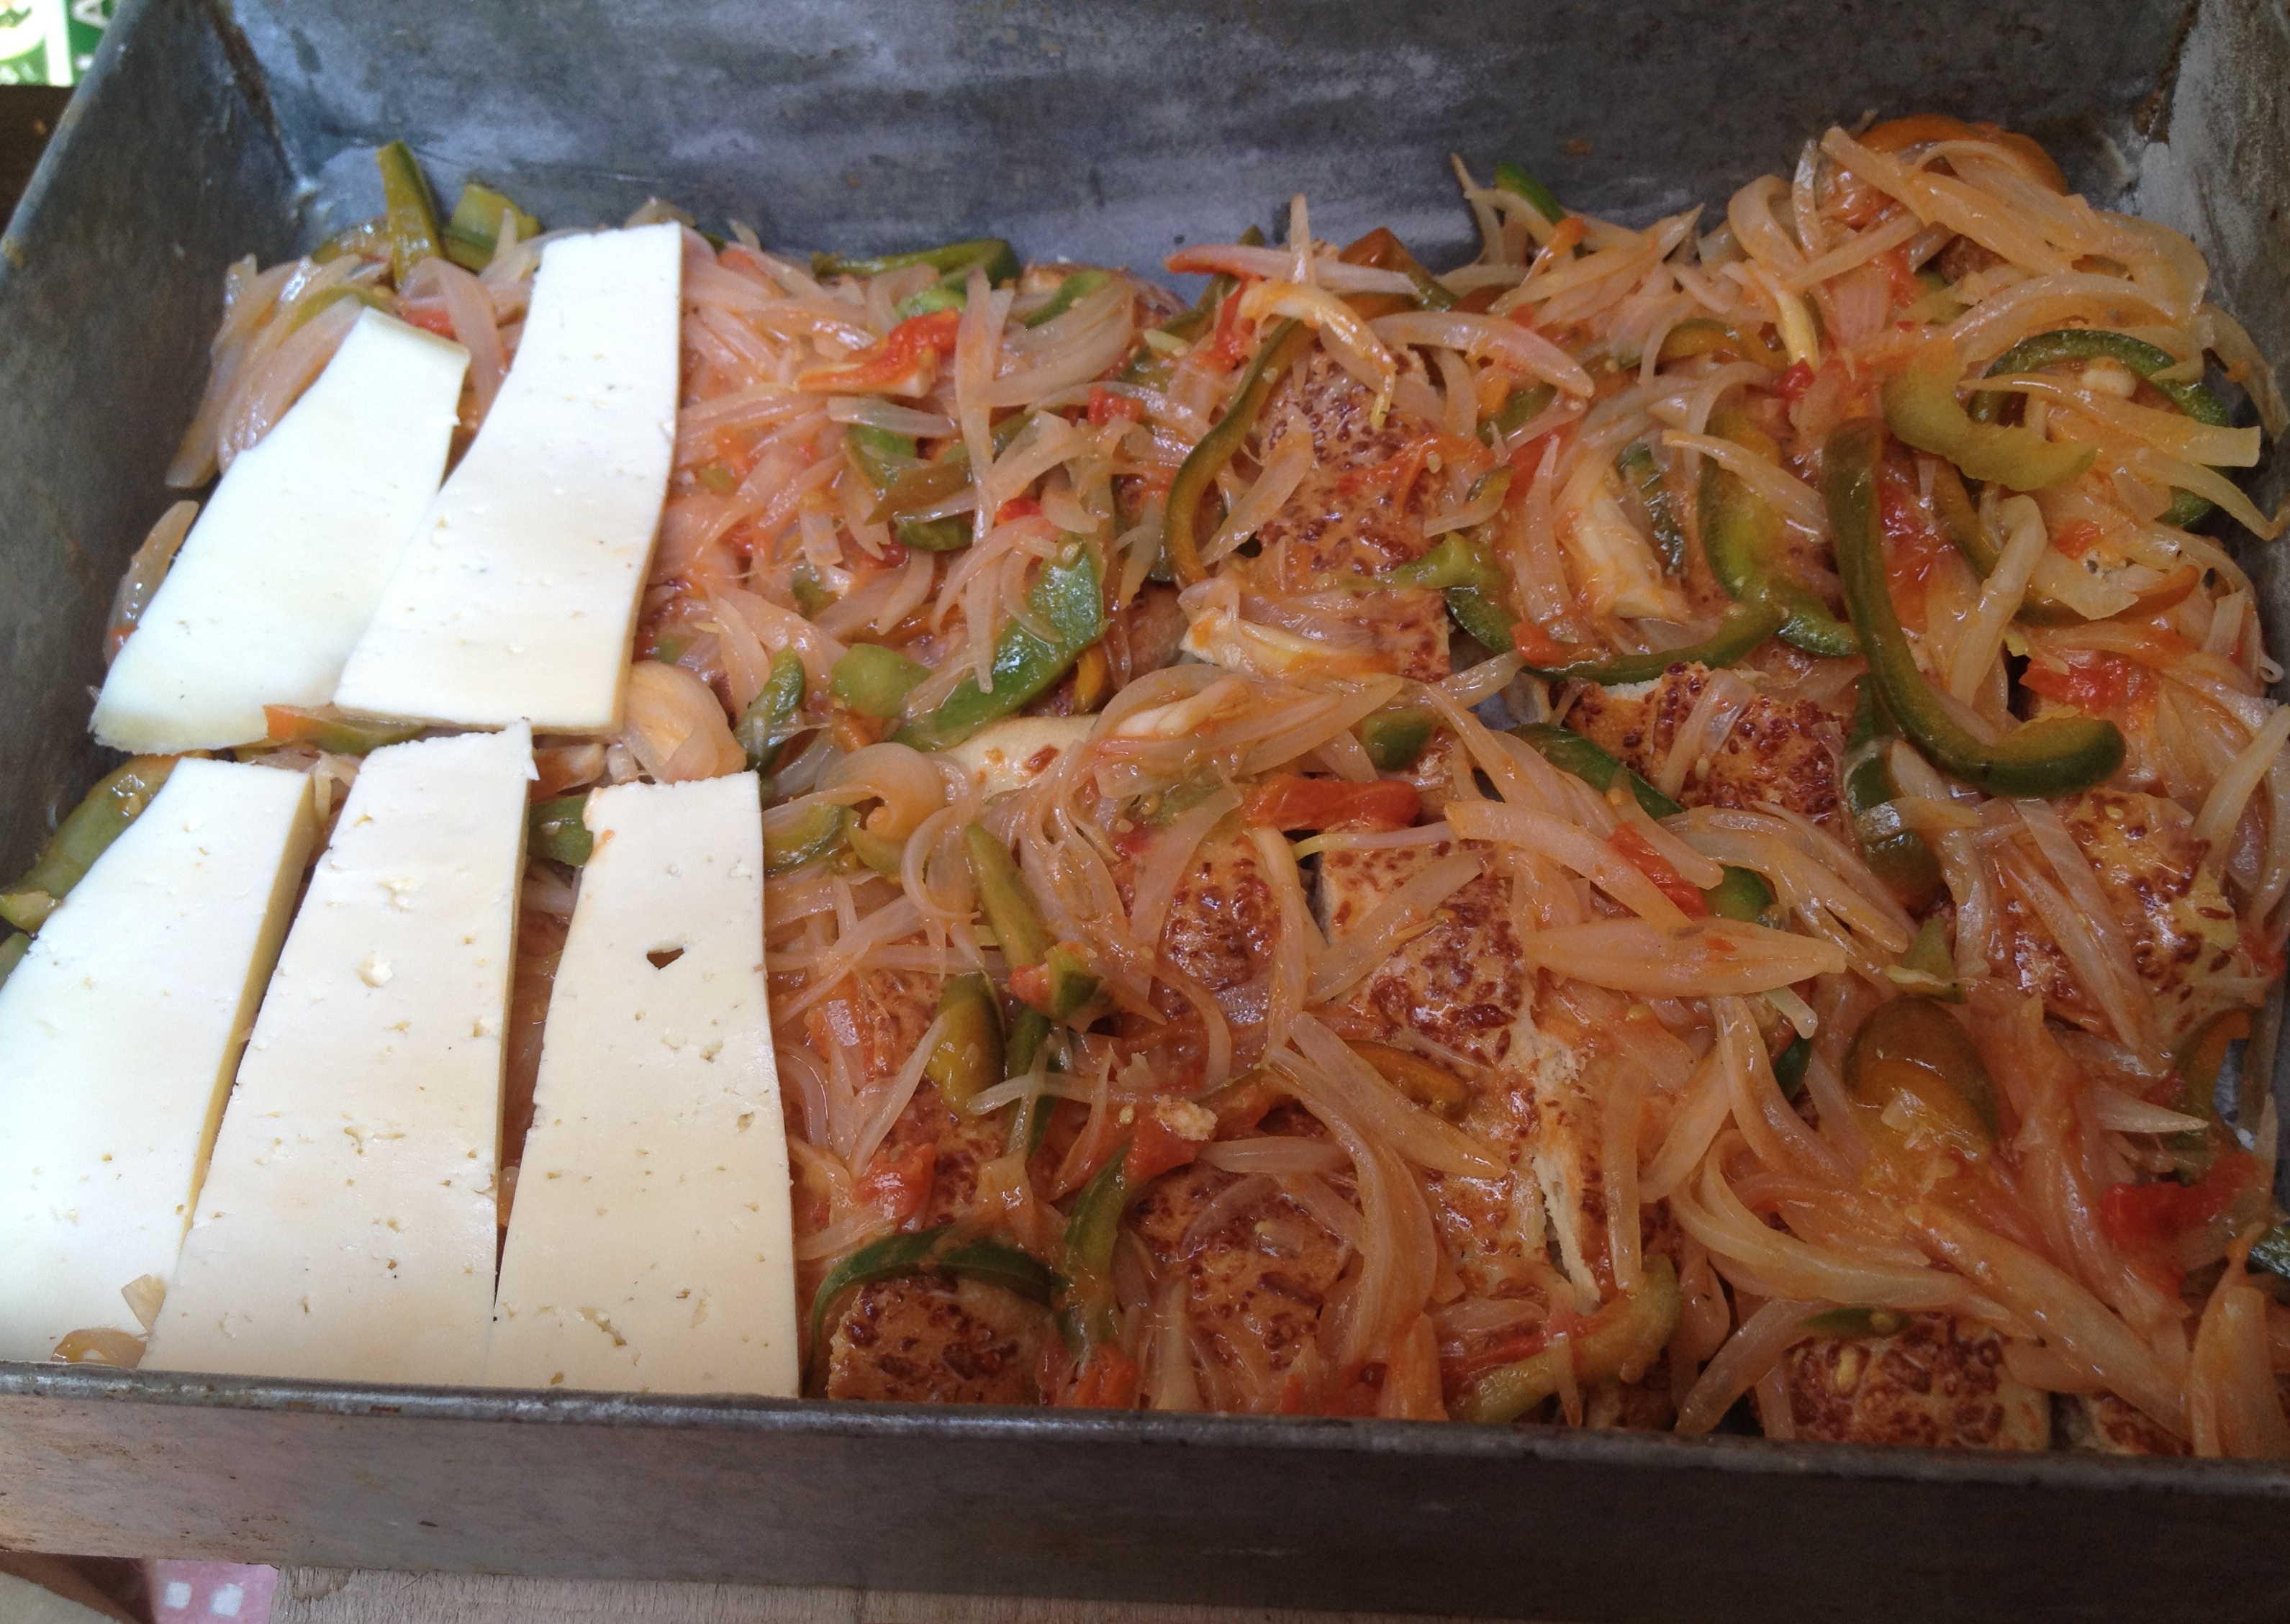
Start a second row with the soaked bread in milk, add a layer of vegetables and finally a layer of cheese.

Add the rest of the milk. Bake it until the cheese starts to become golden about 25 min.
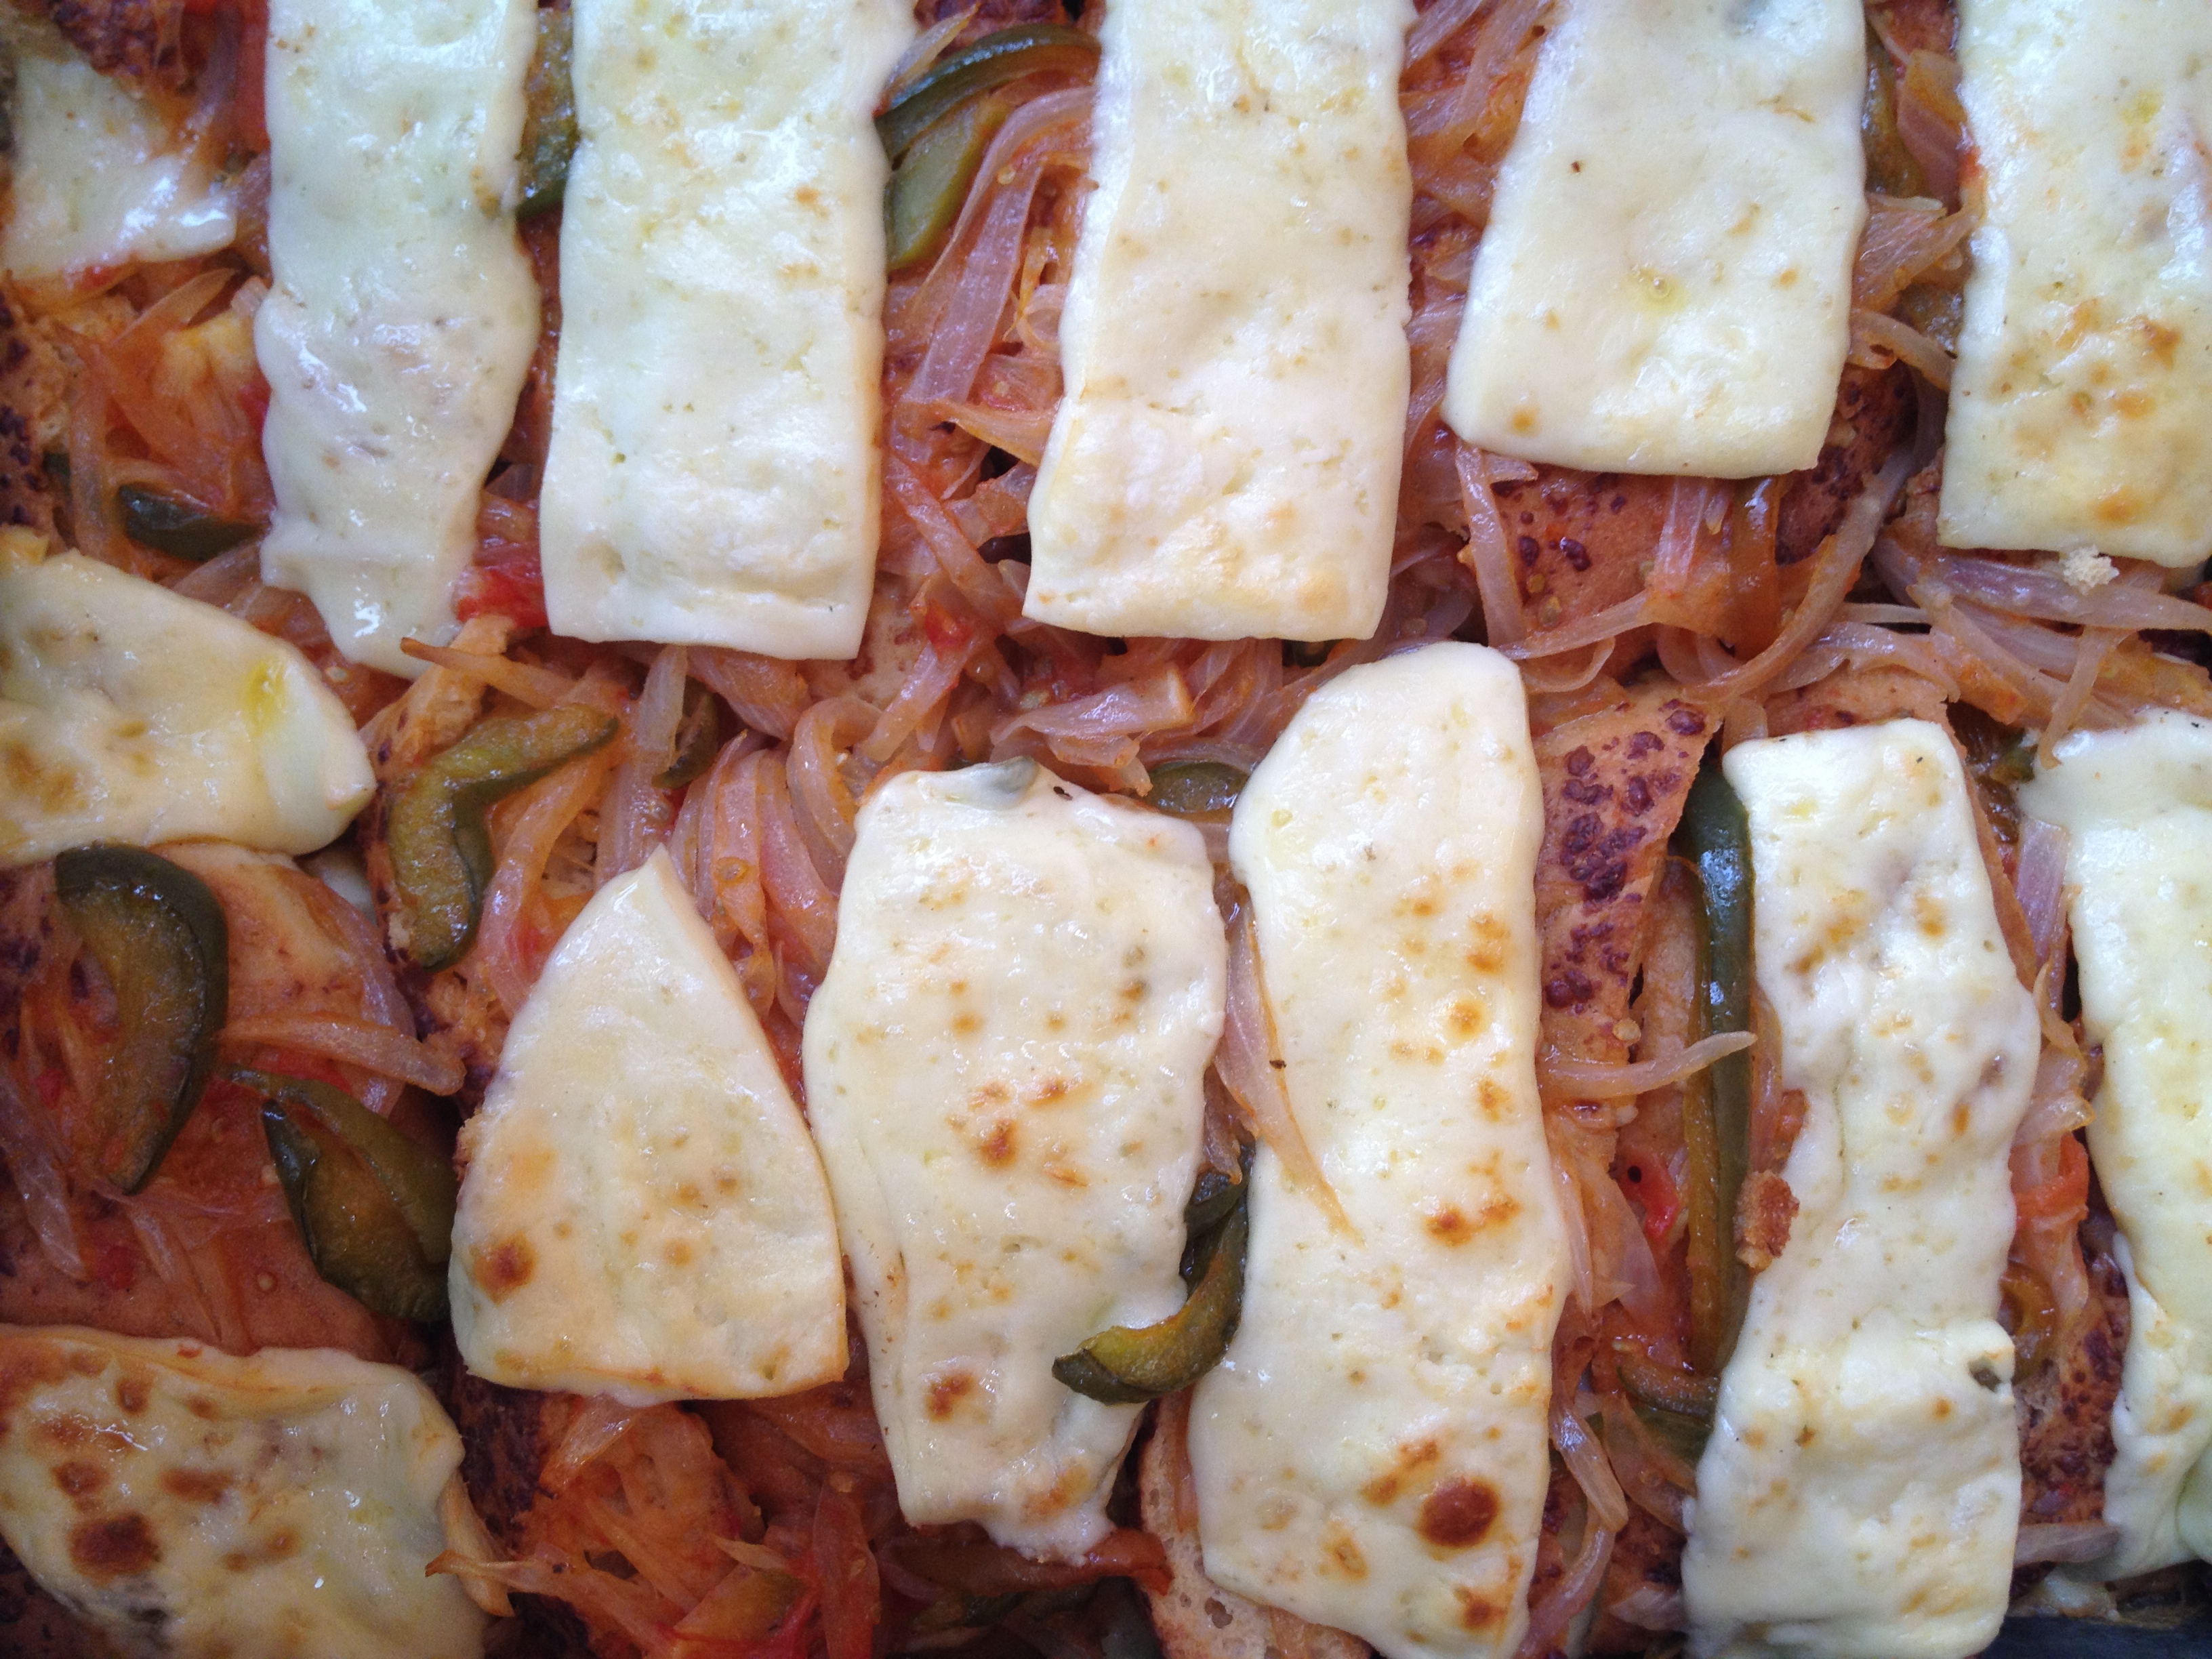
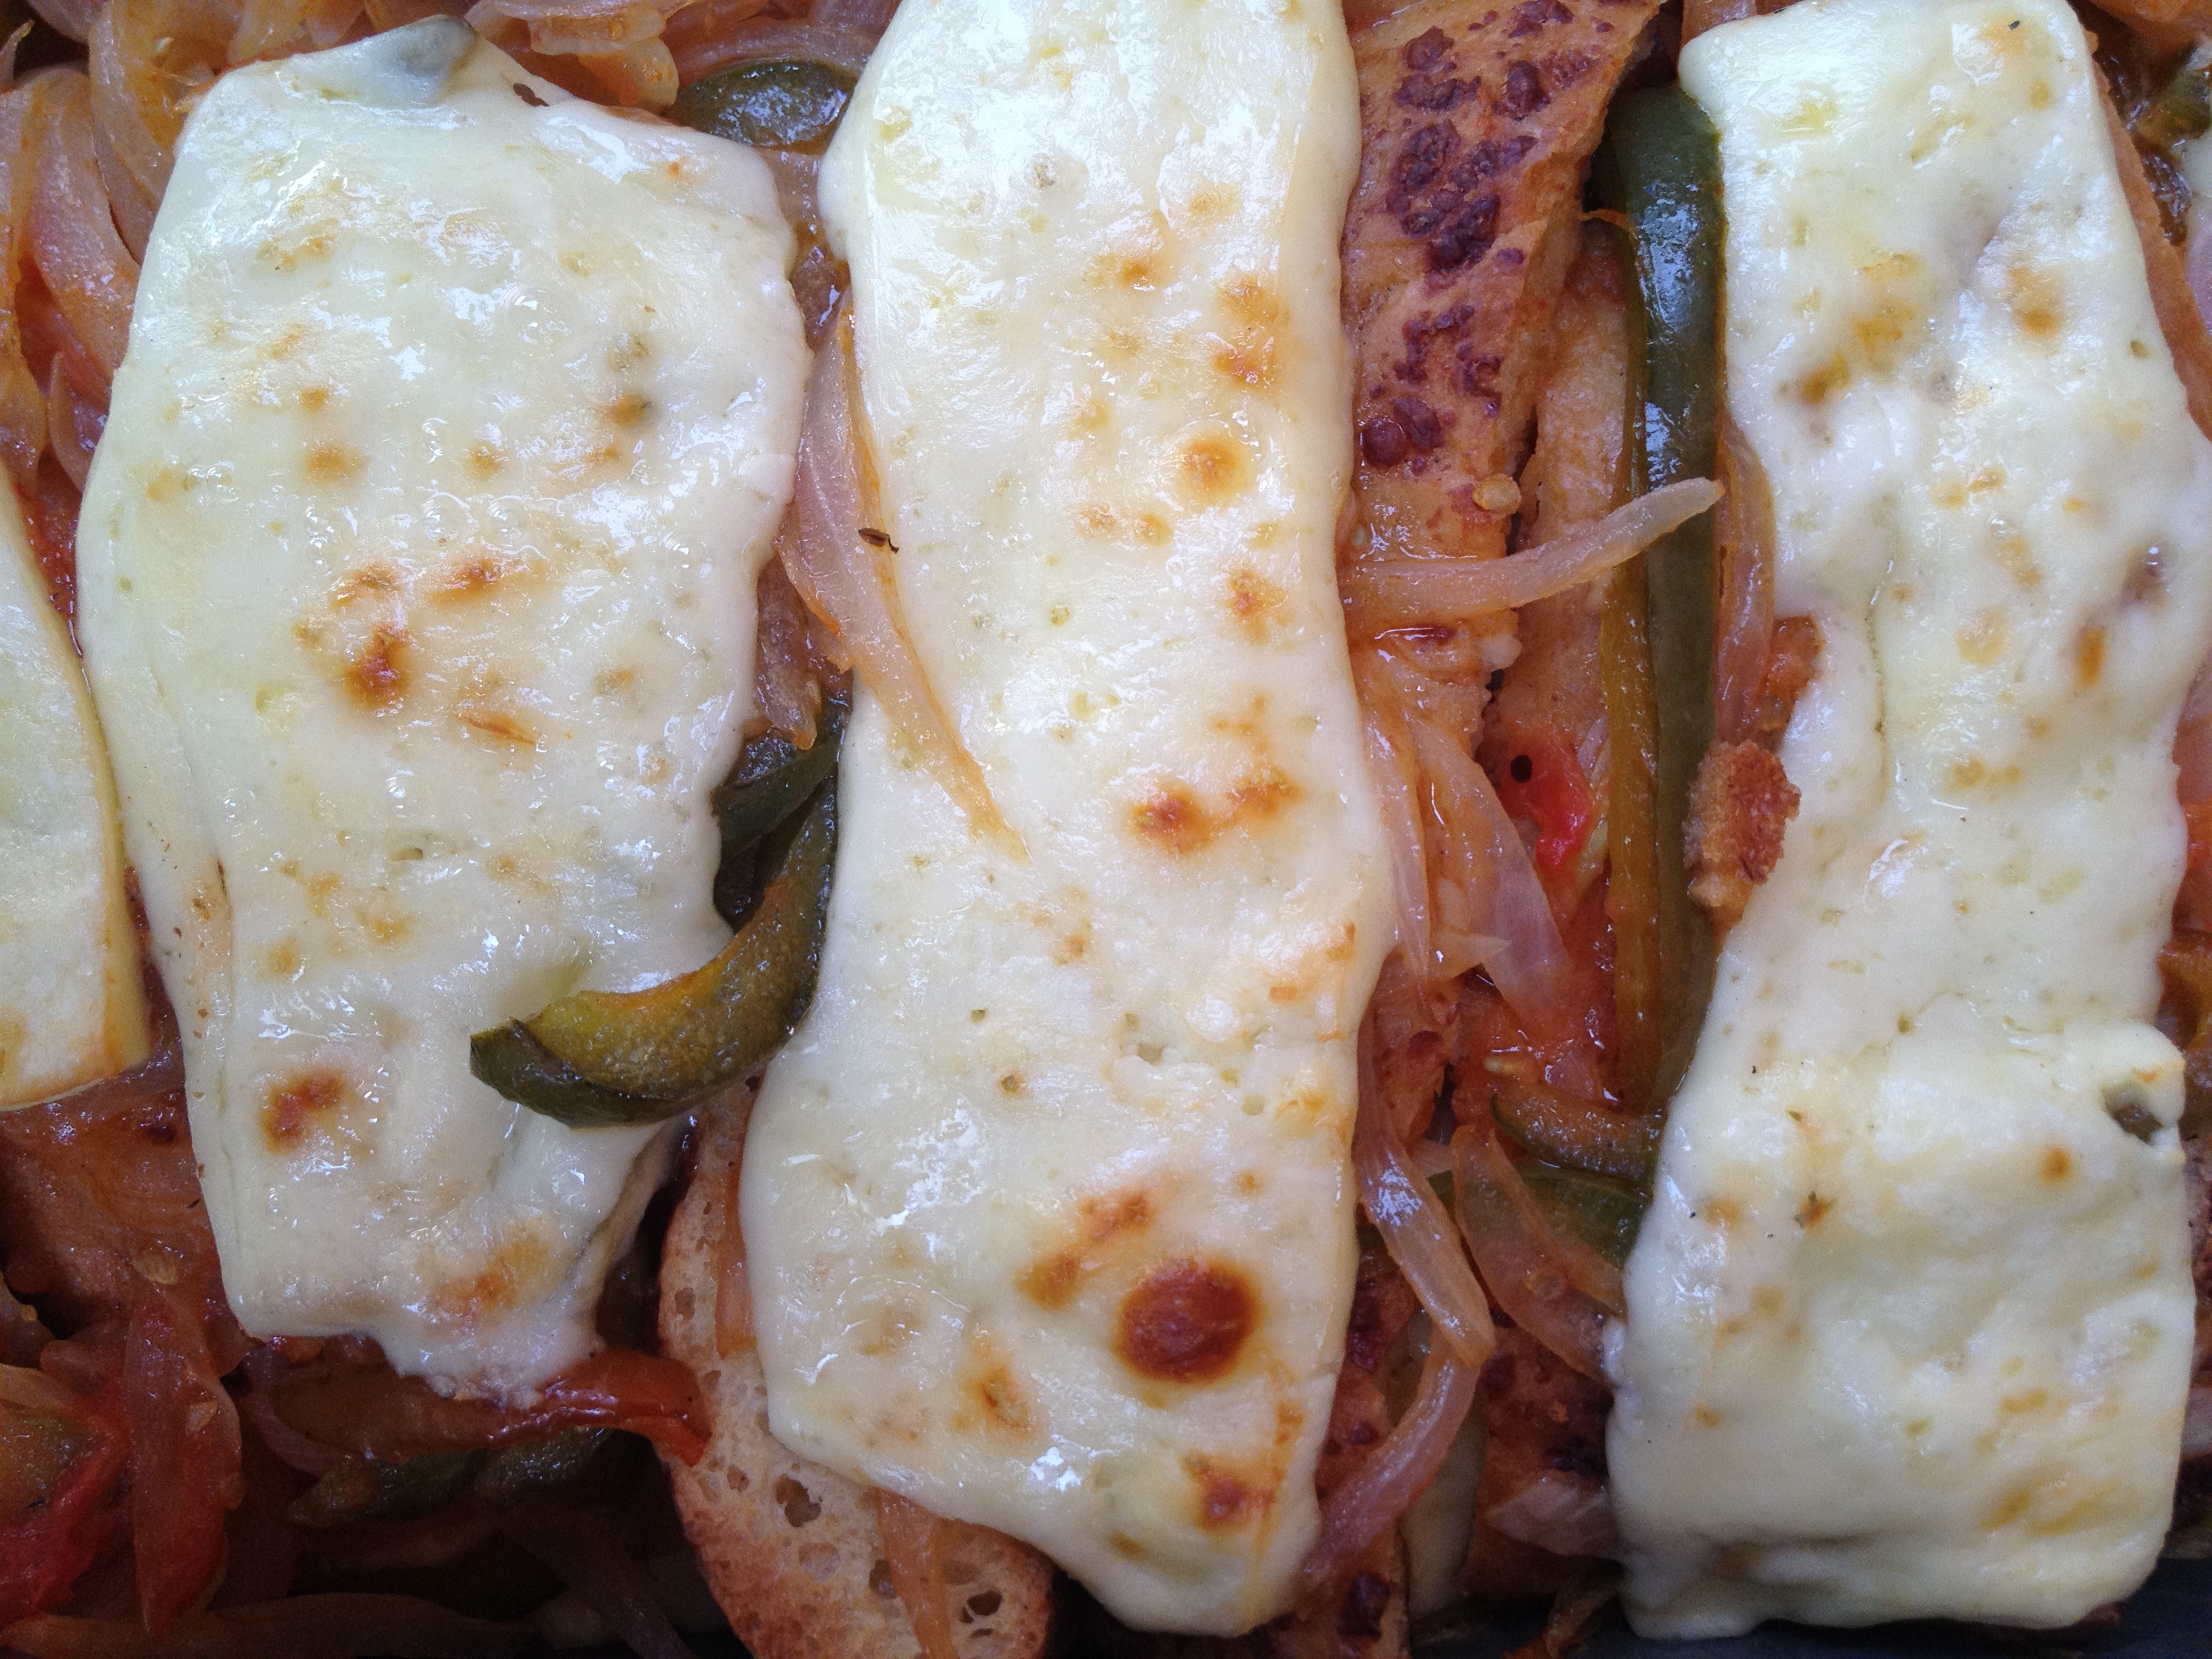
The cheese that we use in Bolivia doesn’t melt. You can use mozzarella if you want but I love Monterrey Jack or even Cheddar would work great. Cut slices, serve hot. Enjoy!