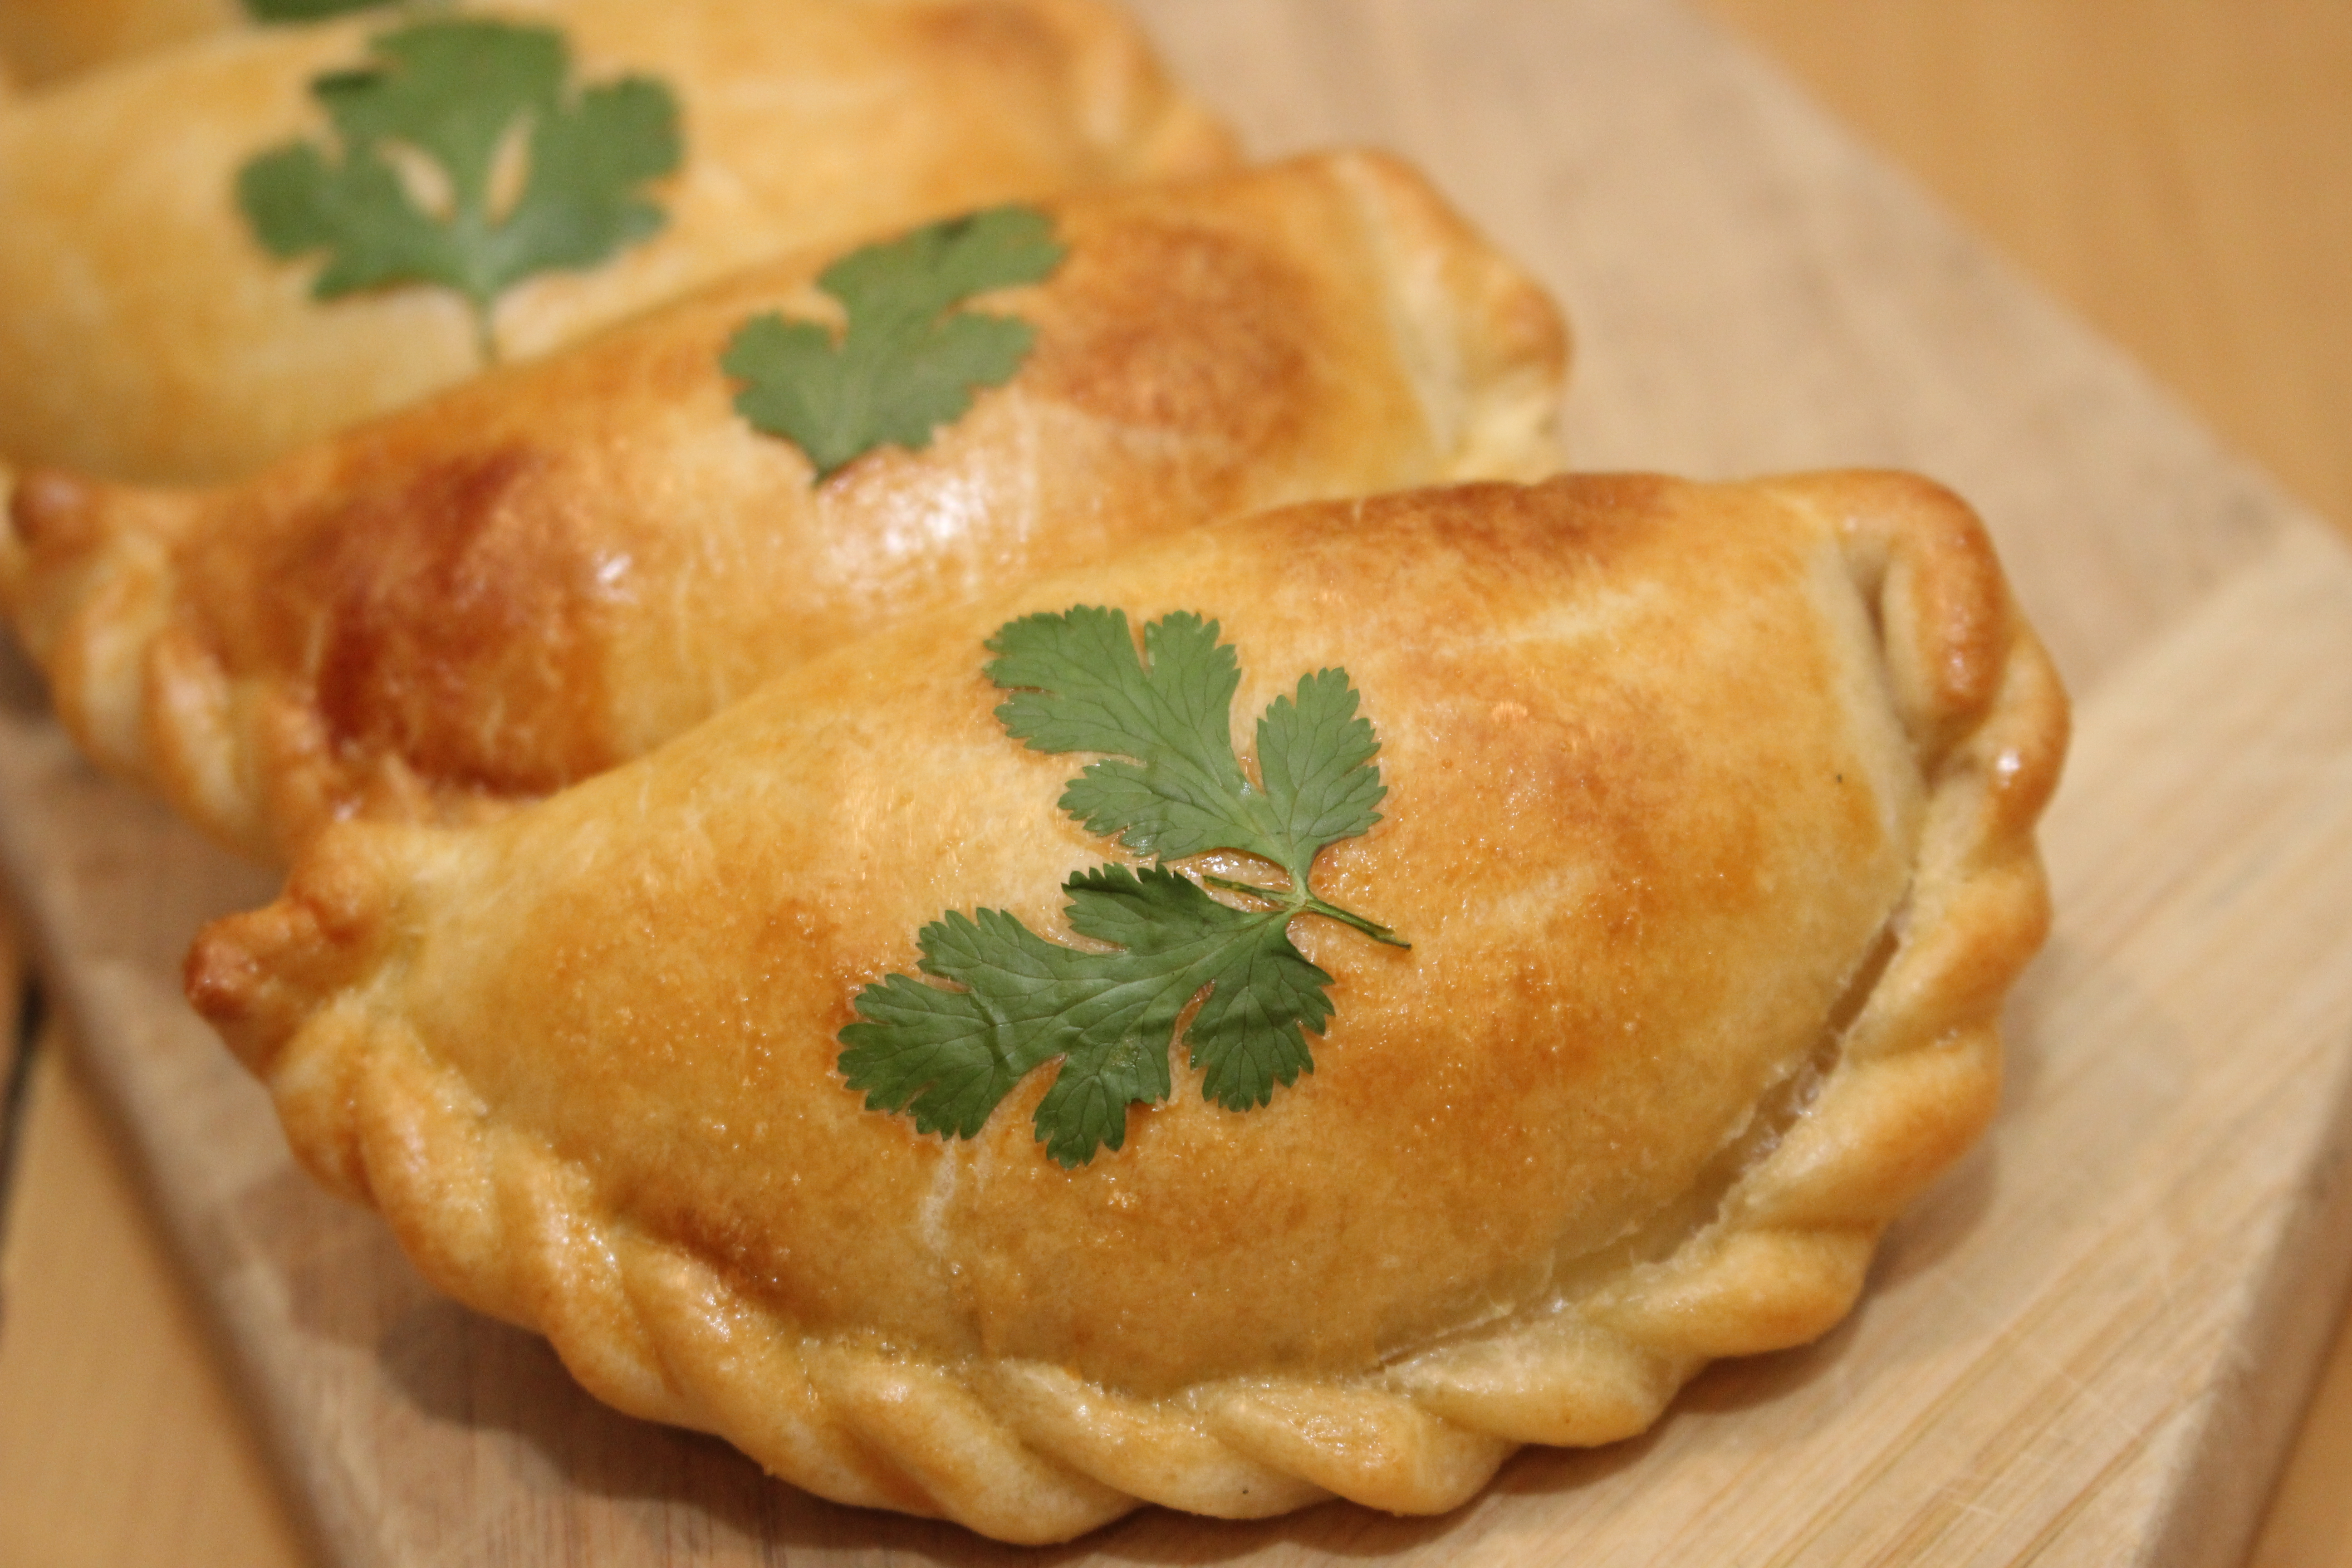
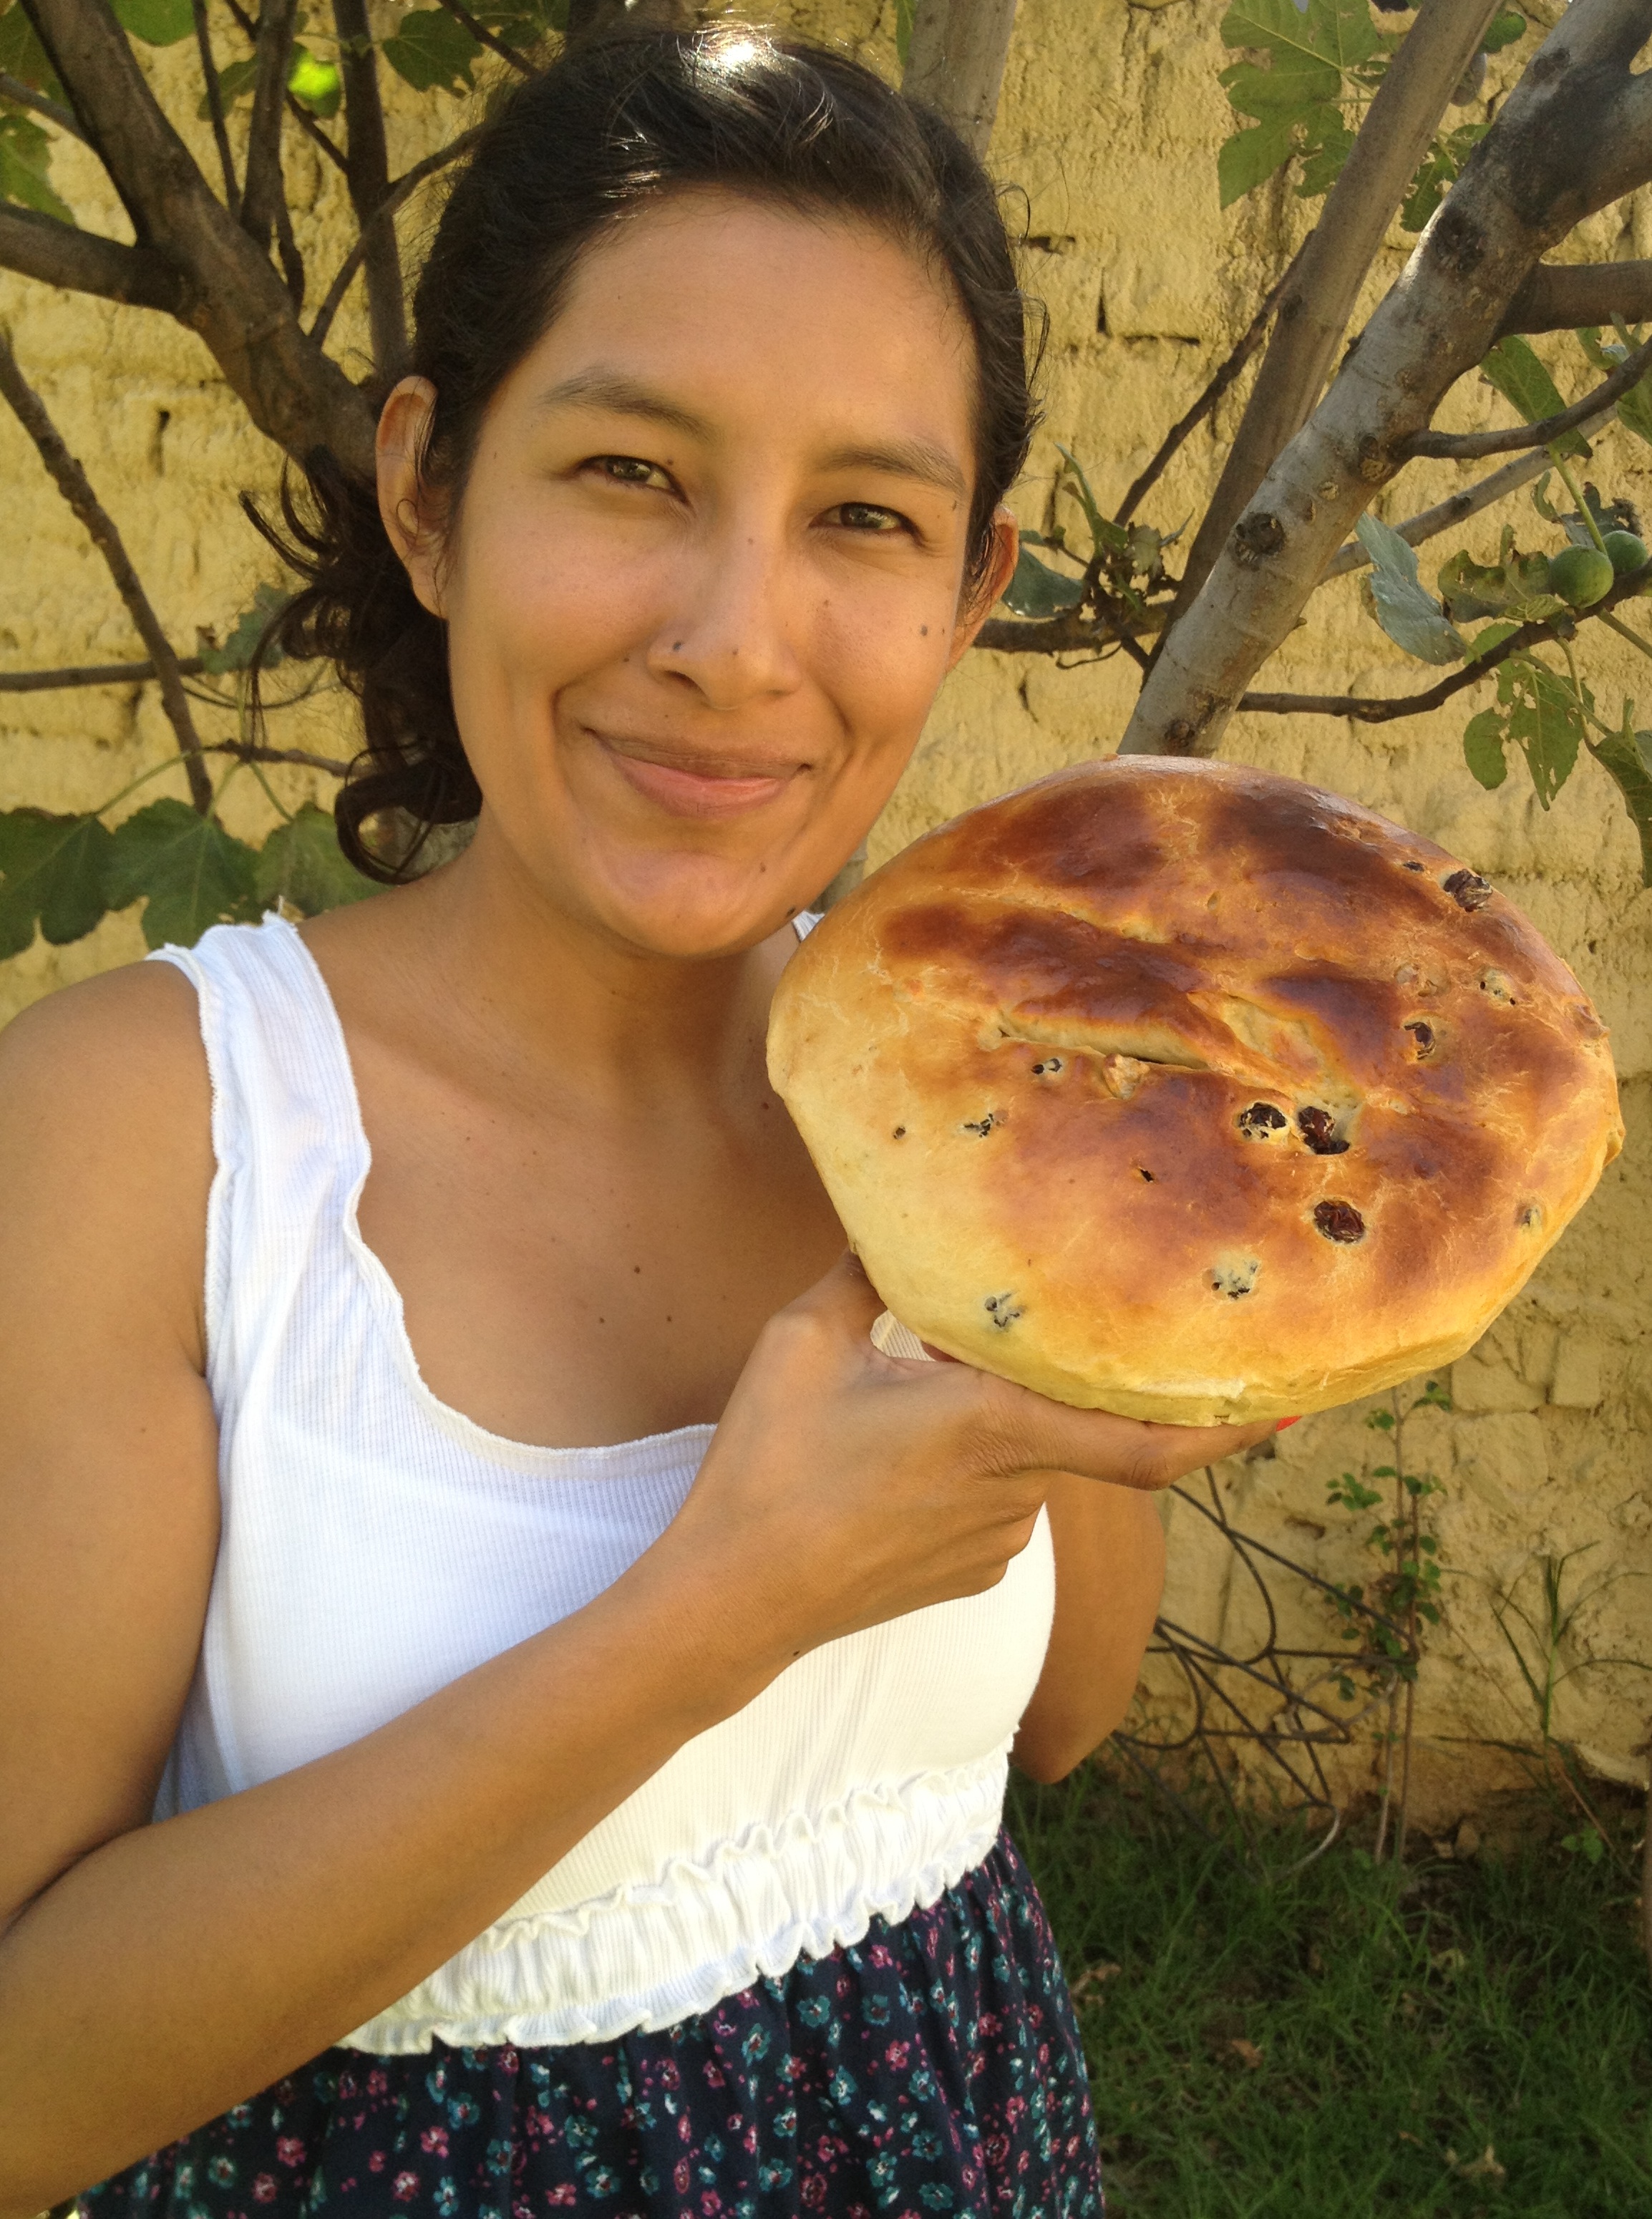
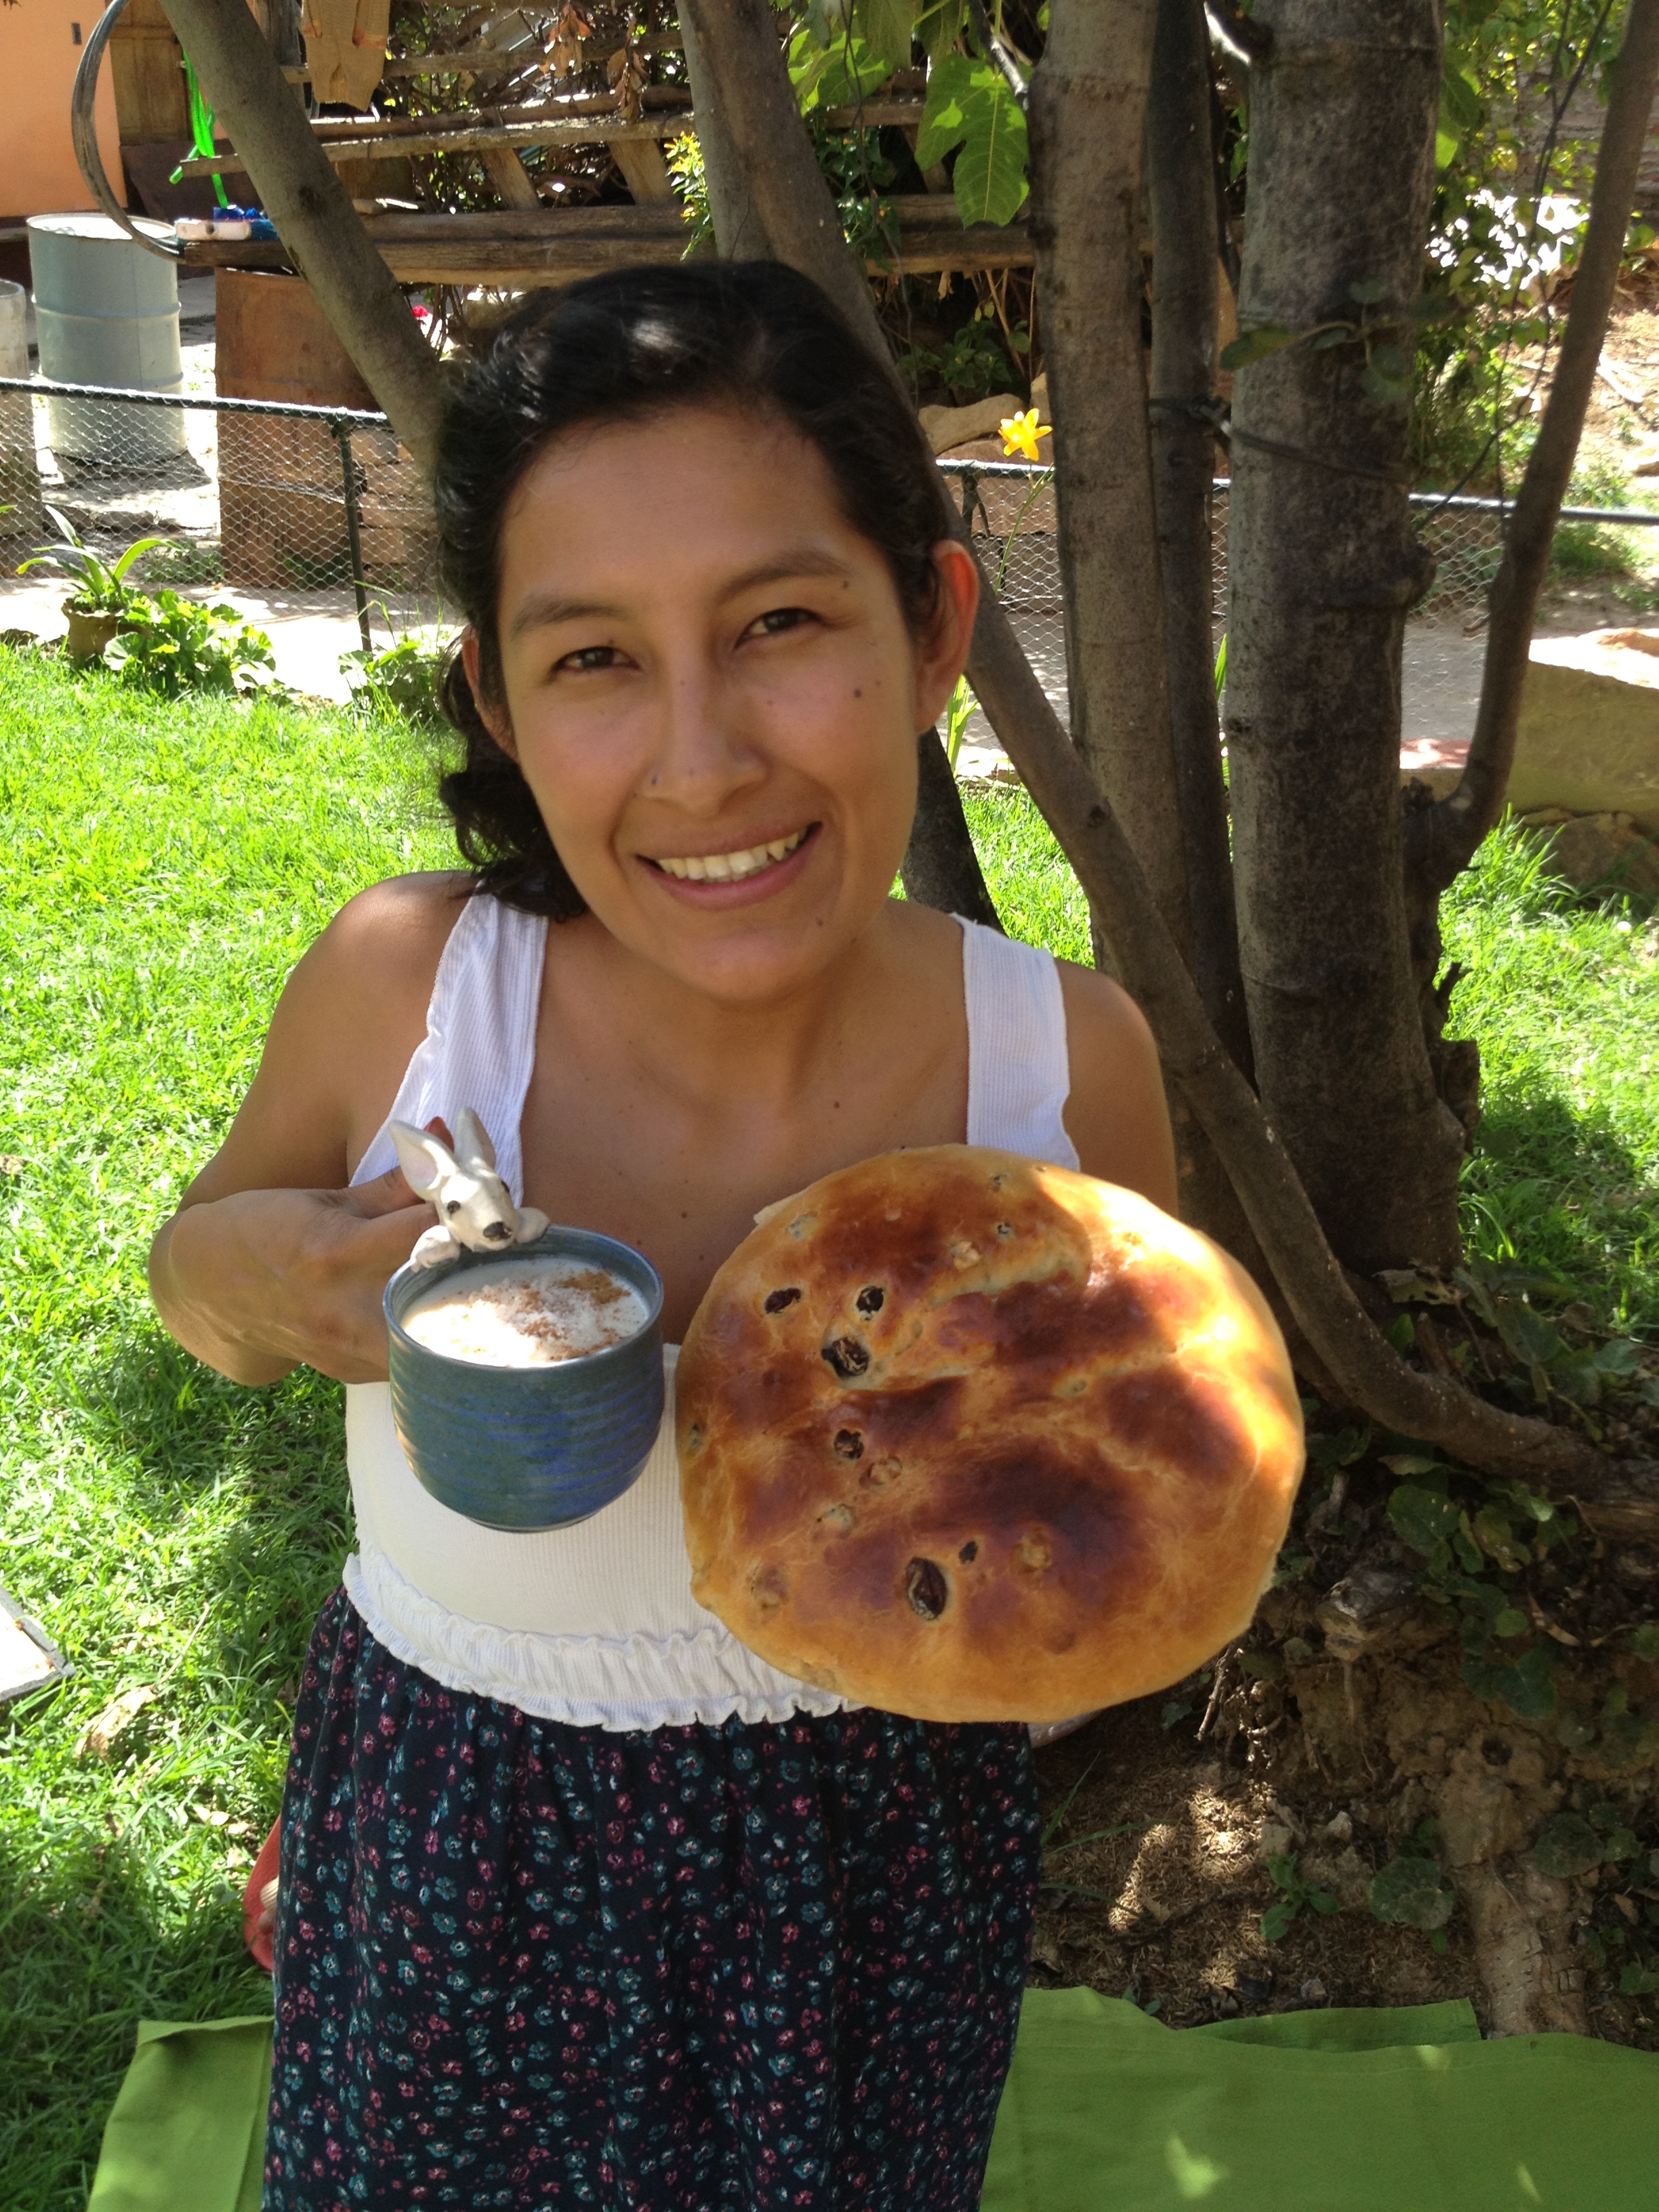
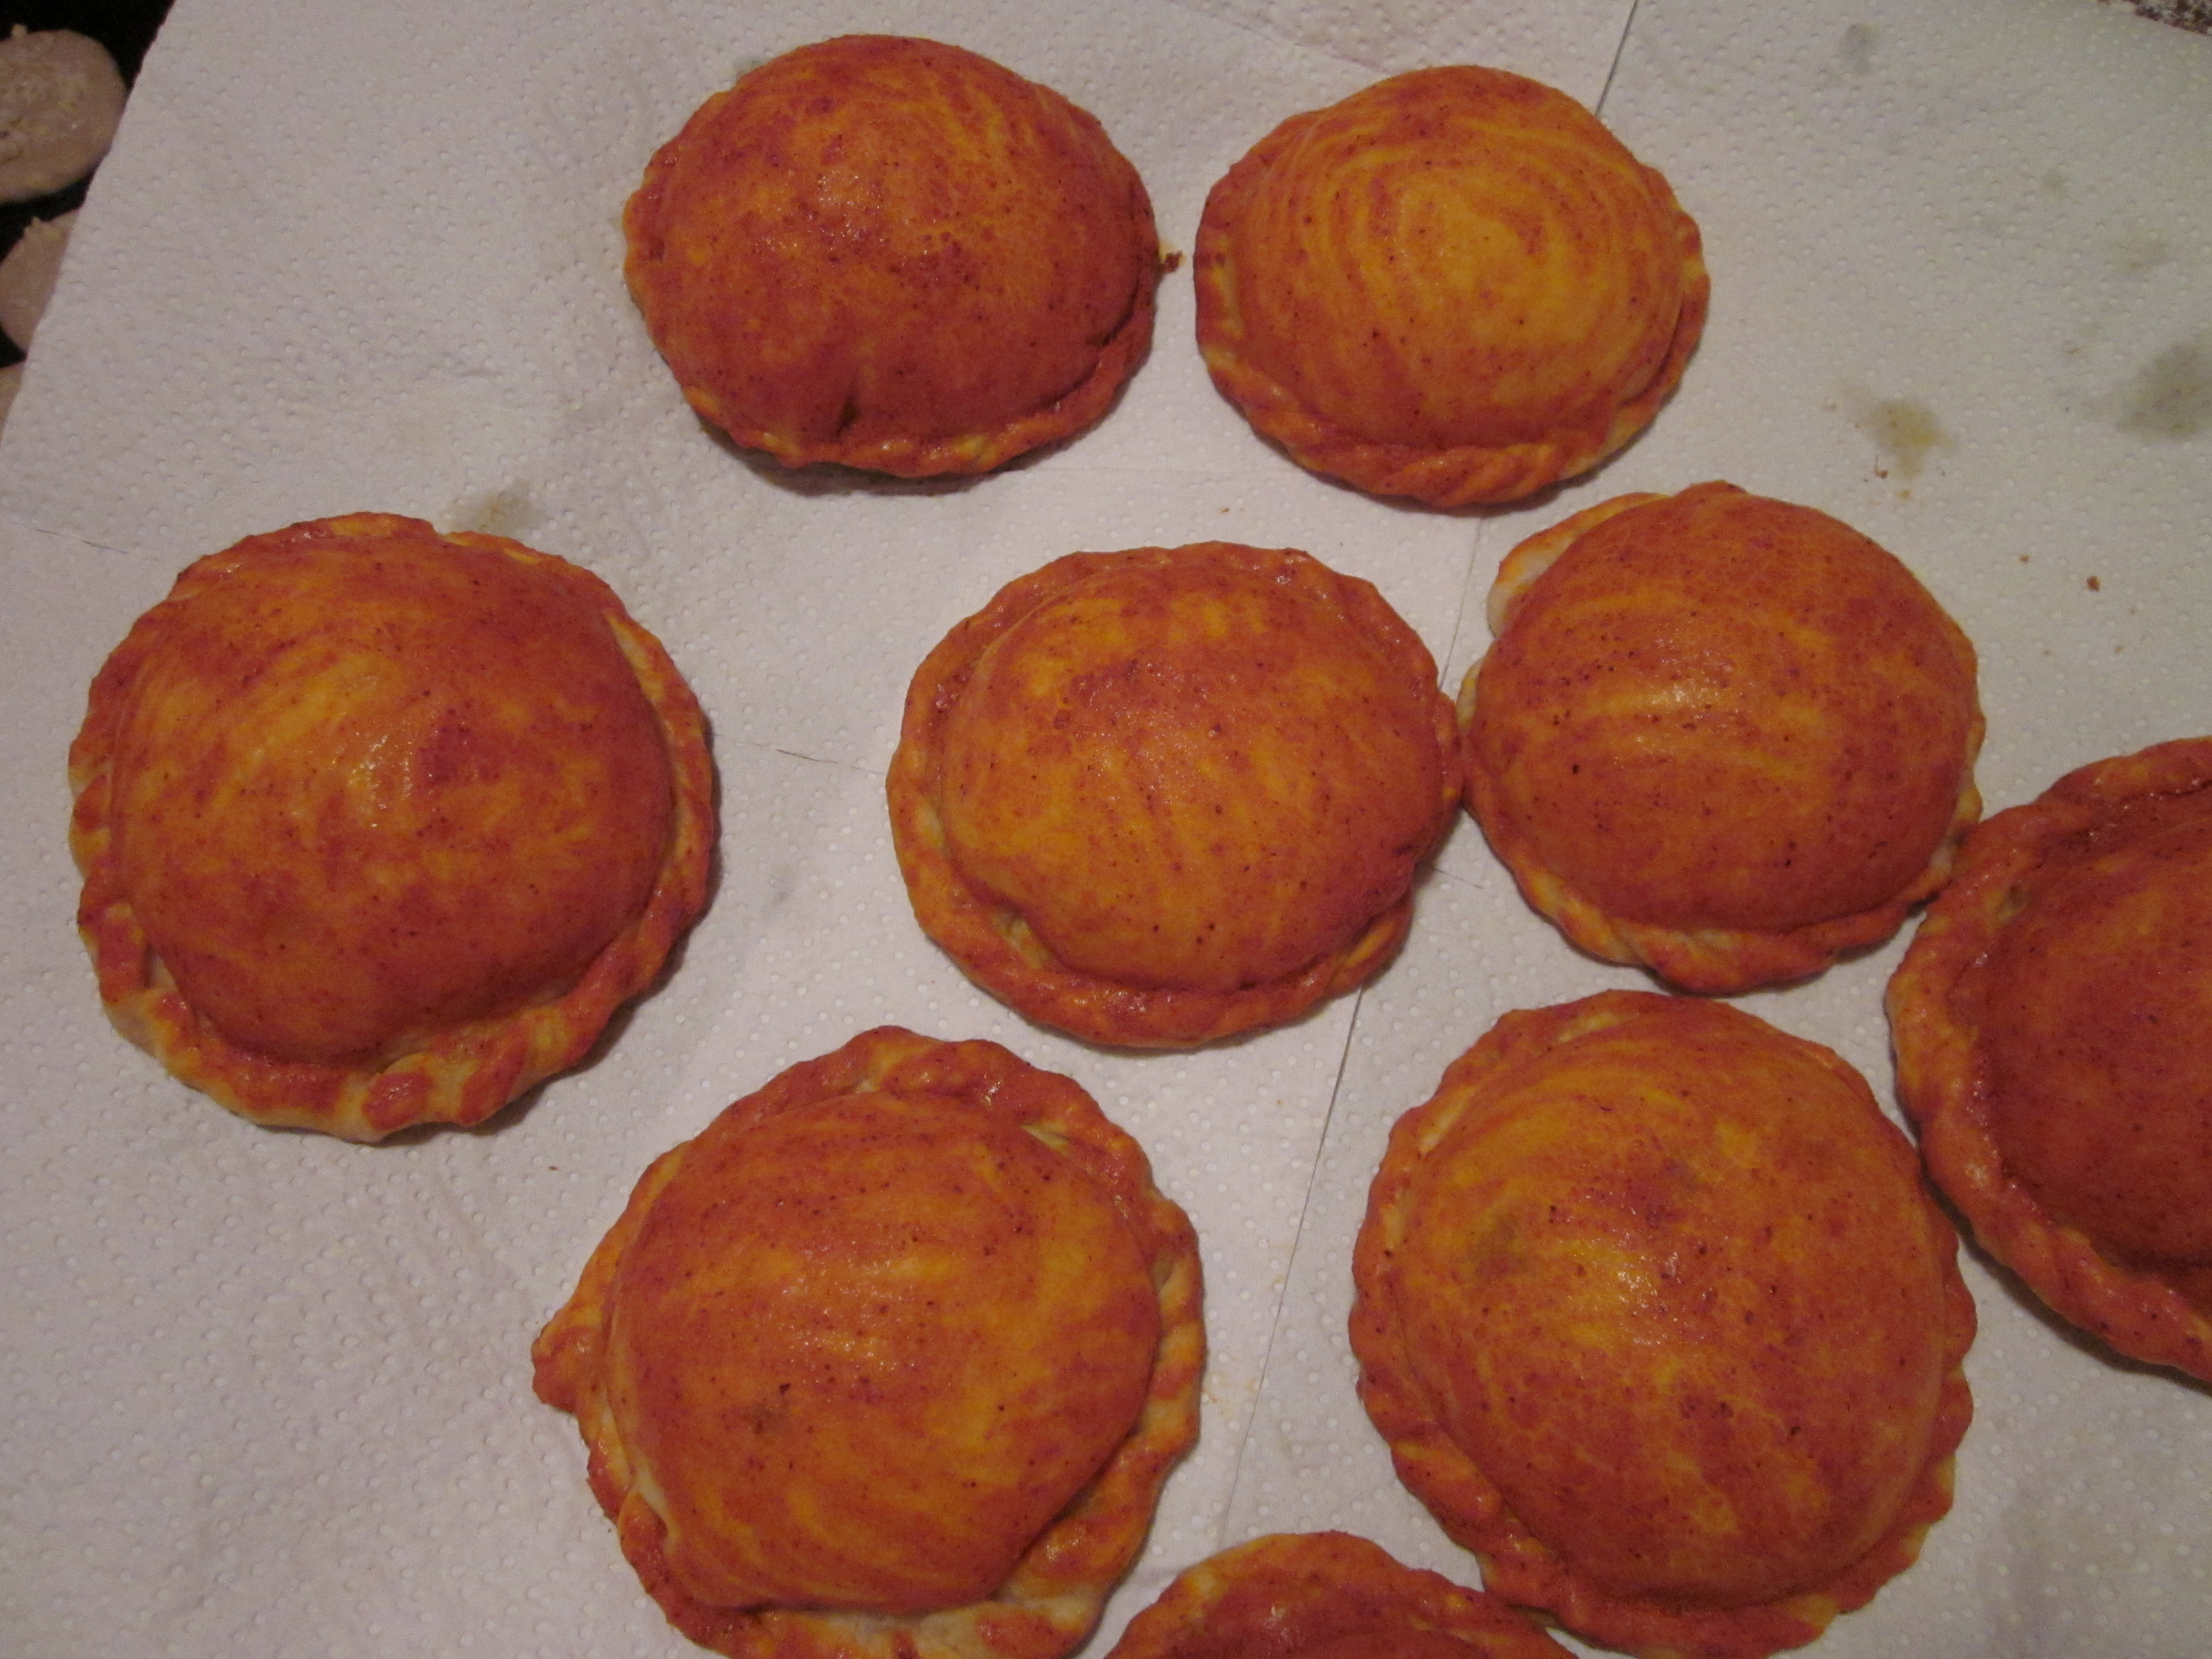
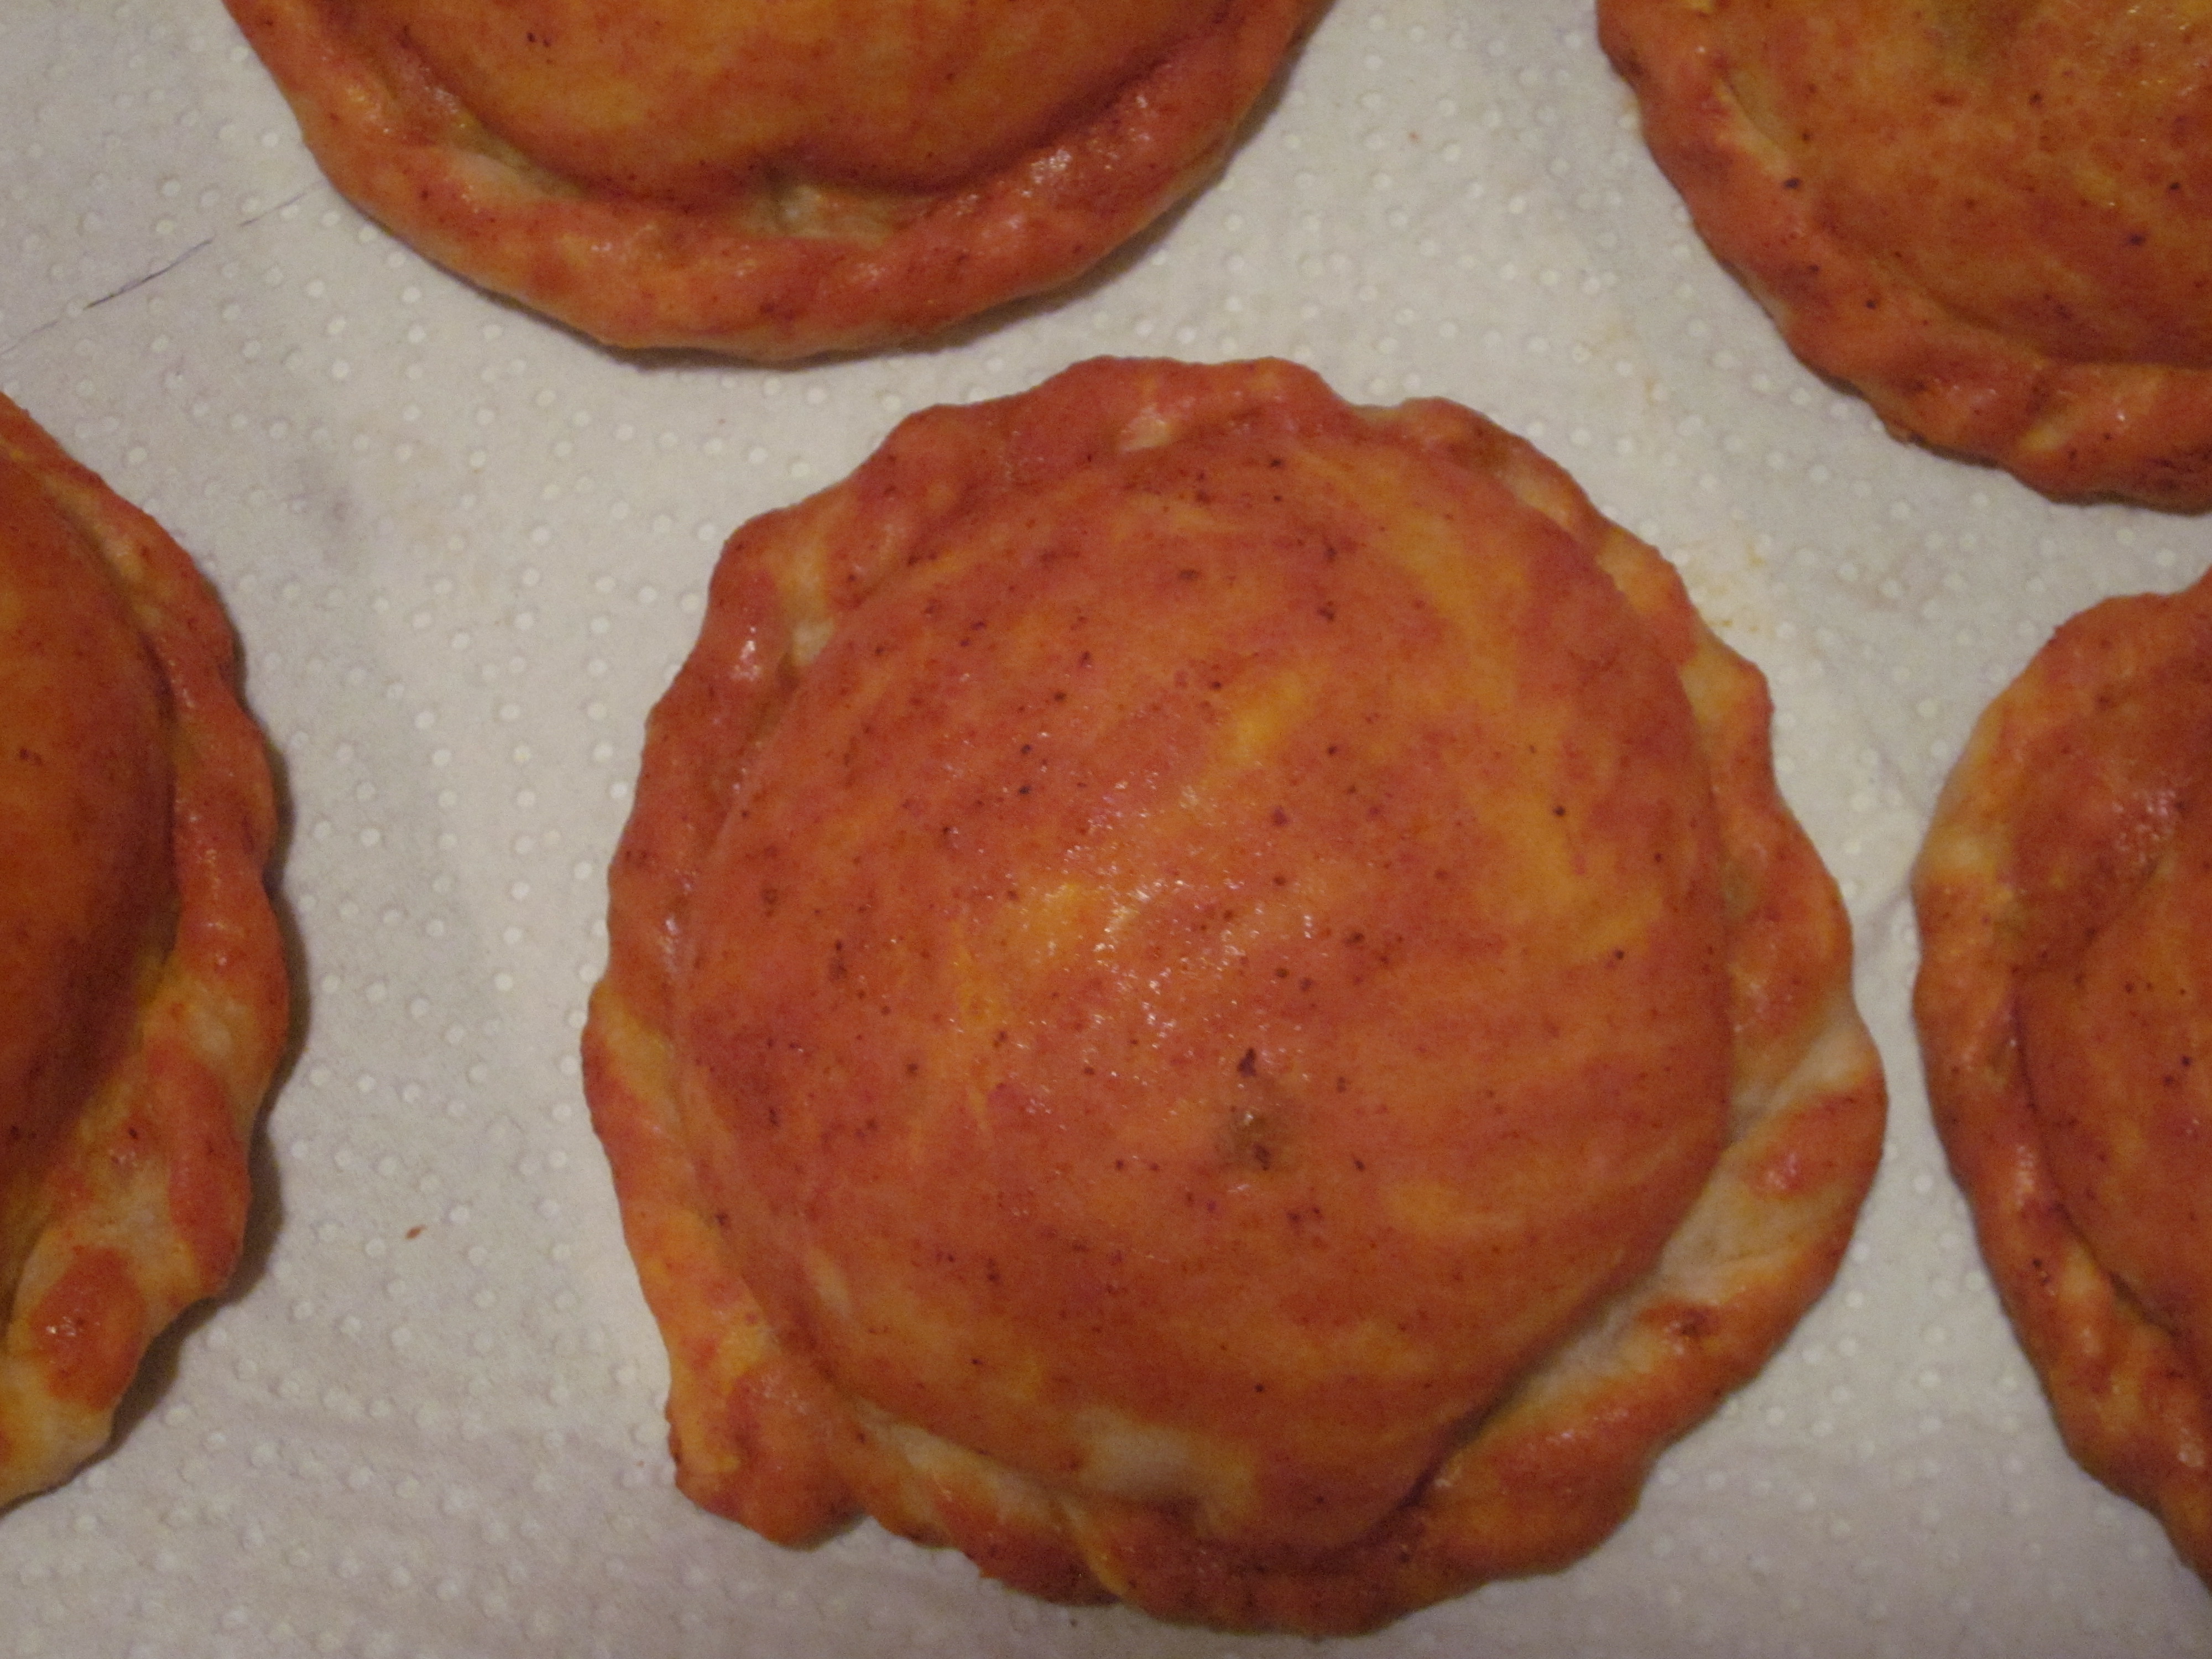
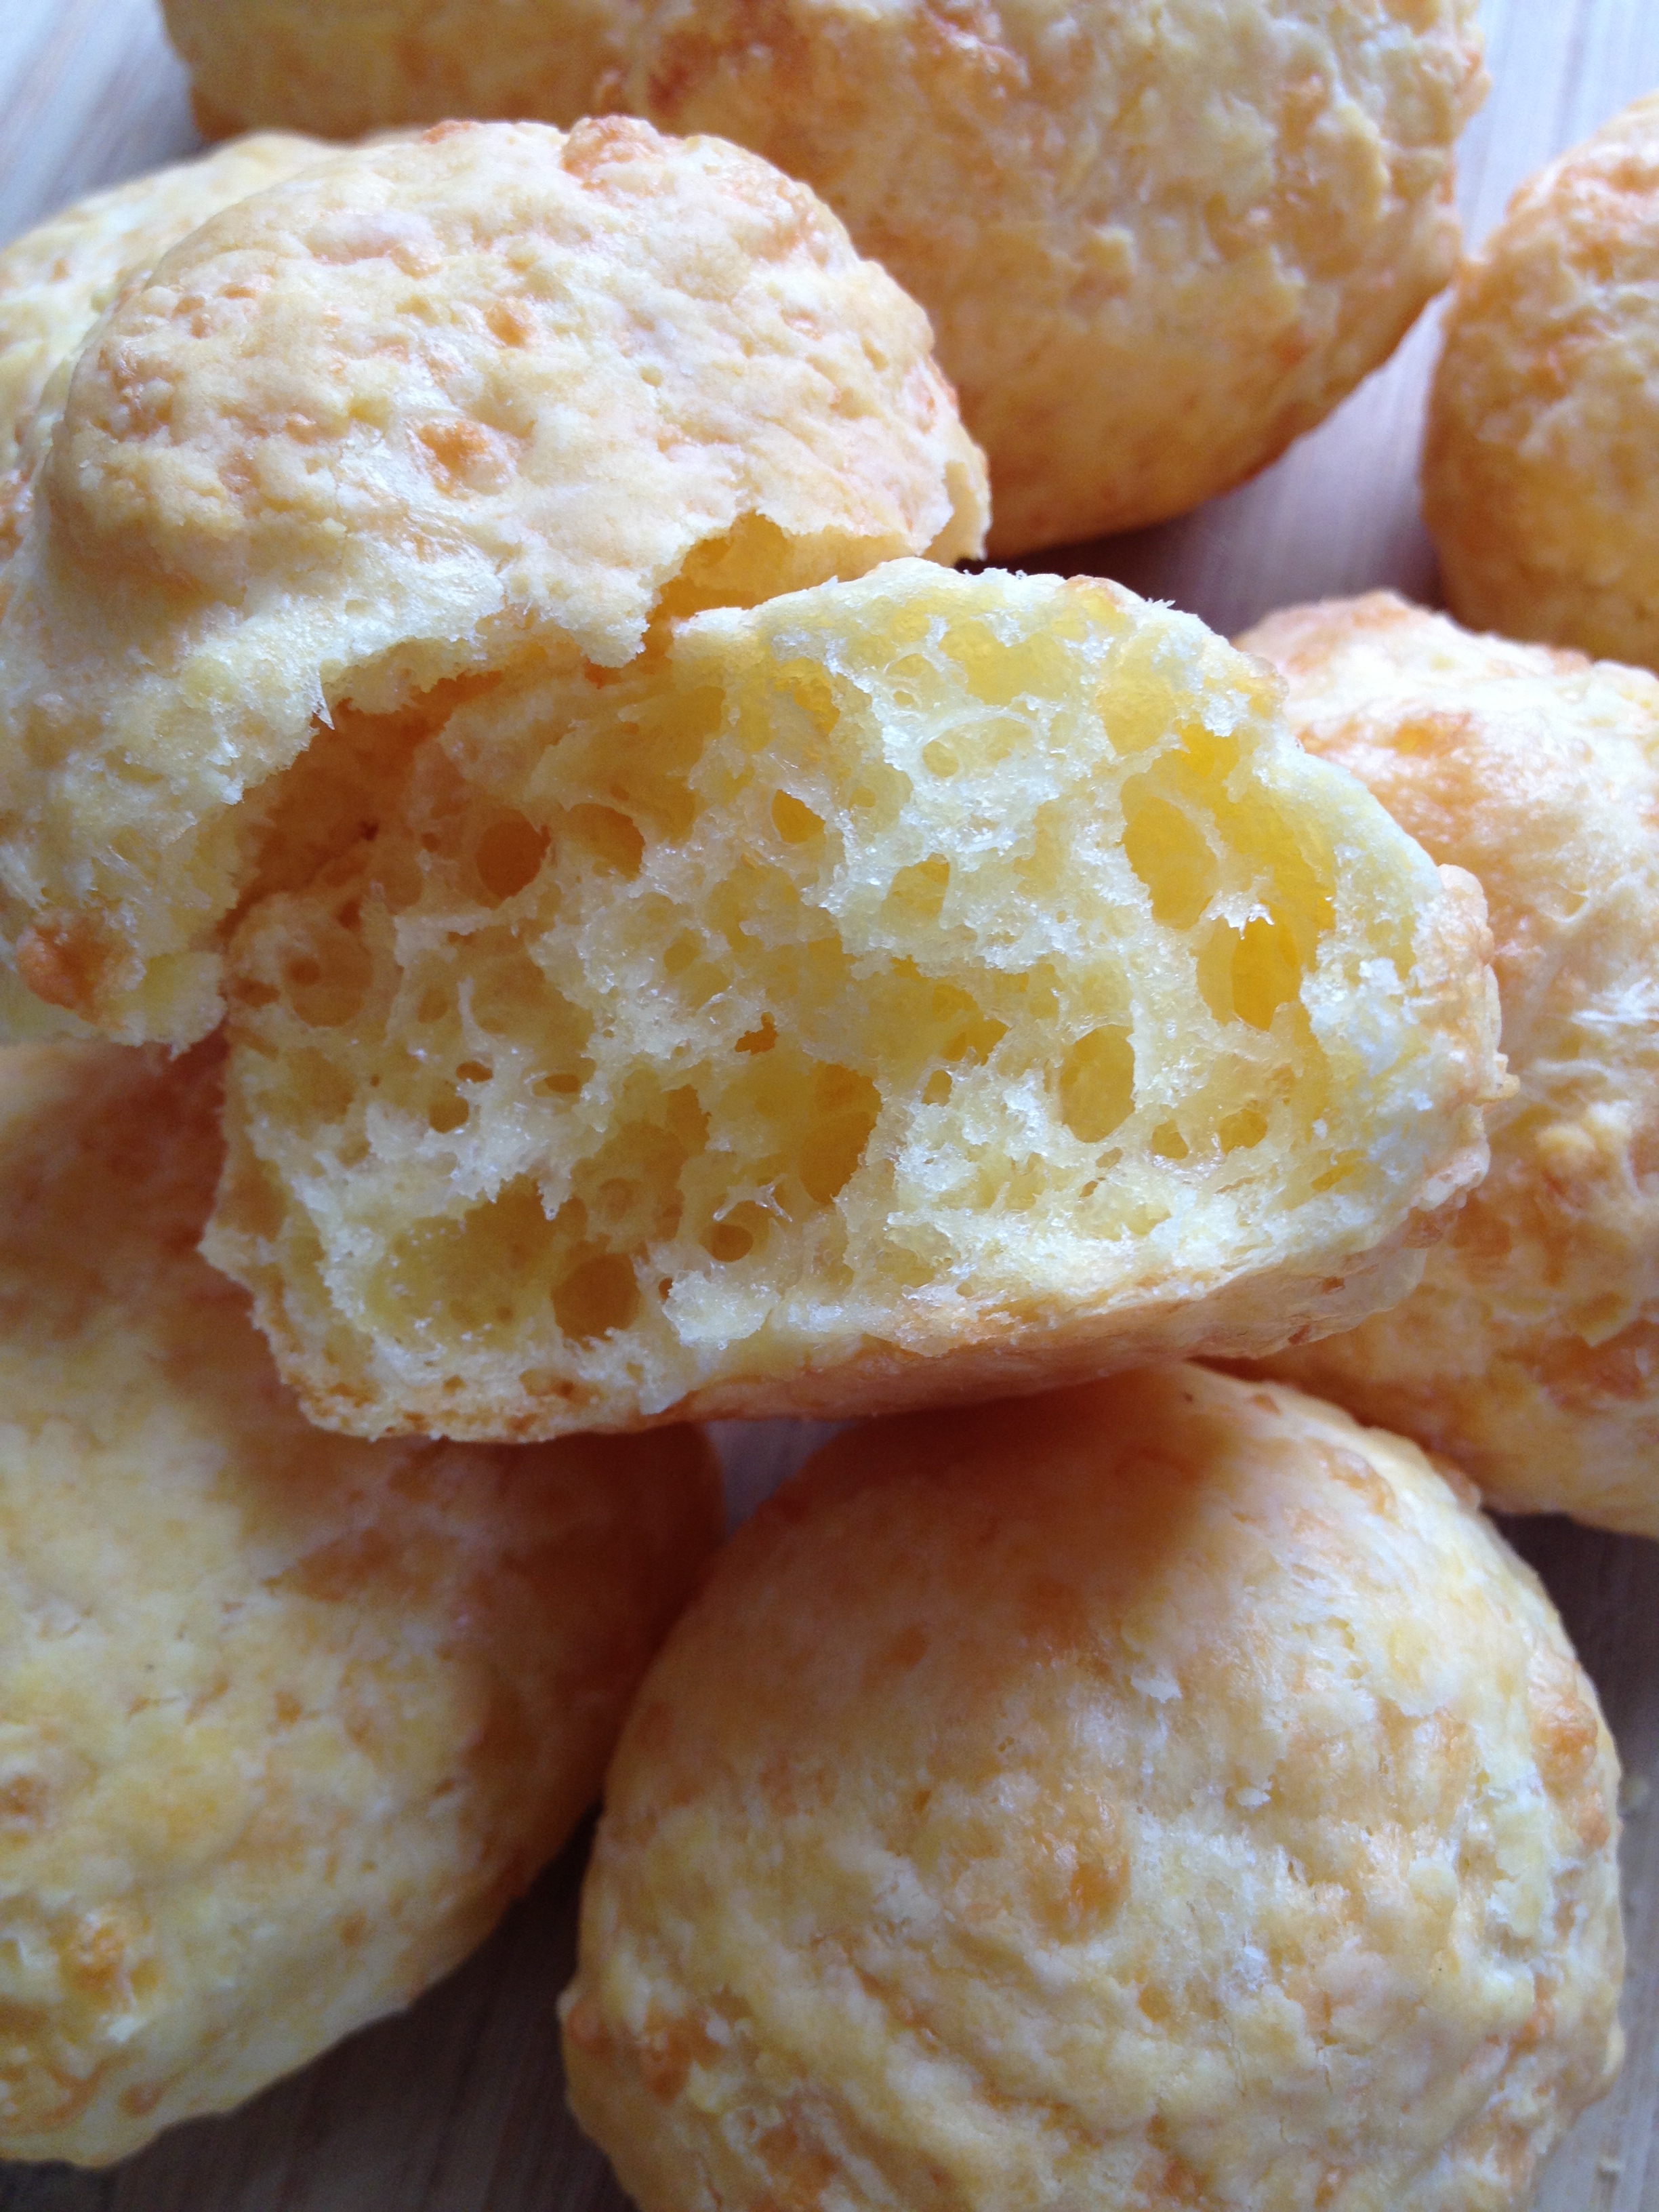
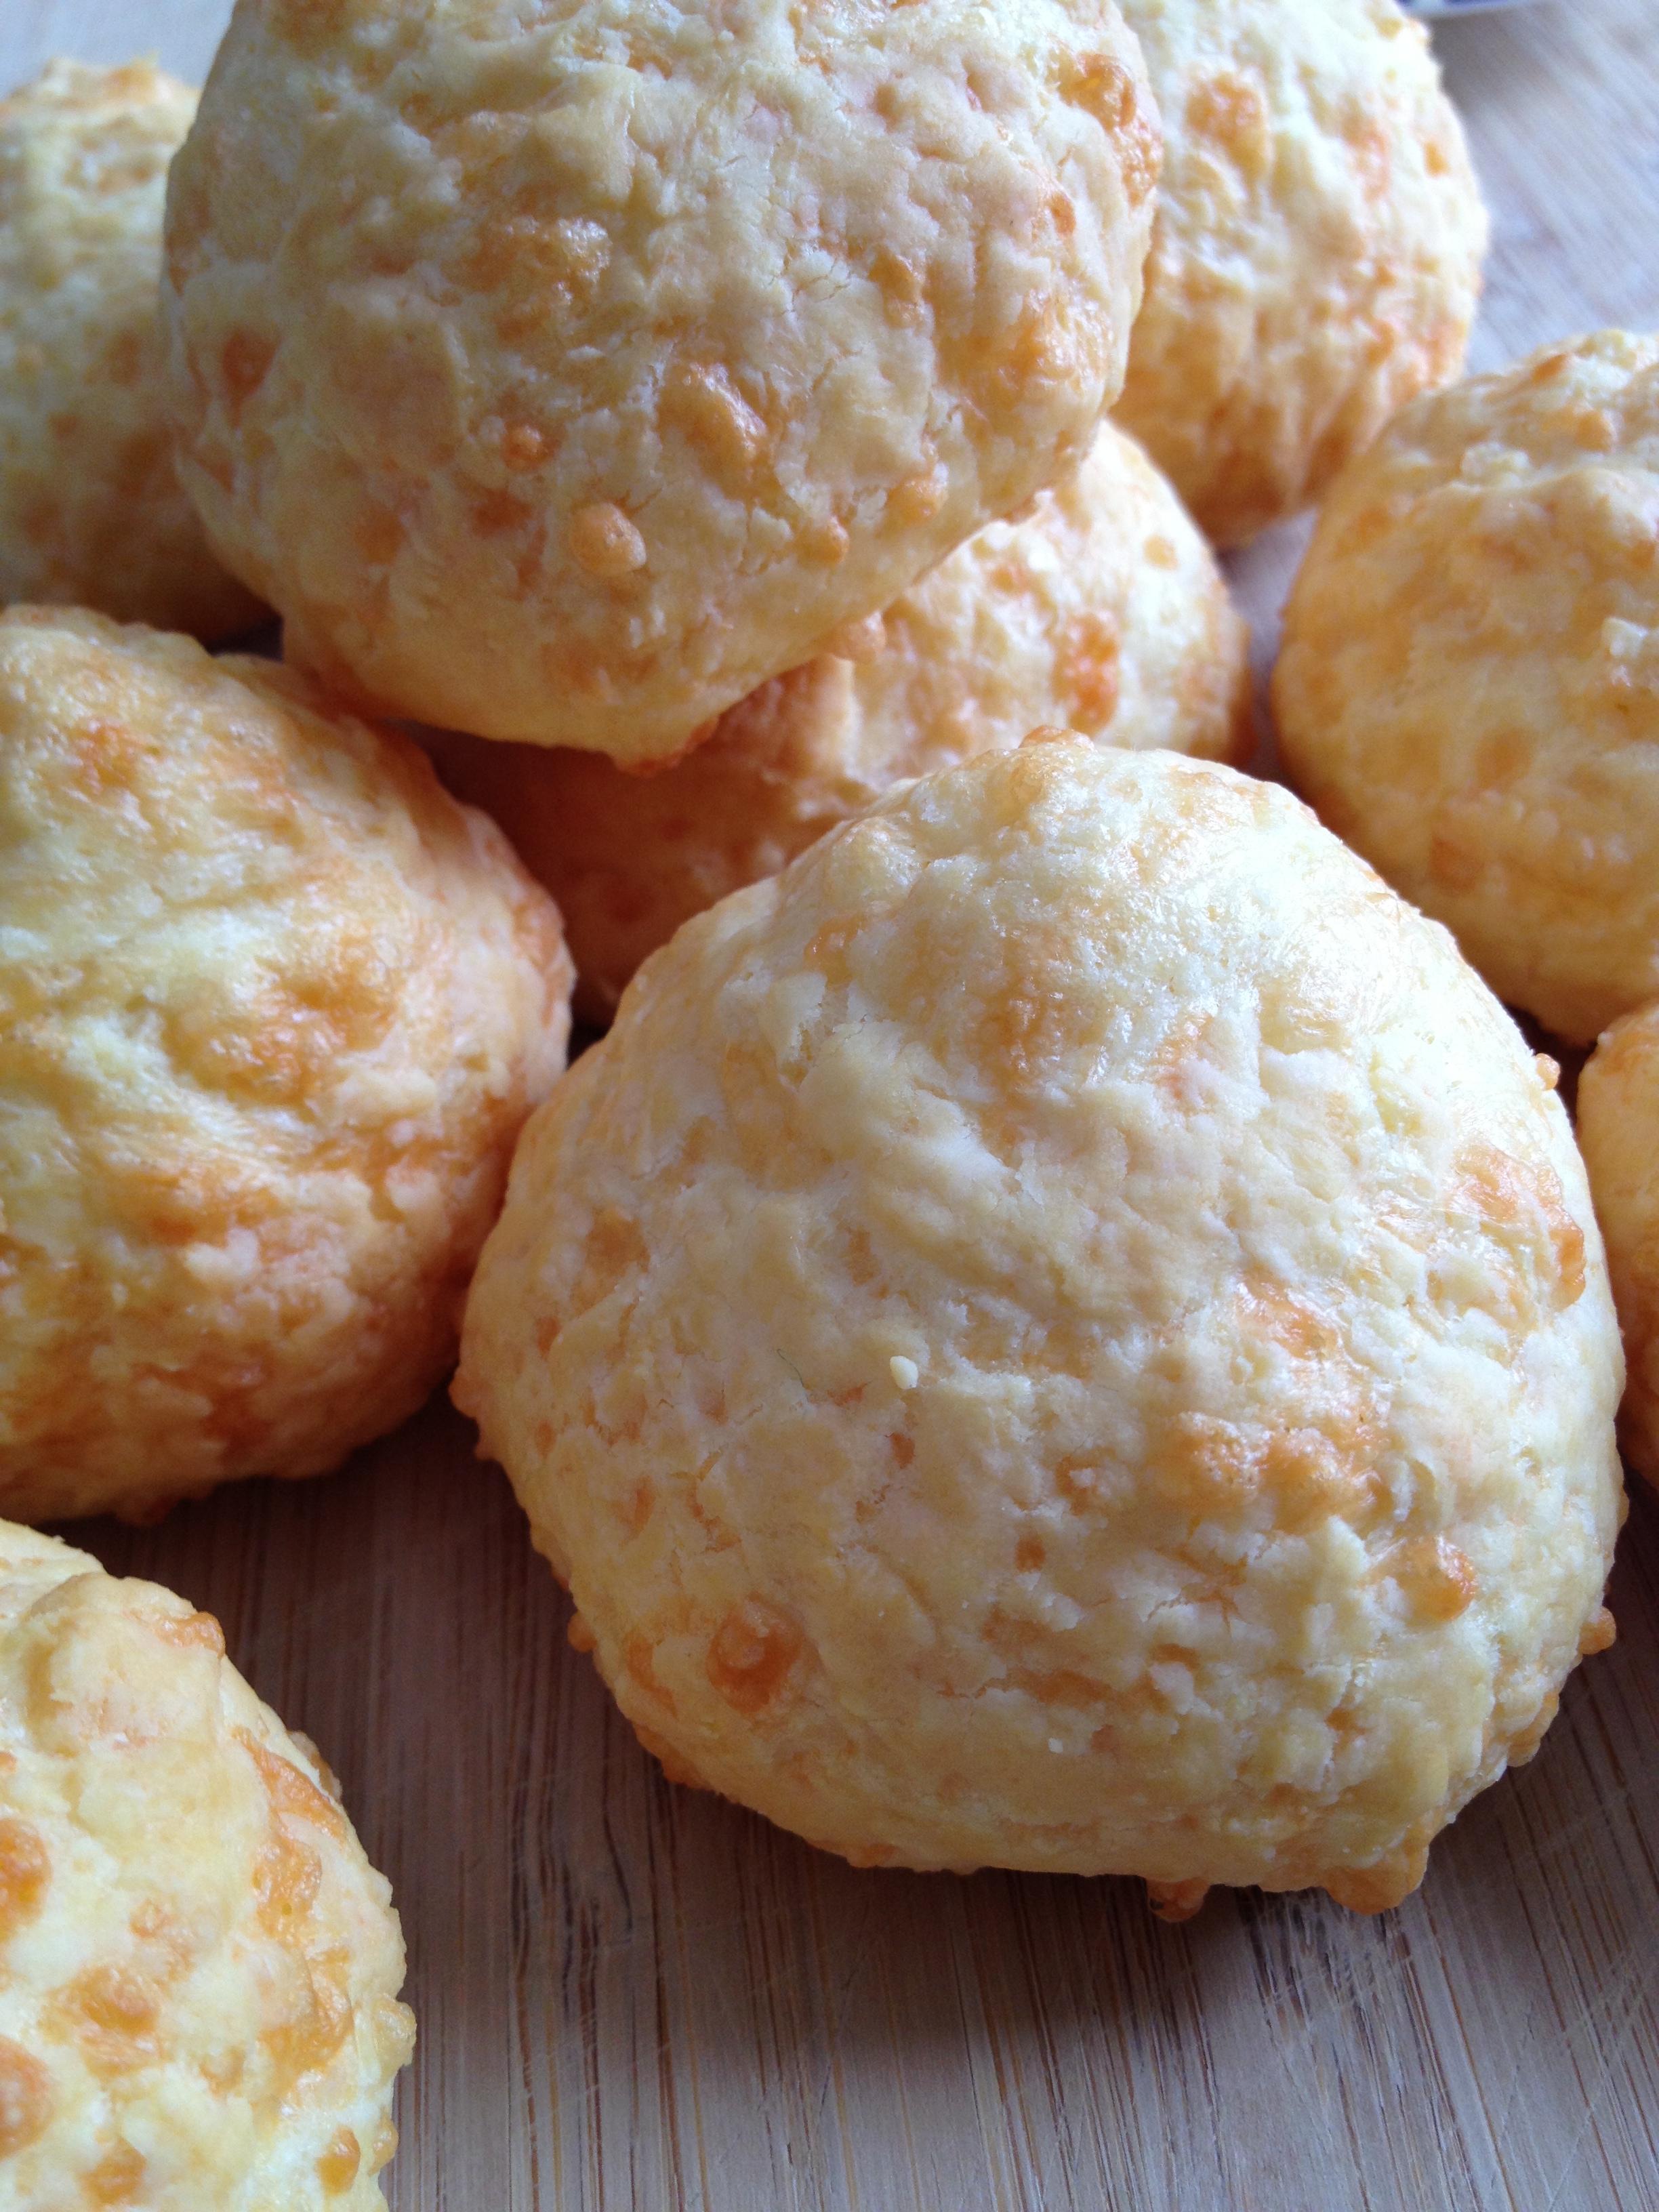
Humintas a la Olla

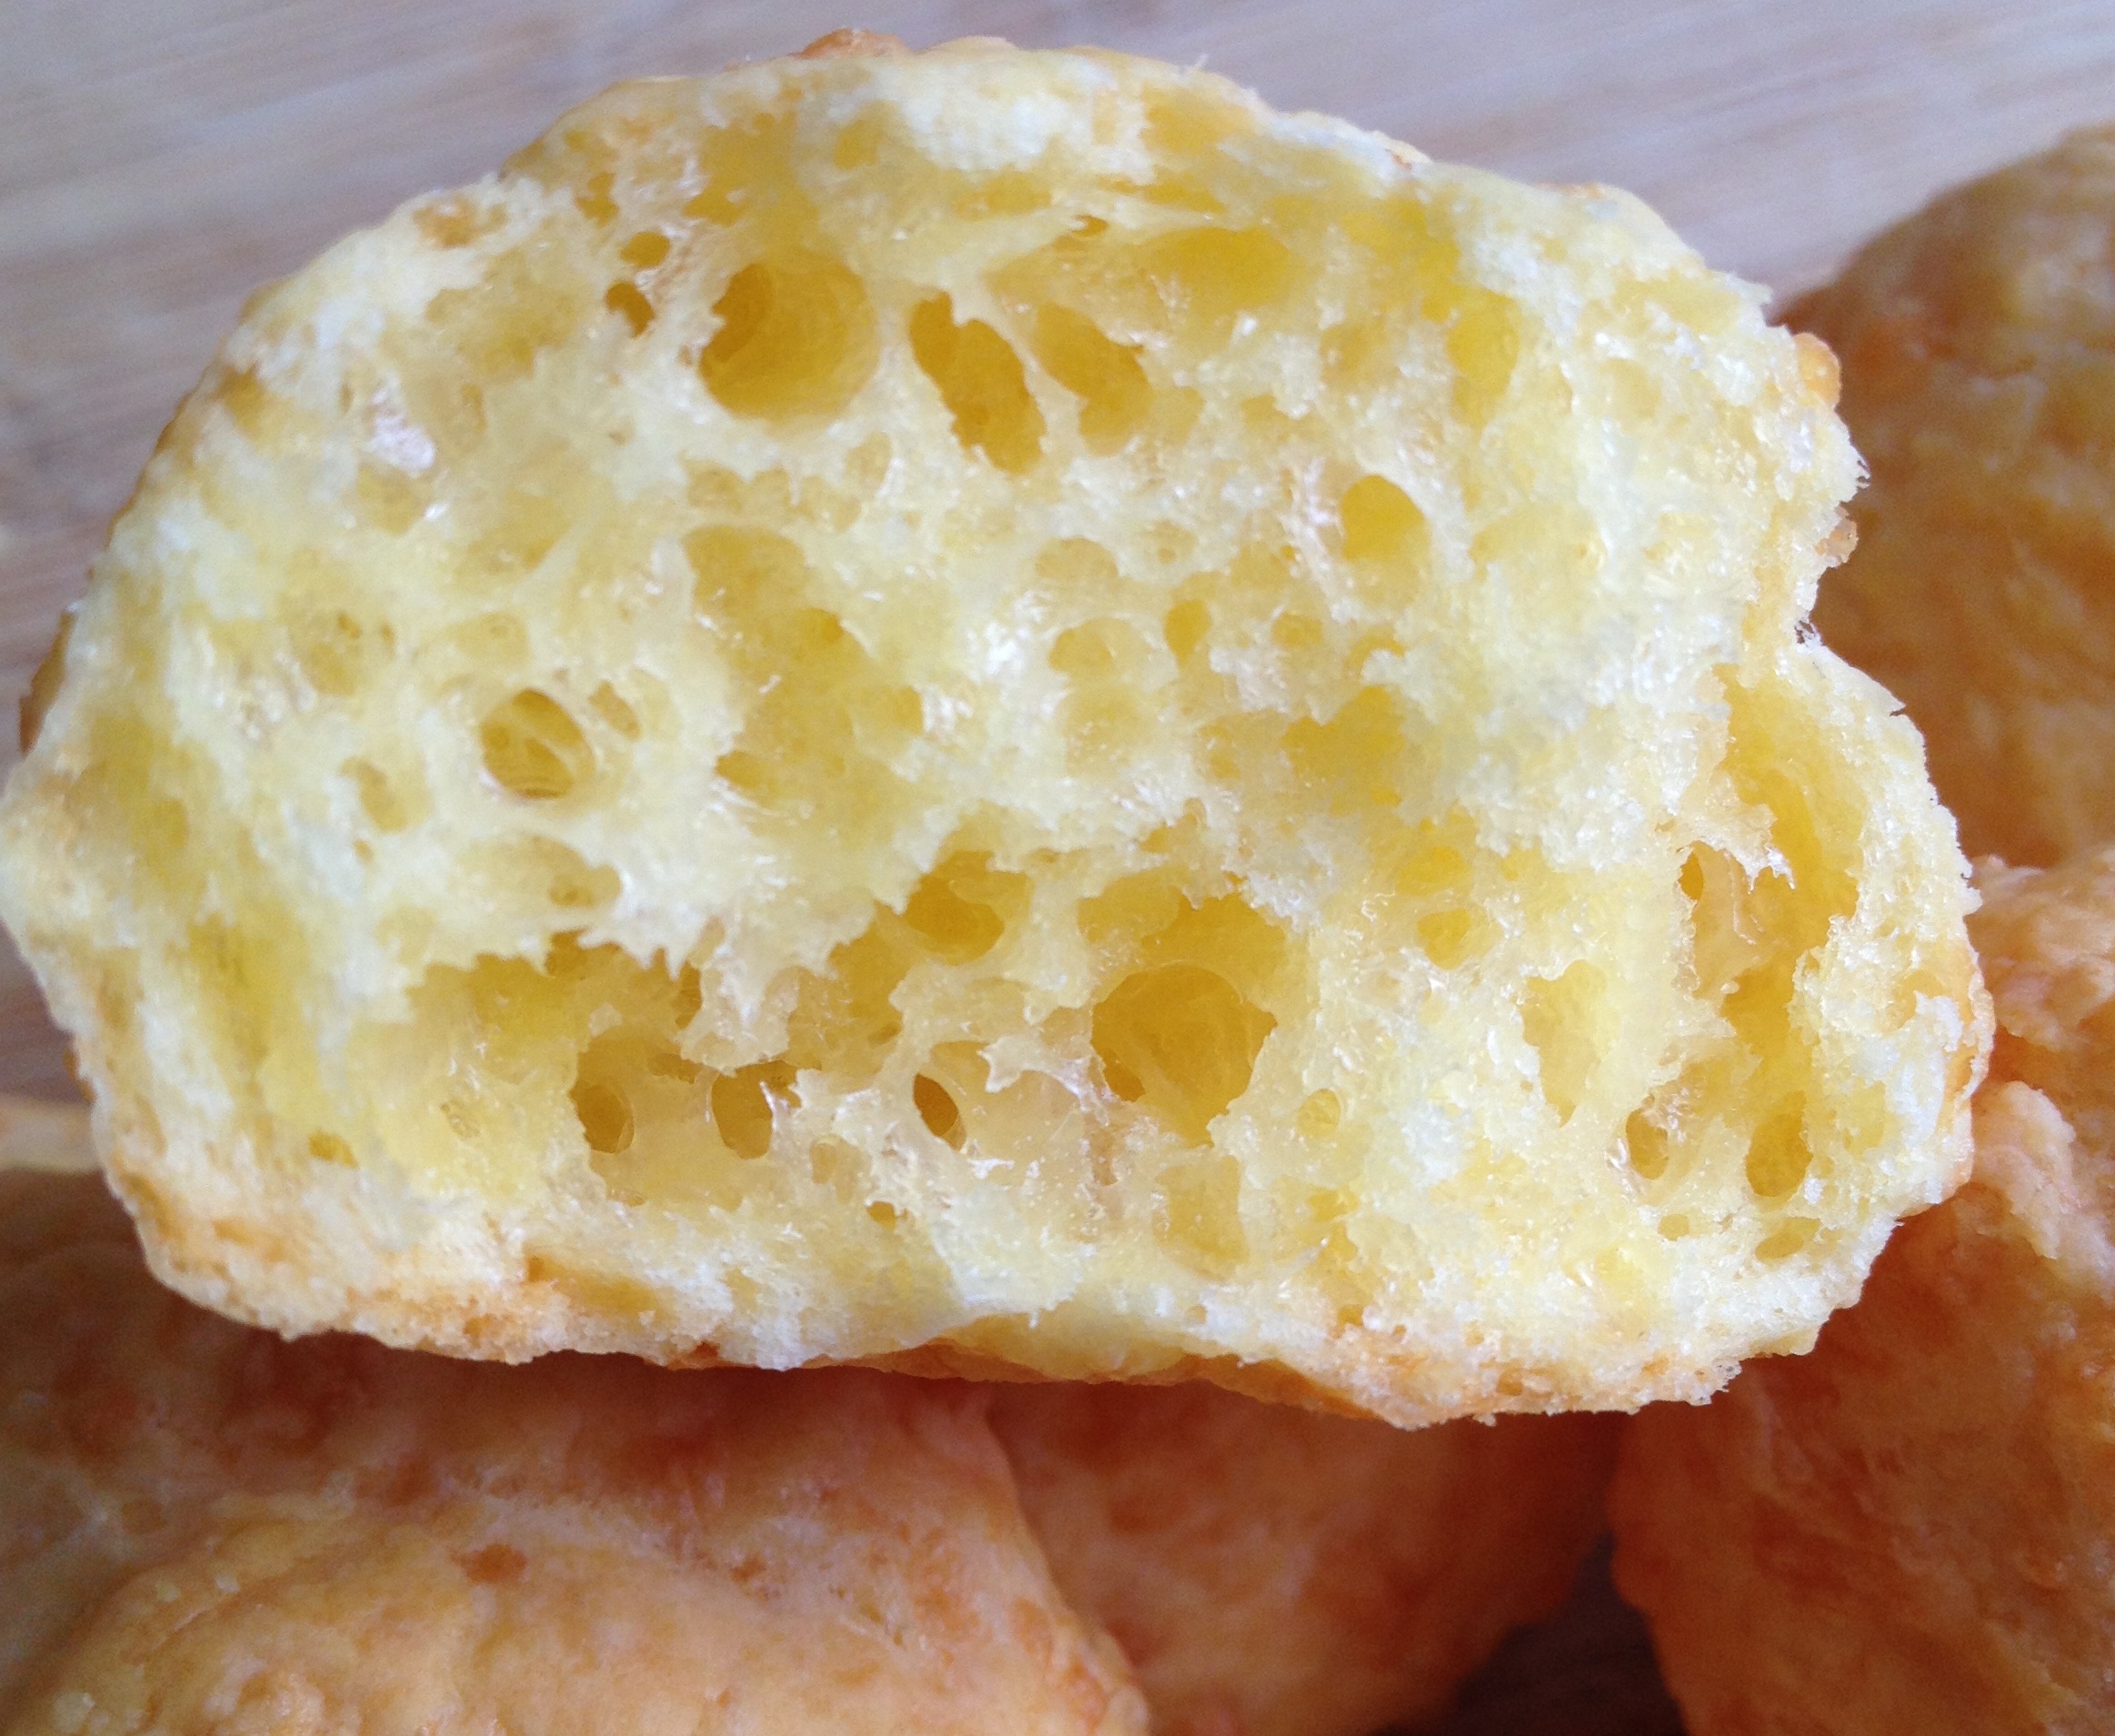
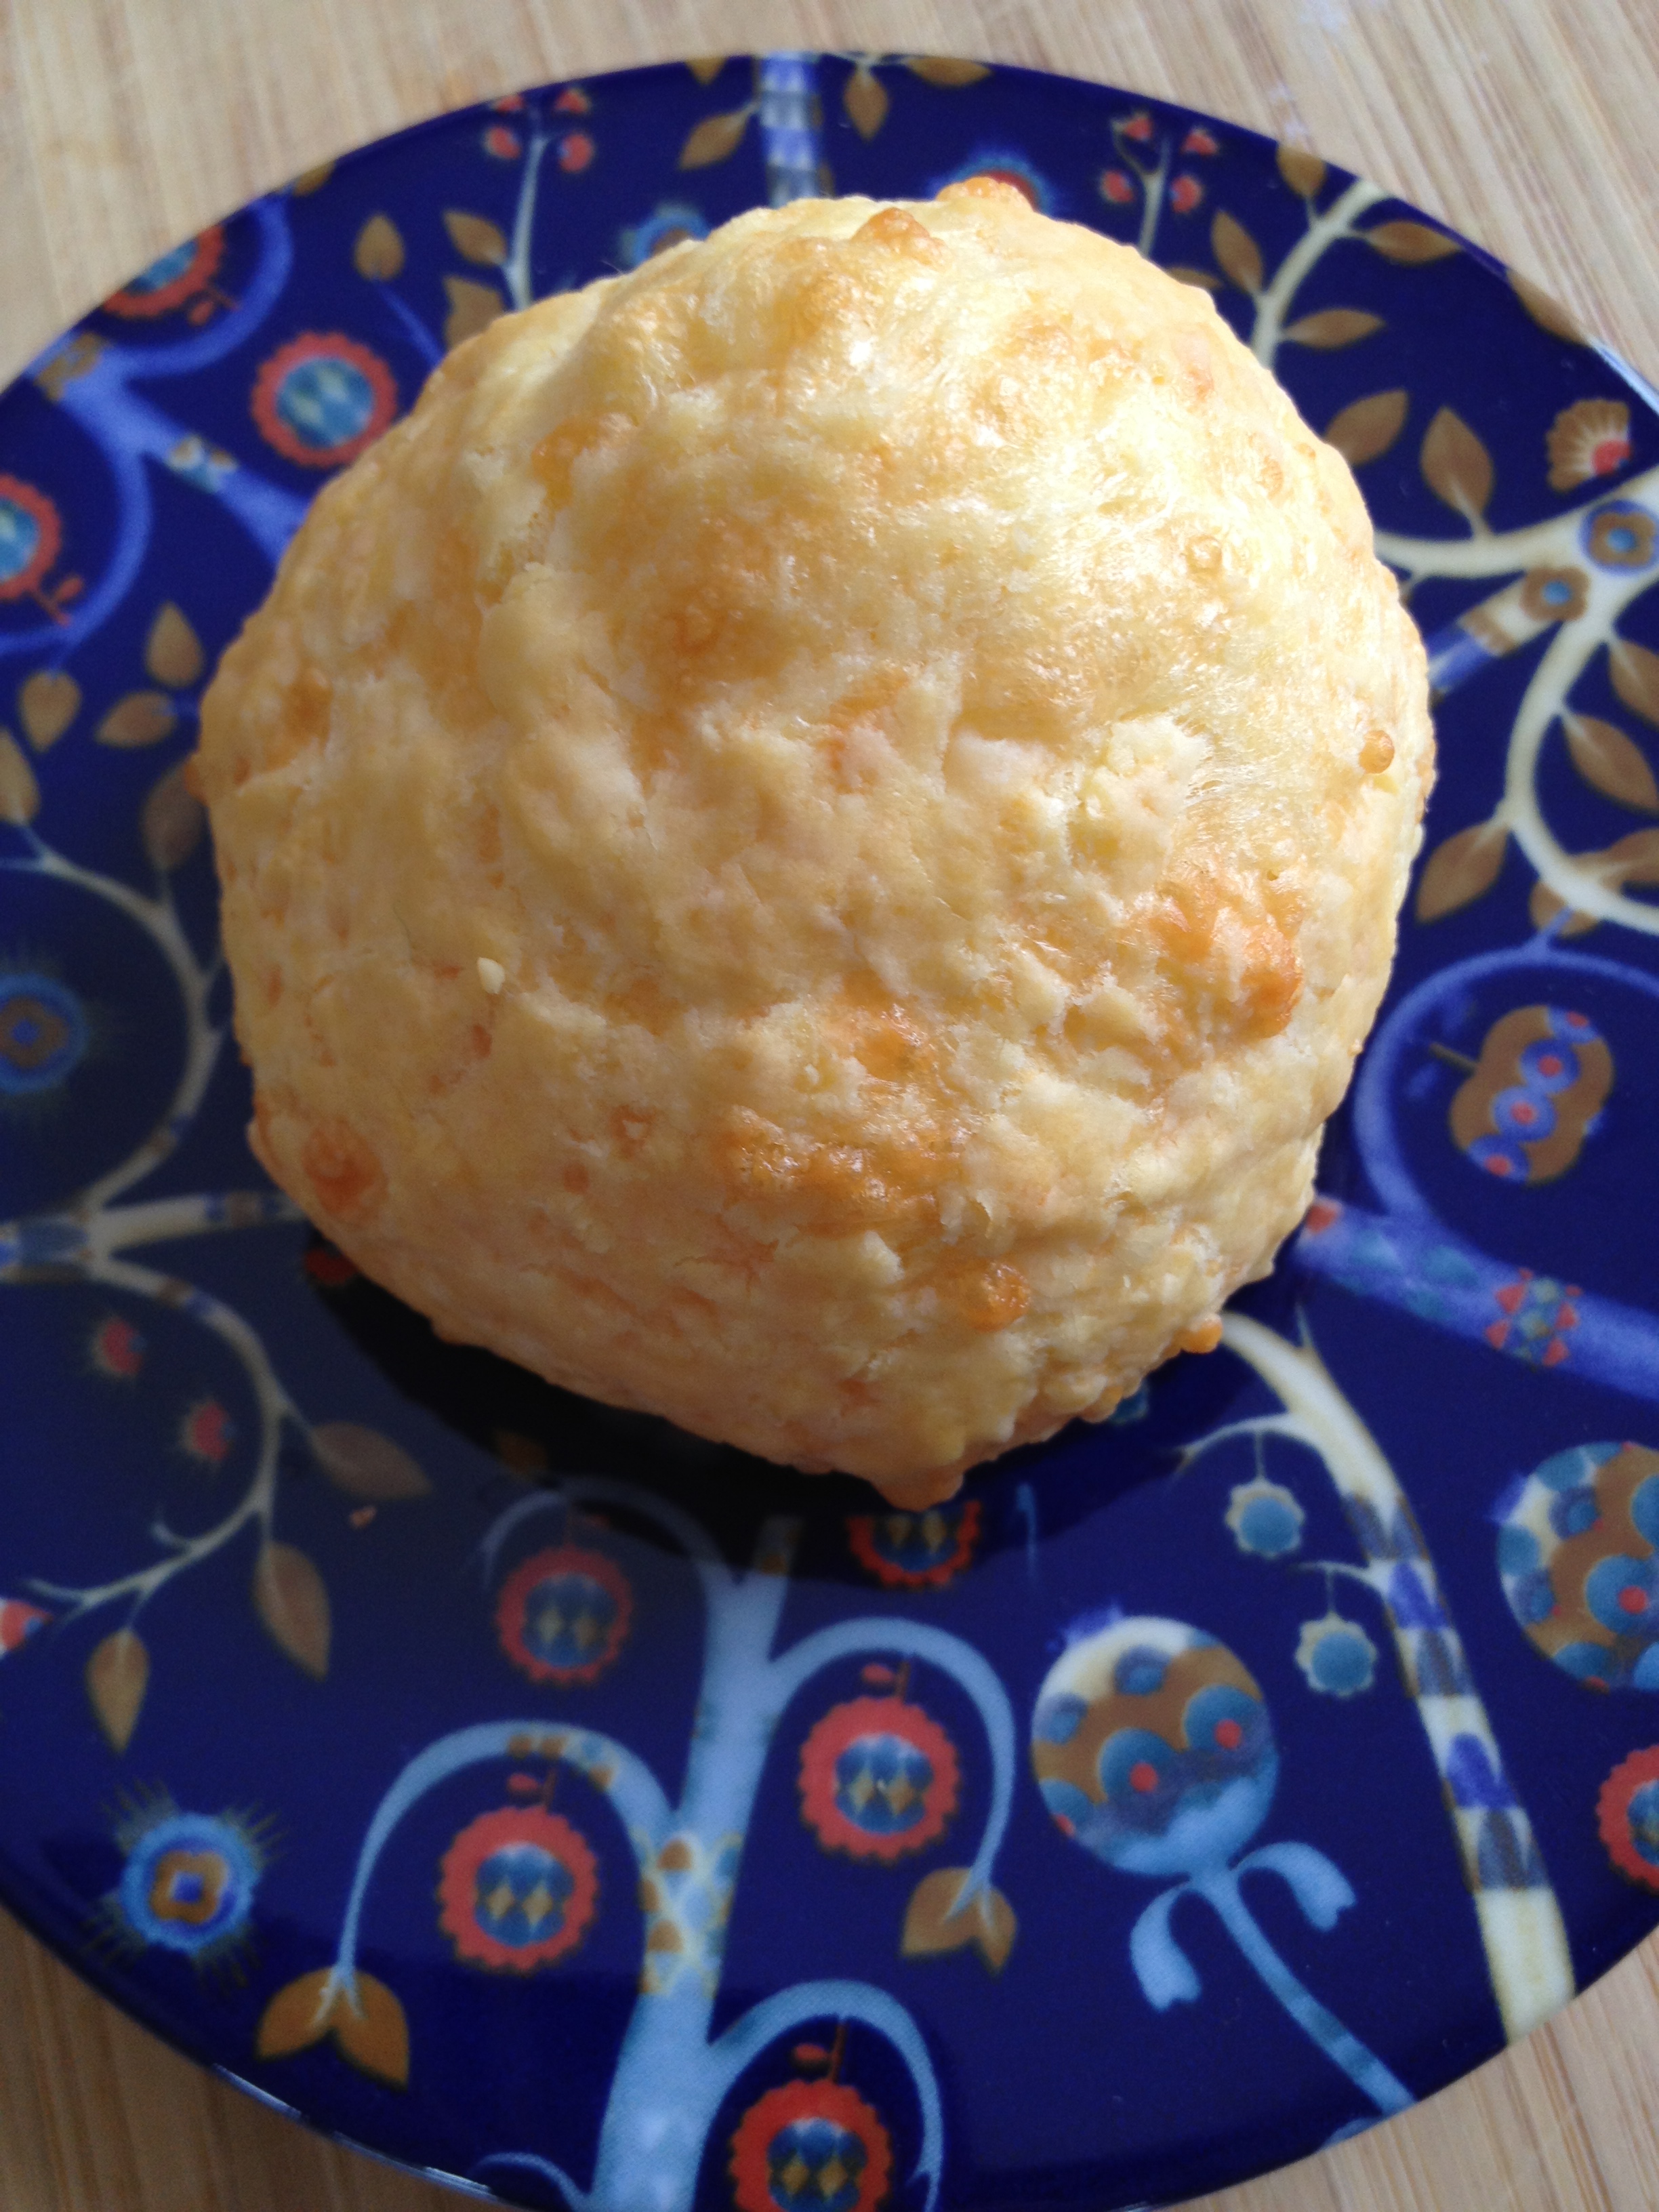
Humintas are so additives once you start eating one you can stop it. It has the most basic ingredients; cheese and corn flavored with annis seeds,salt, sugar and a shortening.
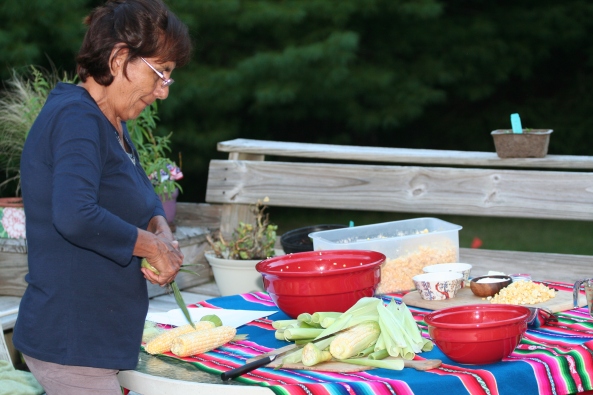
My job as a little girl was to make the string out of husk and pair the 2 larger husk together that we were going to use to put in the corn mix and cheese. the bigger the corn leaves the bigger the humintas and yes they are humintas the size of my hands.
Making humintas in USA has not been easy for me,because of the corn. The corn we use in Bolivia has big starchy white kernel and they are nor sweet and they are not as juicy as the ones in the USA. So I wait and try different recipes and also start using white corn flour to add more body to the mix but somehow the humintas were to runny after cooked they were not right . Finally this past Easter I found the most horrible looking corn in the supermarket, and this bad looking corn made the most delicious so close to the Bolivian version that i know.
So here it is for you to try
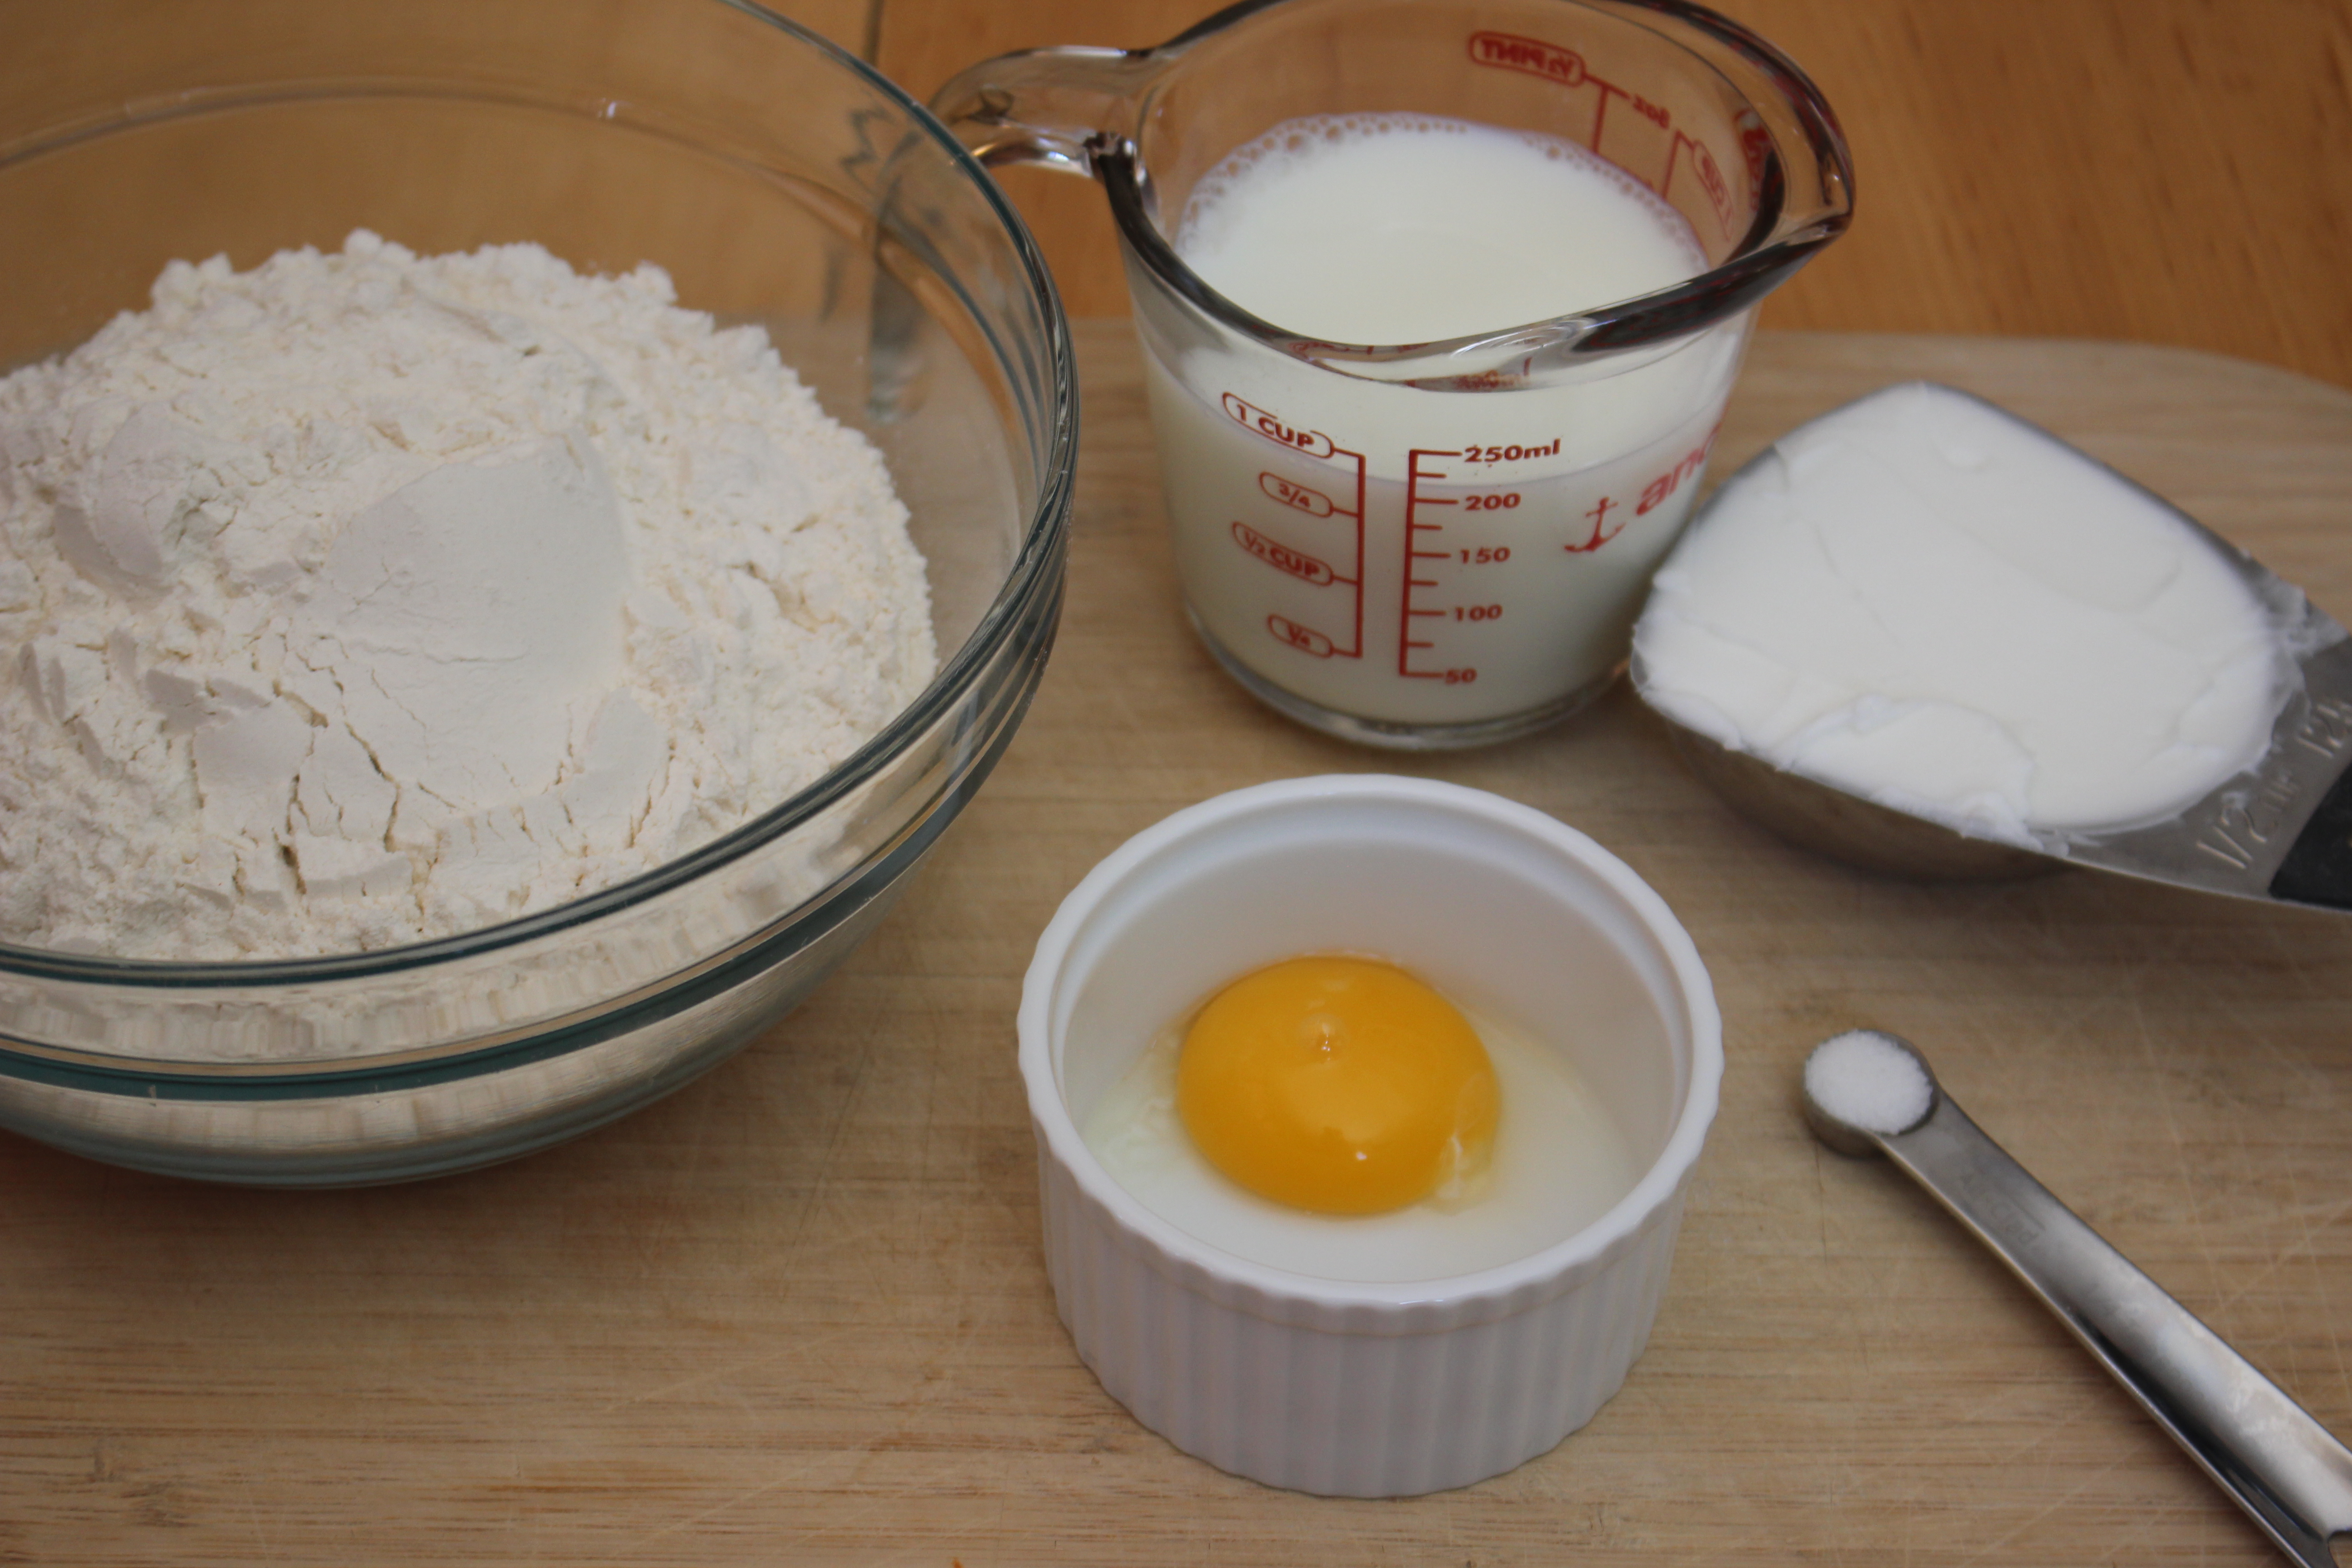
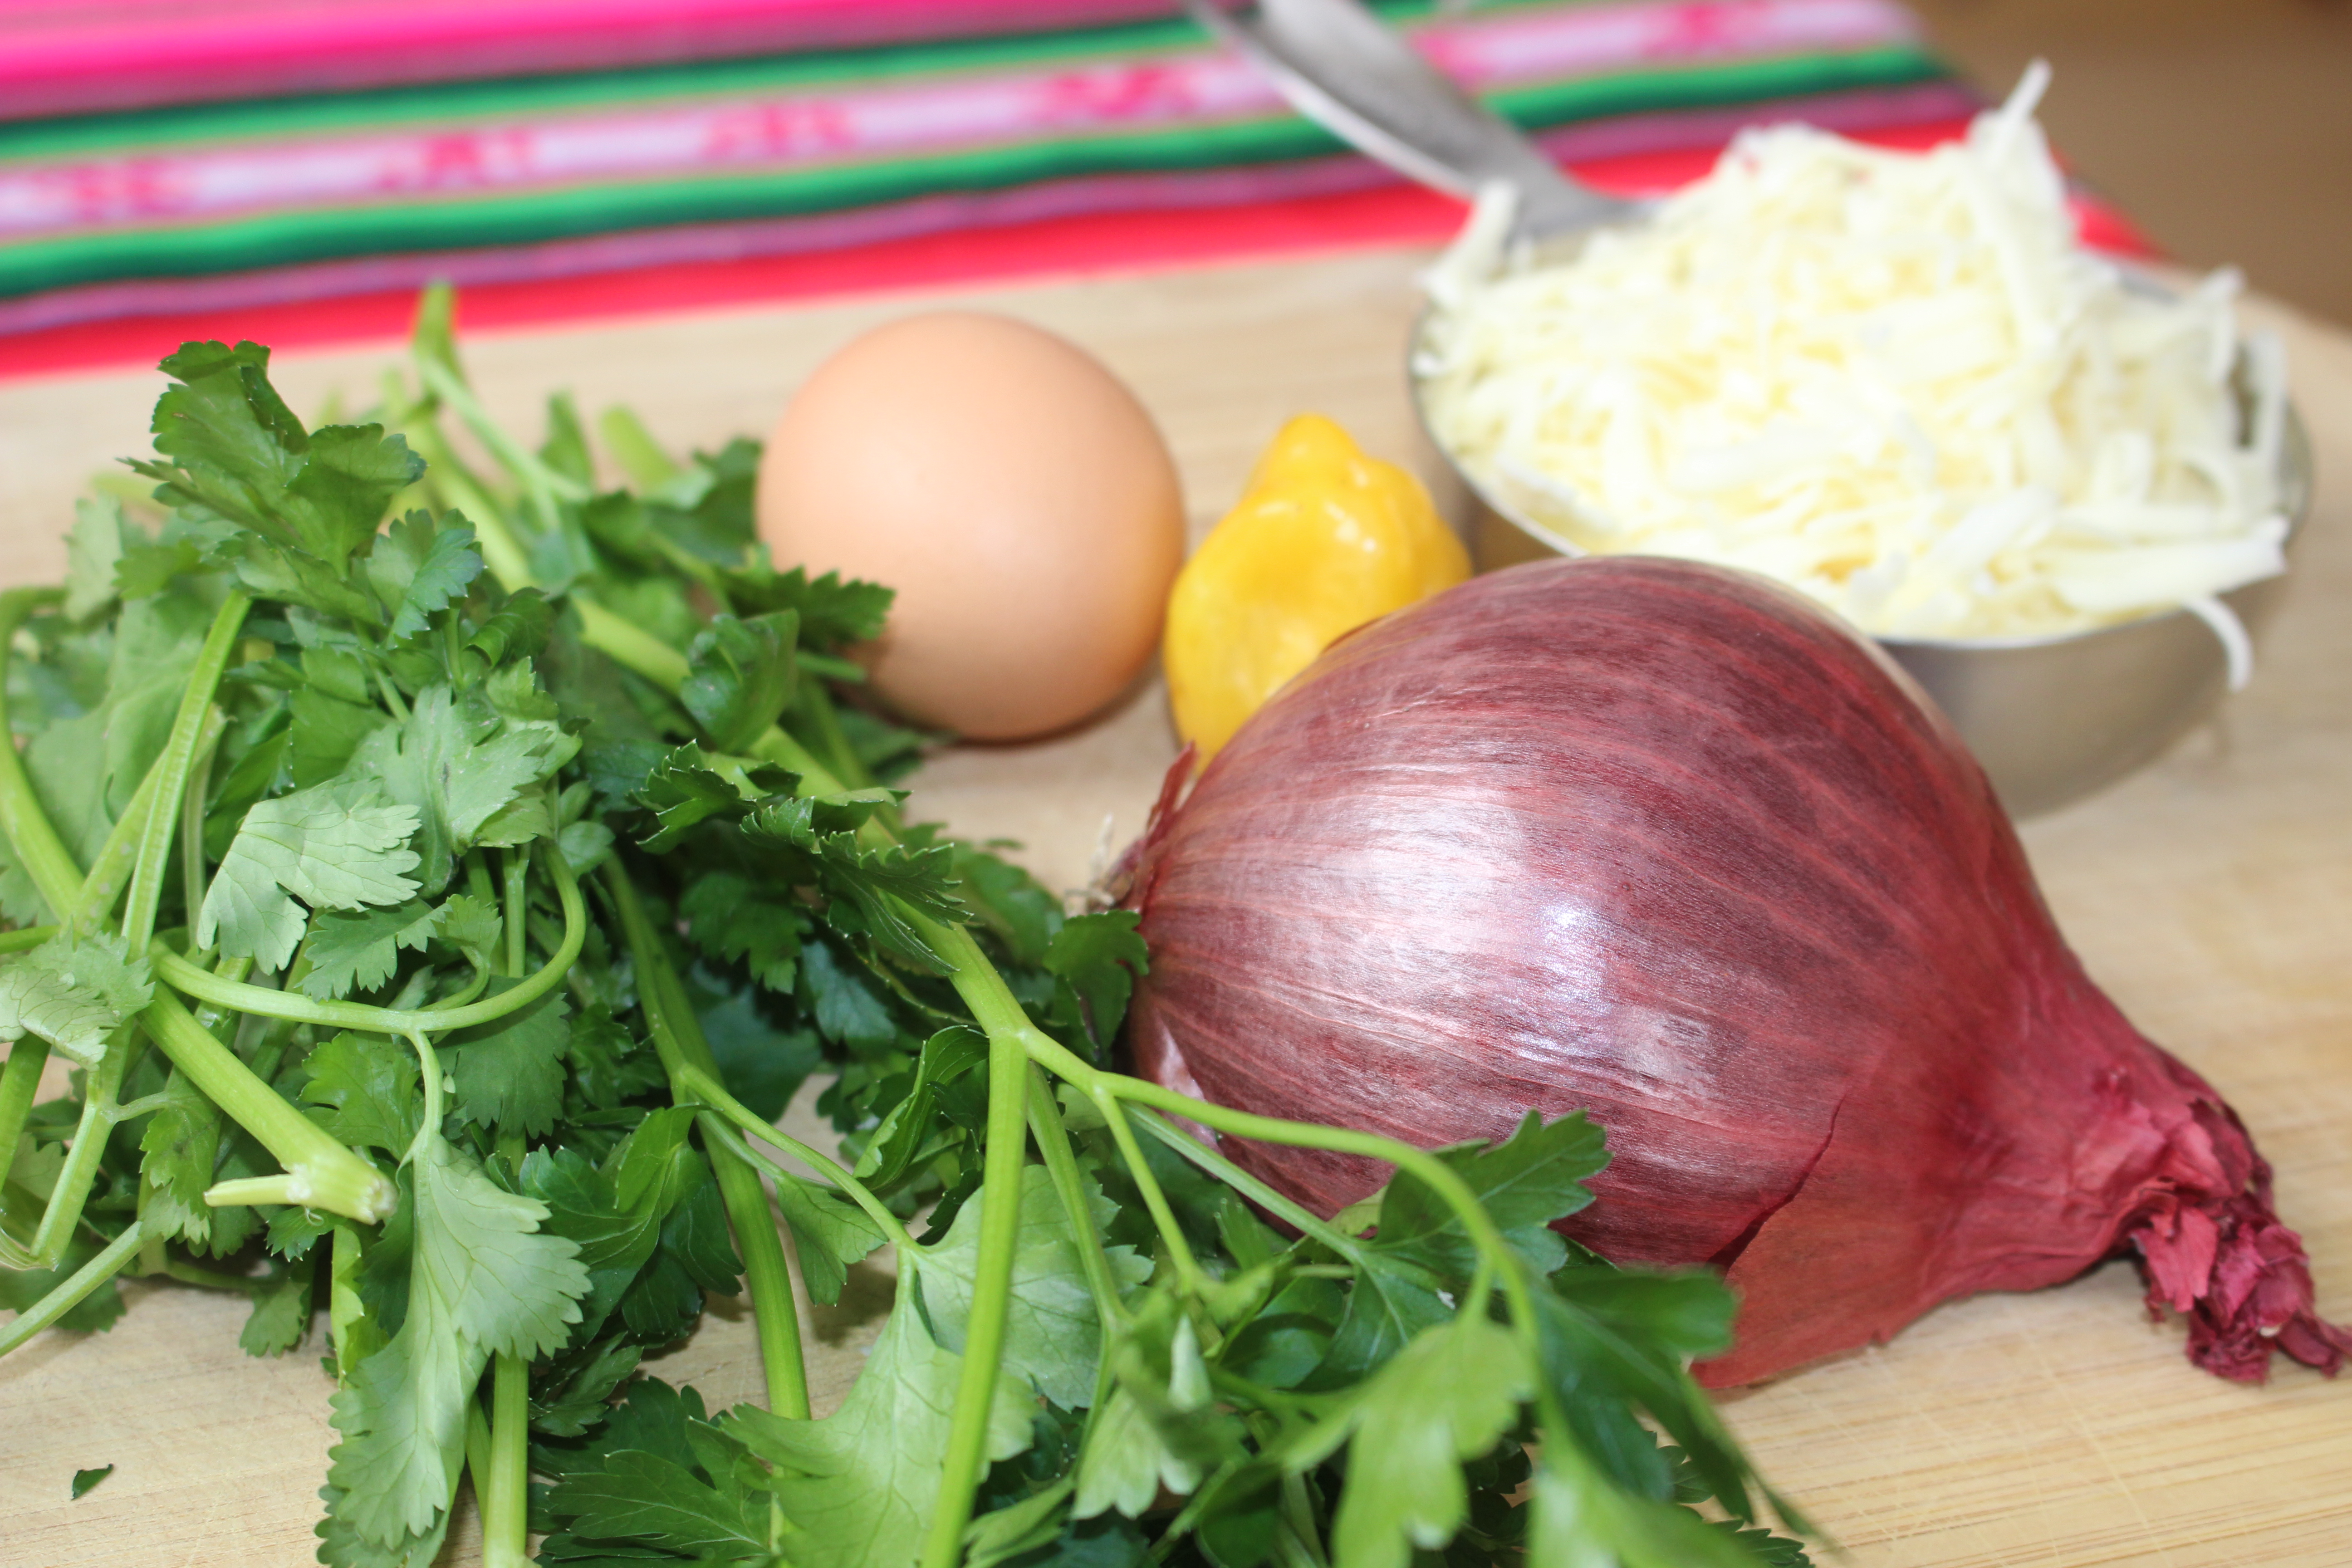
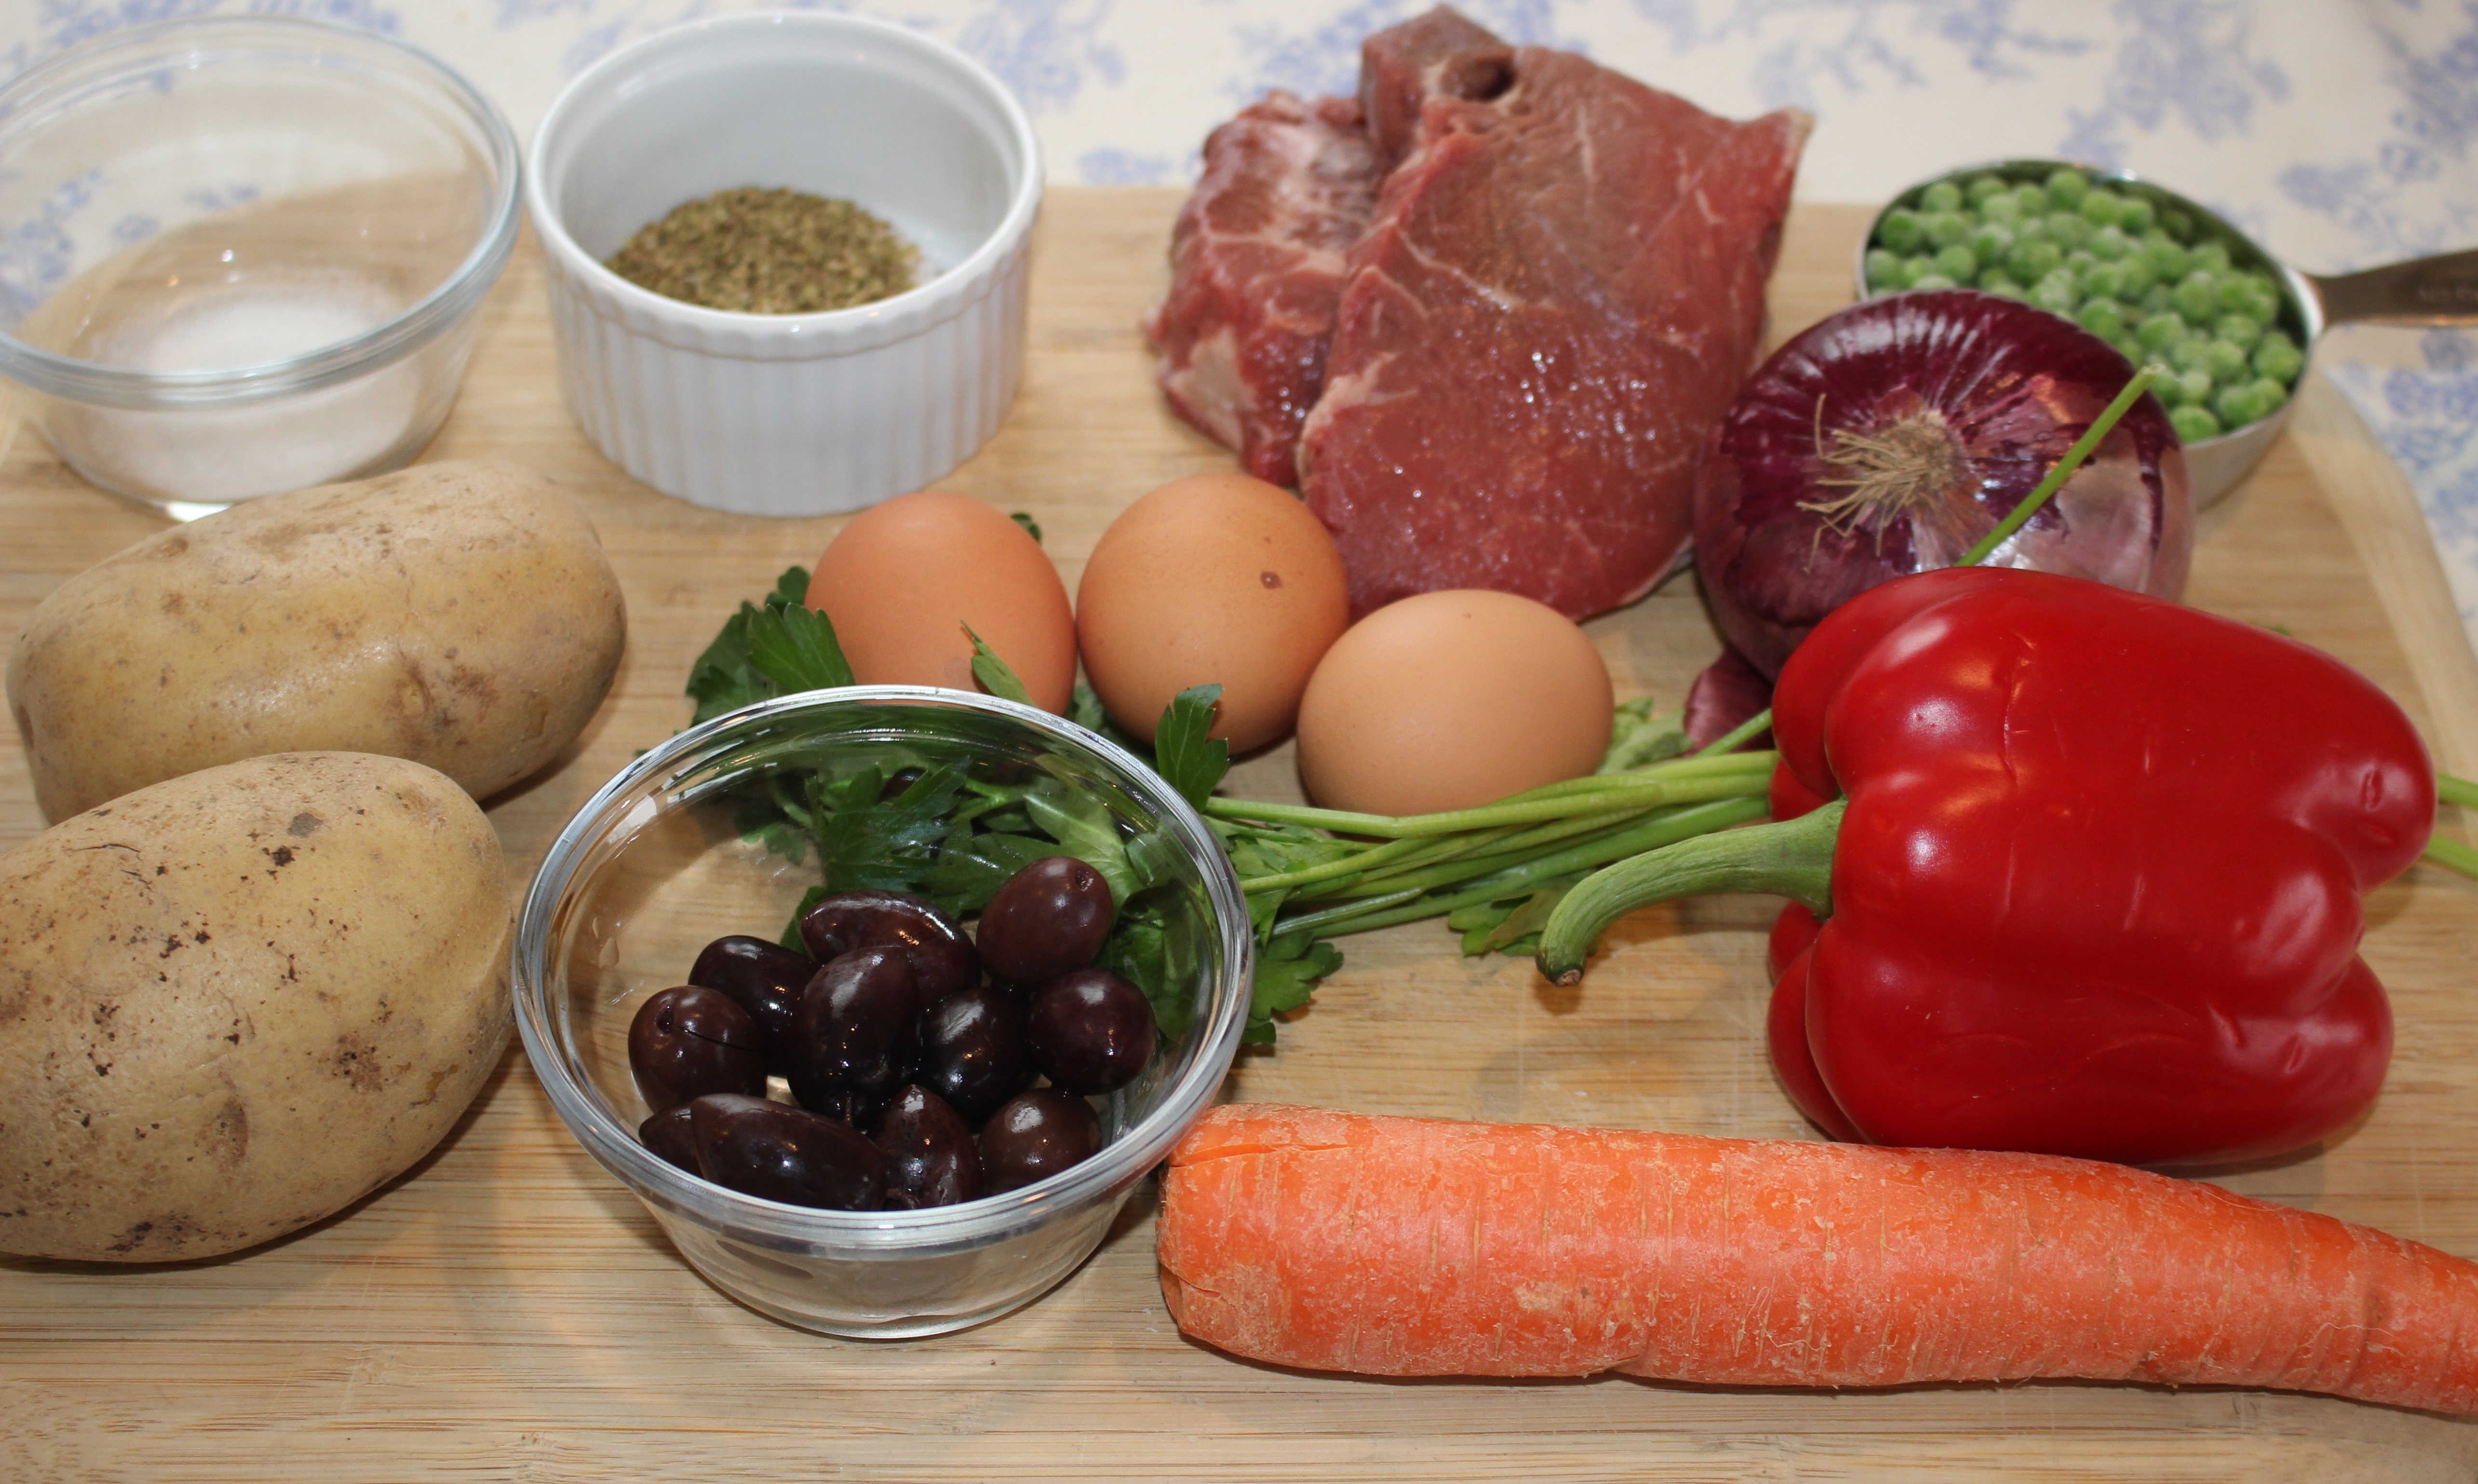
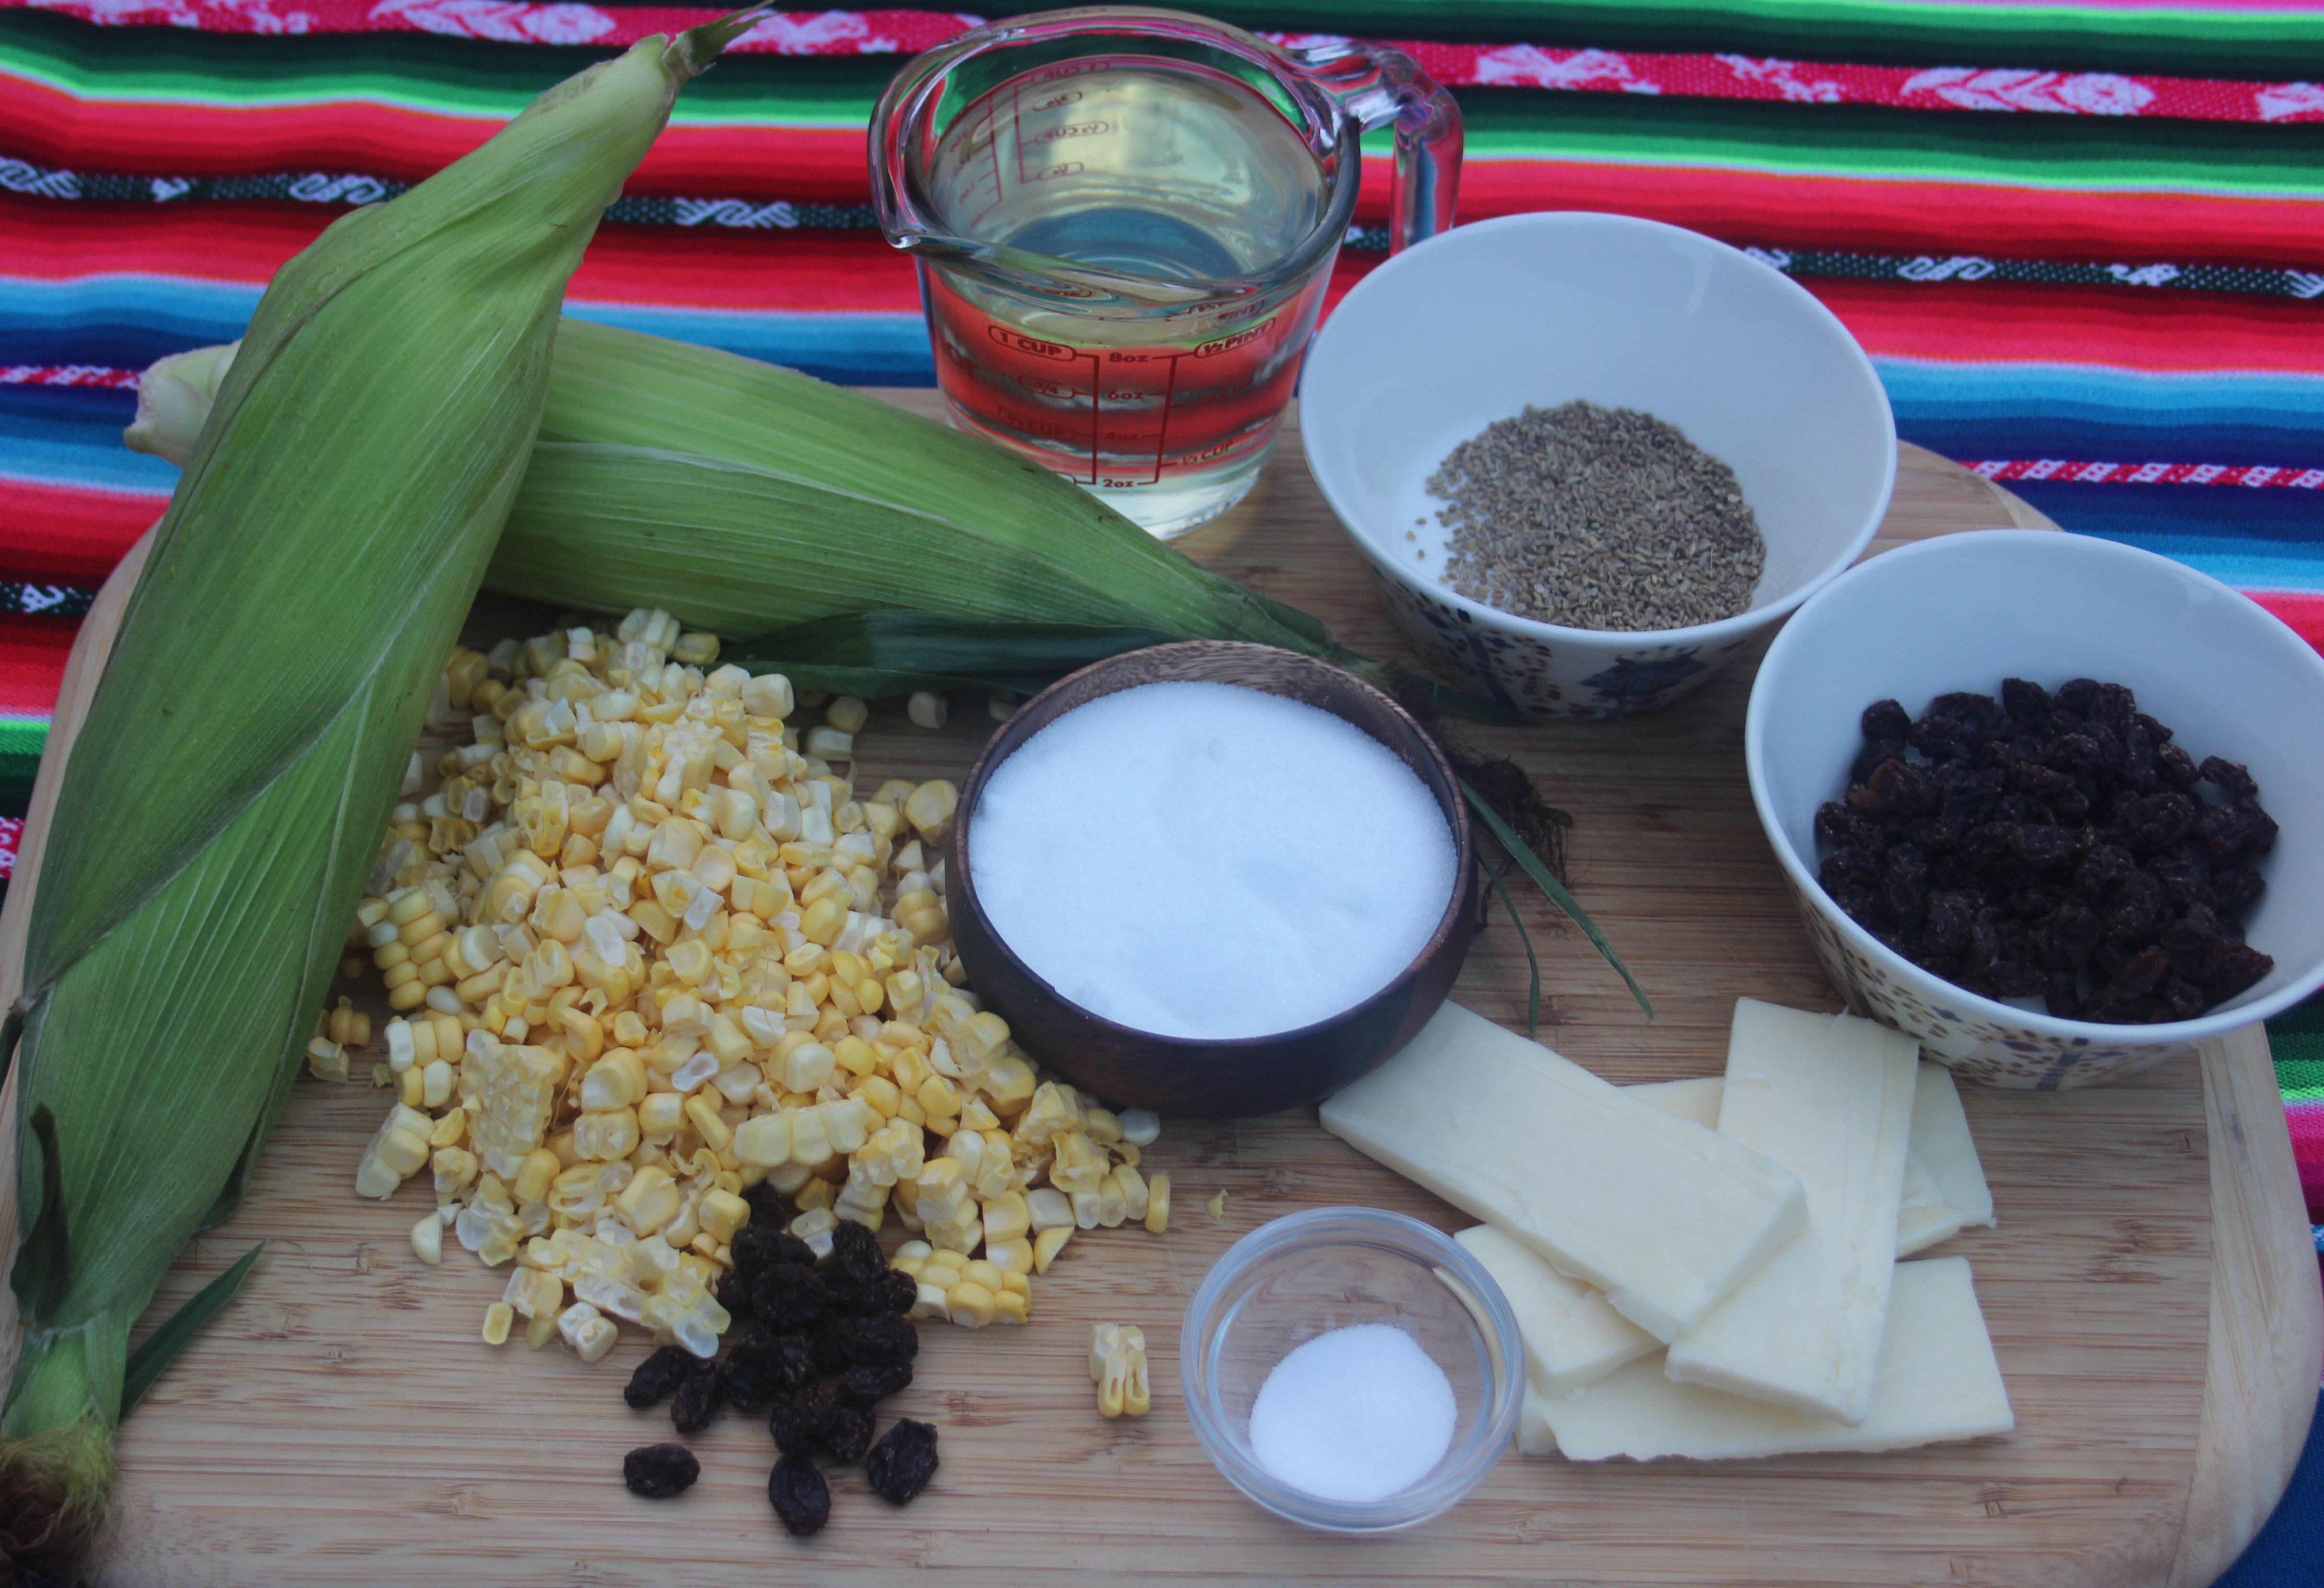
Ingredients:
Yields 15 humintas
12 ear of corn (the one the husk is already yellow and the kernel inside look dehidrated)
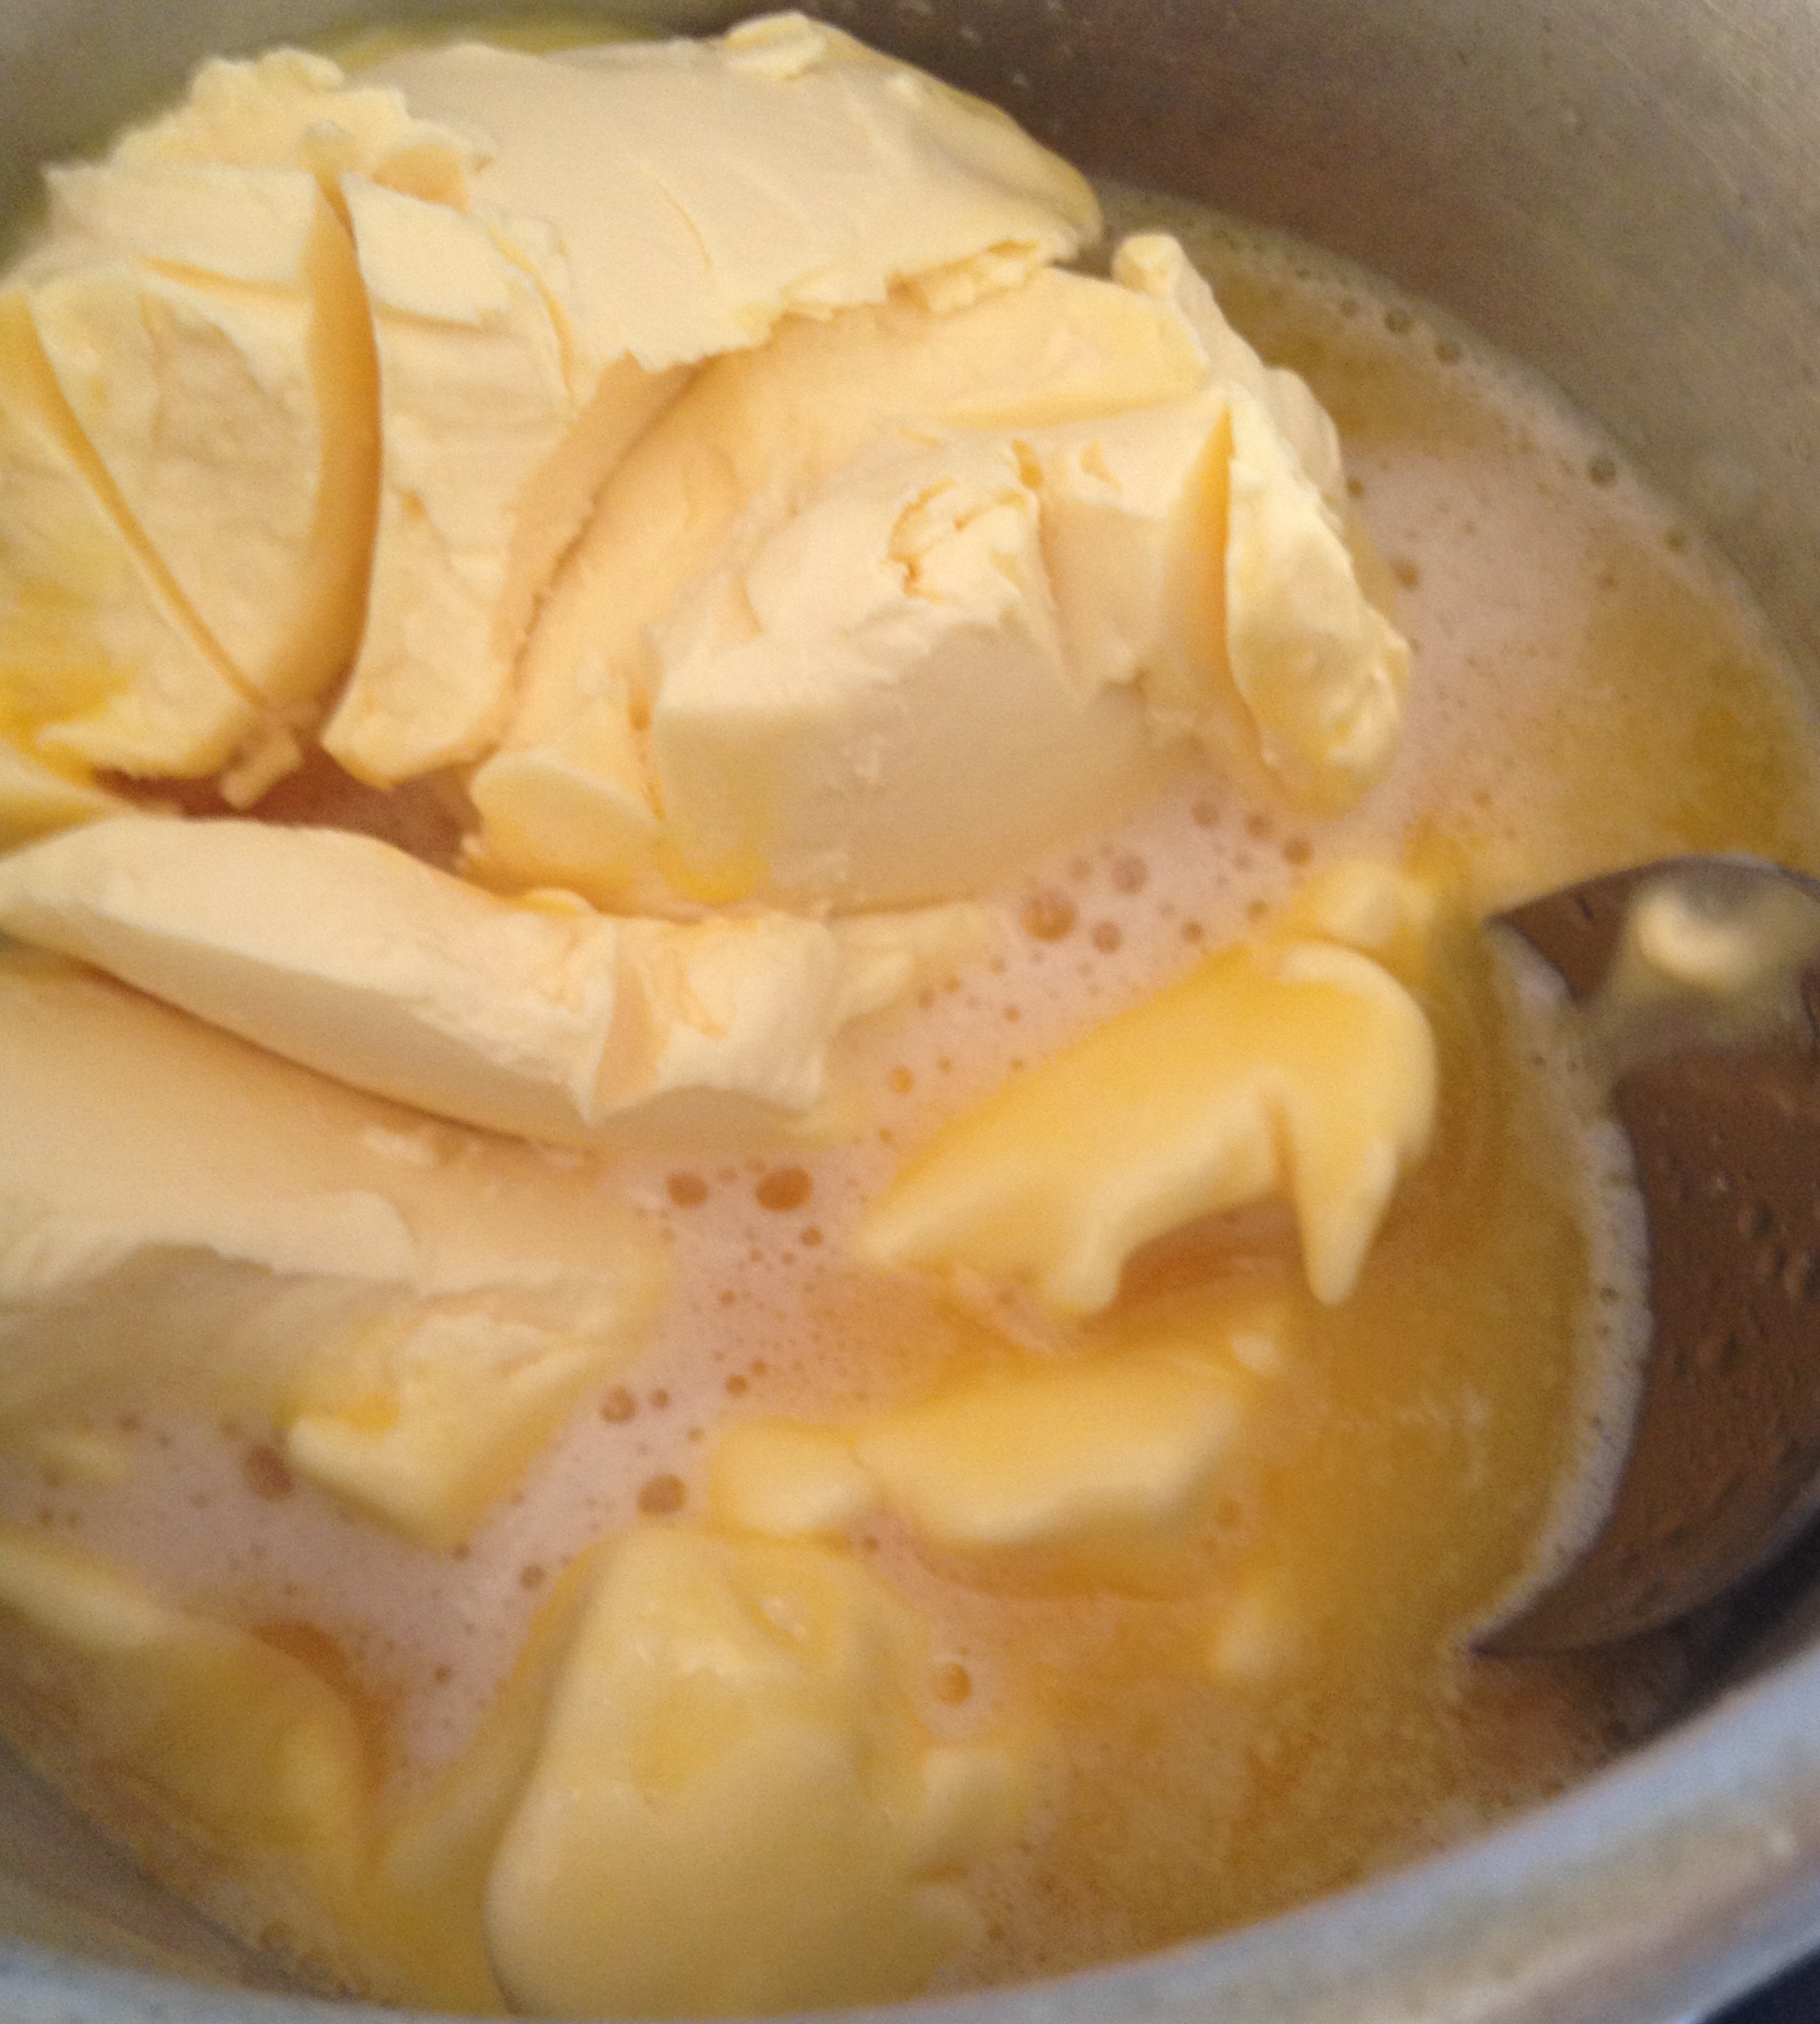
1/4 cup crisco
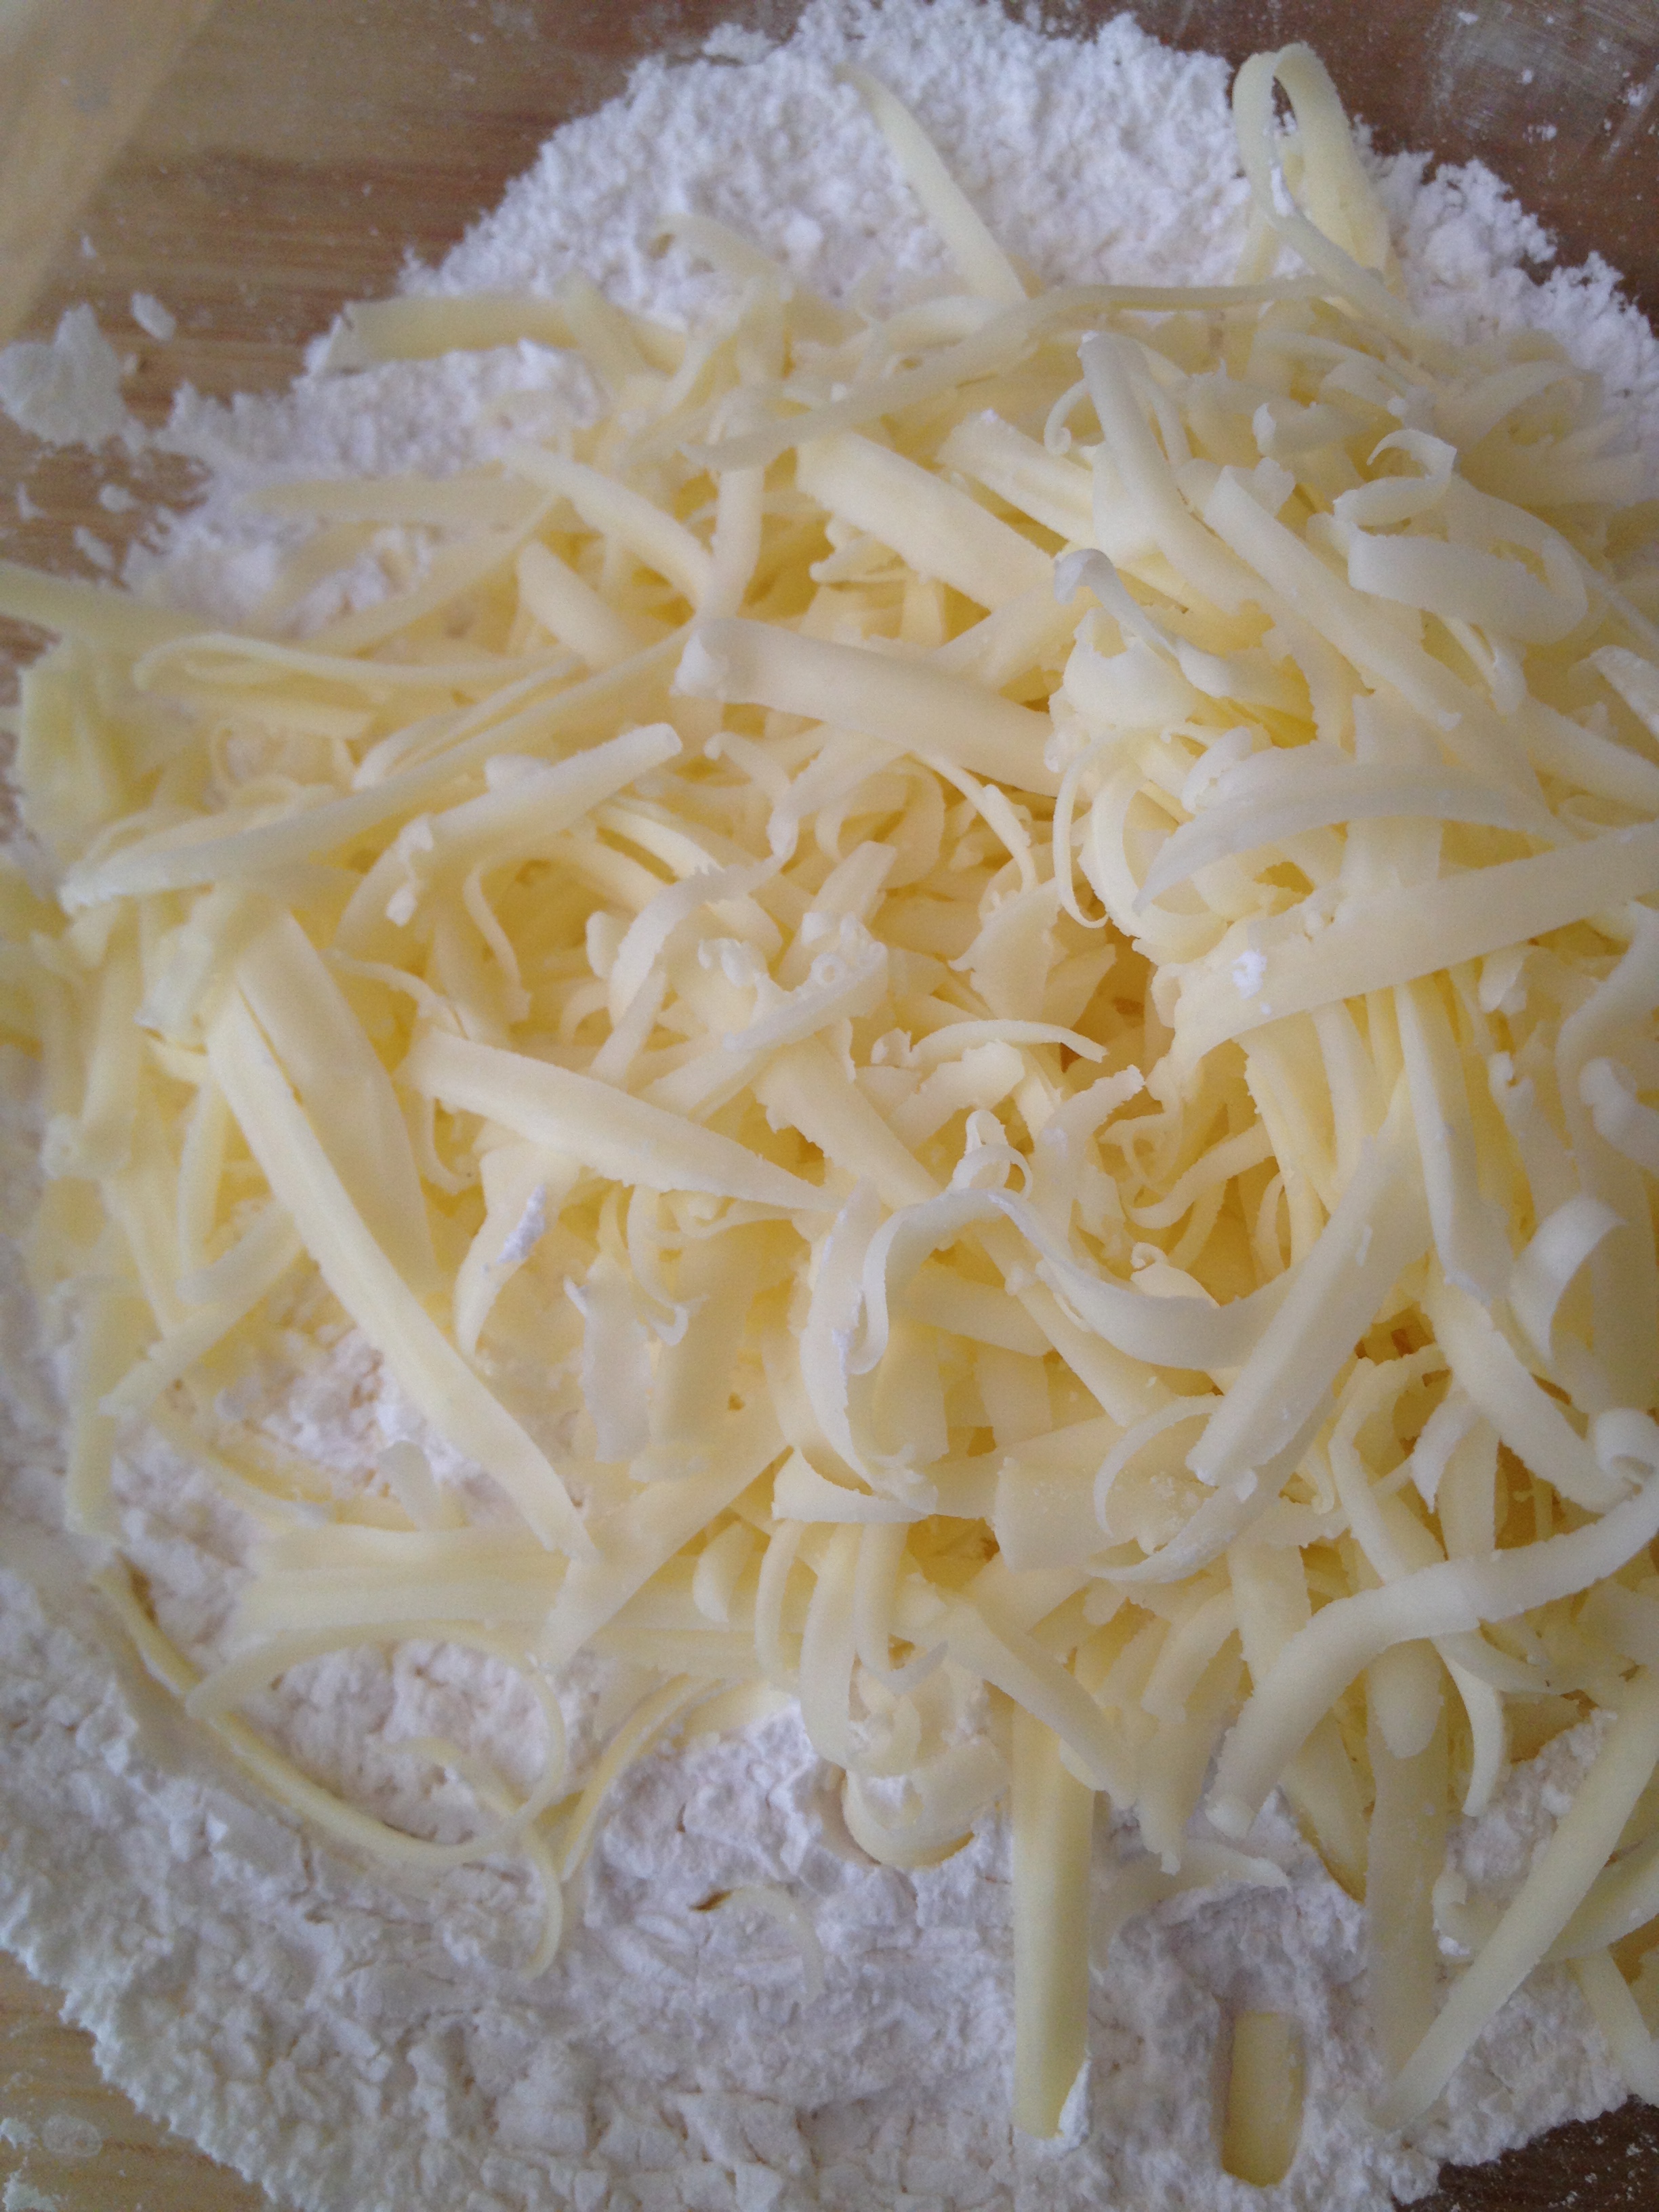
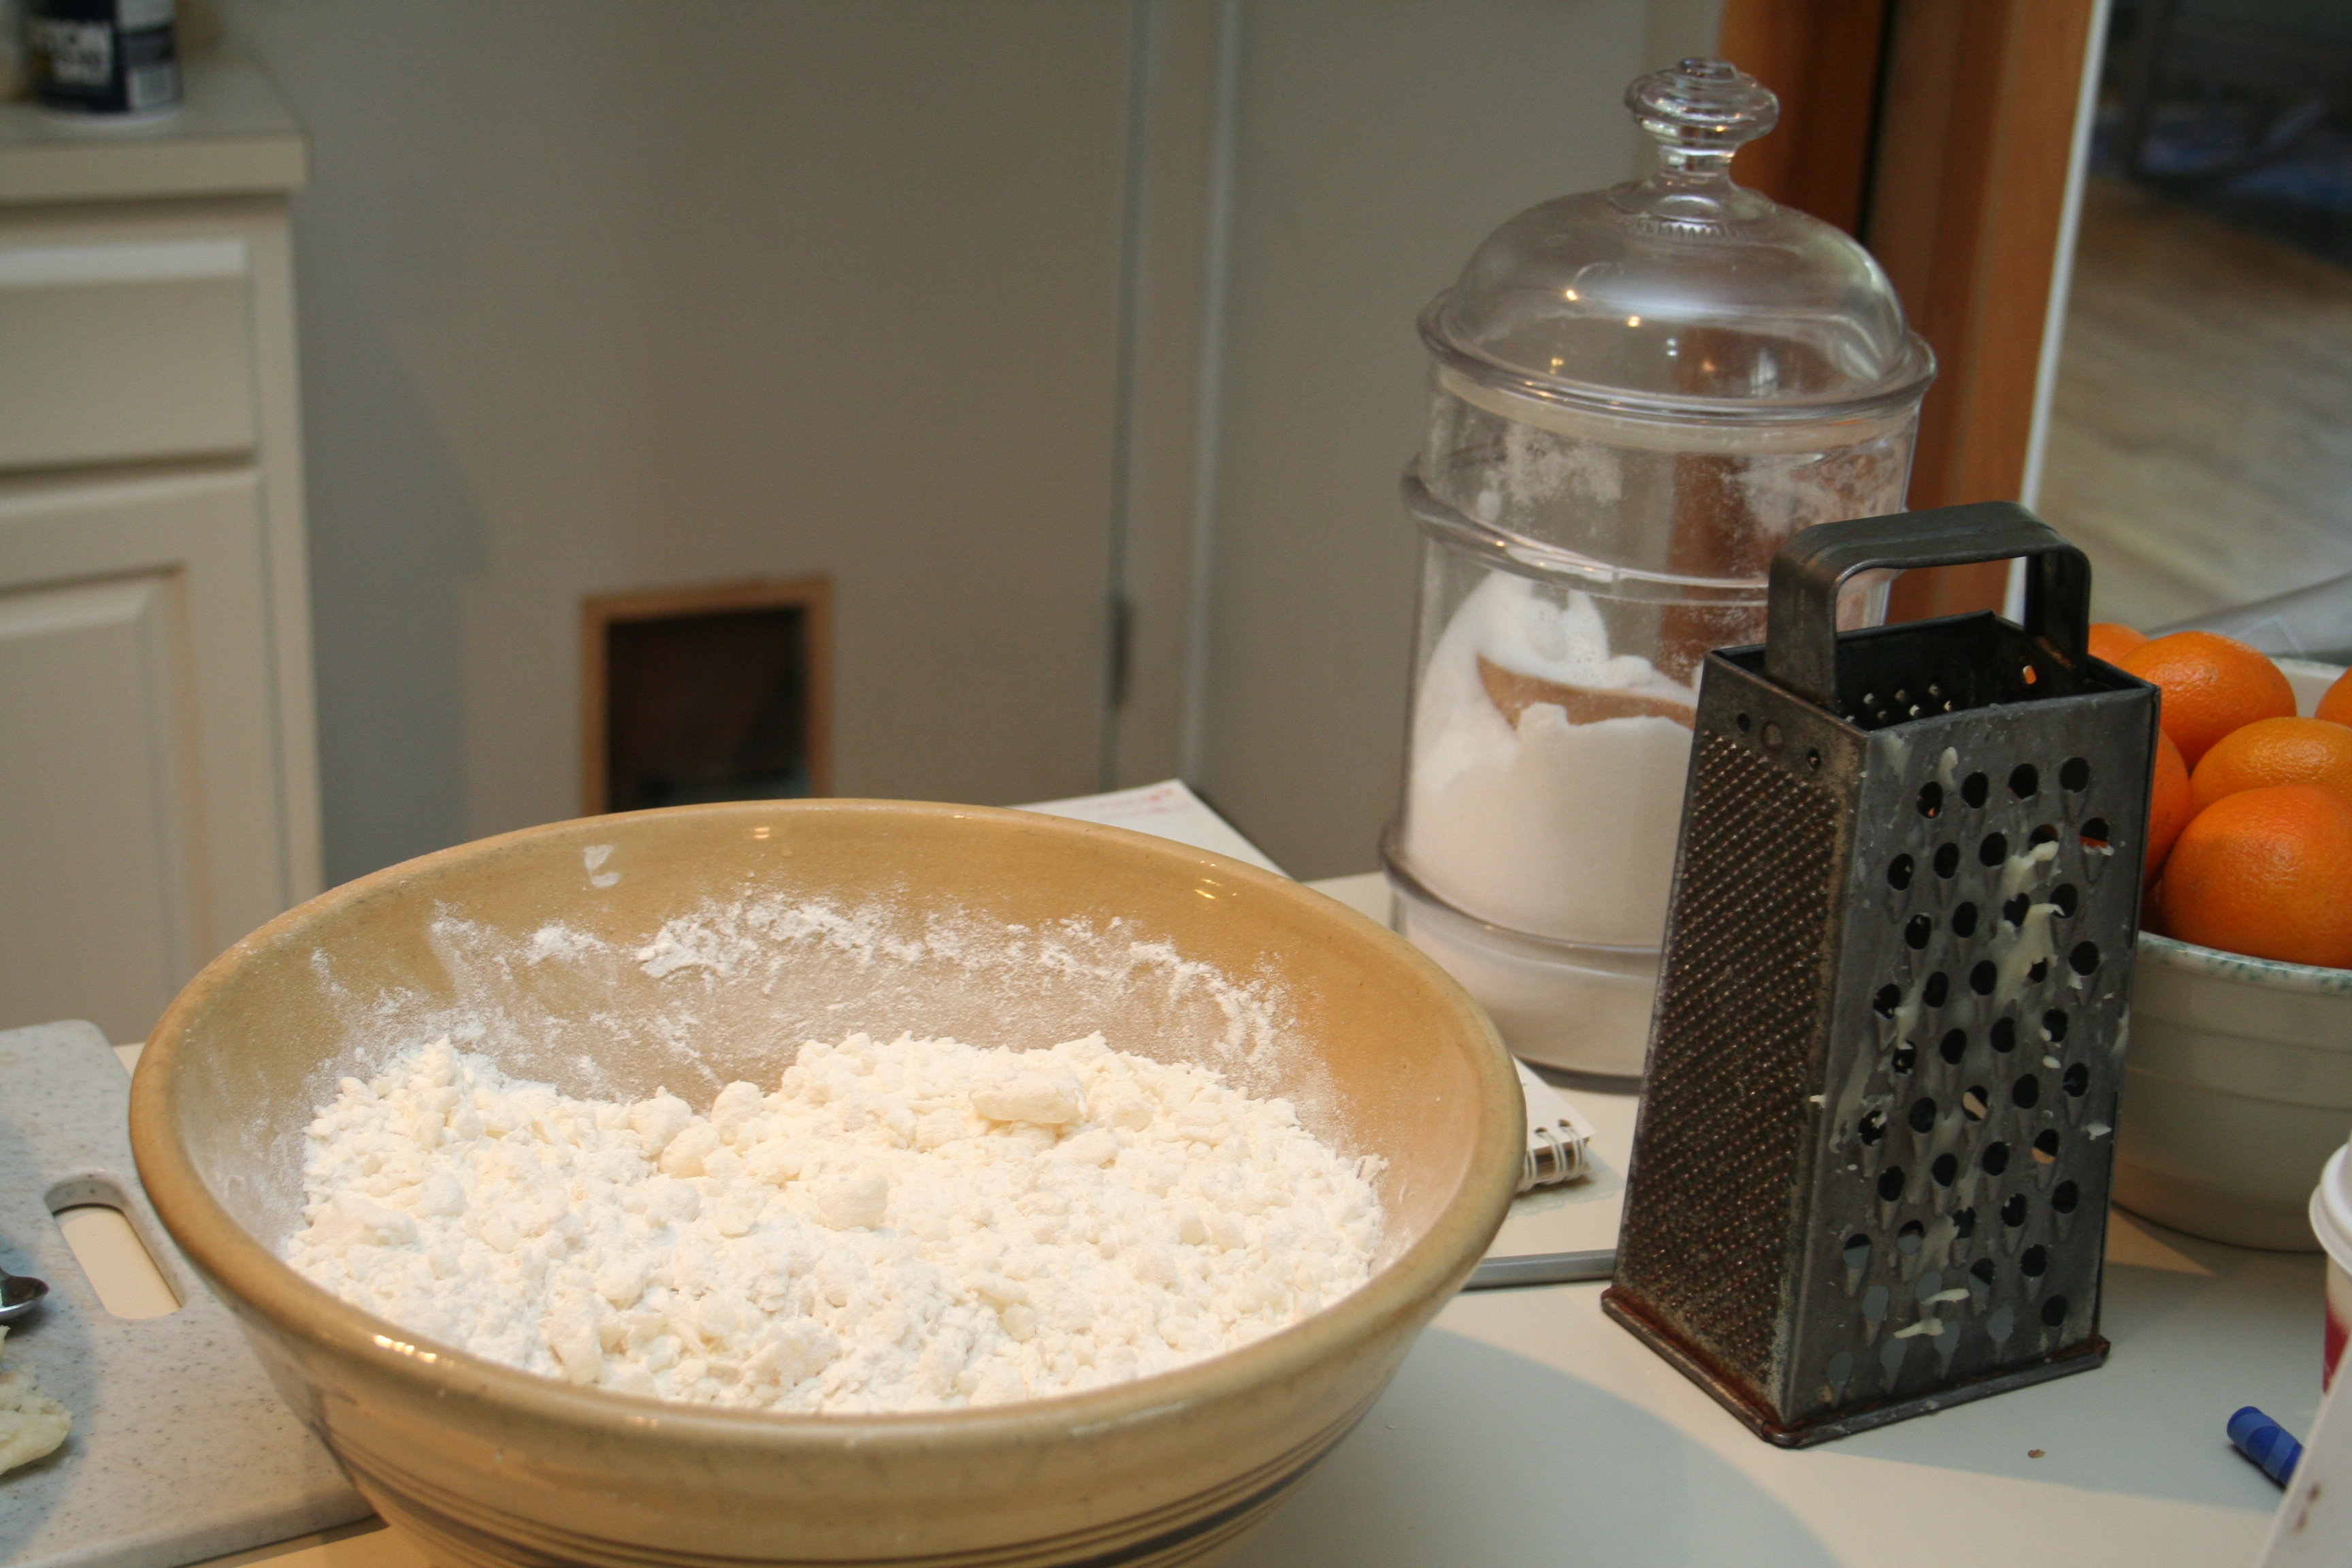
1/2 cup white corn flour ( maseca works great )
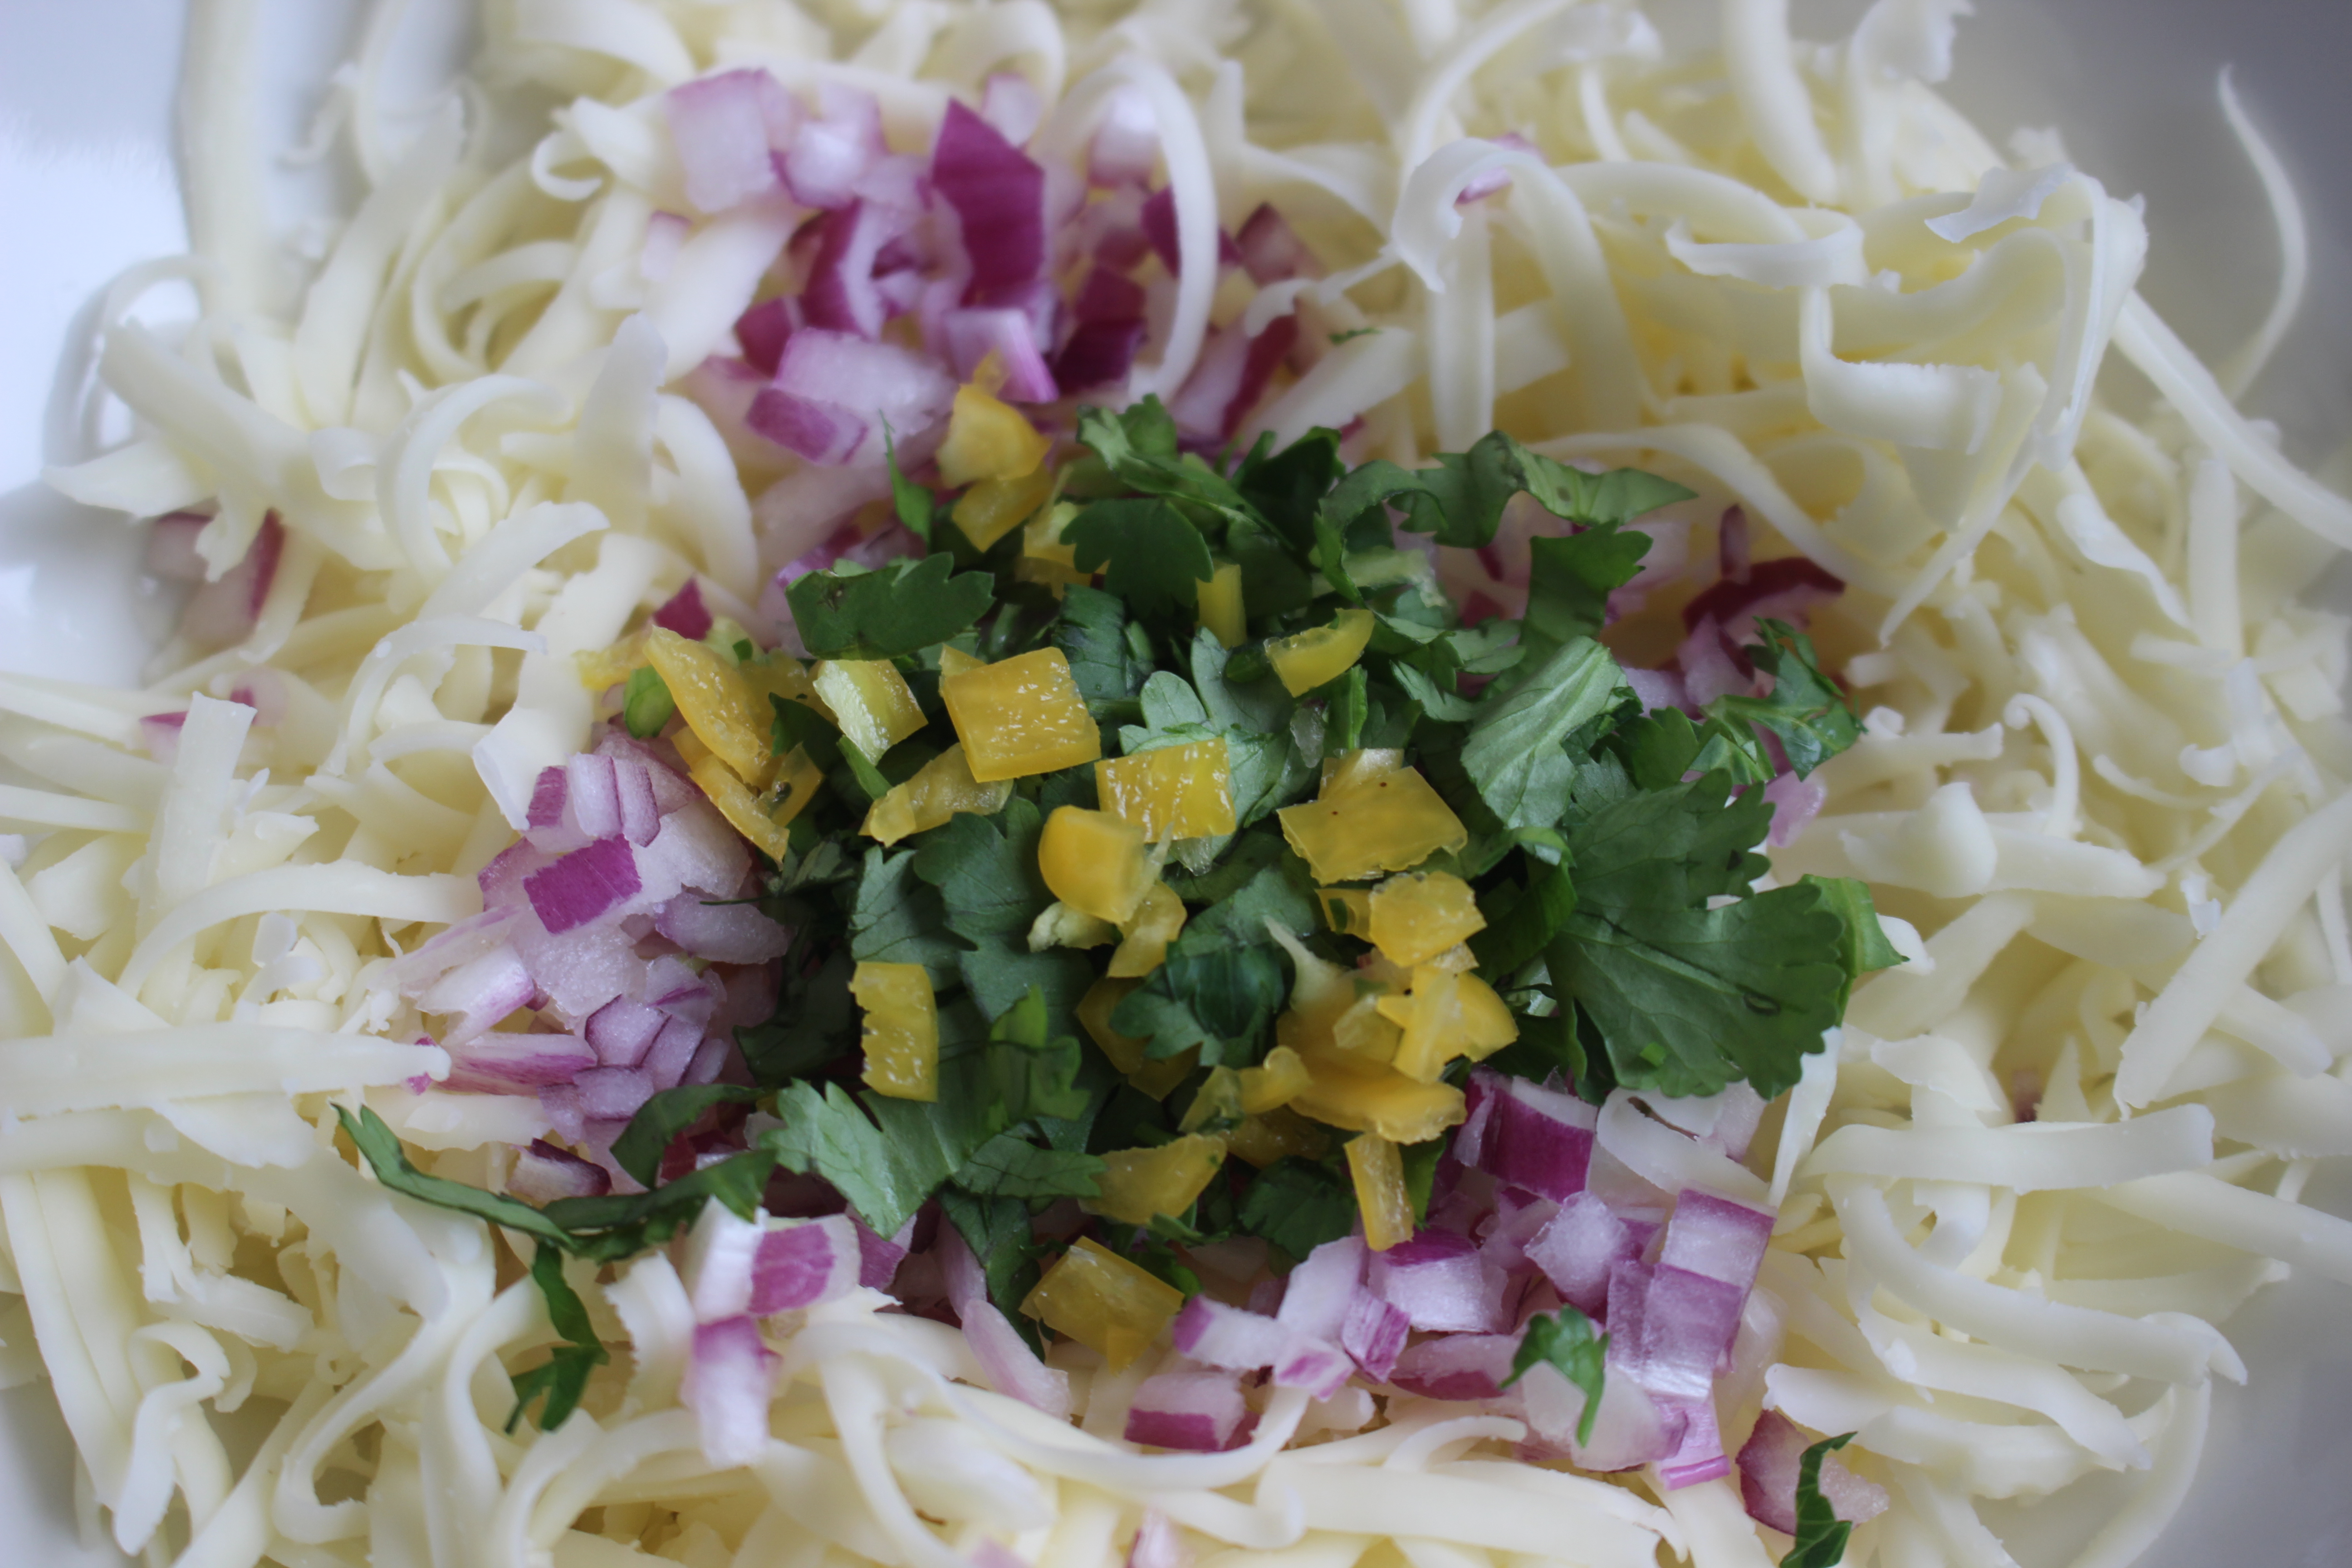
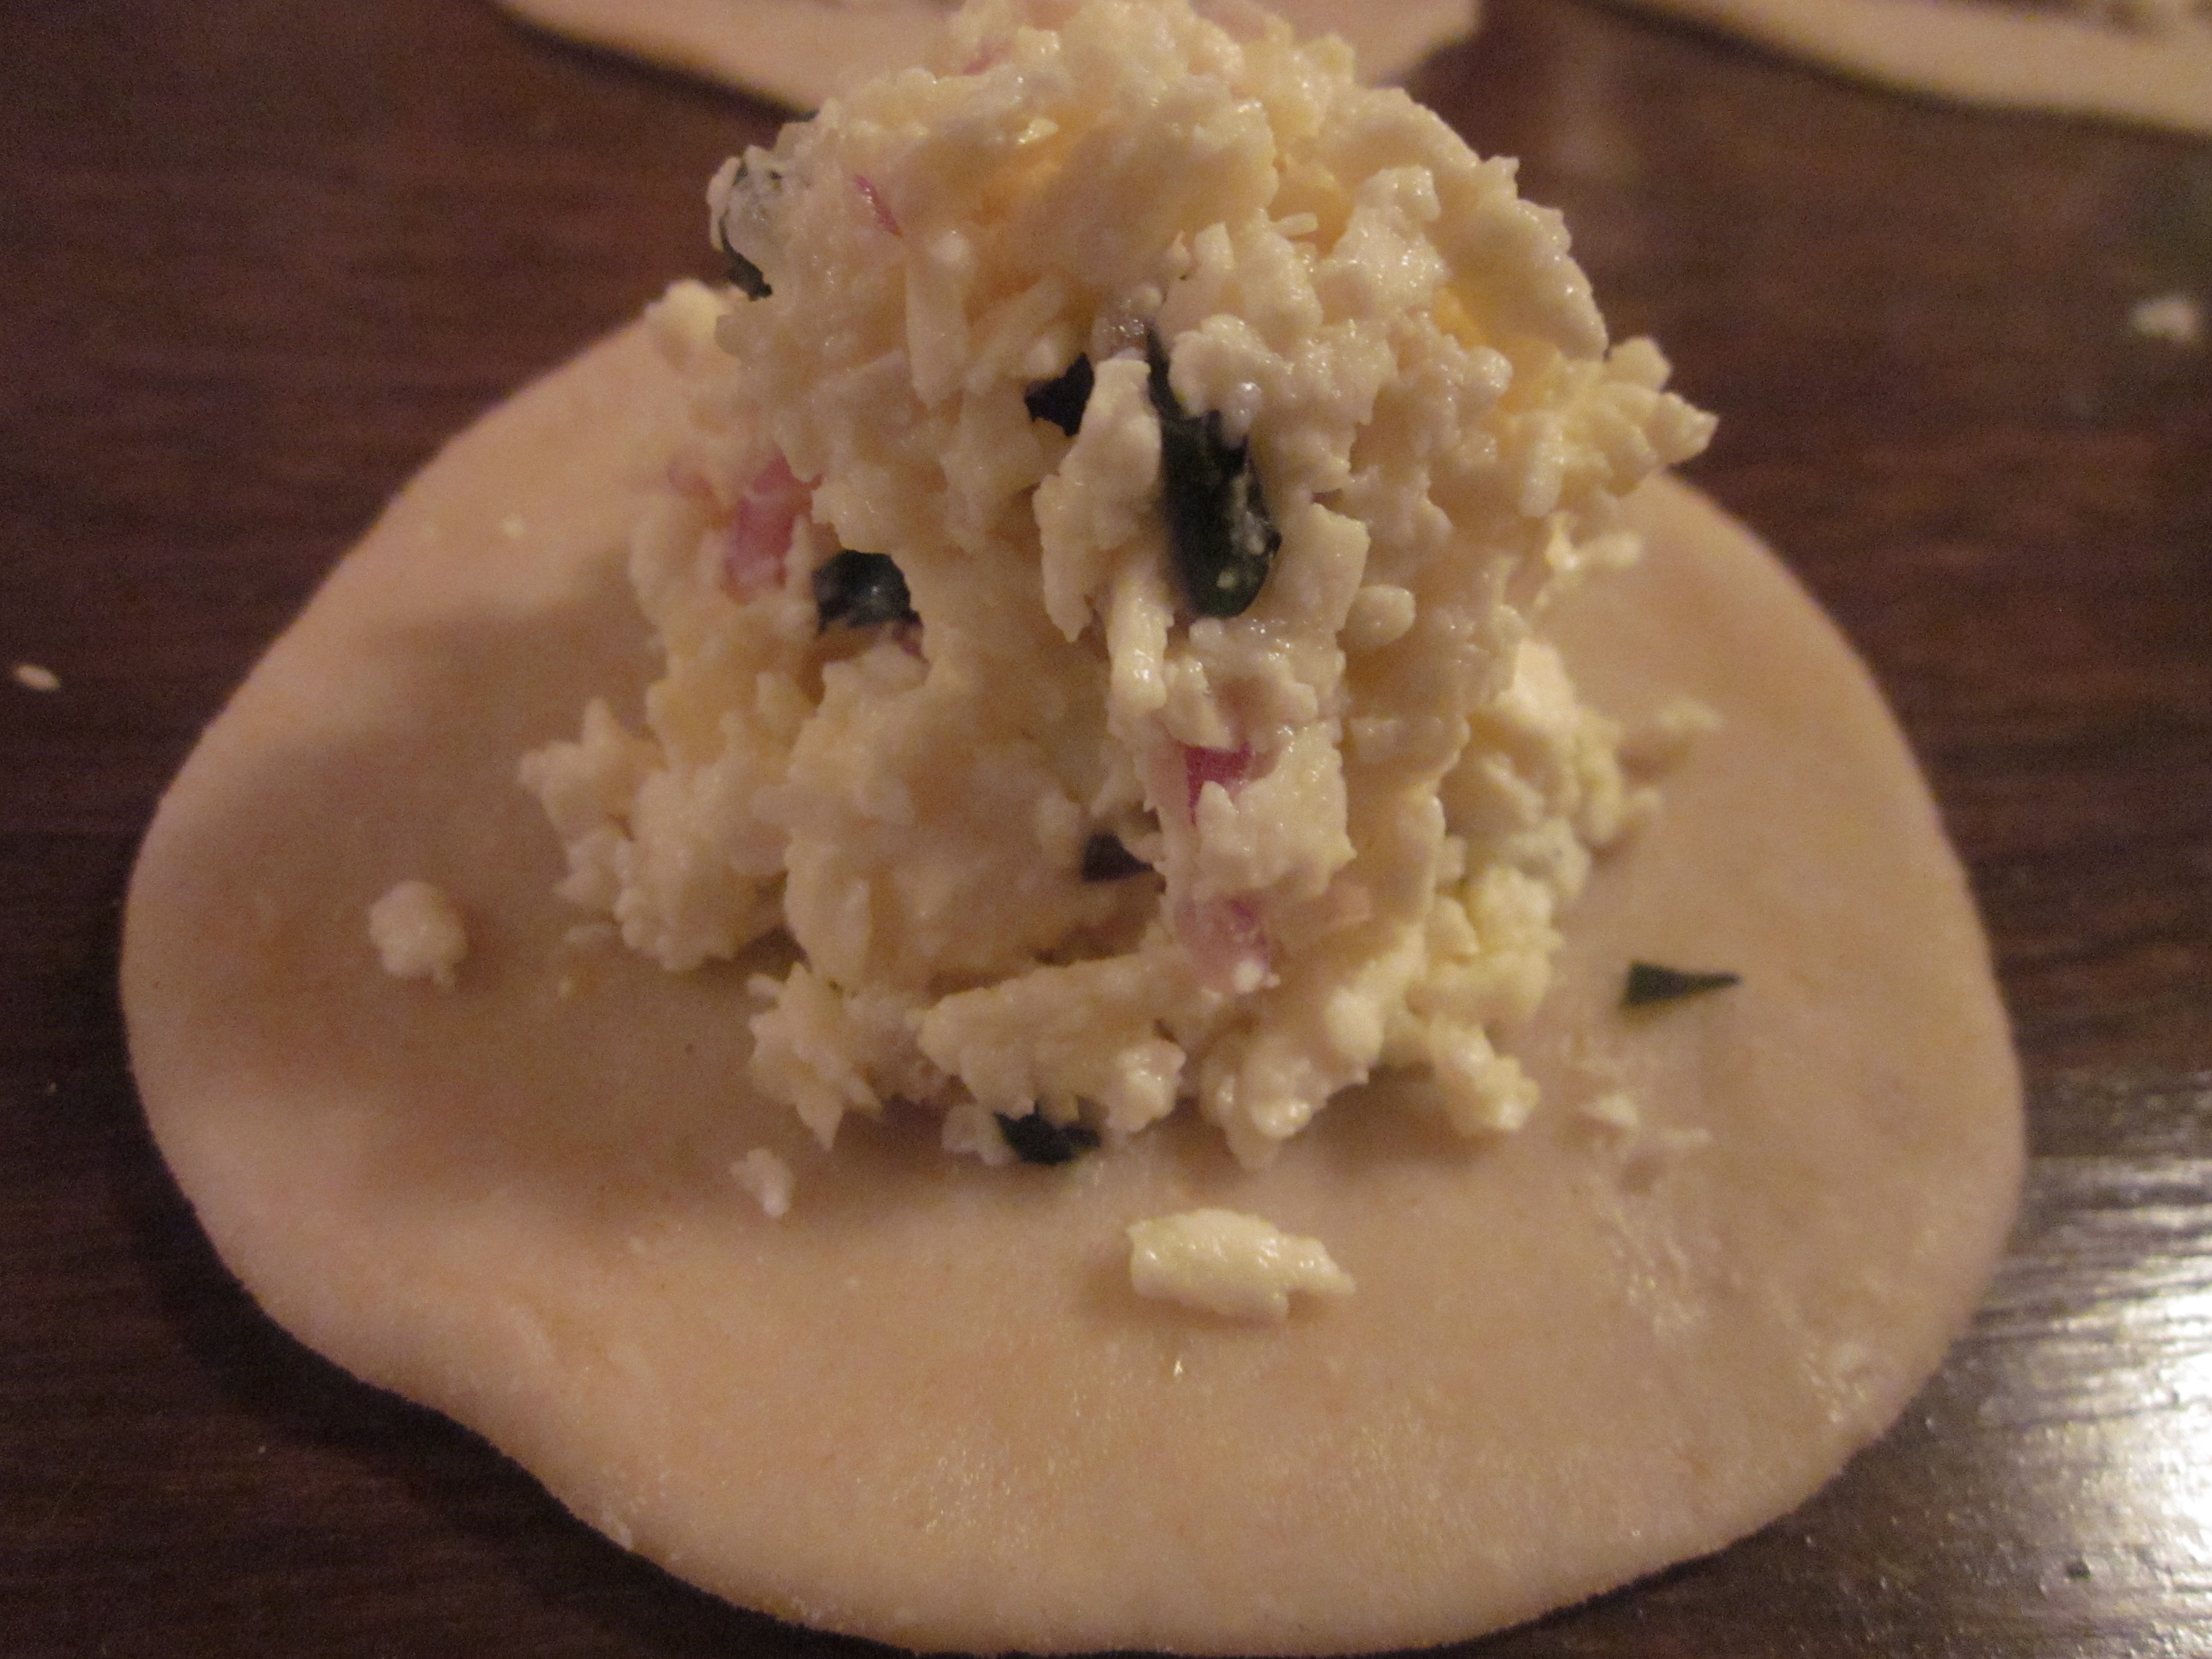
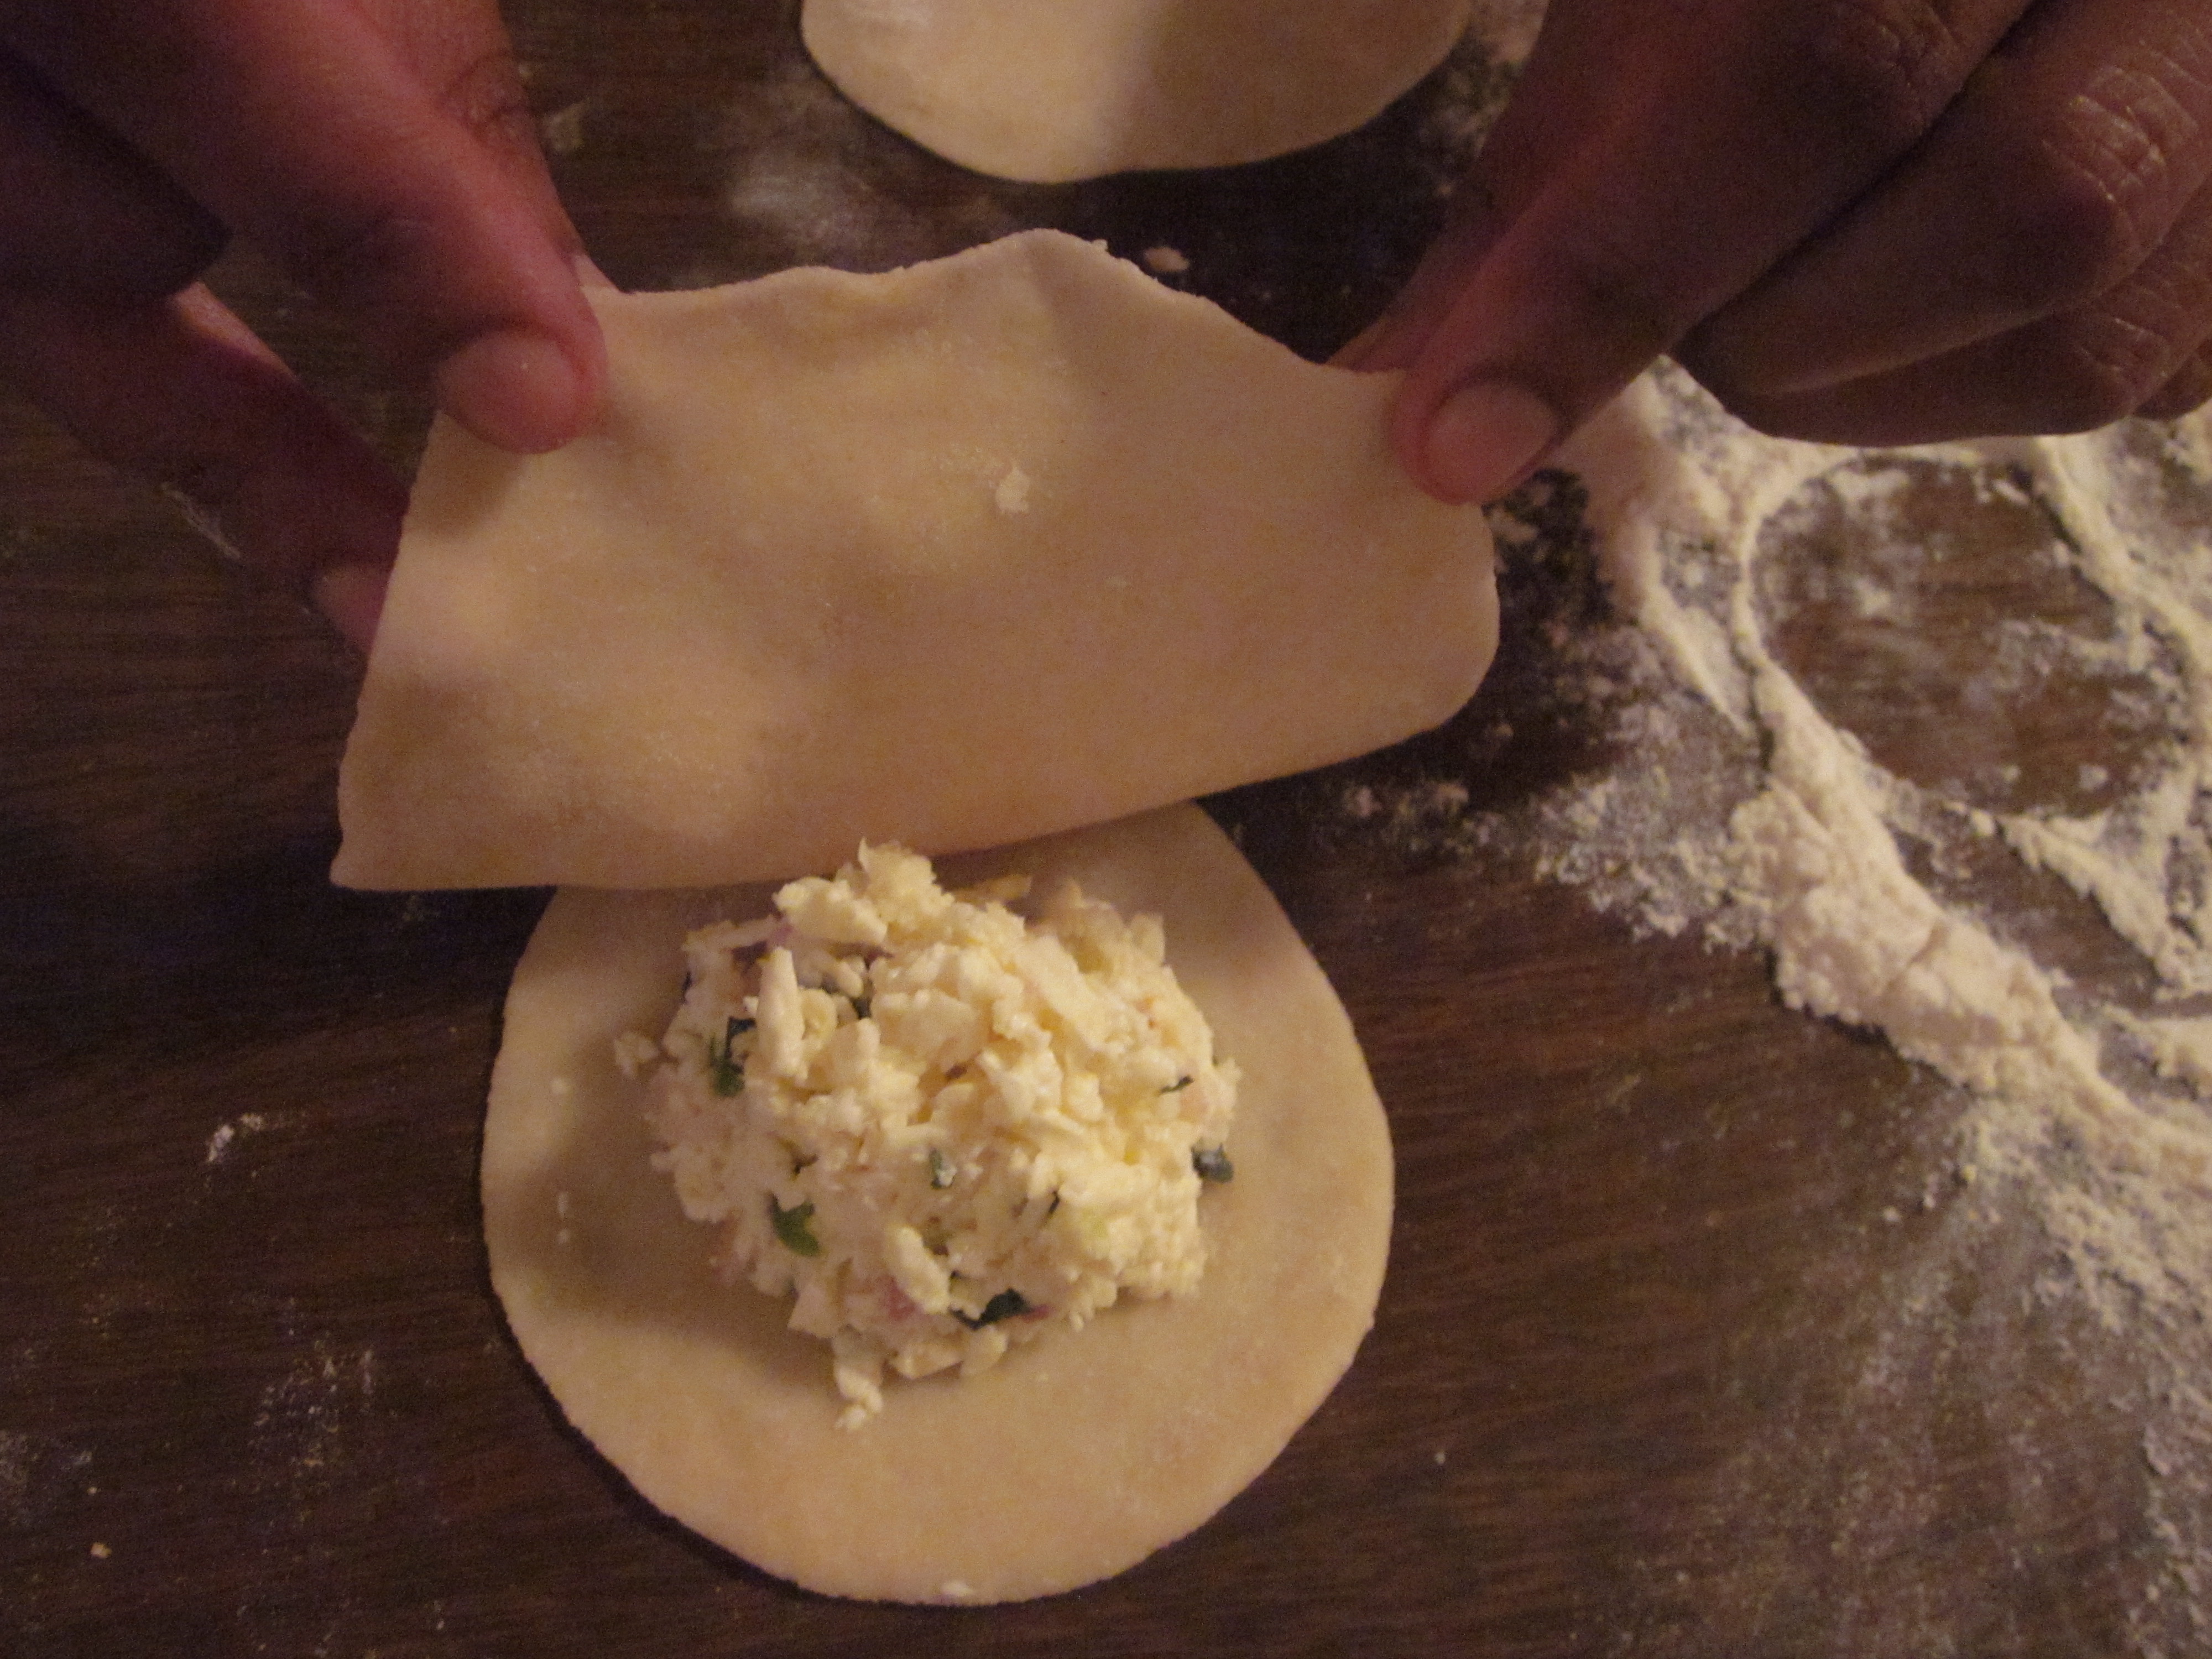
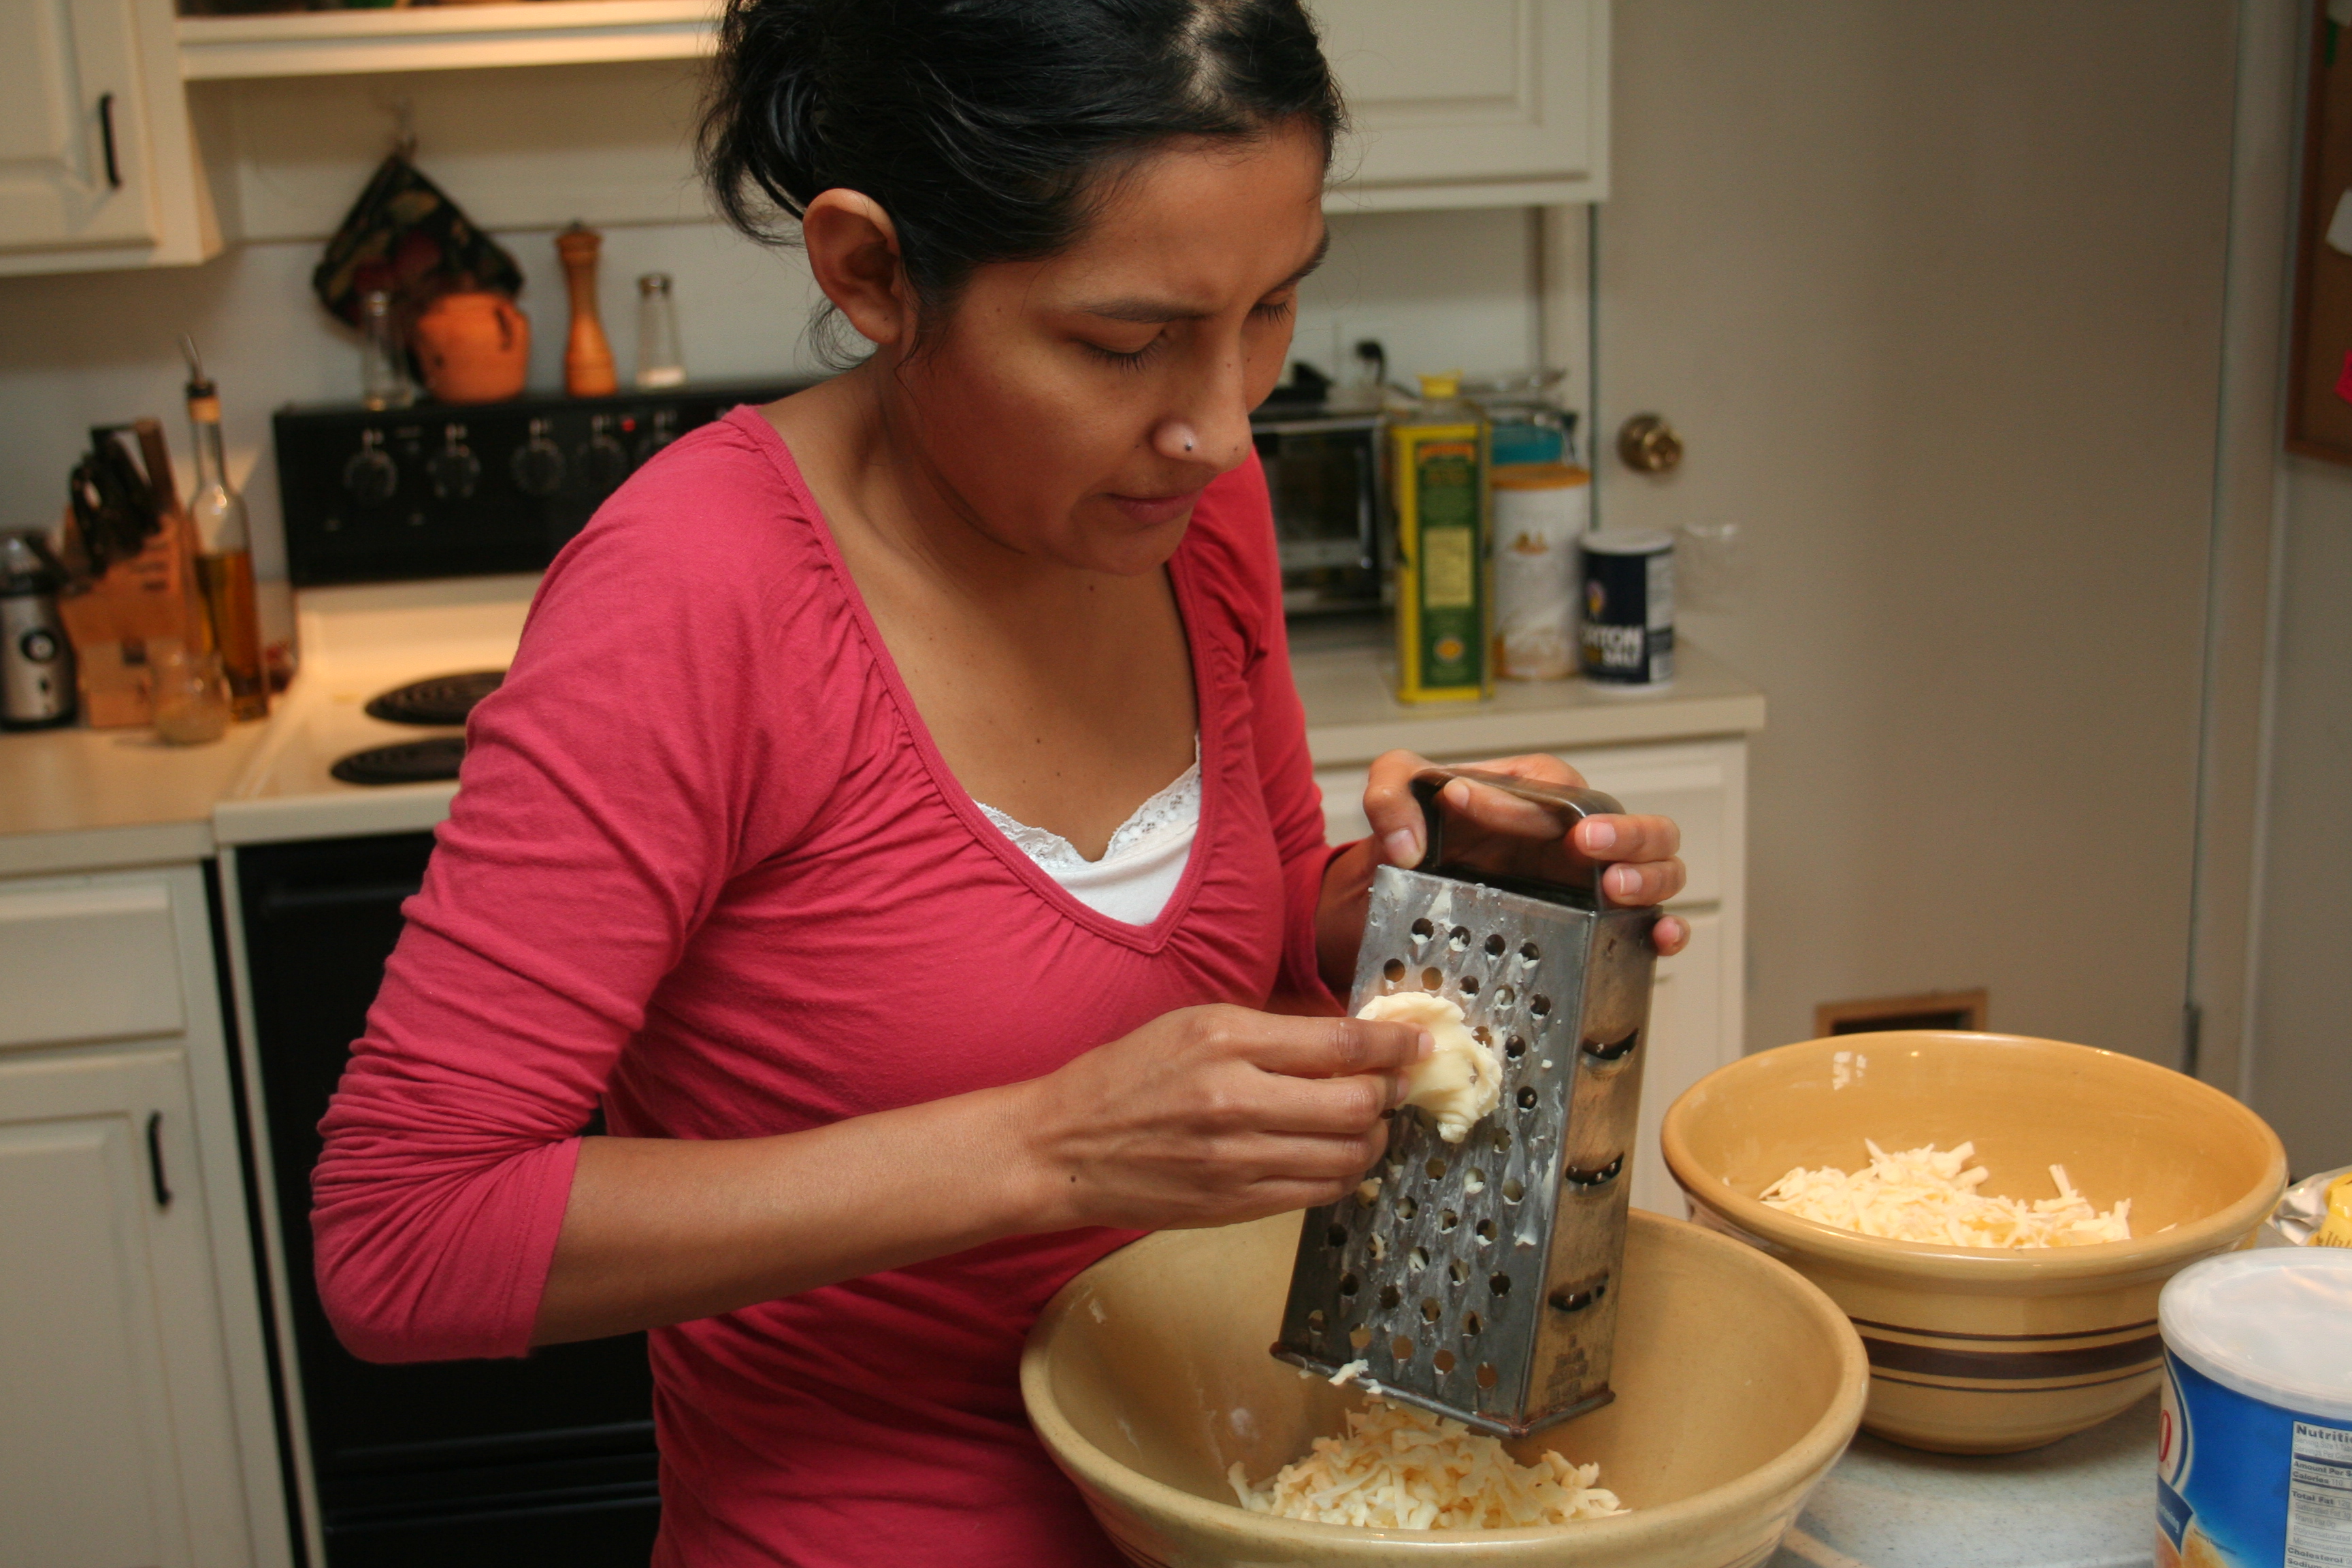
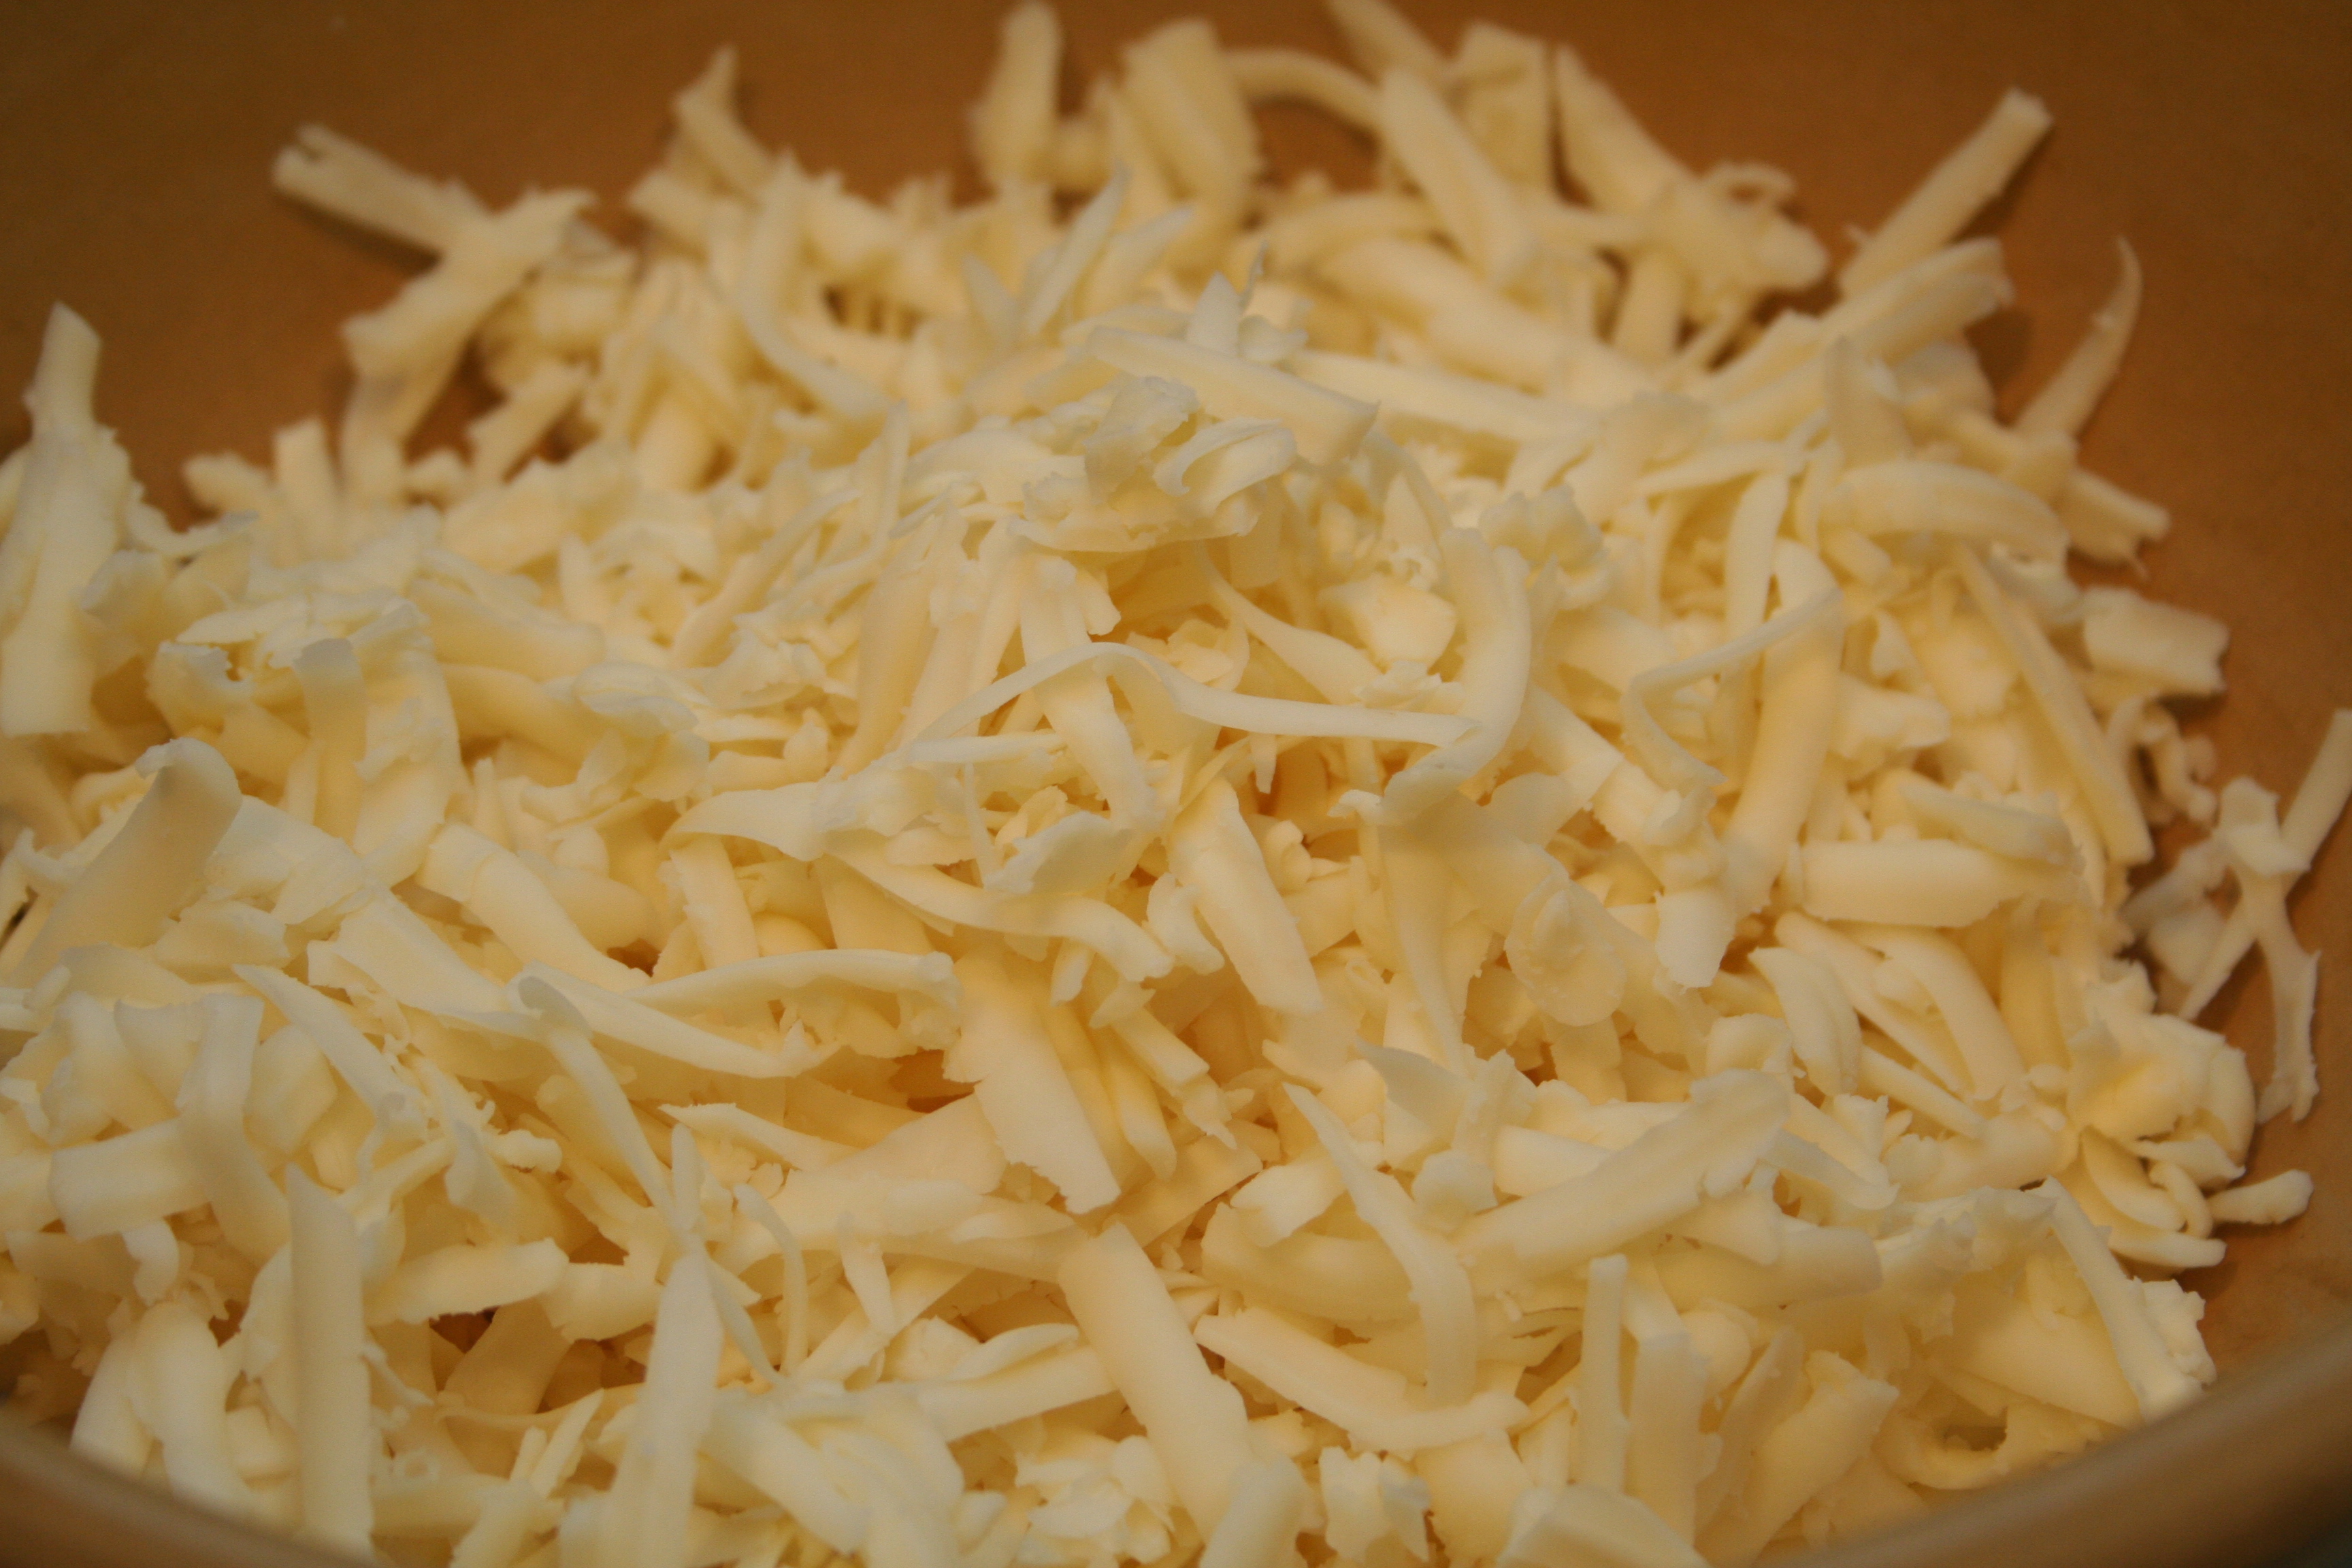
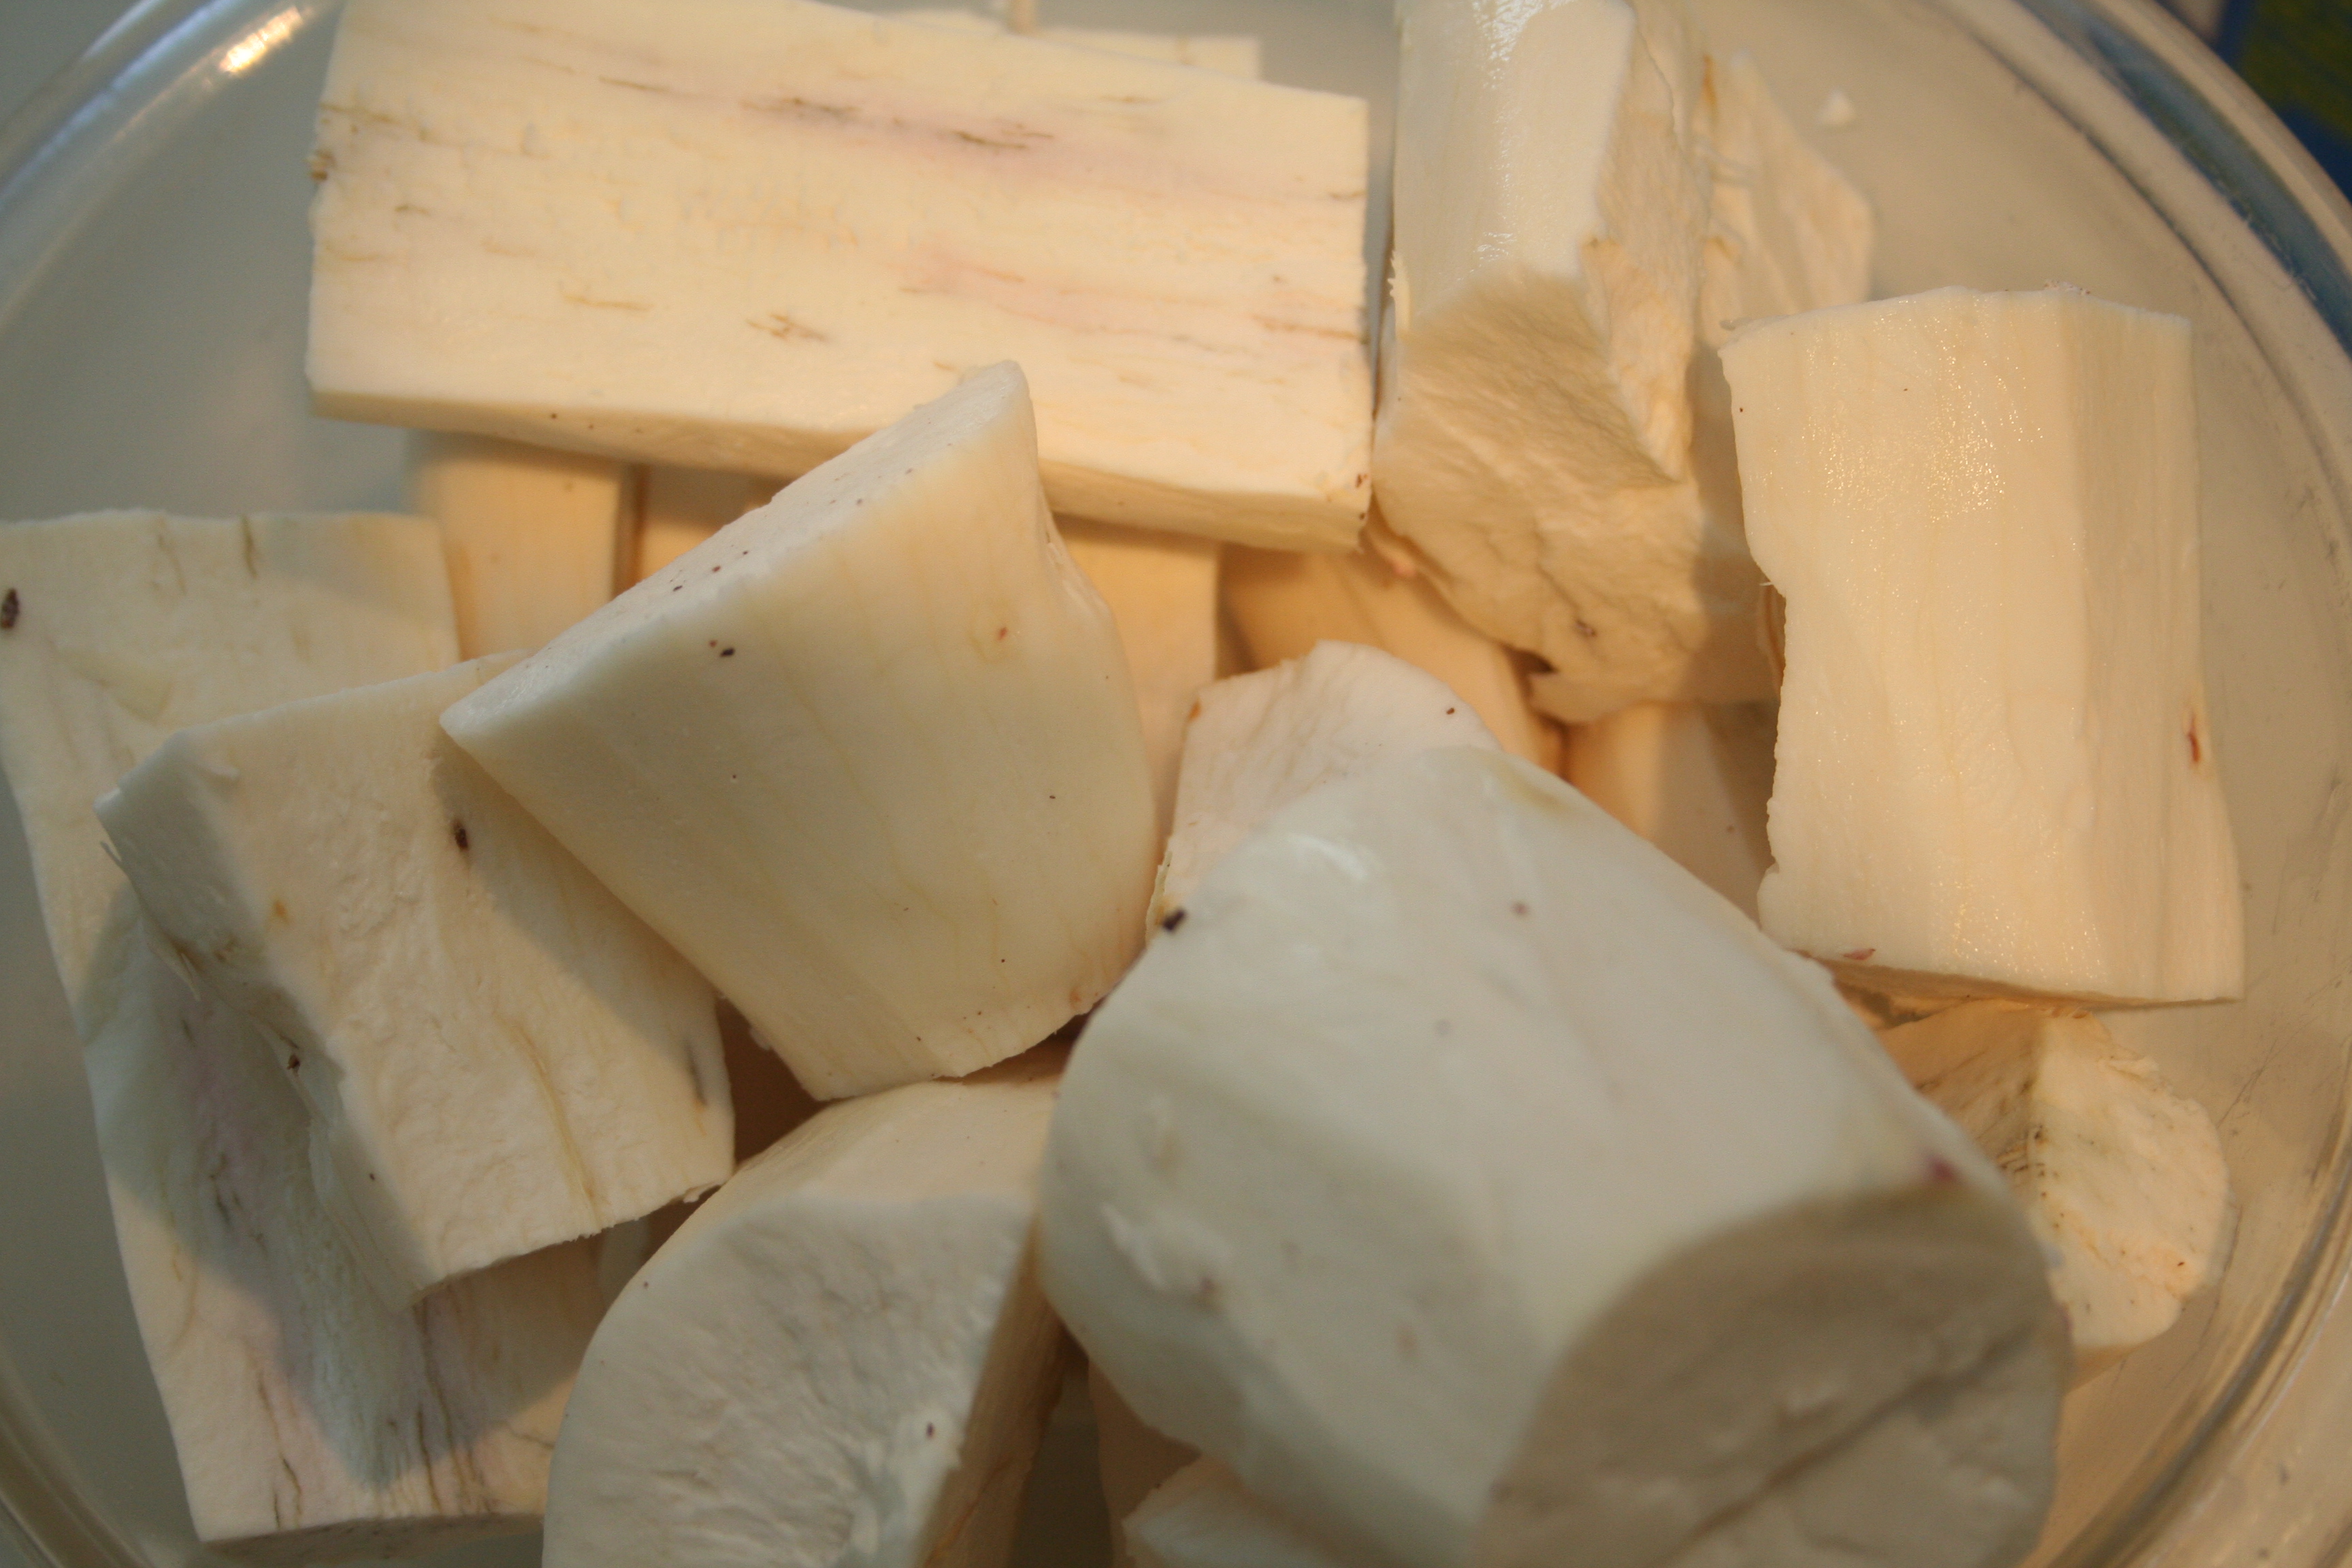
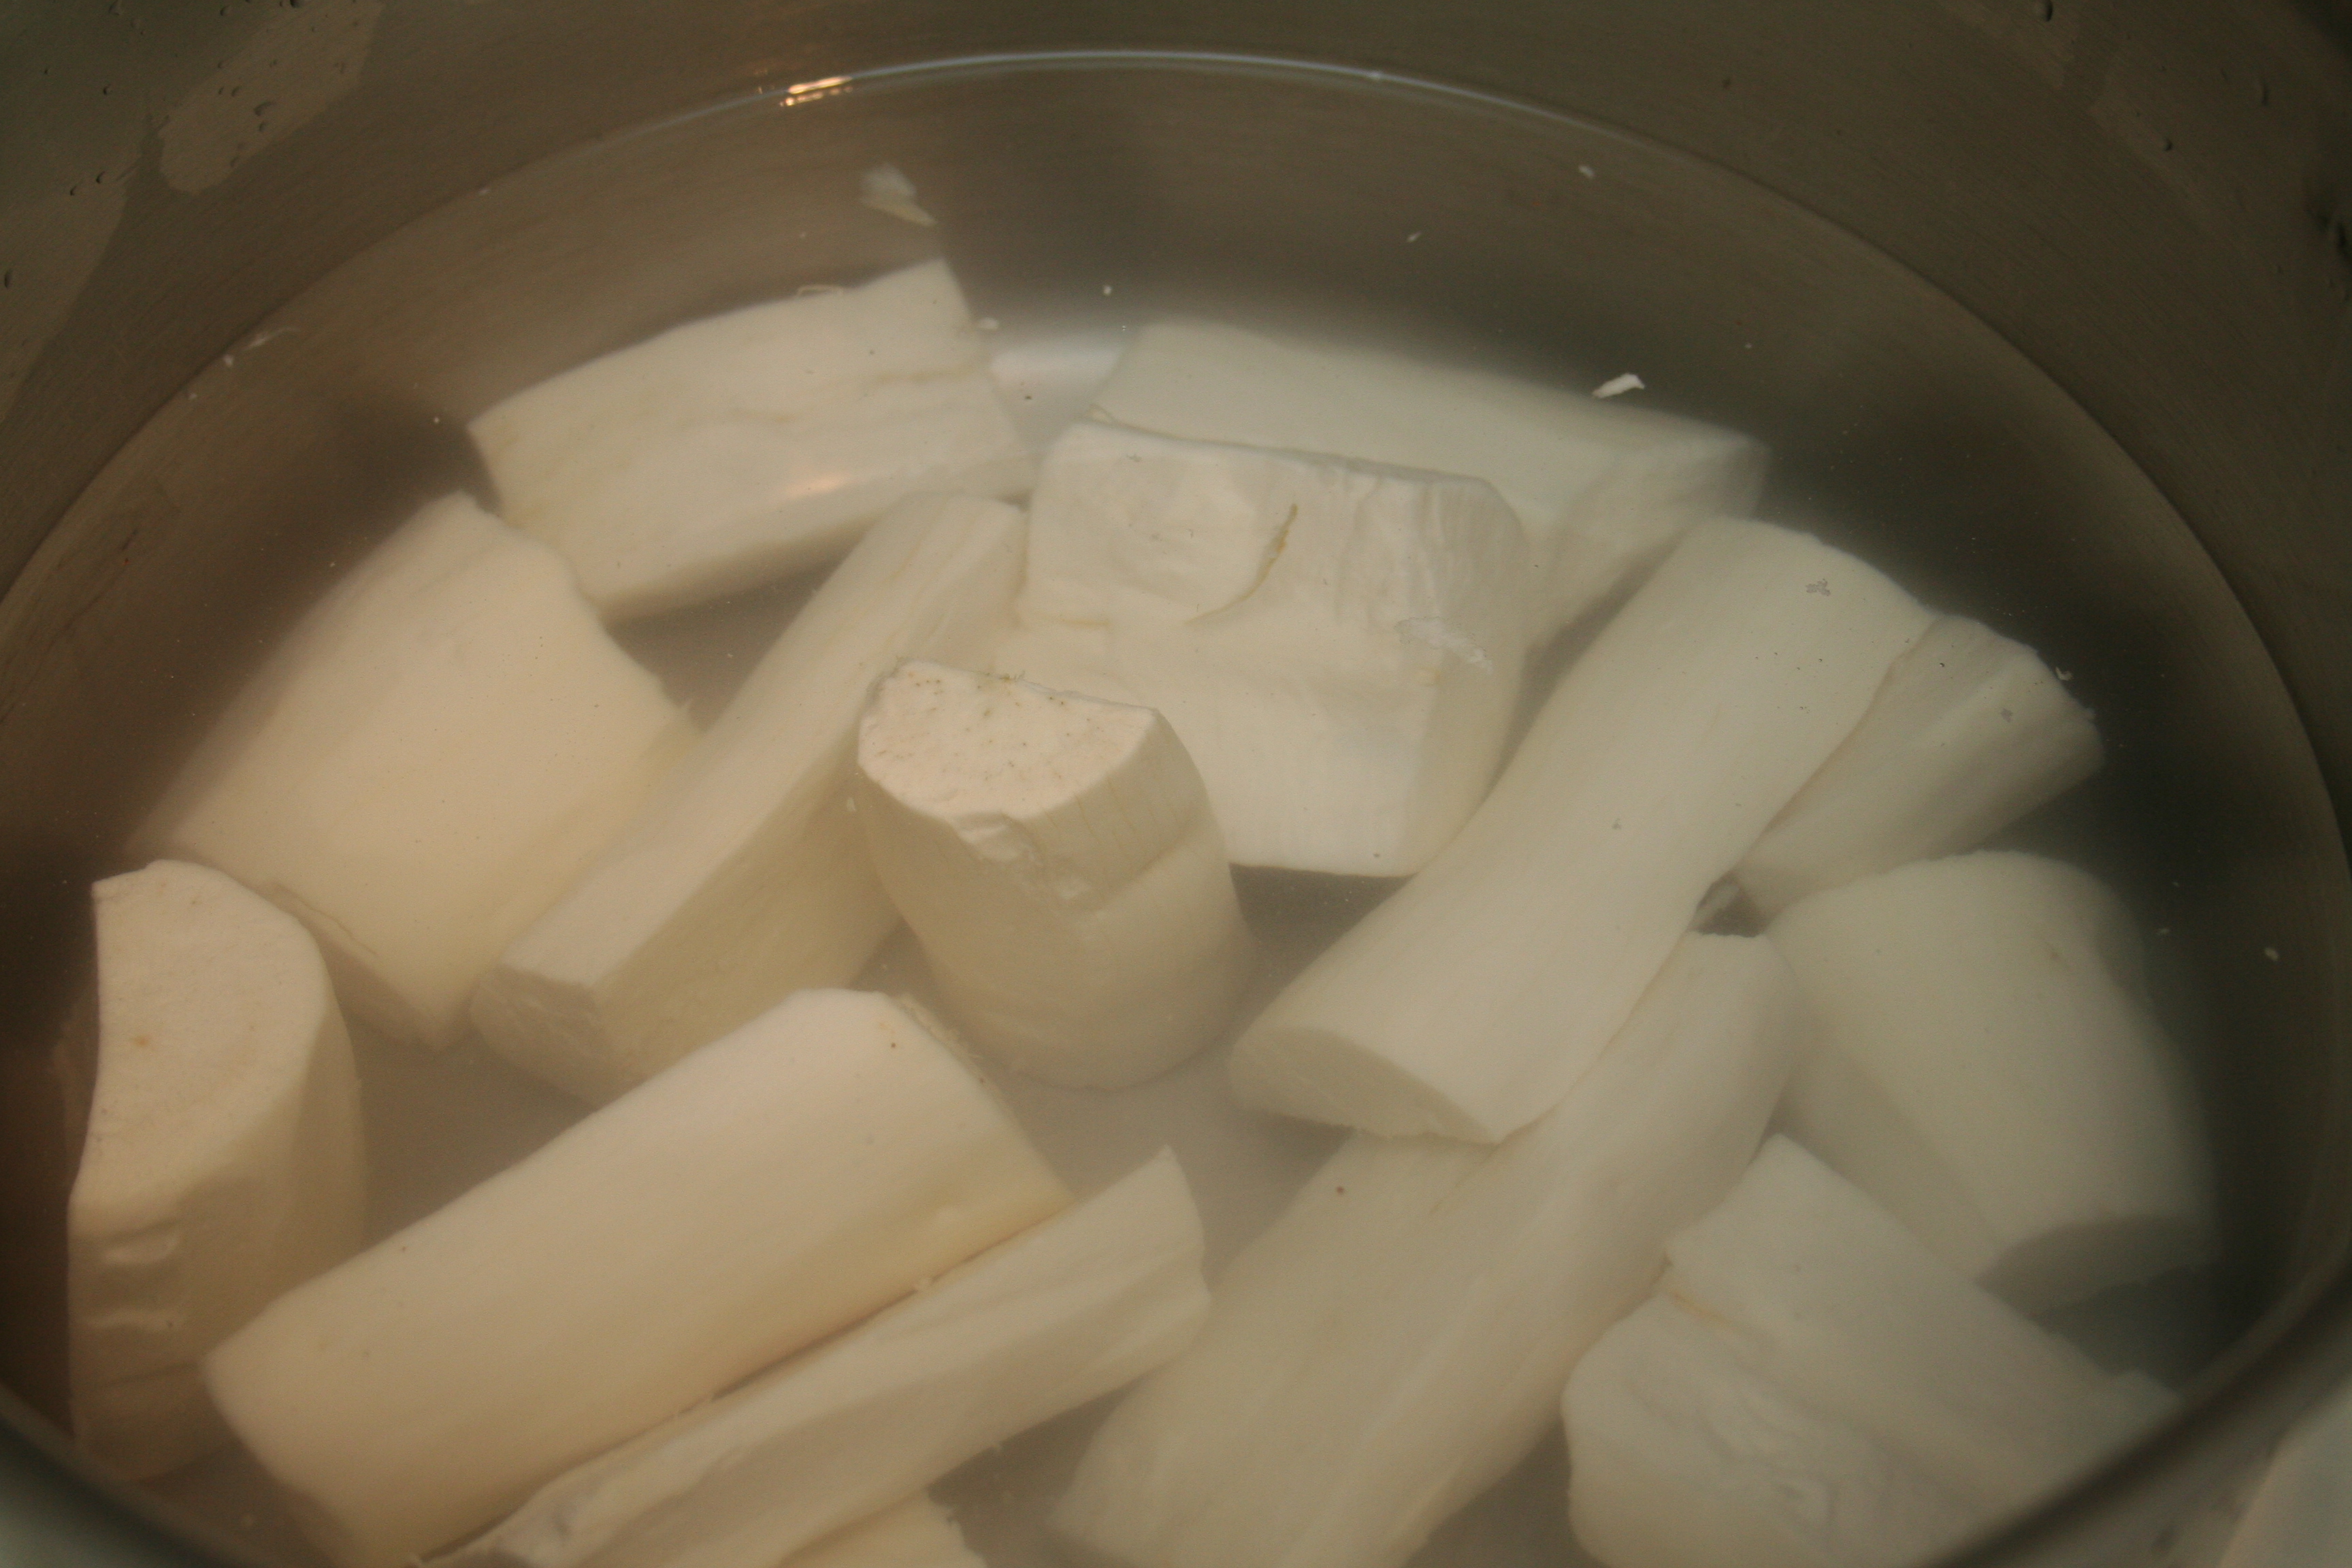
12 slices of queso fresco or cotija
4 tsp sugar
2 tsp salt
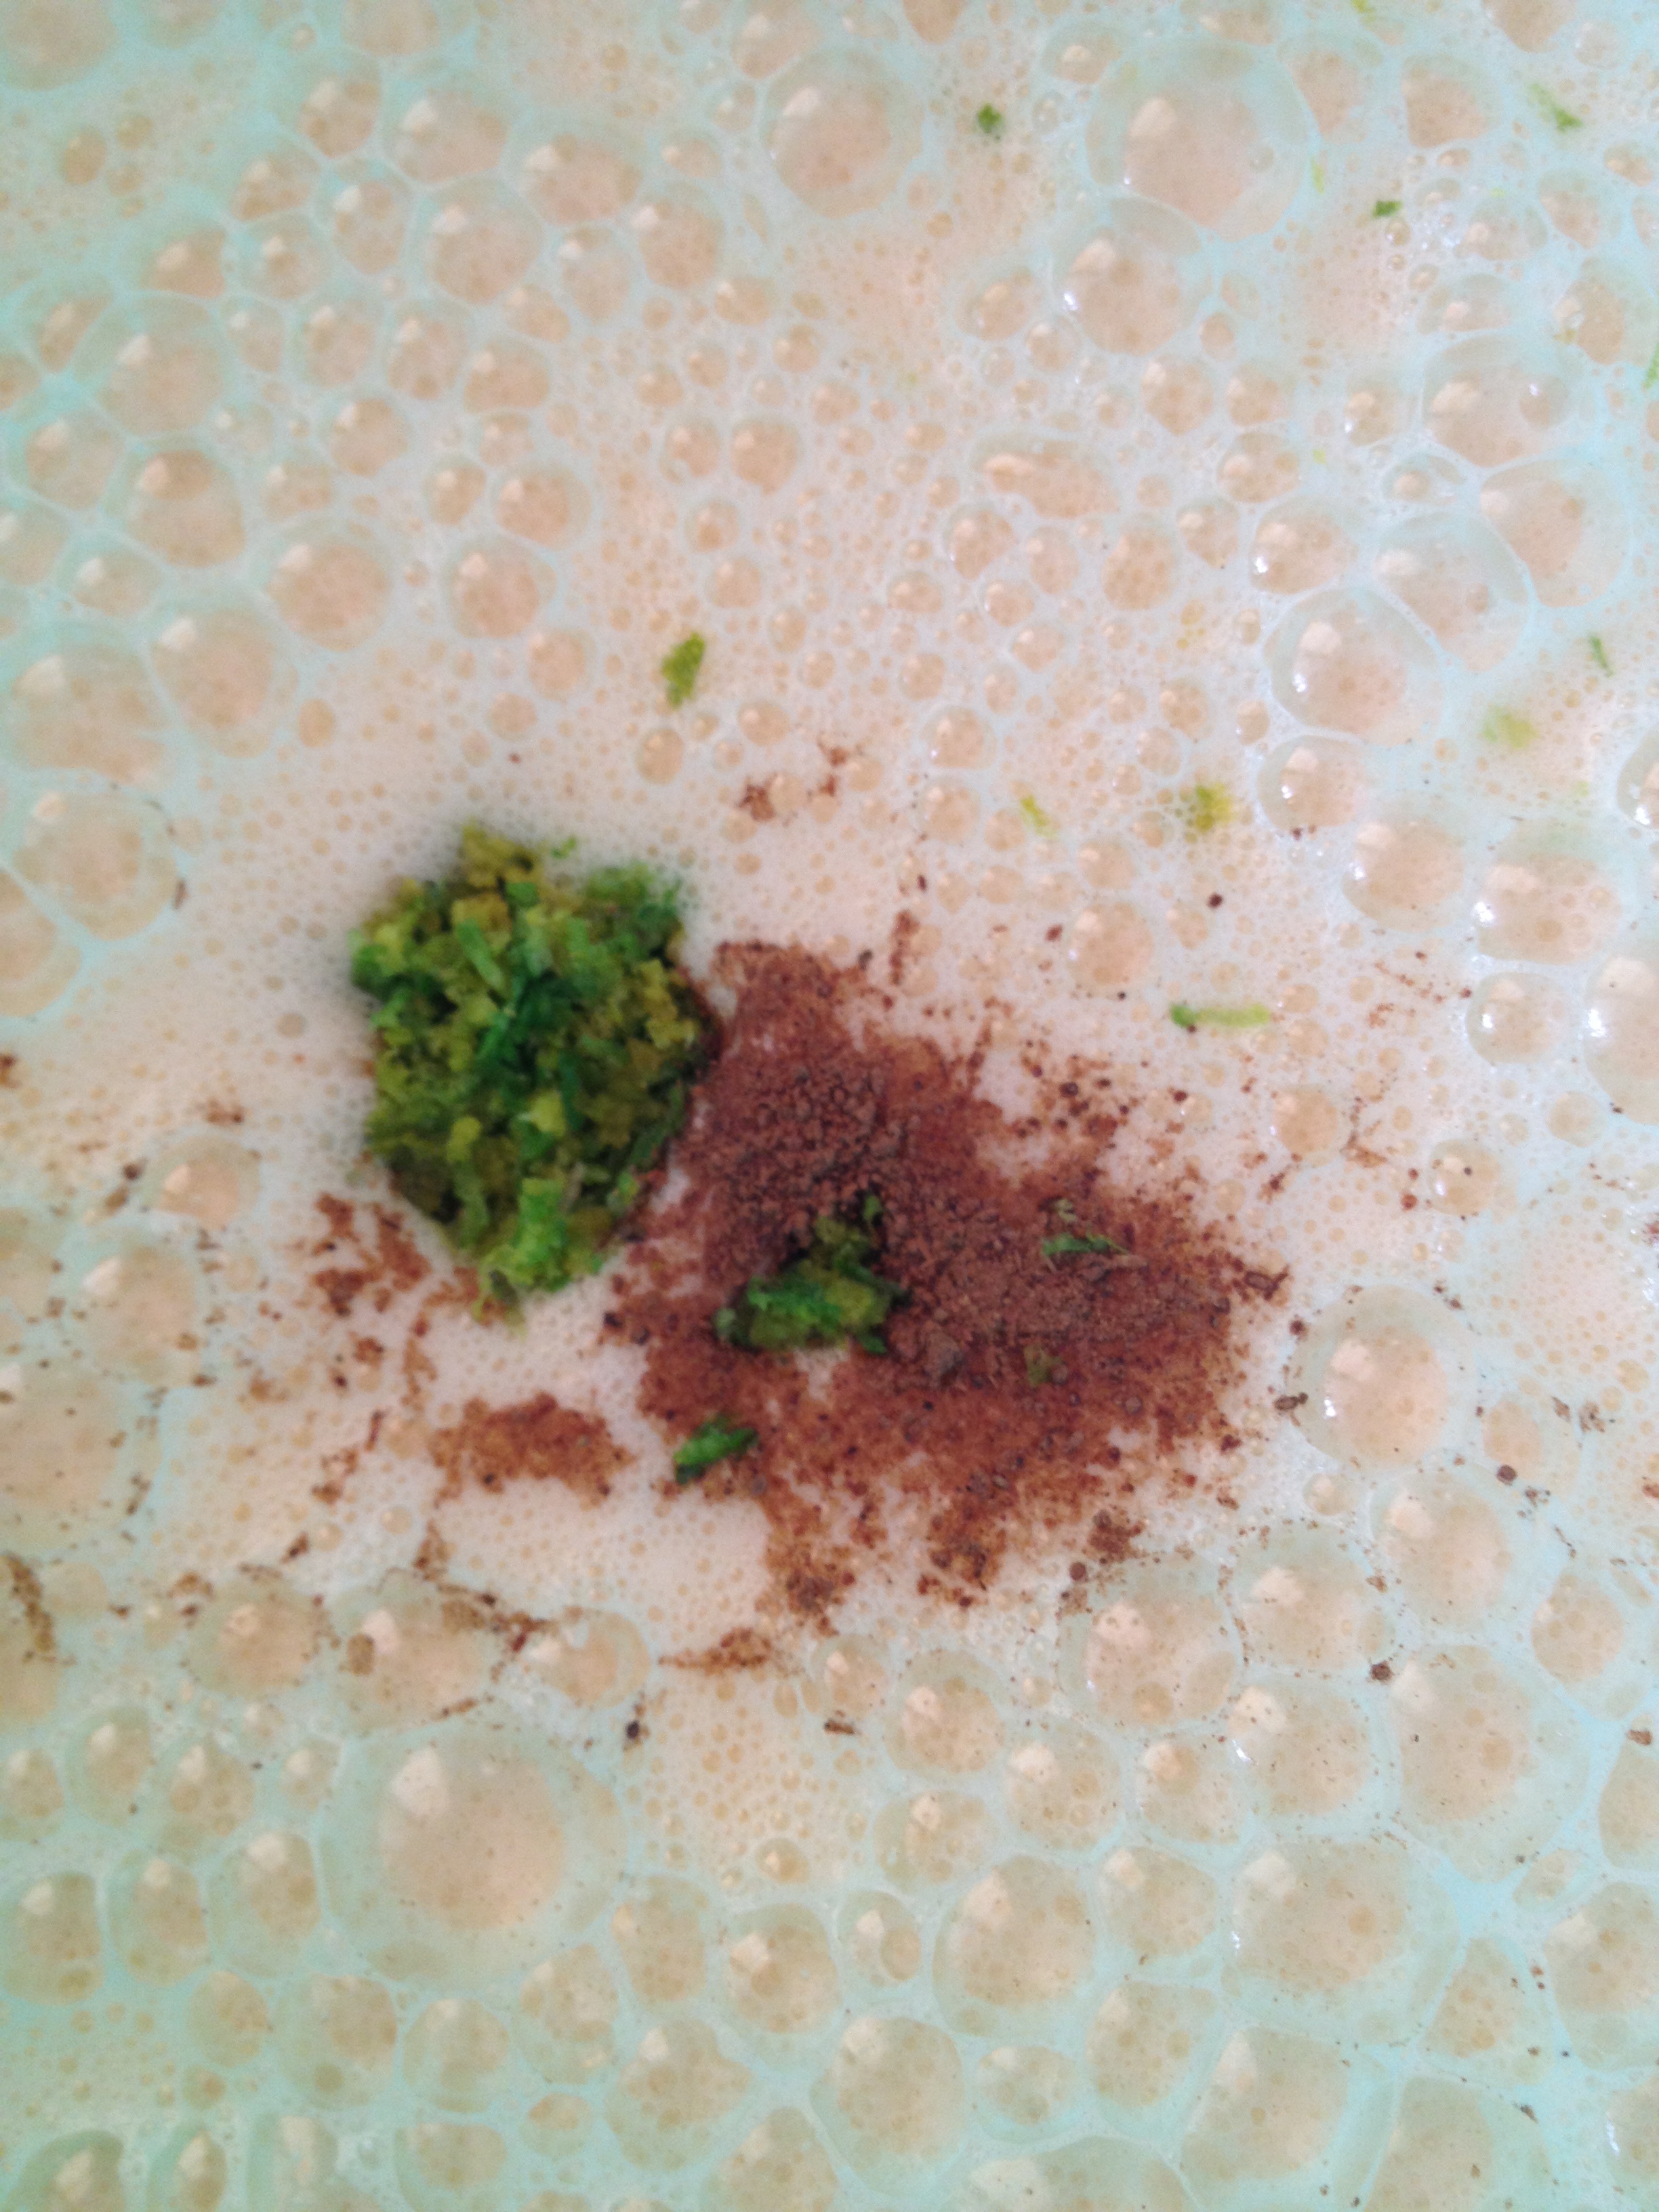
1 tbsp annis
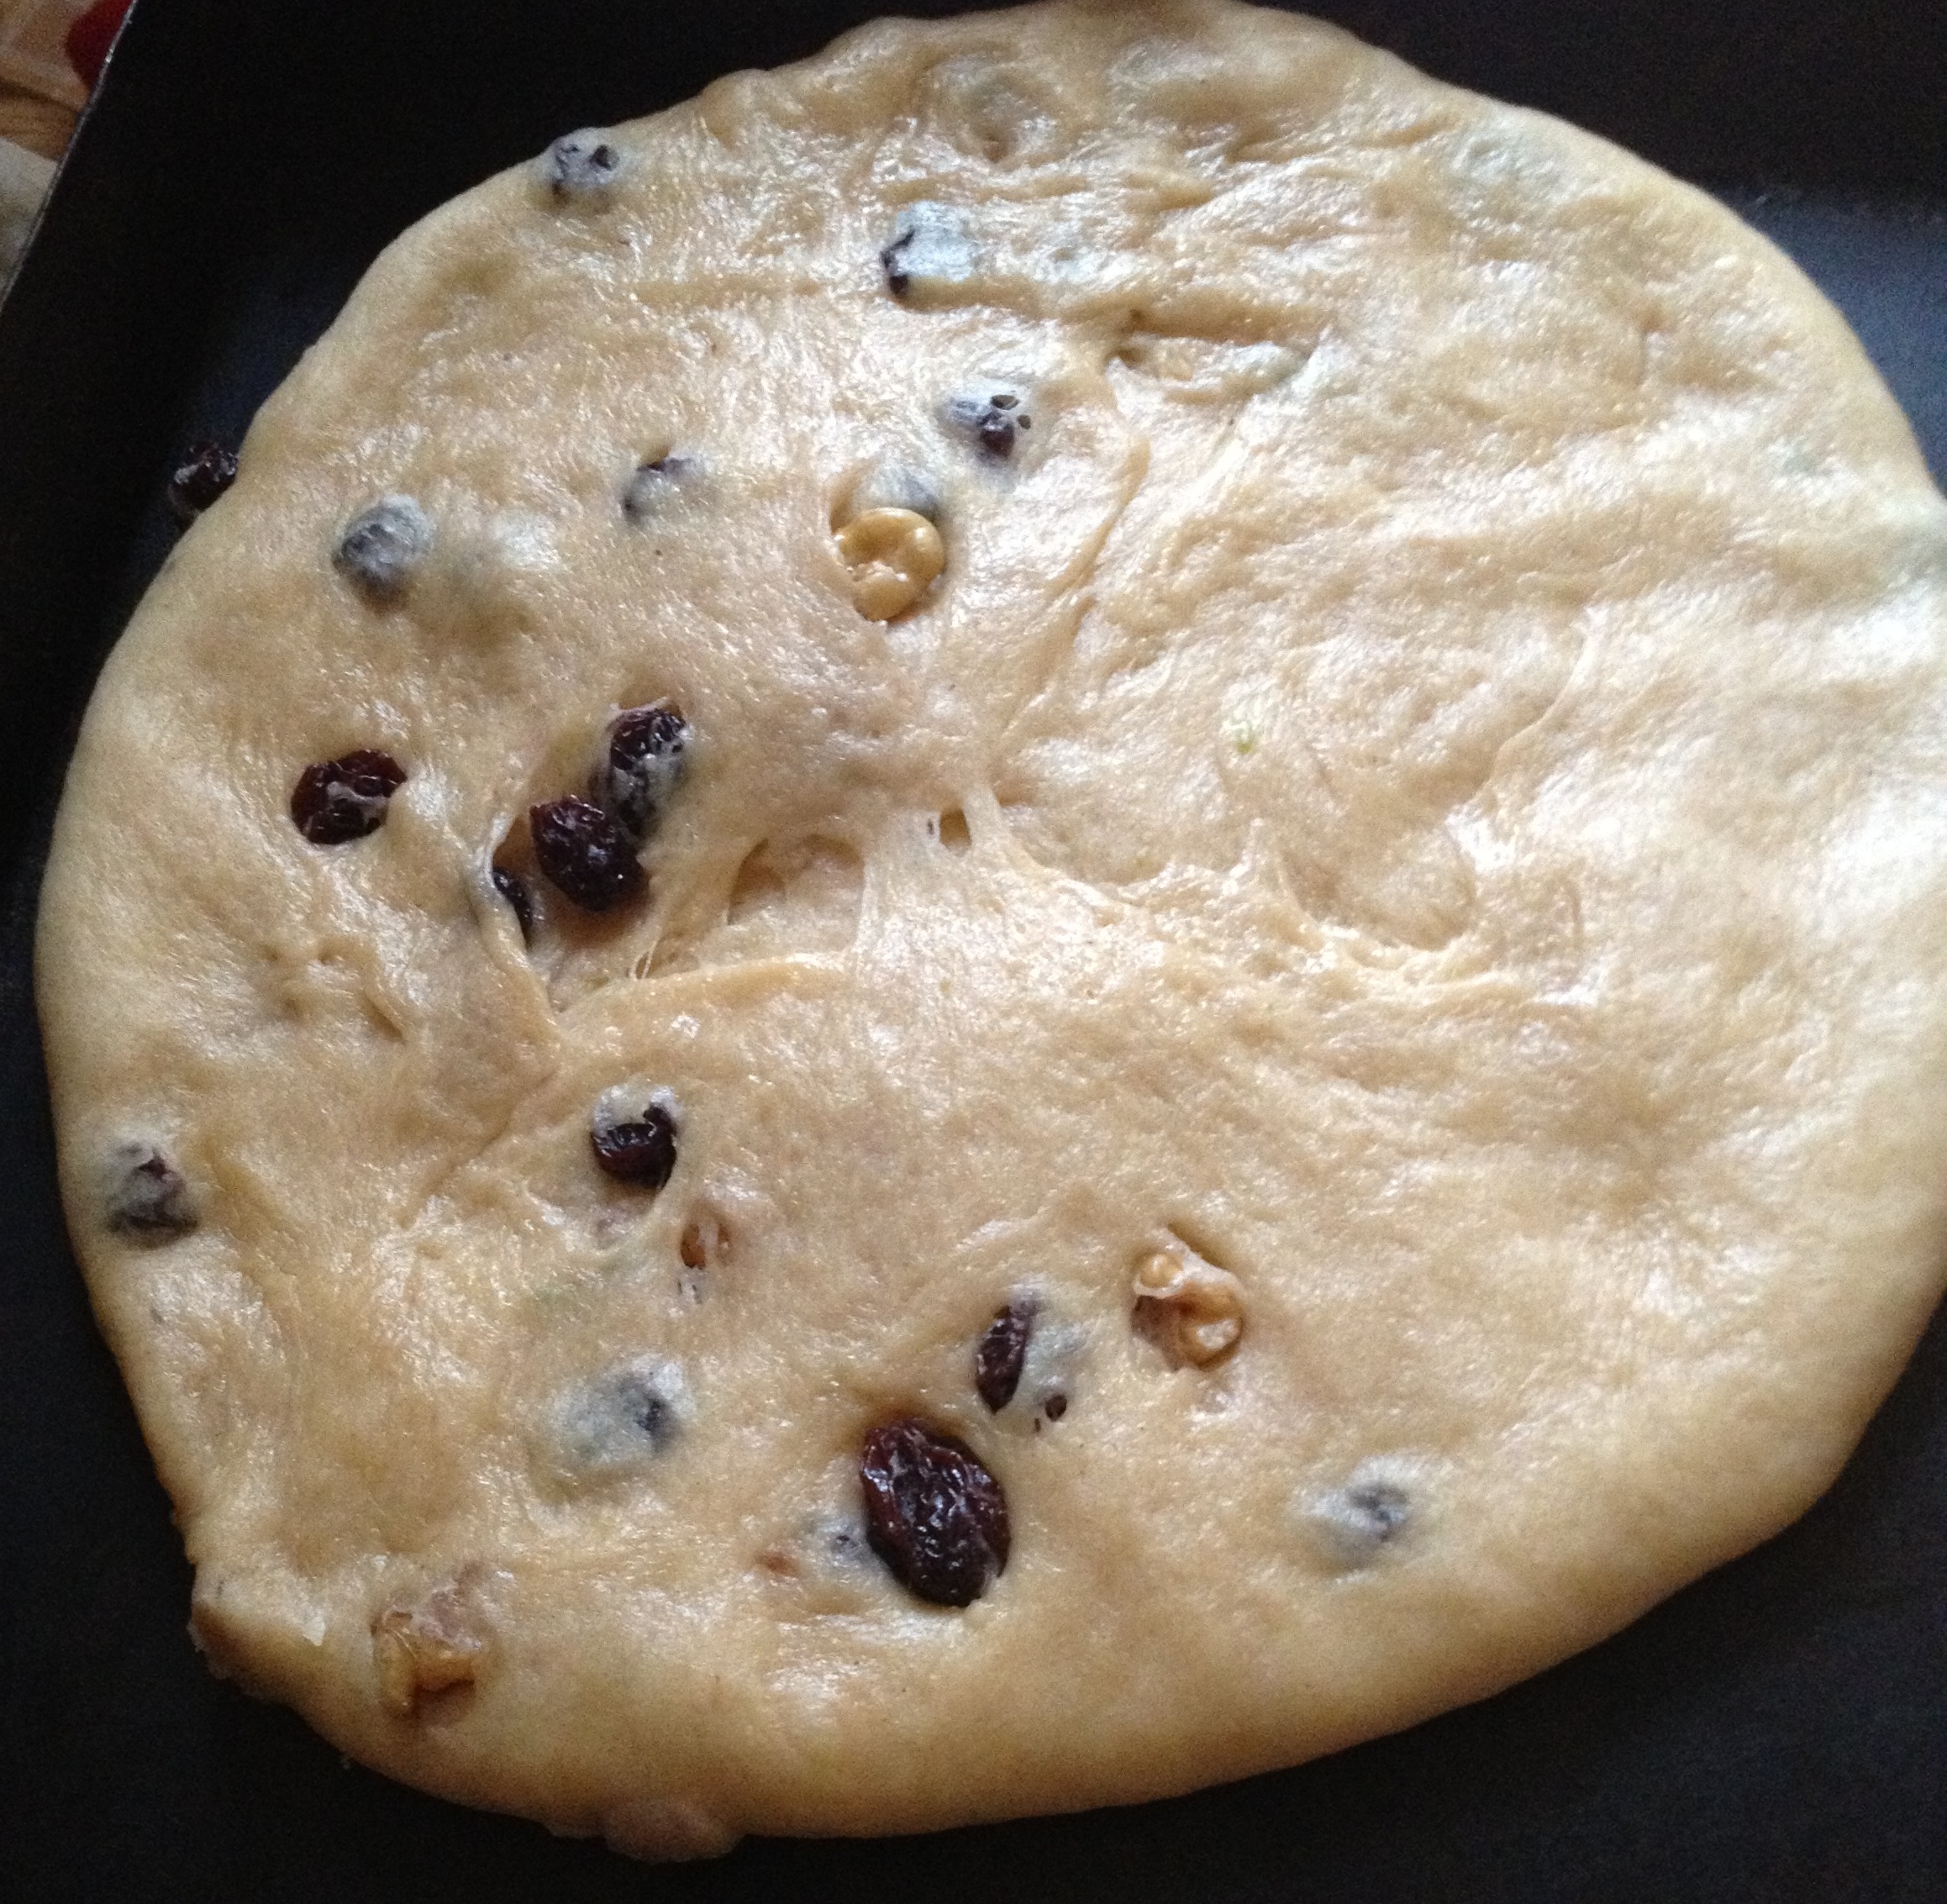
2 tablespoon partially hidrated raisin (optional)
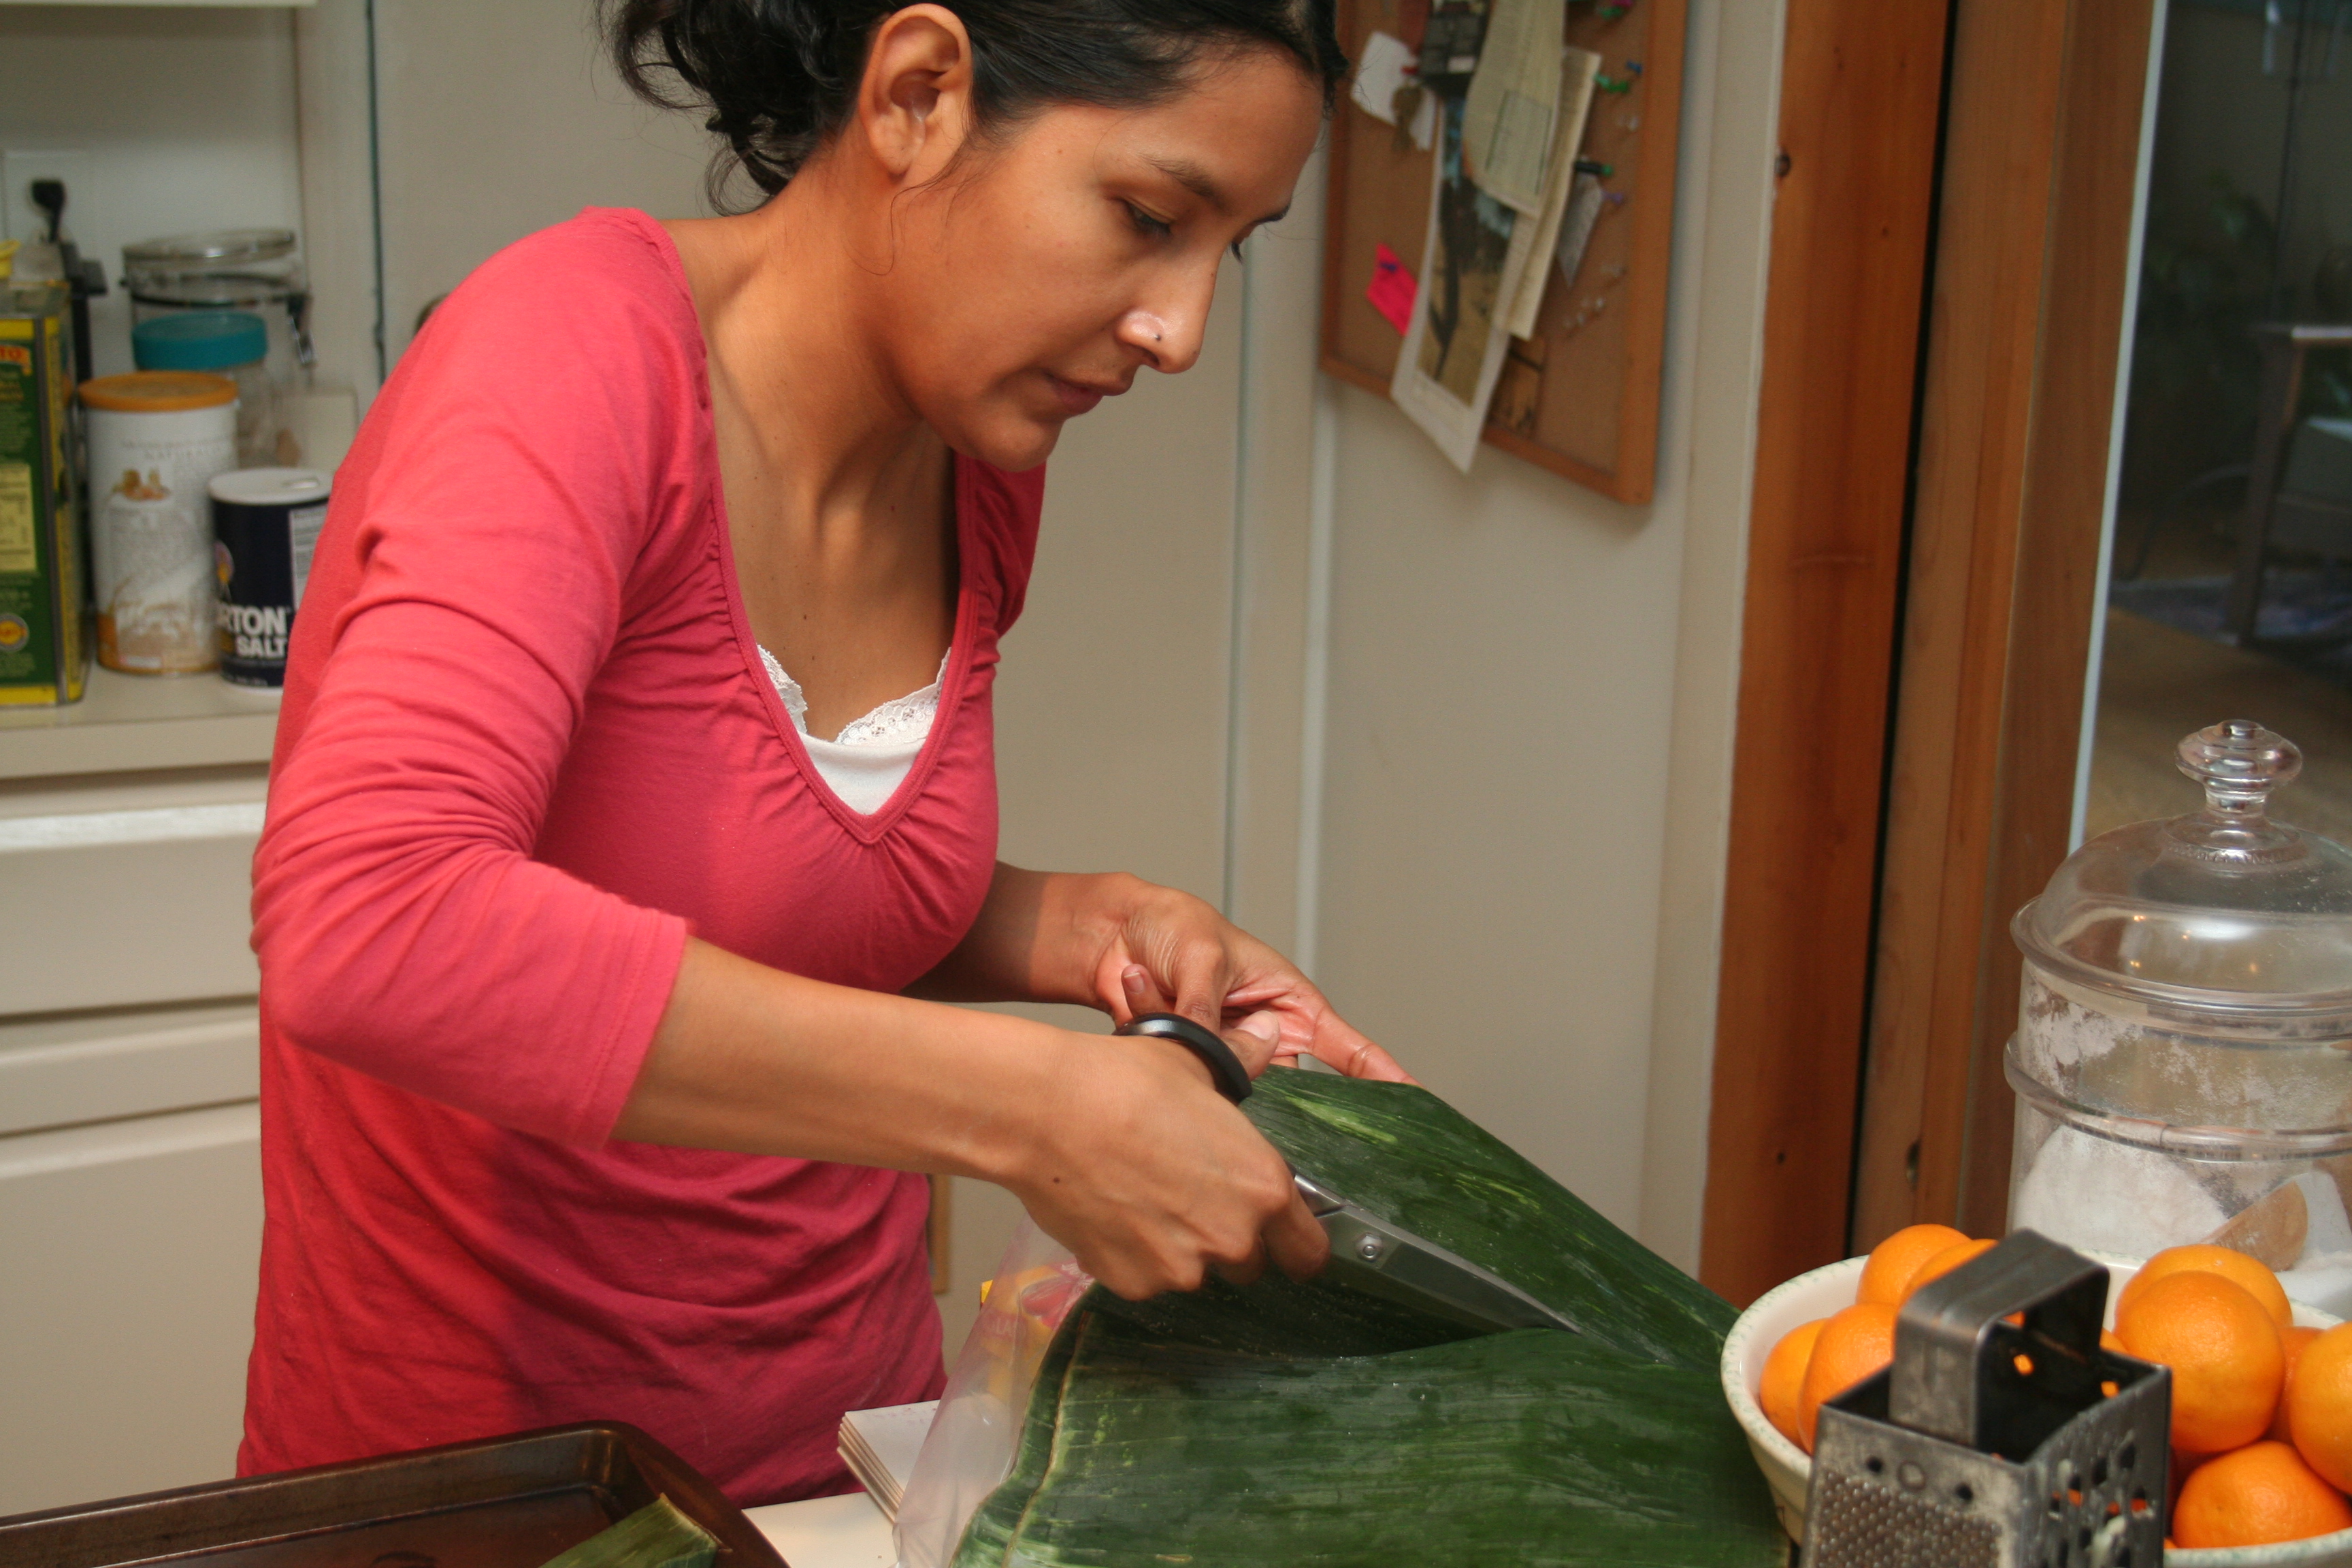
Cut one end of the ear corn the one that is attached to the stem. Just cut enought to get close to the kernells and is easy to rool the husk out.


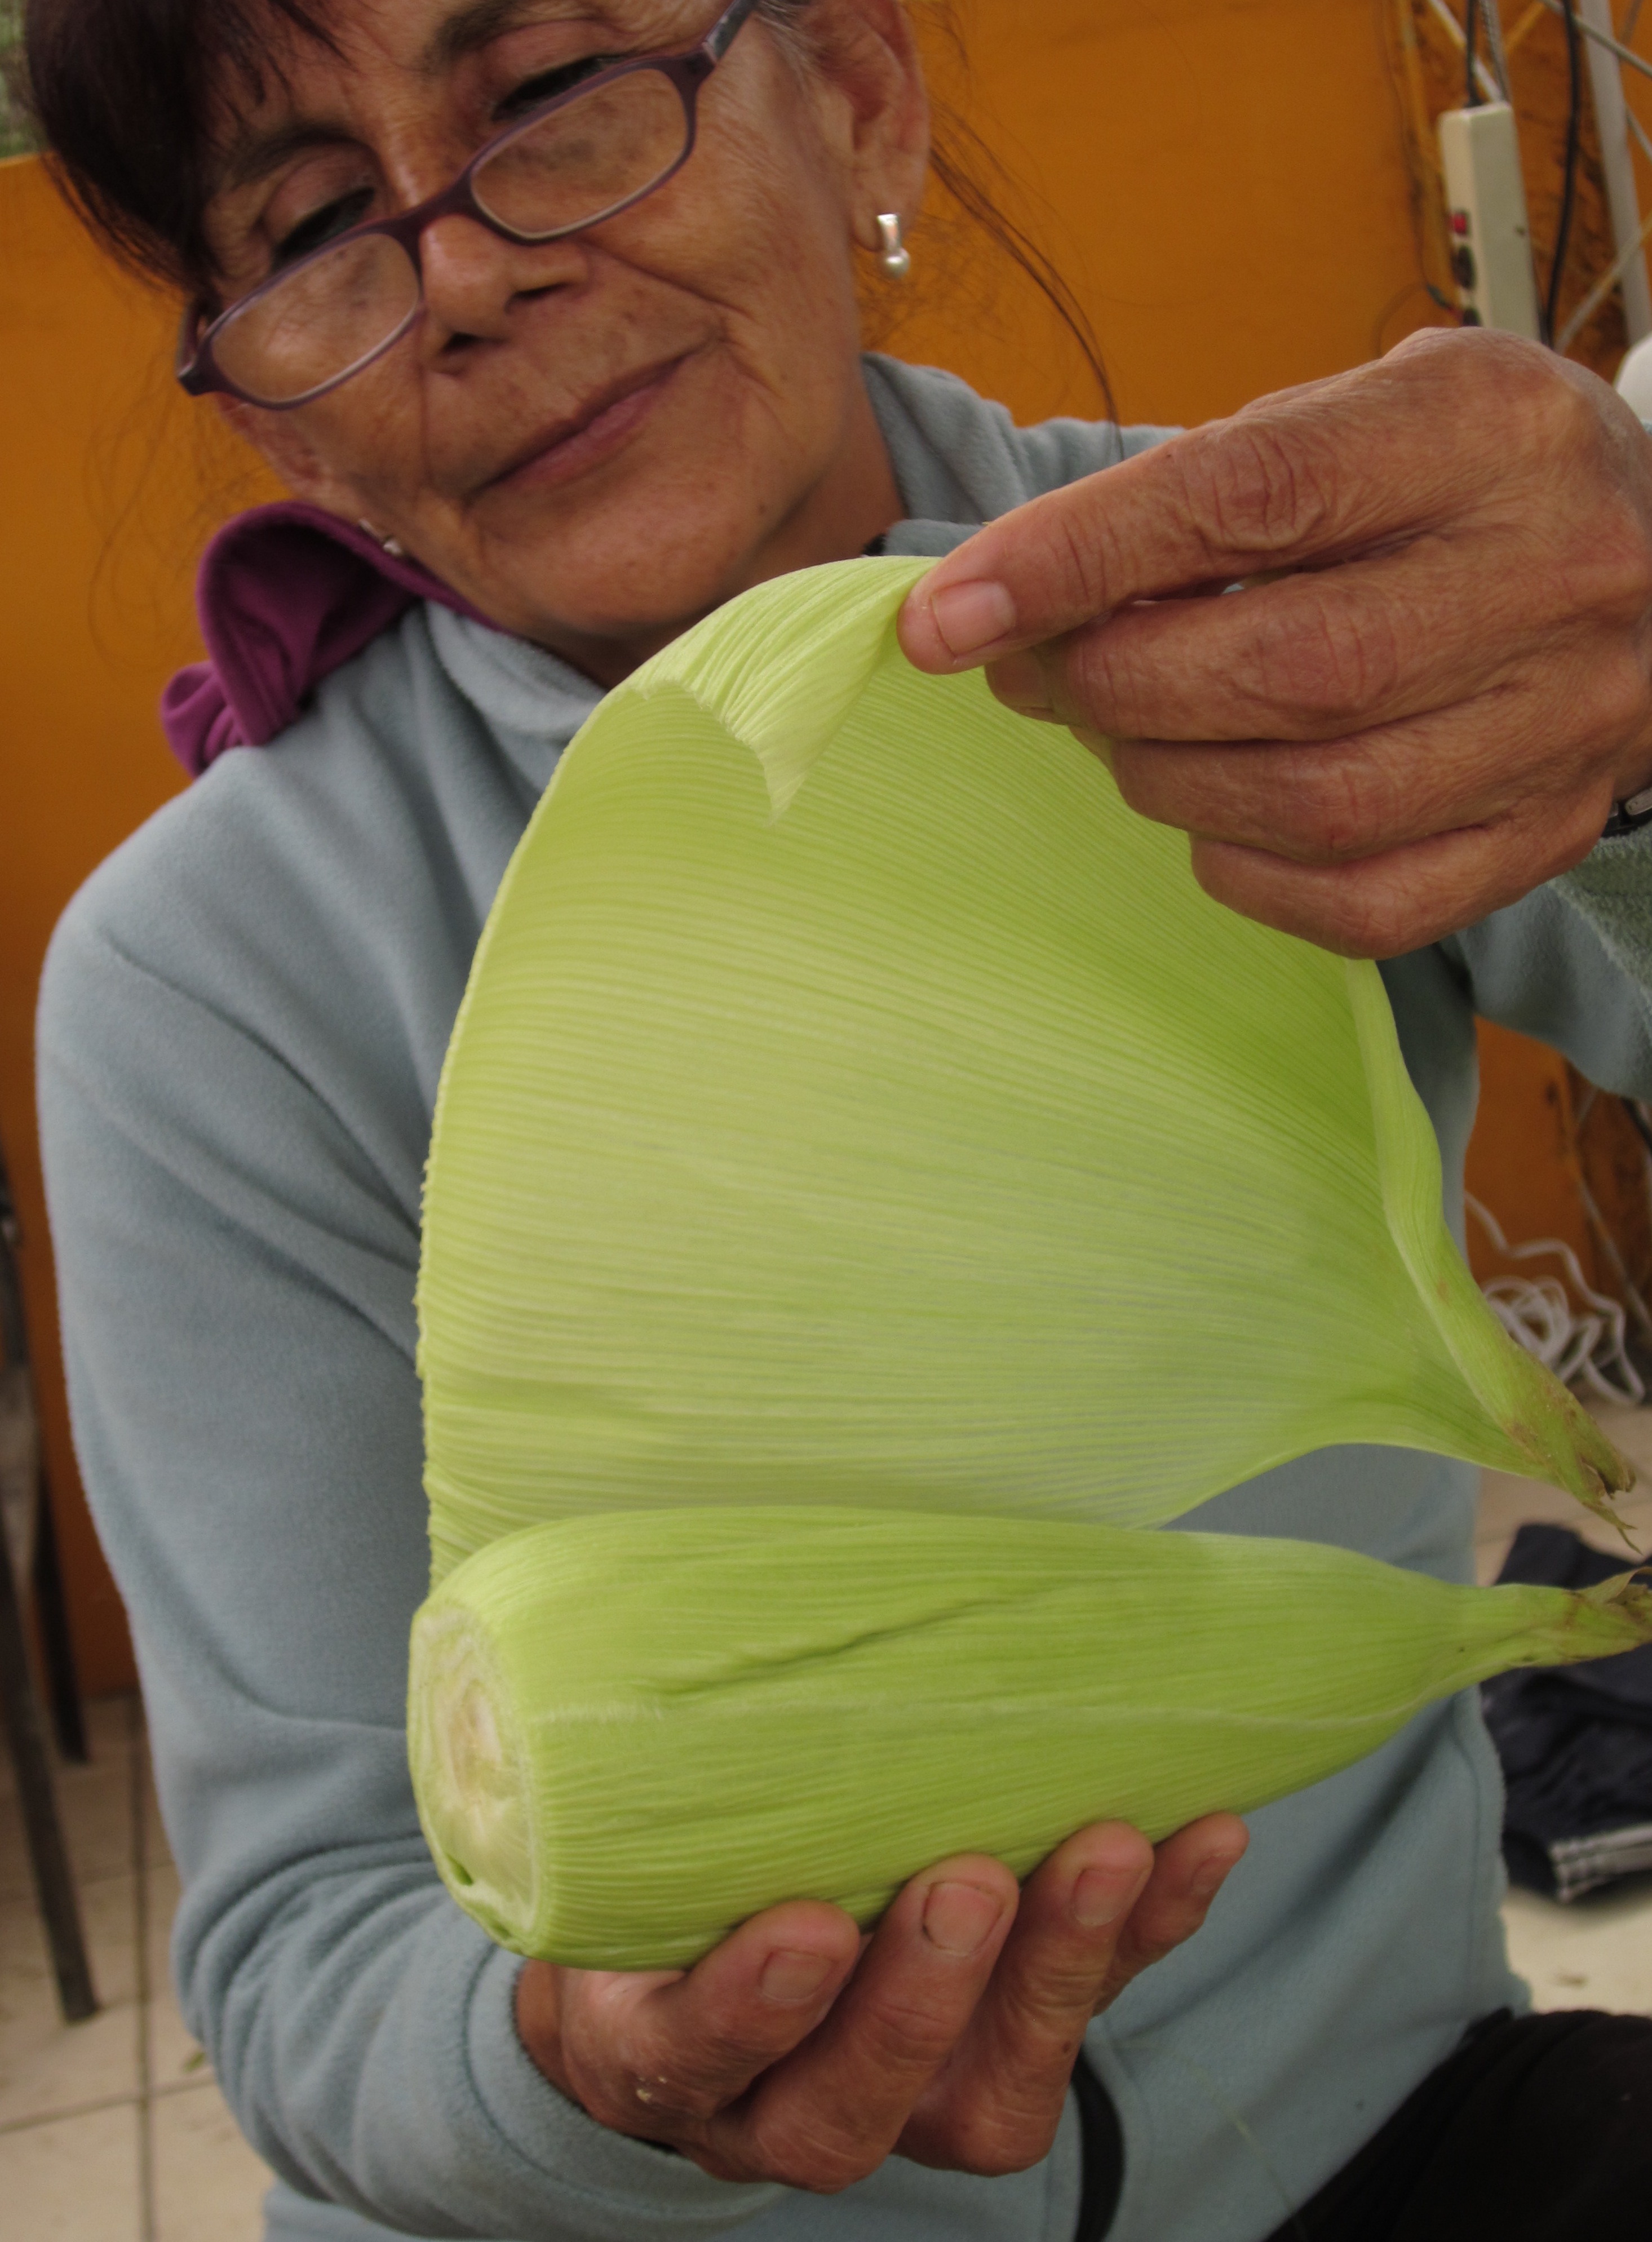
Select 30 husk leaves ans paired them according to size.
With the remaining husk make the 15 husk strings. brake a 1 inch thick husk and tied a know at the thinner end. Then from the thicker end separate them and you have your string.


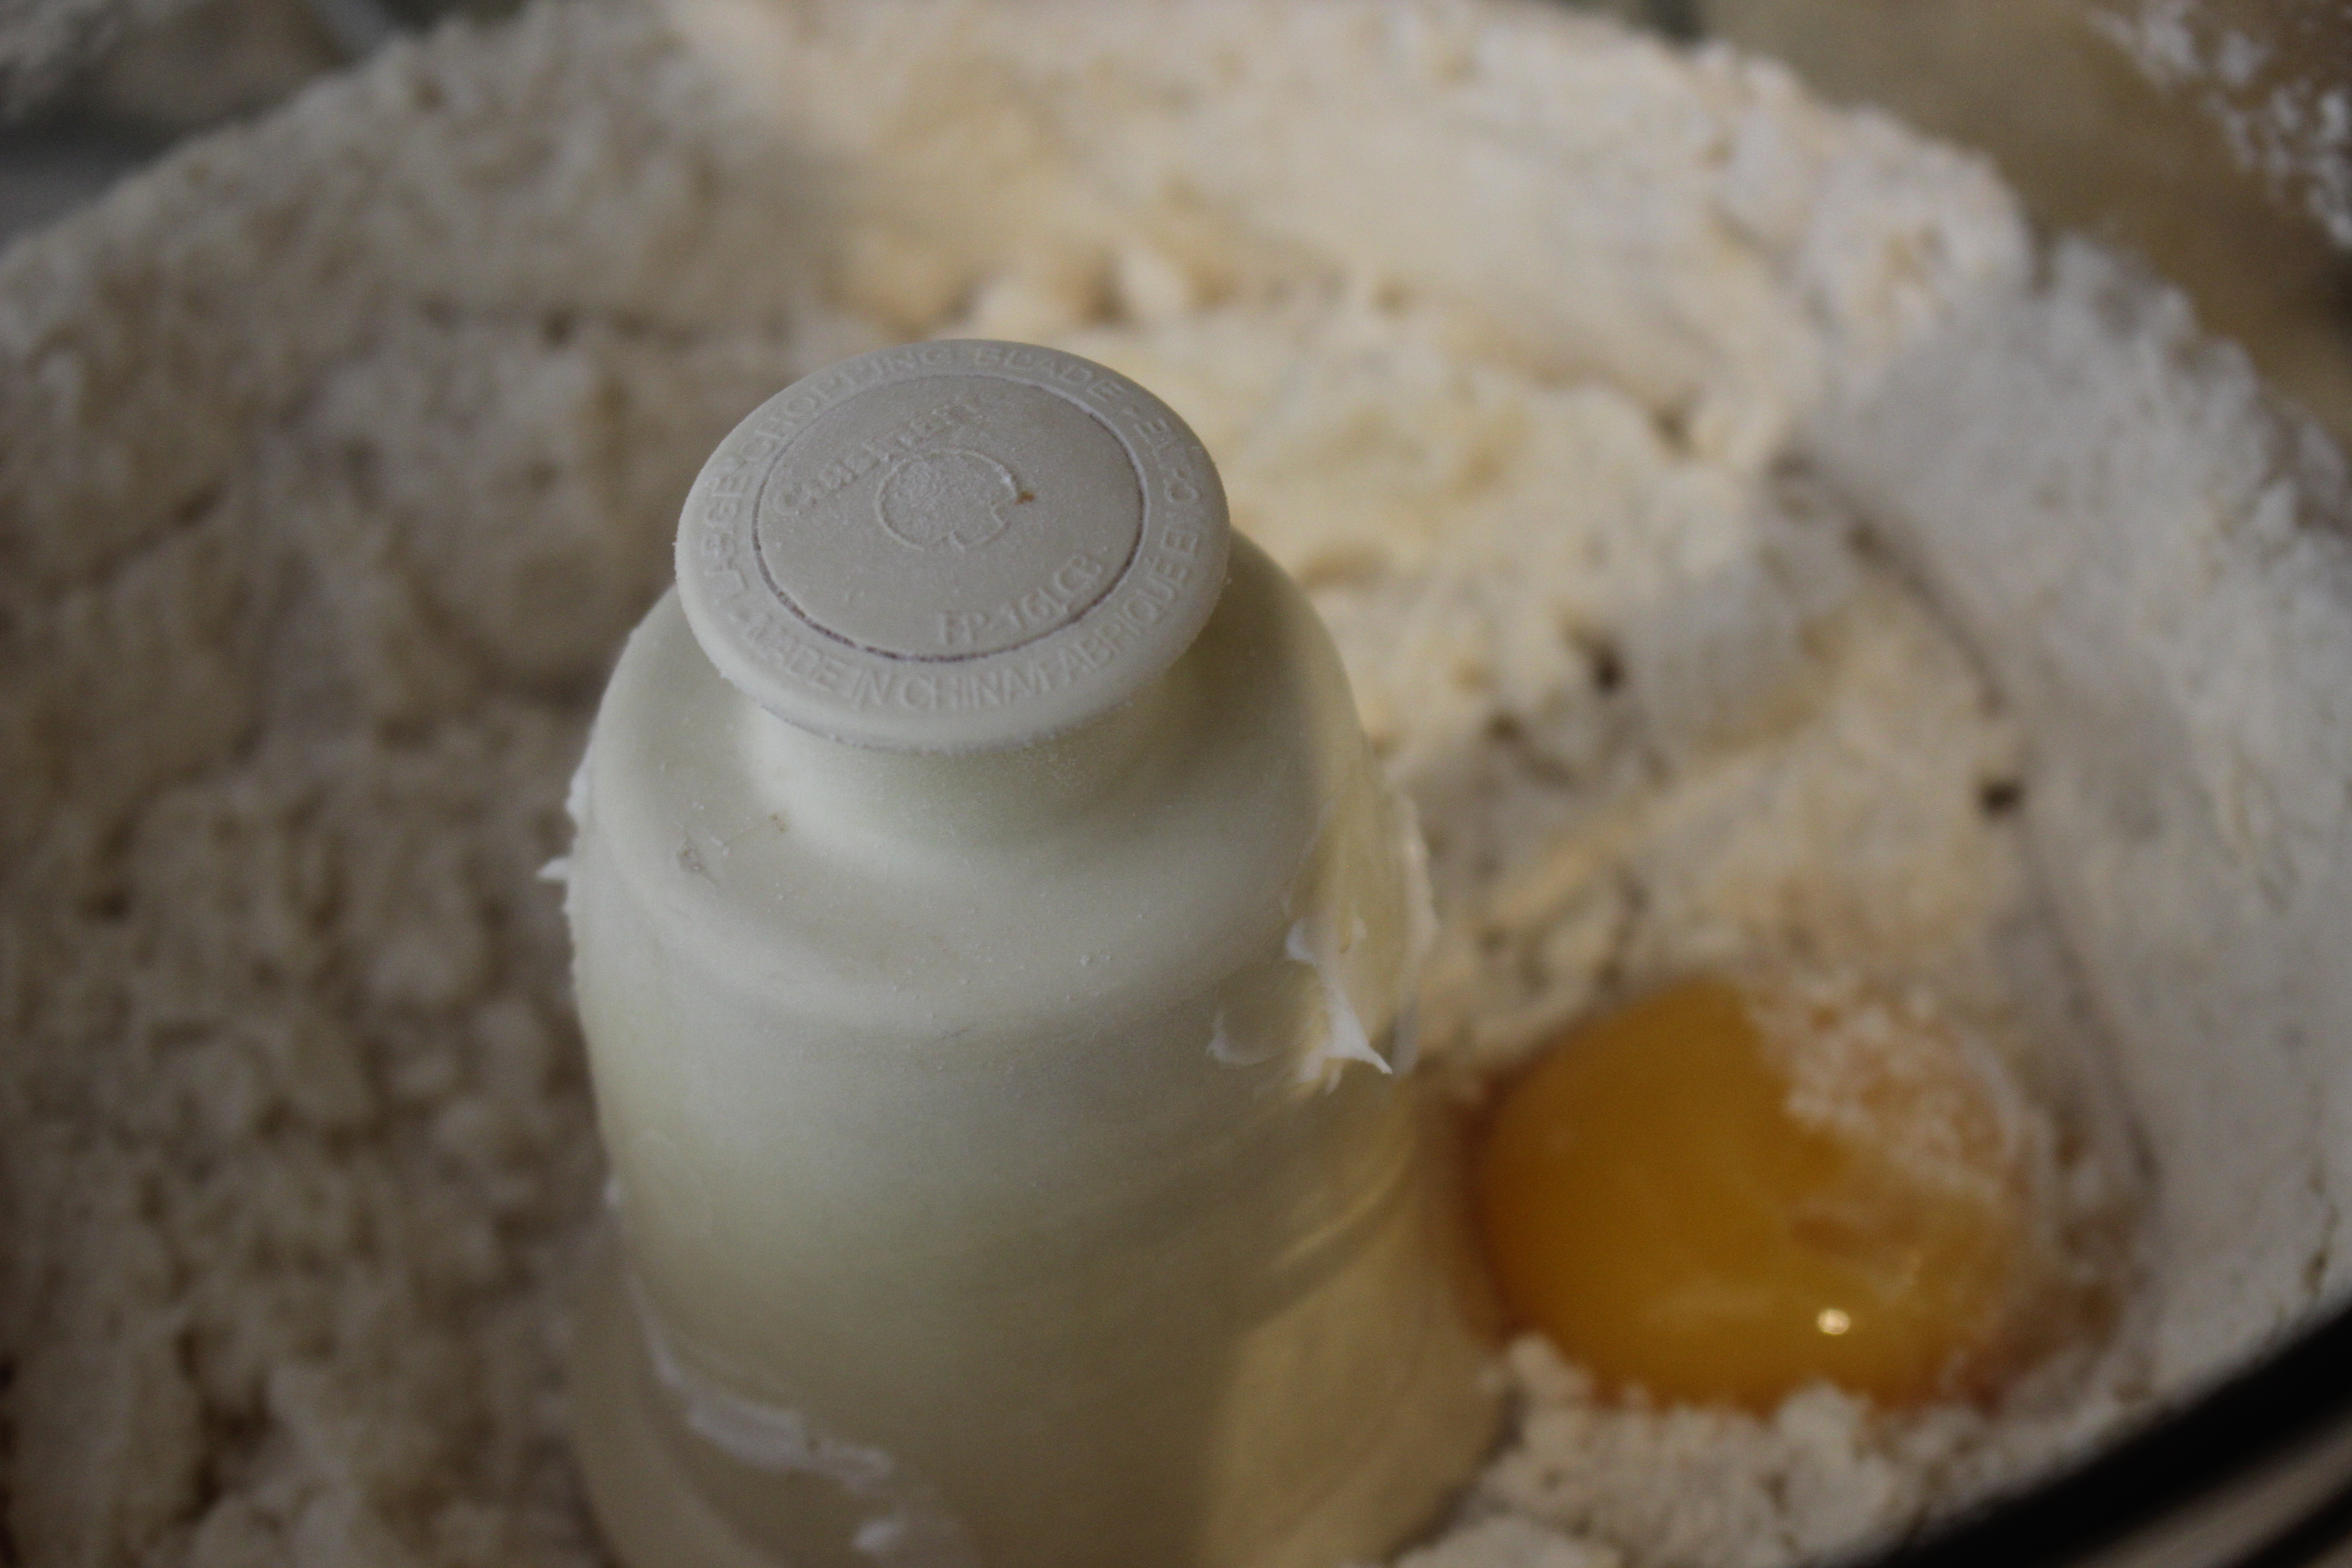
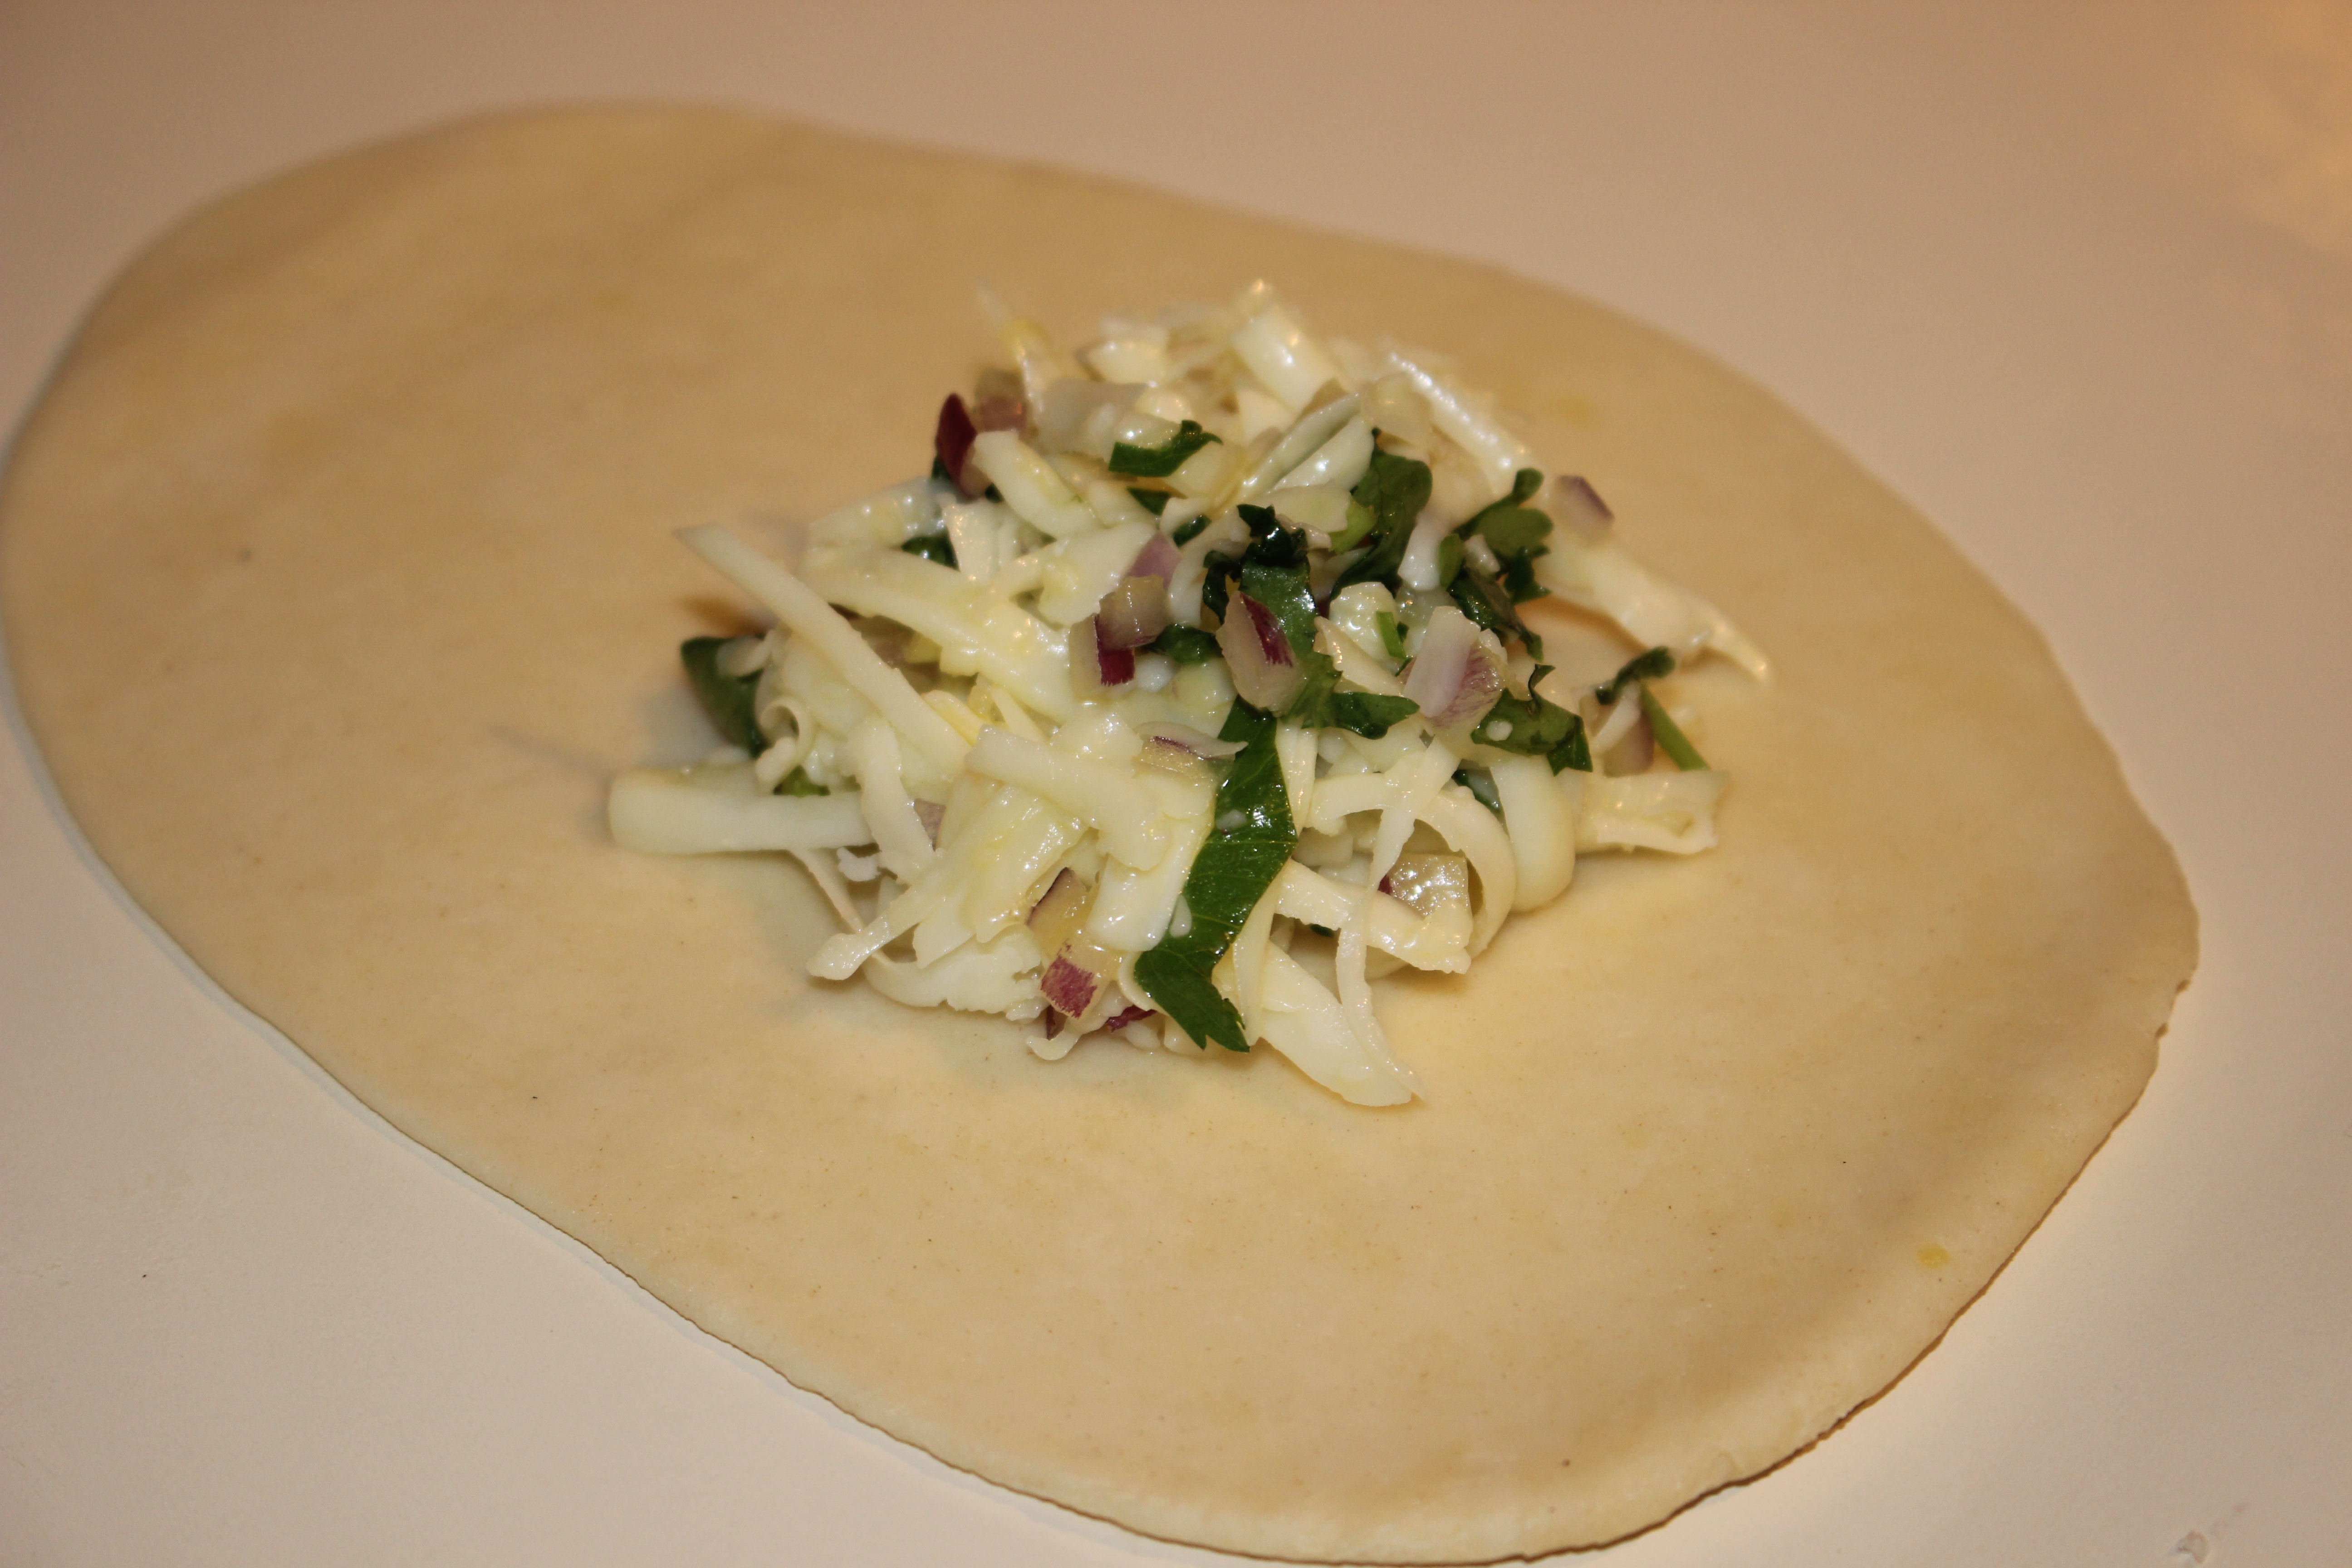
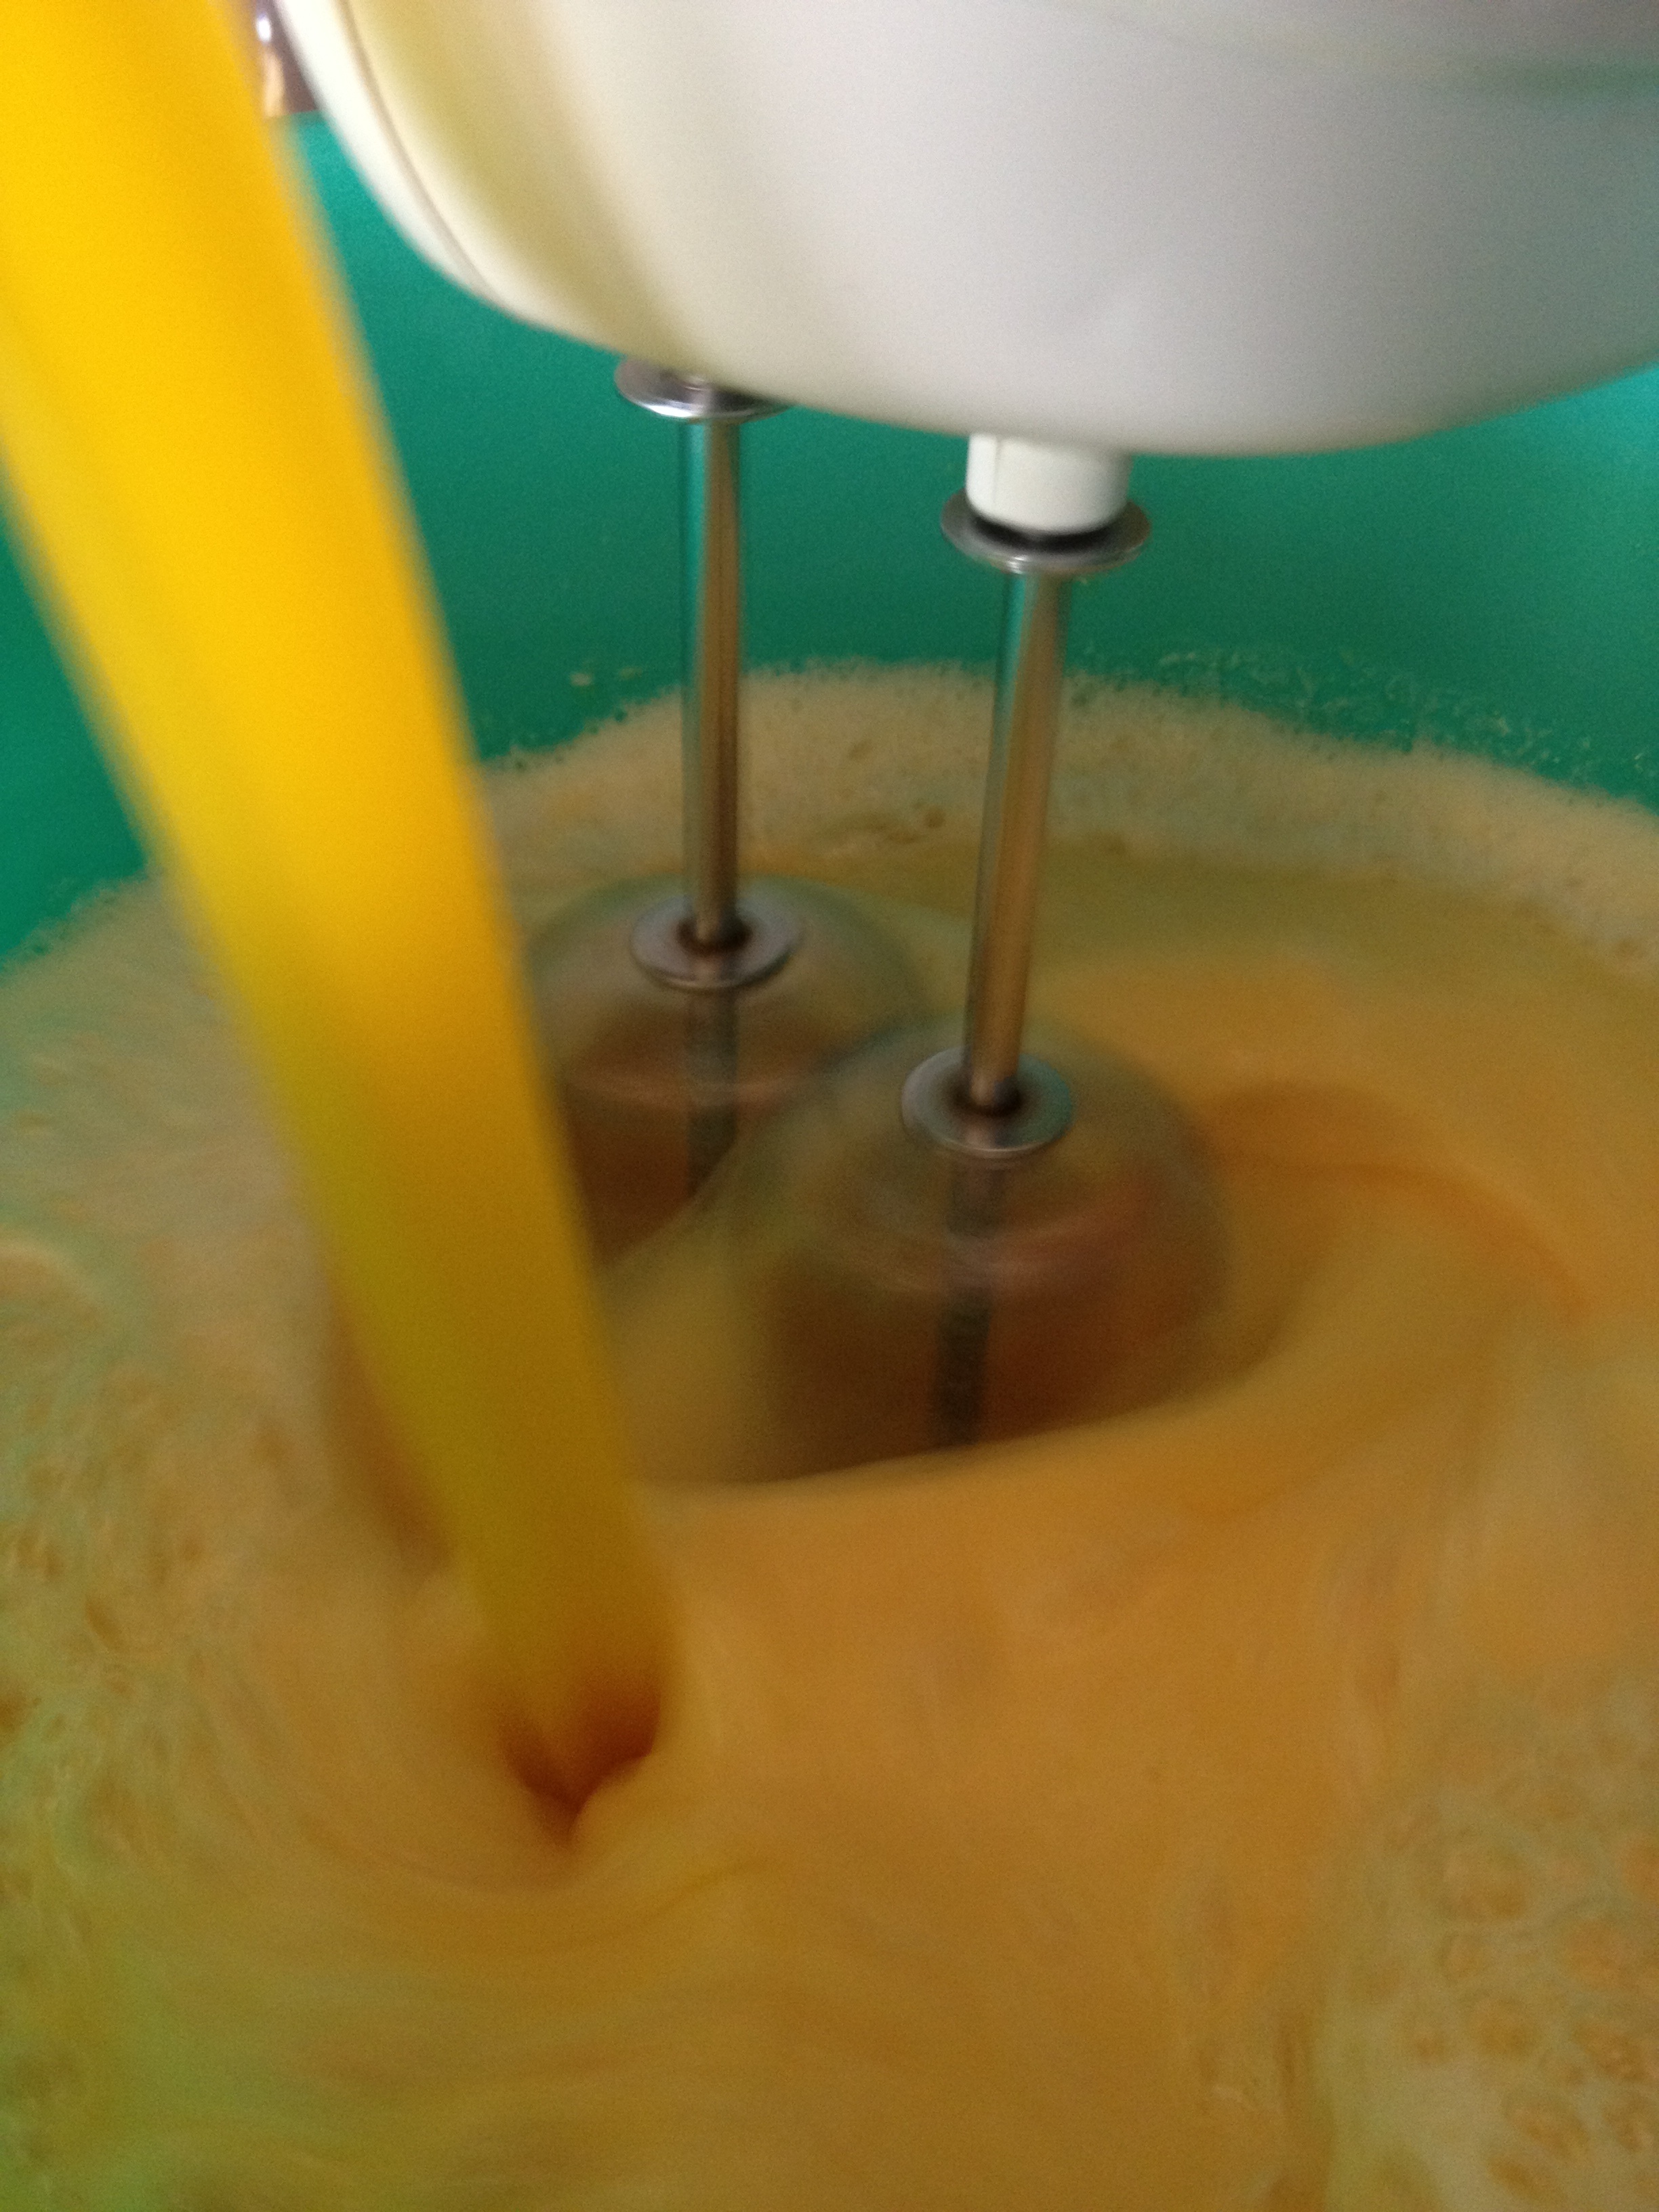
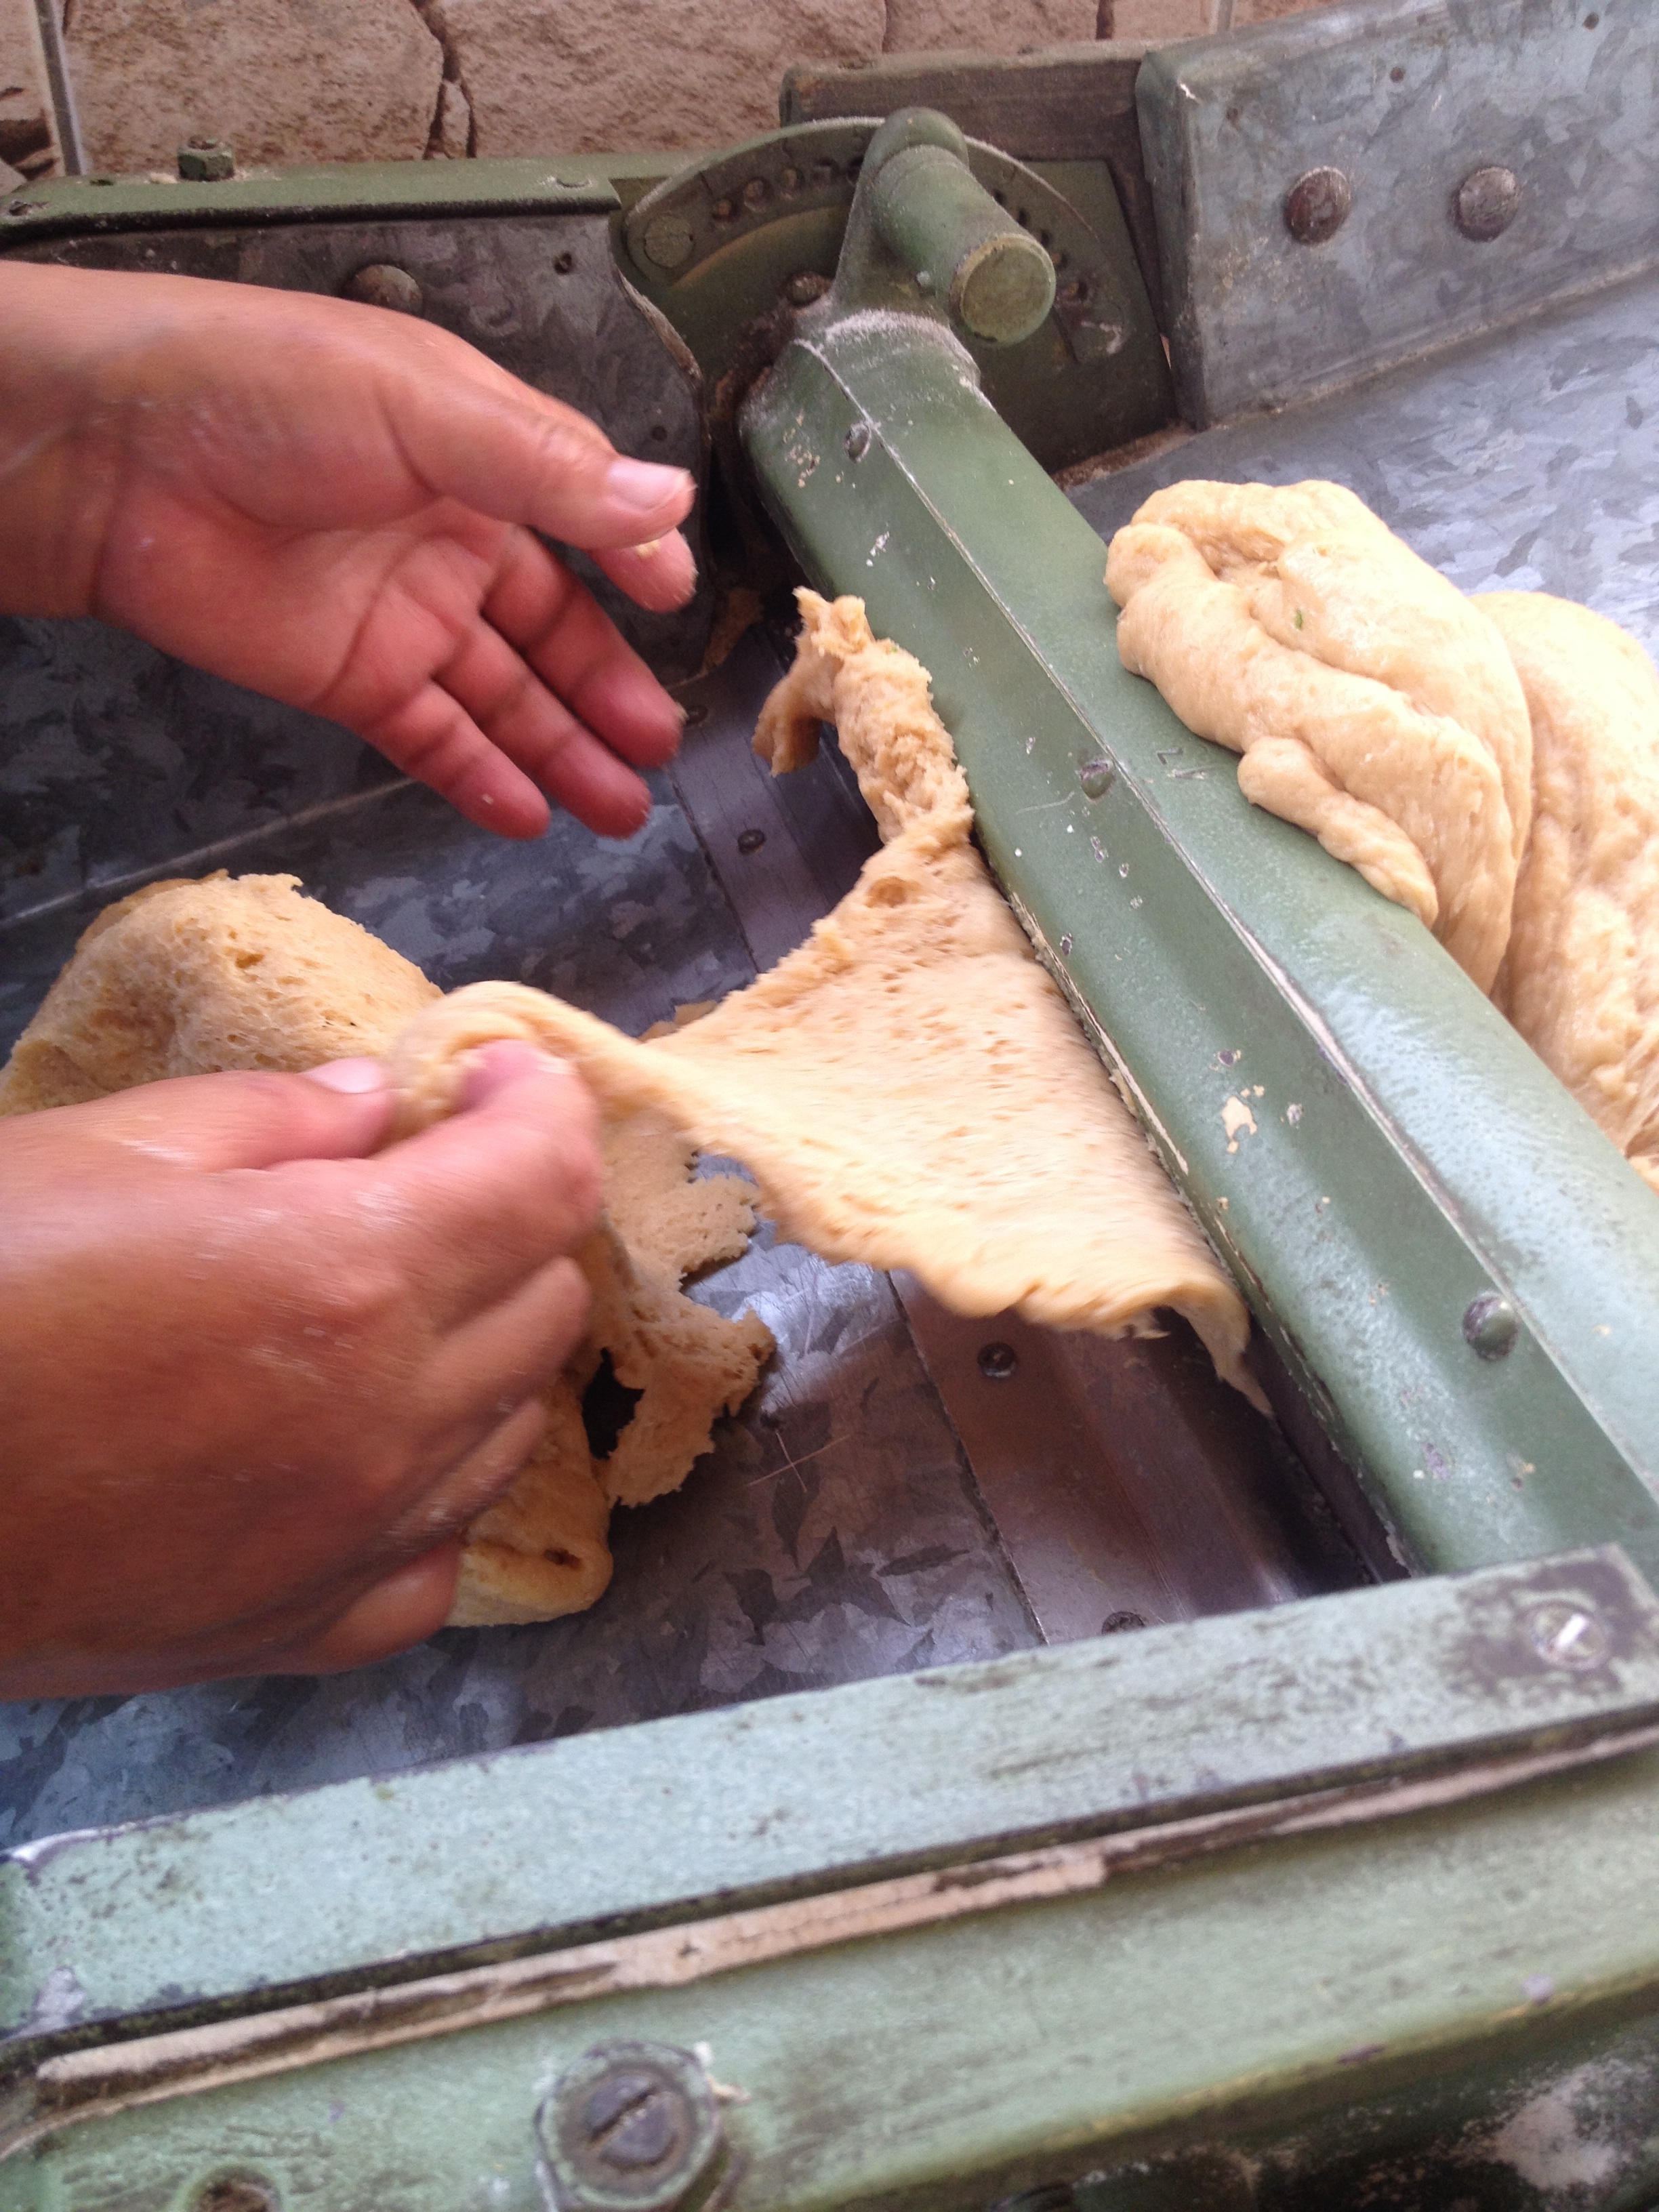
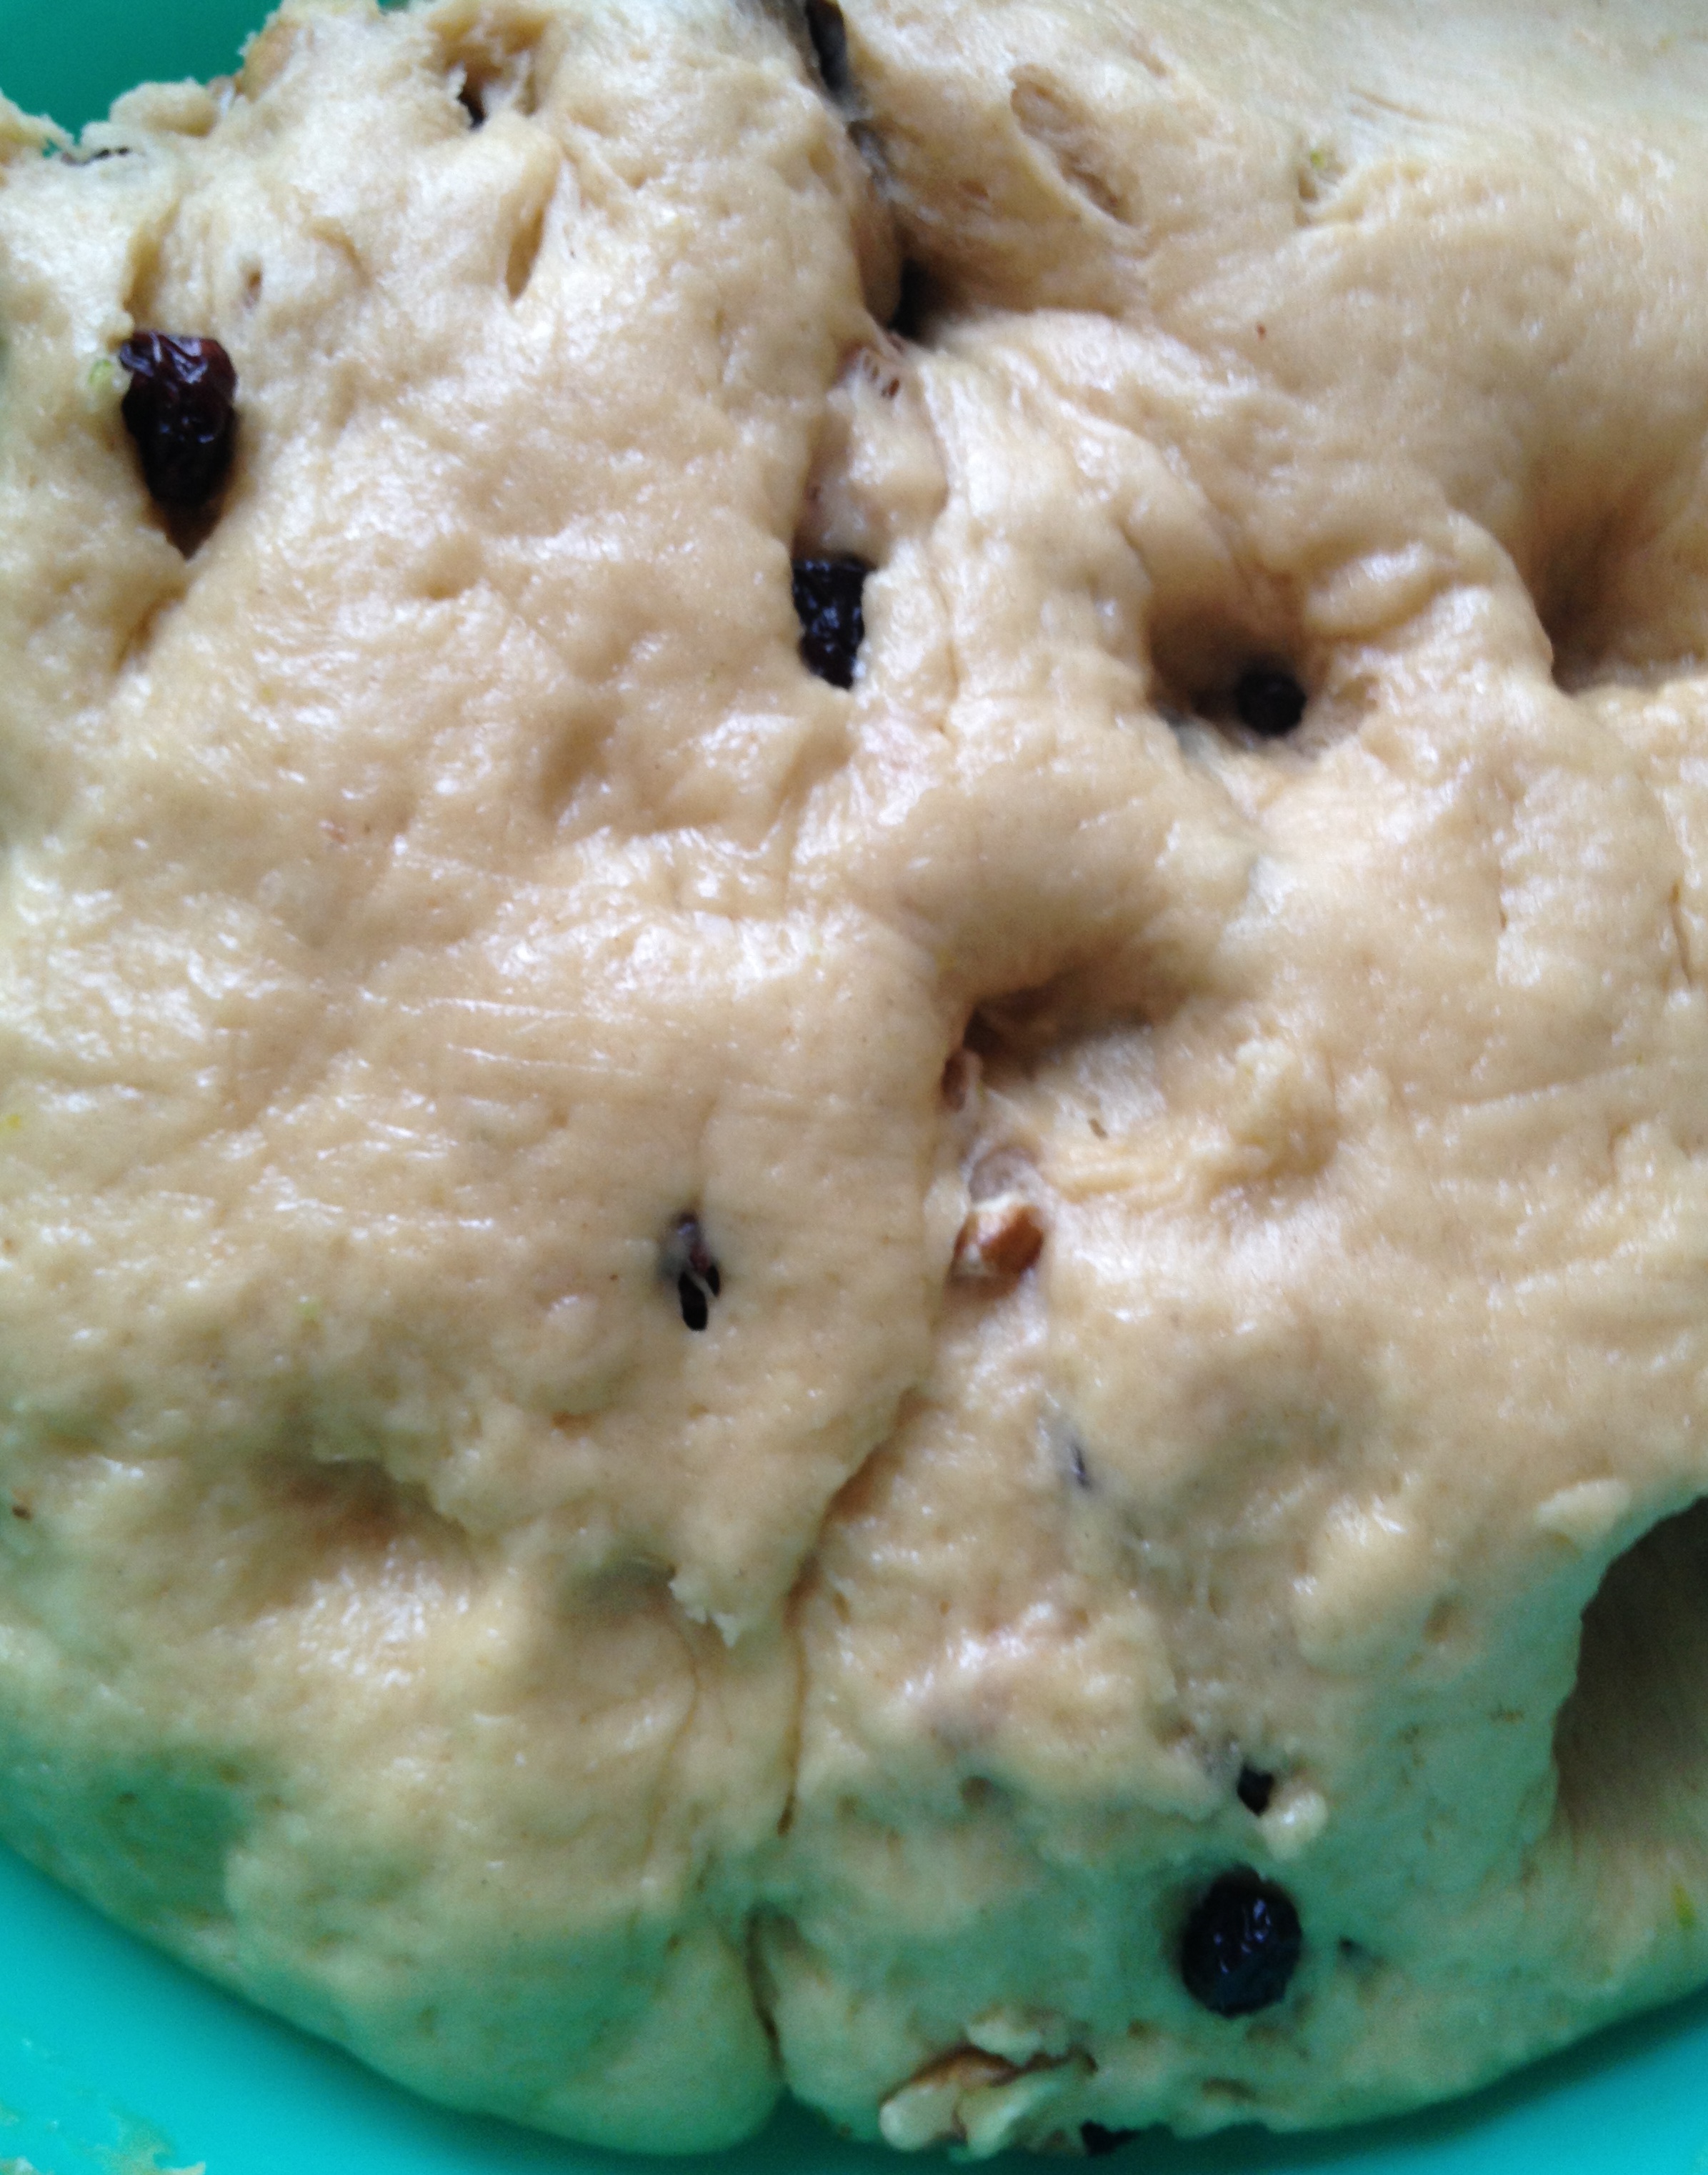
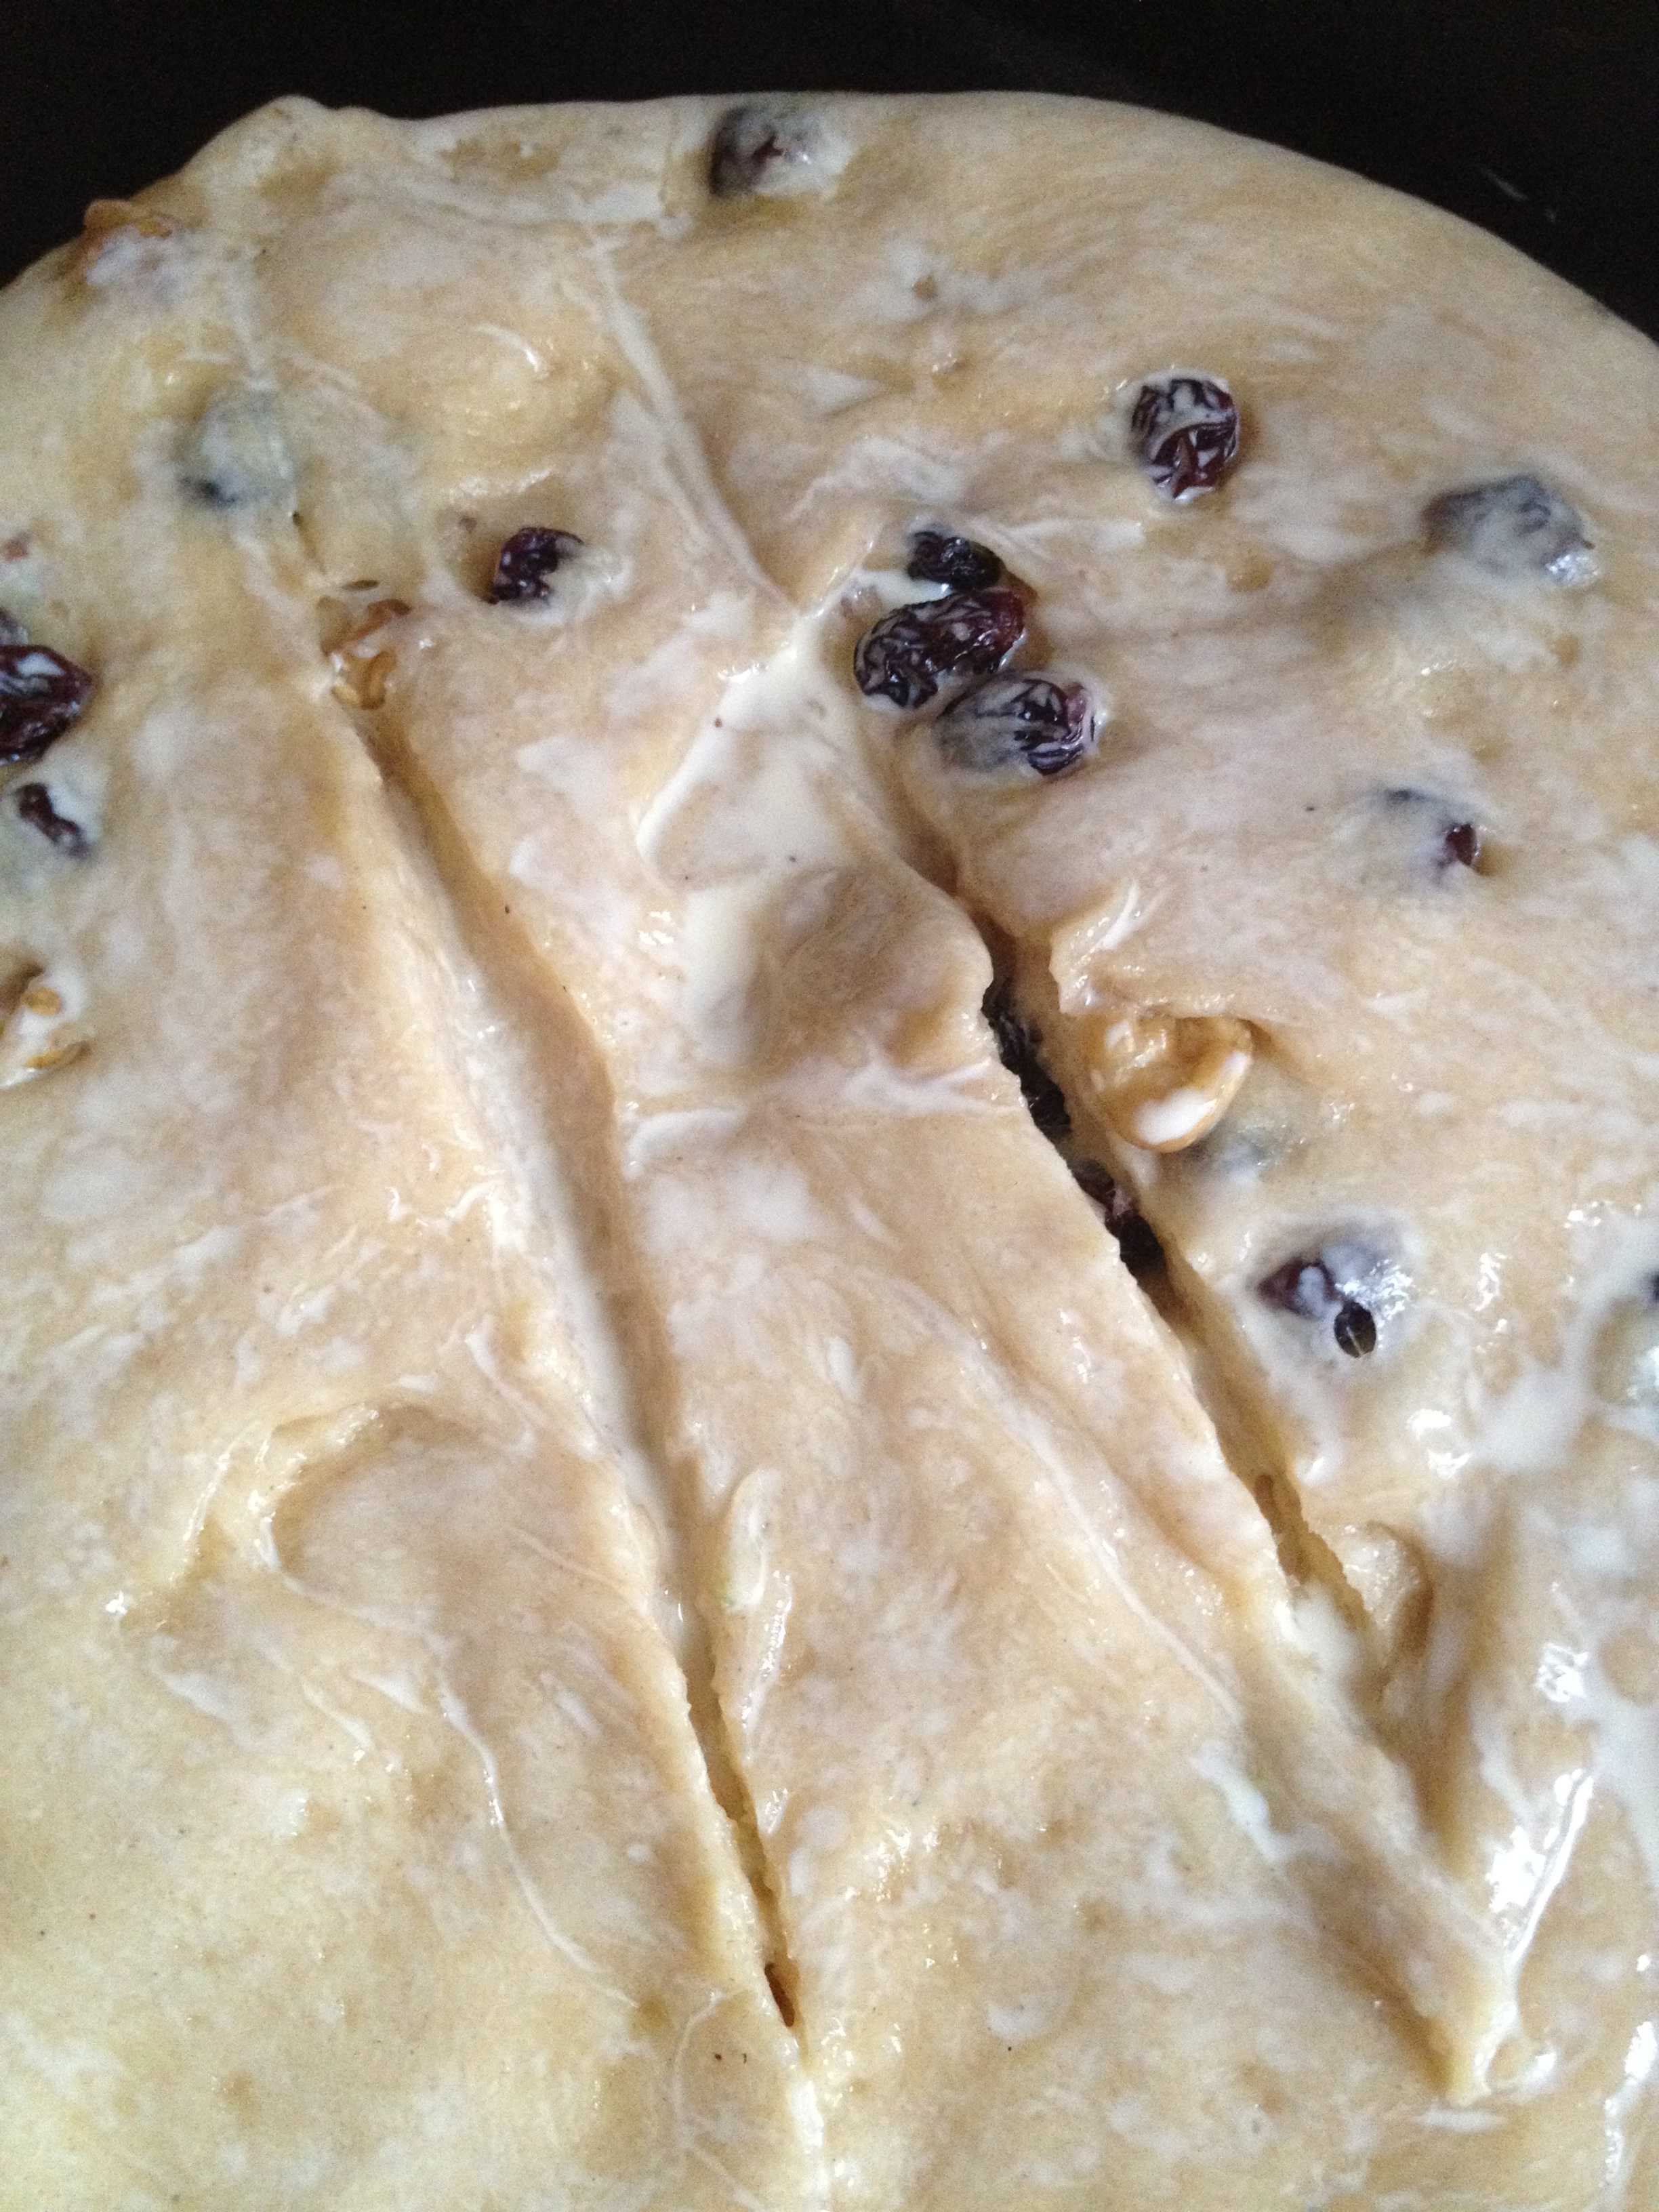
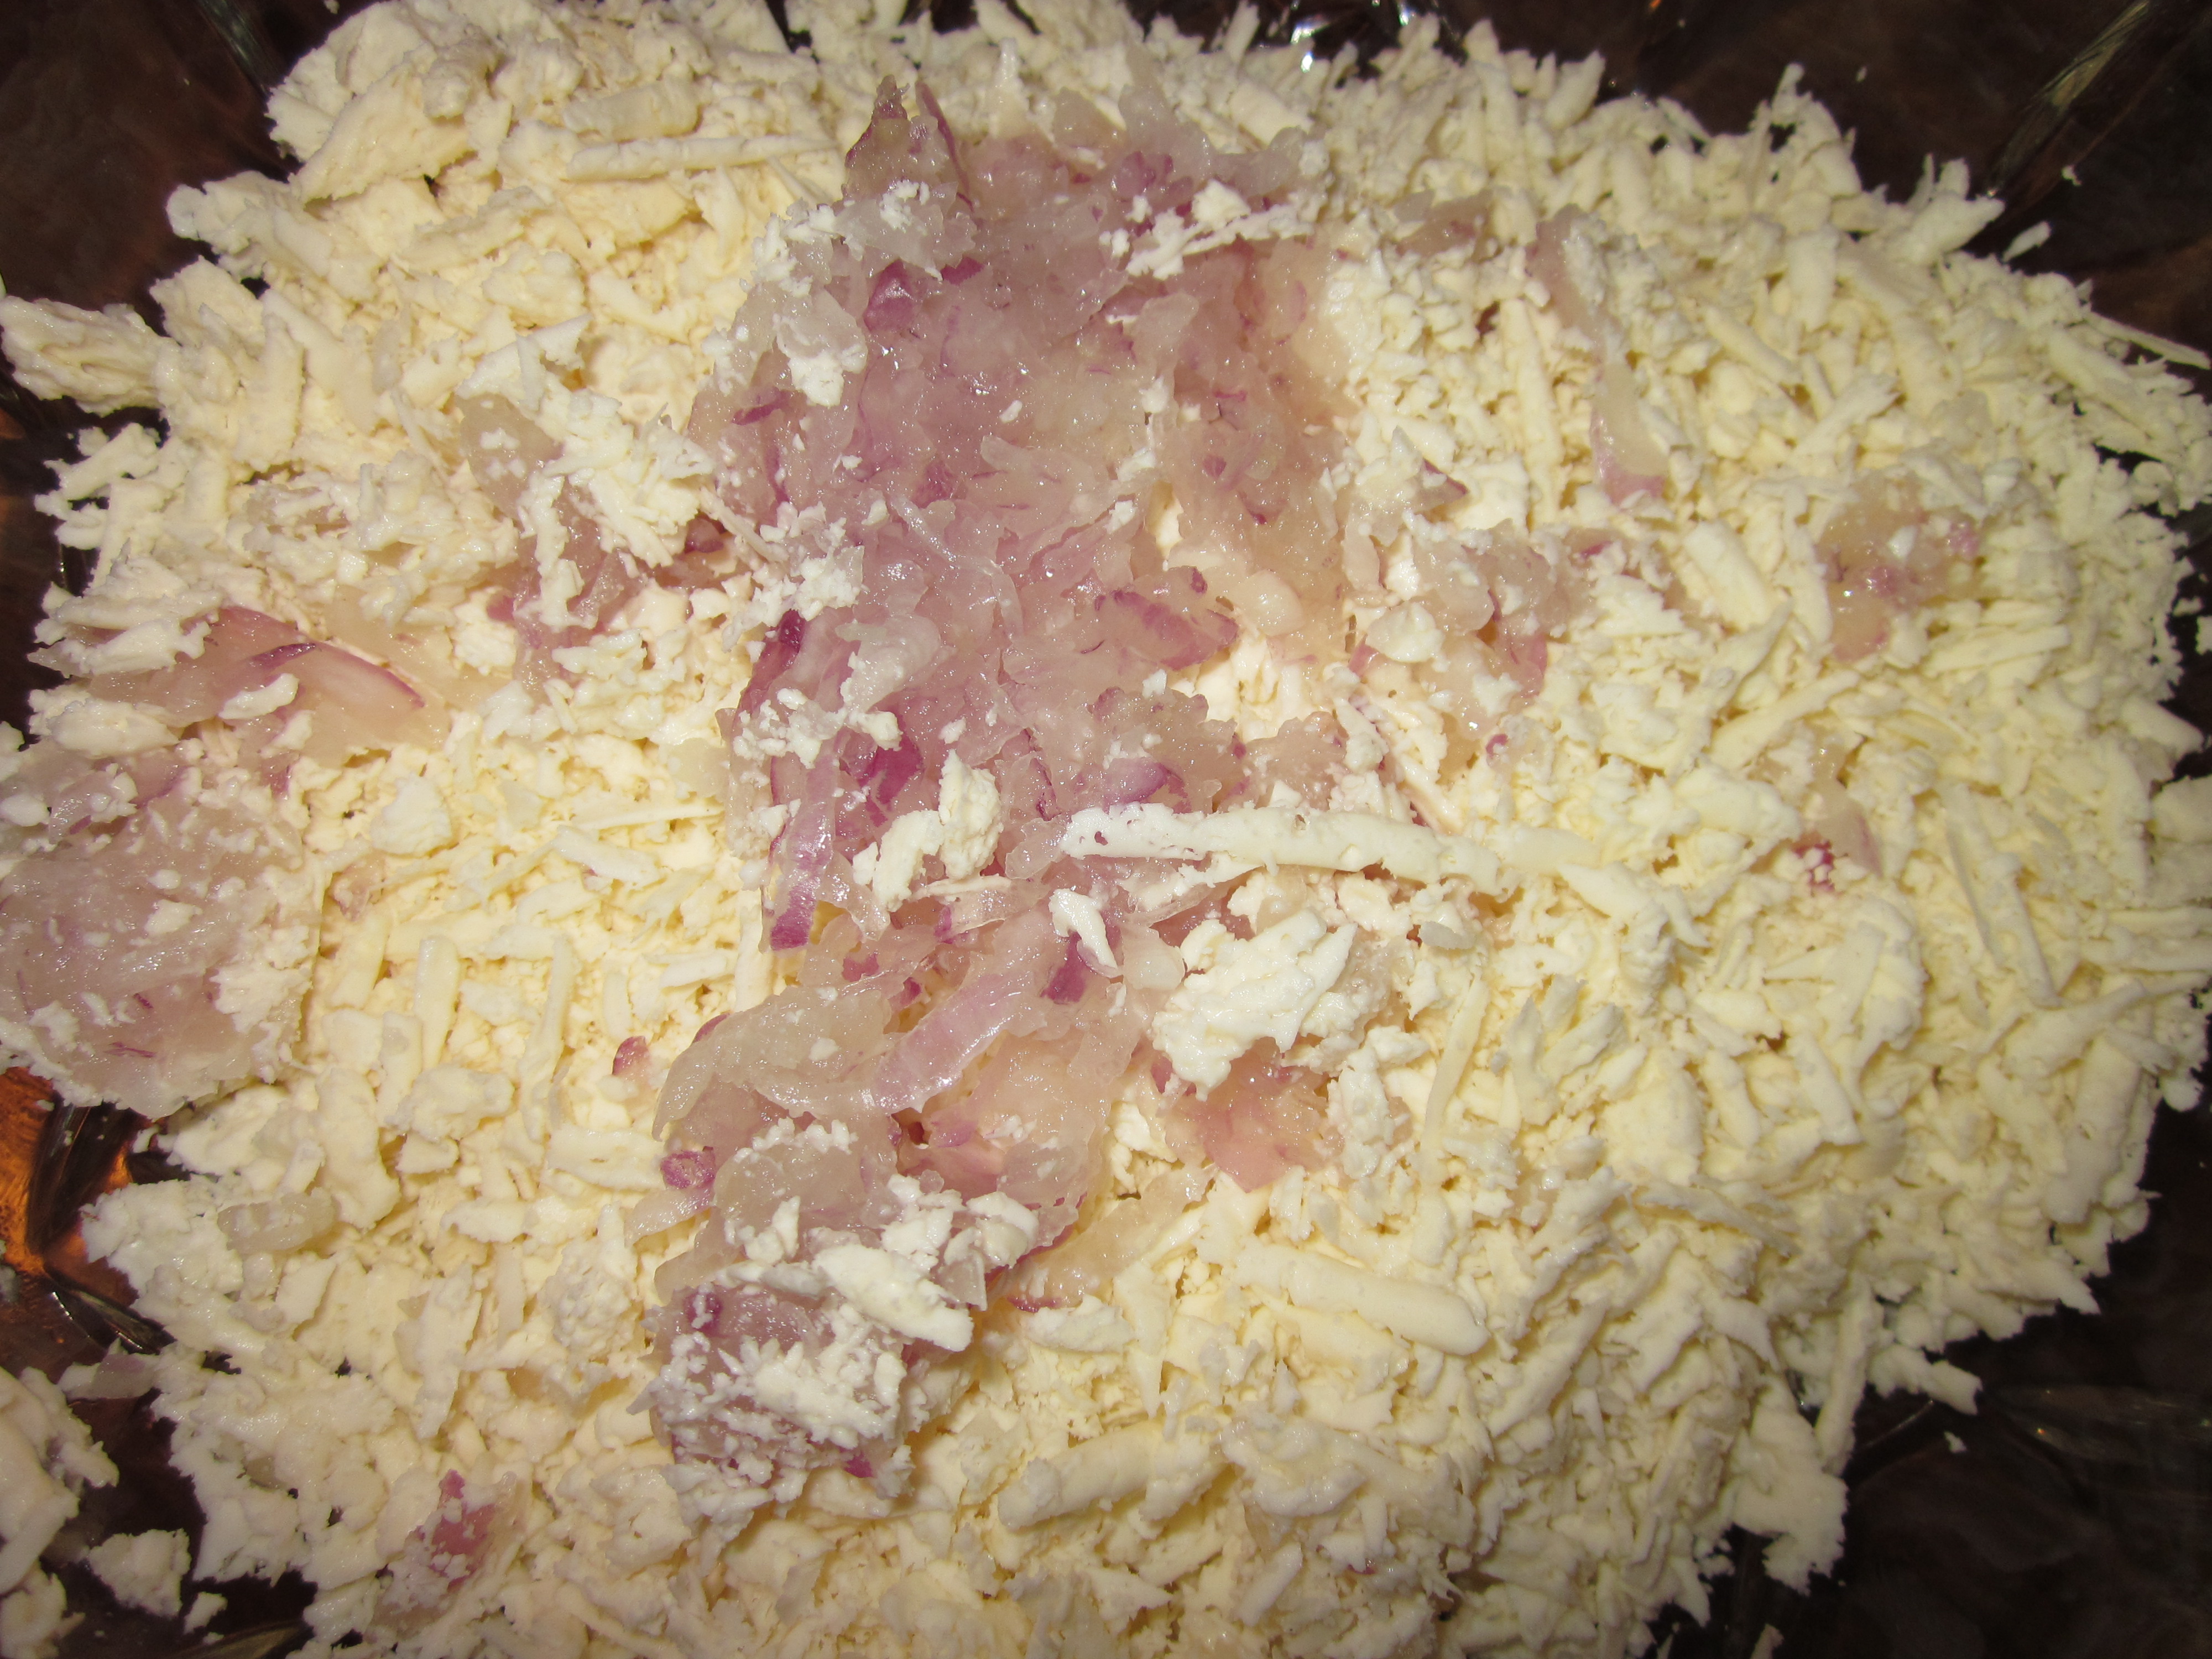
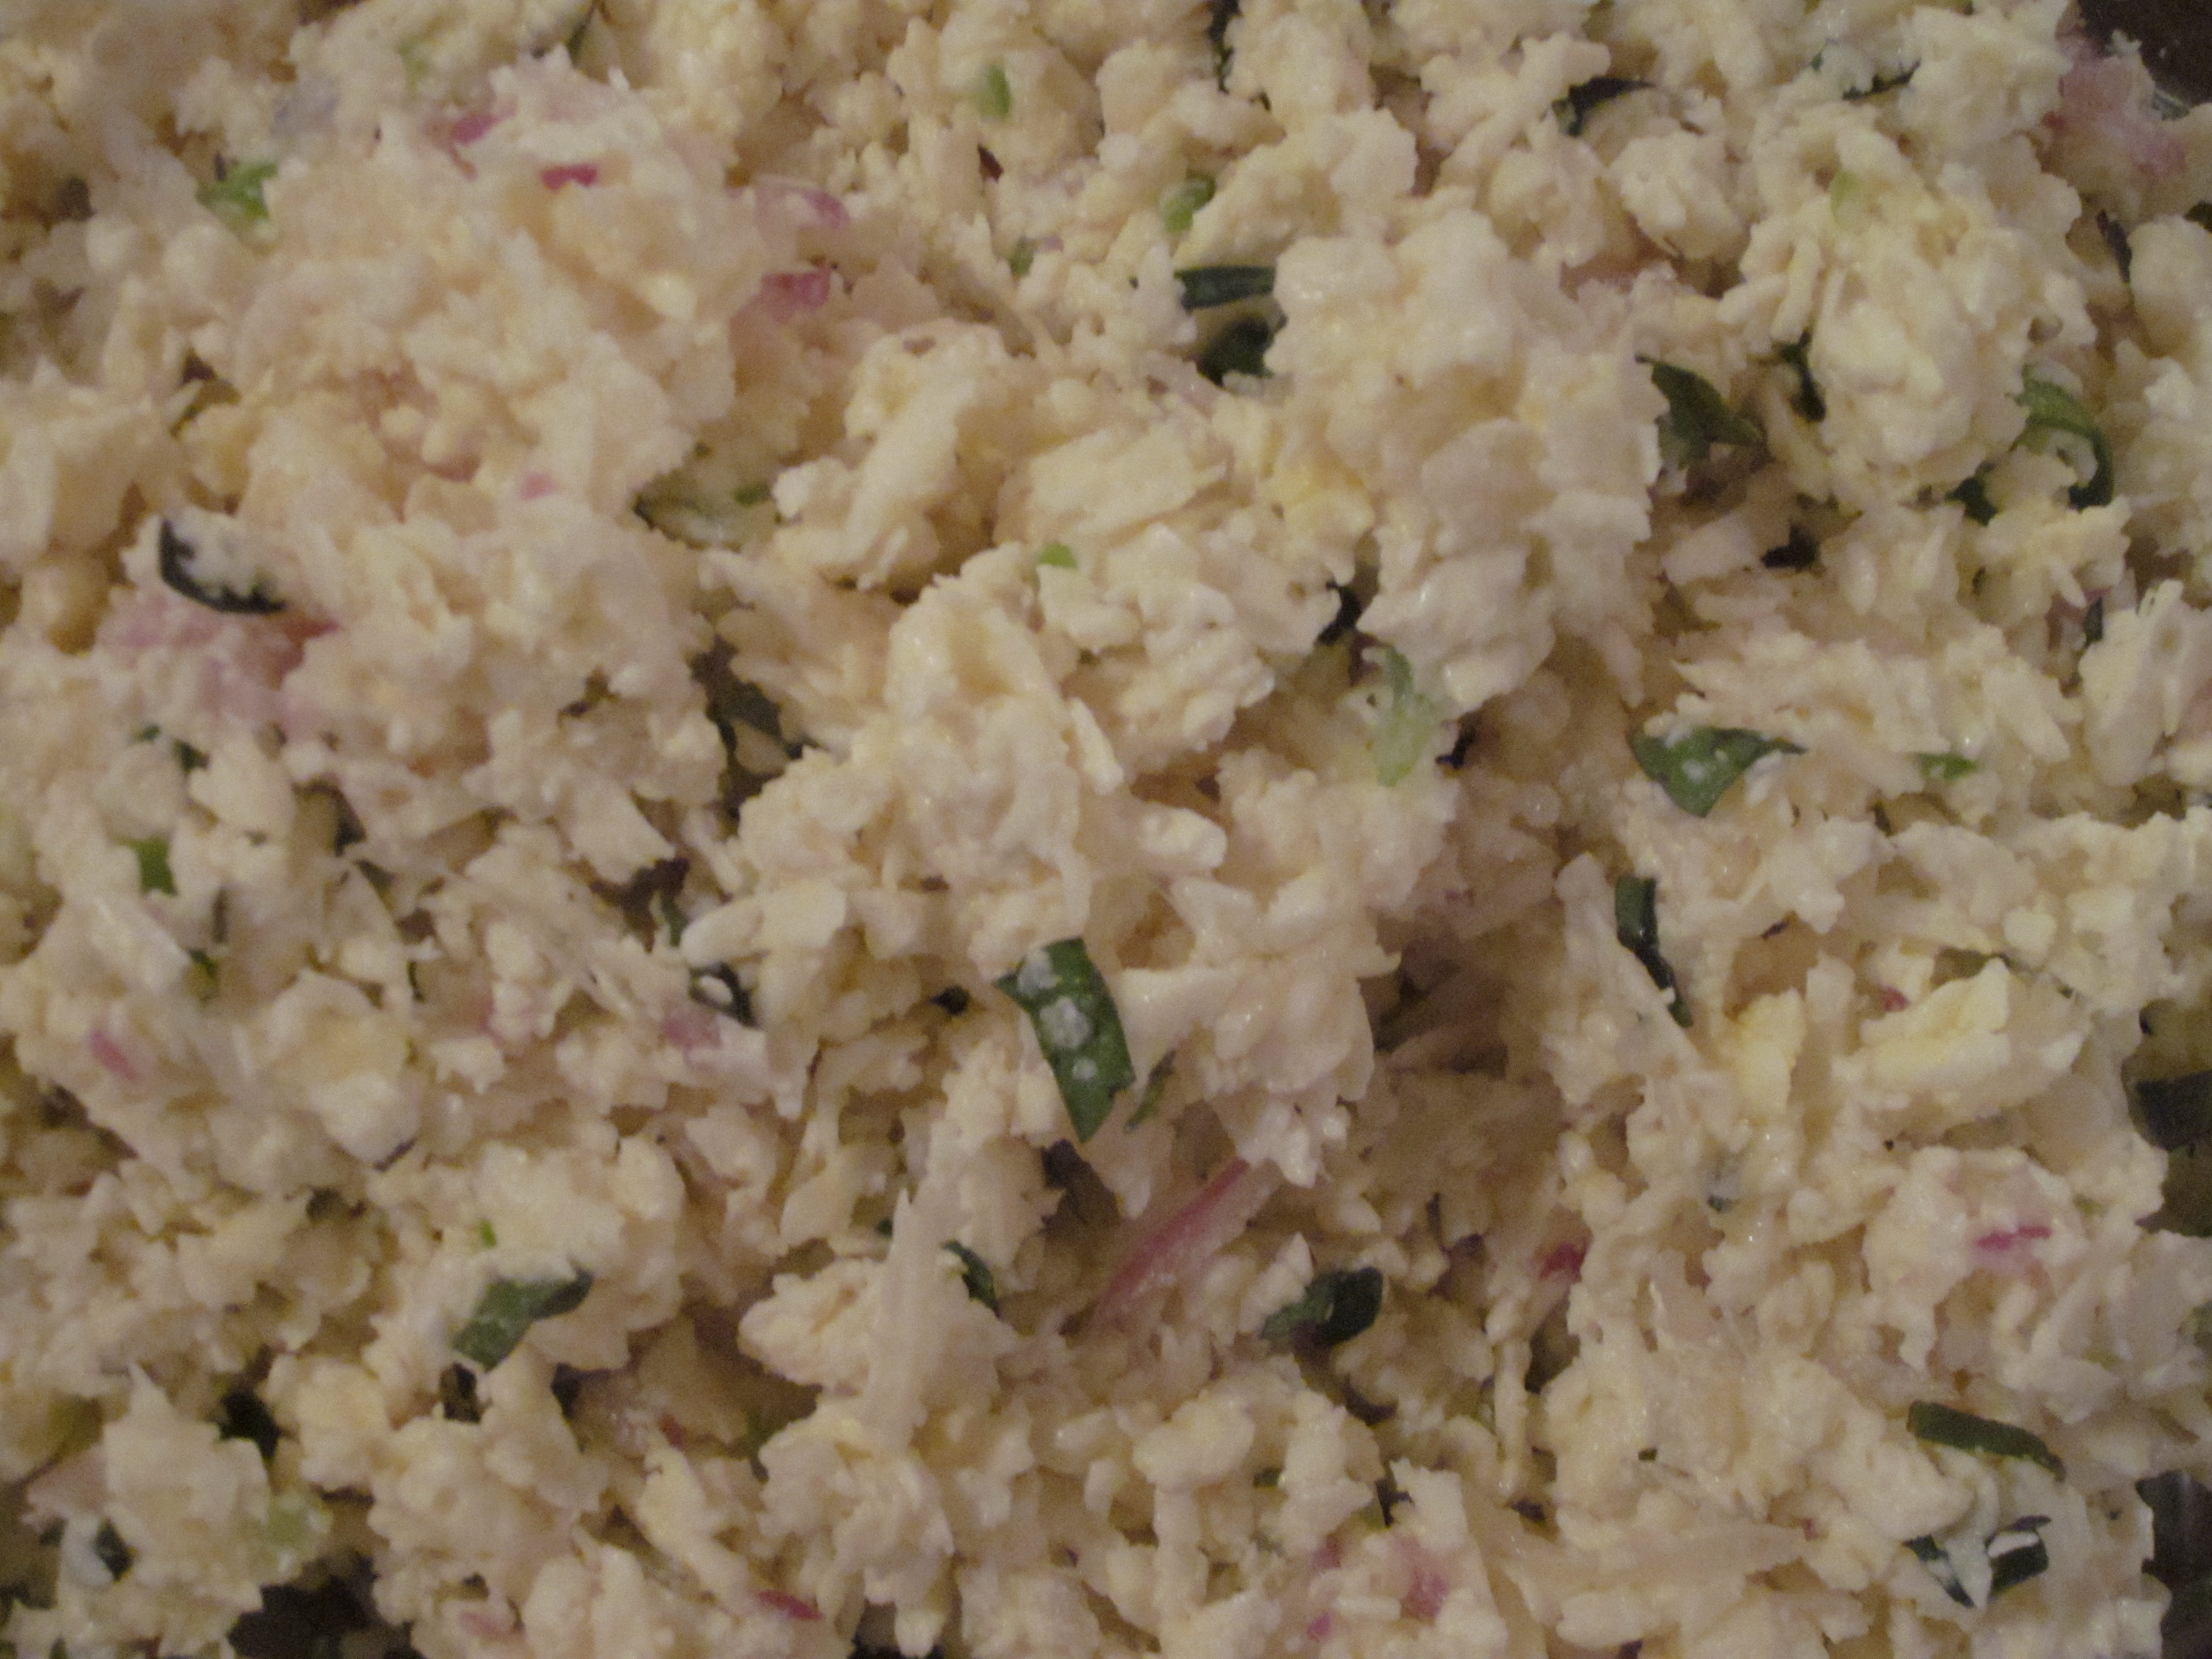
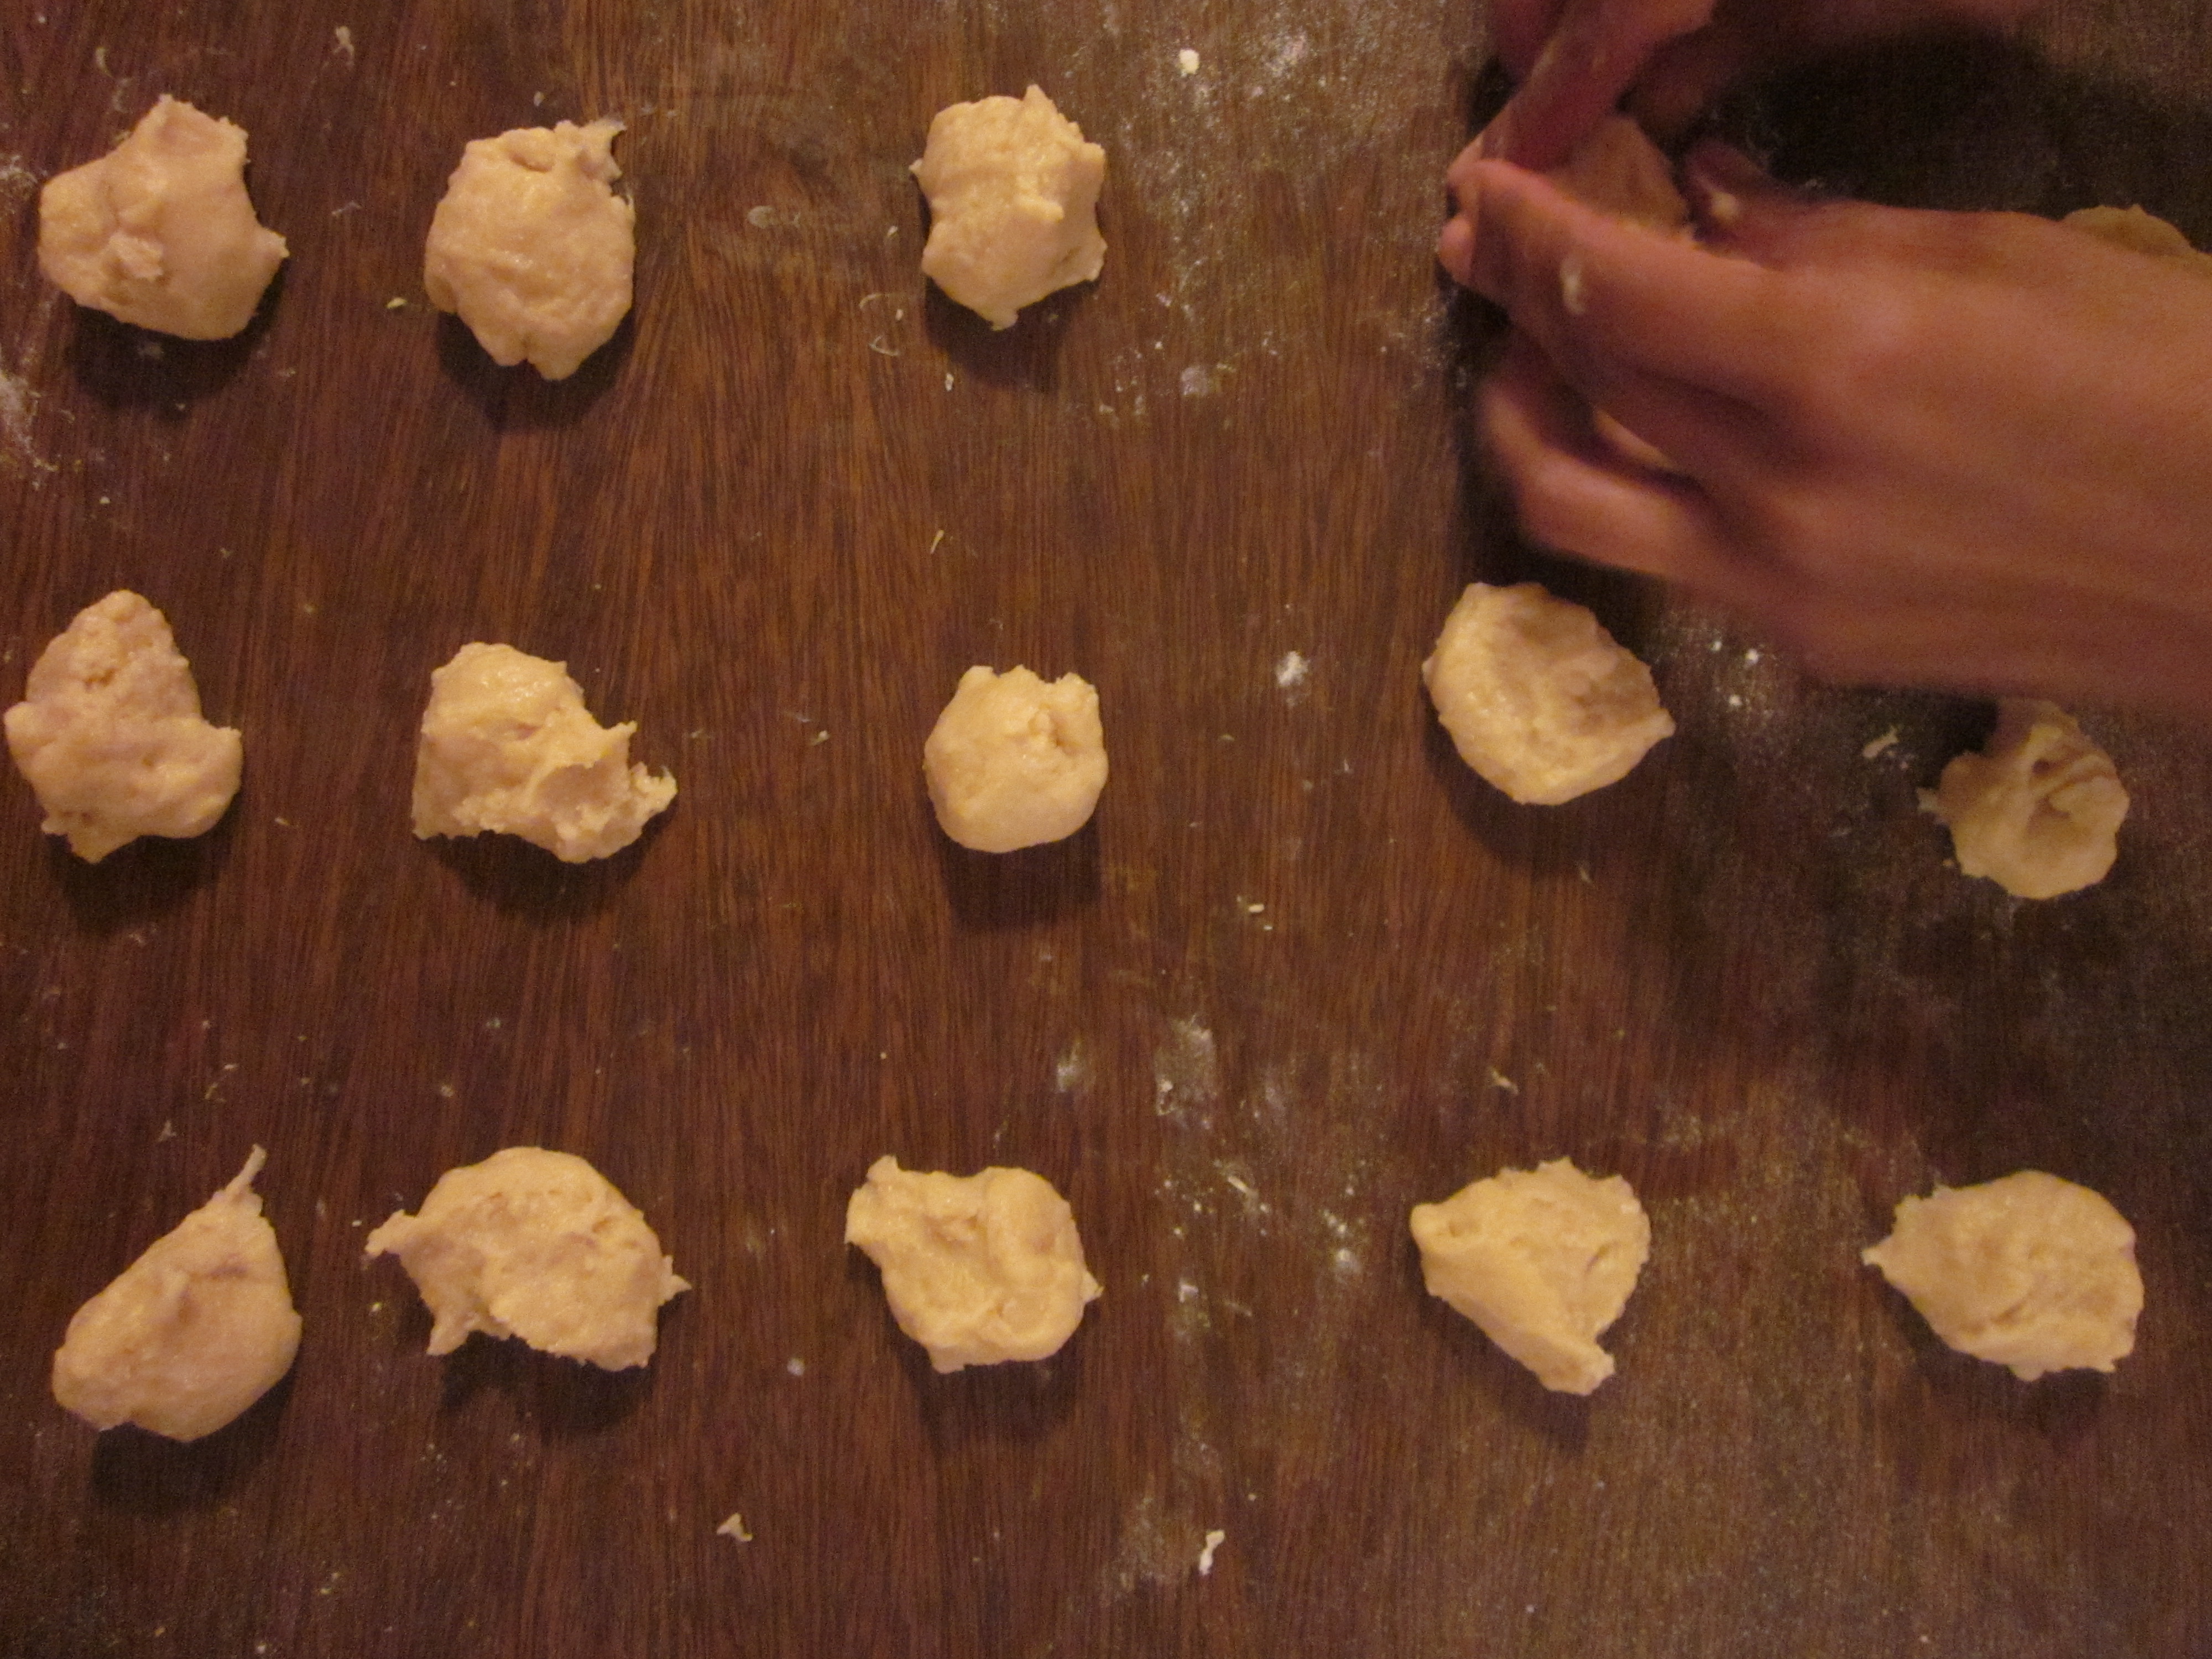
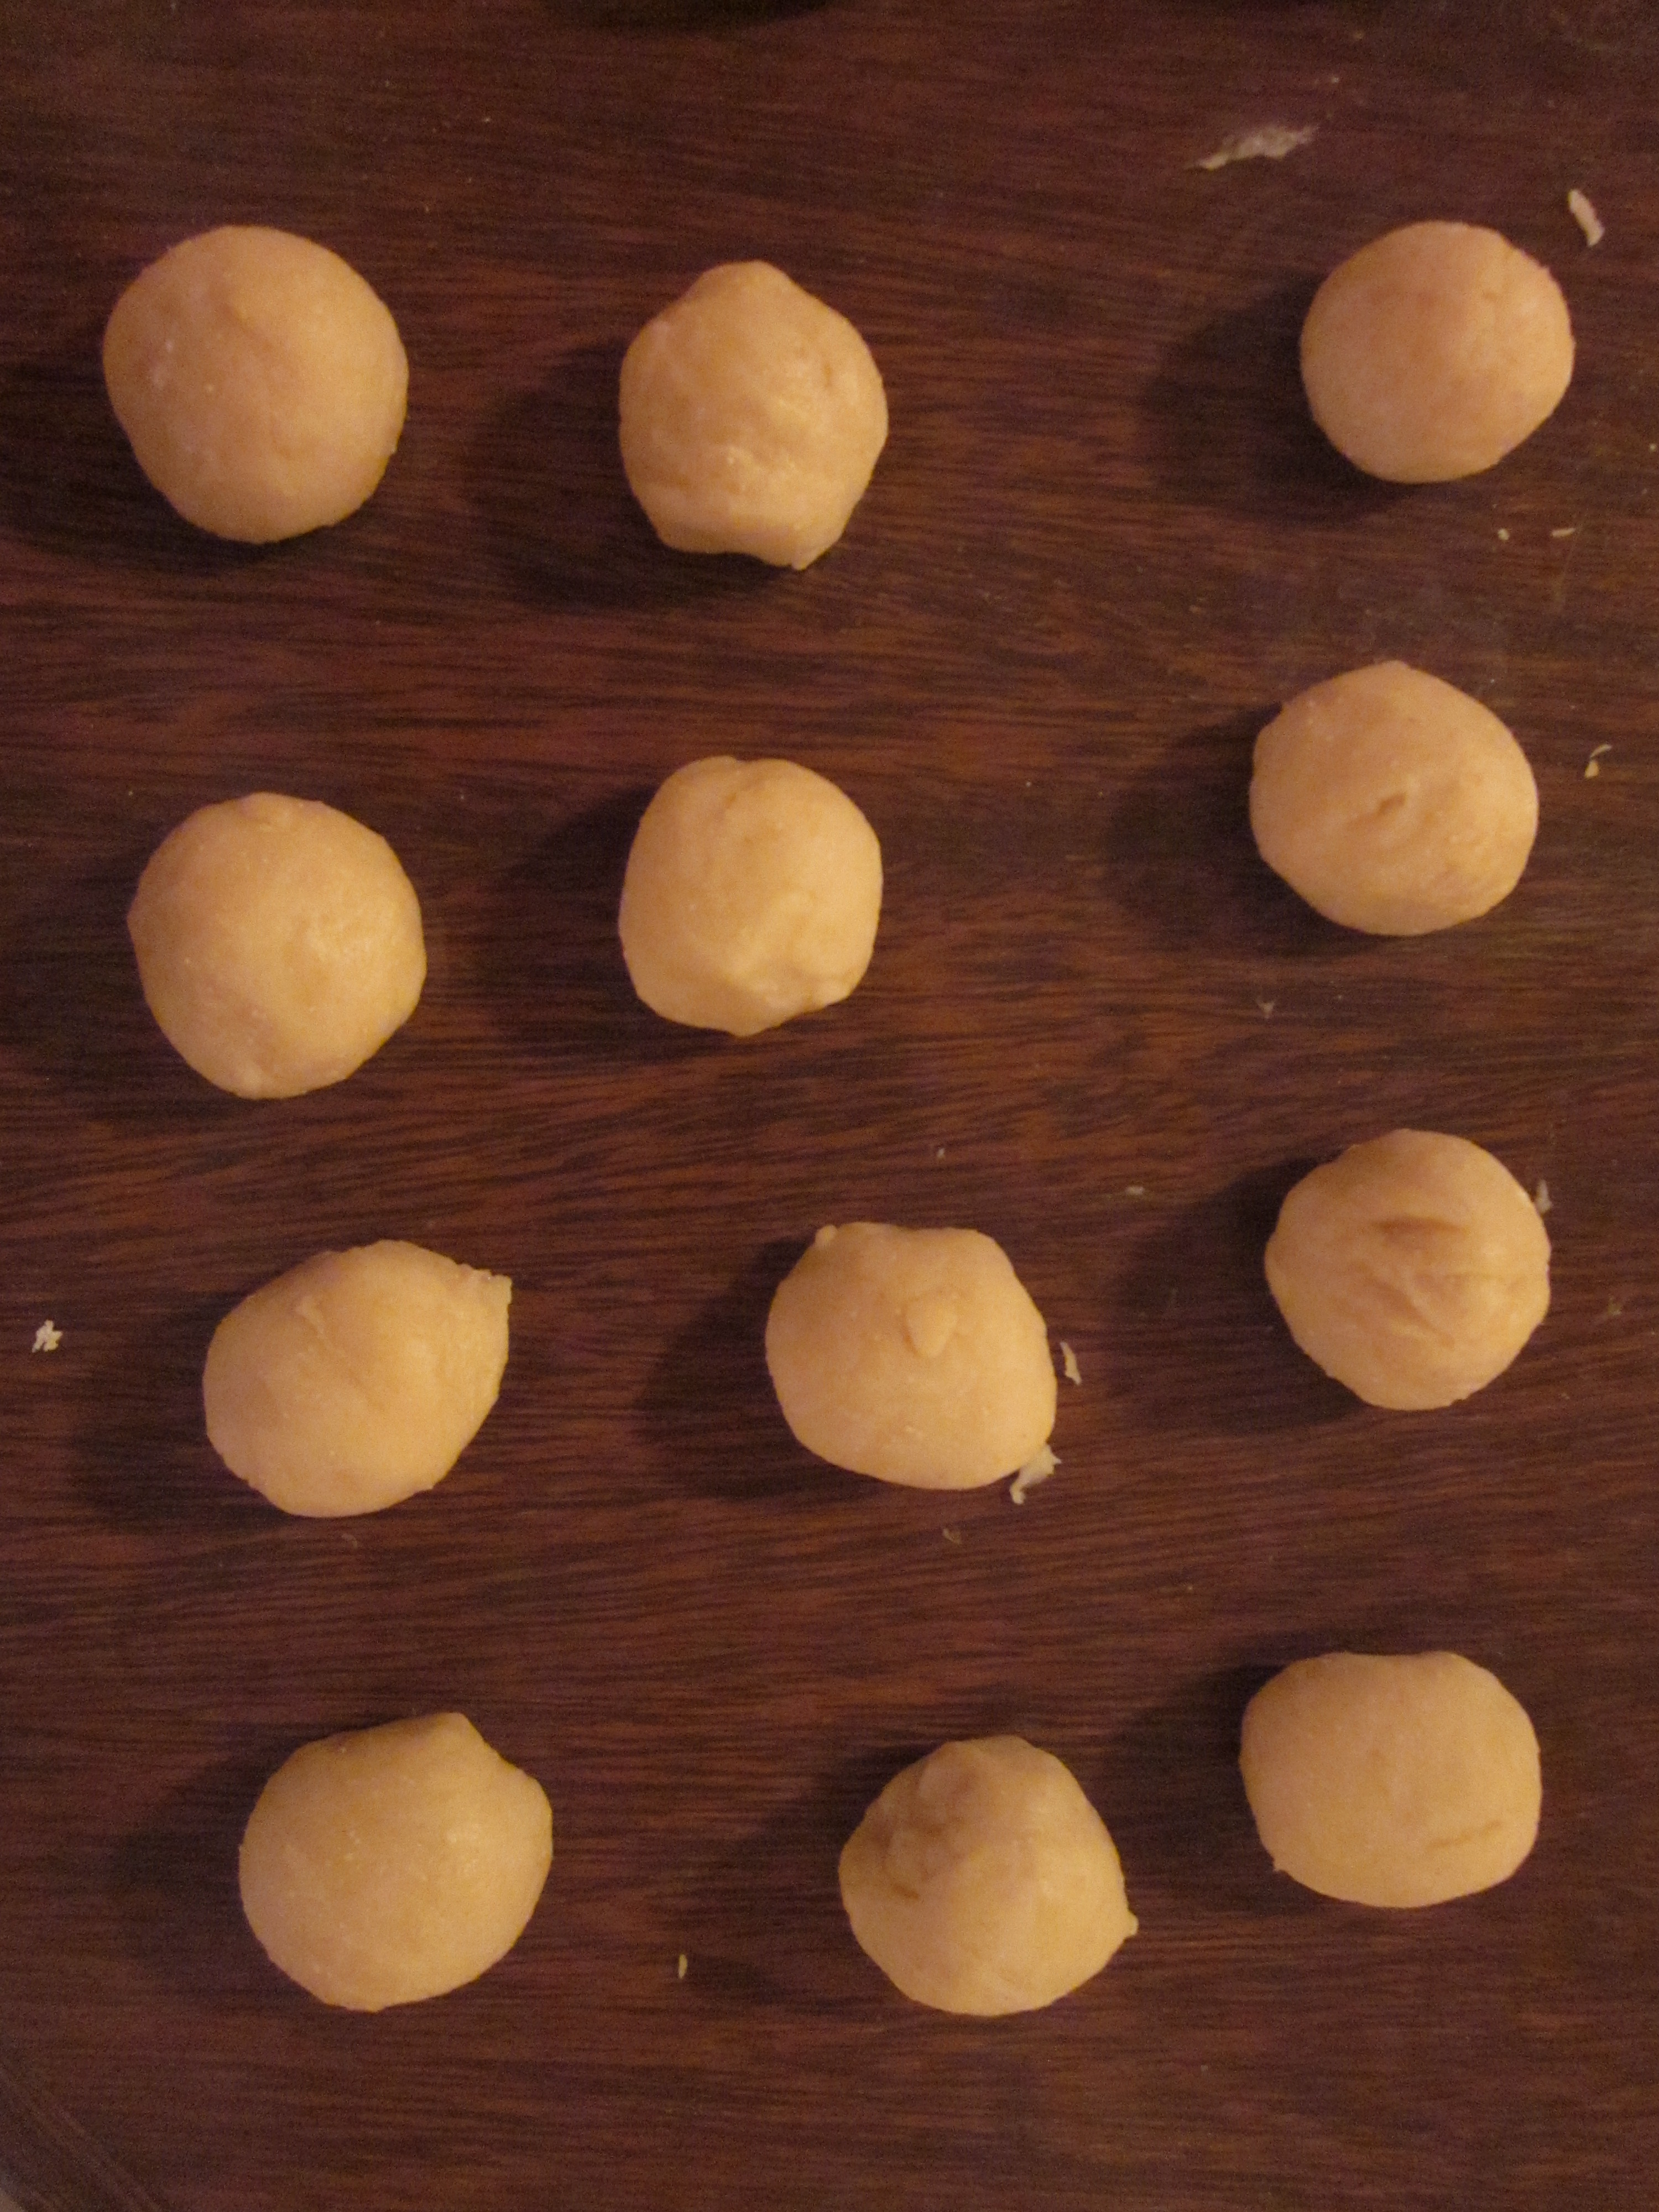
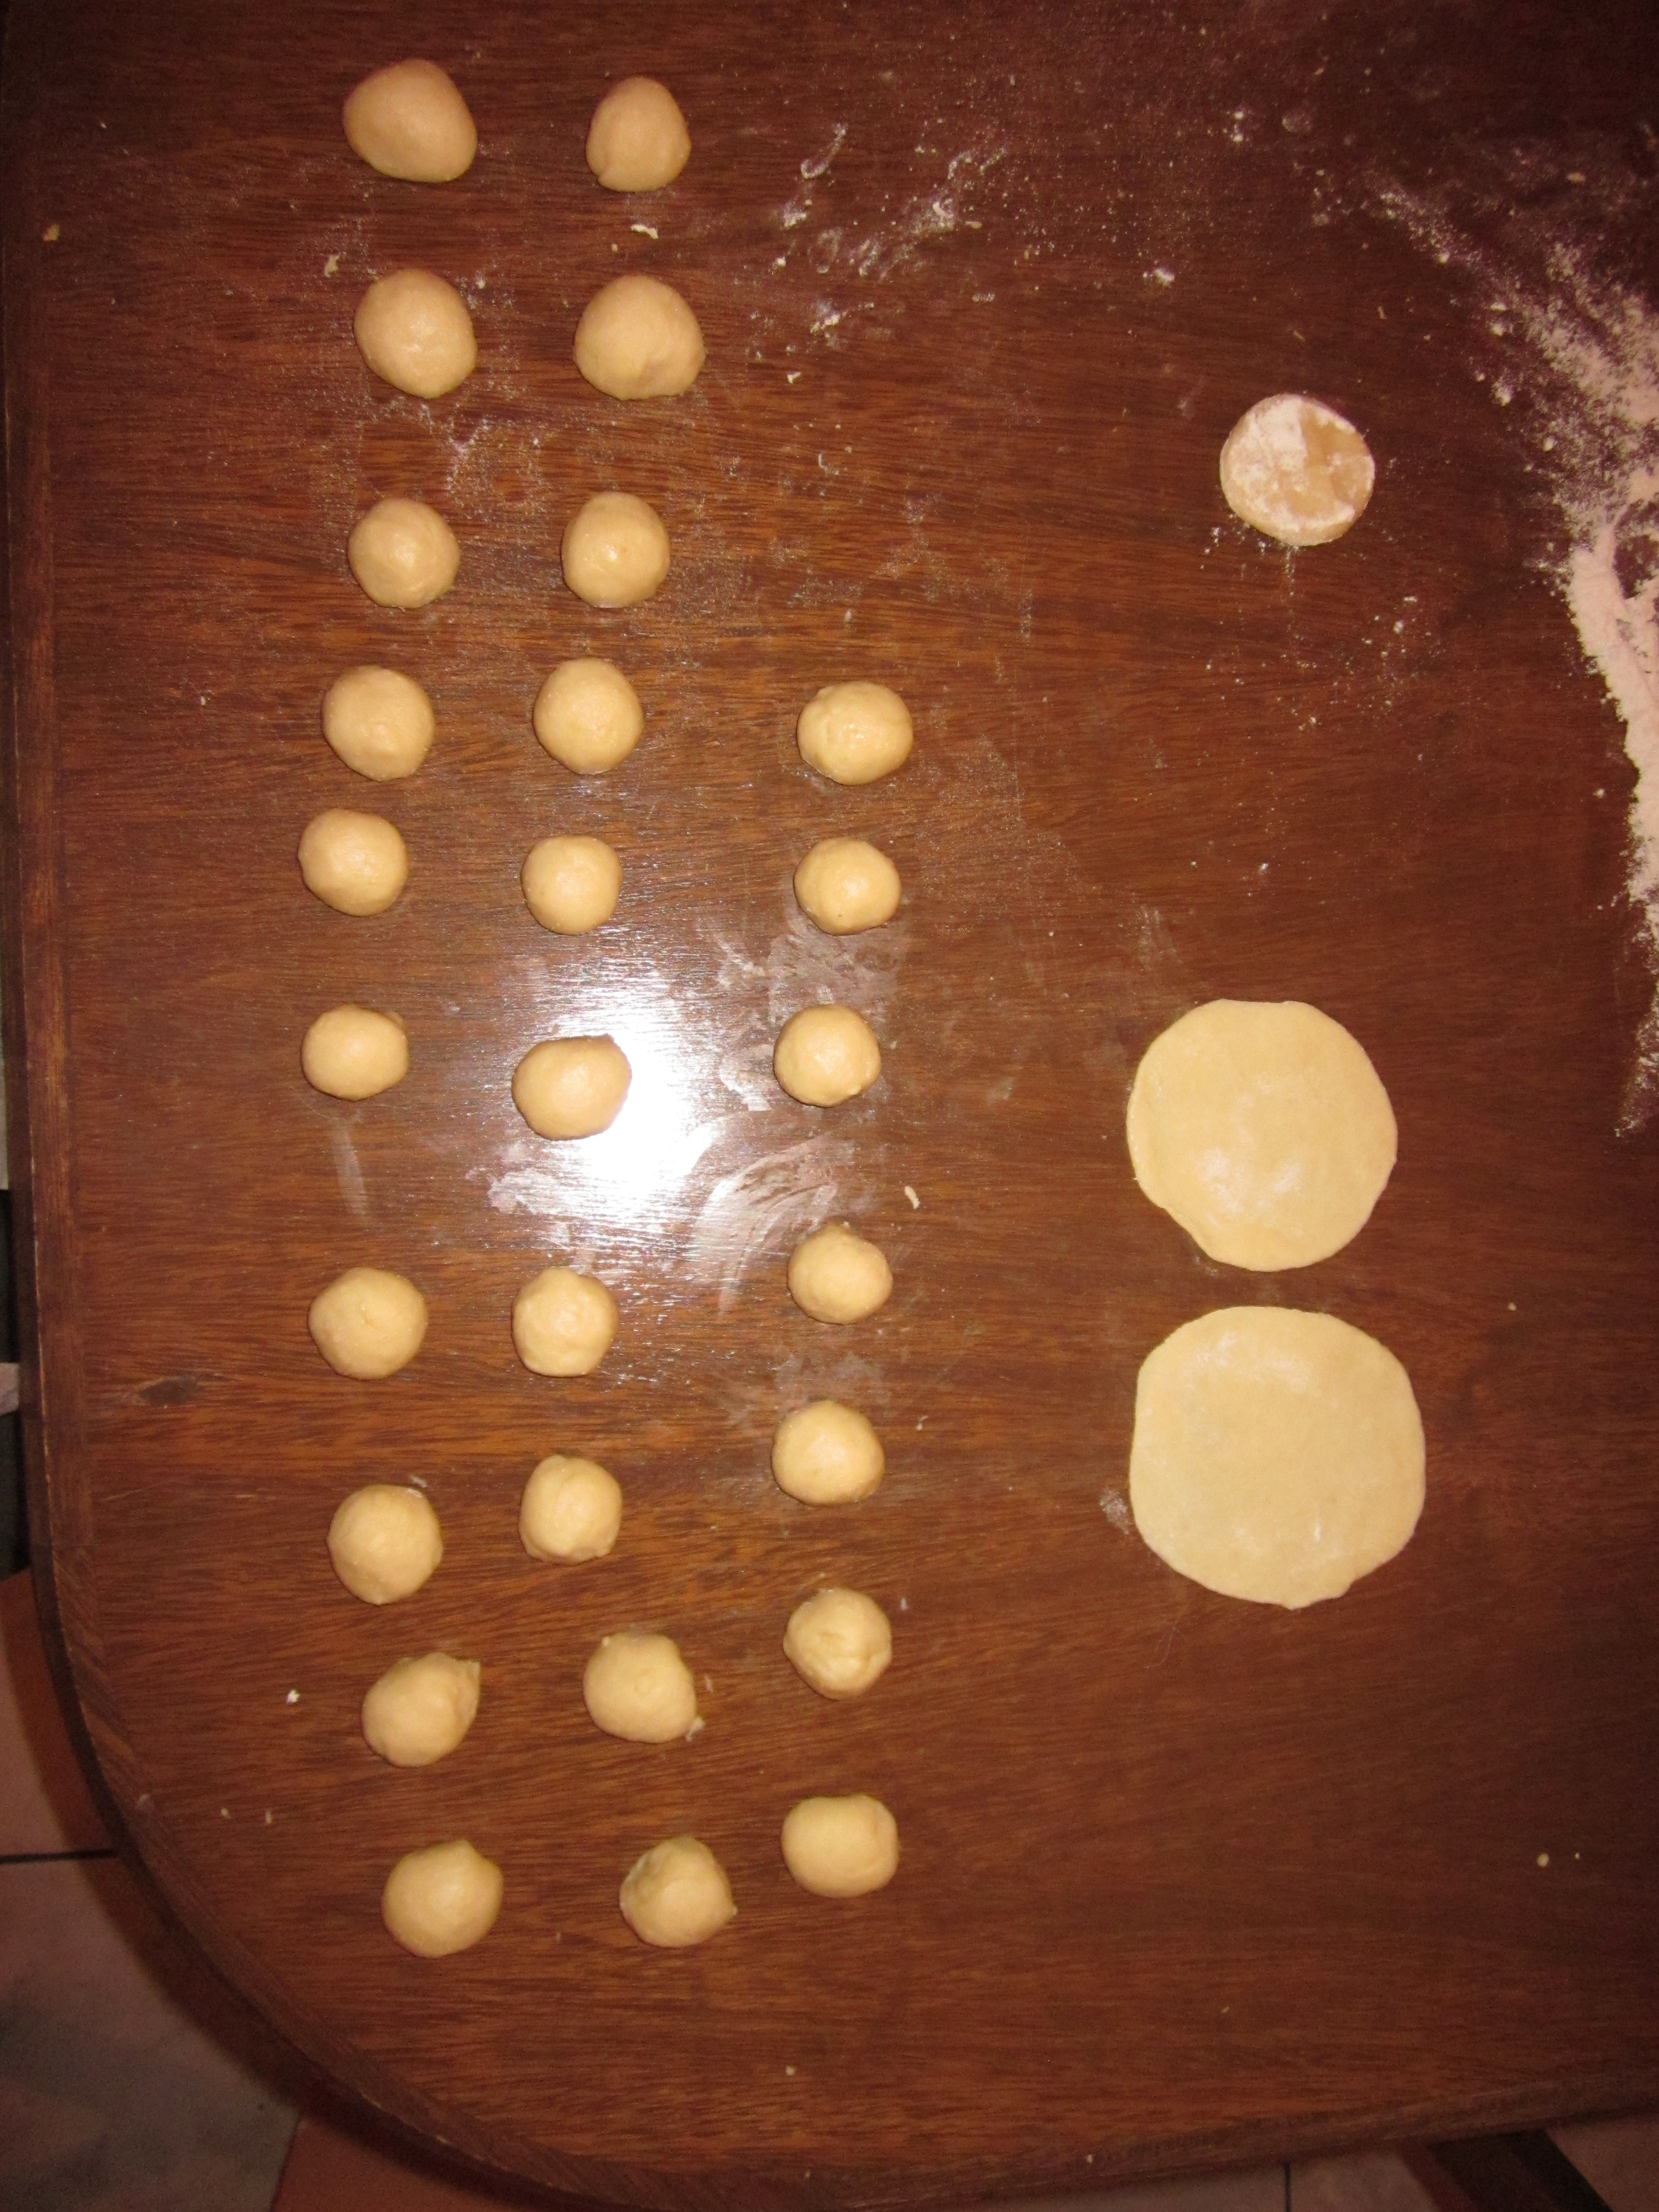
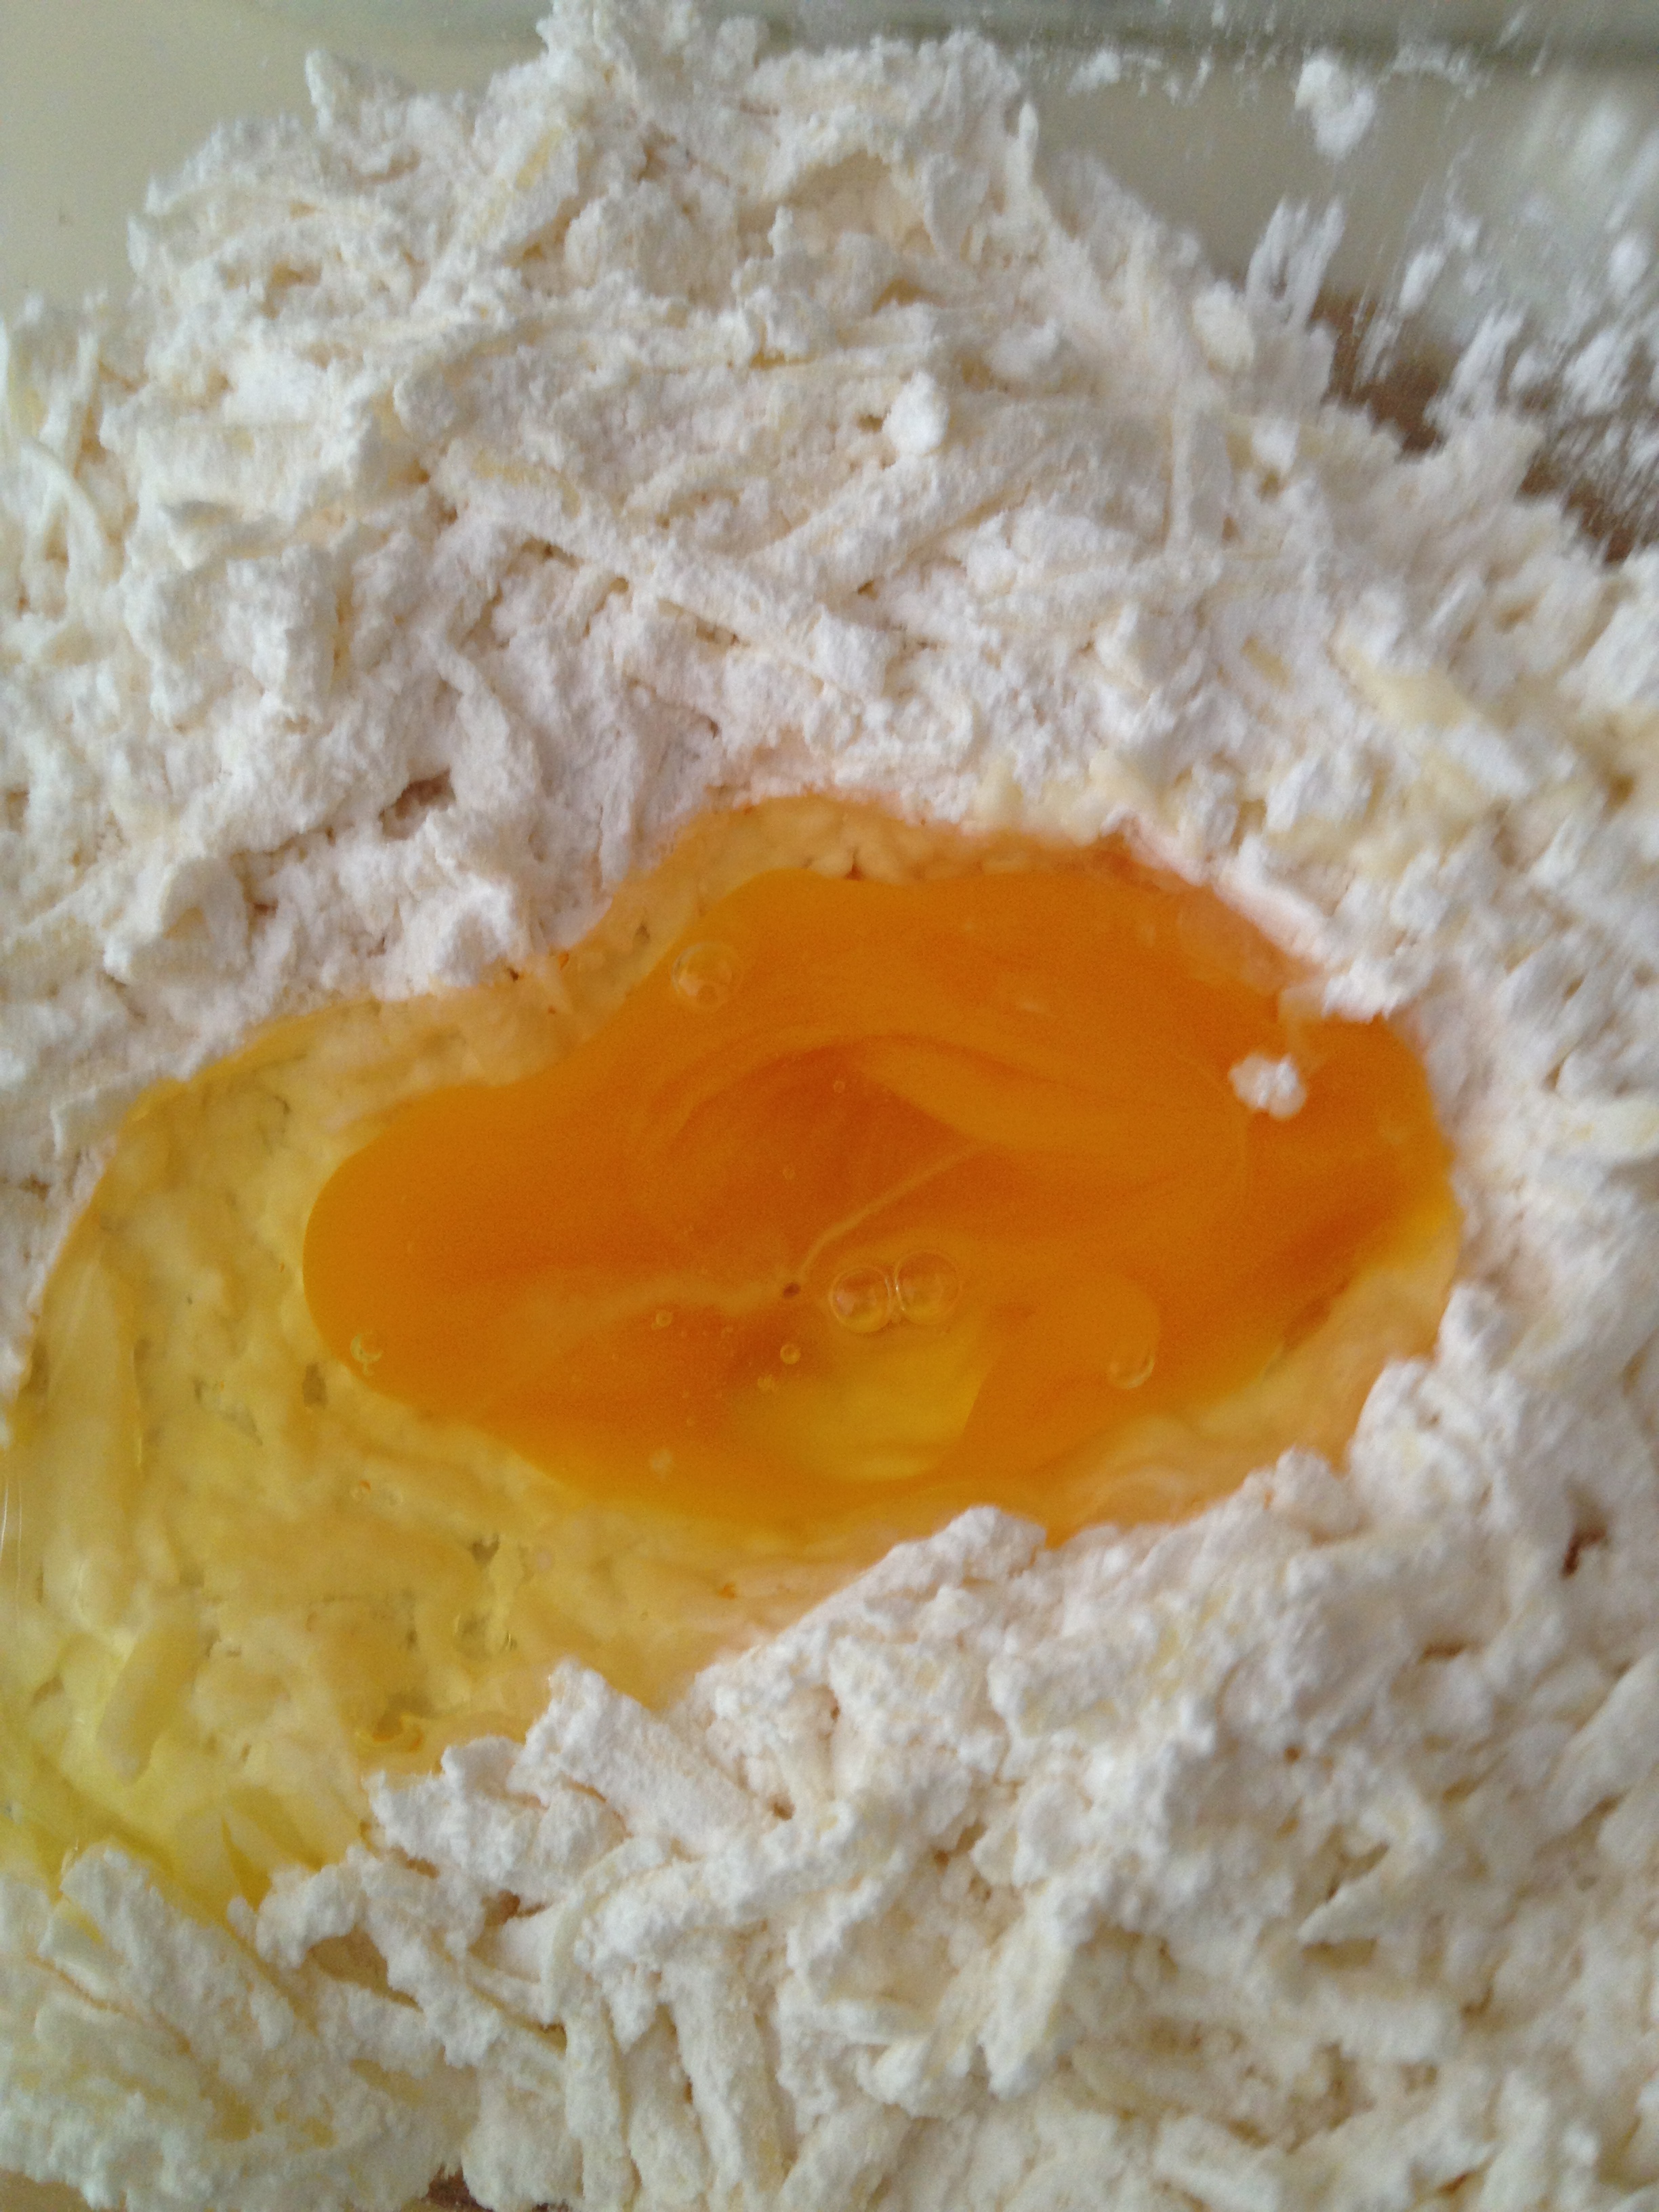
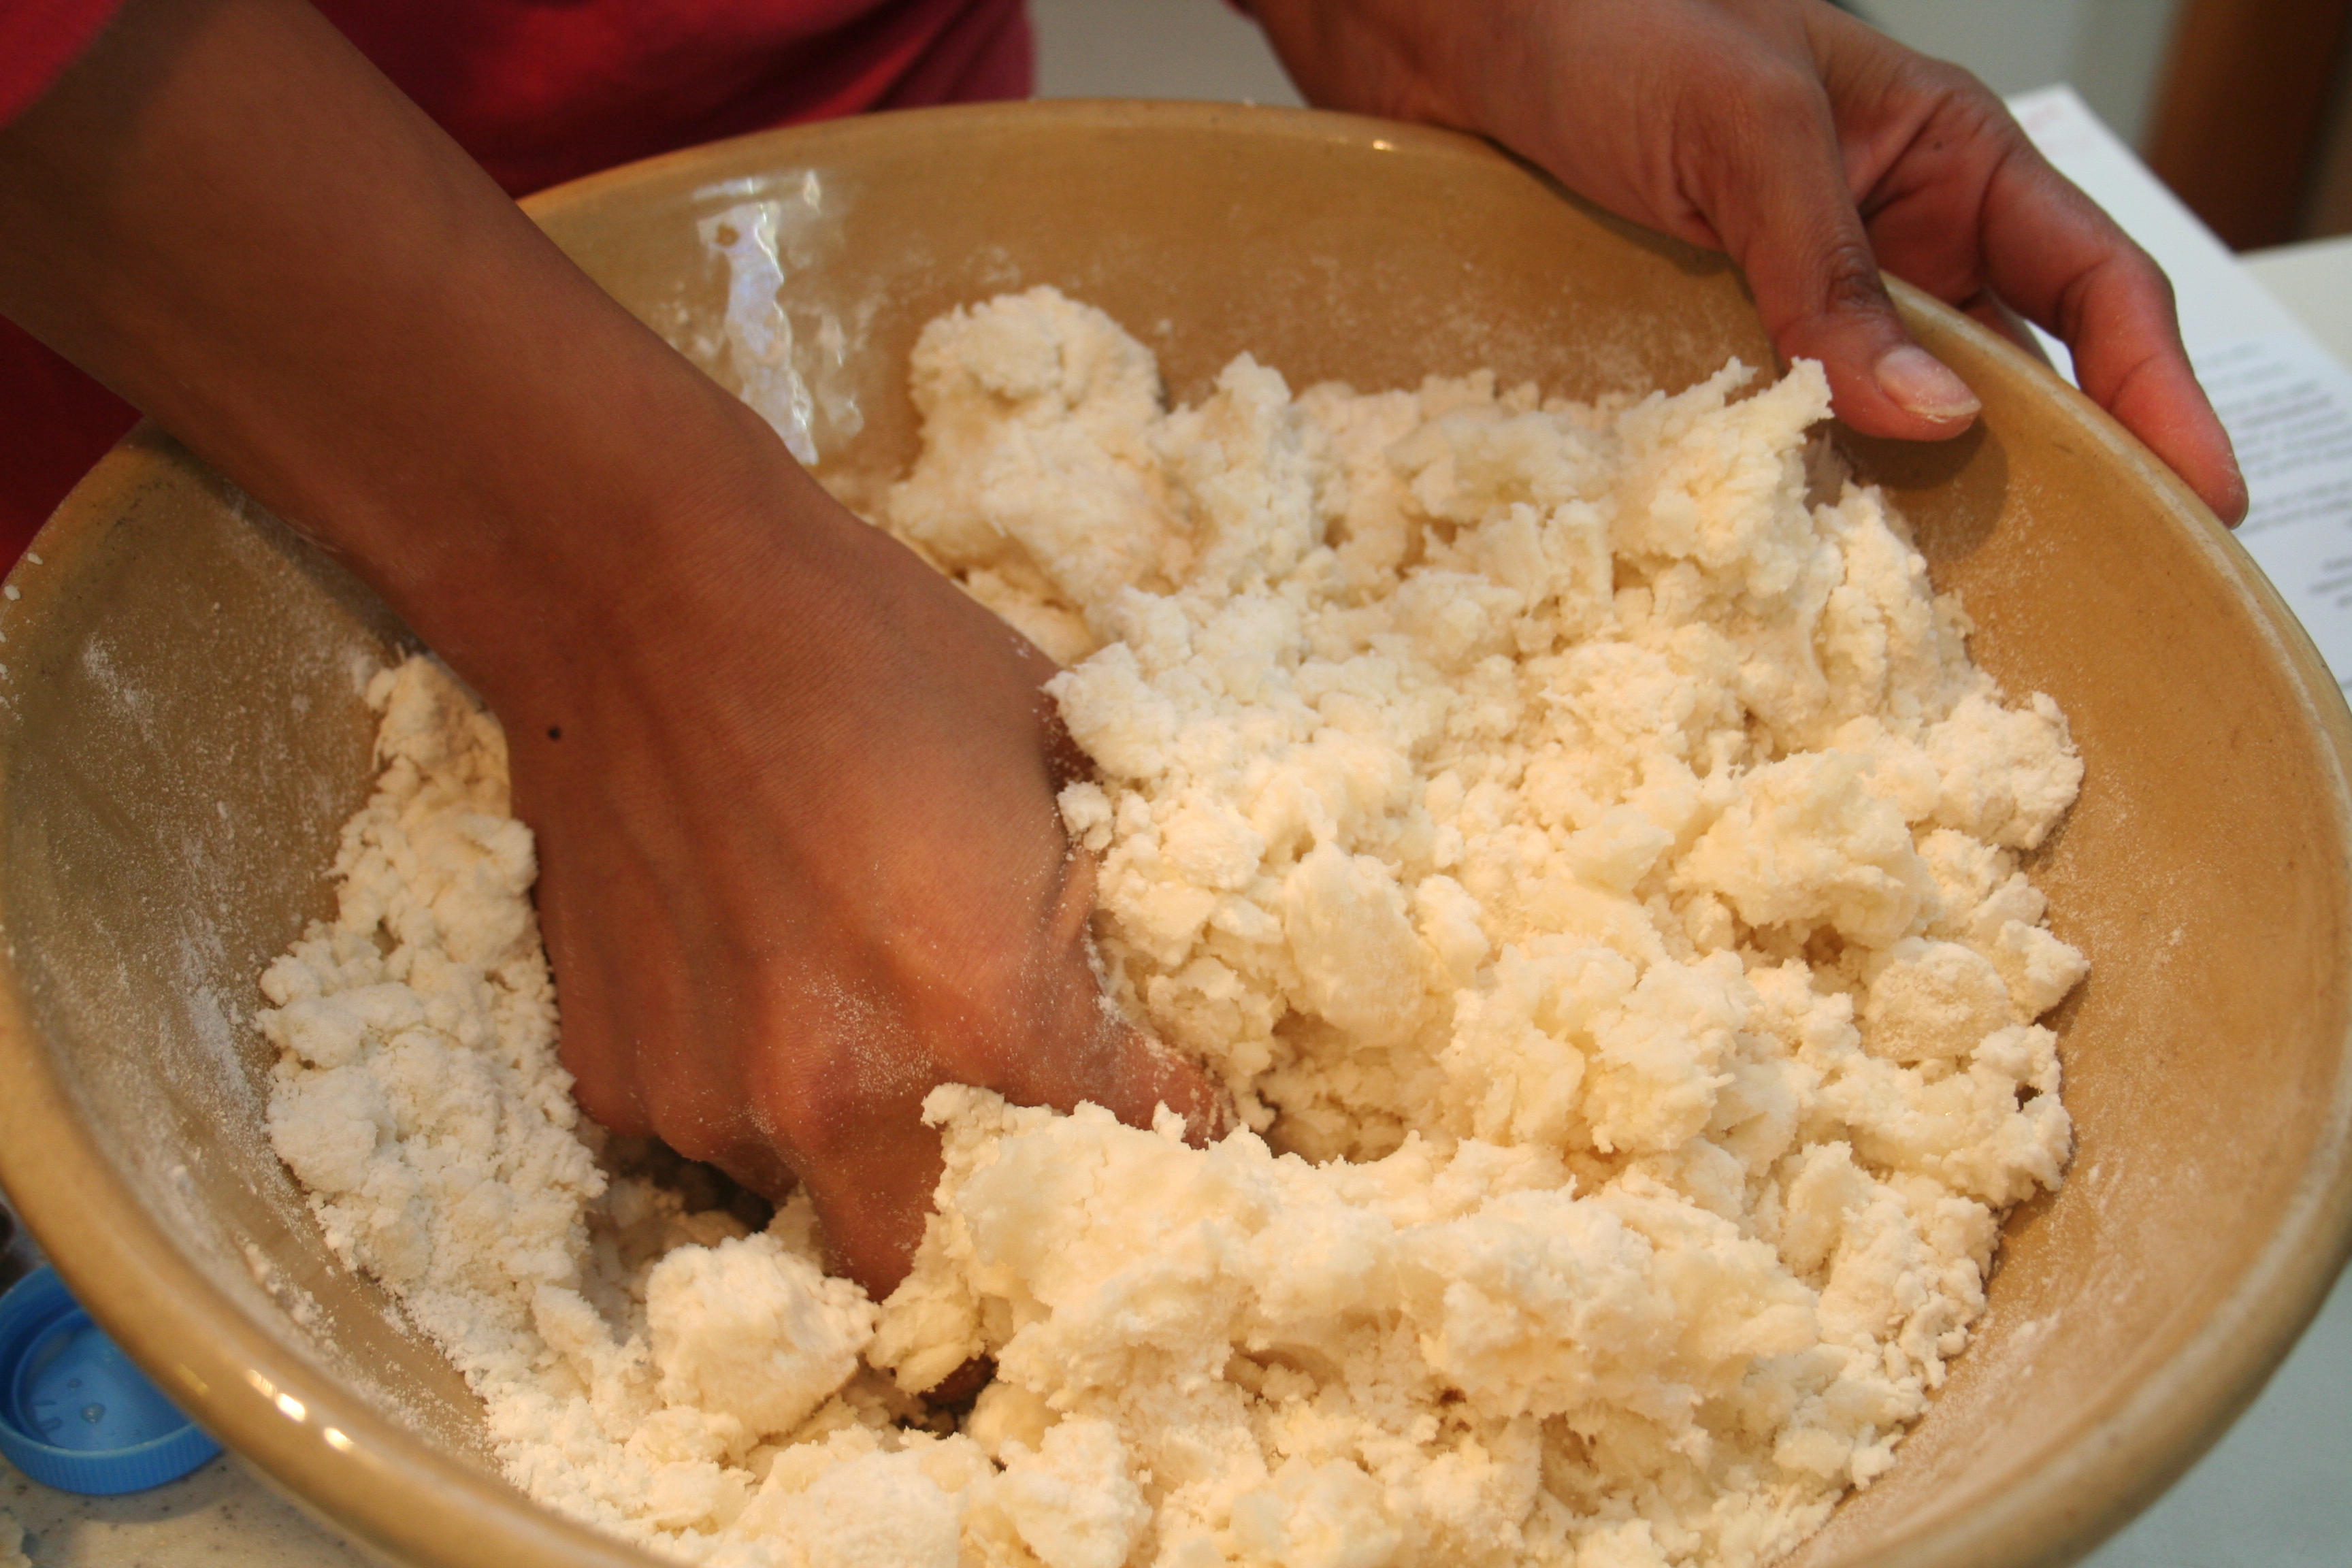
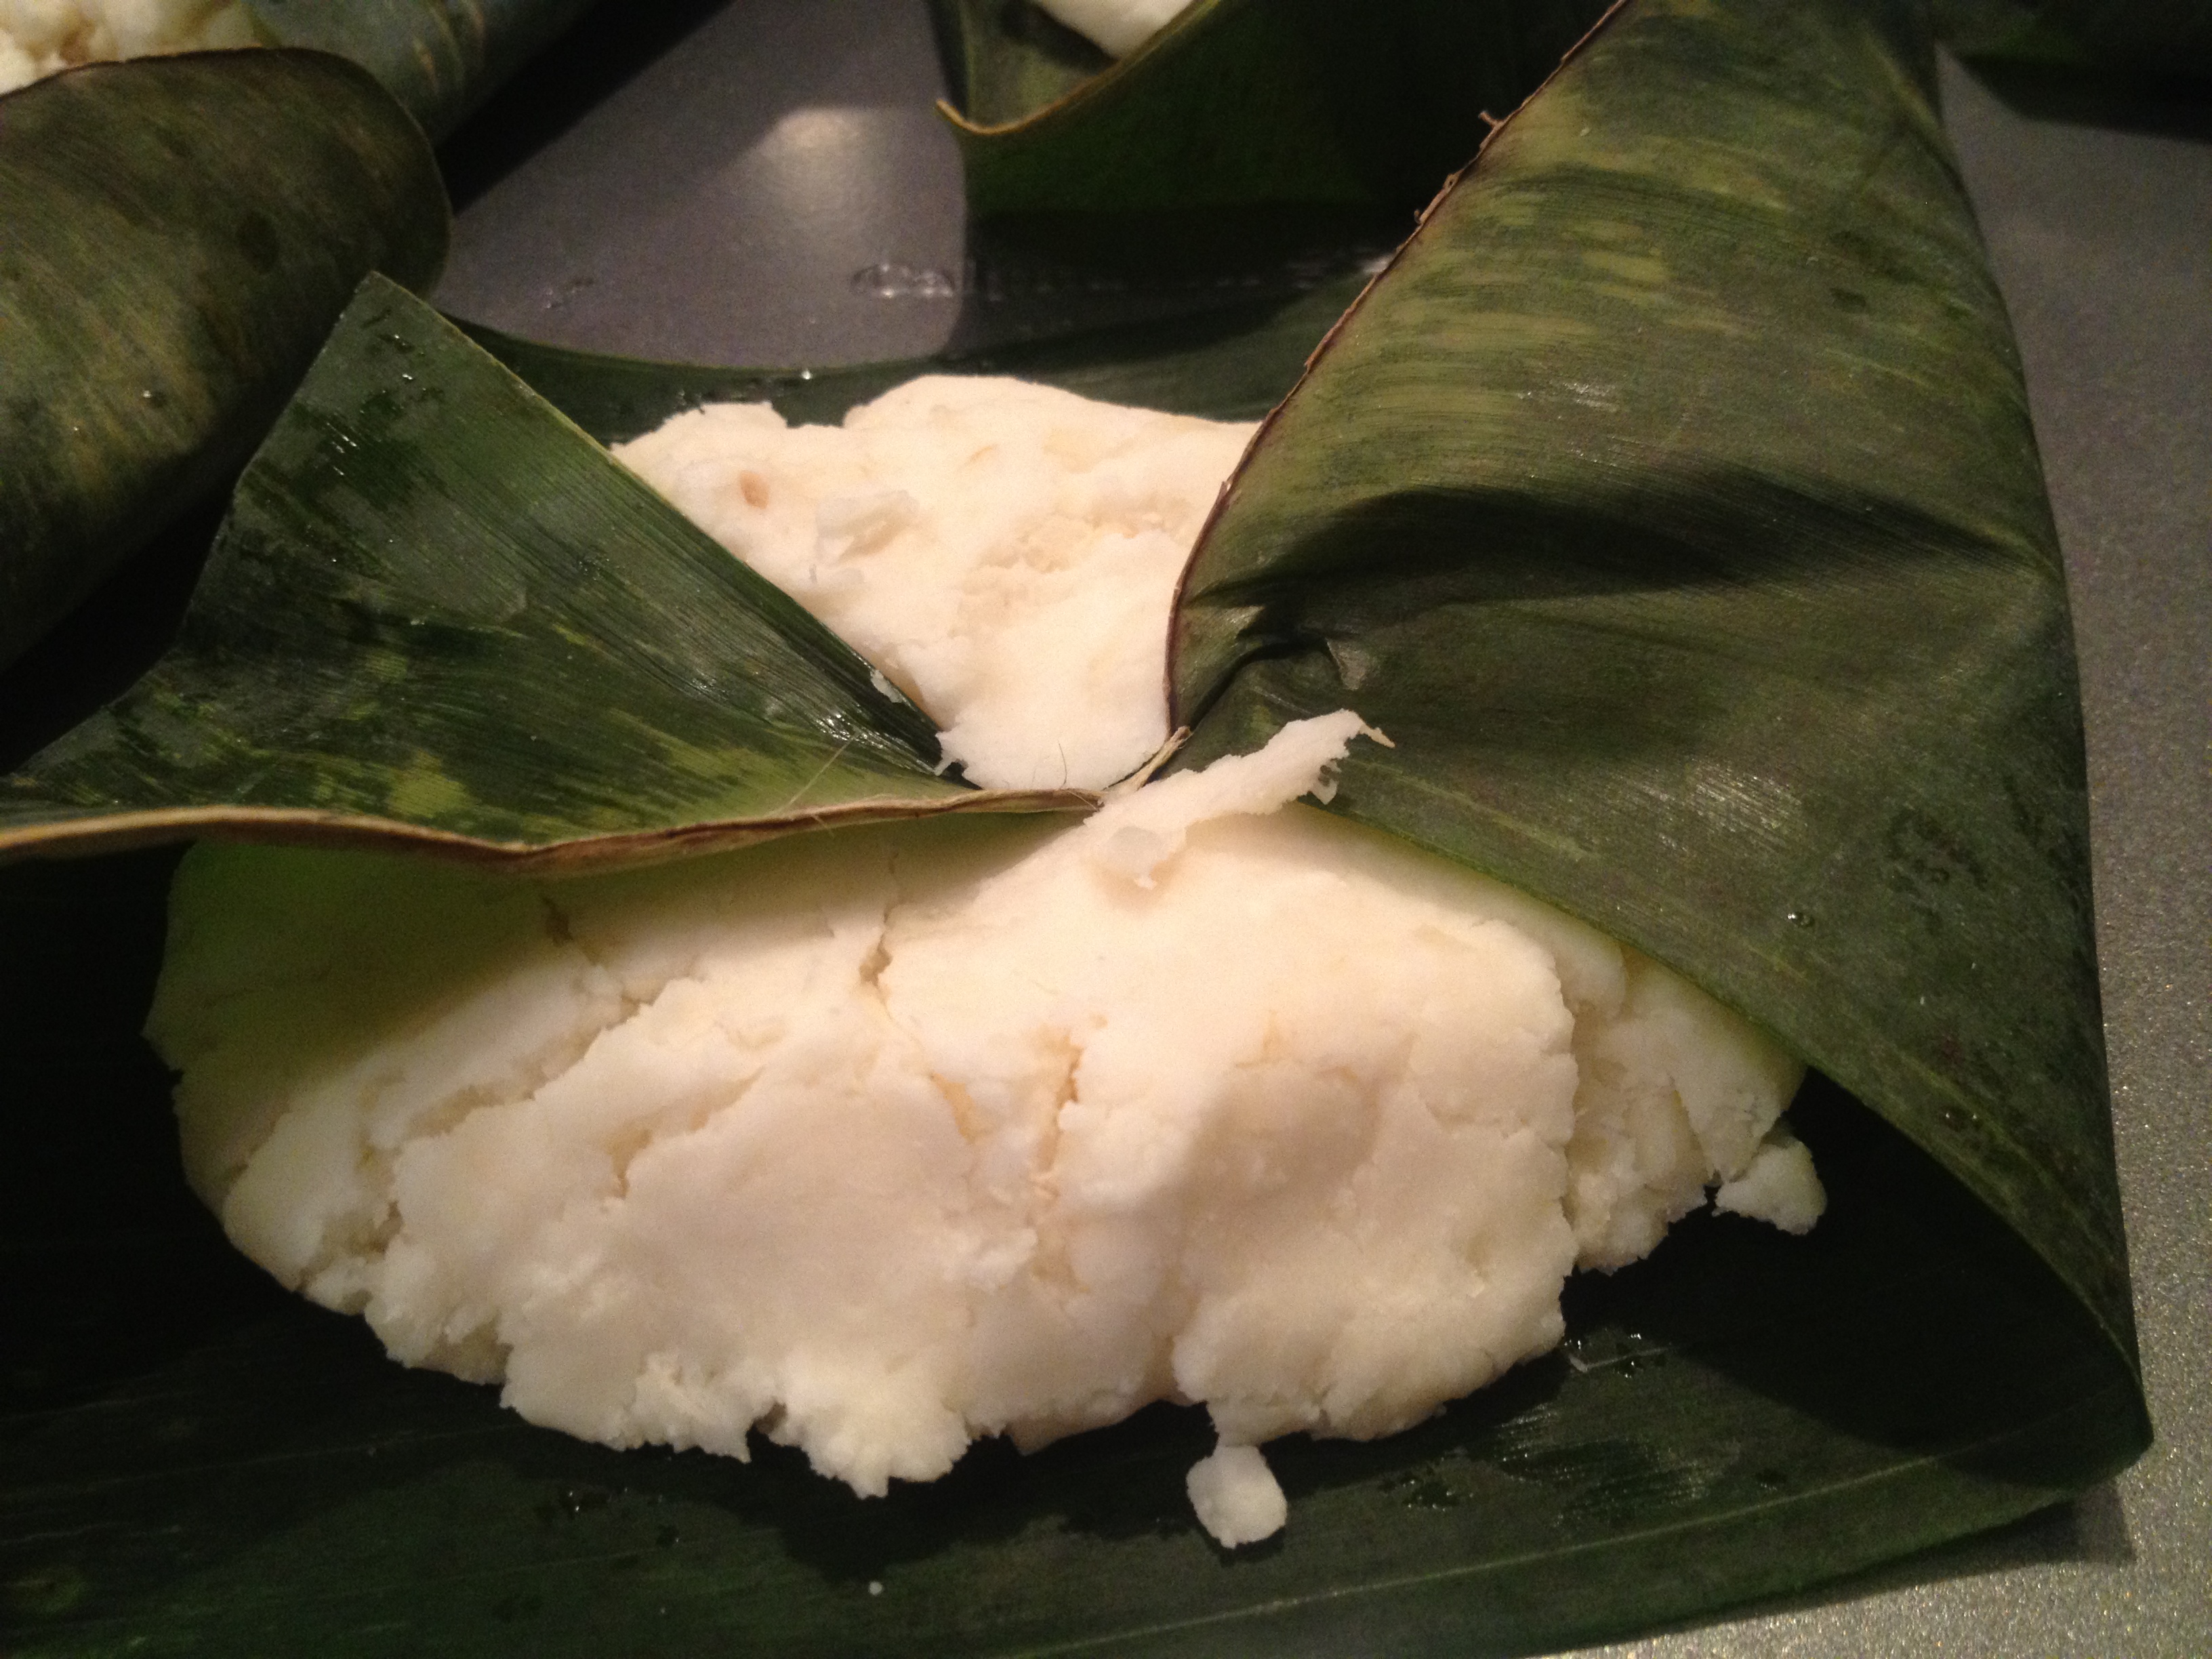
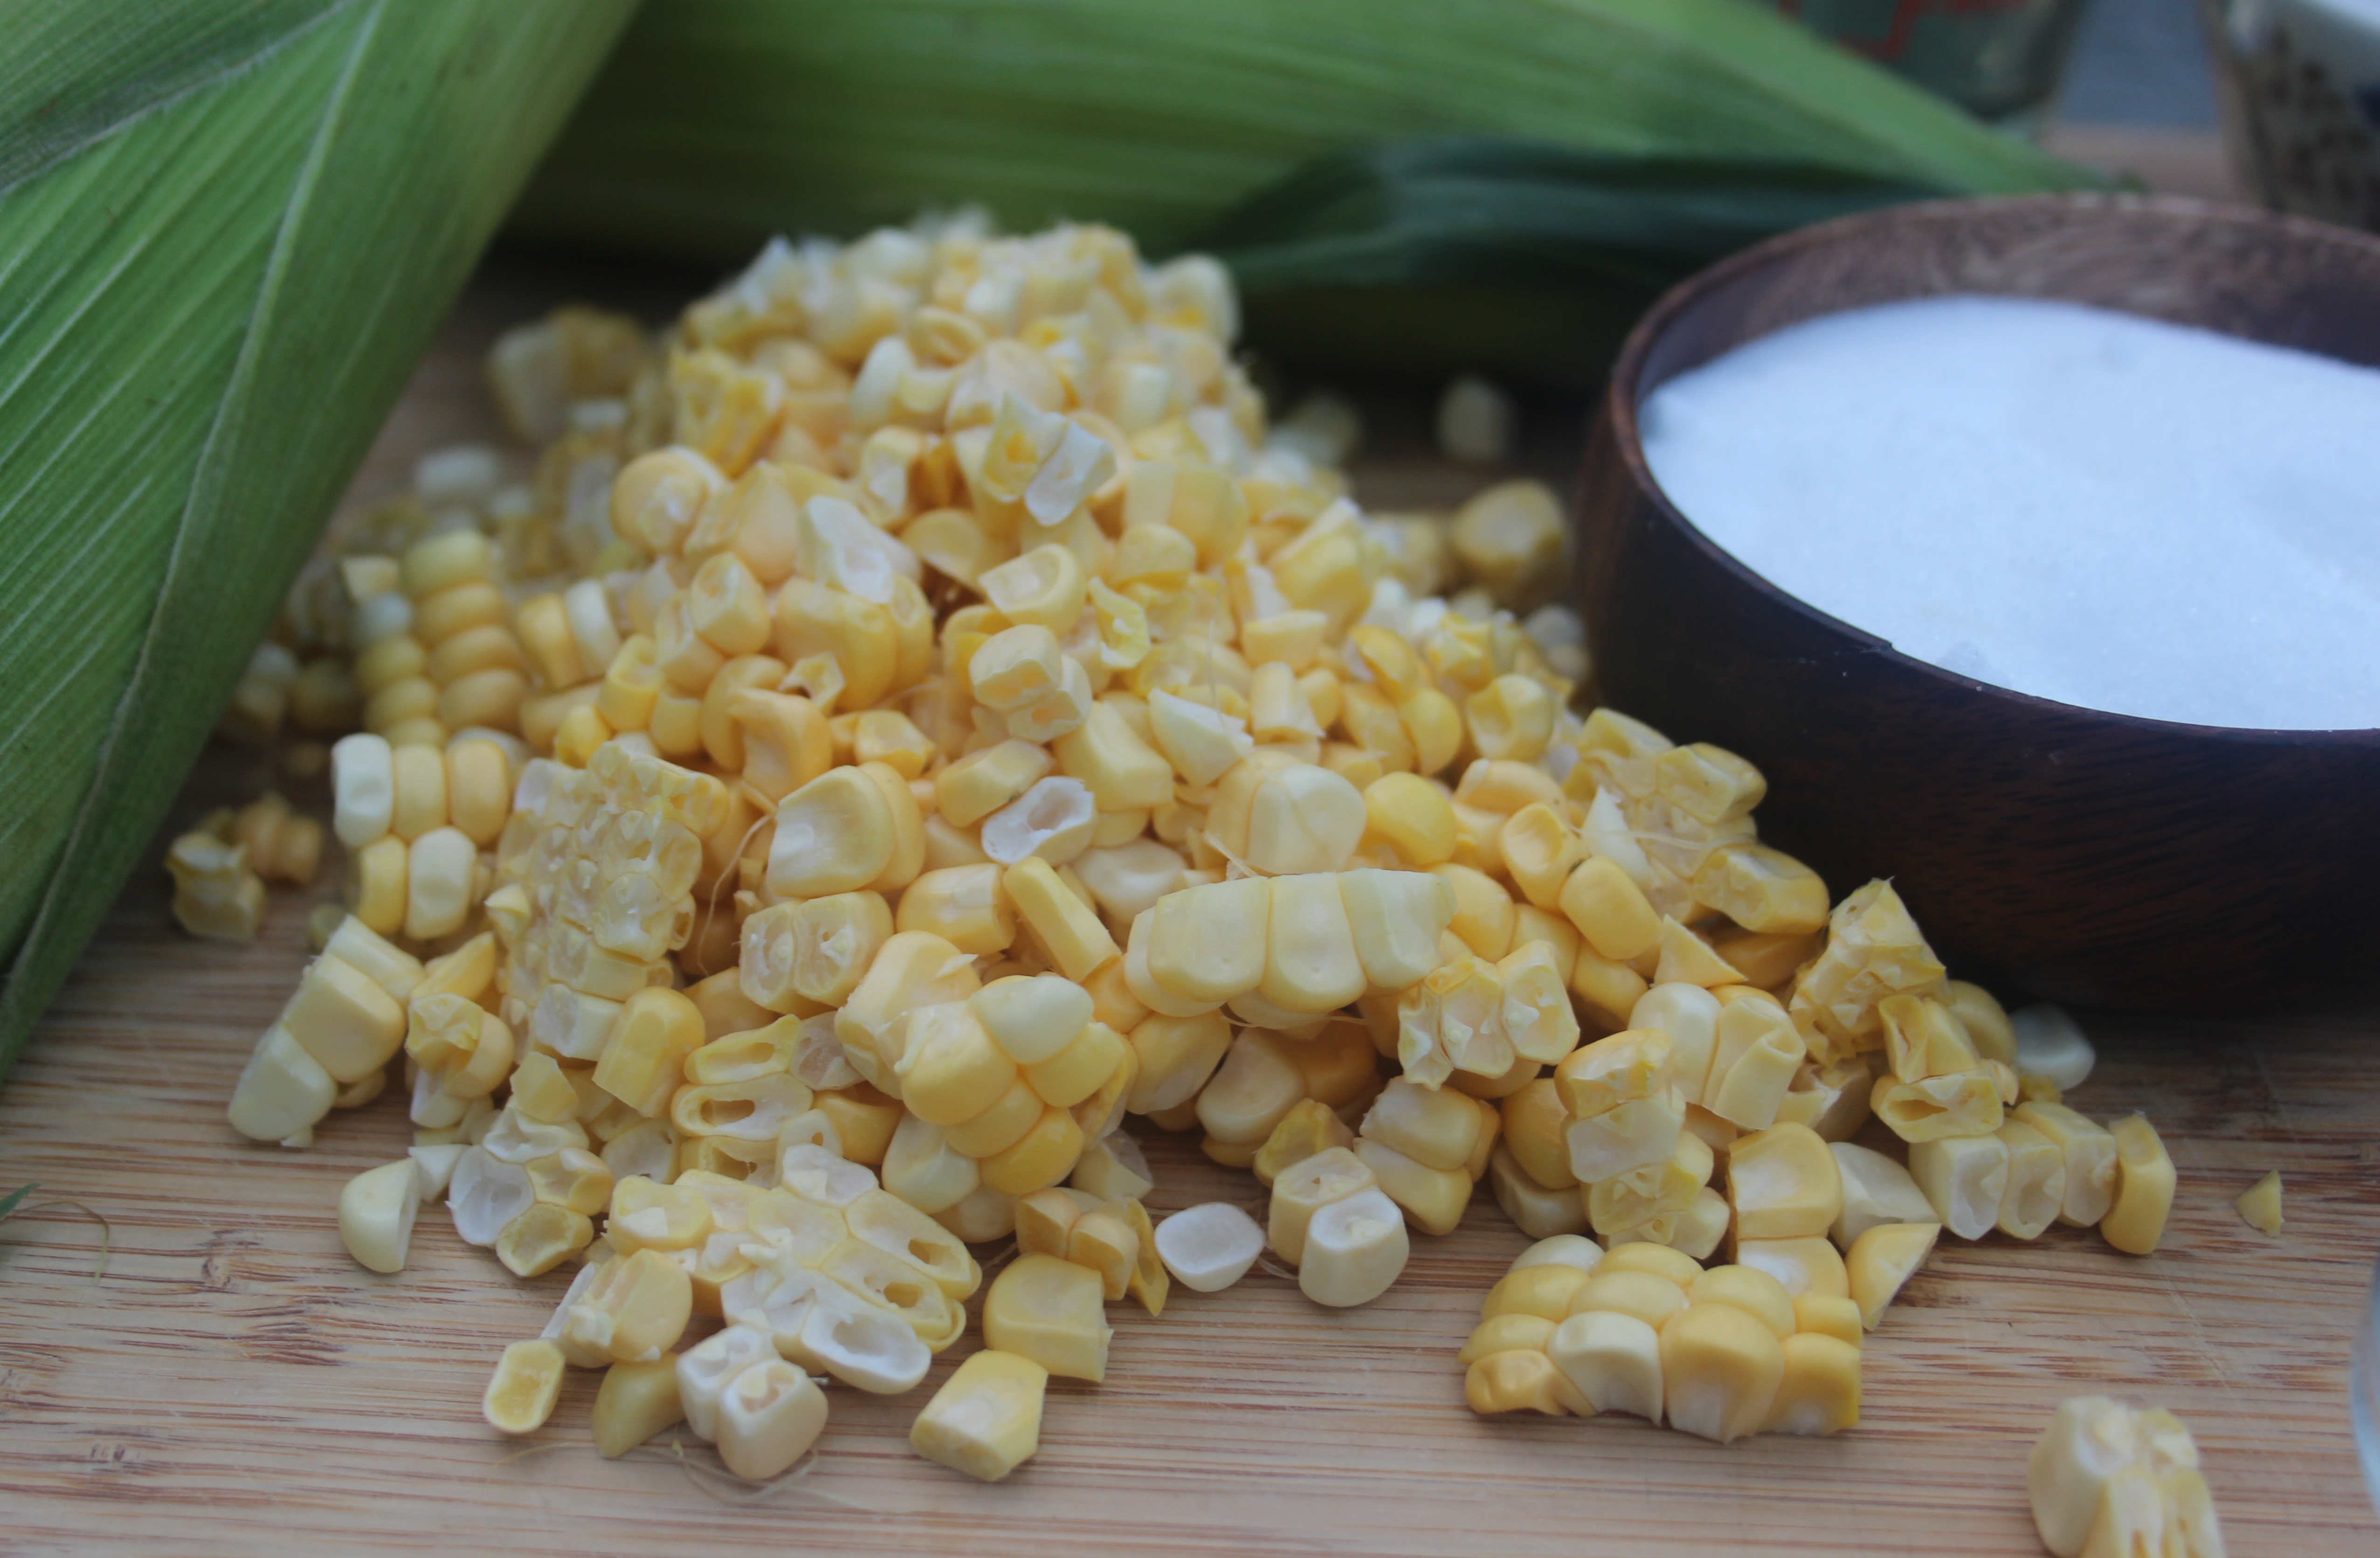
With a knife grade the kernells and divide in halfs. Put on half in a food processor and grind it until is a paste but you can still see pieces of corn you dont want it to look like a pure.


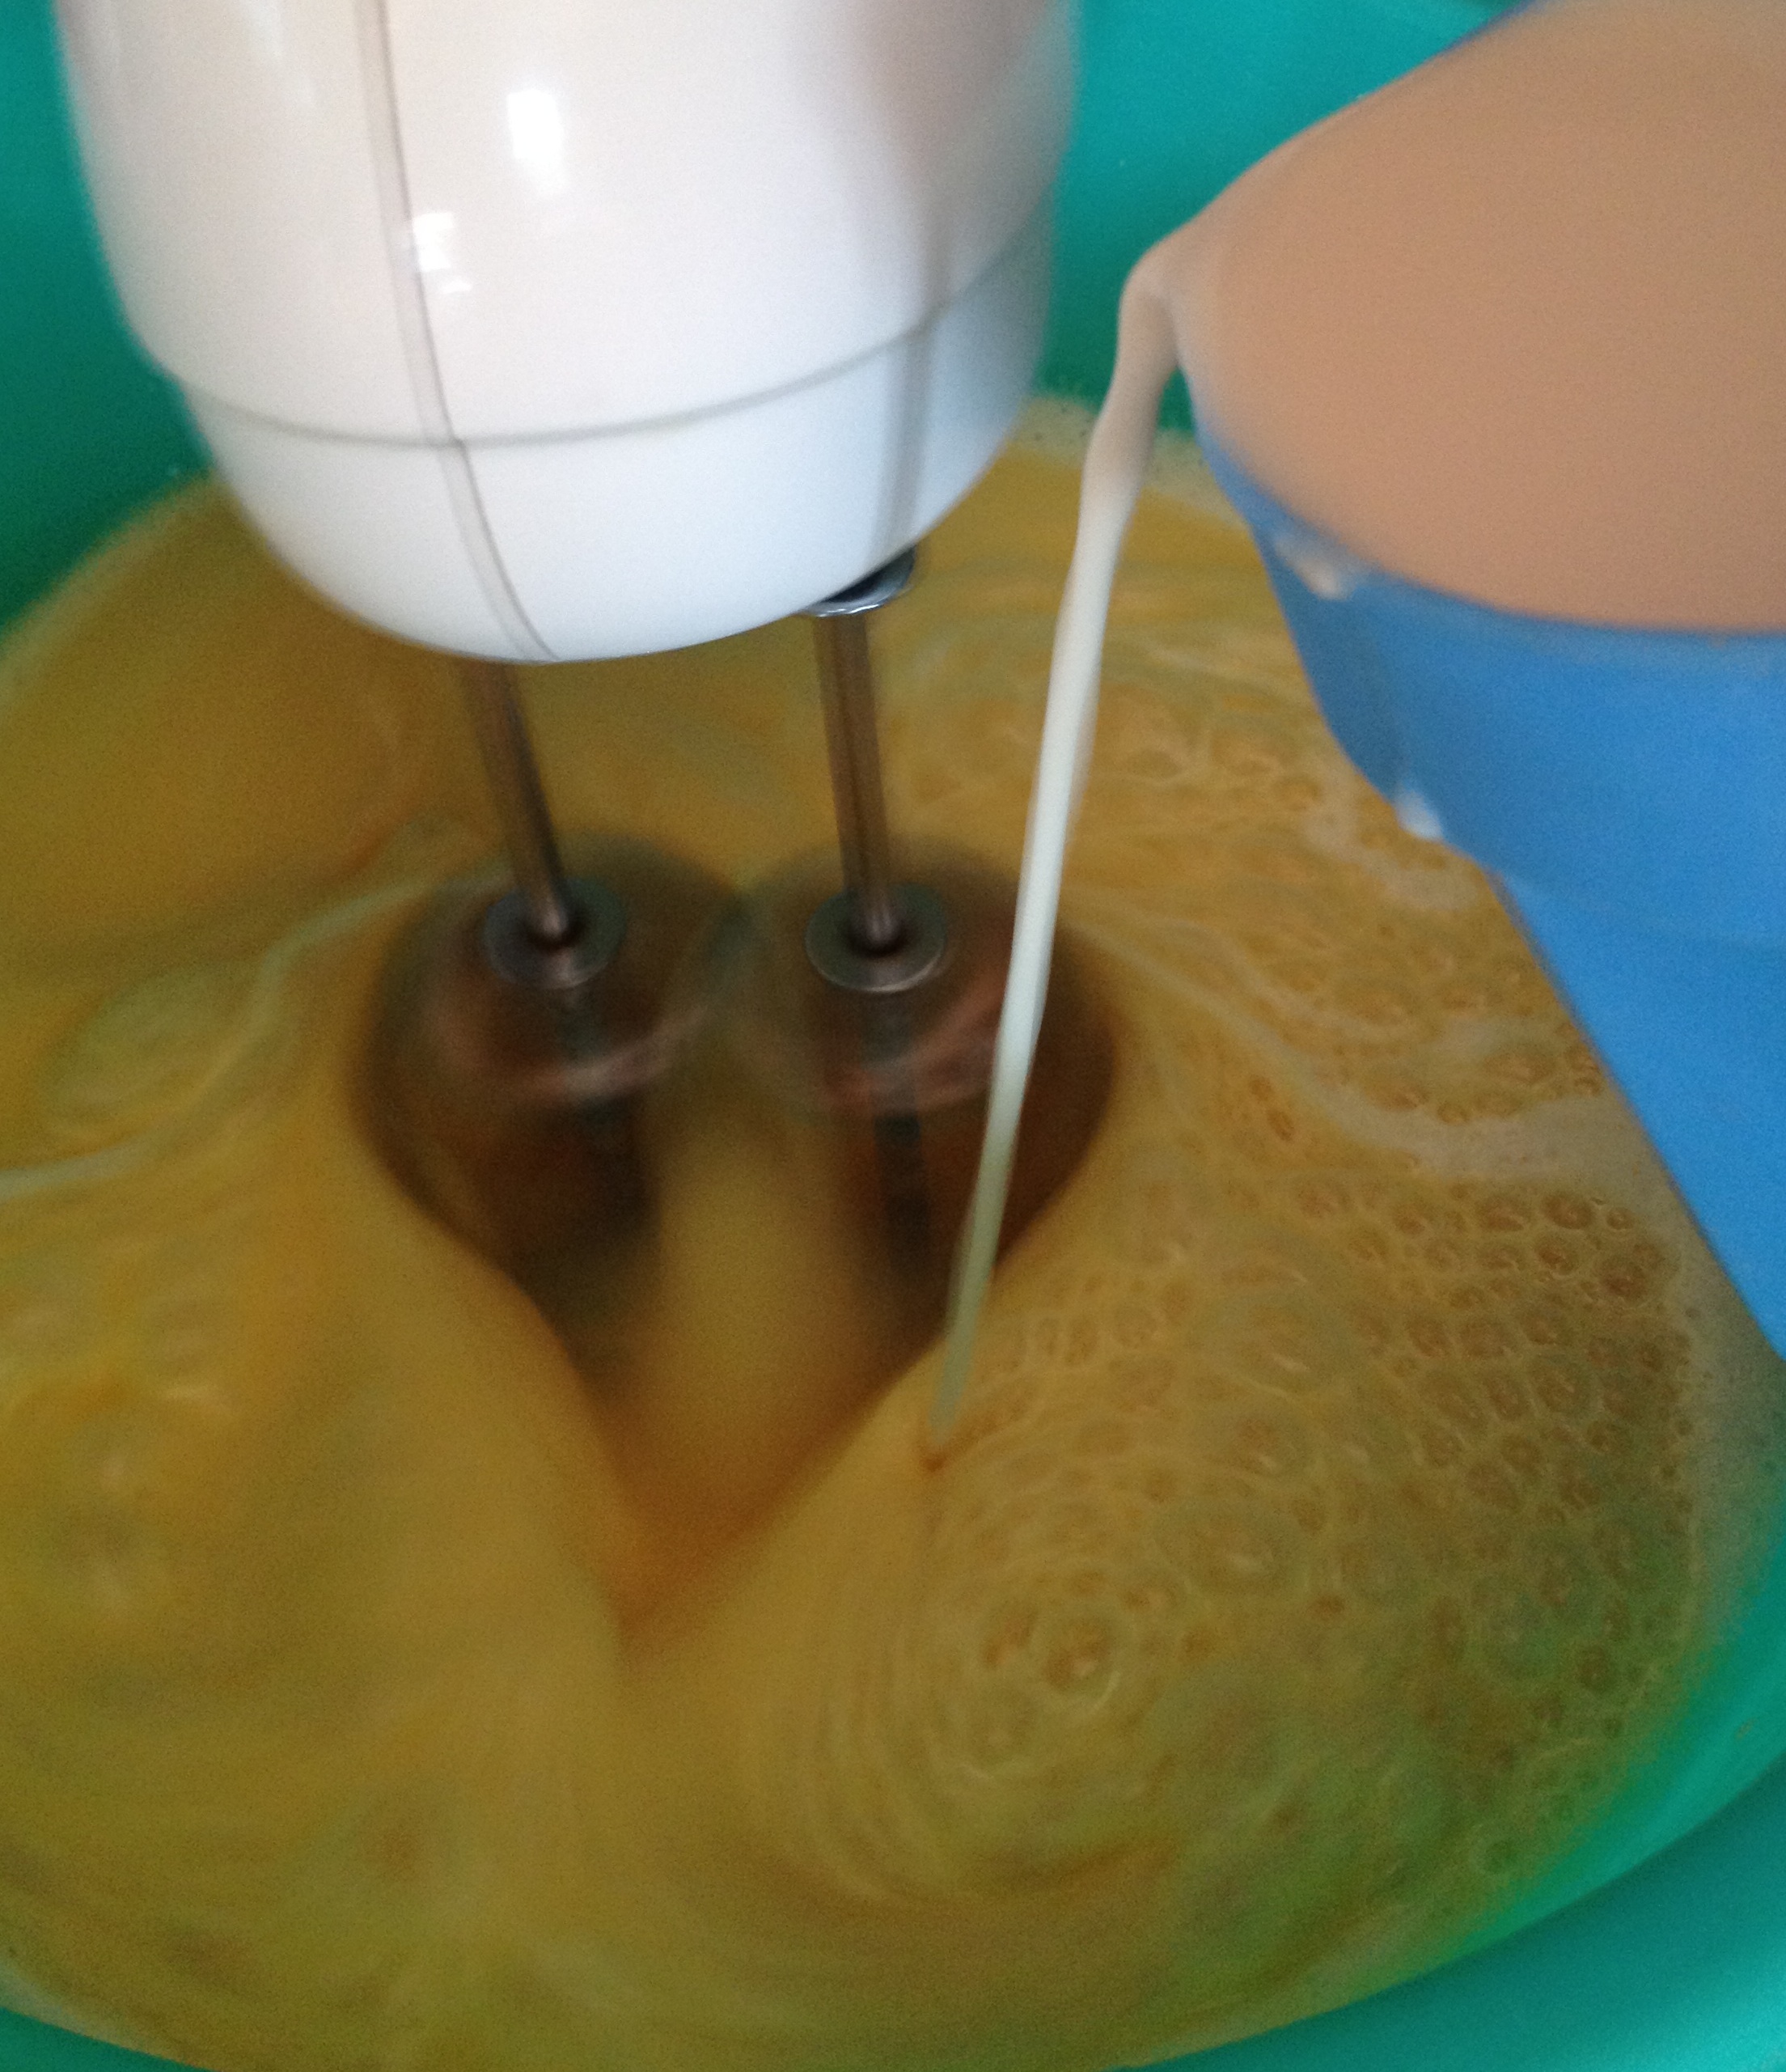
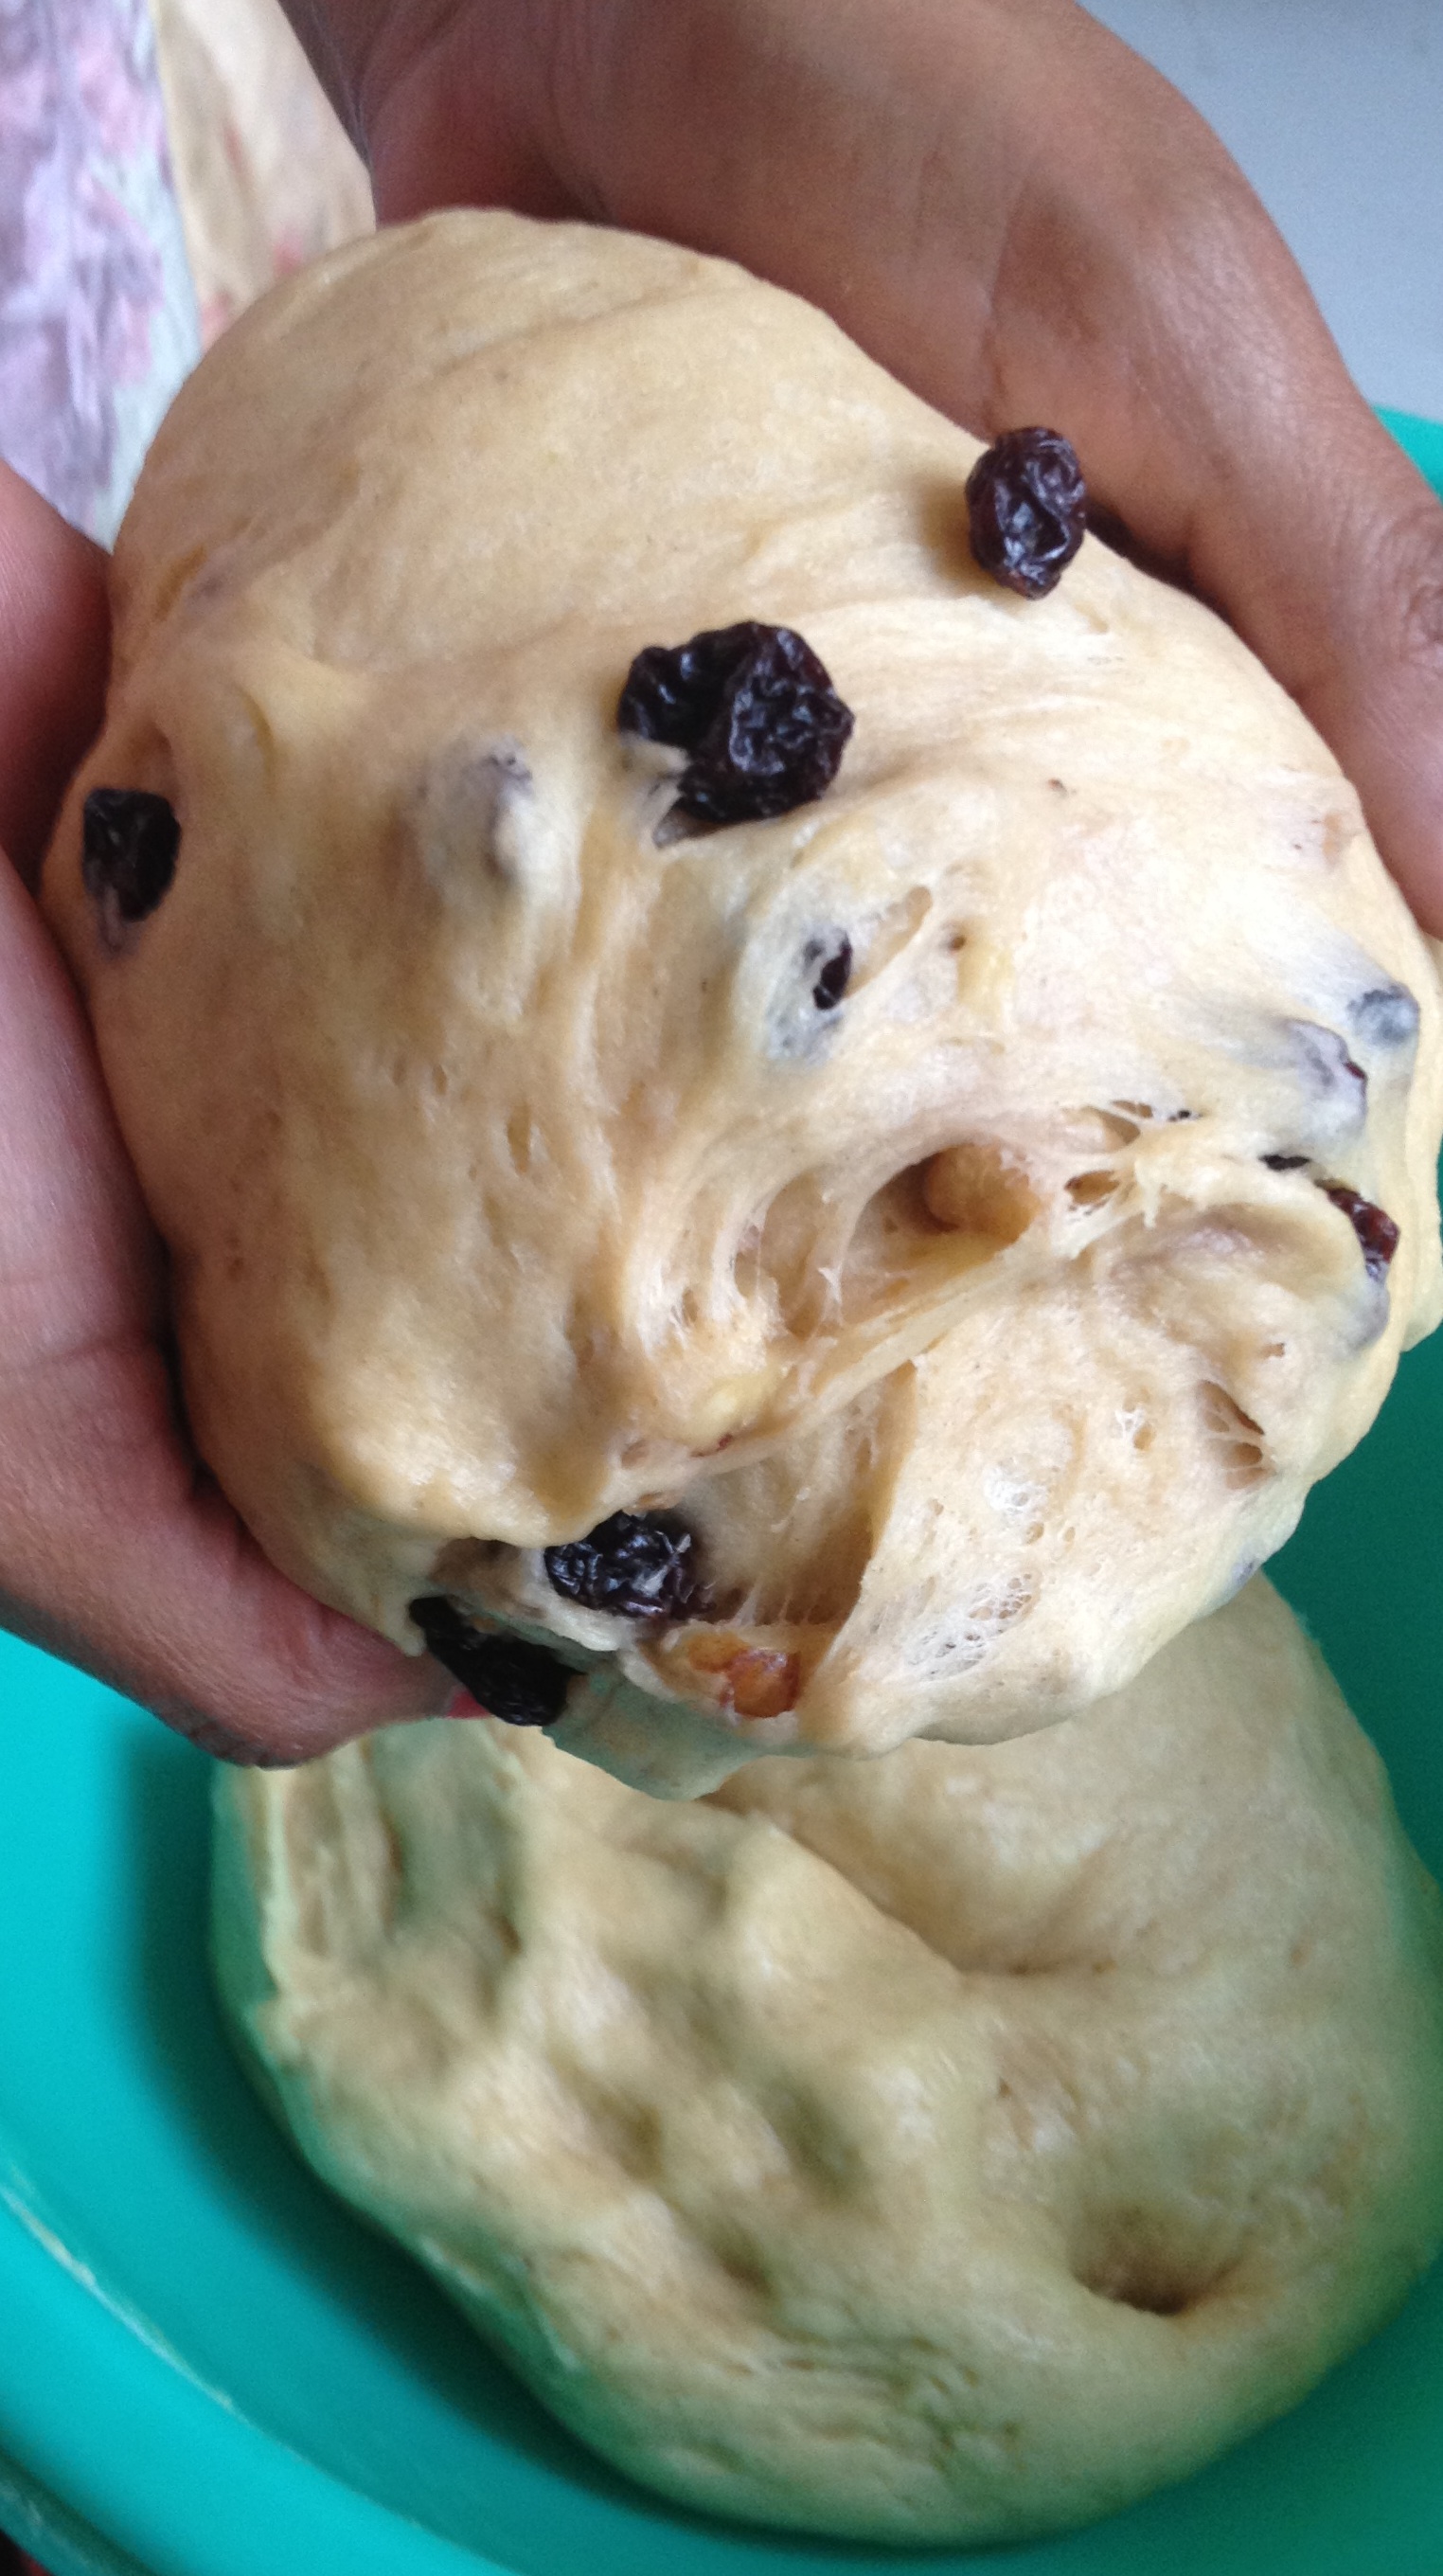
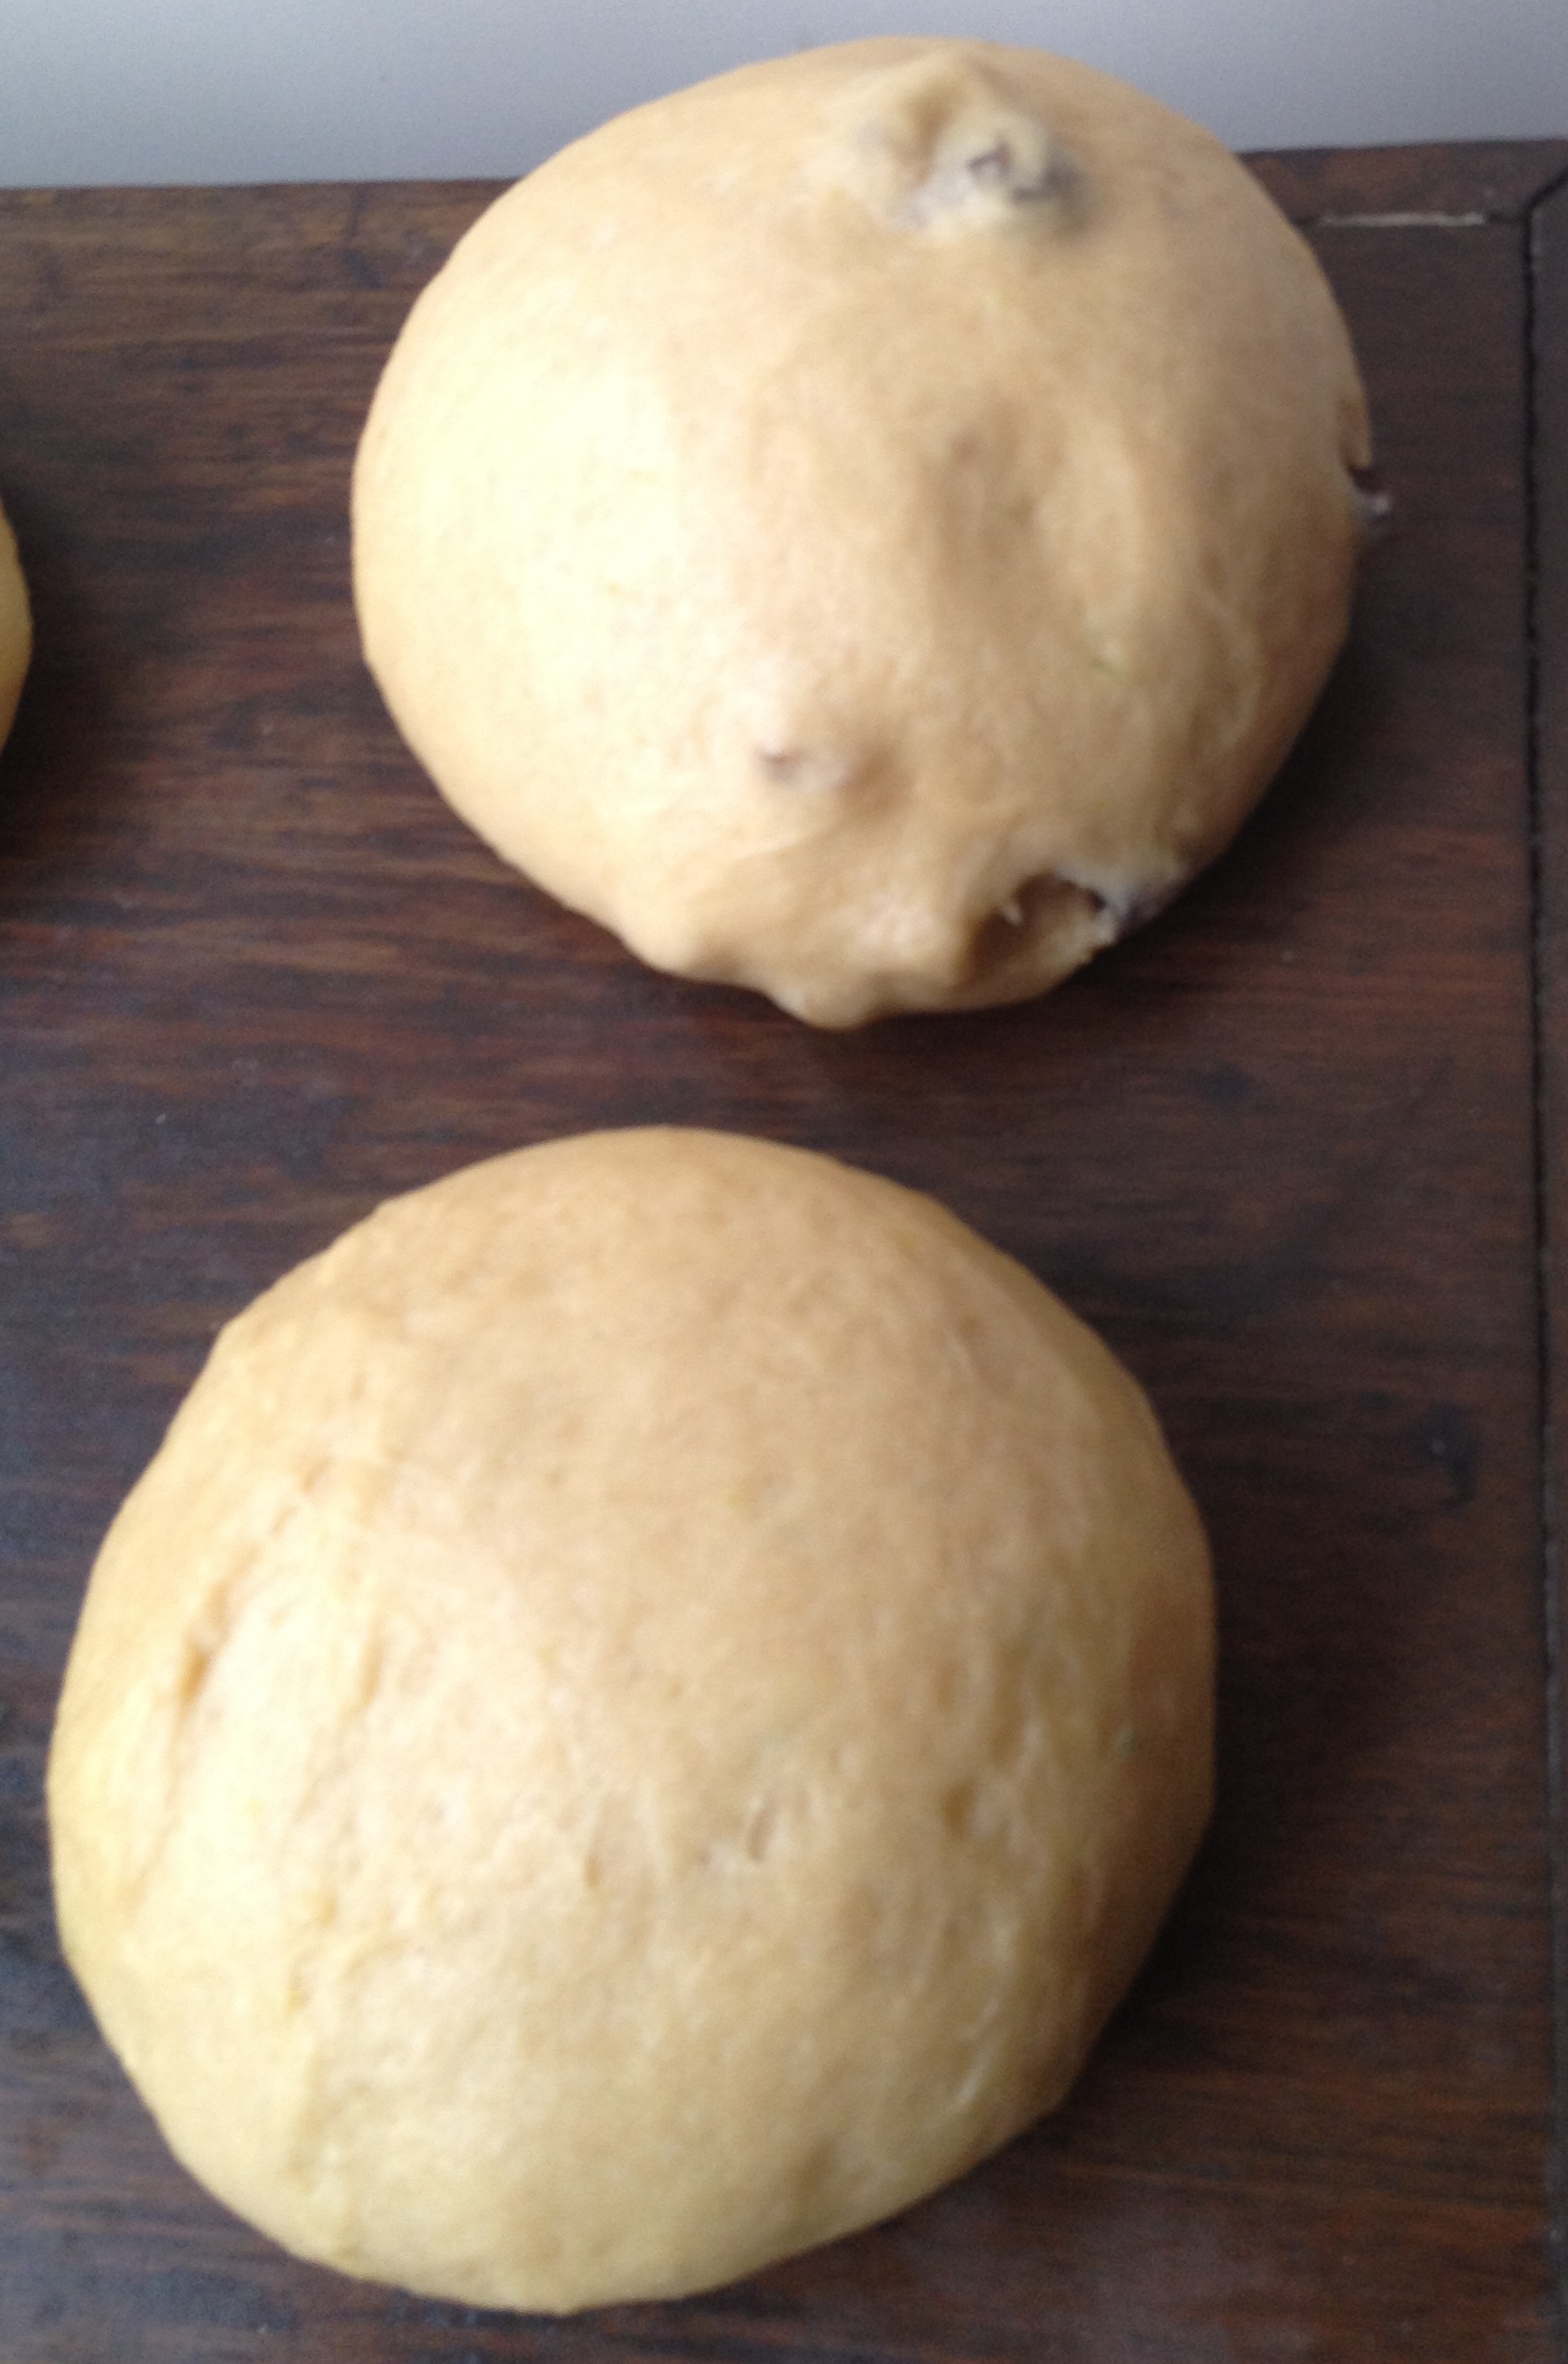
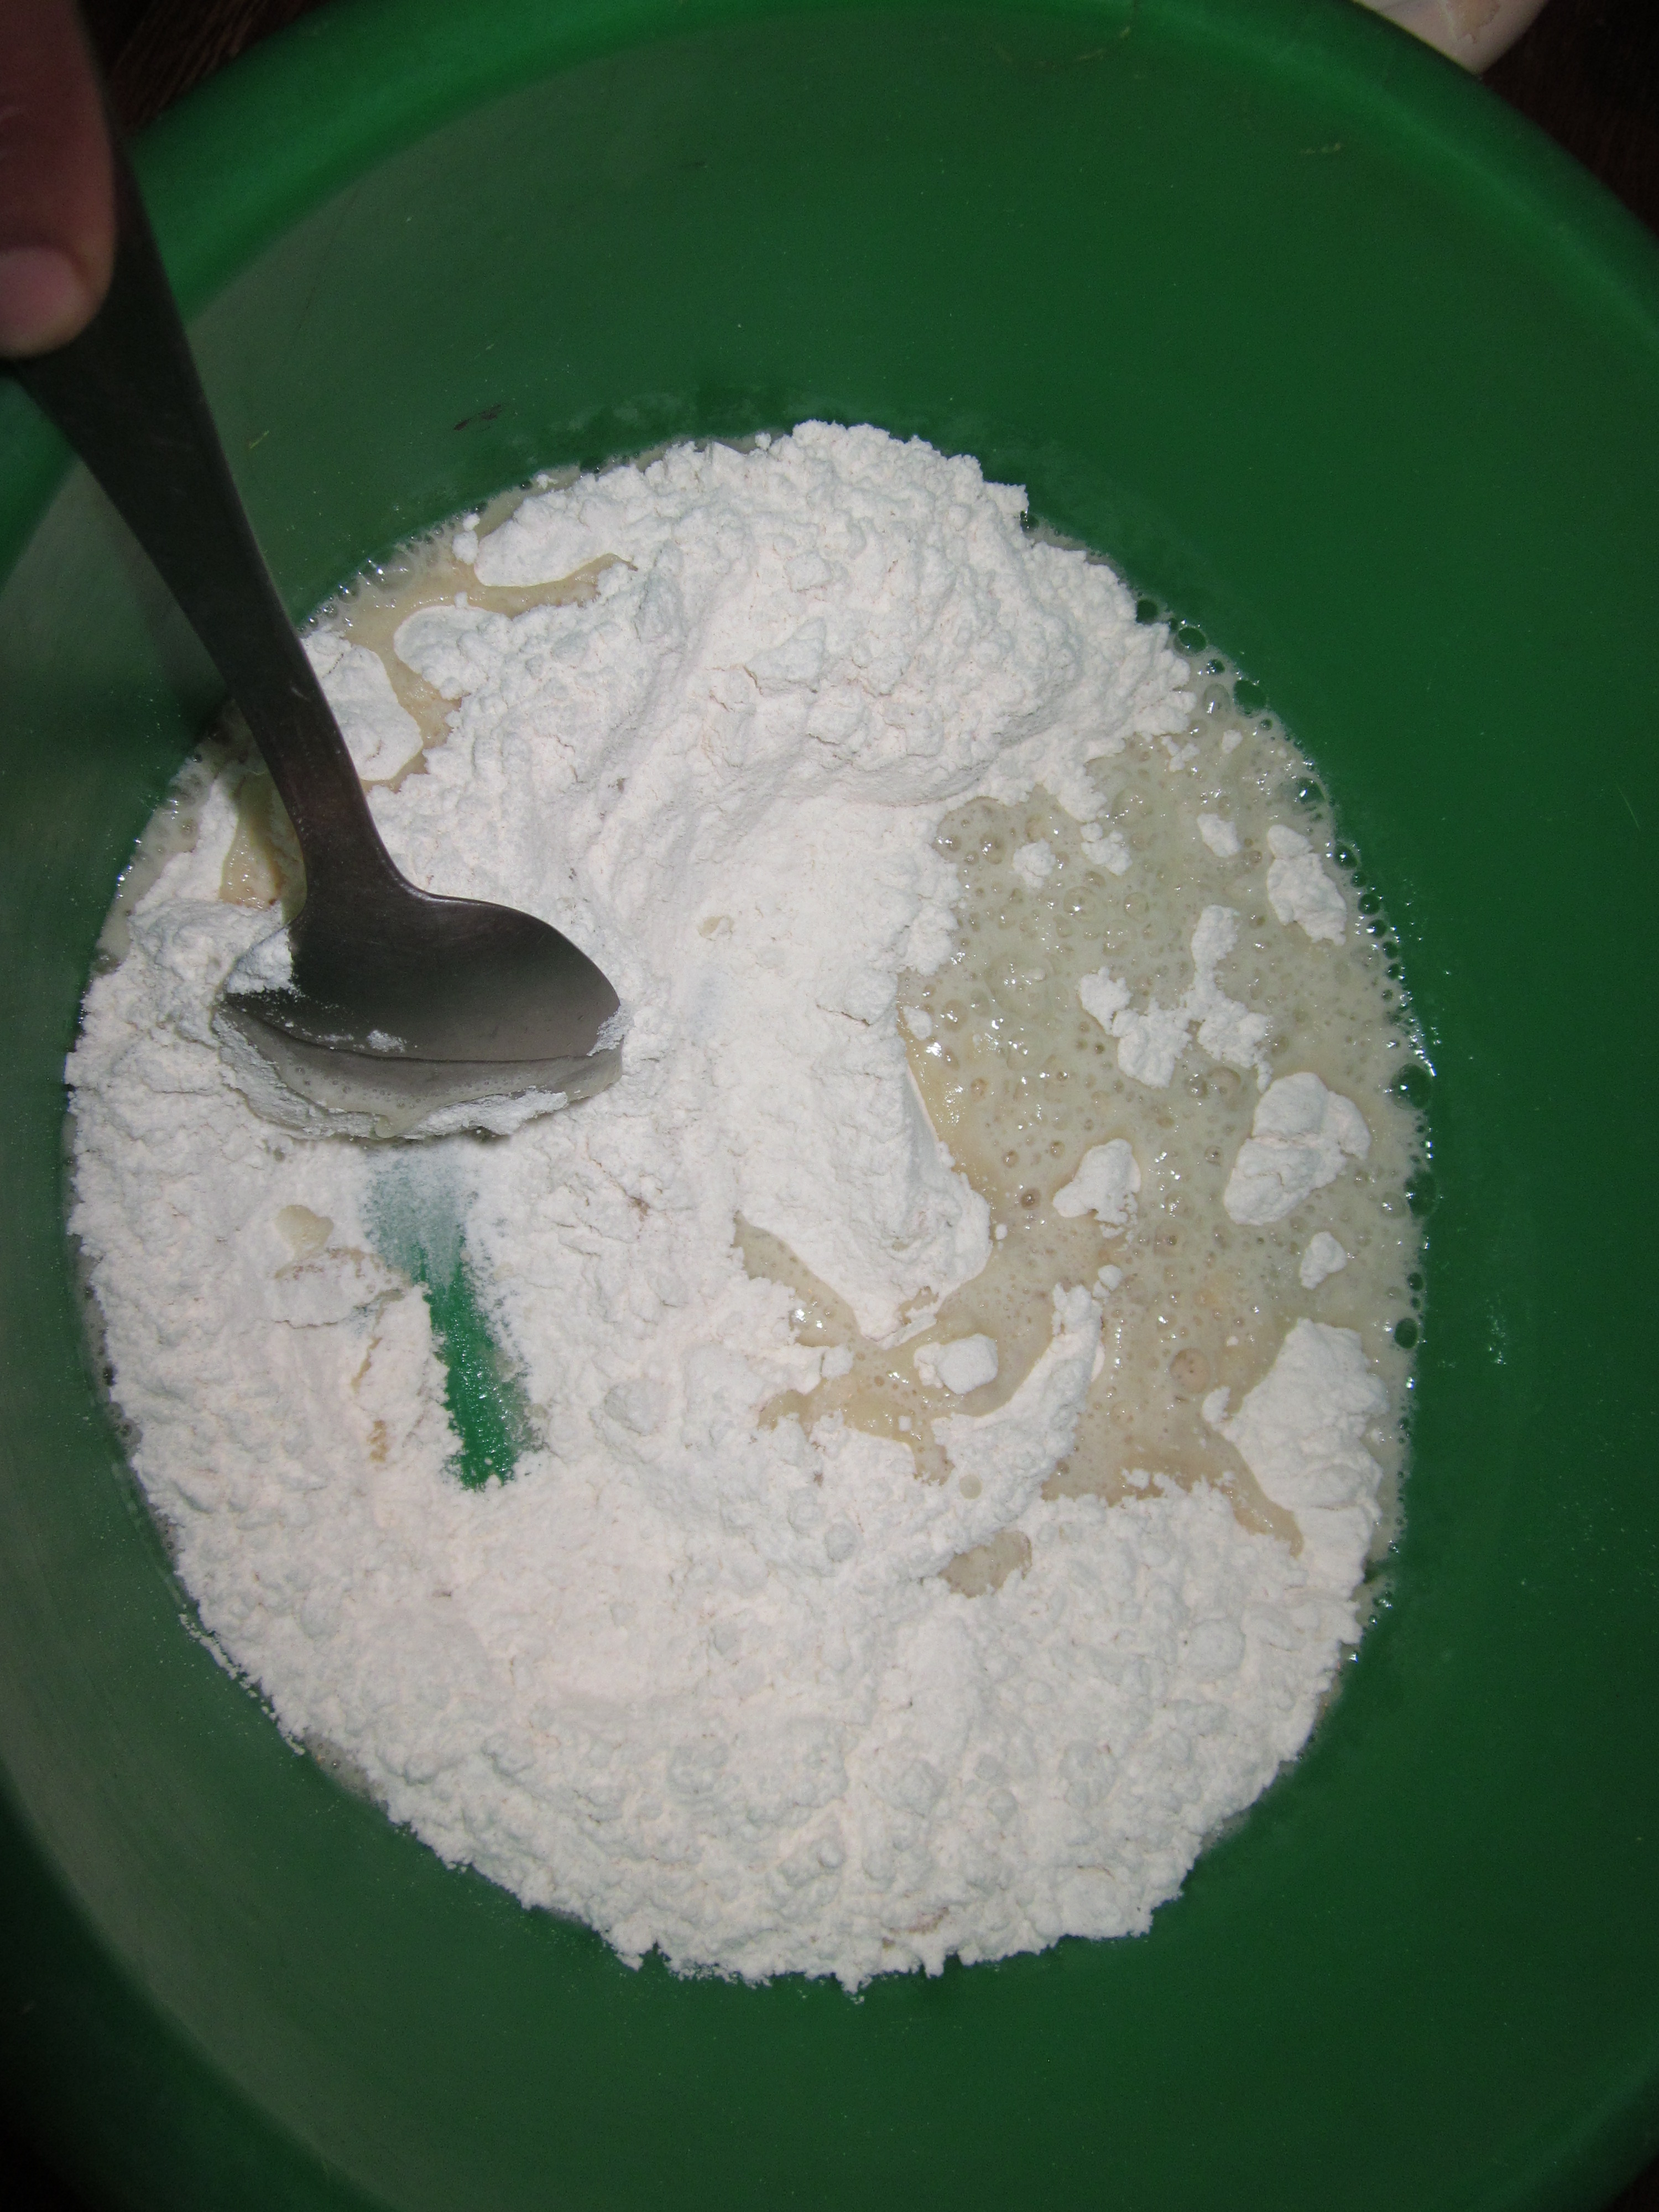
Transfer to a bowl and do the same with the other half. Add the sugar,anise and raisin.Add the 1/2 cup of white corn flour.
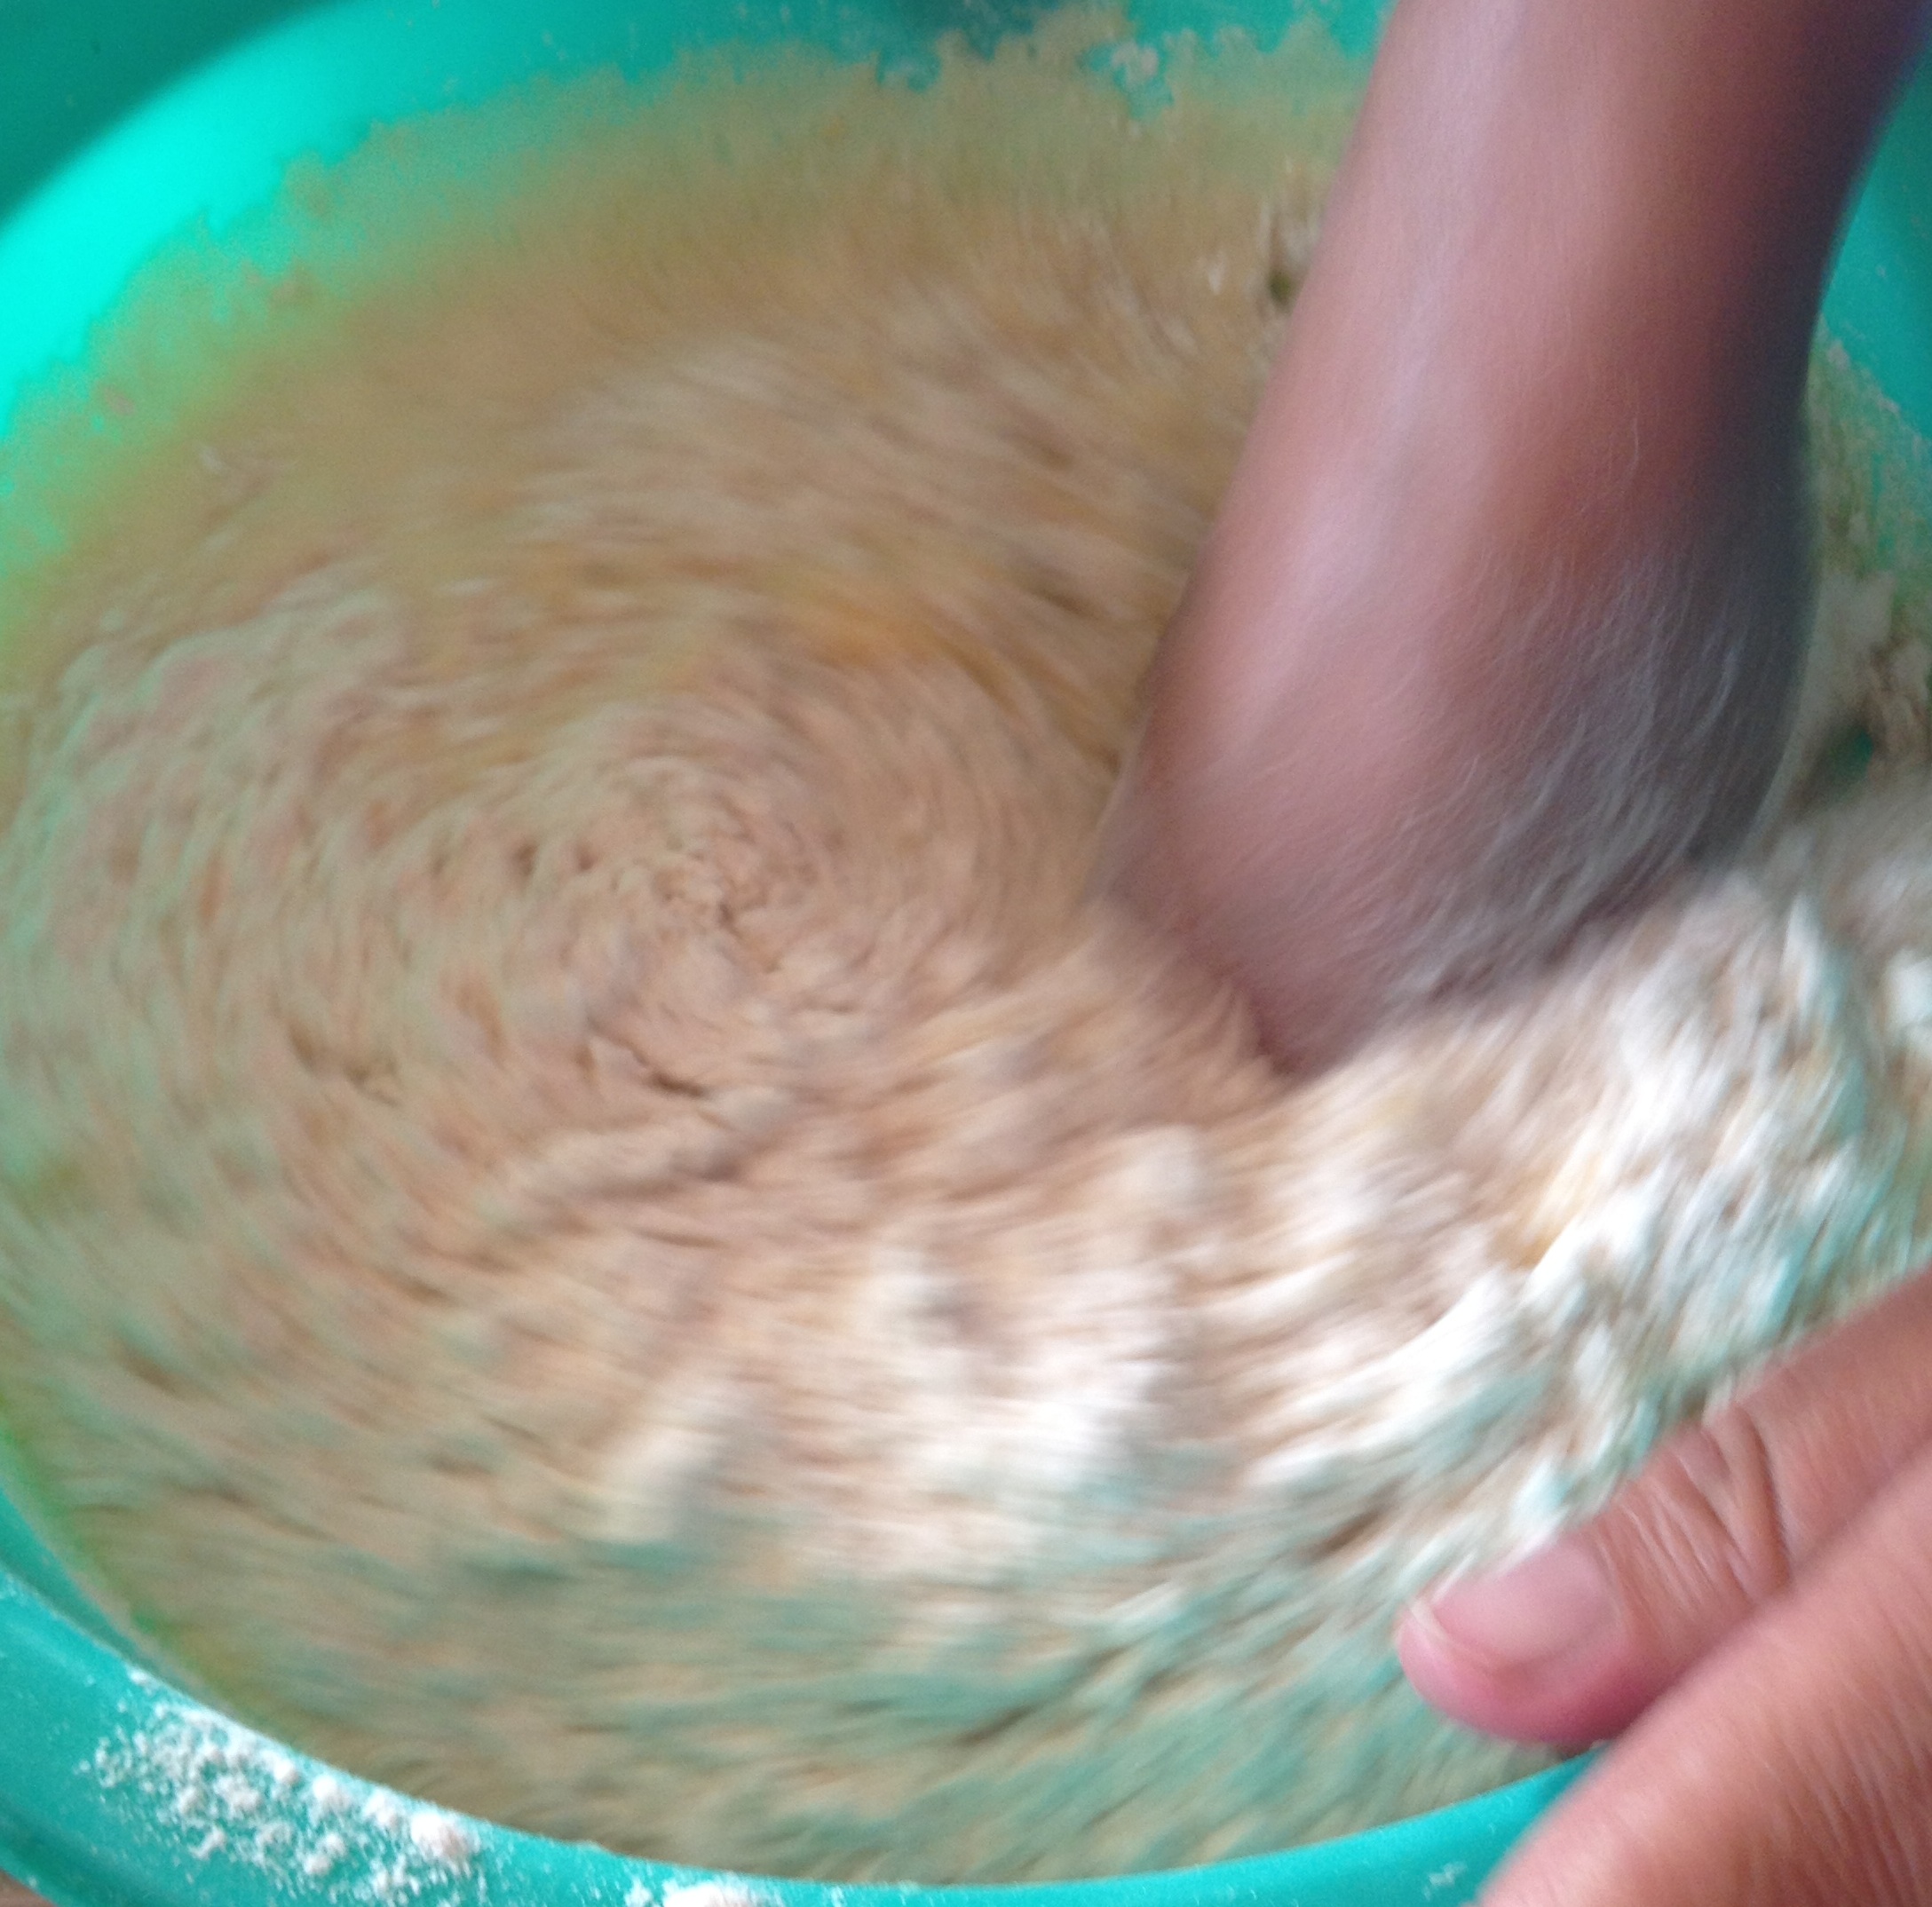
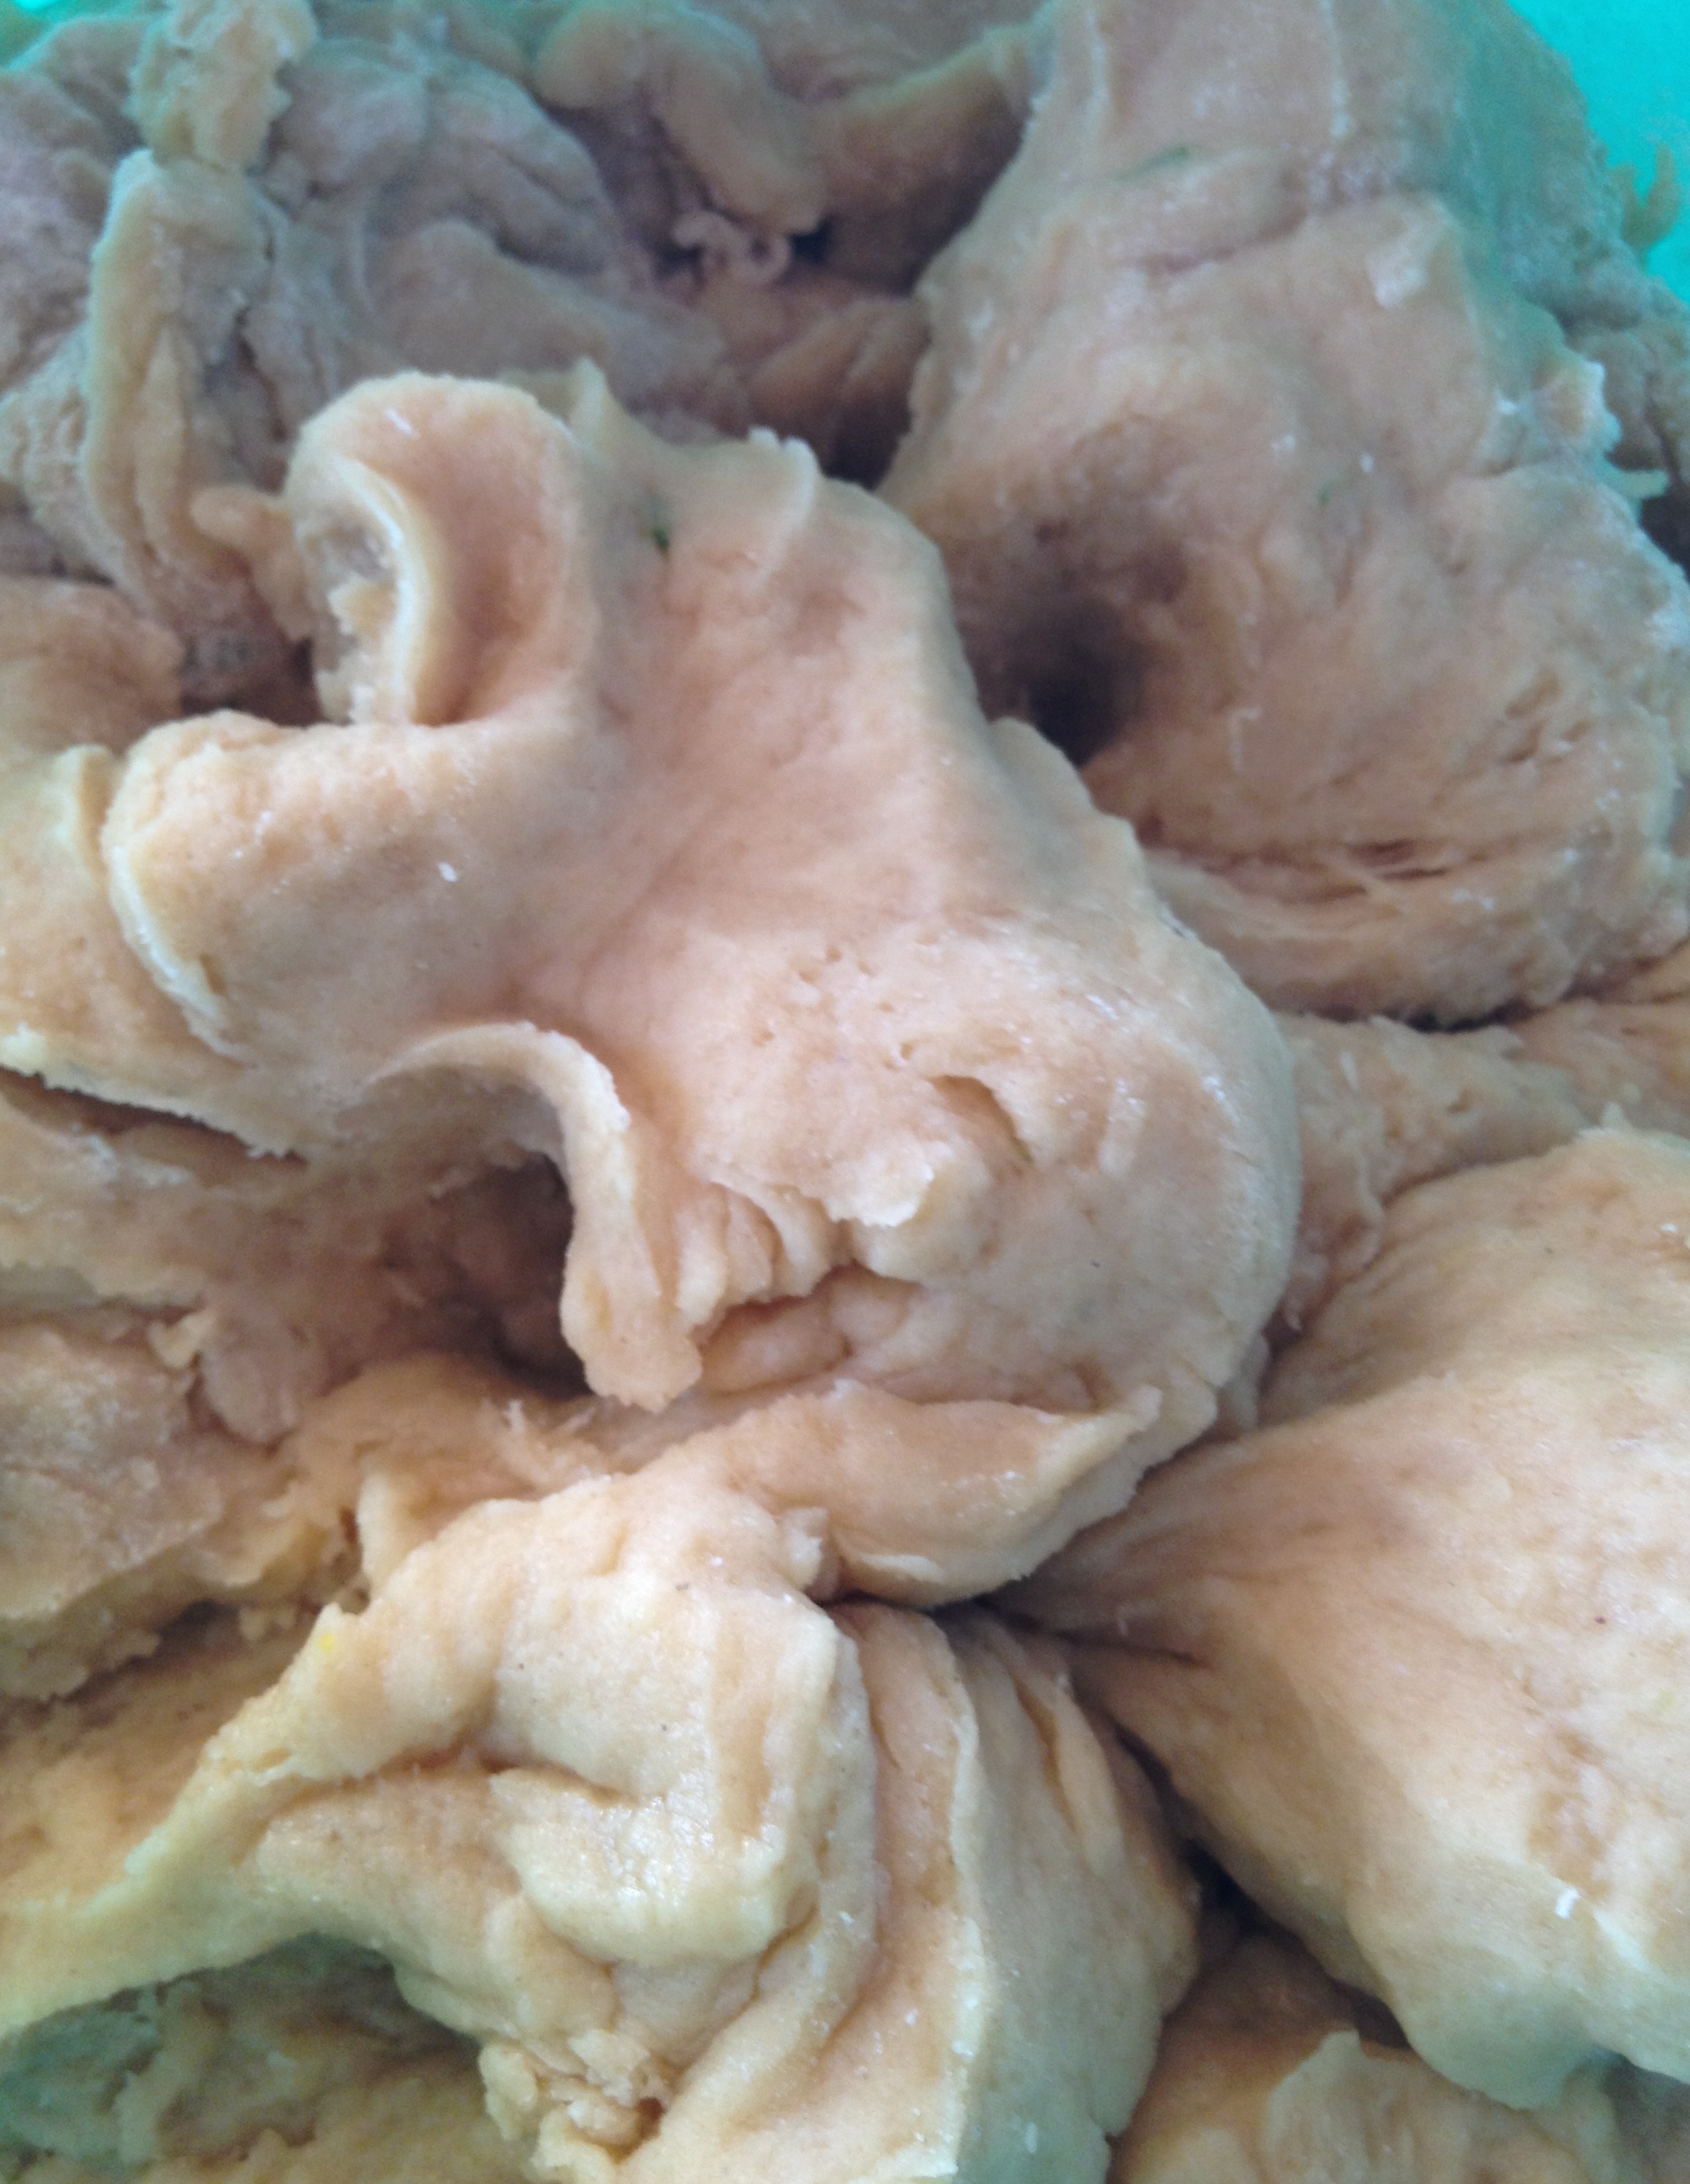
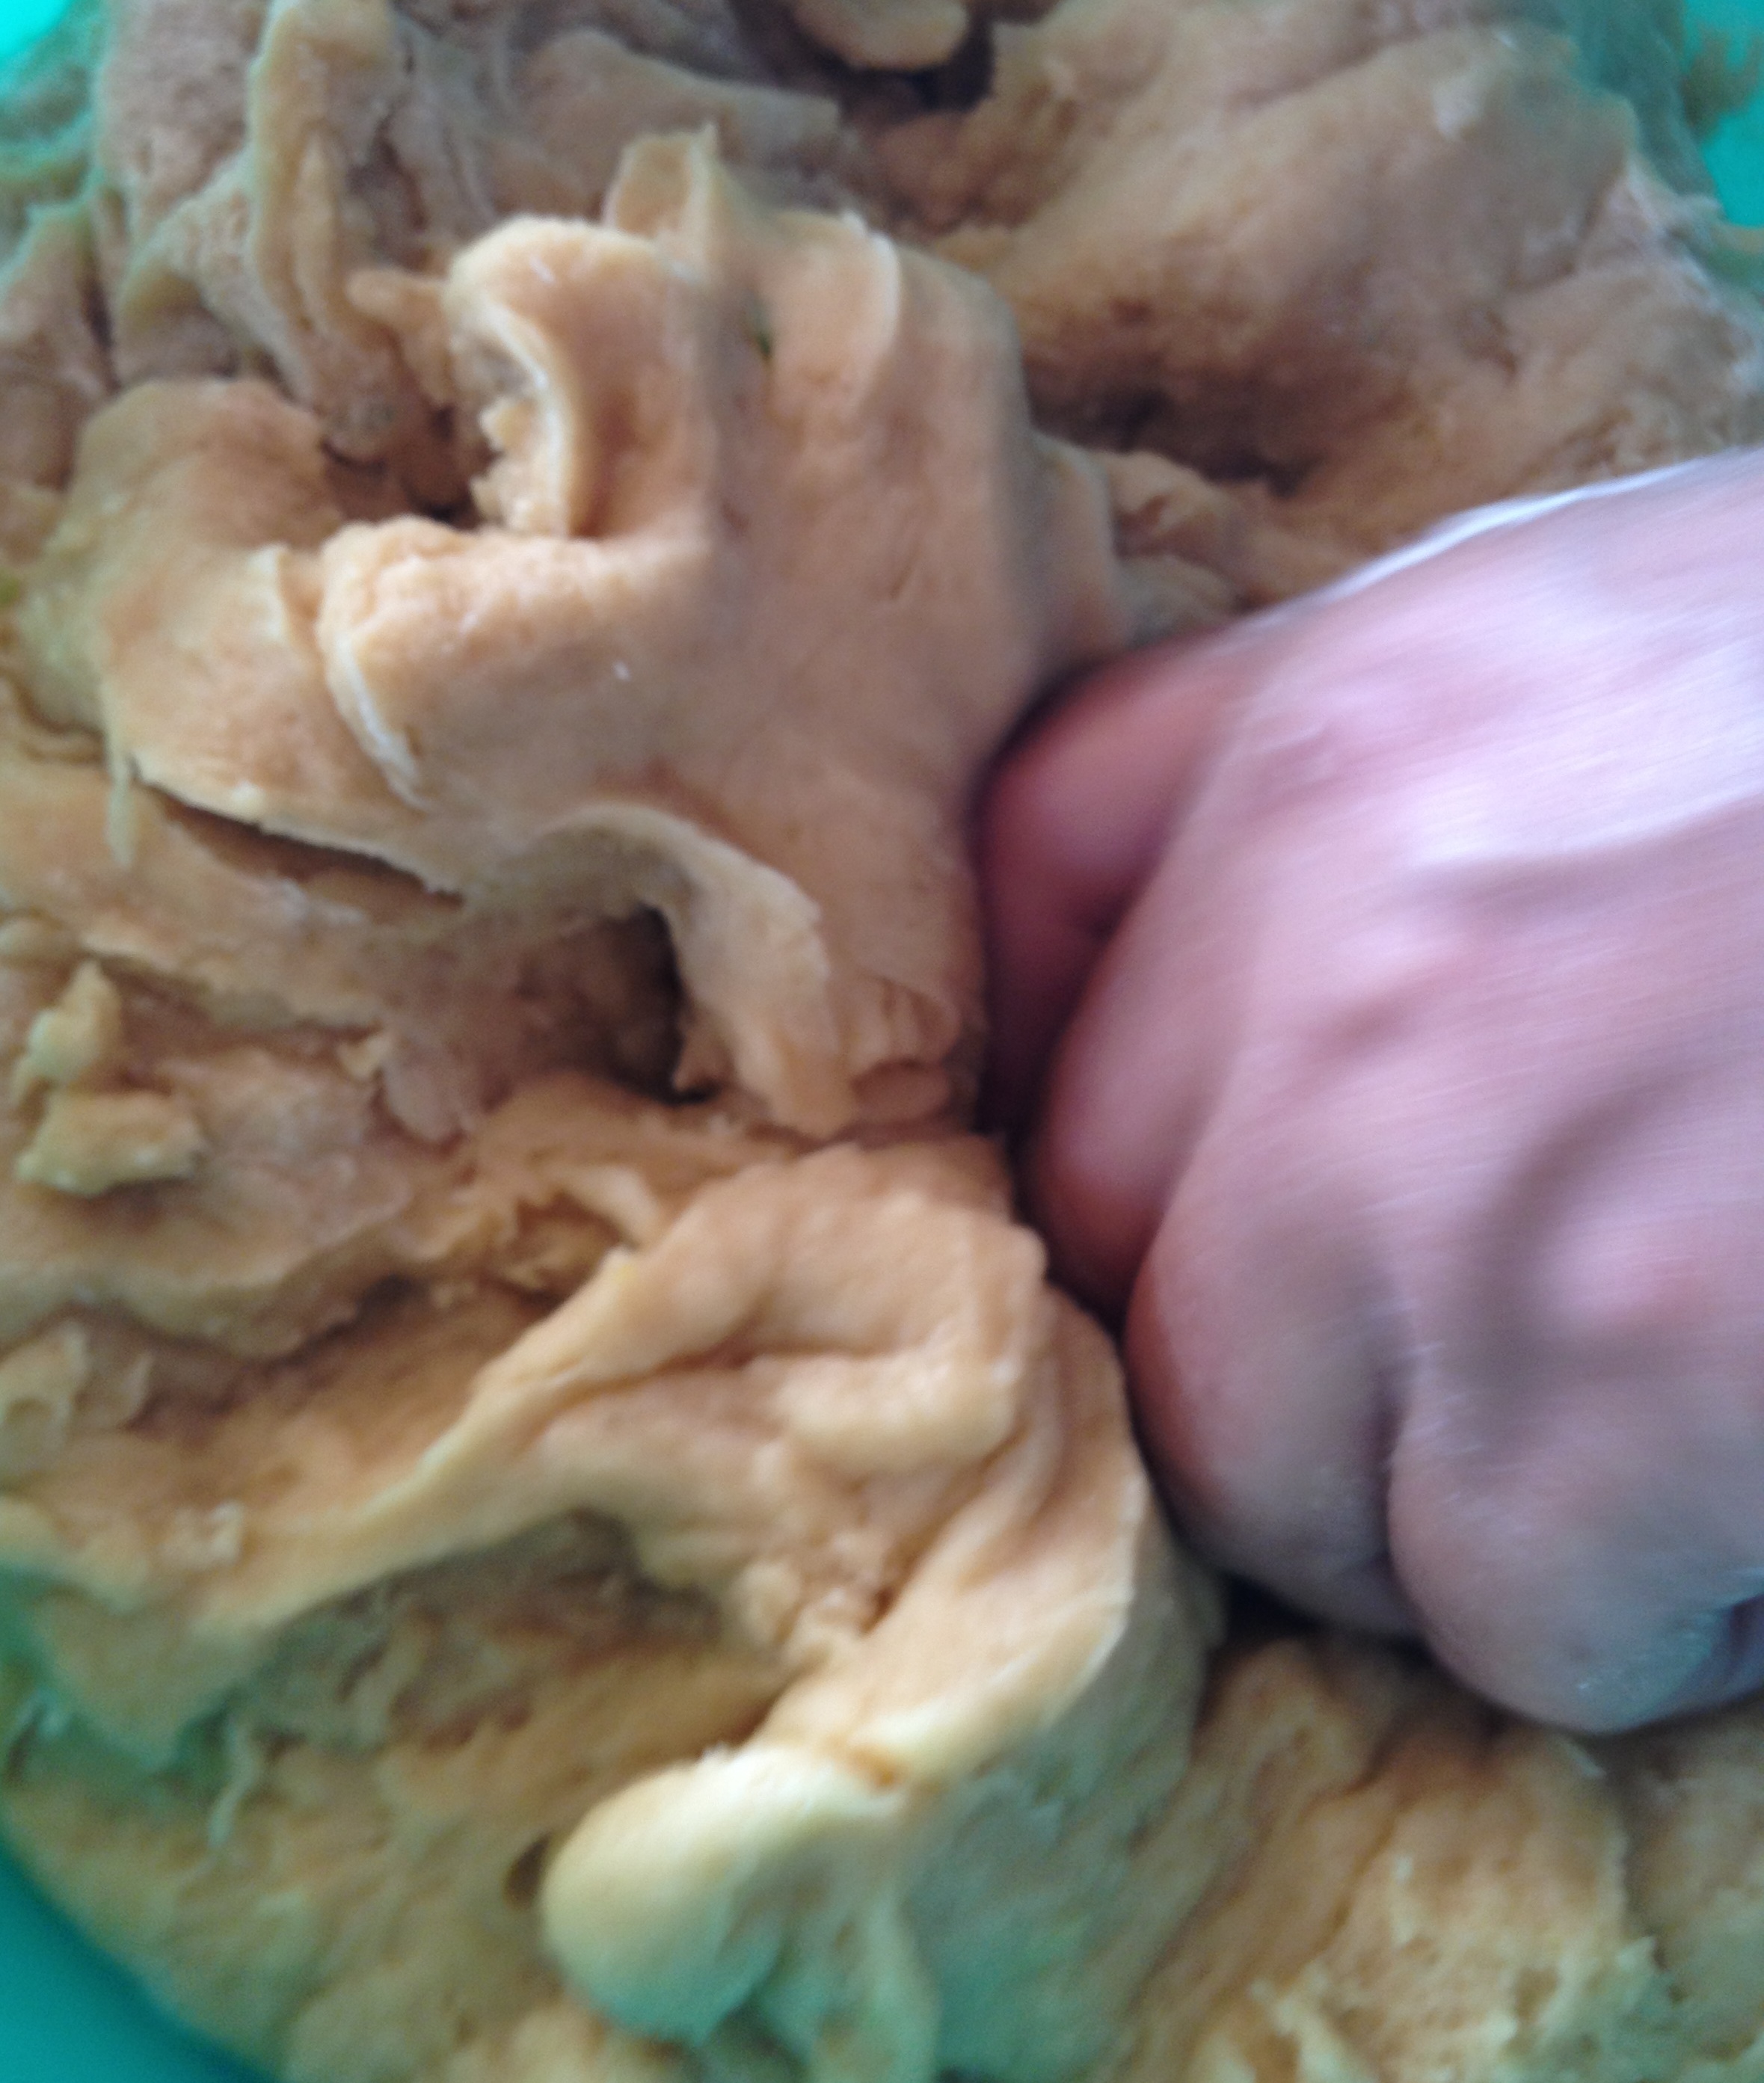
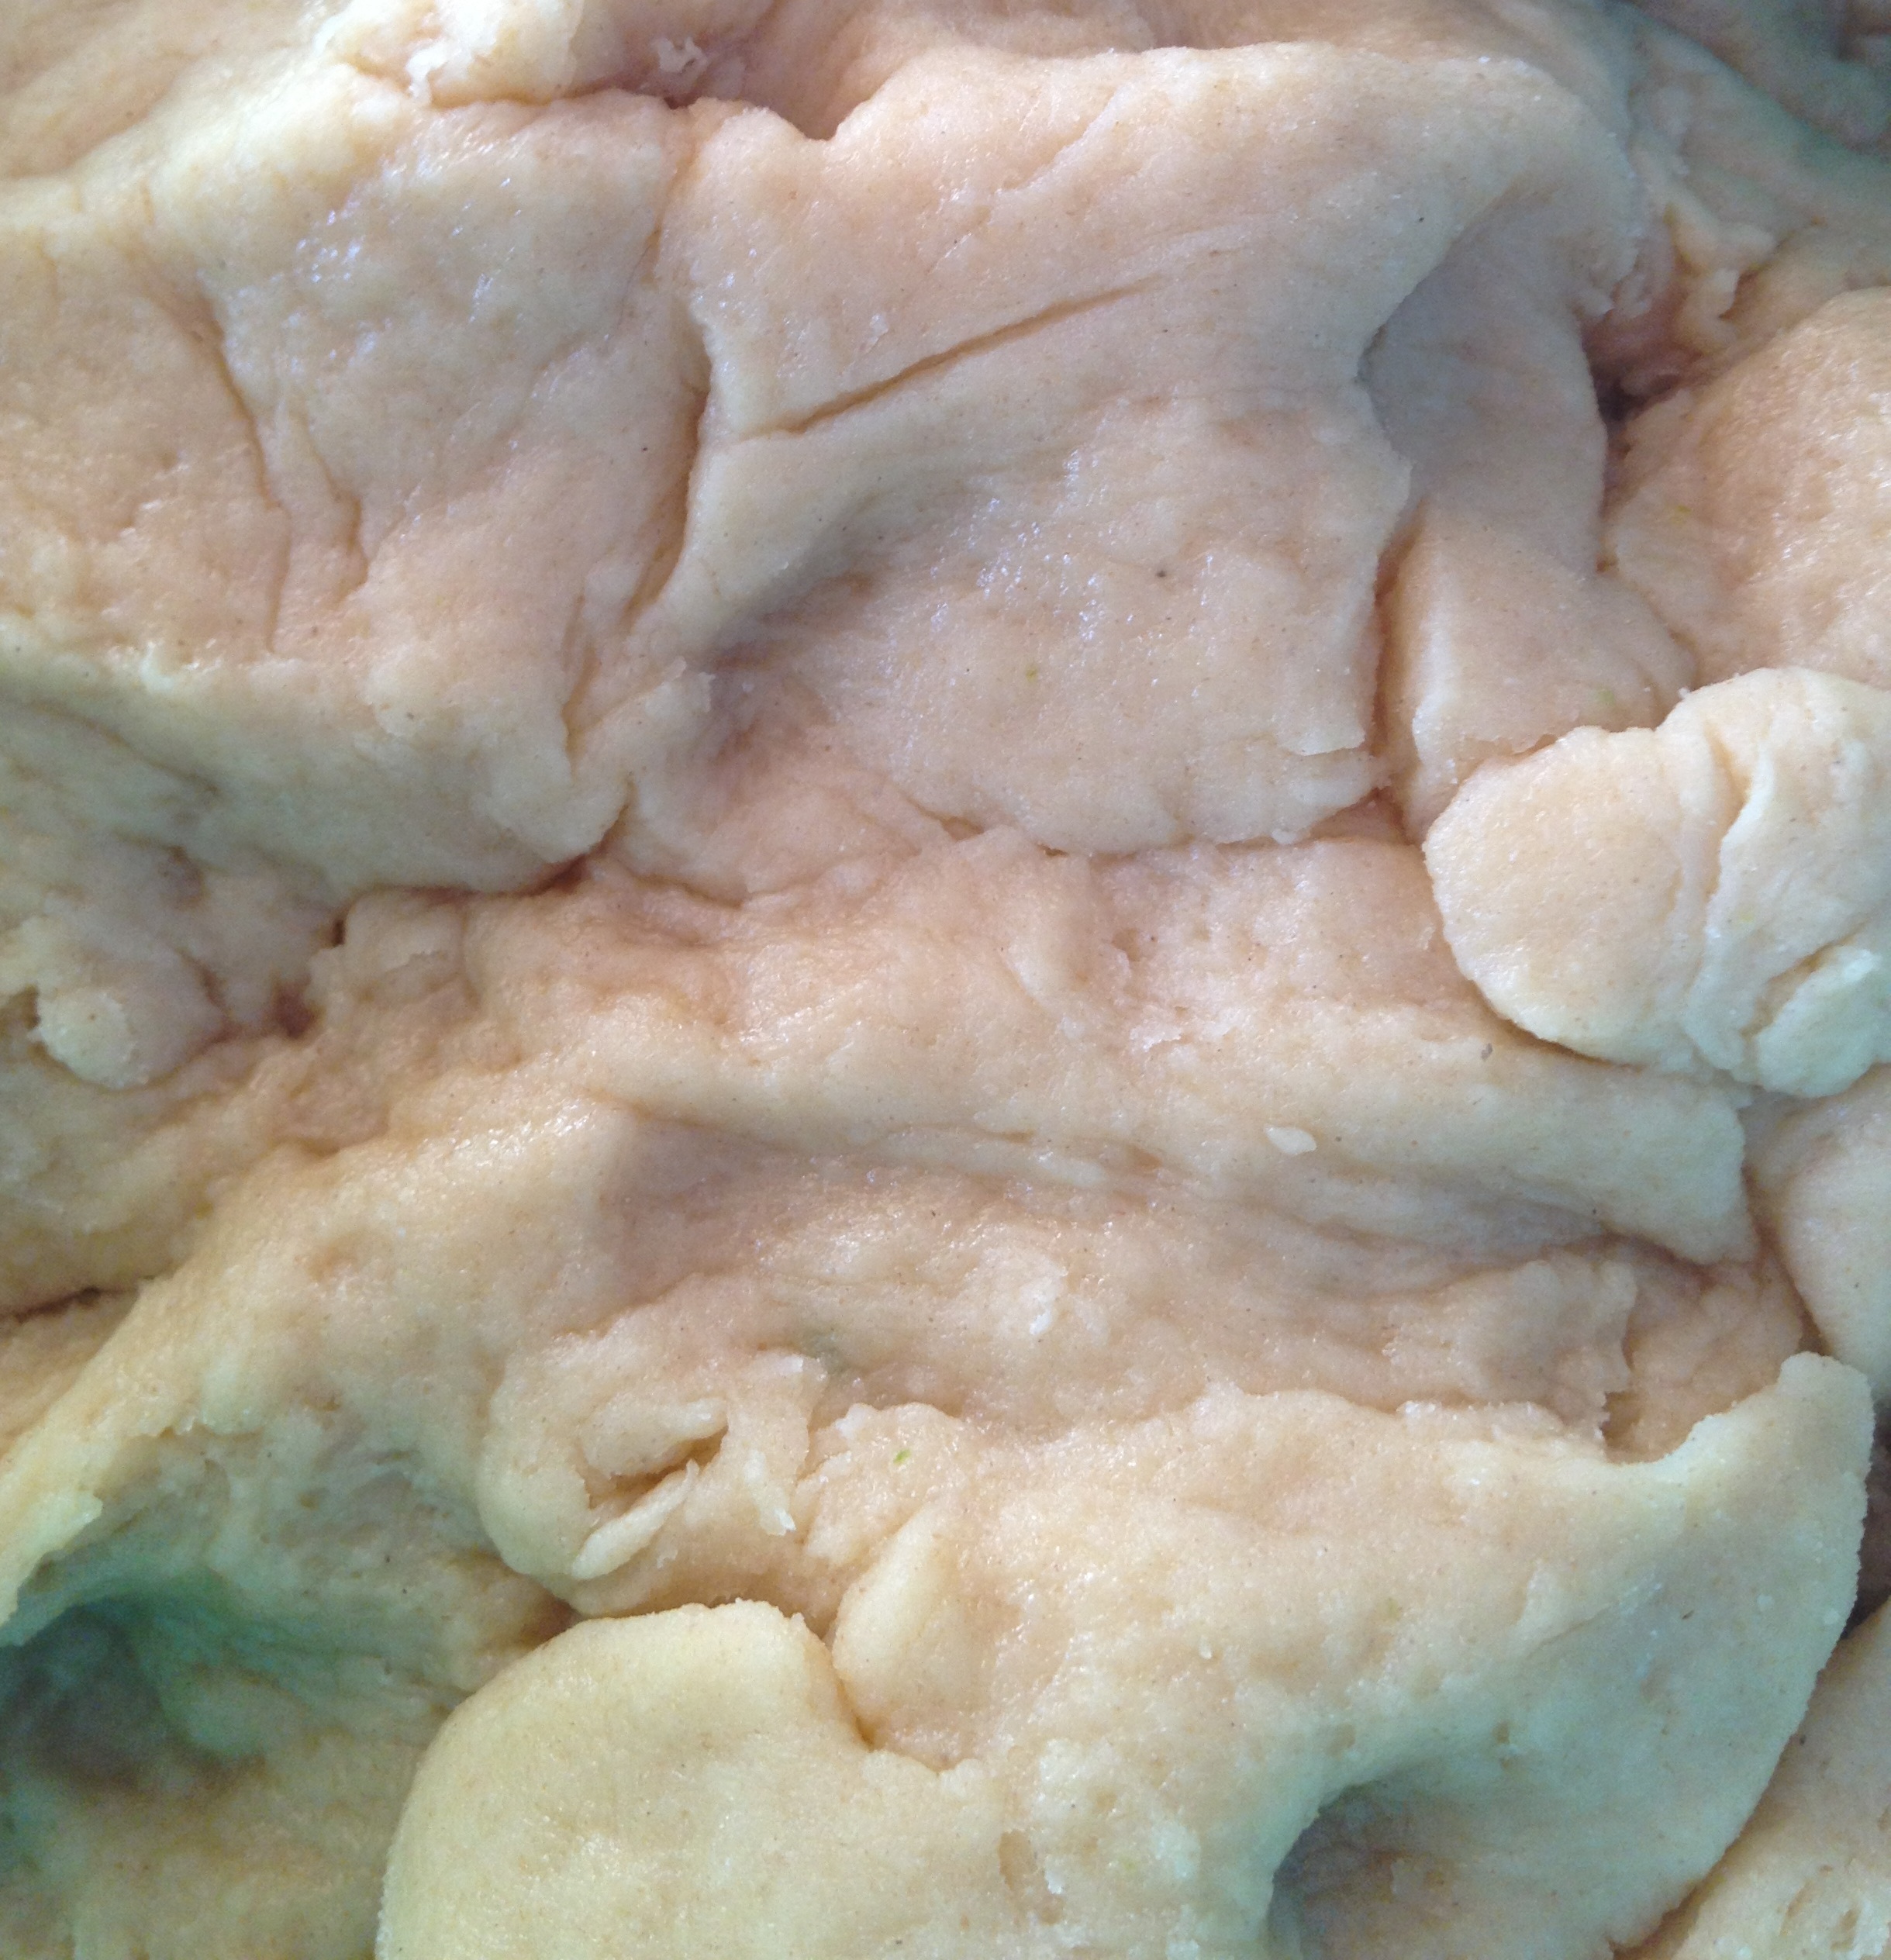
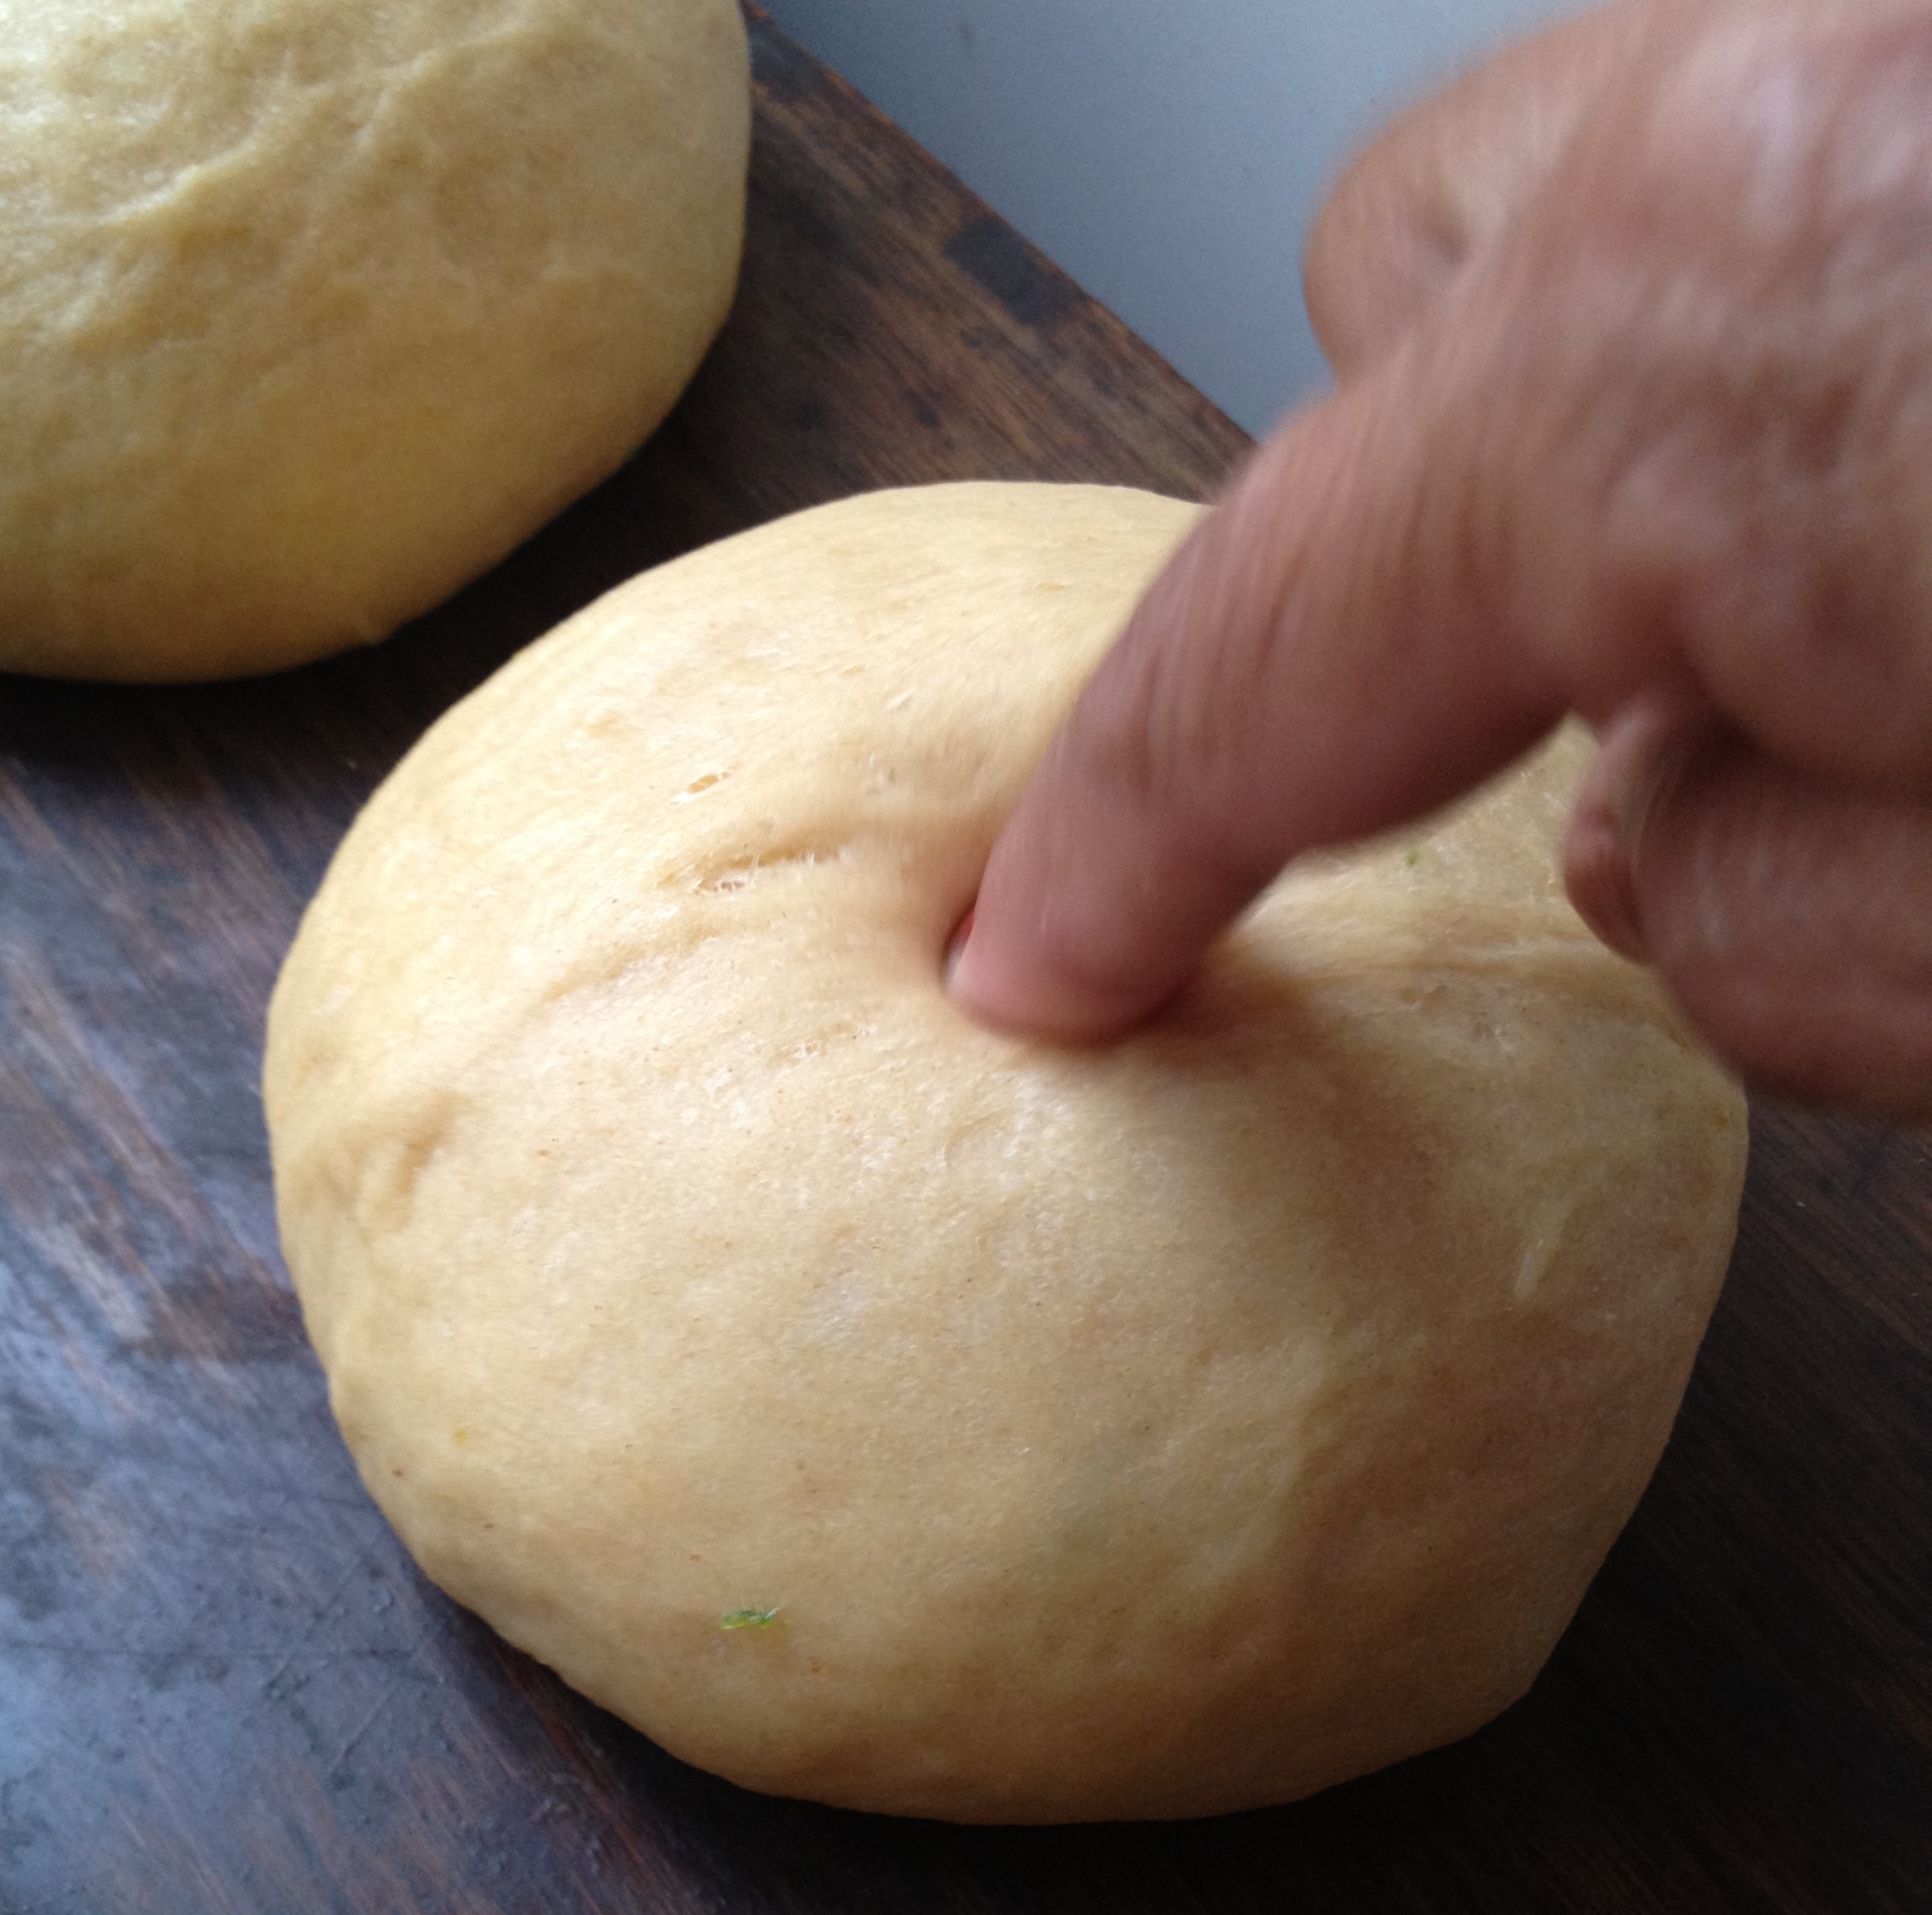
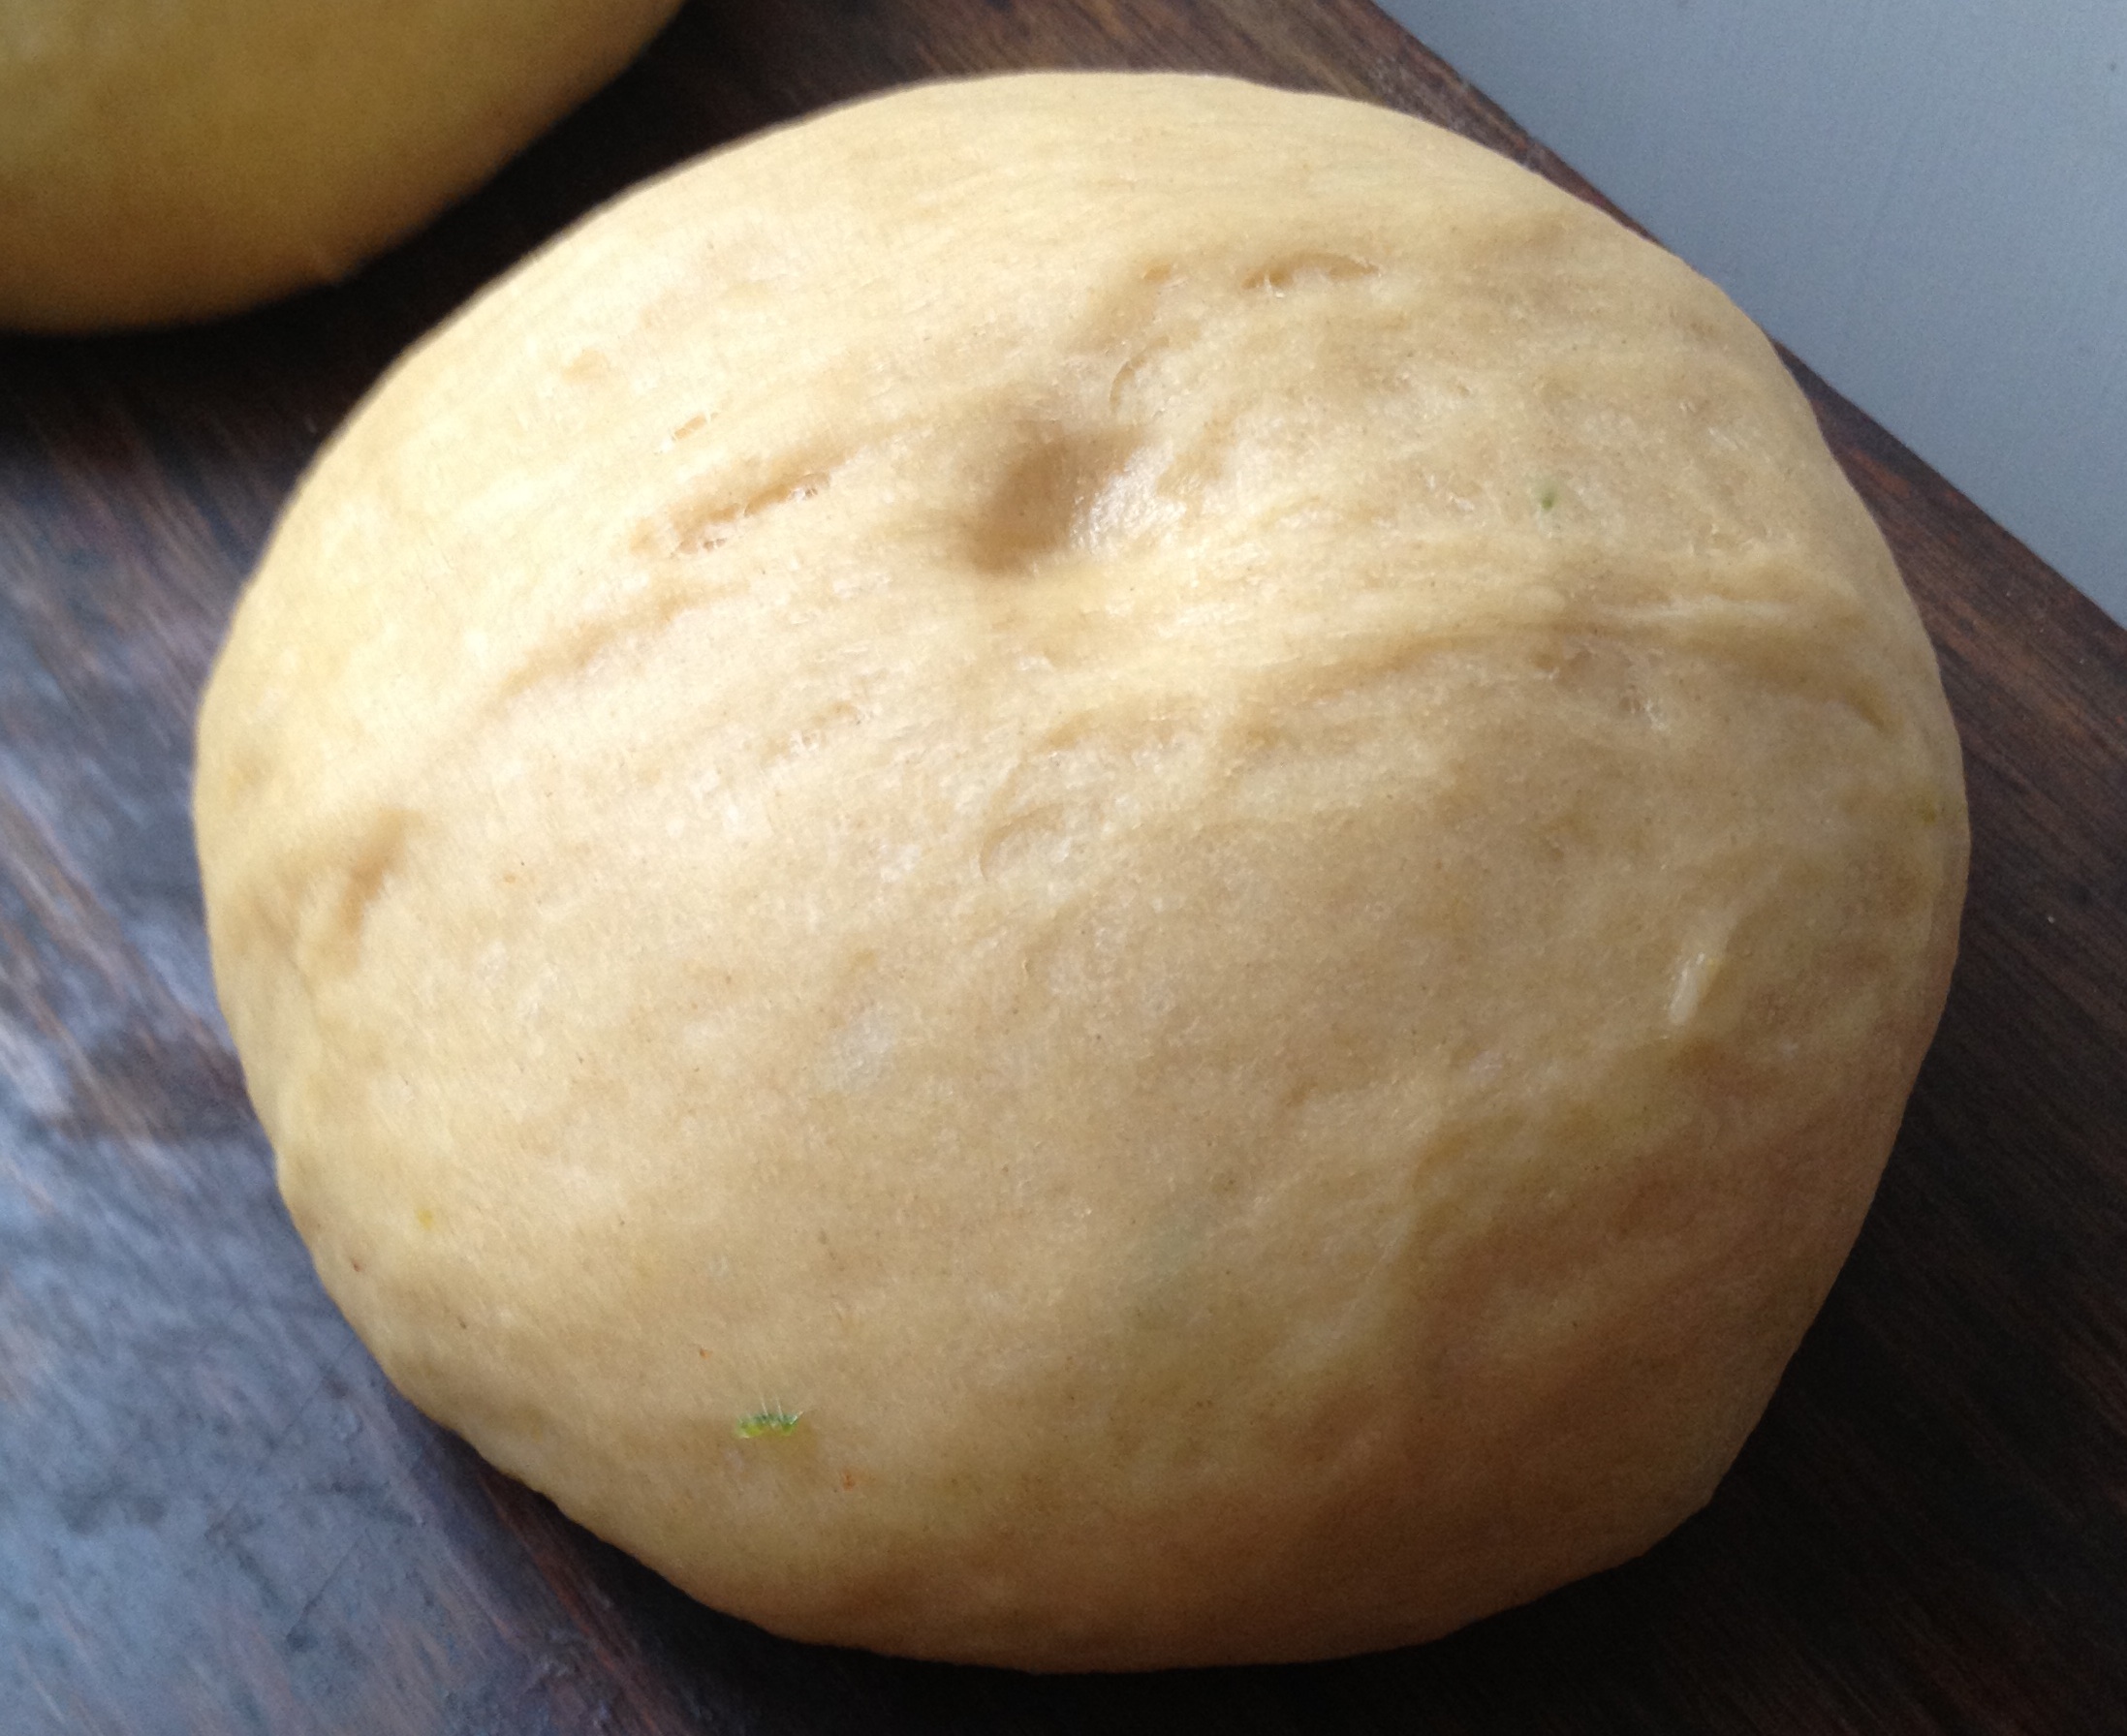
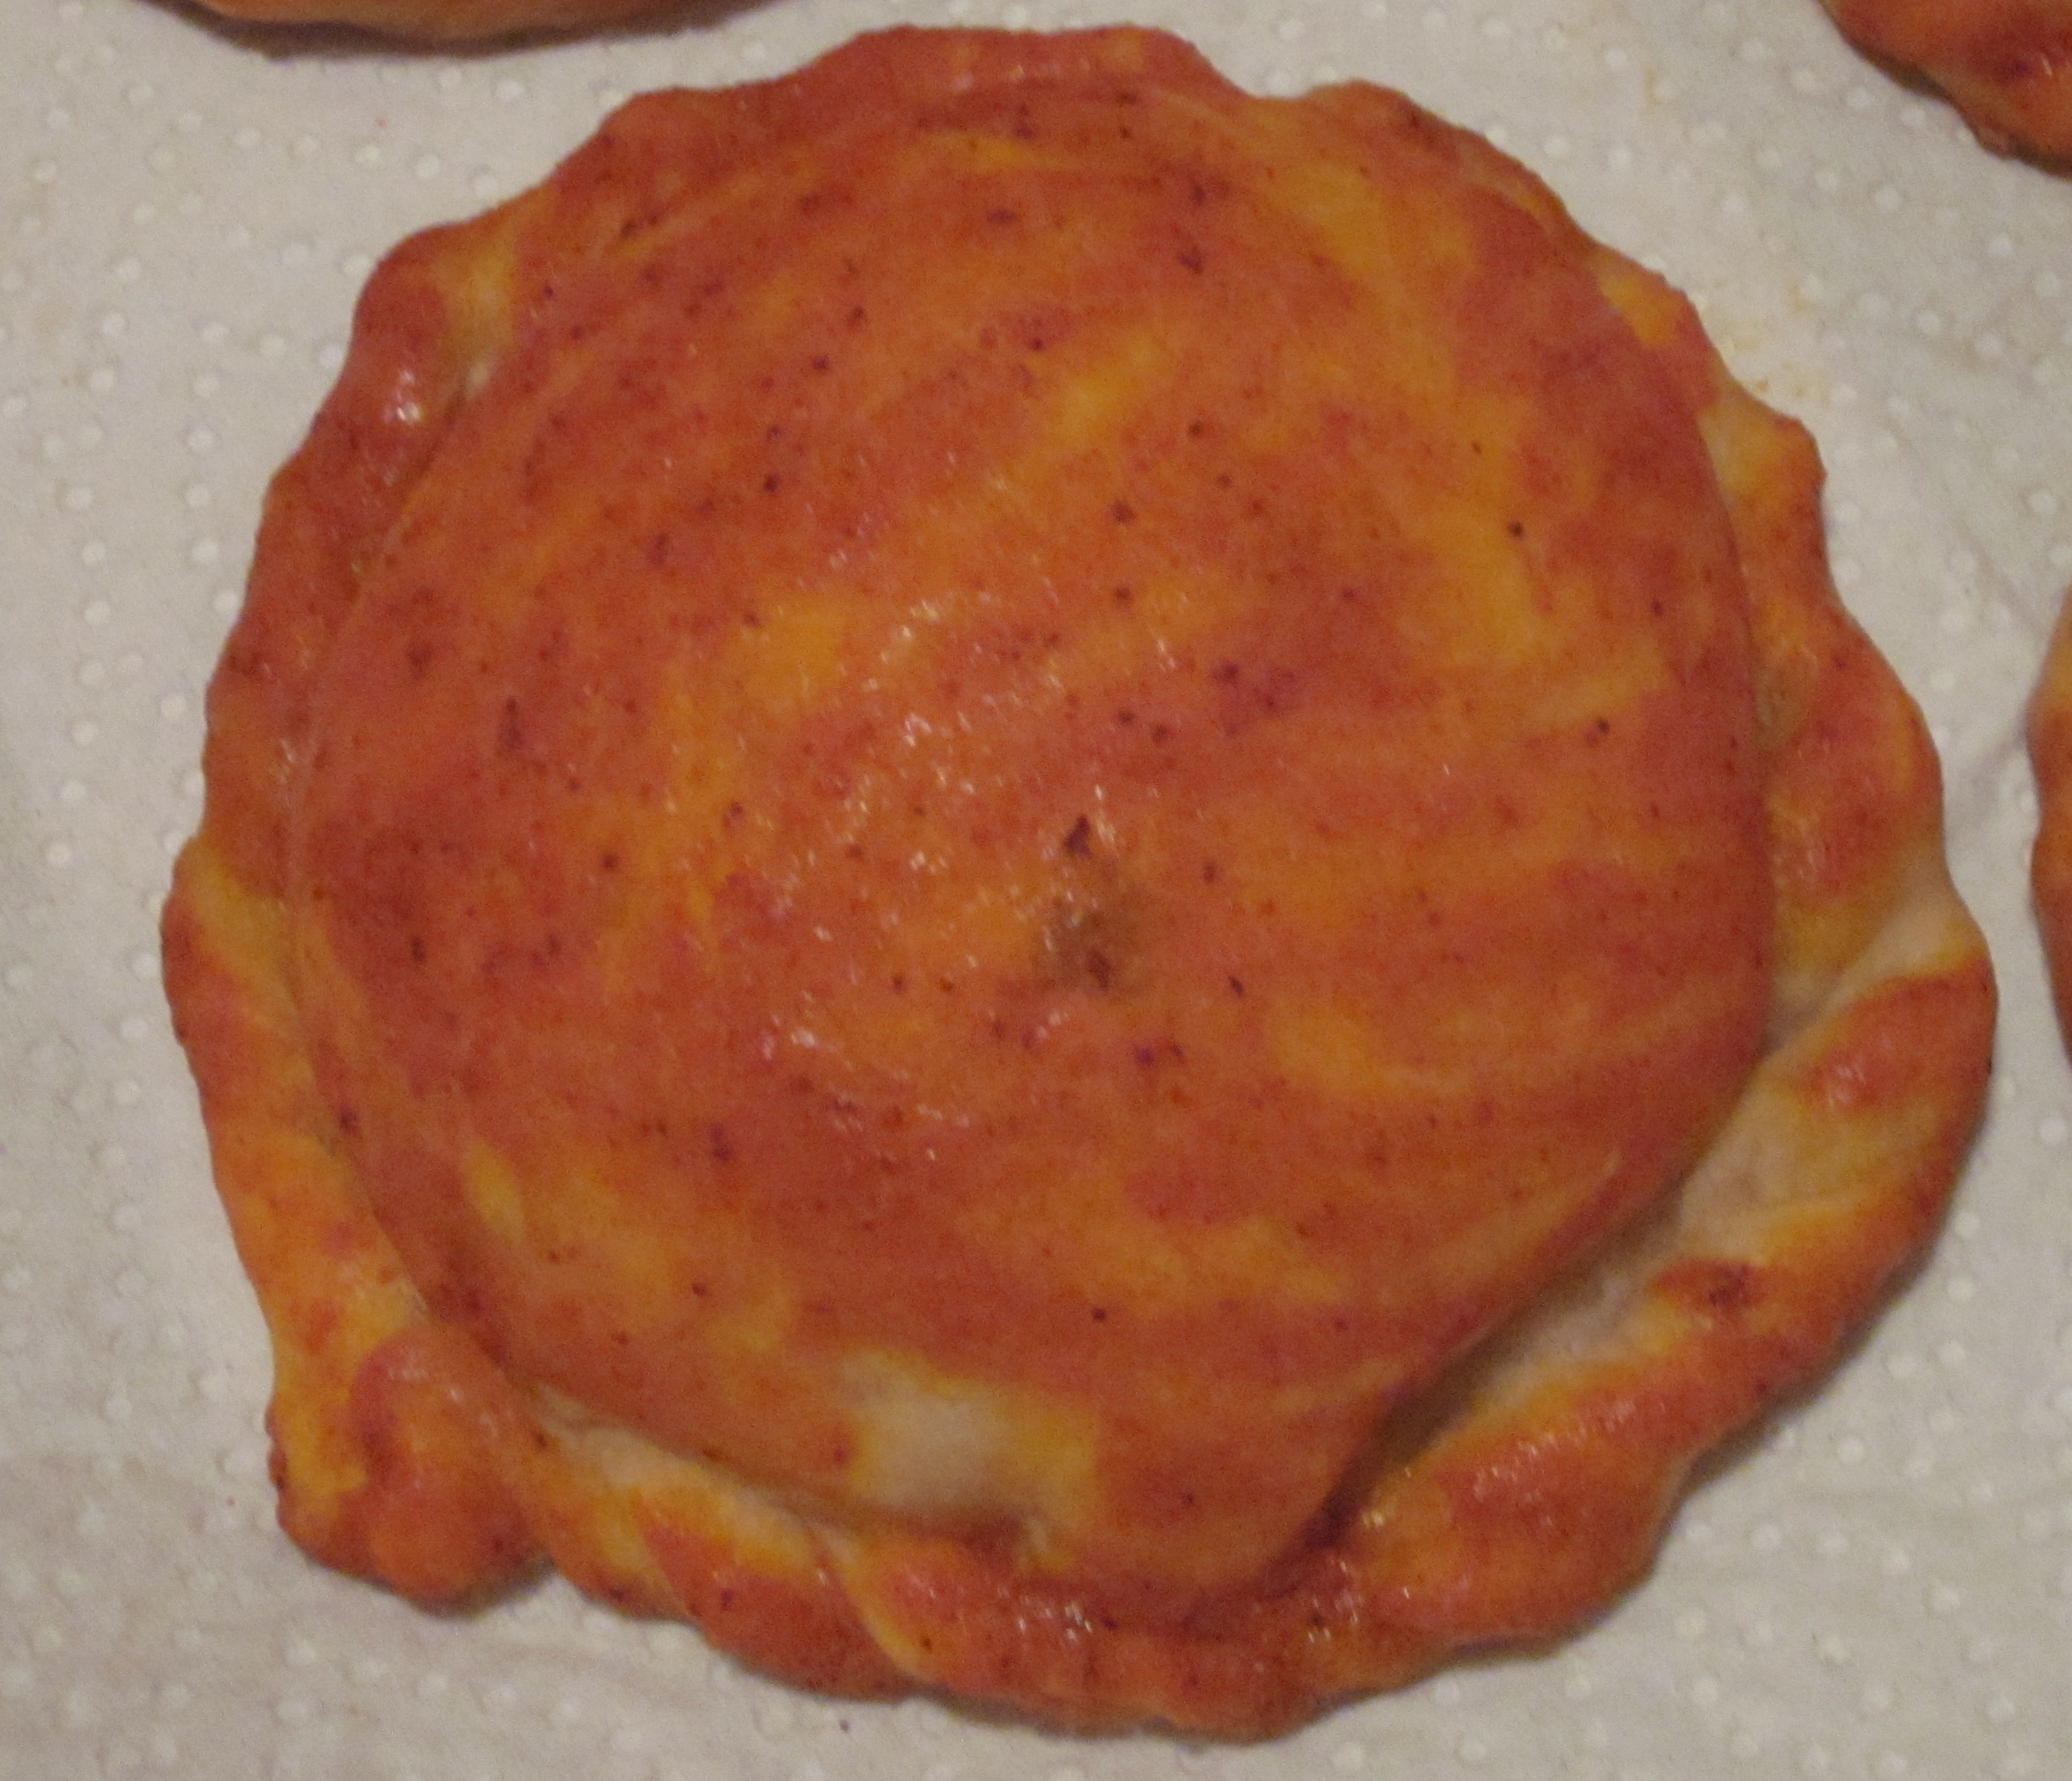
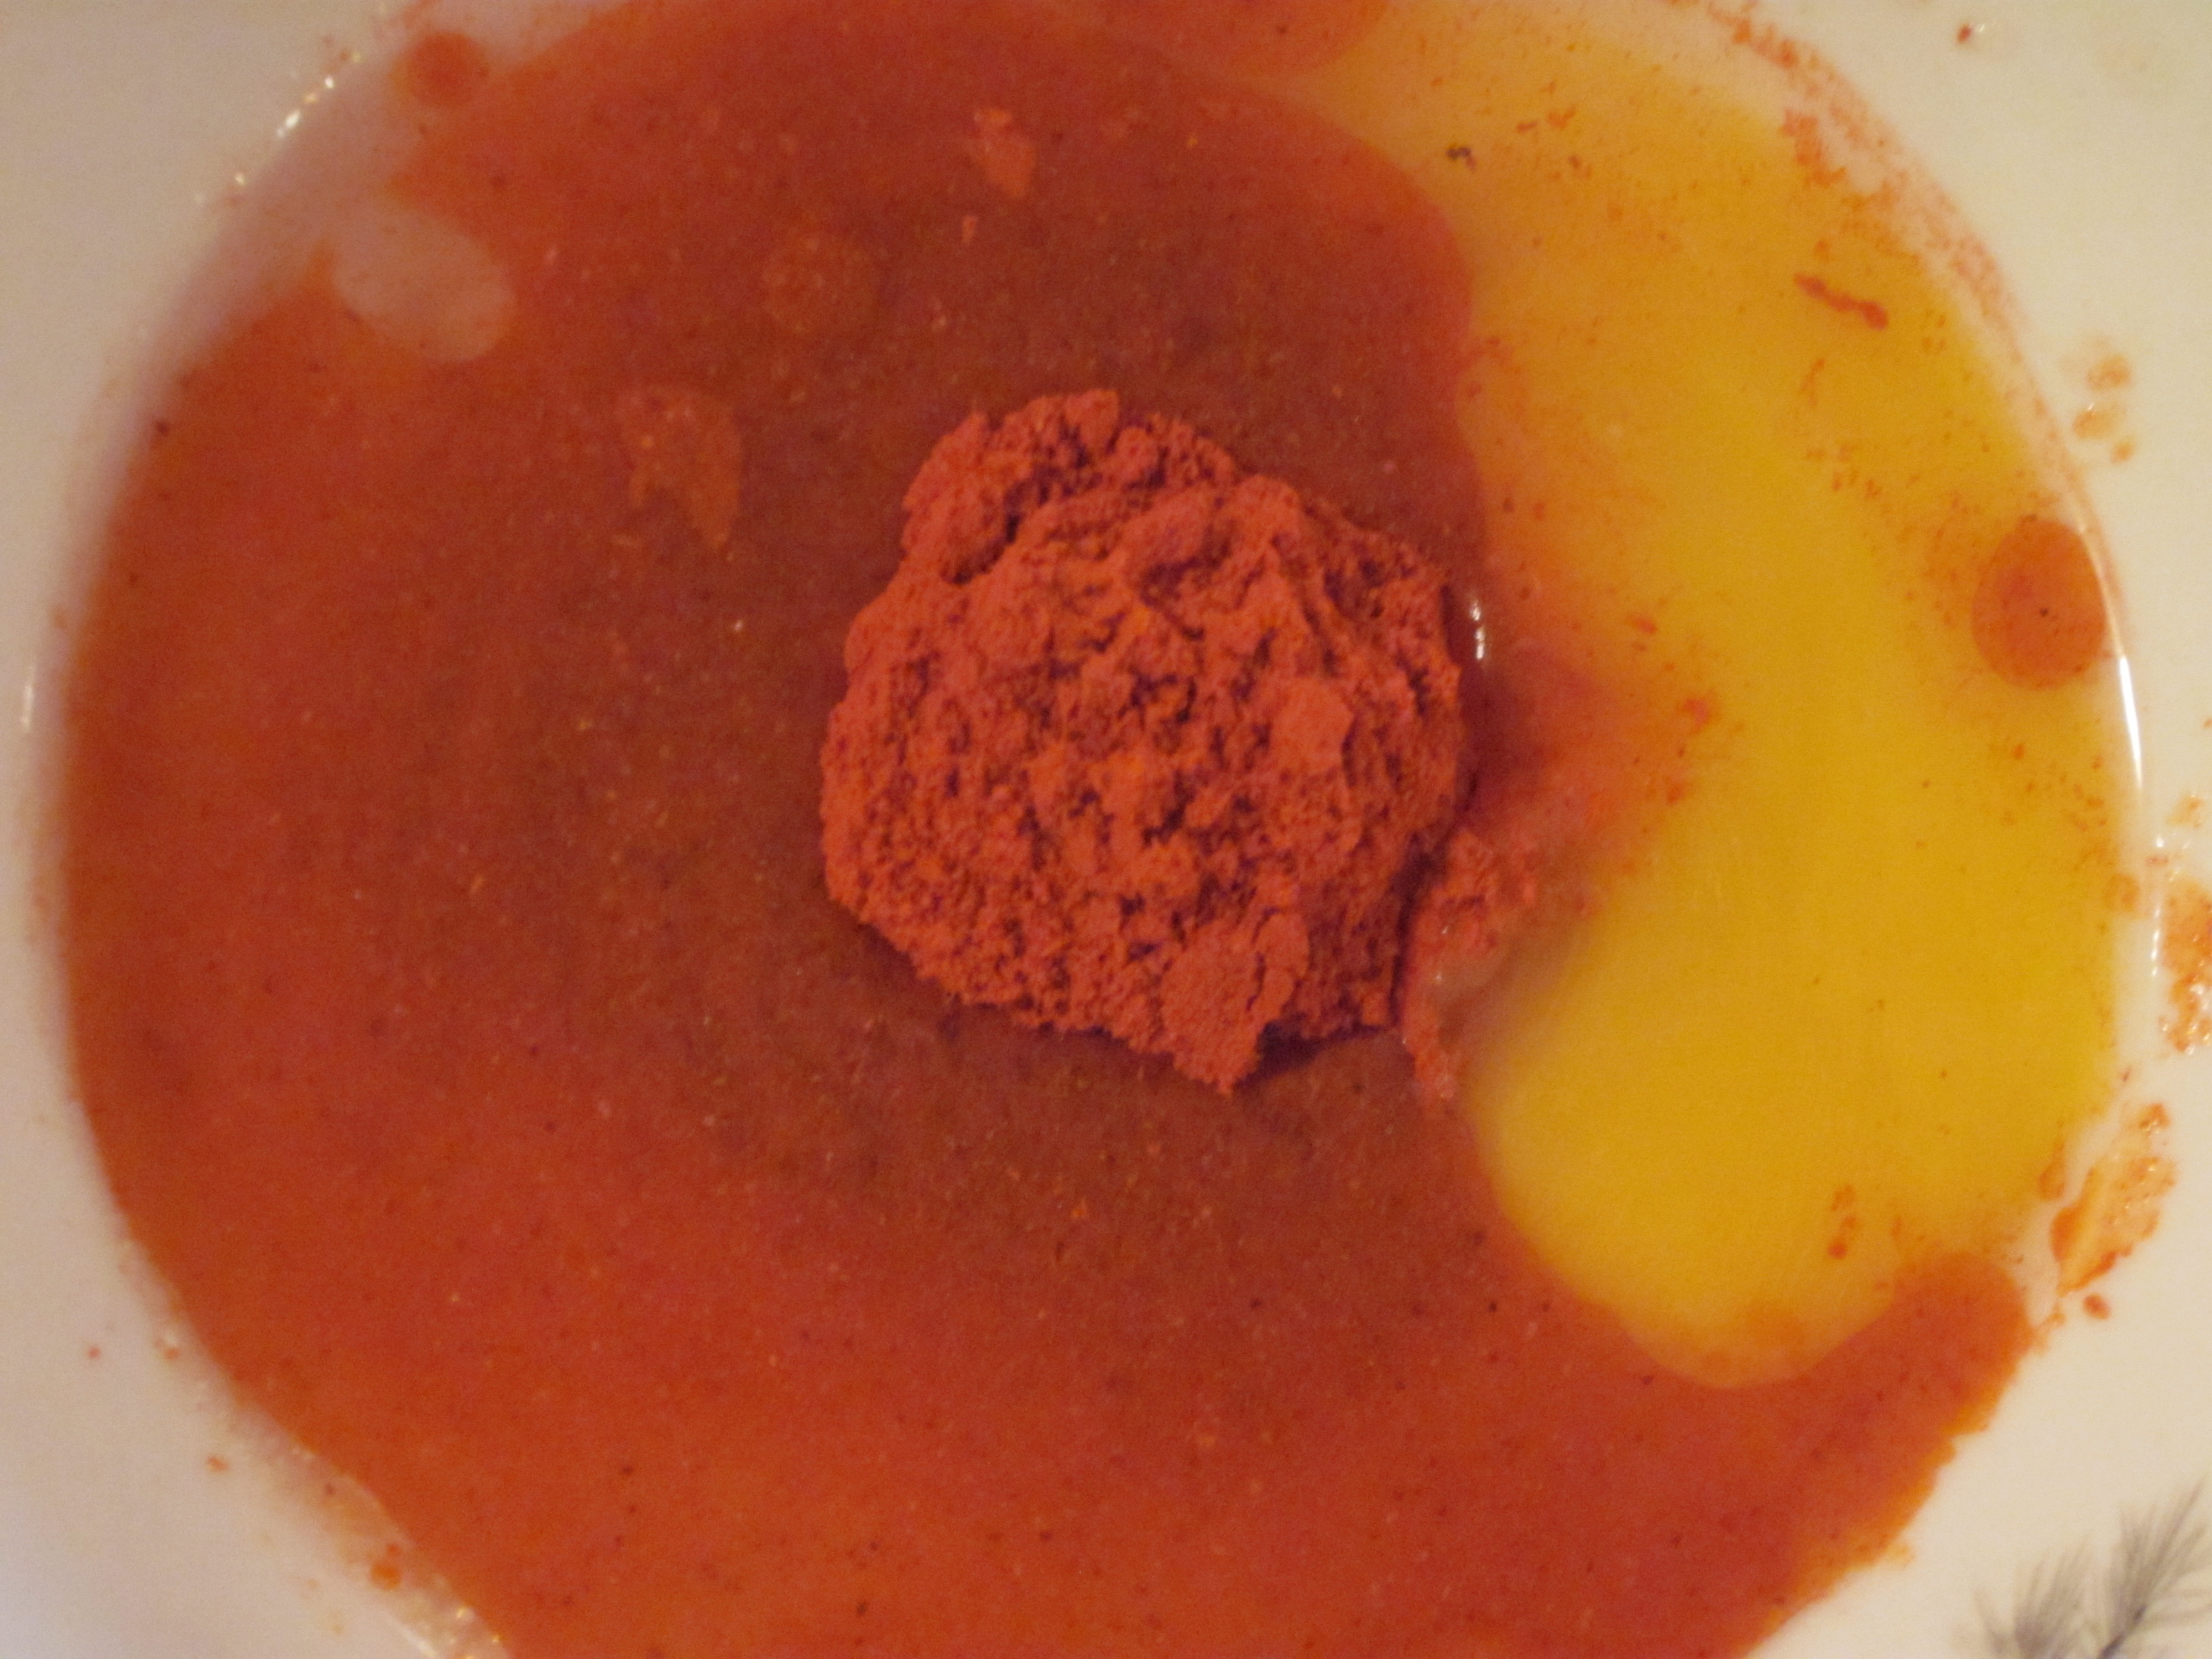
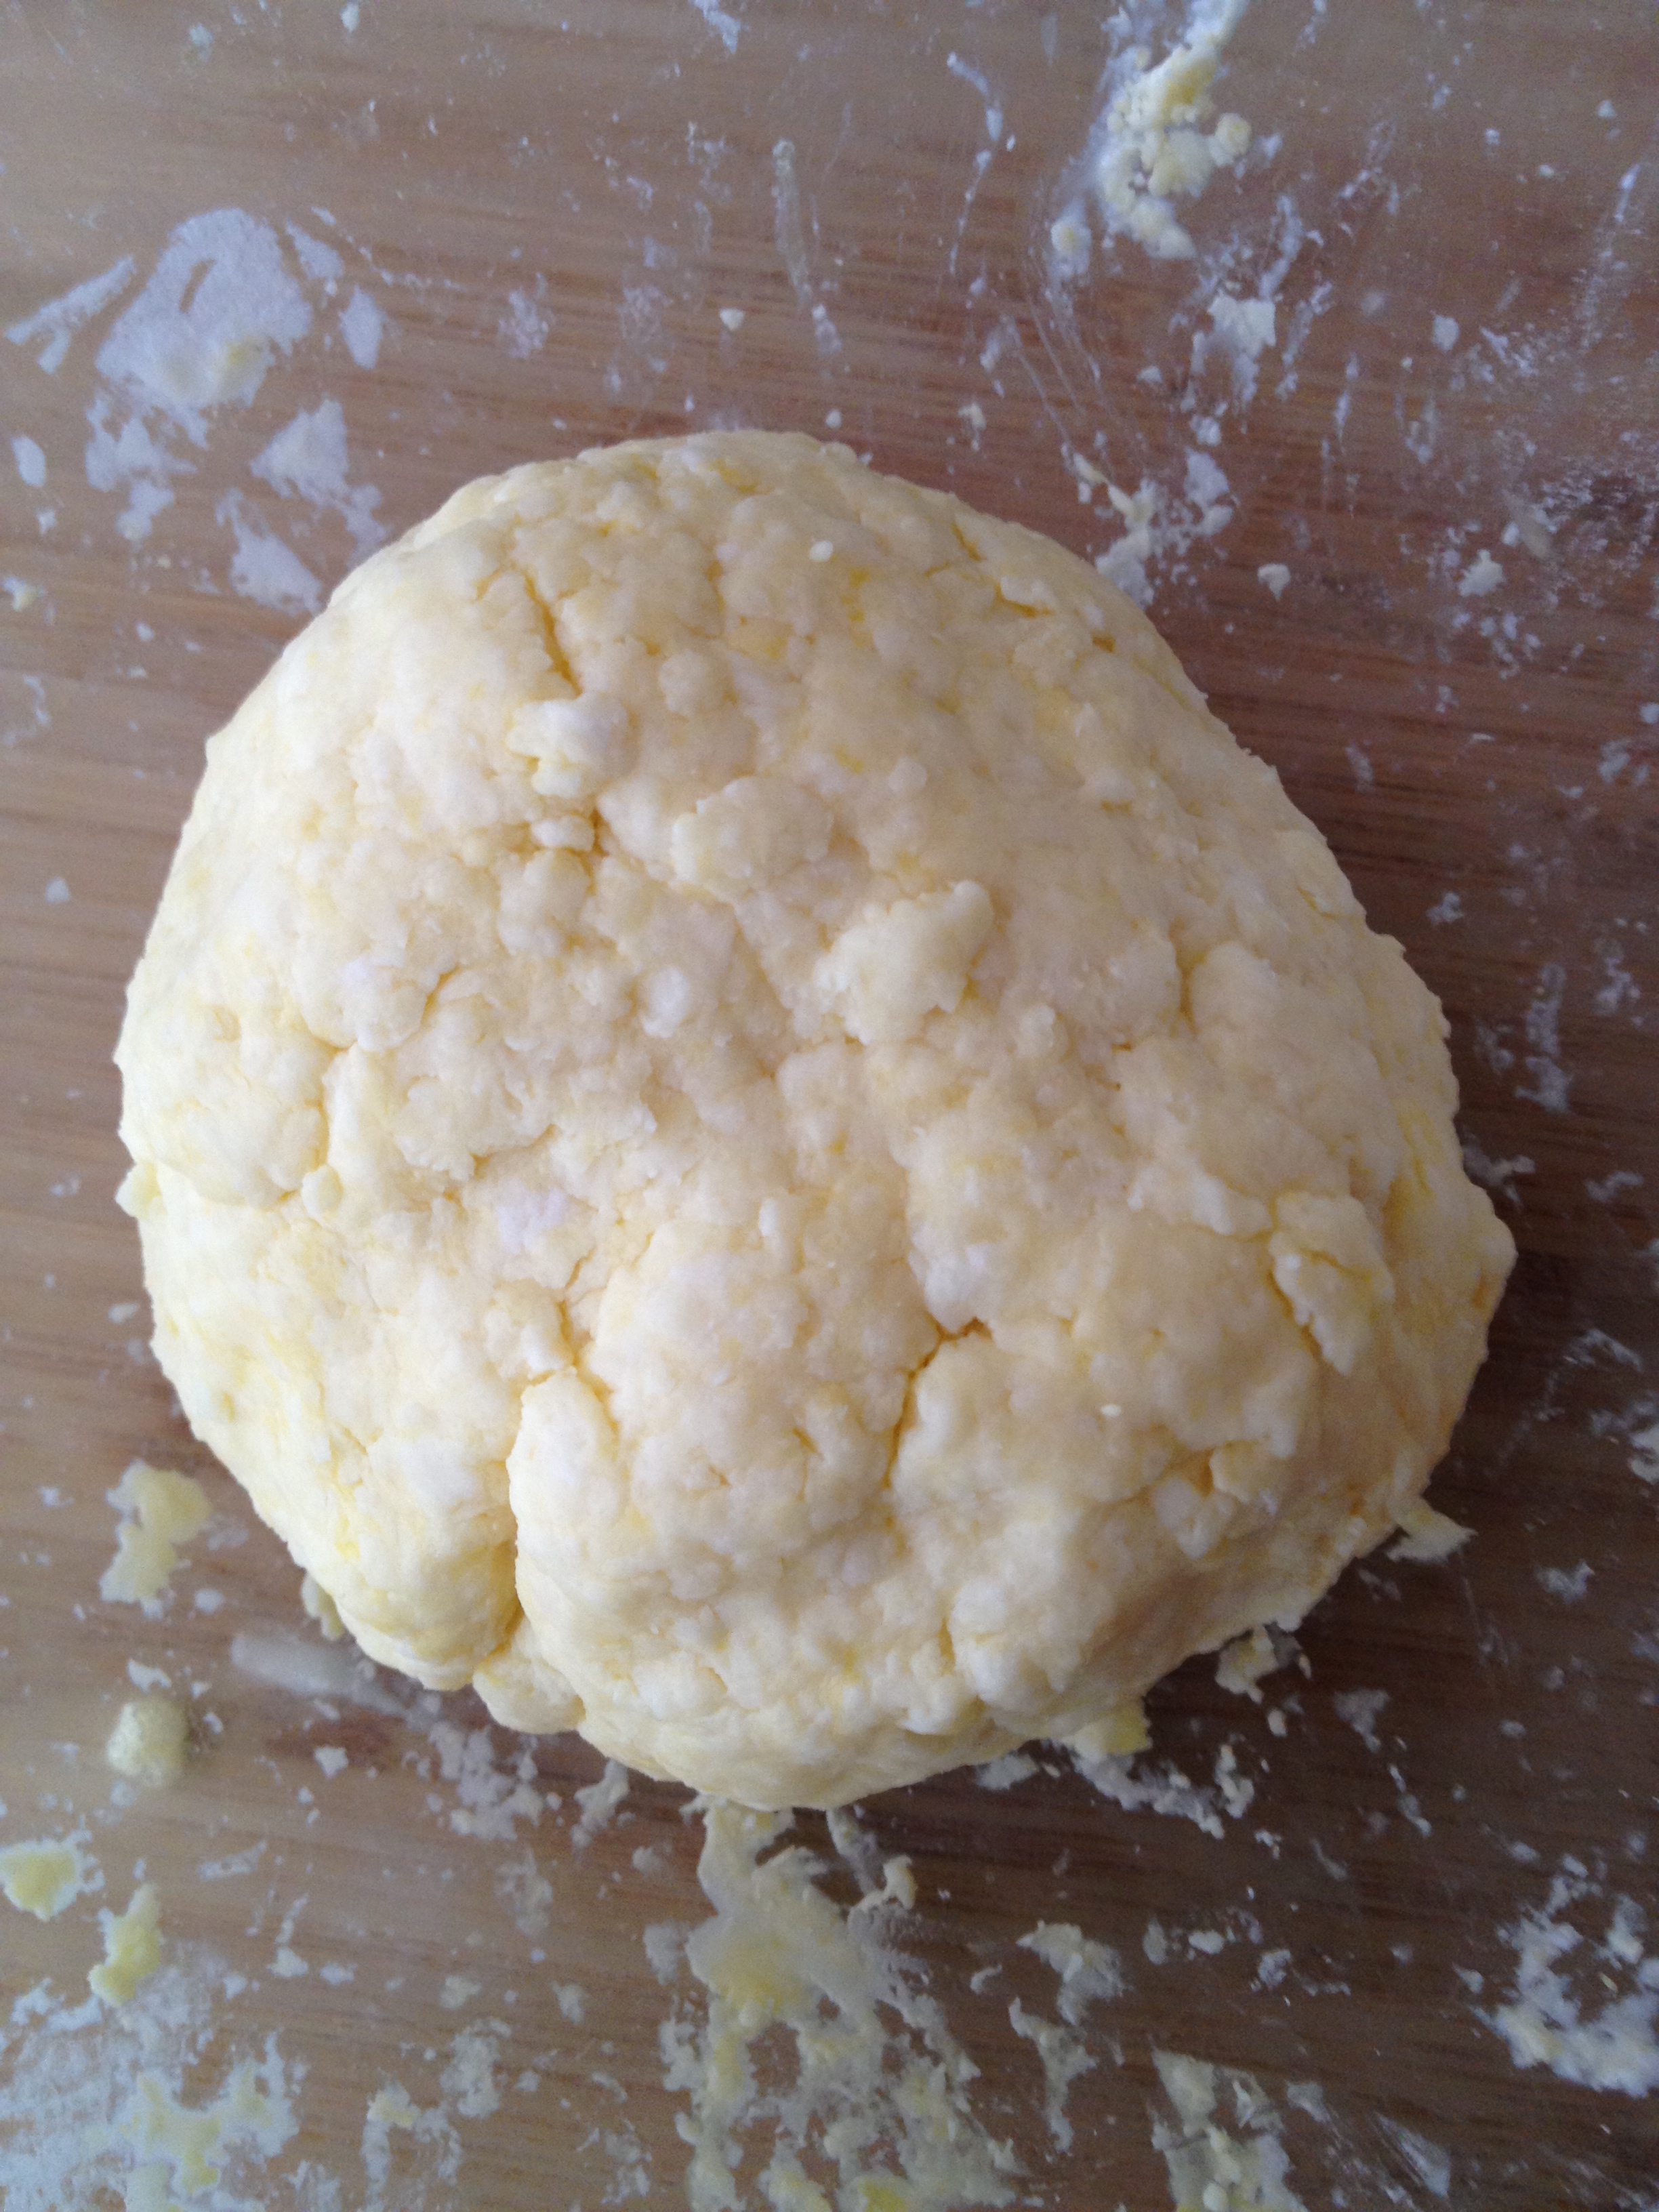
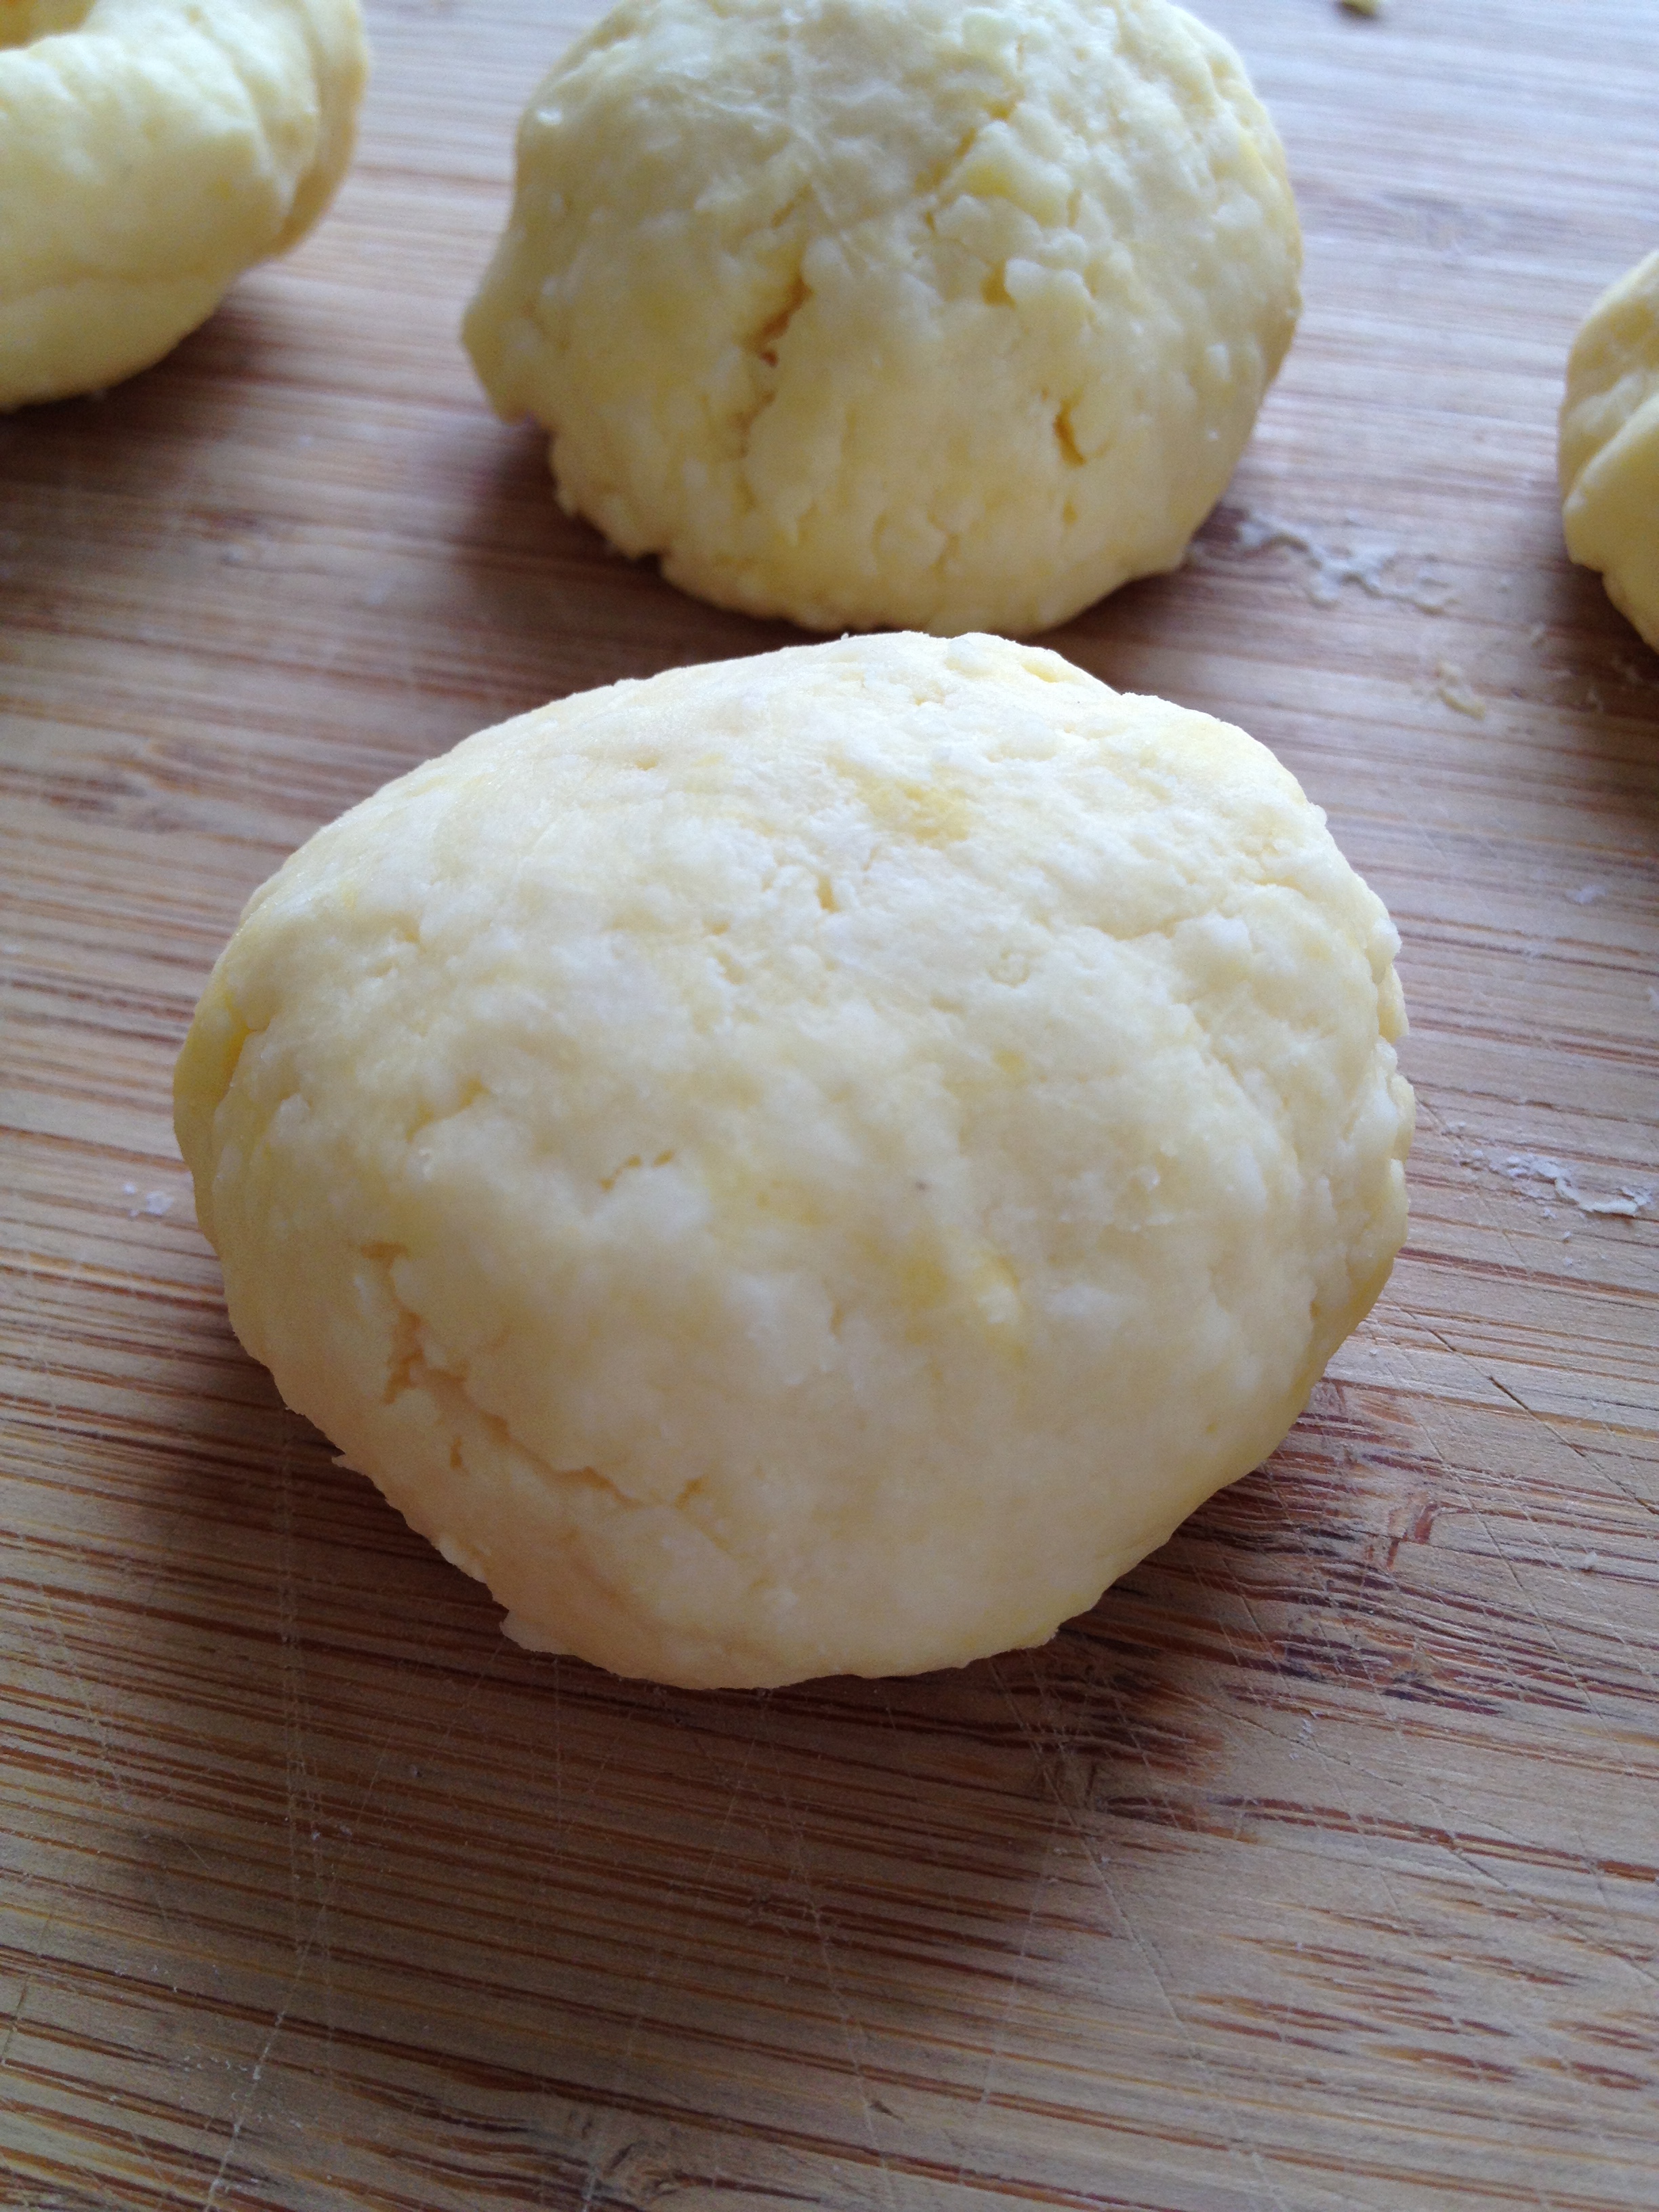
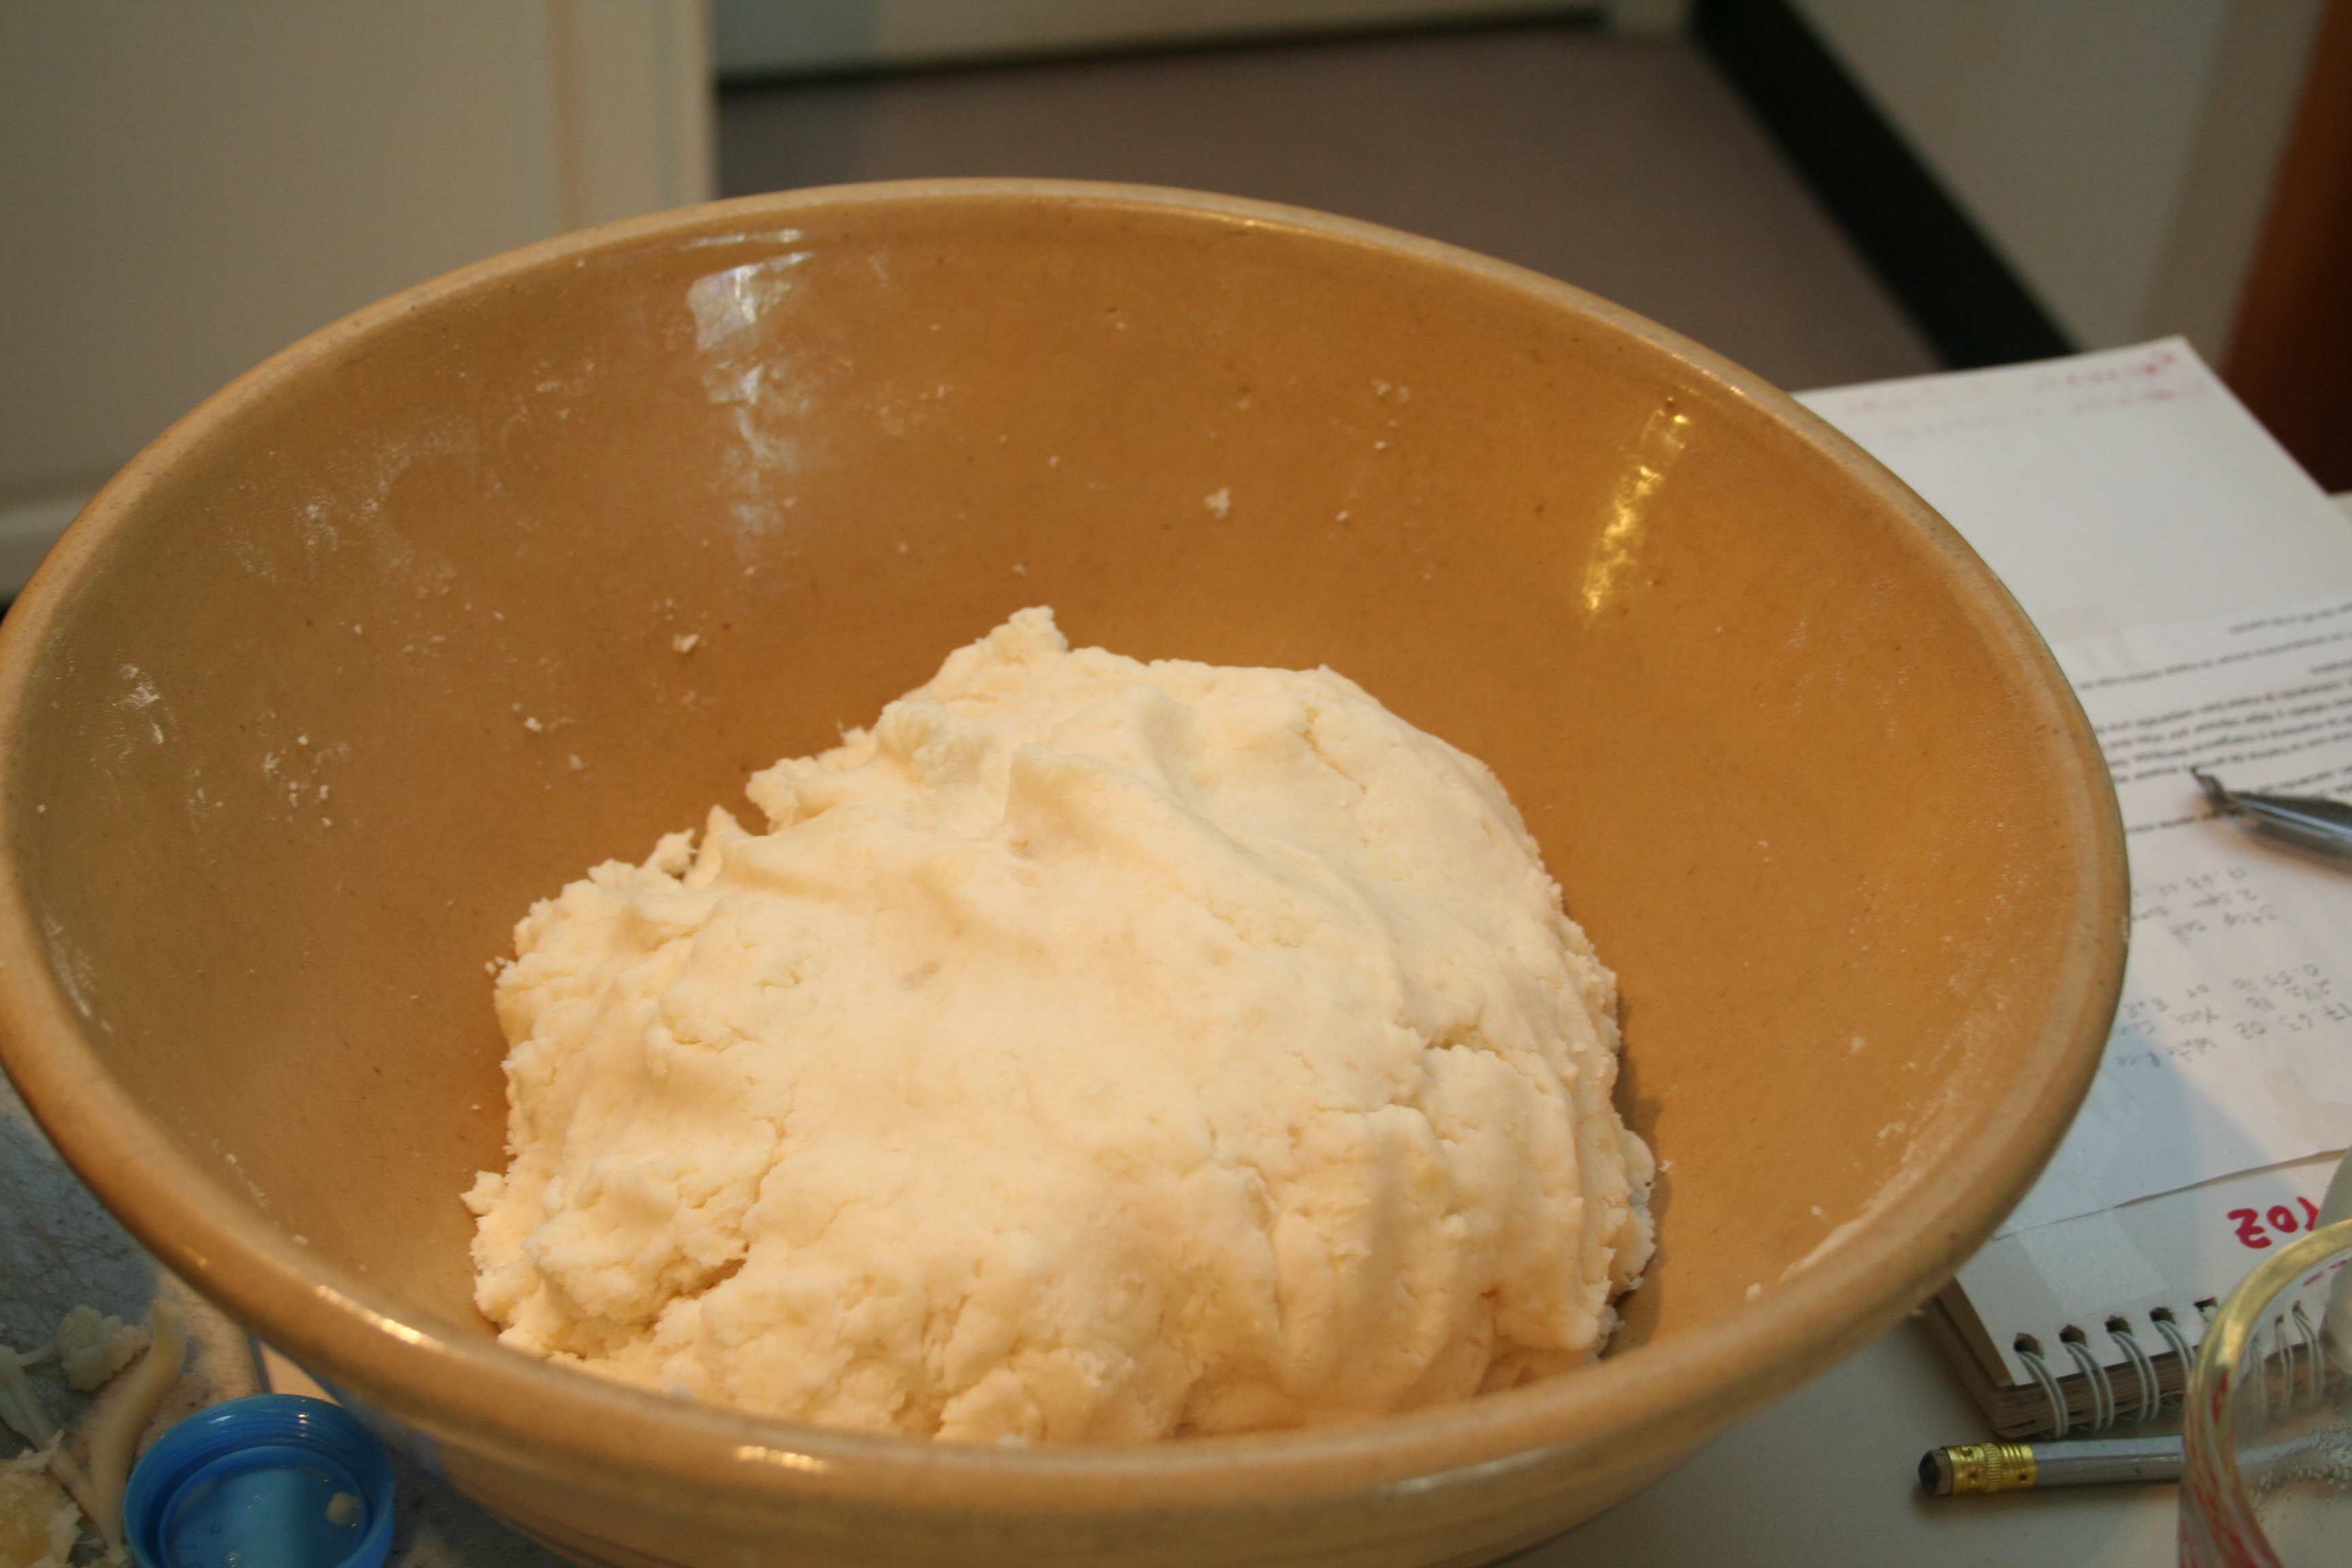
Heat the shortenning until is hot and close to boiling. Poured into the dough and mix as you poured with a wooden spoon. Be carefull with the hot oil dont want to burn the dough. Mix really well. The dough should be in the drier side.

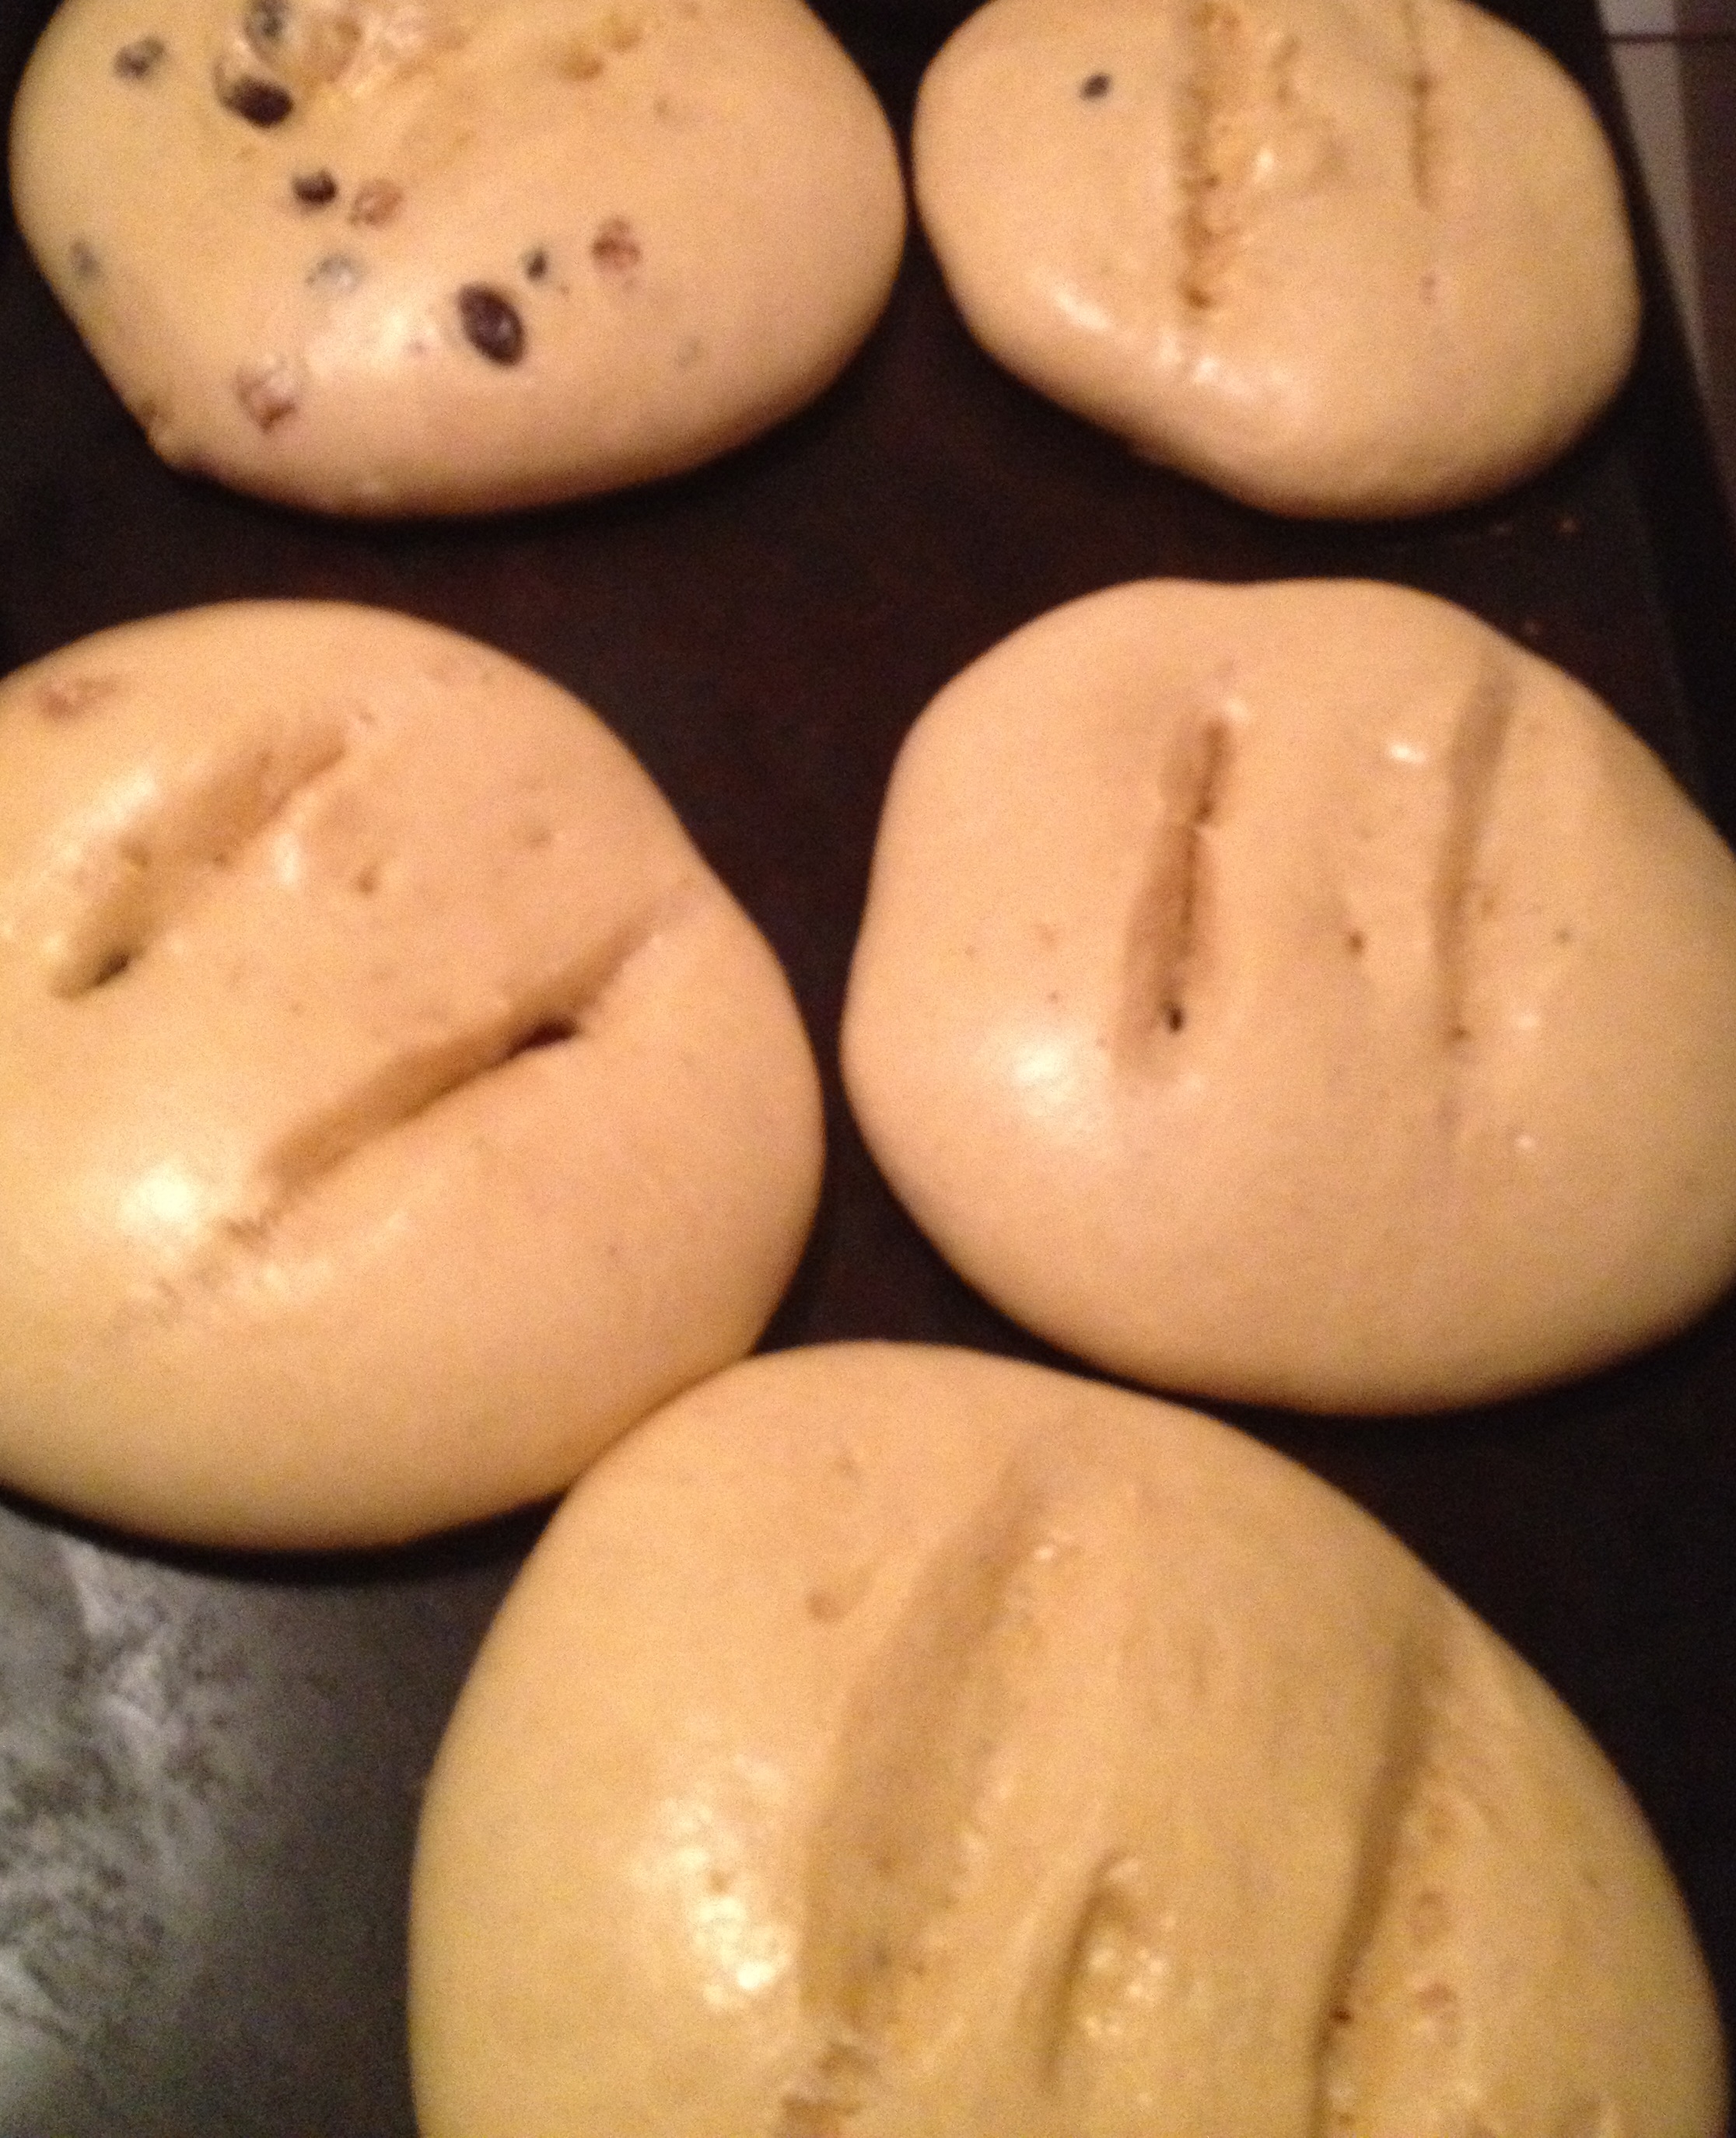
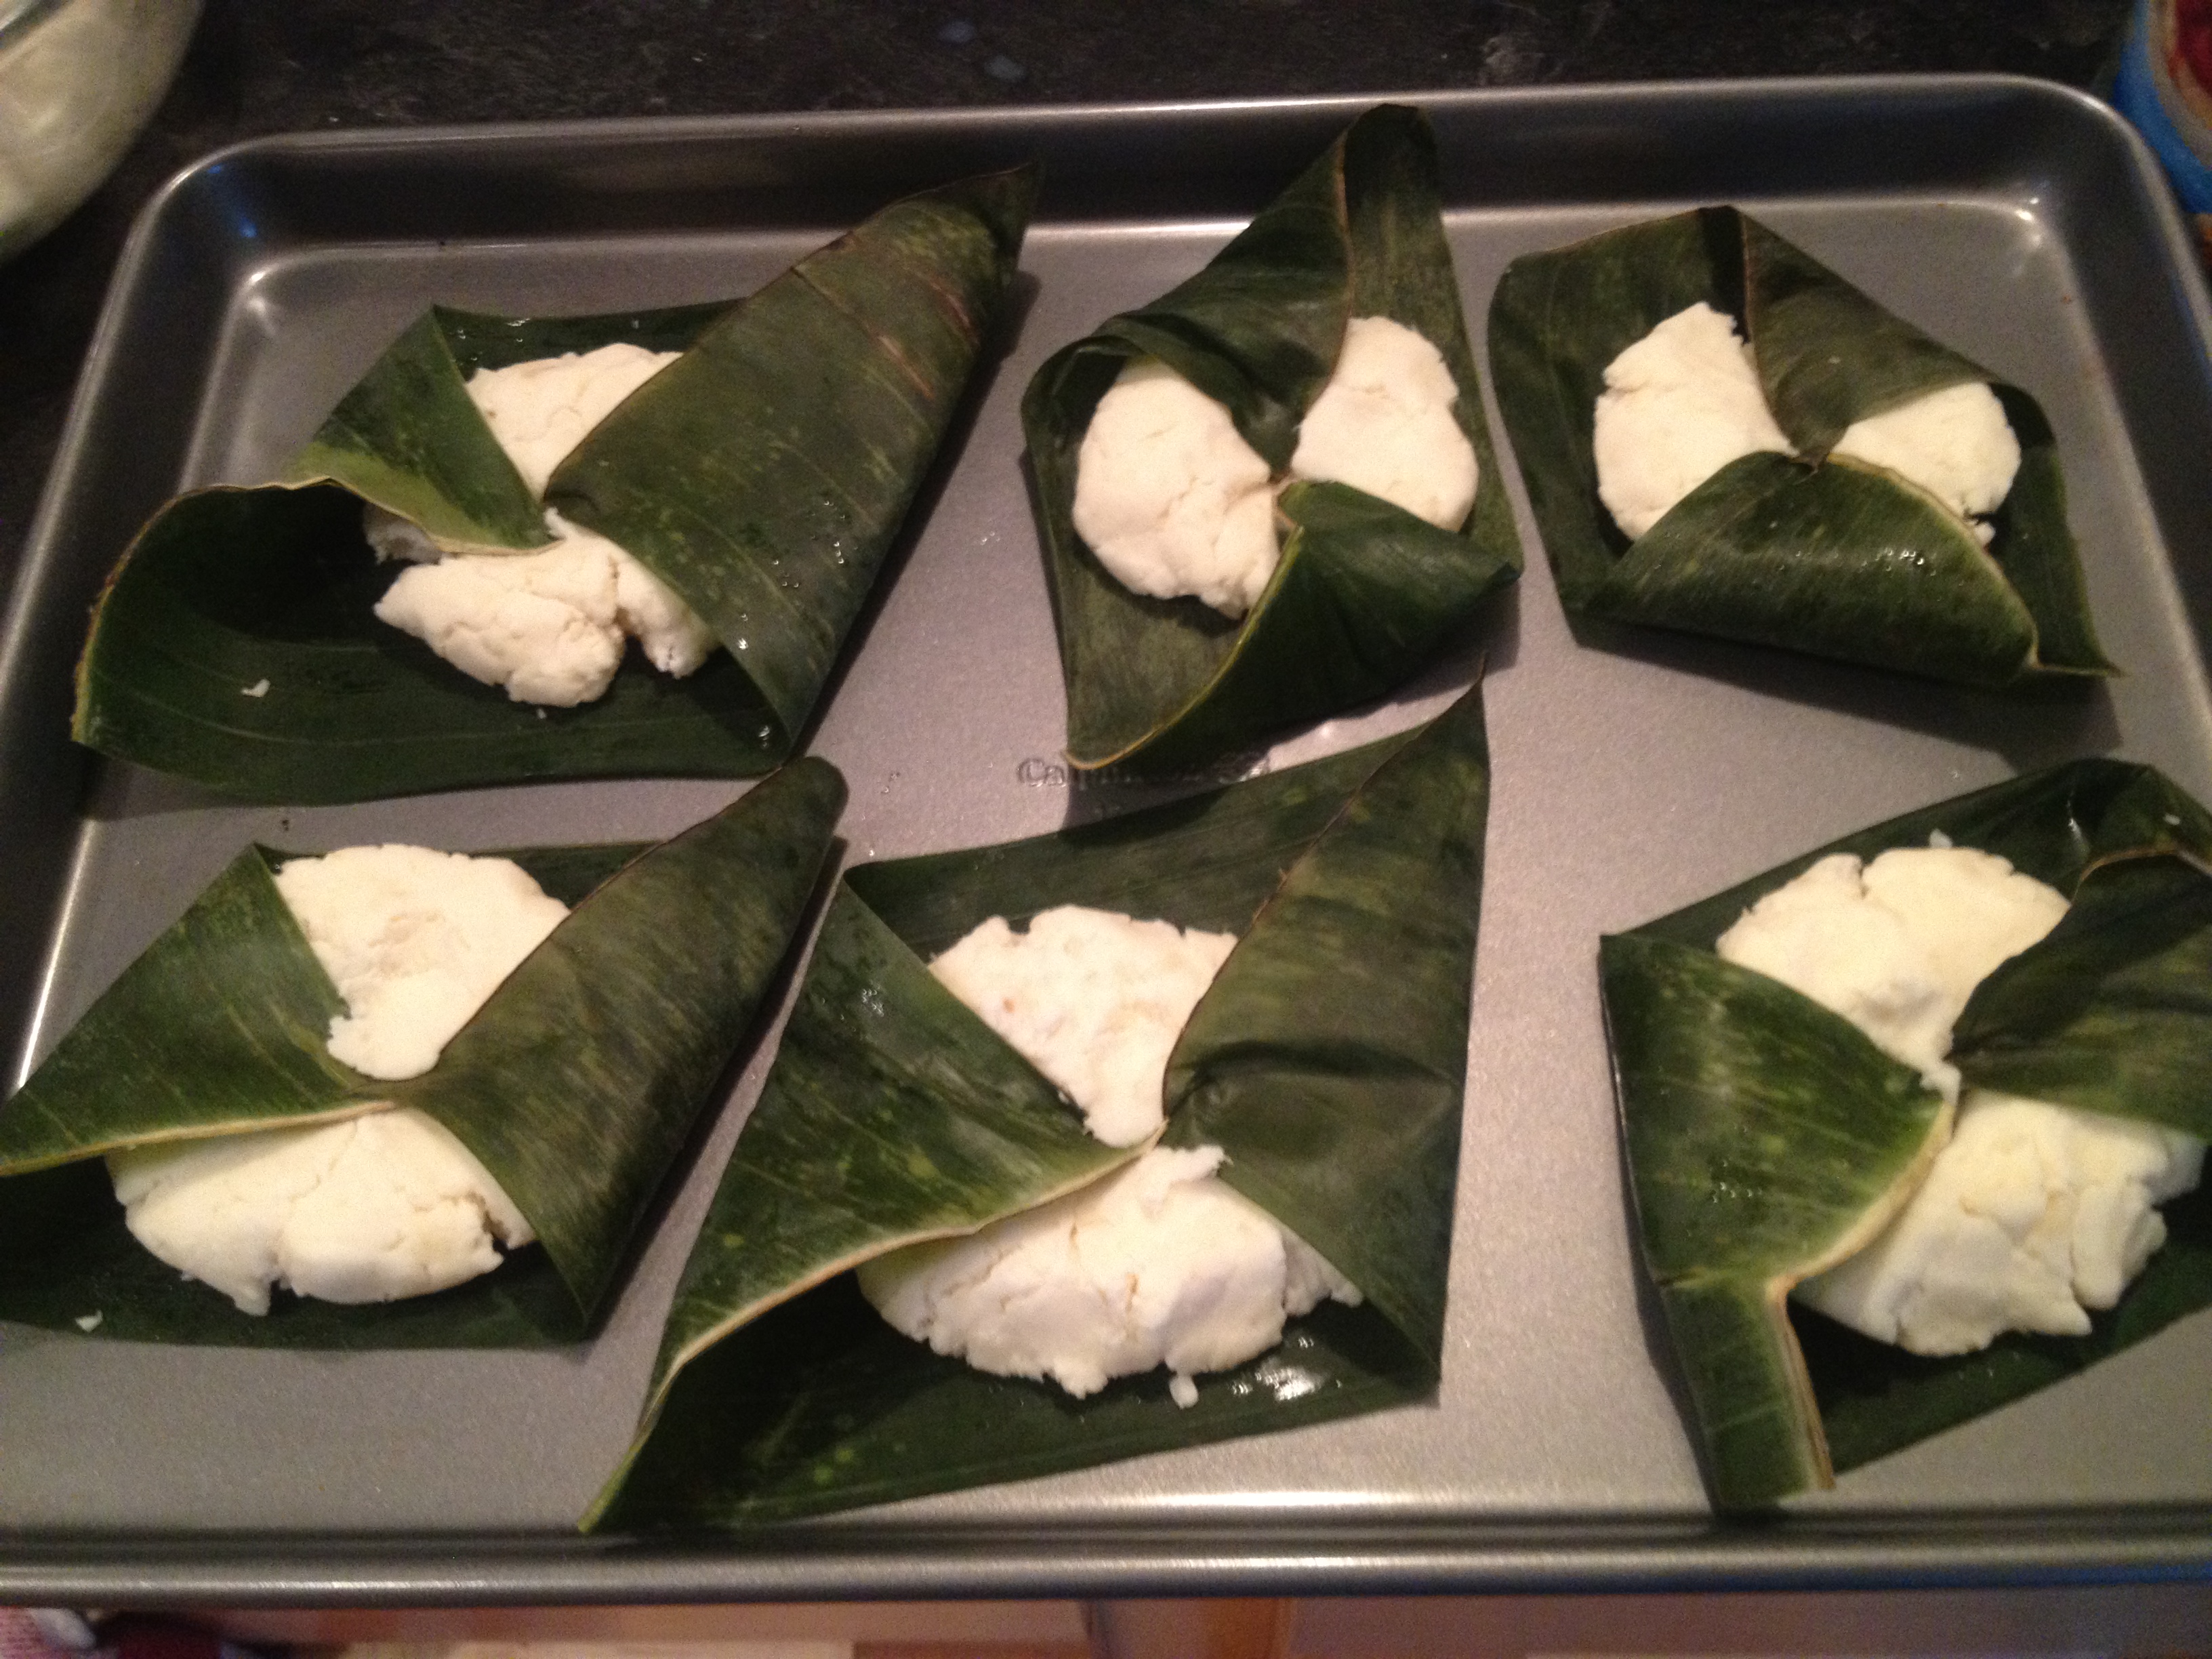
To make the huminta
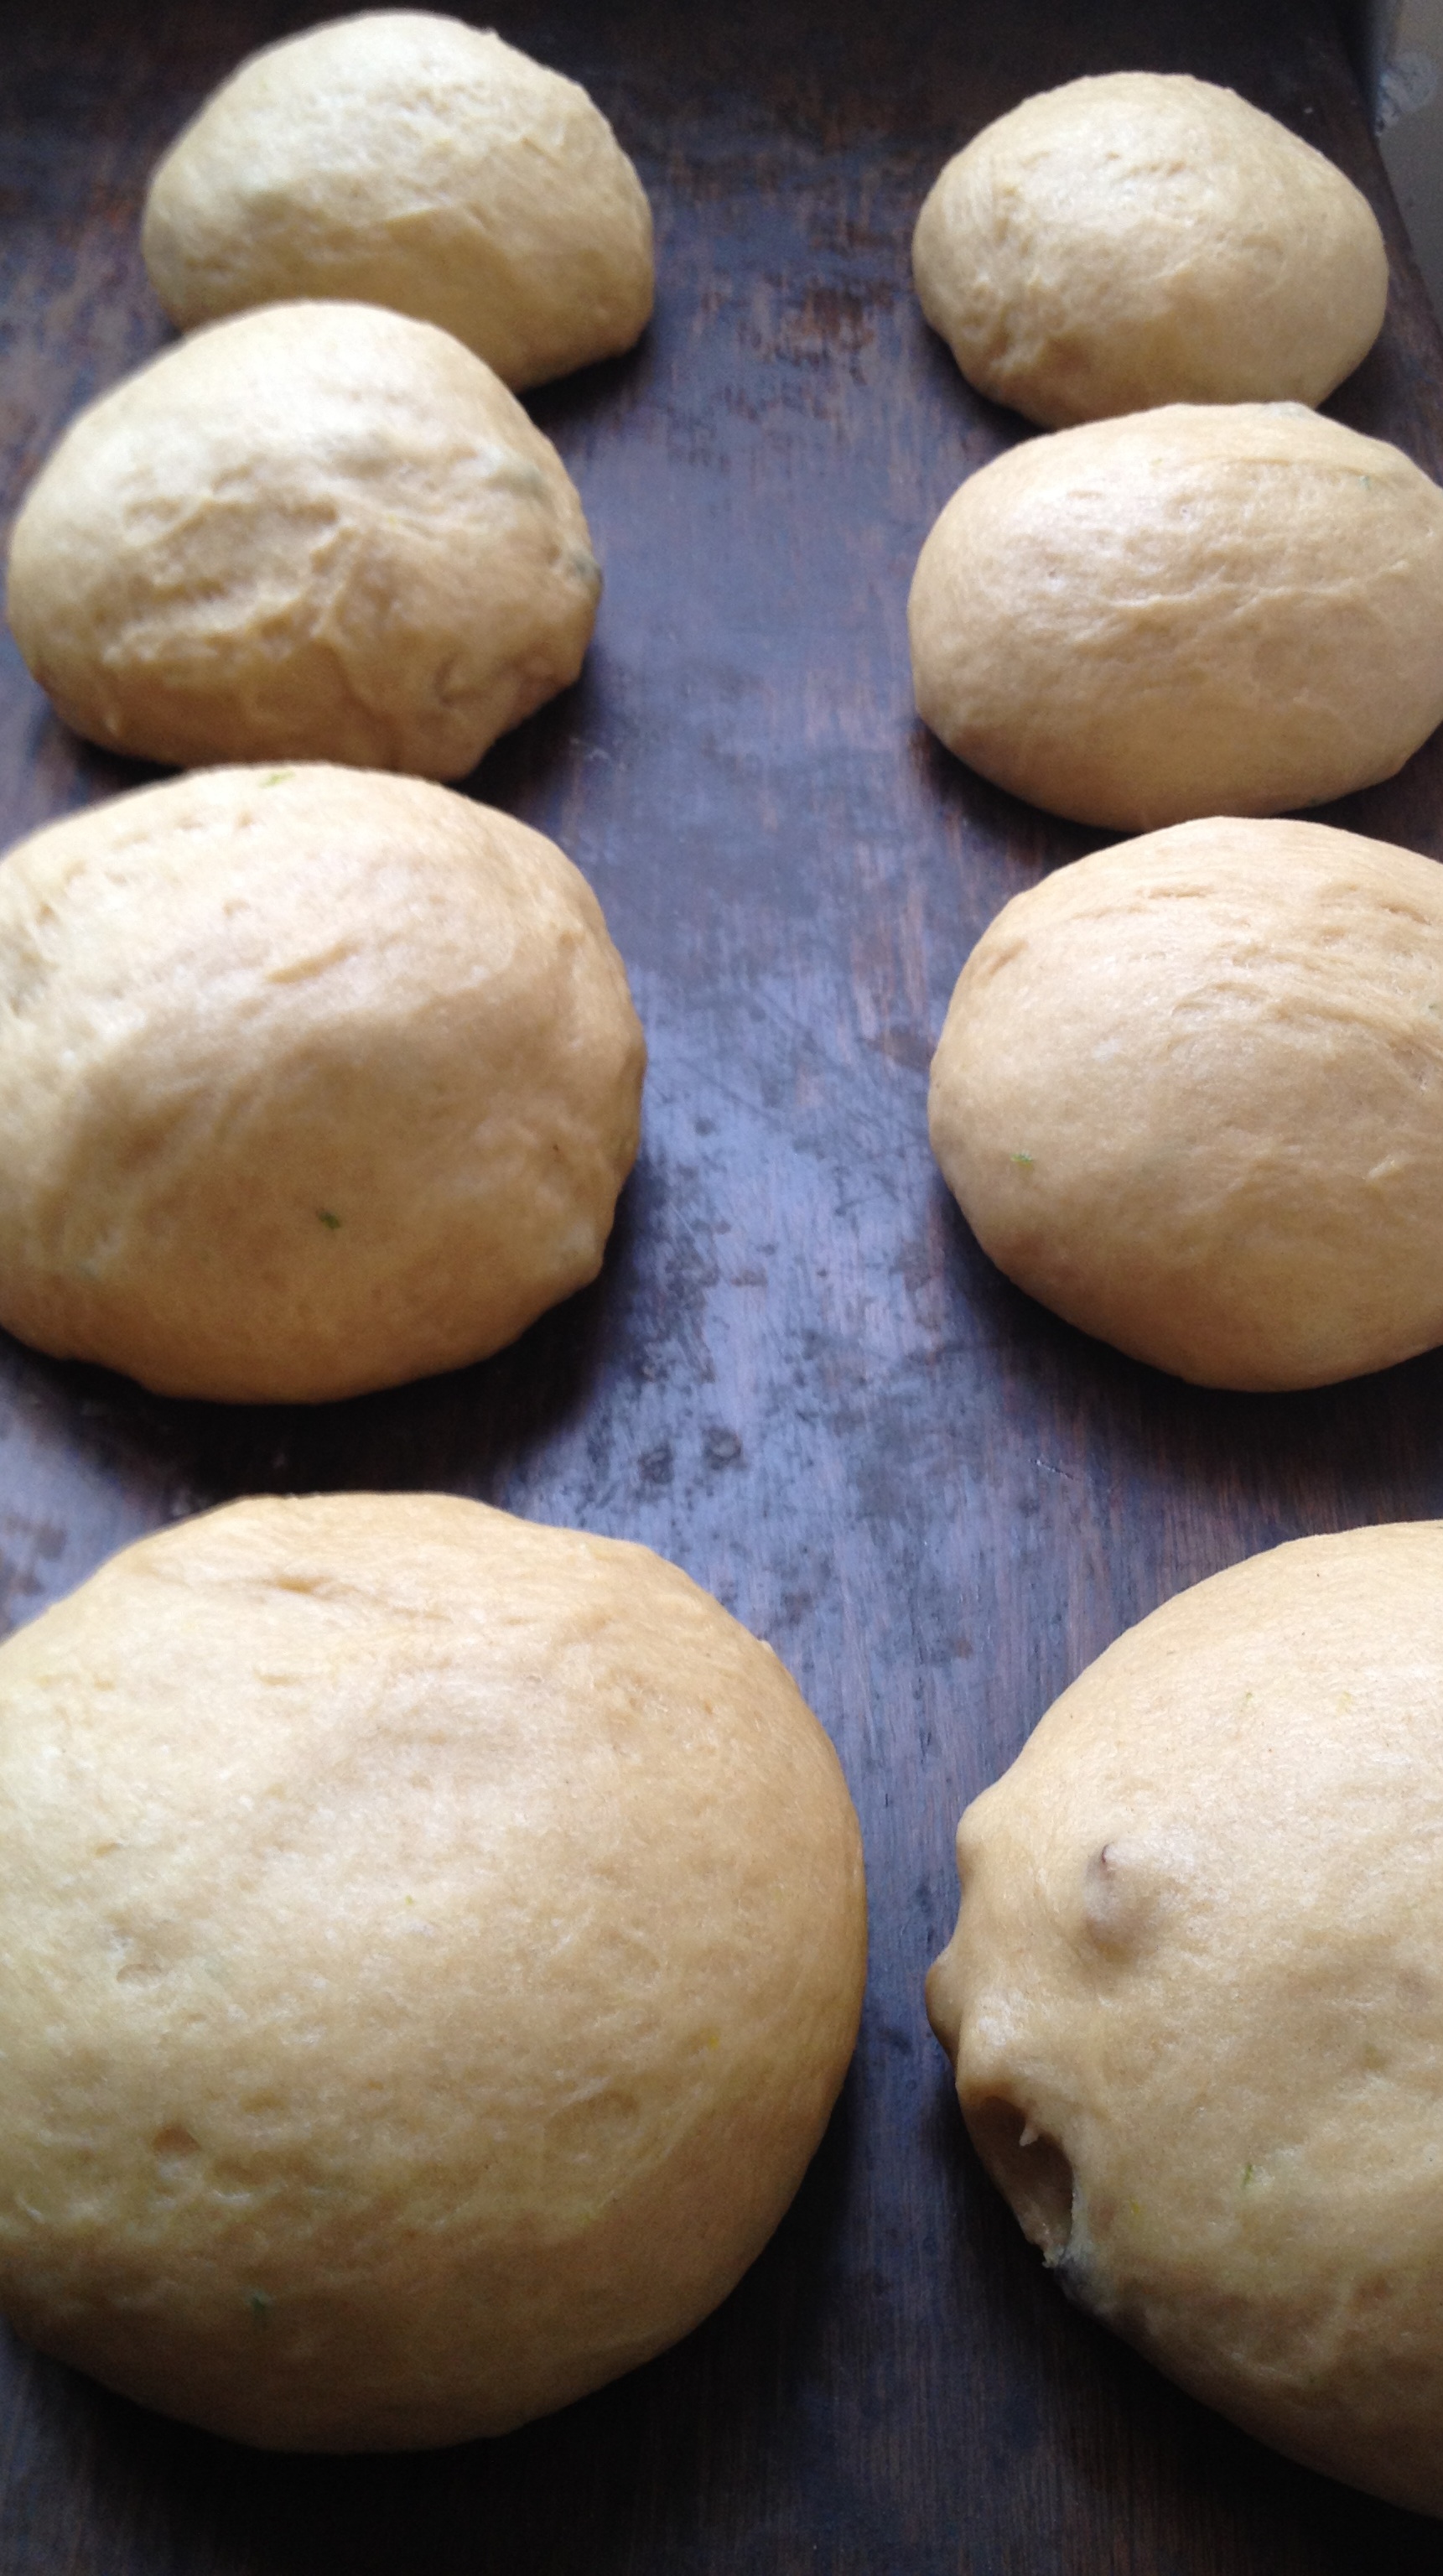
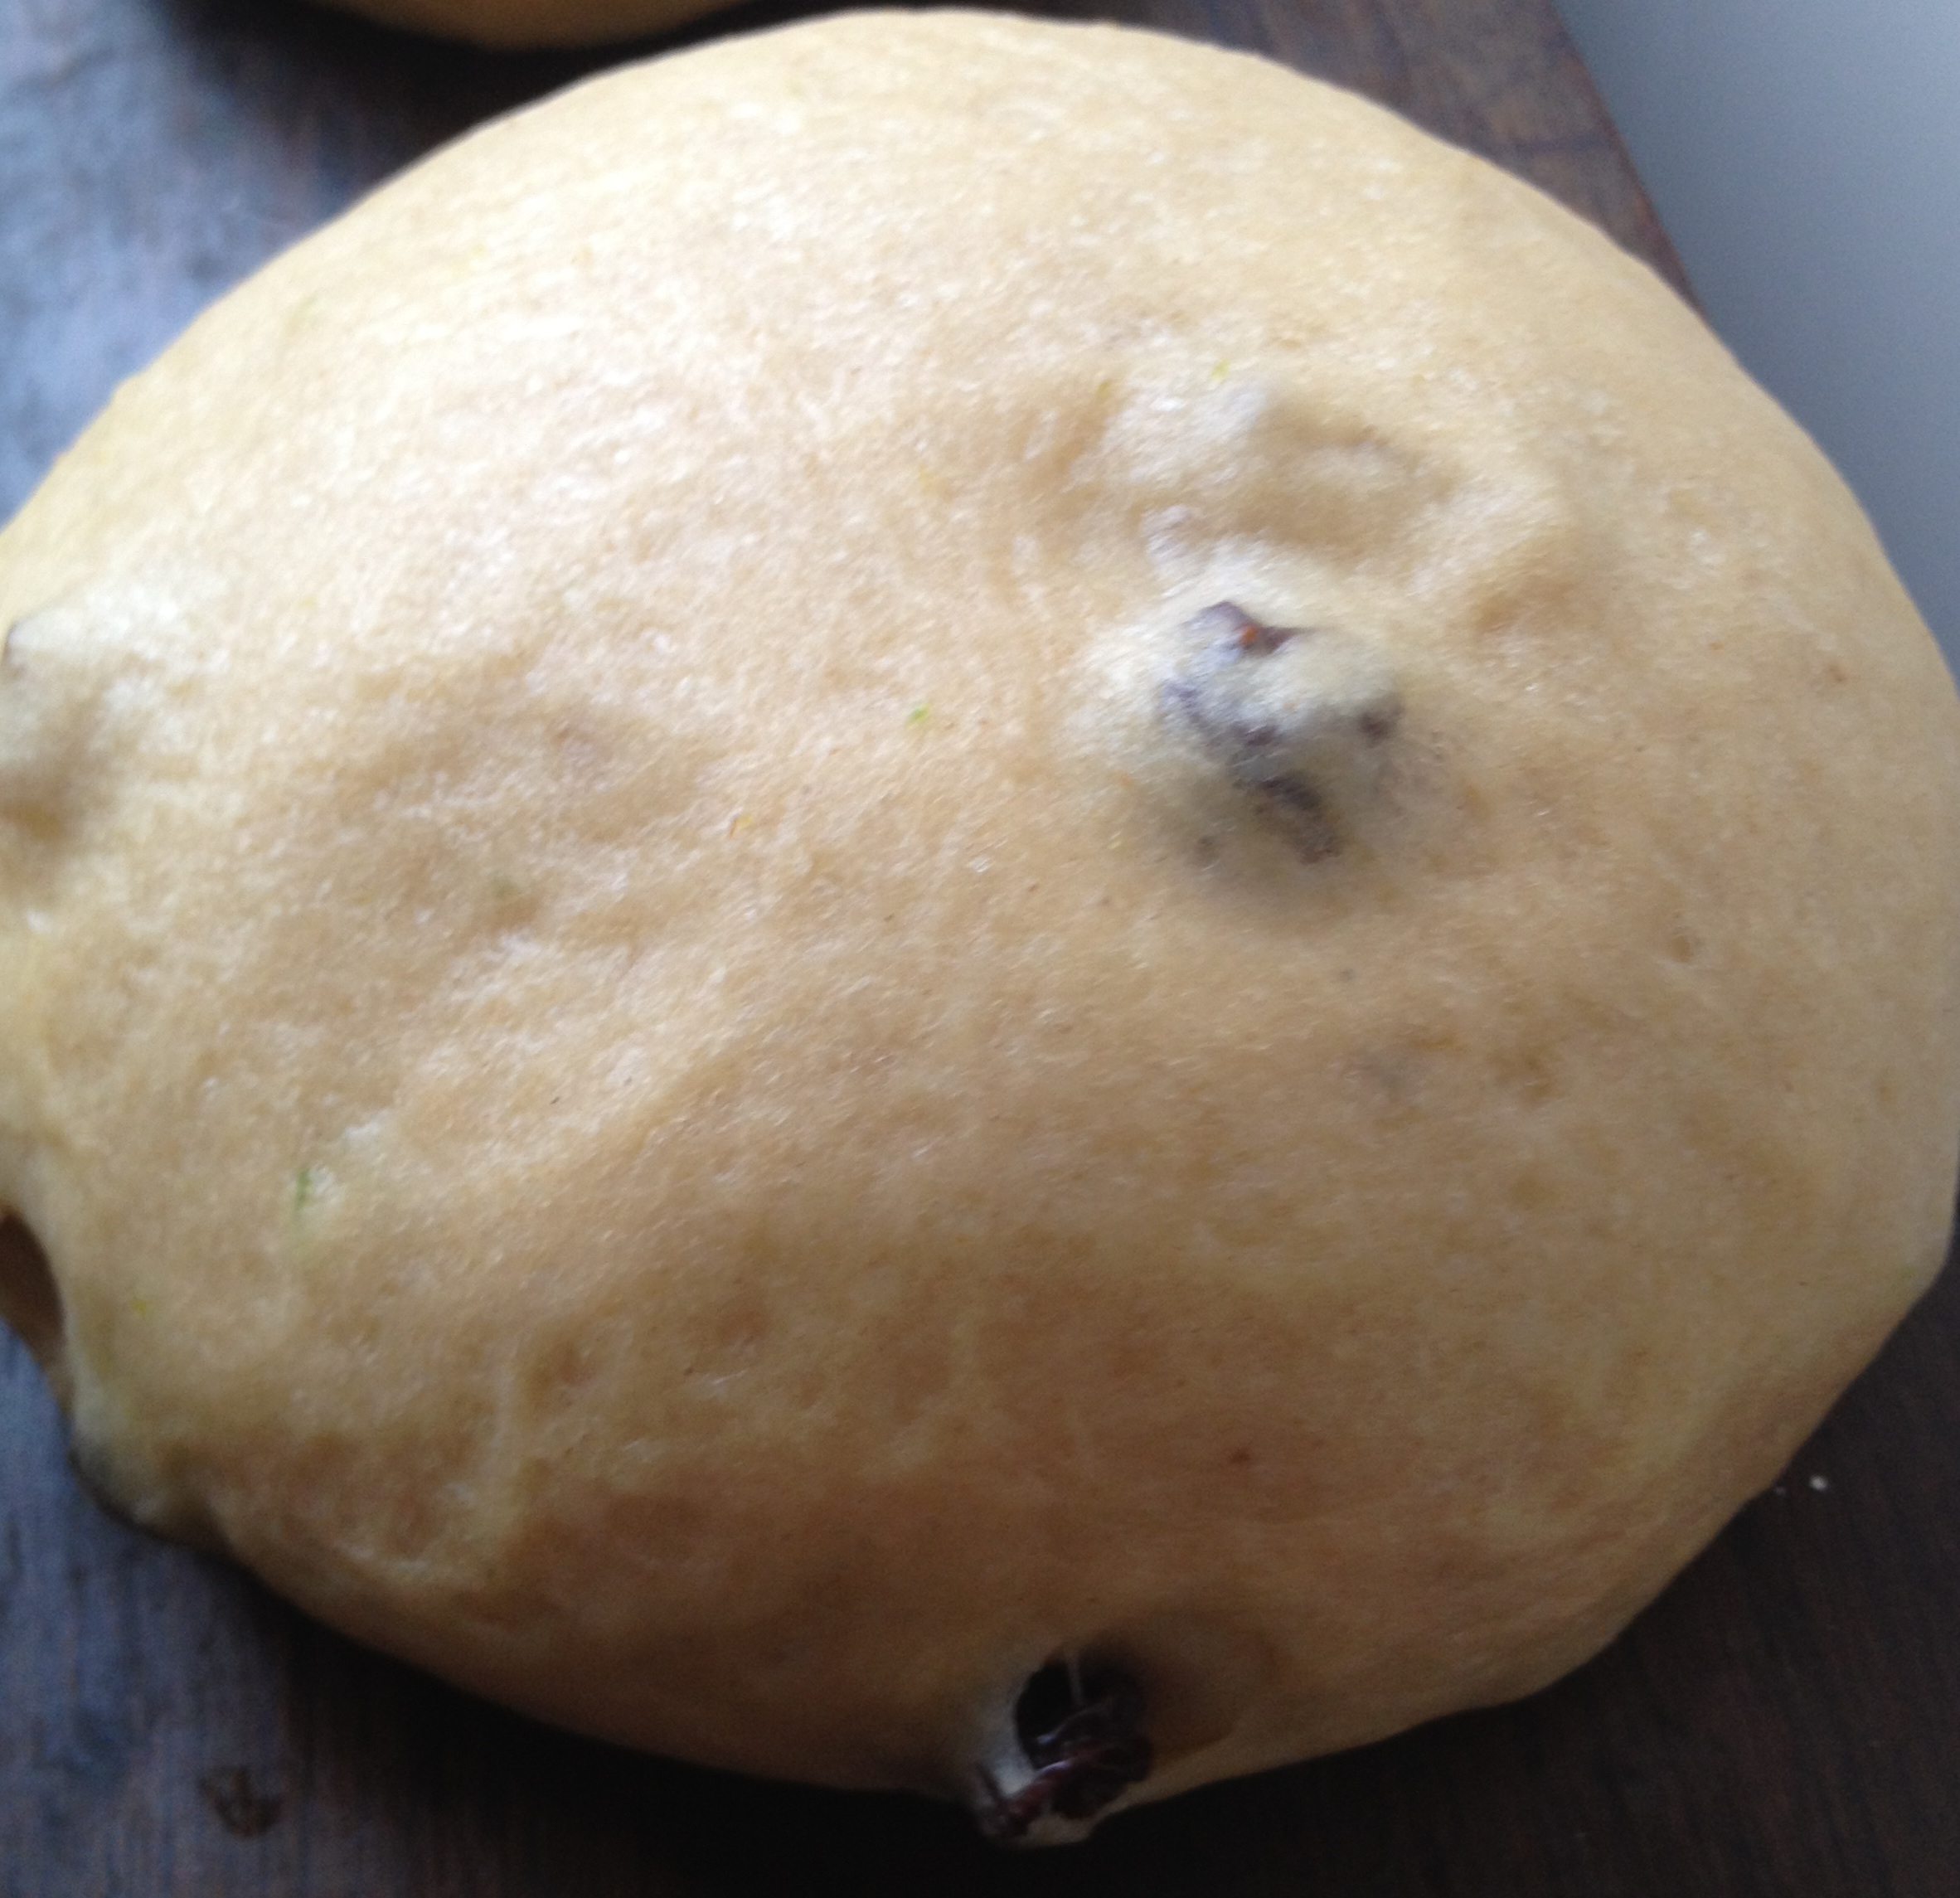
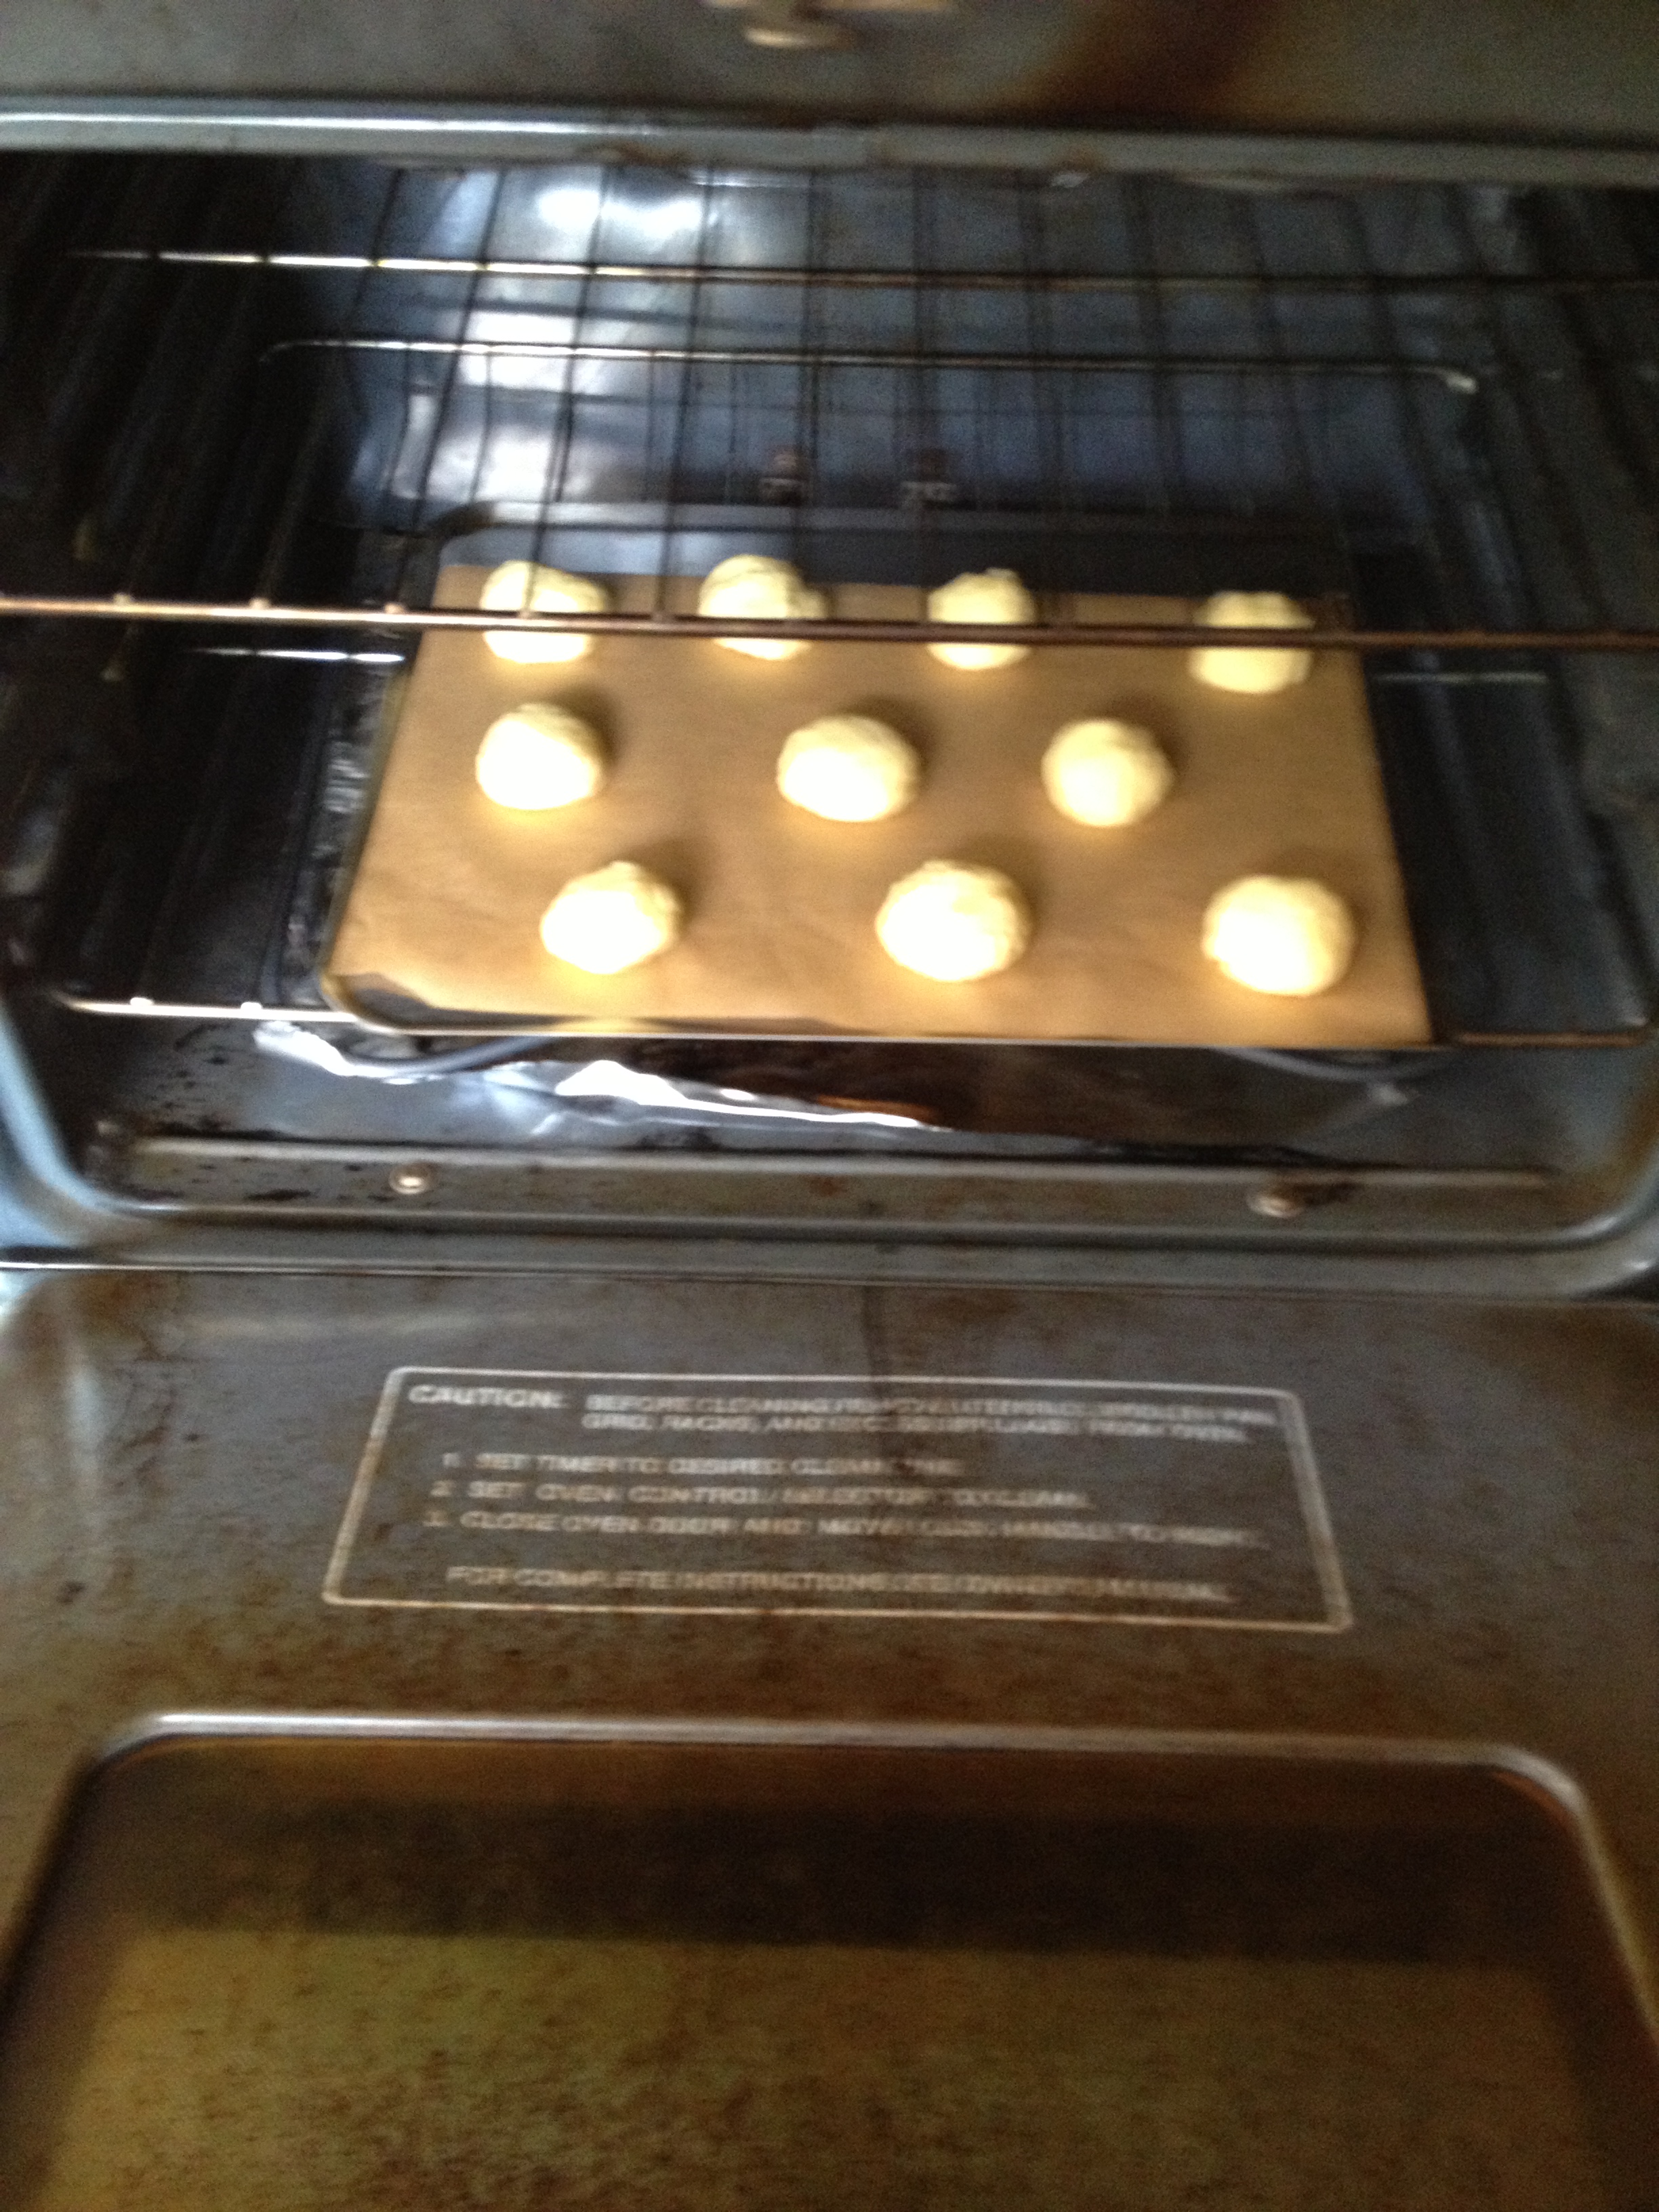
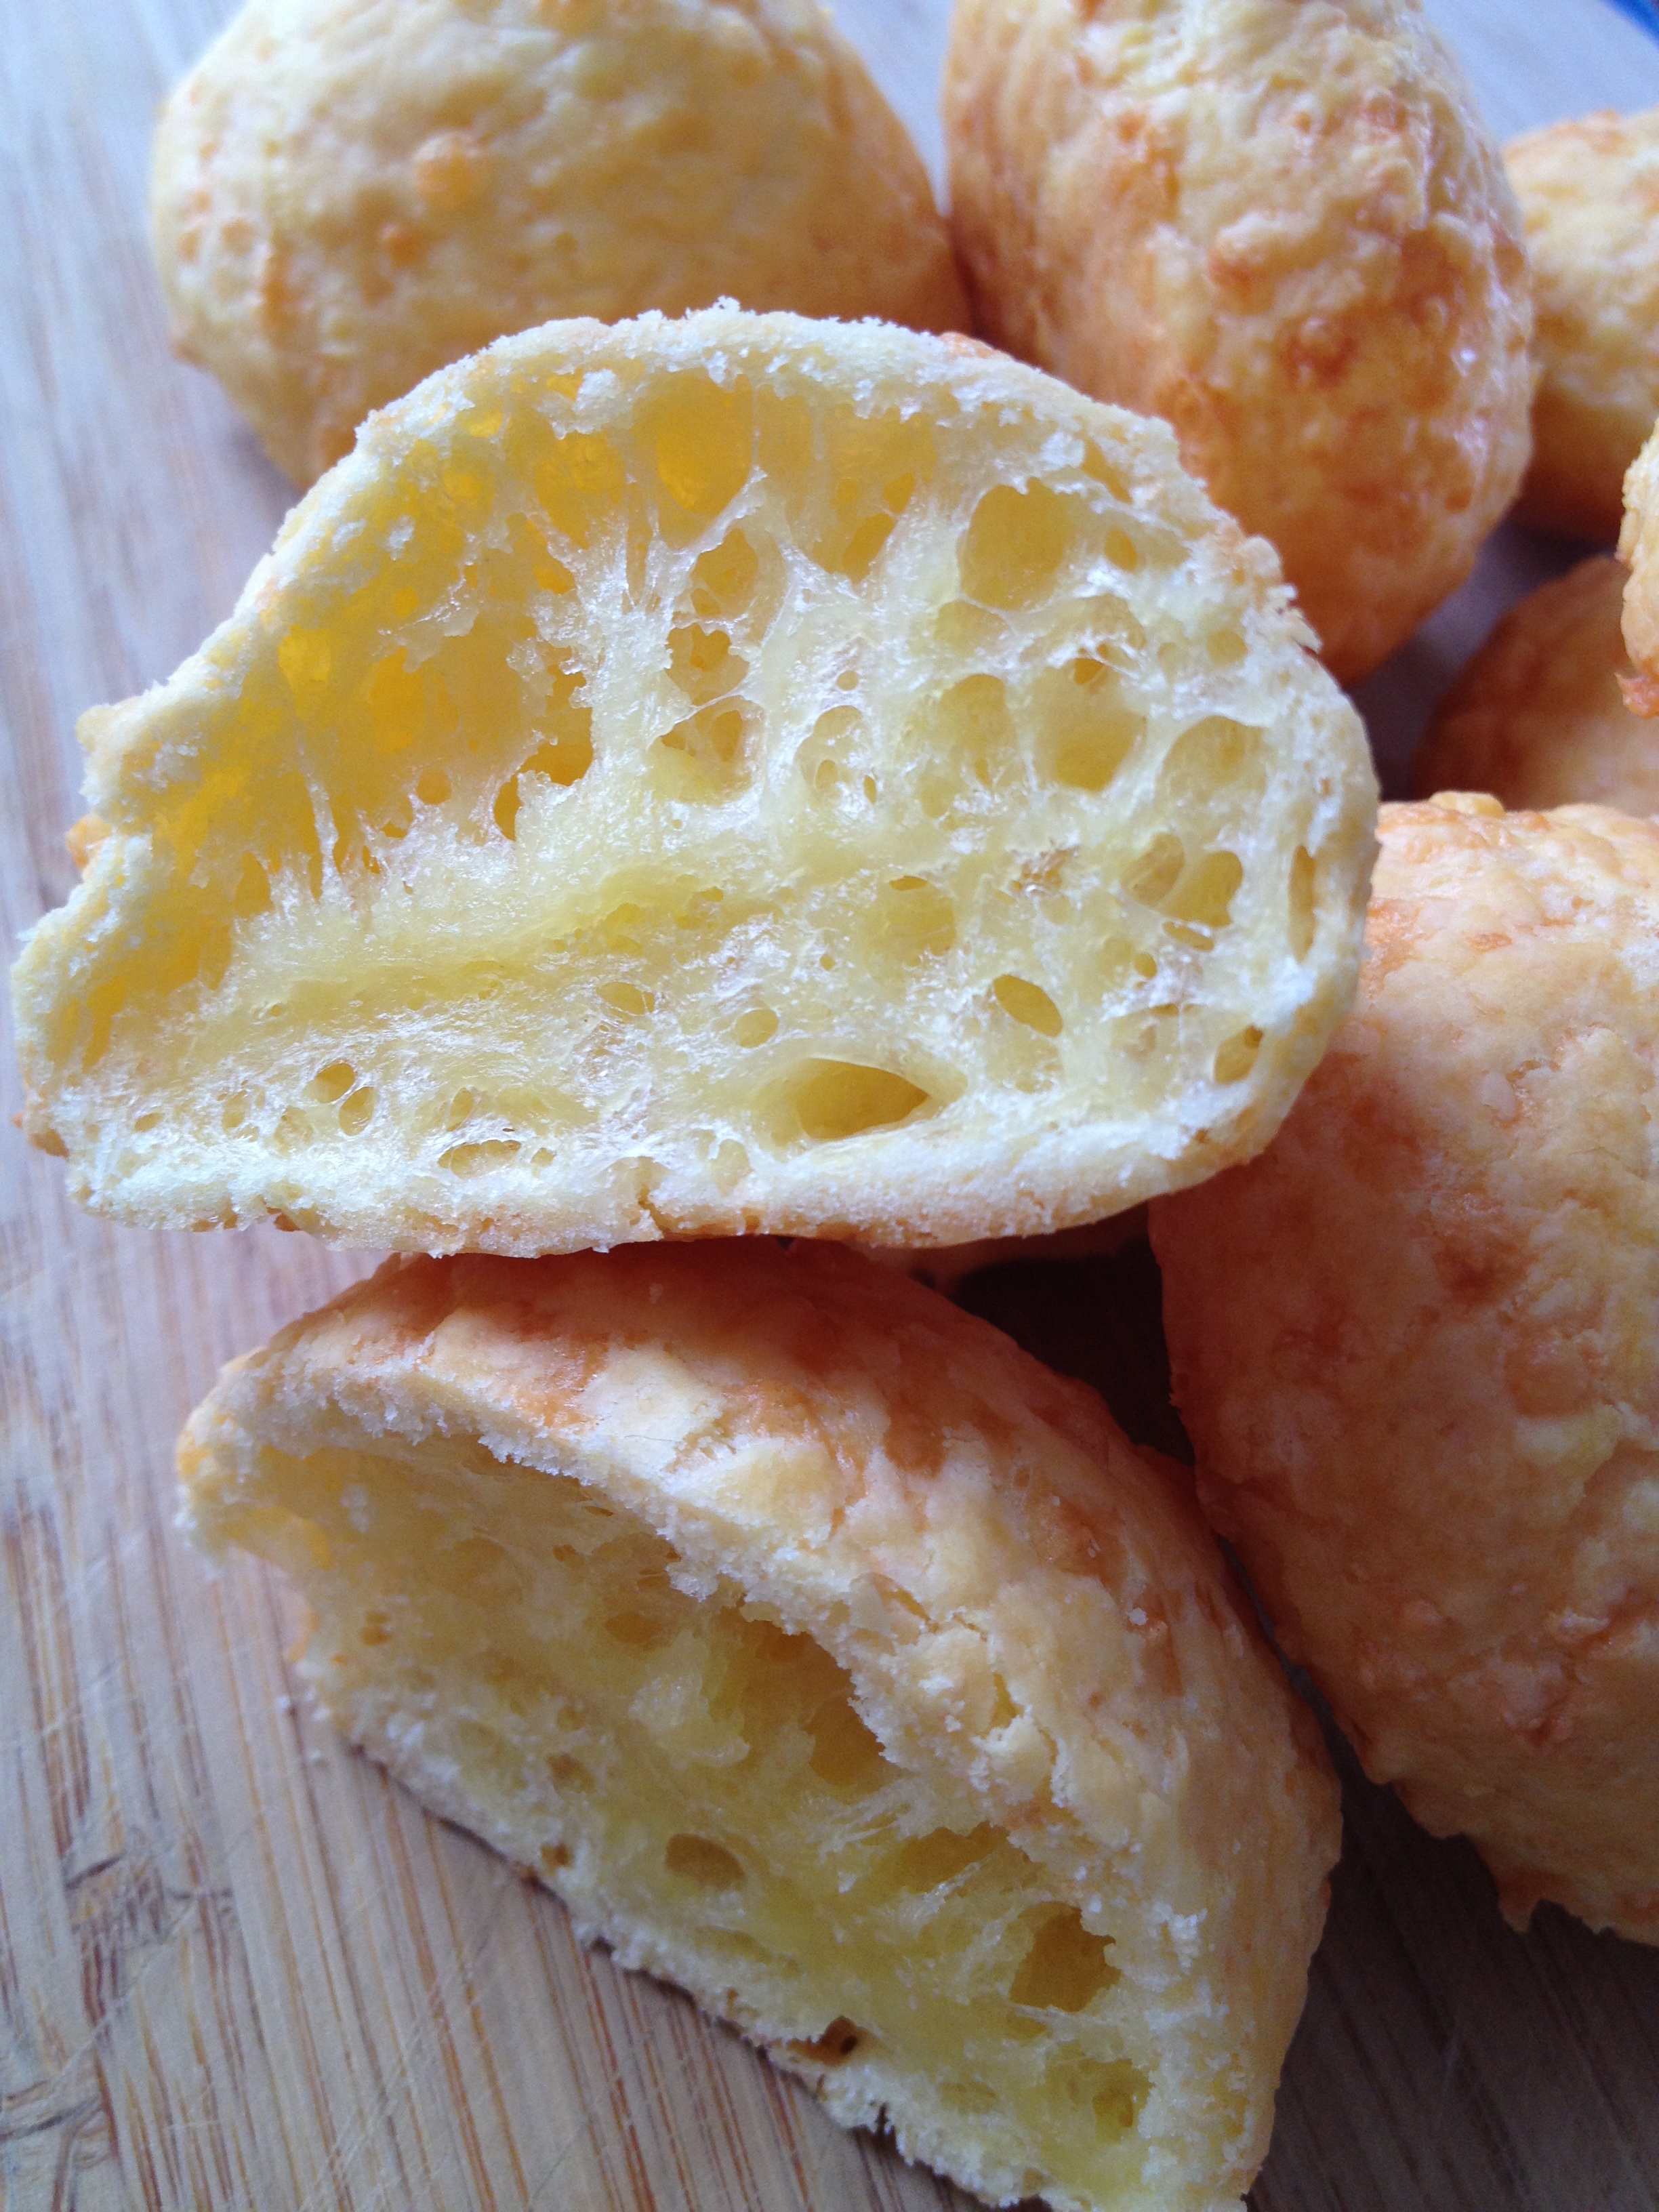
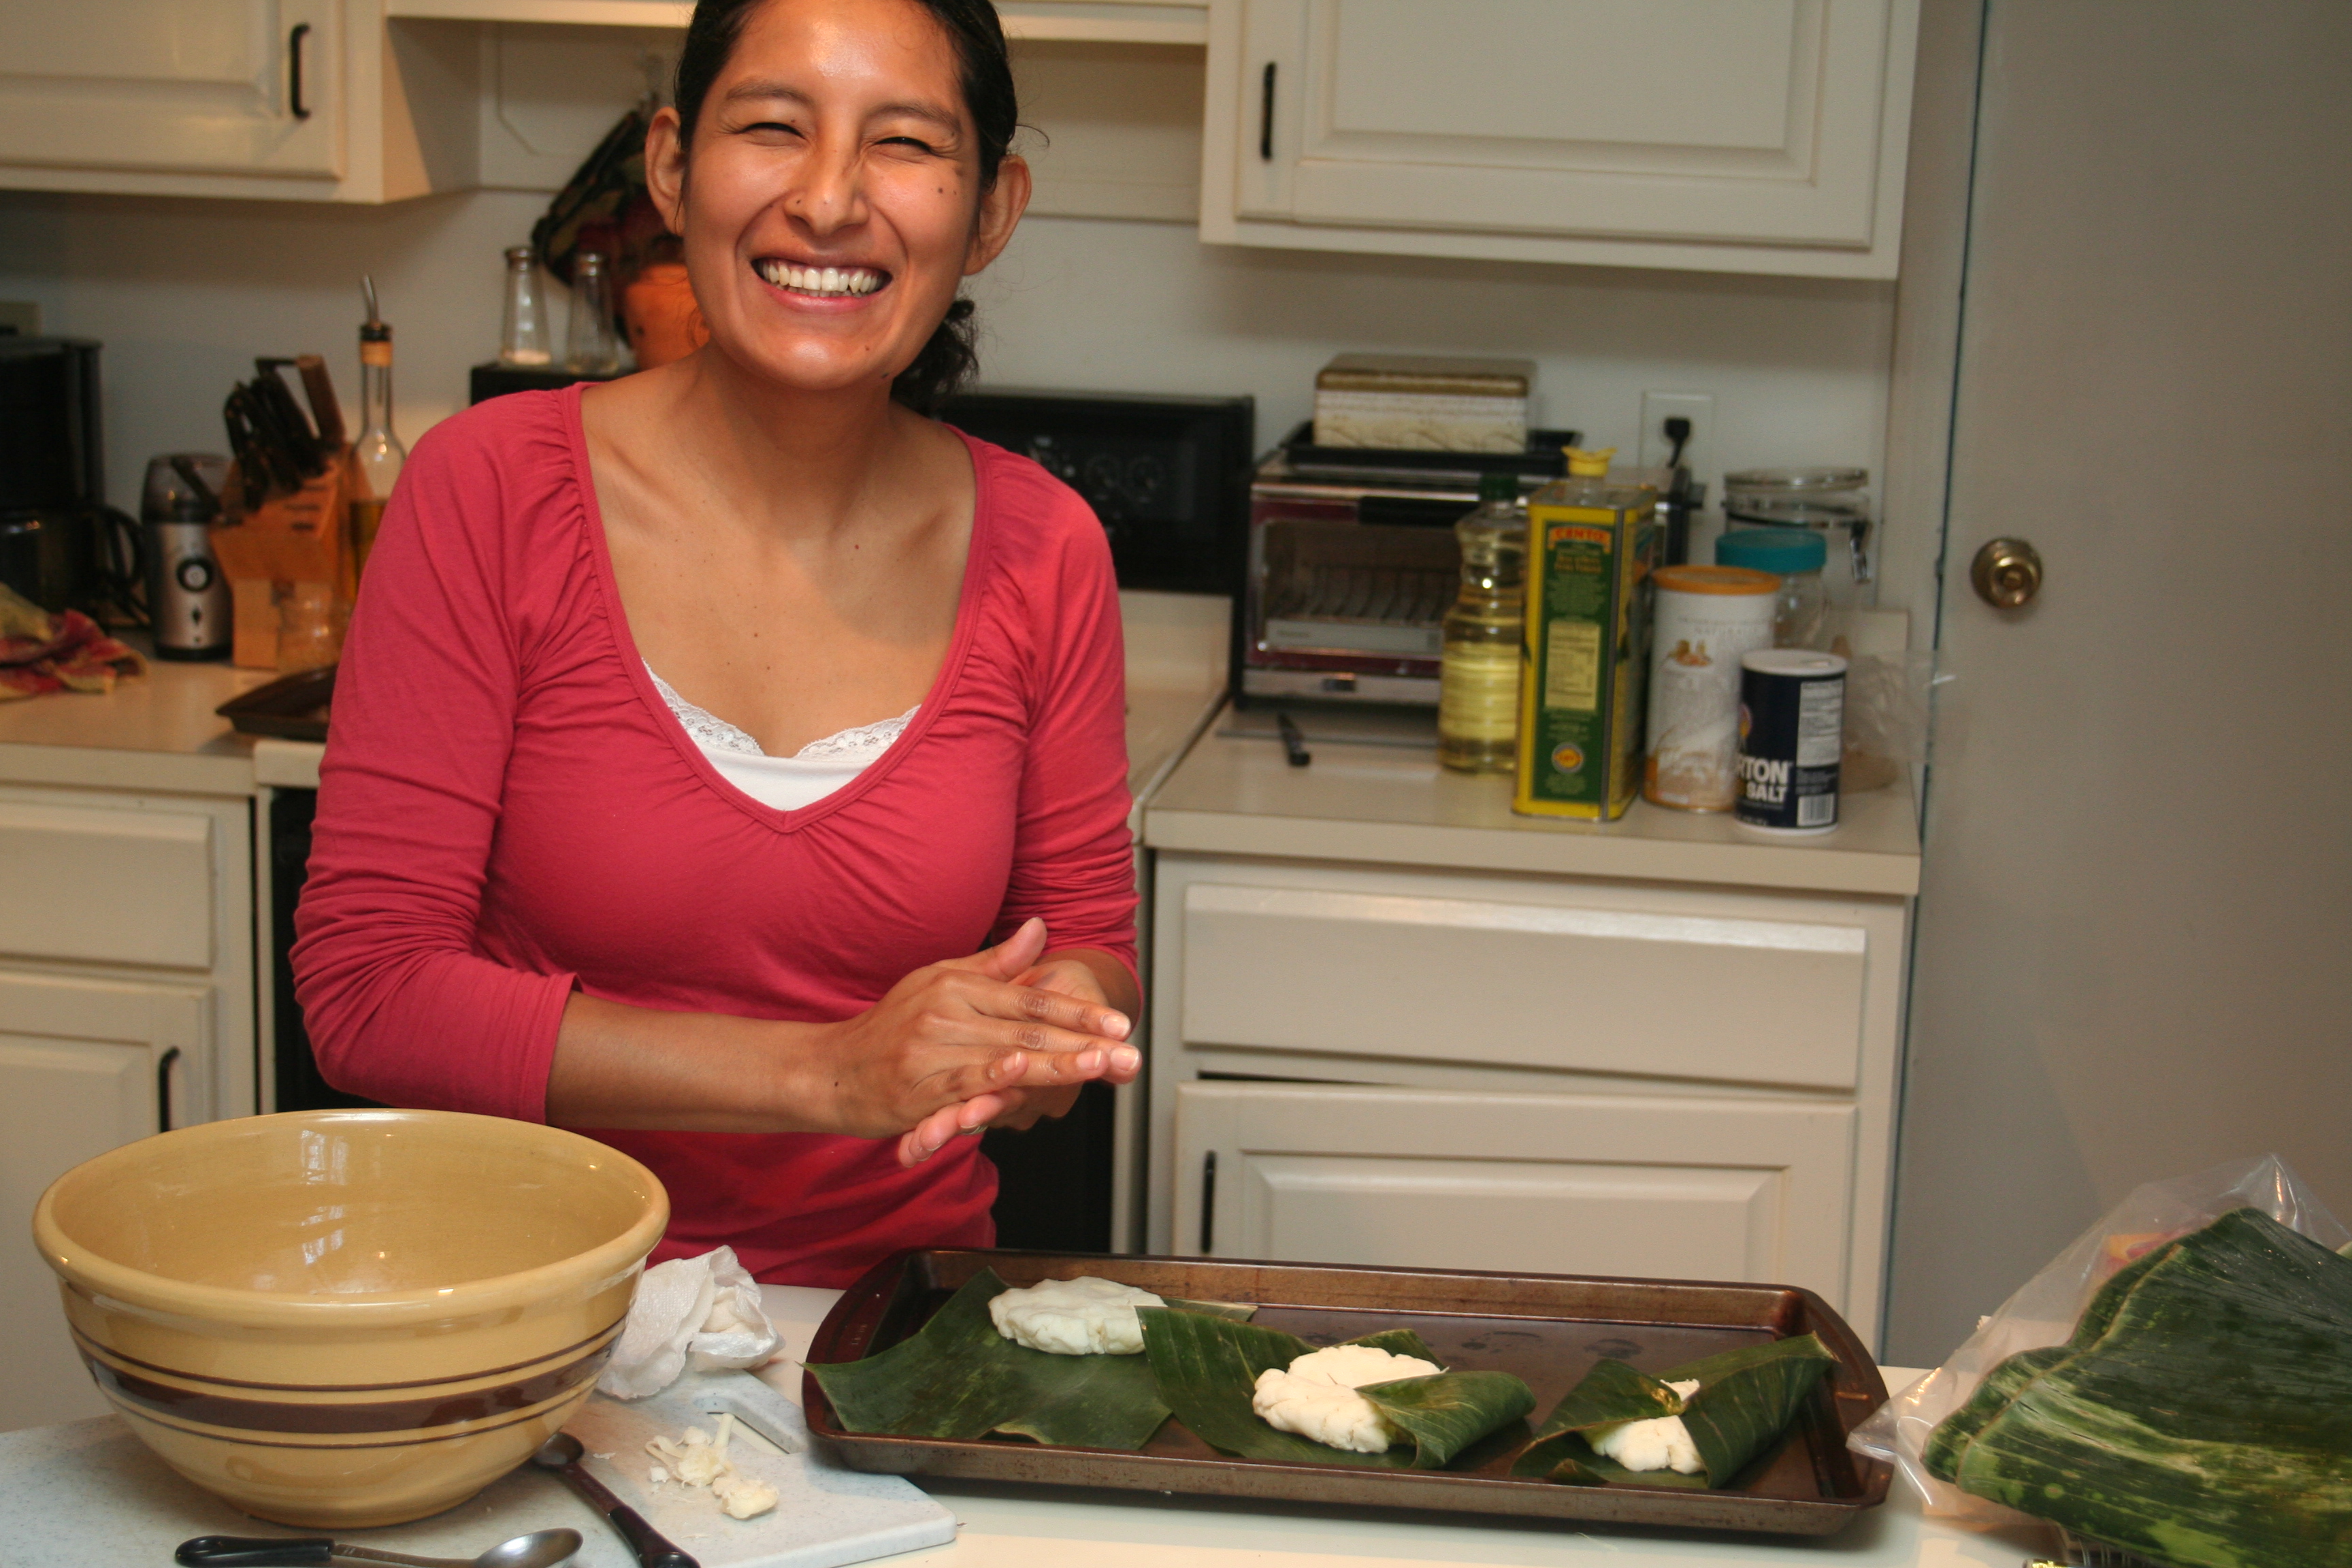
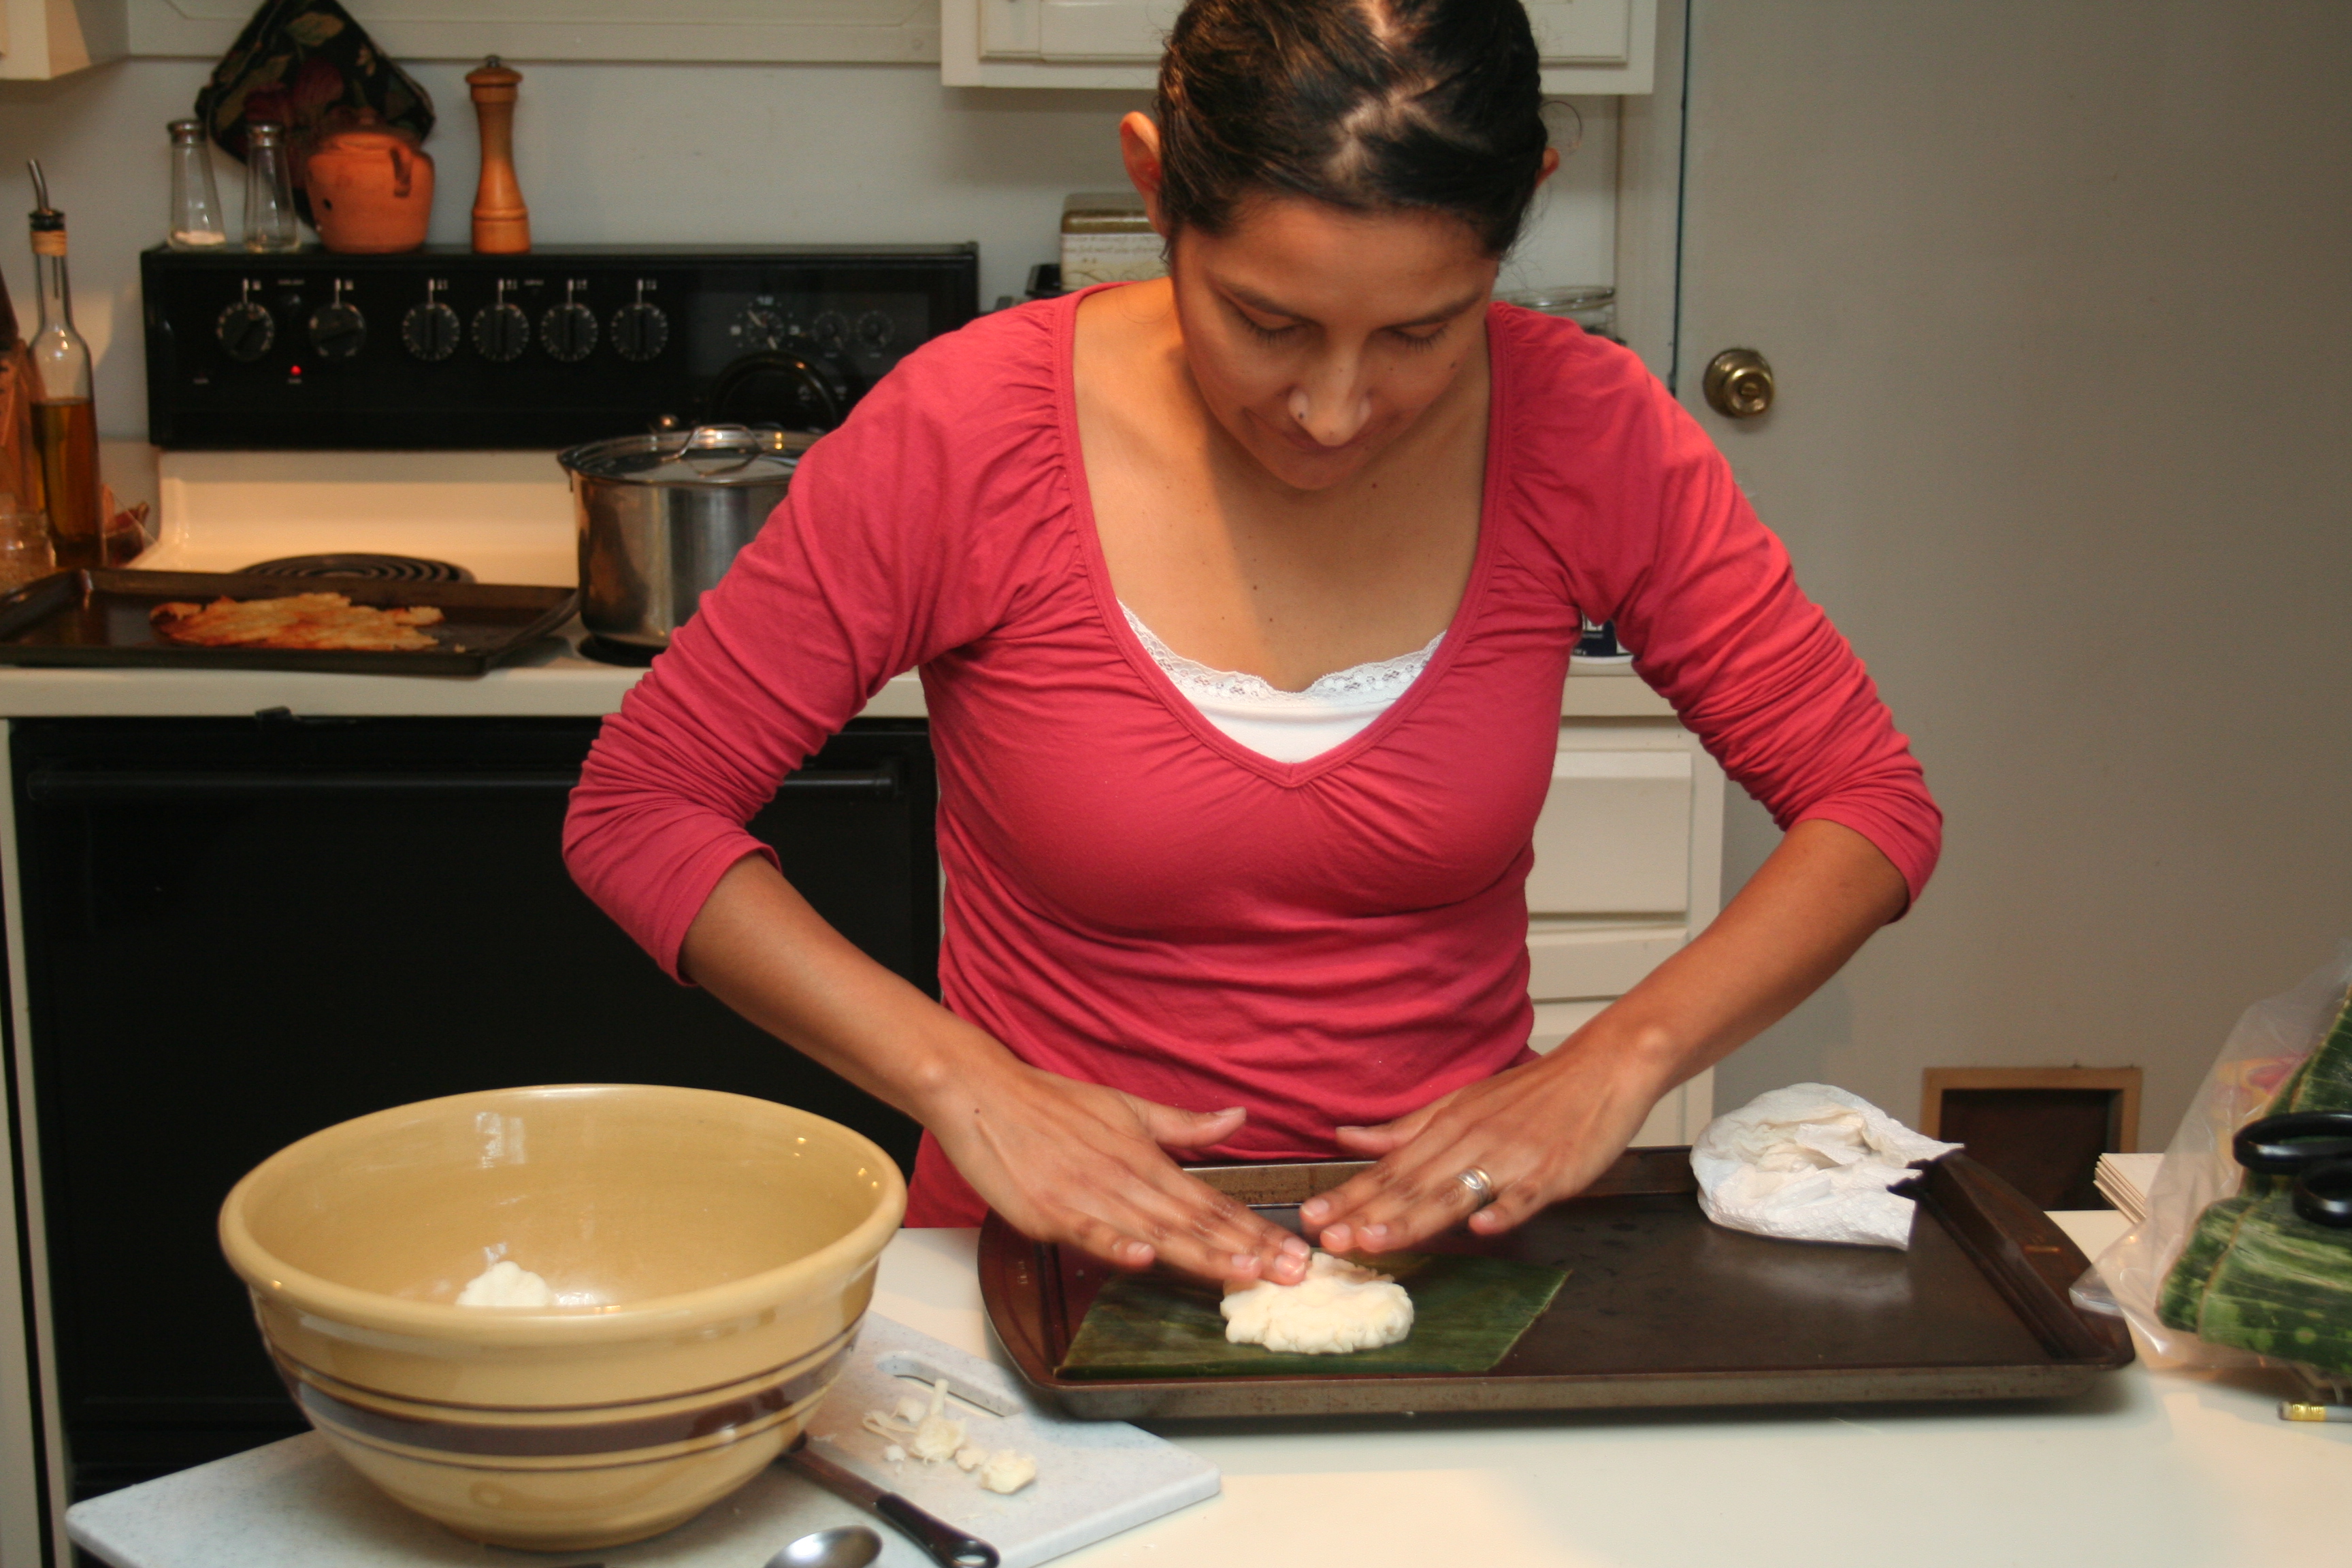
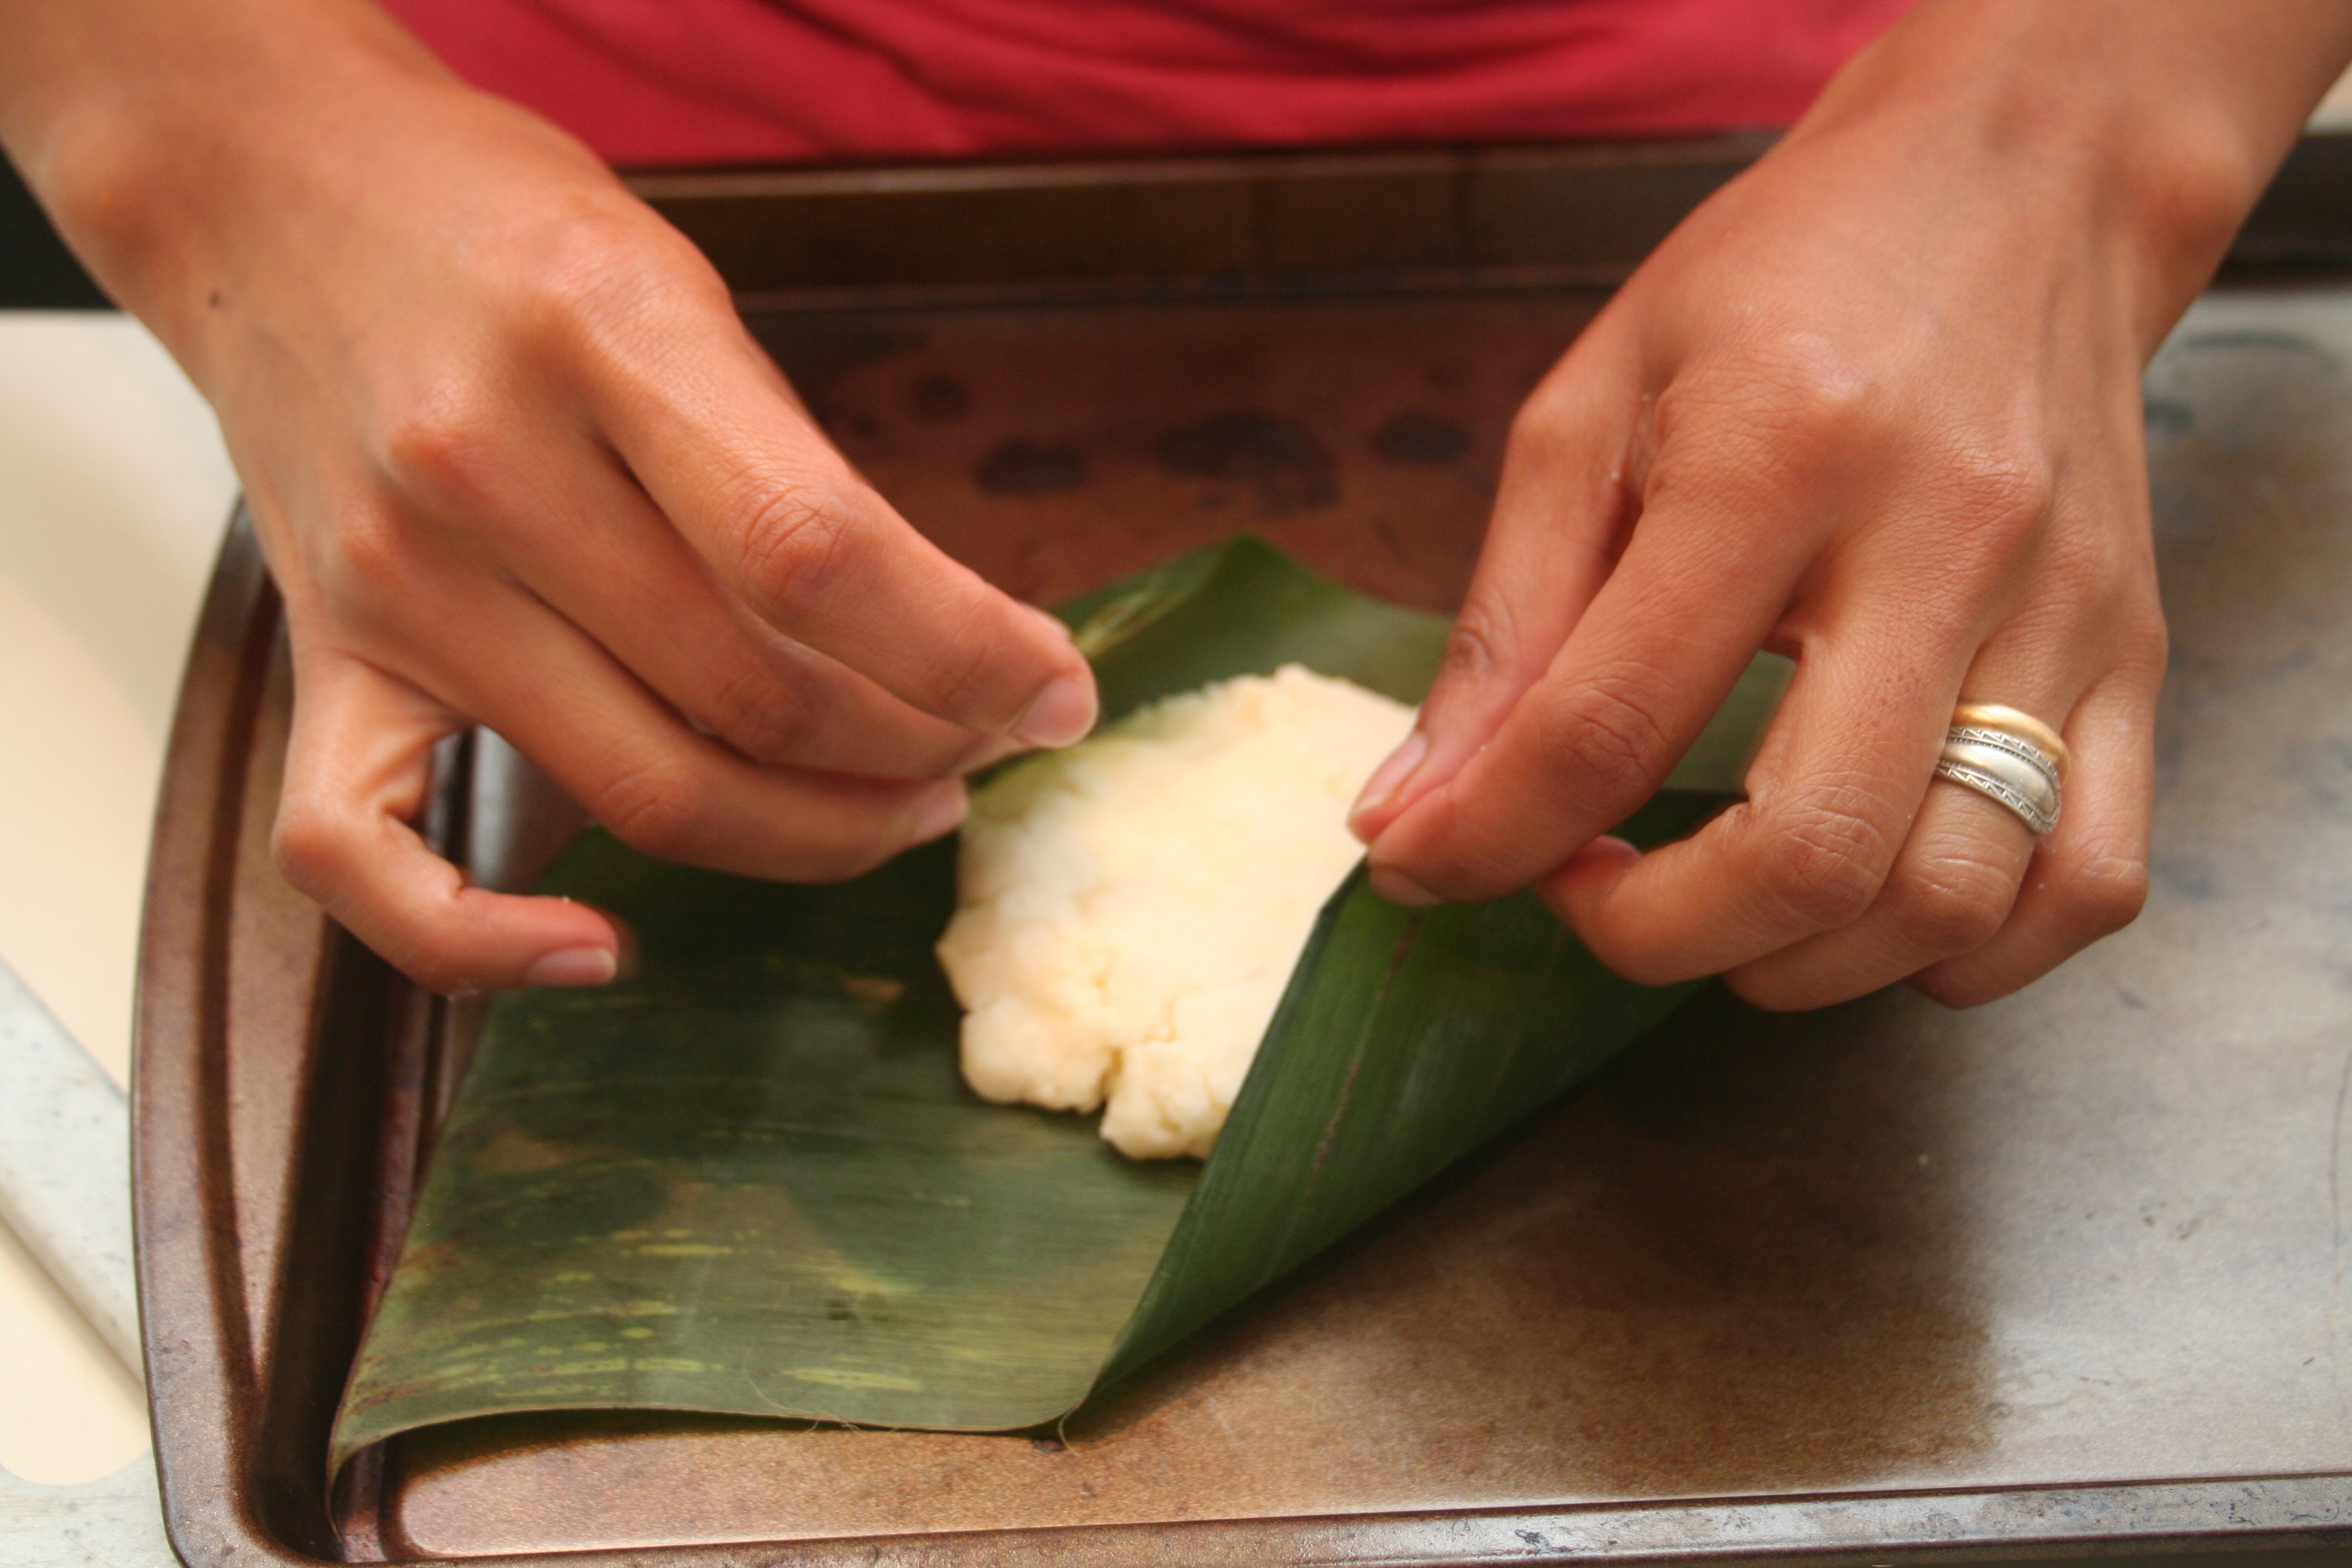
Depending of the size of the husk put 1 or 2 tbsp of the corn mix in the husk add the cheese and cover it with another tbsp of the corn mix.
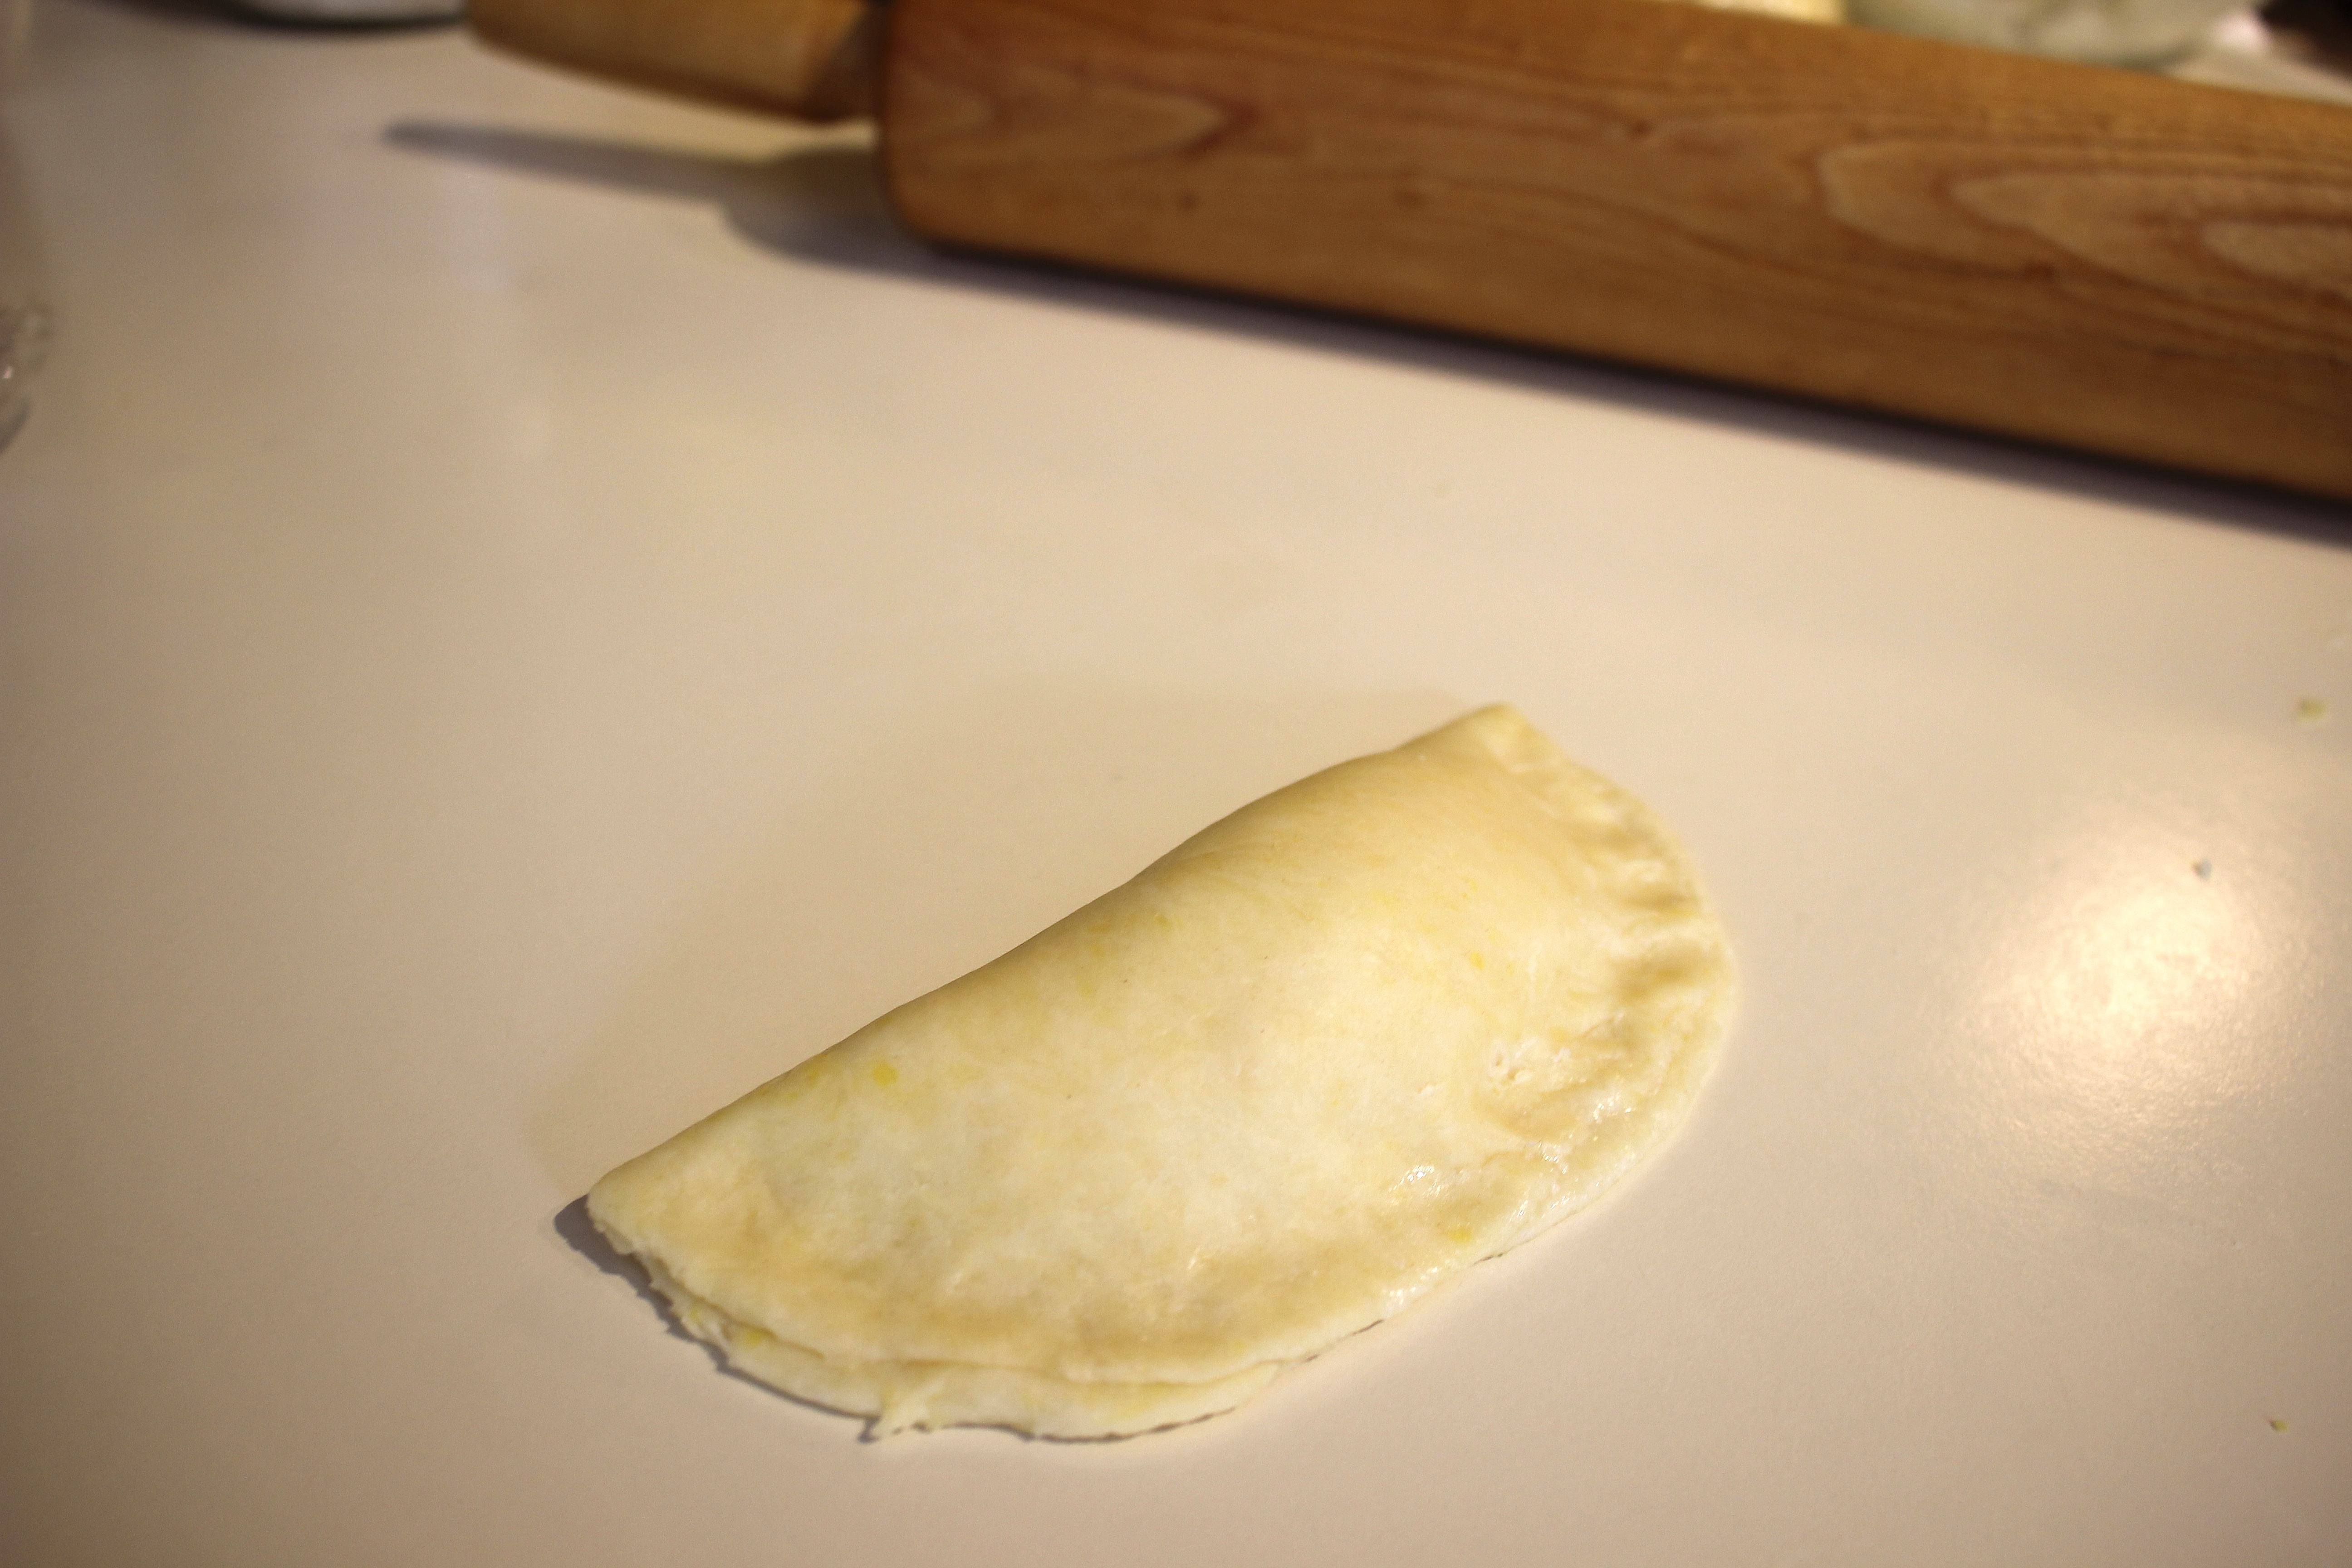
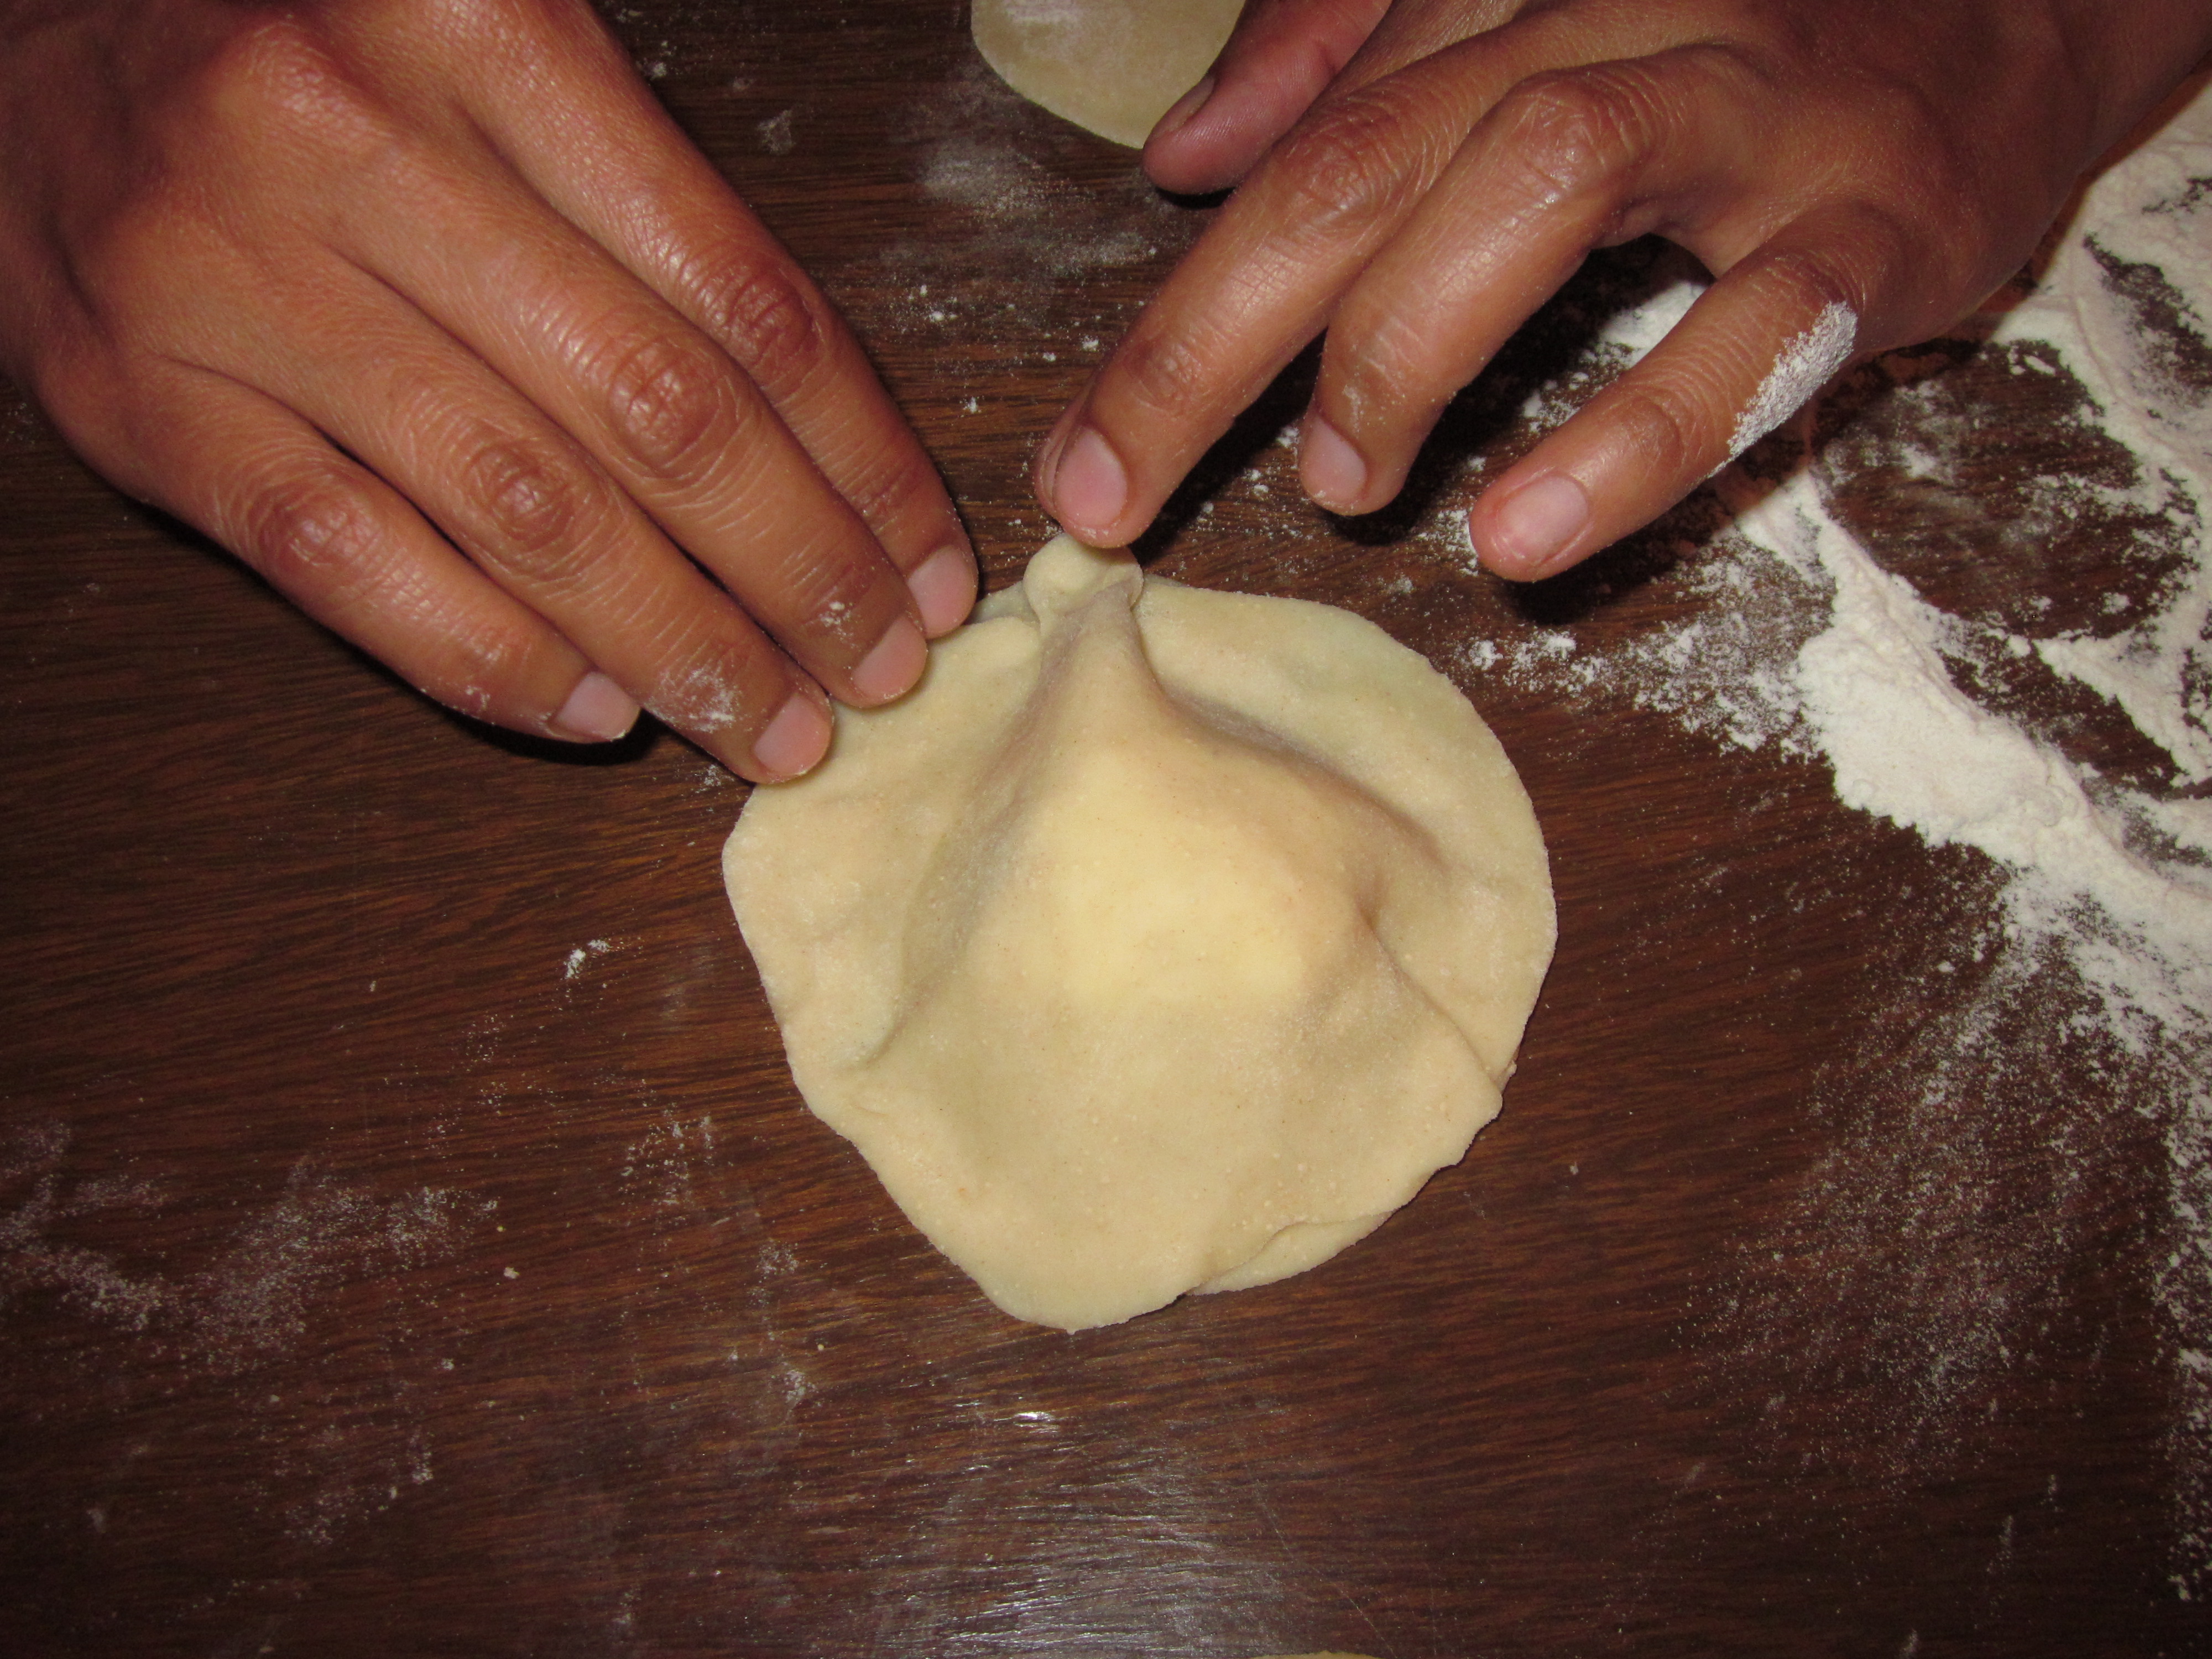
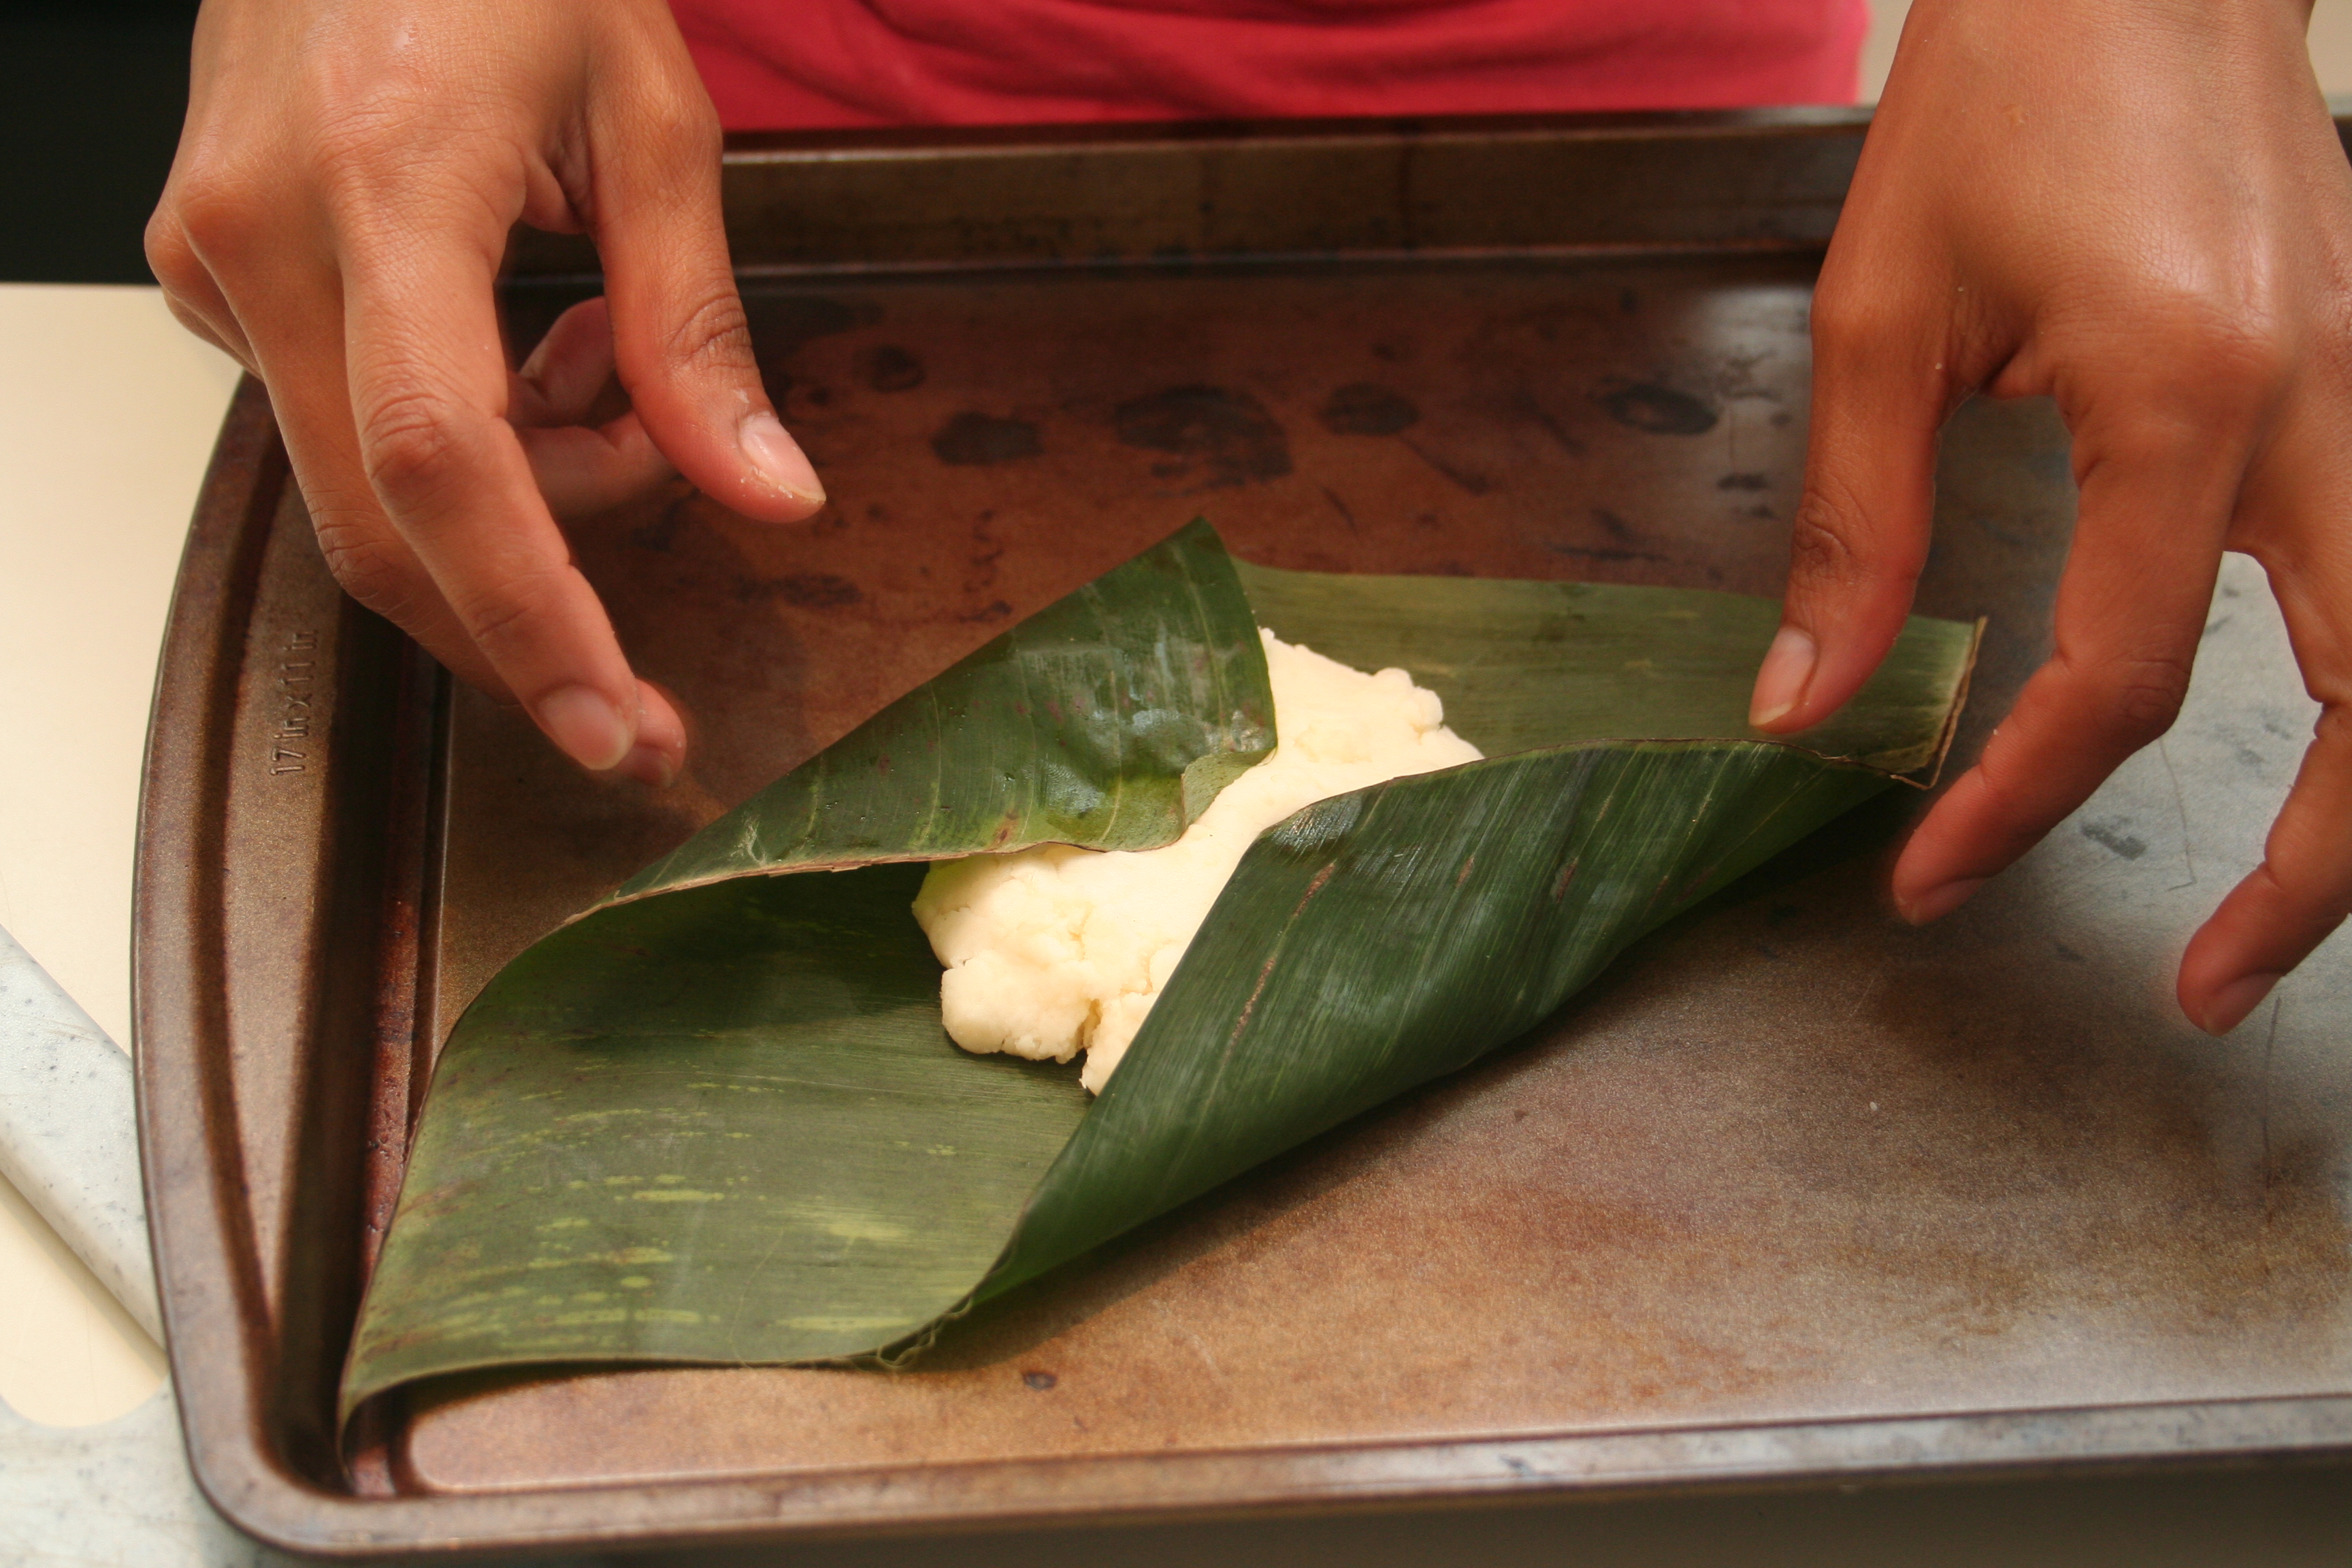
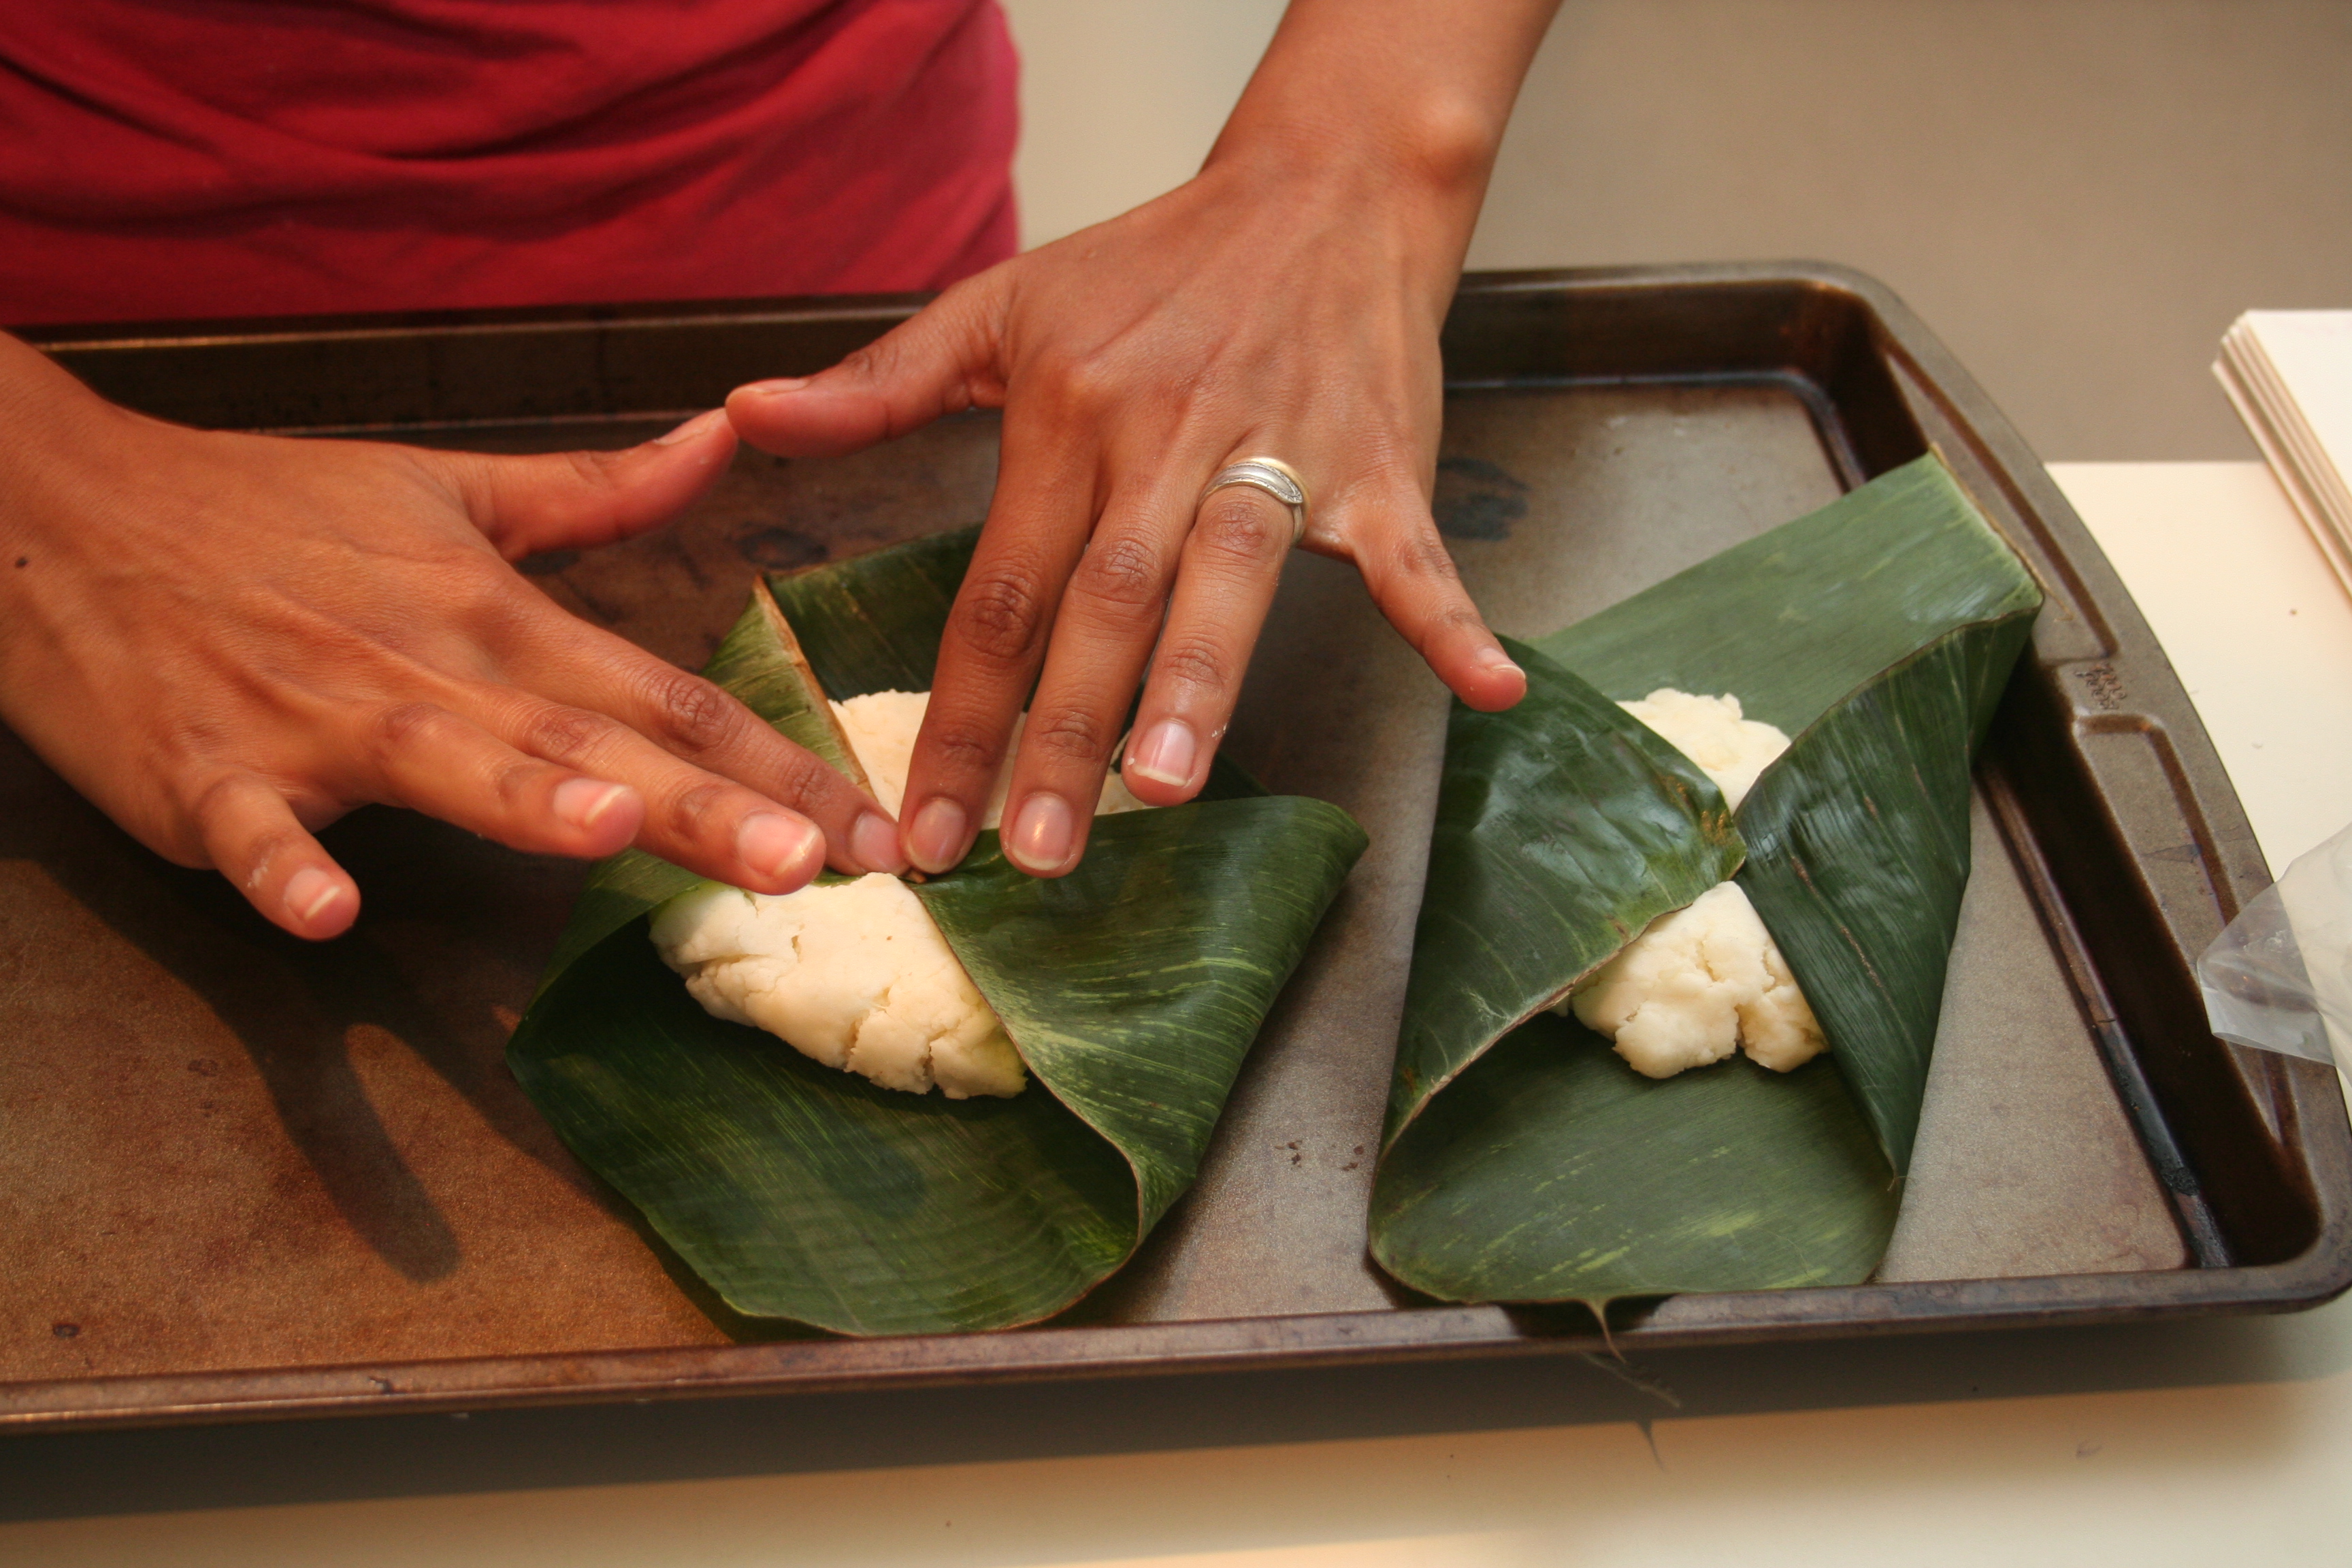
Fold the bottom and then the top


Then rooled the sizes and tied with the husk string.

In a large pot use the to put in the bottom of the pot and put the humintas with the middle opening up


Put enough water to cover half way trough the huminta. Do not cover the huminta completely with water.

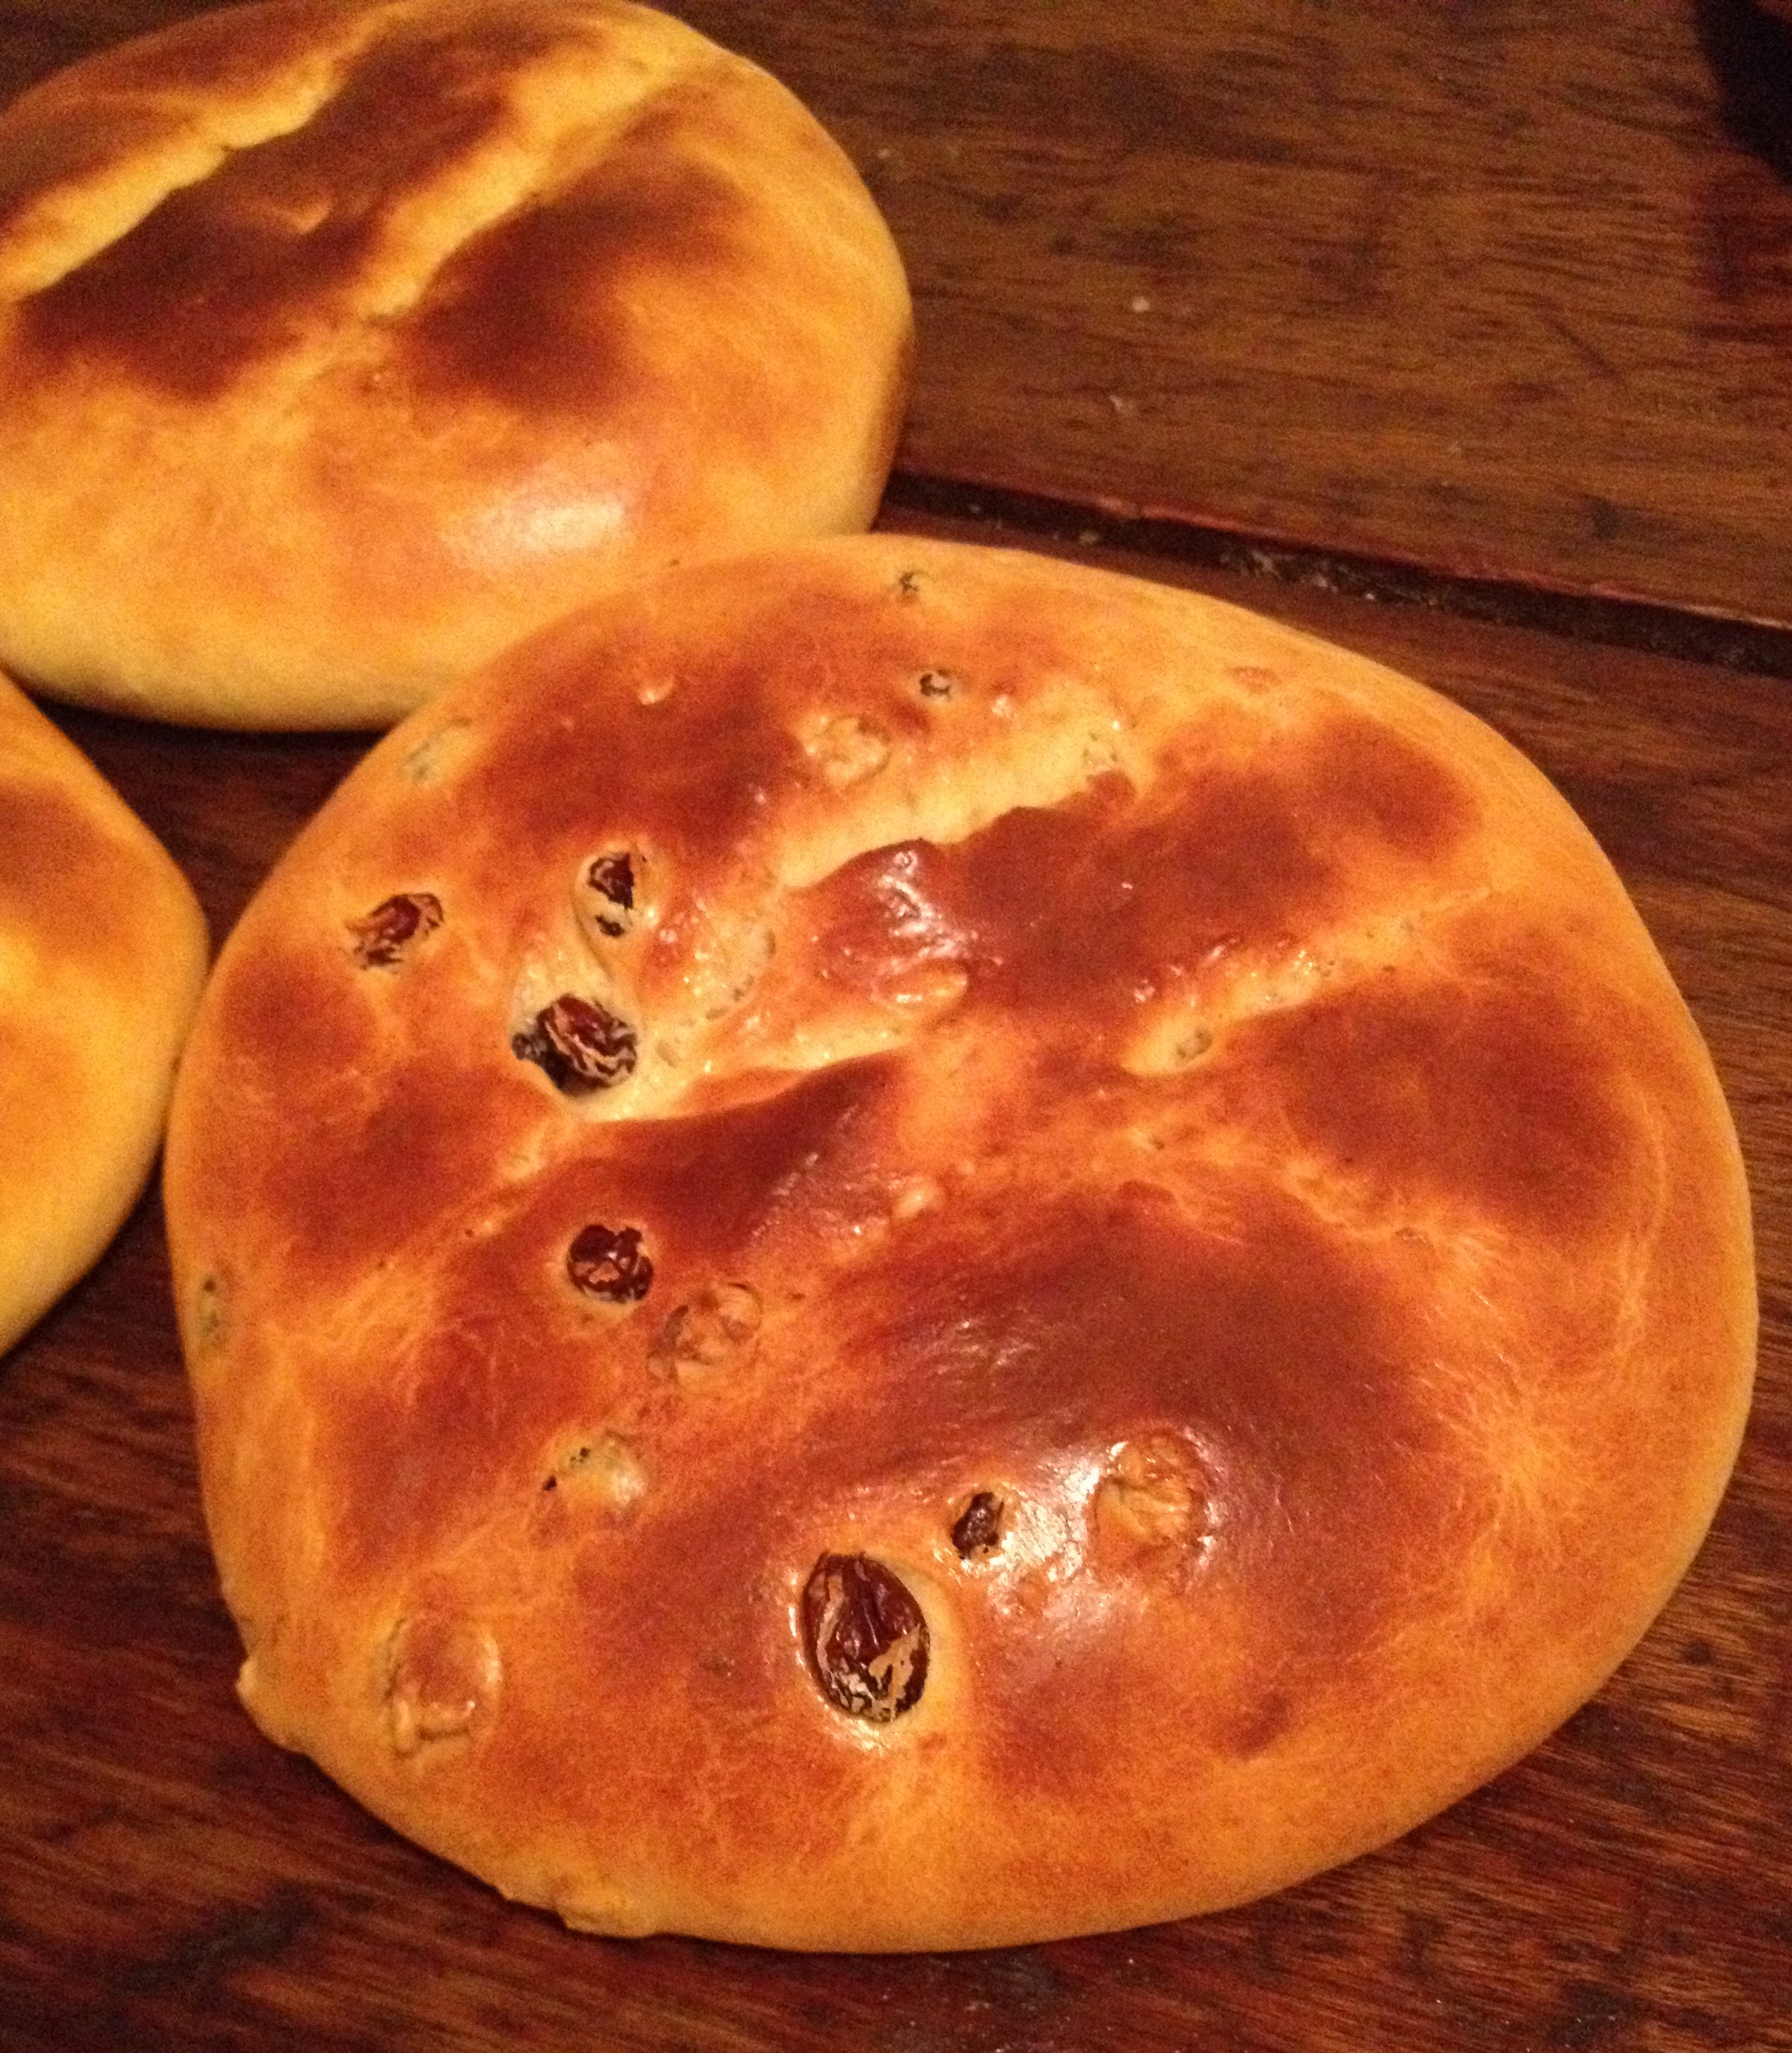
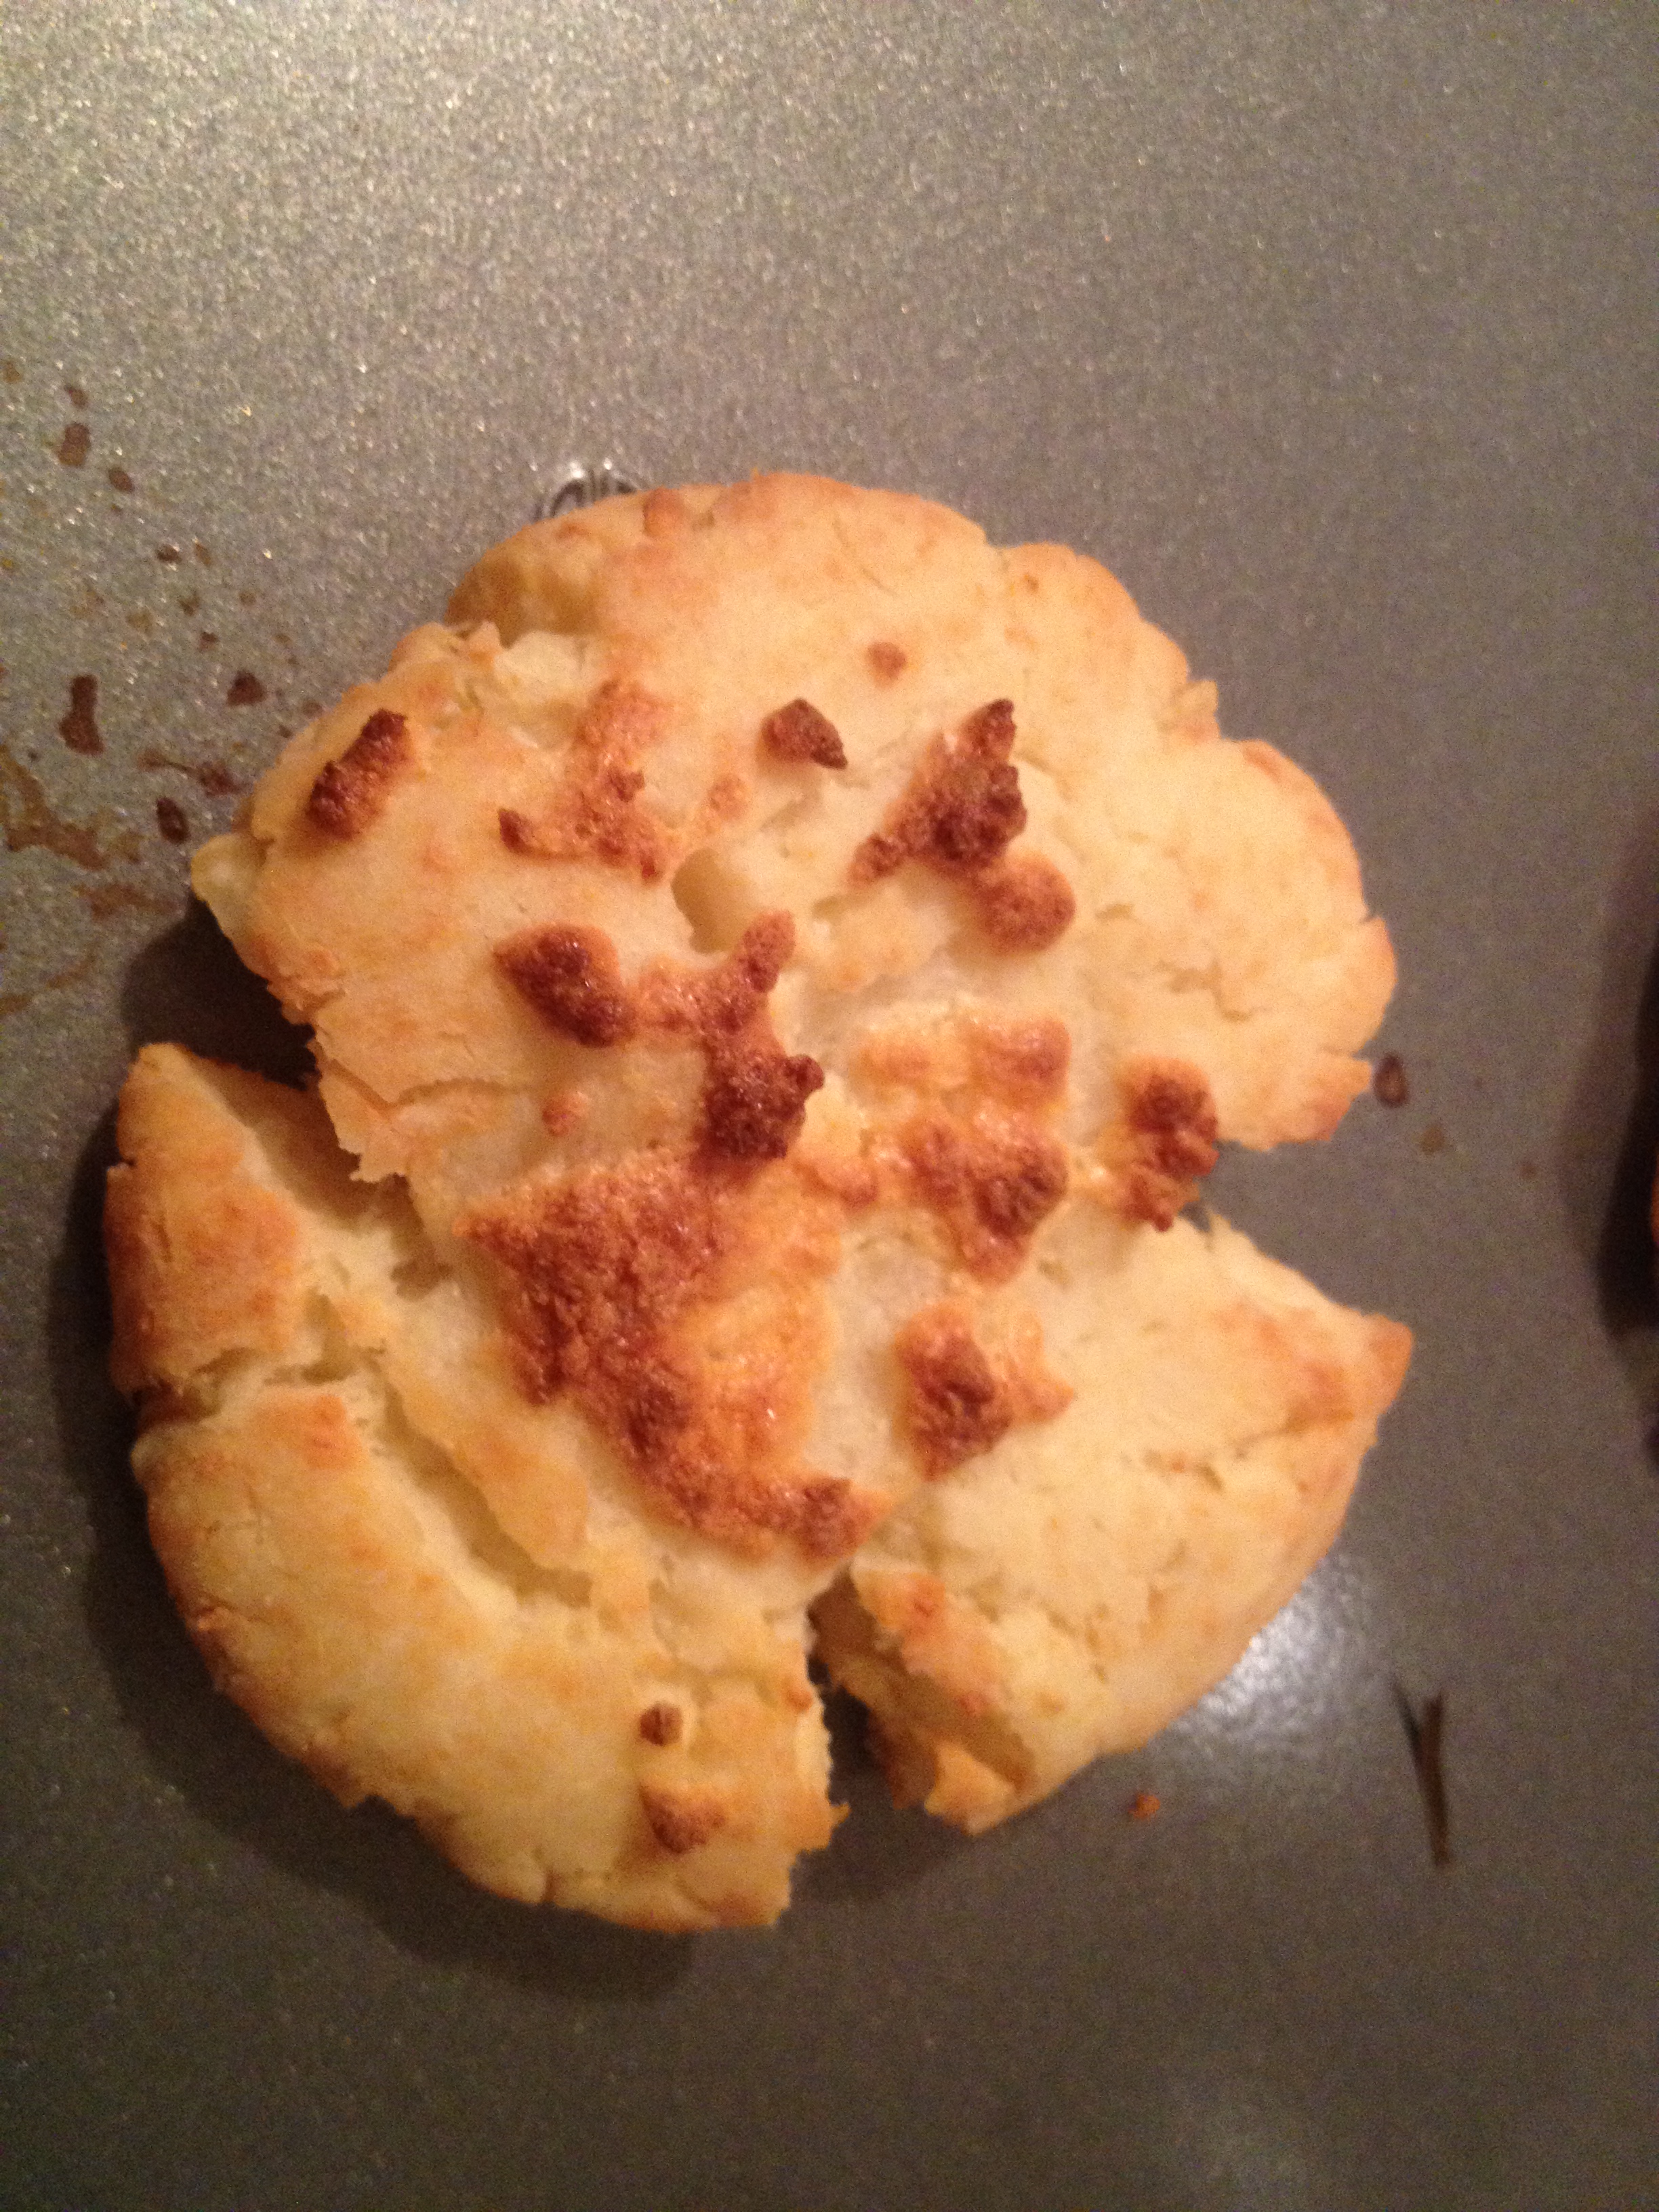
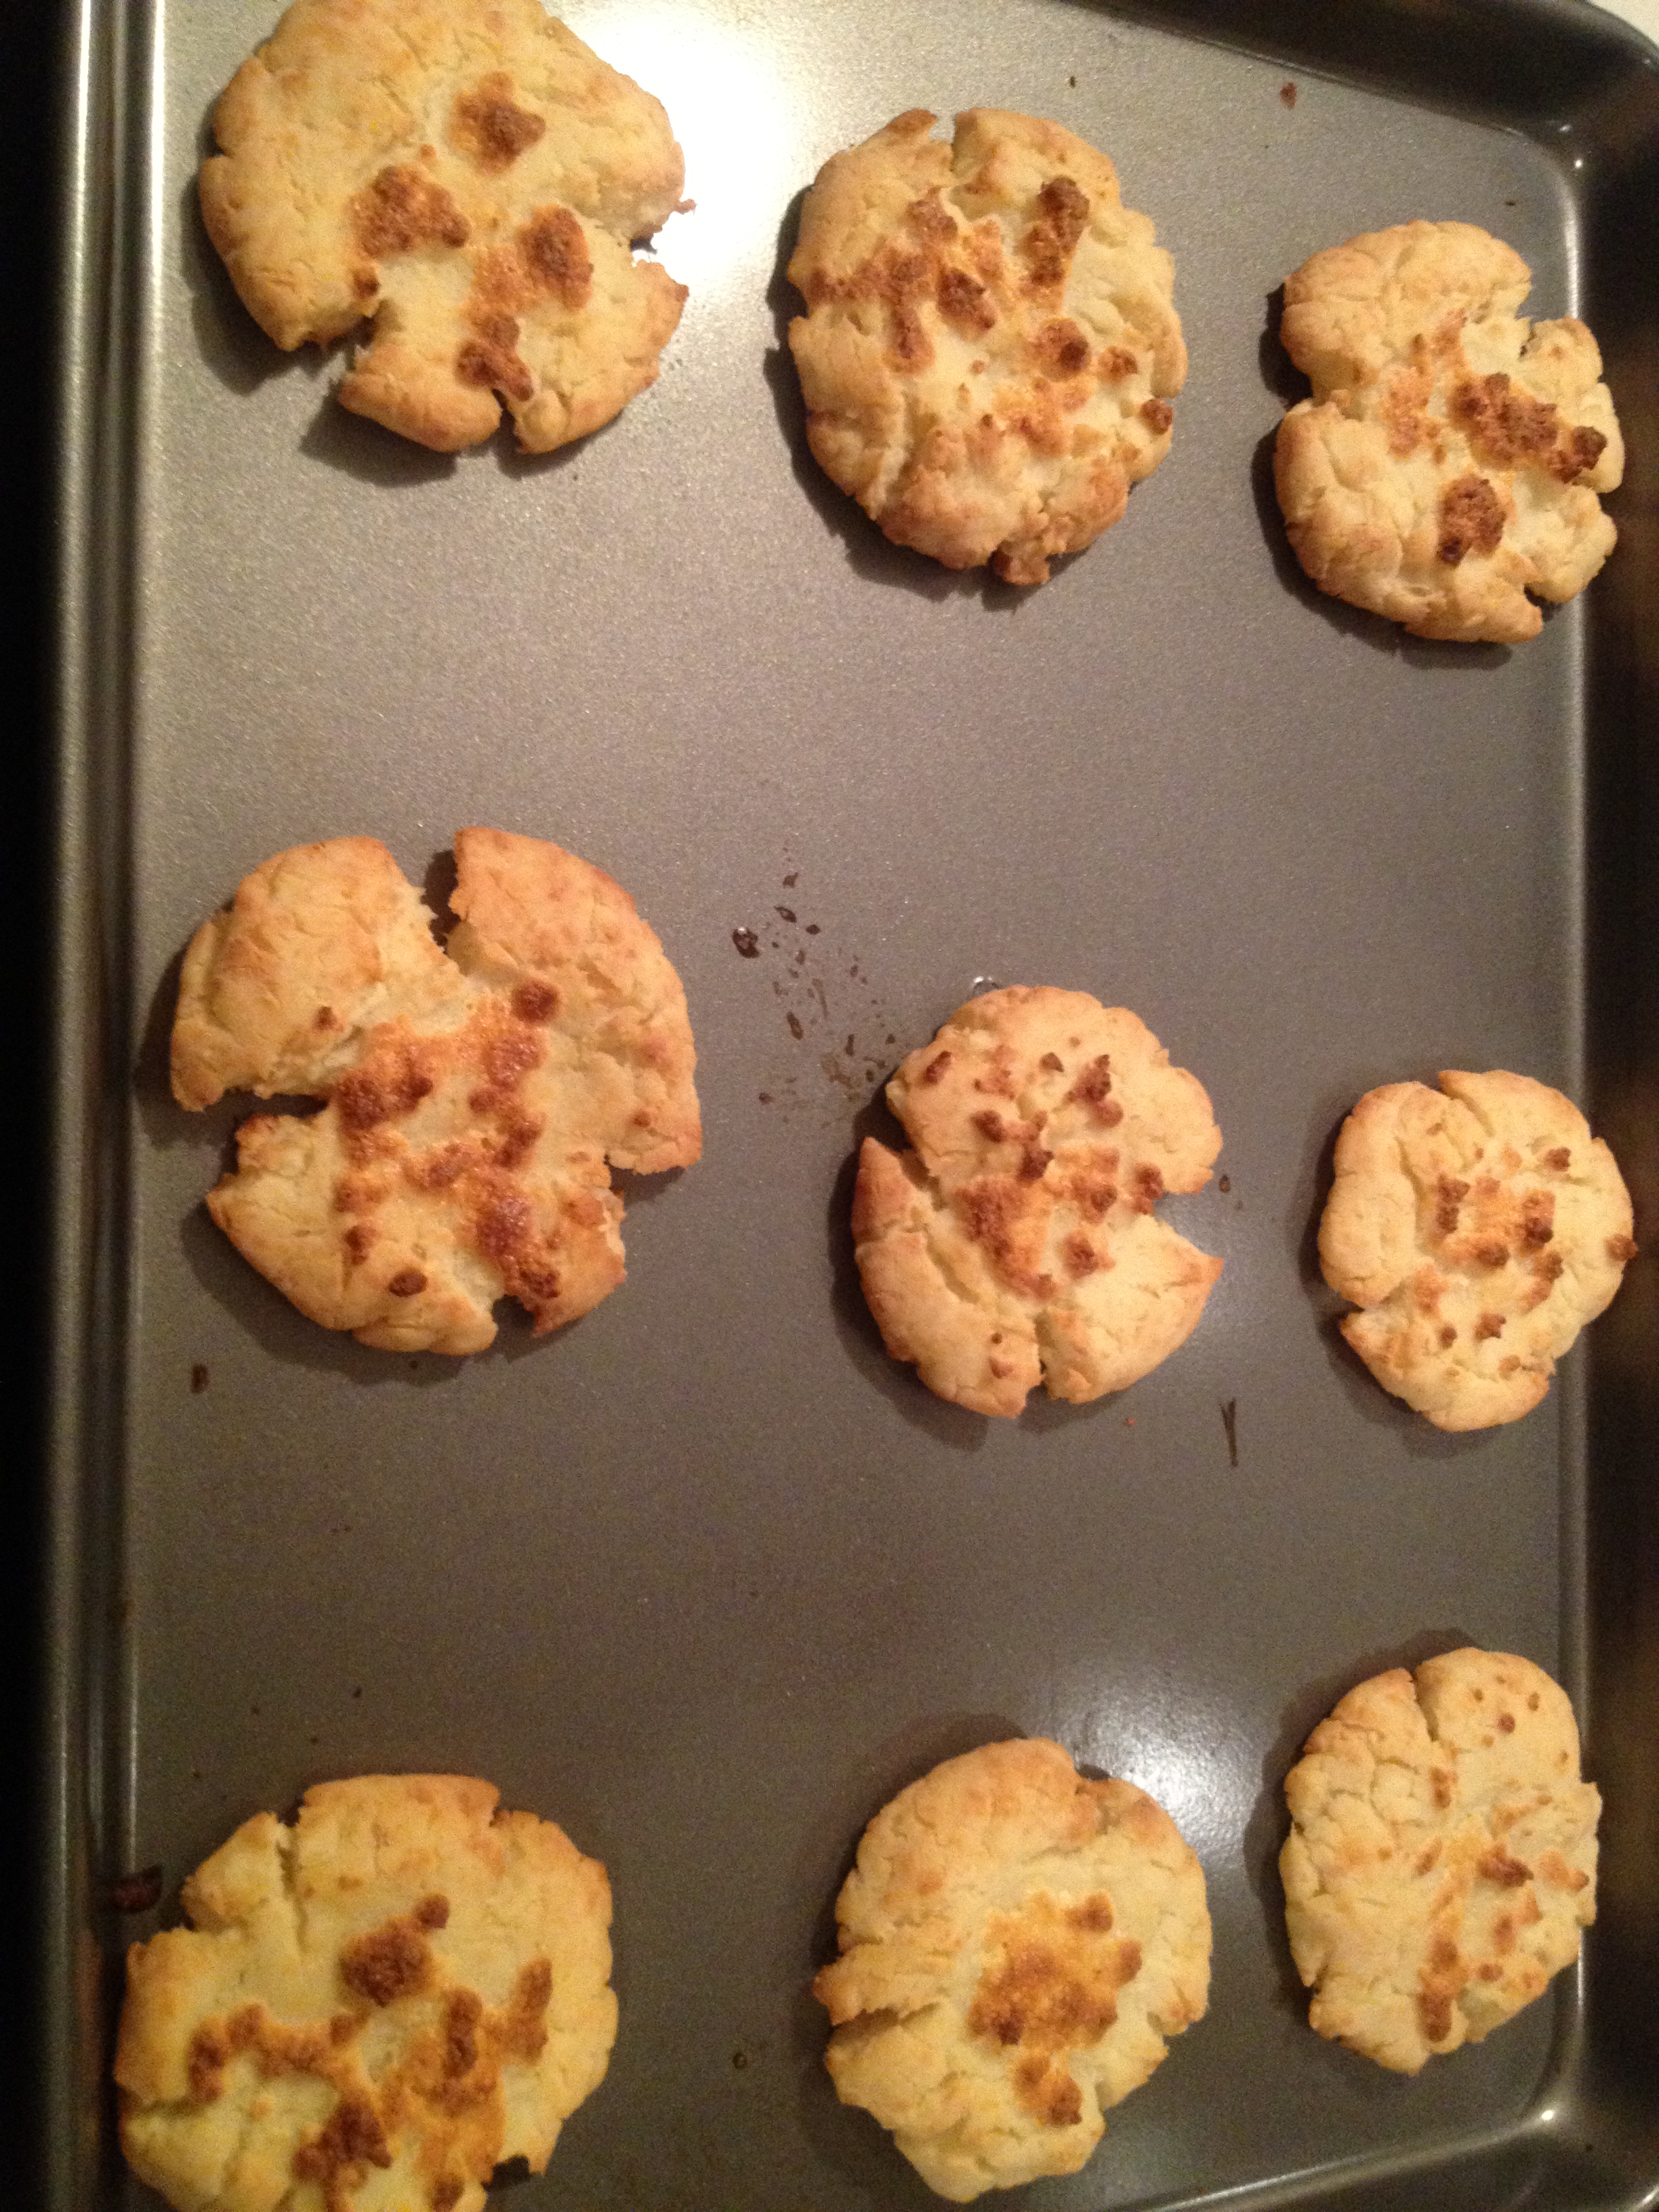
Cooked for about 1 1/2 hours in medium high heat, add water as needed if it evaporates. You will notice the change in color of the husk.
I love mine the next day when i reheat them on the grill.
Enjoy it!