Pukacapas
The name of this empanada is Spanish-Quechua. Puka in Quechua means red and Capa in Spanish has two meanings: layer, cape. I think the name evolved because you have a nice round red layer that is the shape of a cape that covers the empanada, so it makes sense to called them Pukacapas.
We love our mid afternoon snacks and I love this pukacapa recipe because of the filling. I used to eat it with an helado de canela (cinnamon gelato) or a good juice made of dry peaches called Mokhochinchi.
Makes 15 units of Pukacapas
I will describe the process step by step on give the ingredients for each step
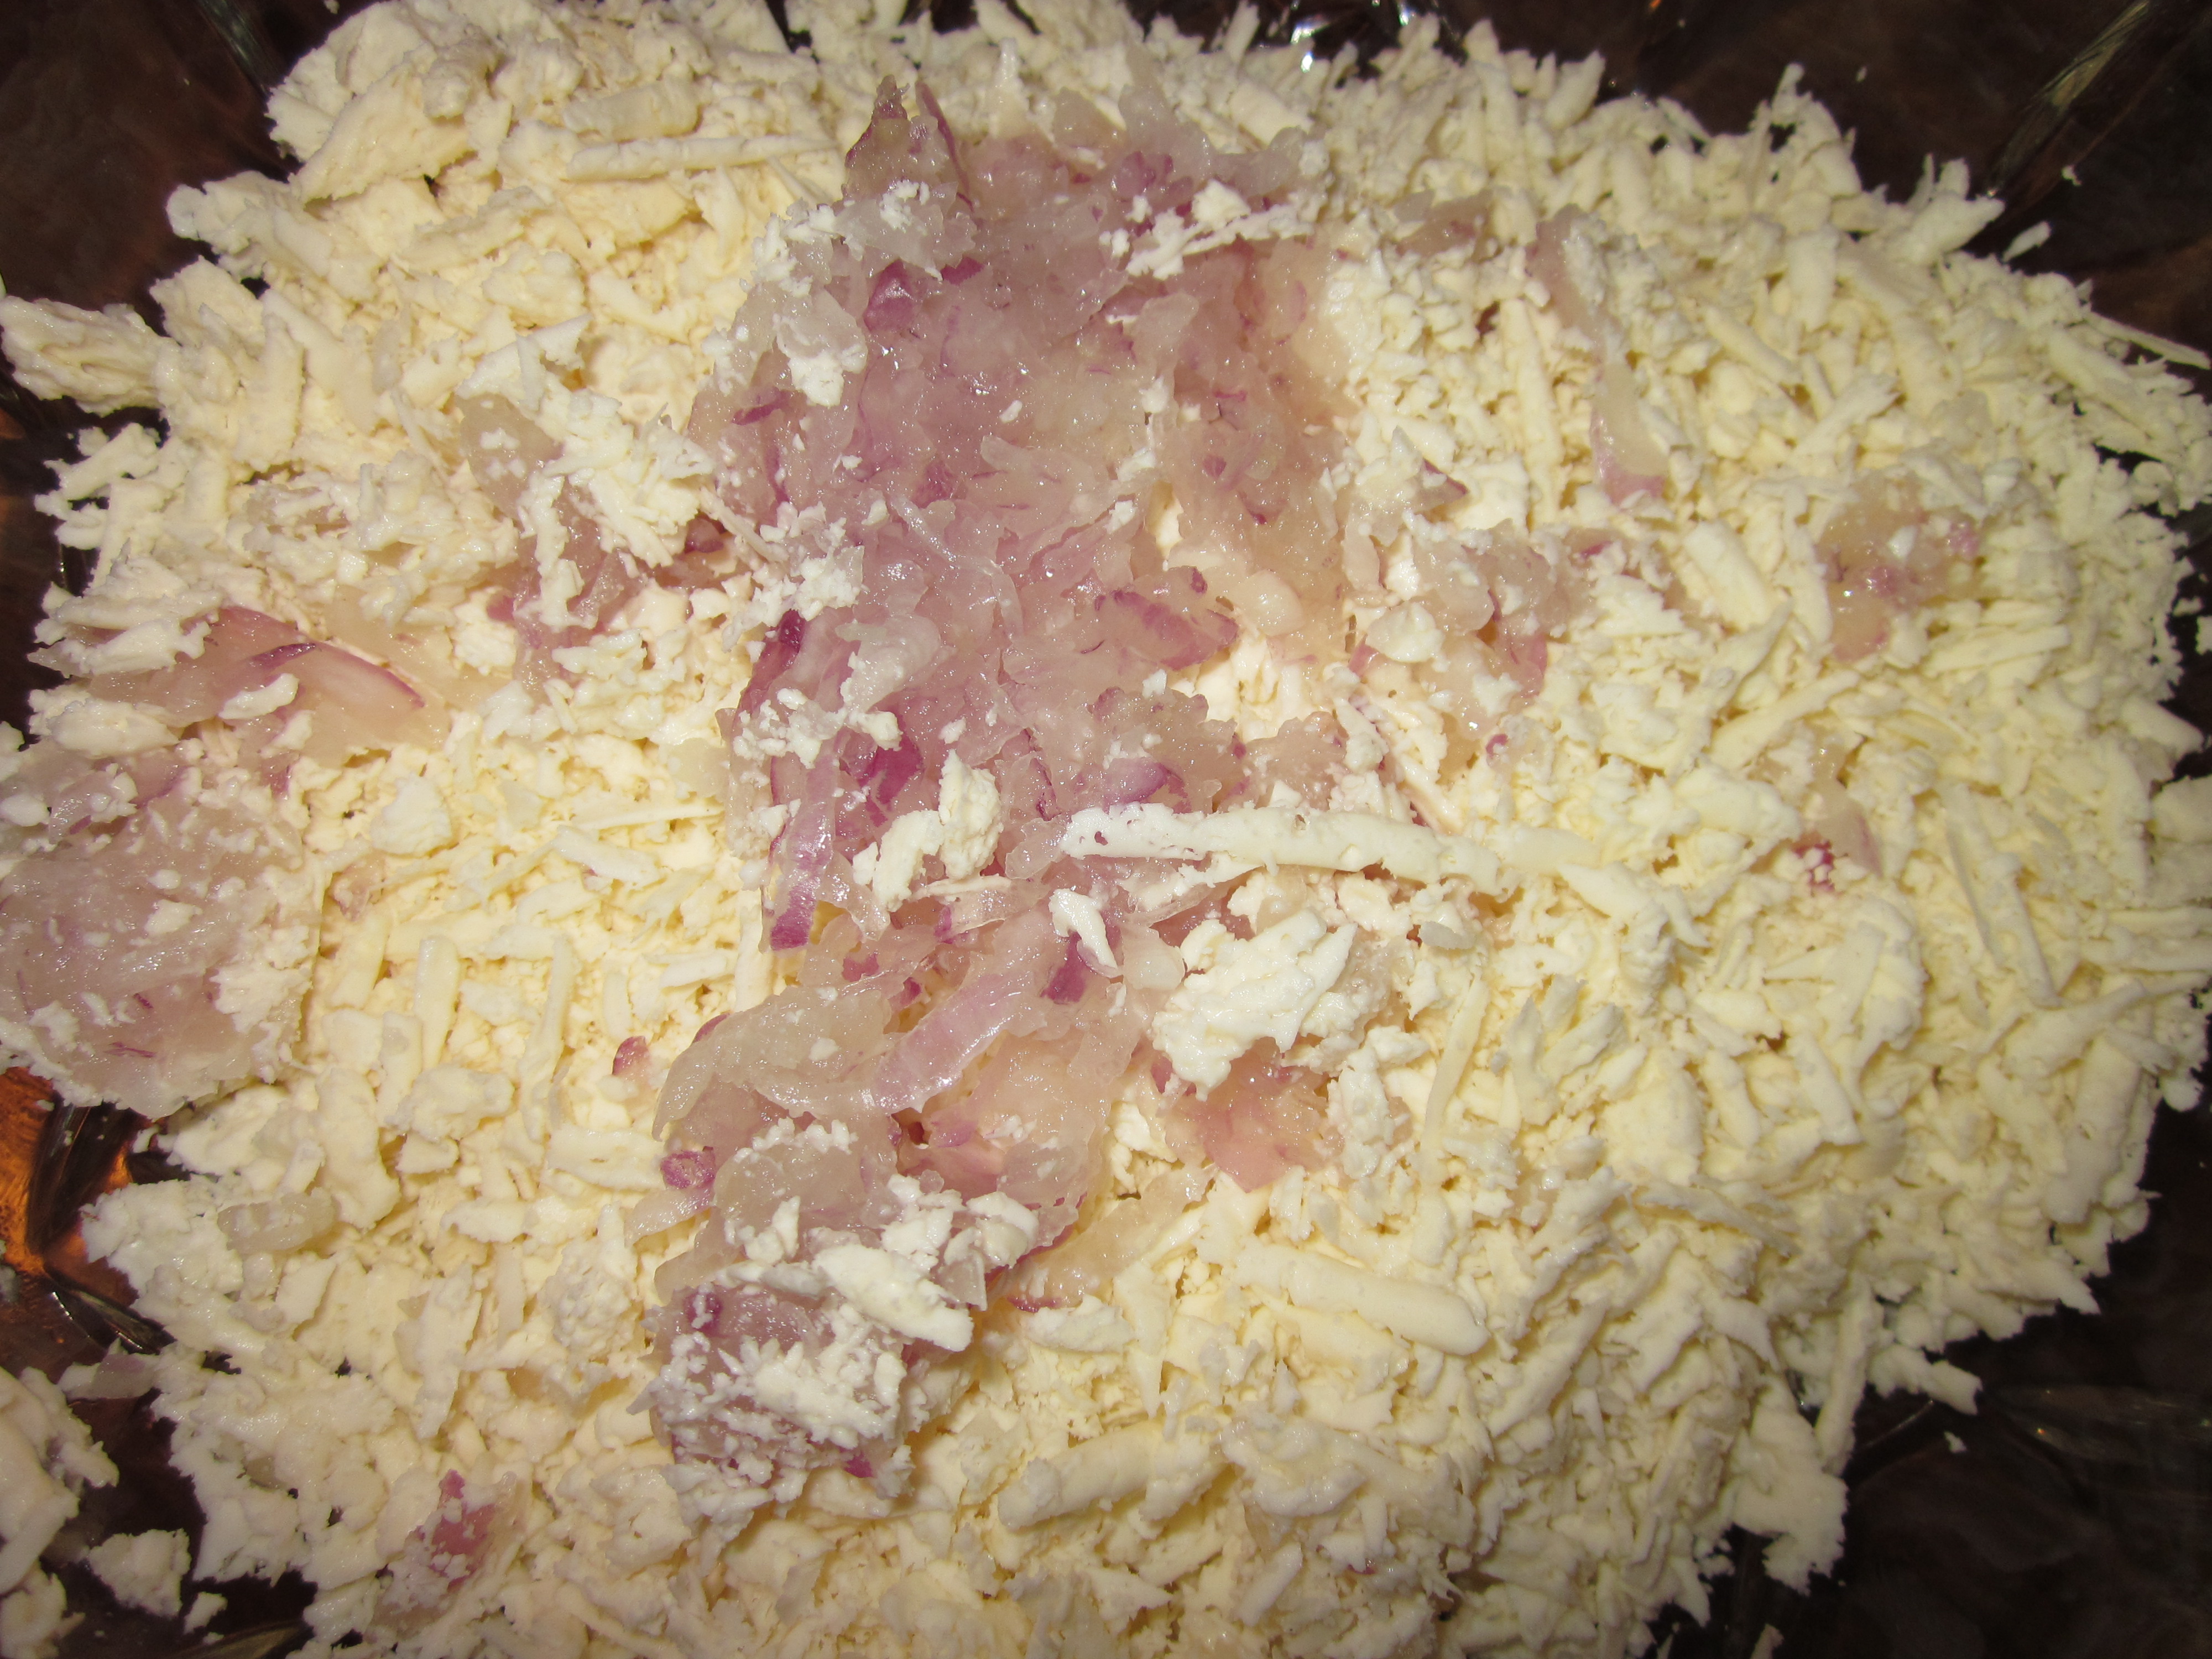
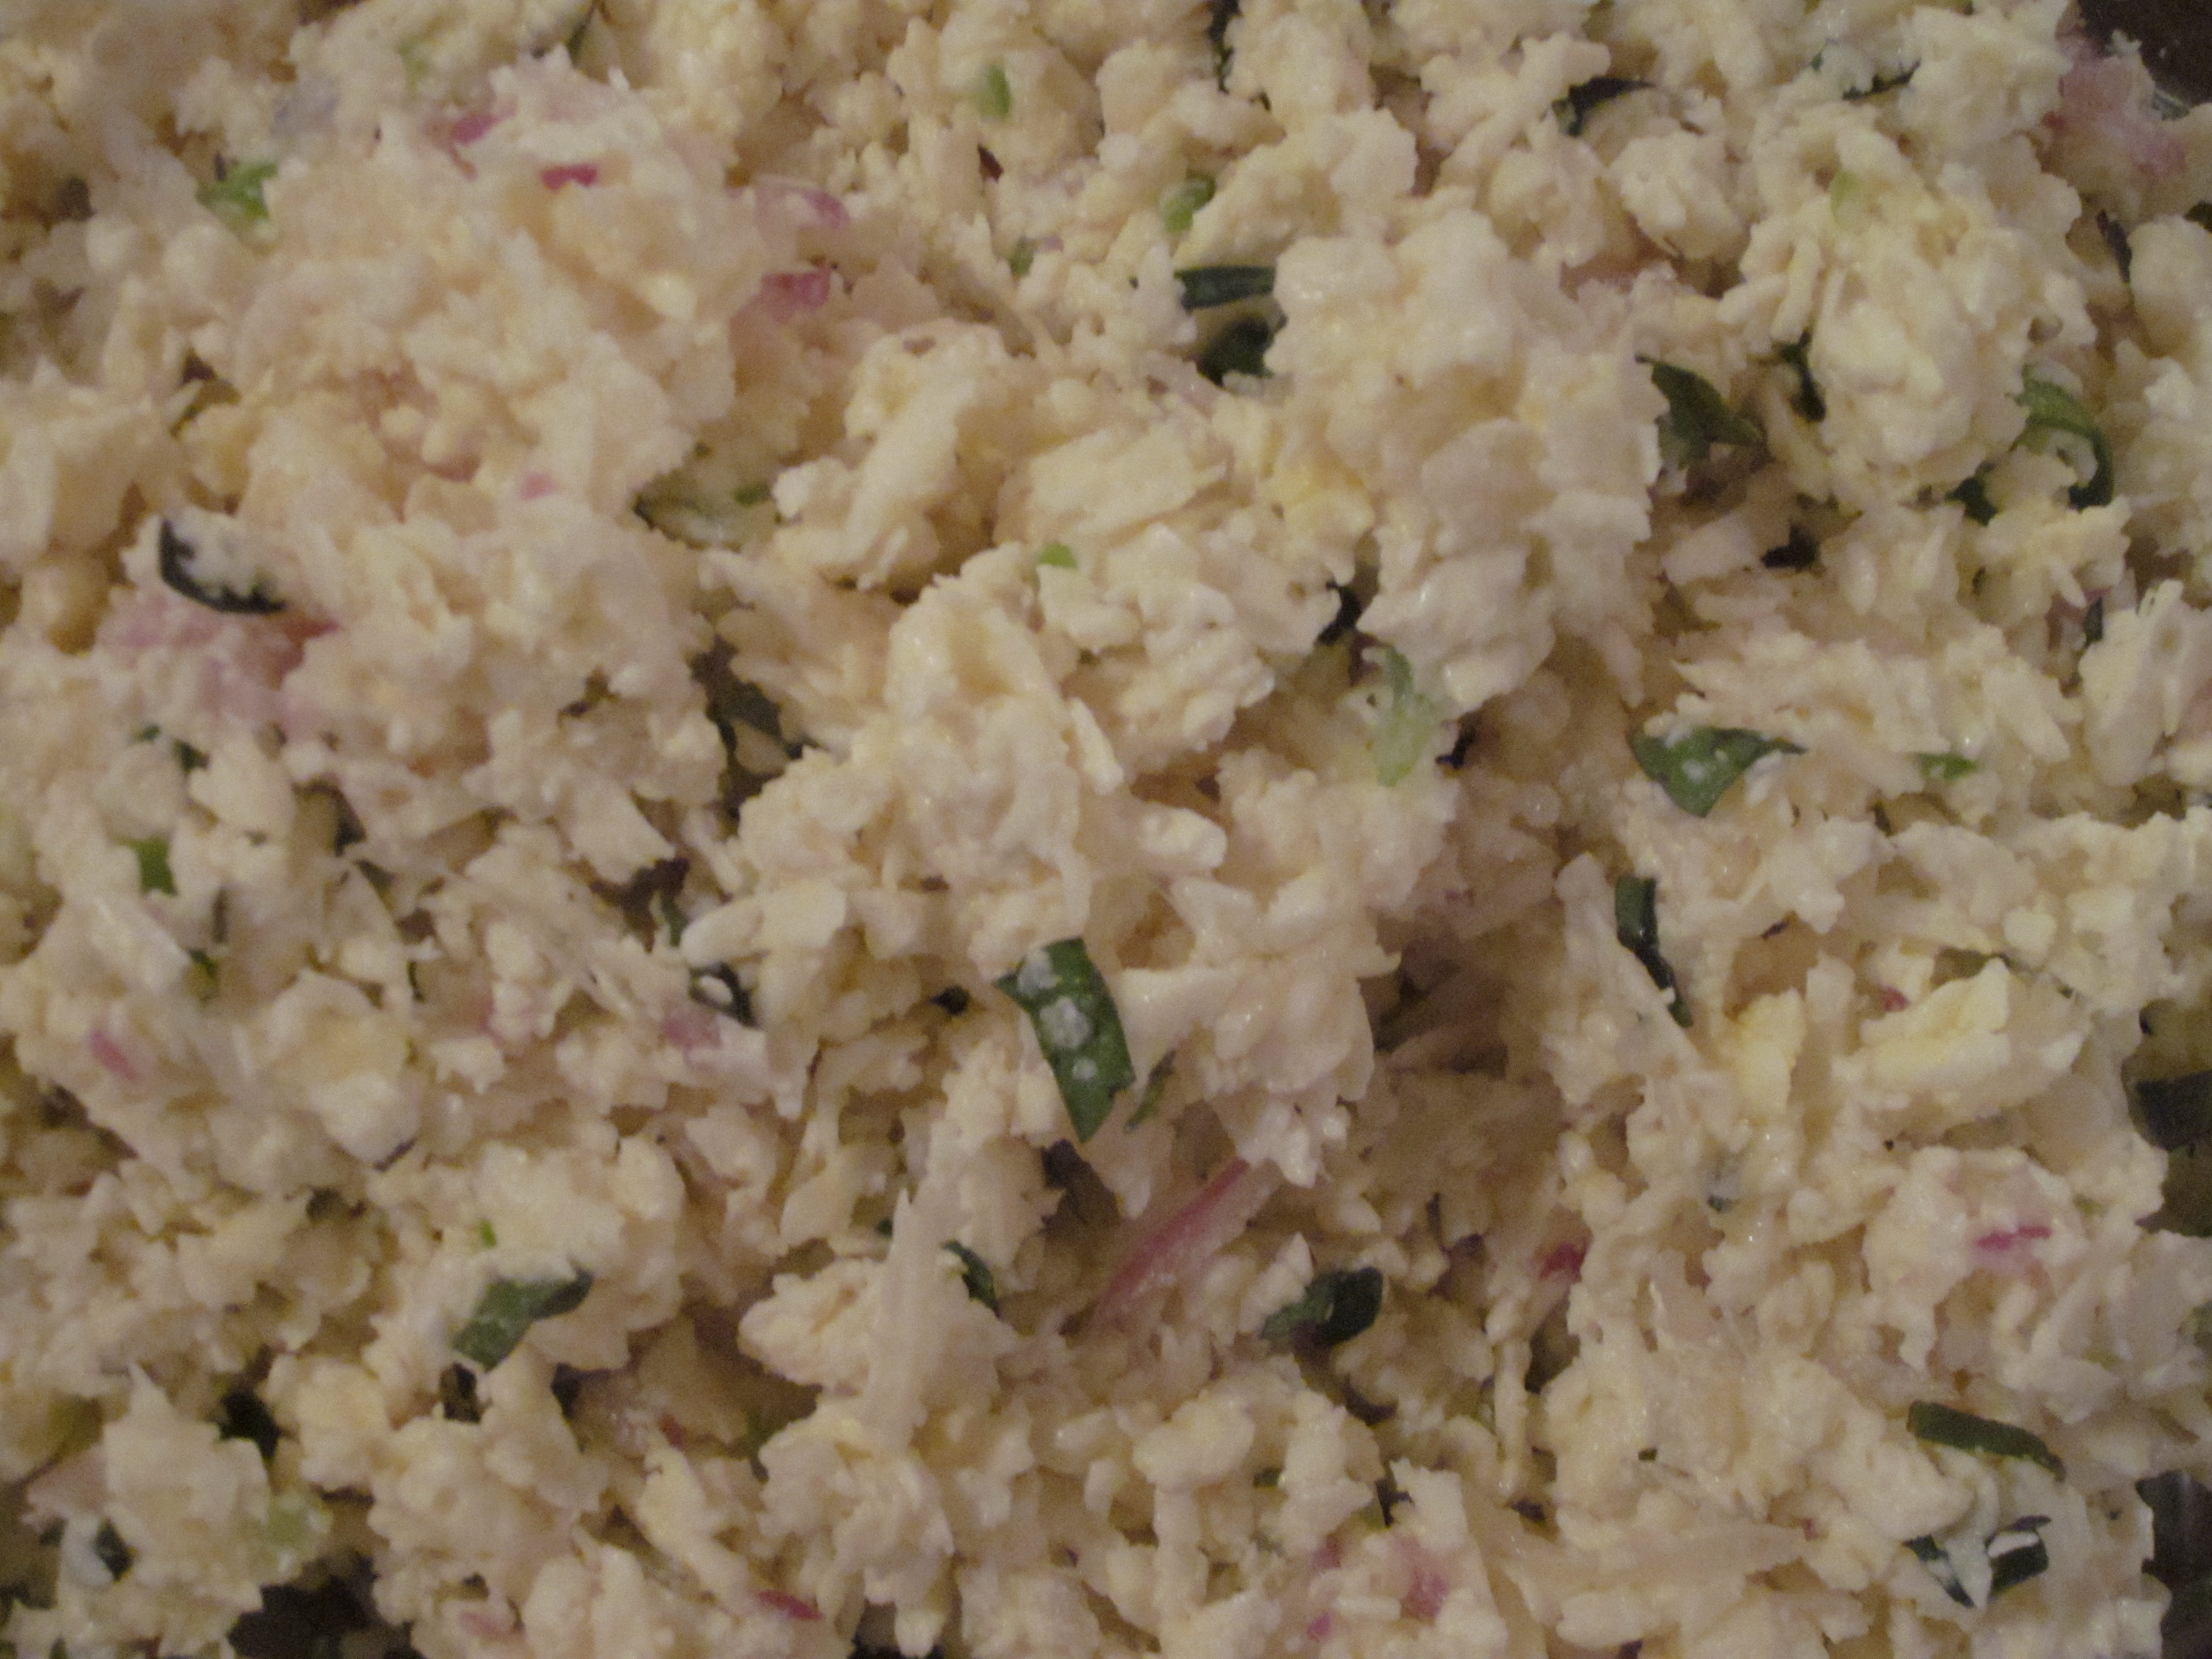
Filling
1 medium red onion shredded ( ⅓ cup shredded red onion)
8 oz Fresh cheese or Monterrey Jack
2 tbsp shredded hot pepper
1 tbsp chopped quilquiña or cilantro
1 egg
Mix all ingredients in a mixing bowl and put aside.

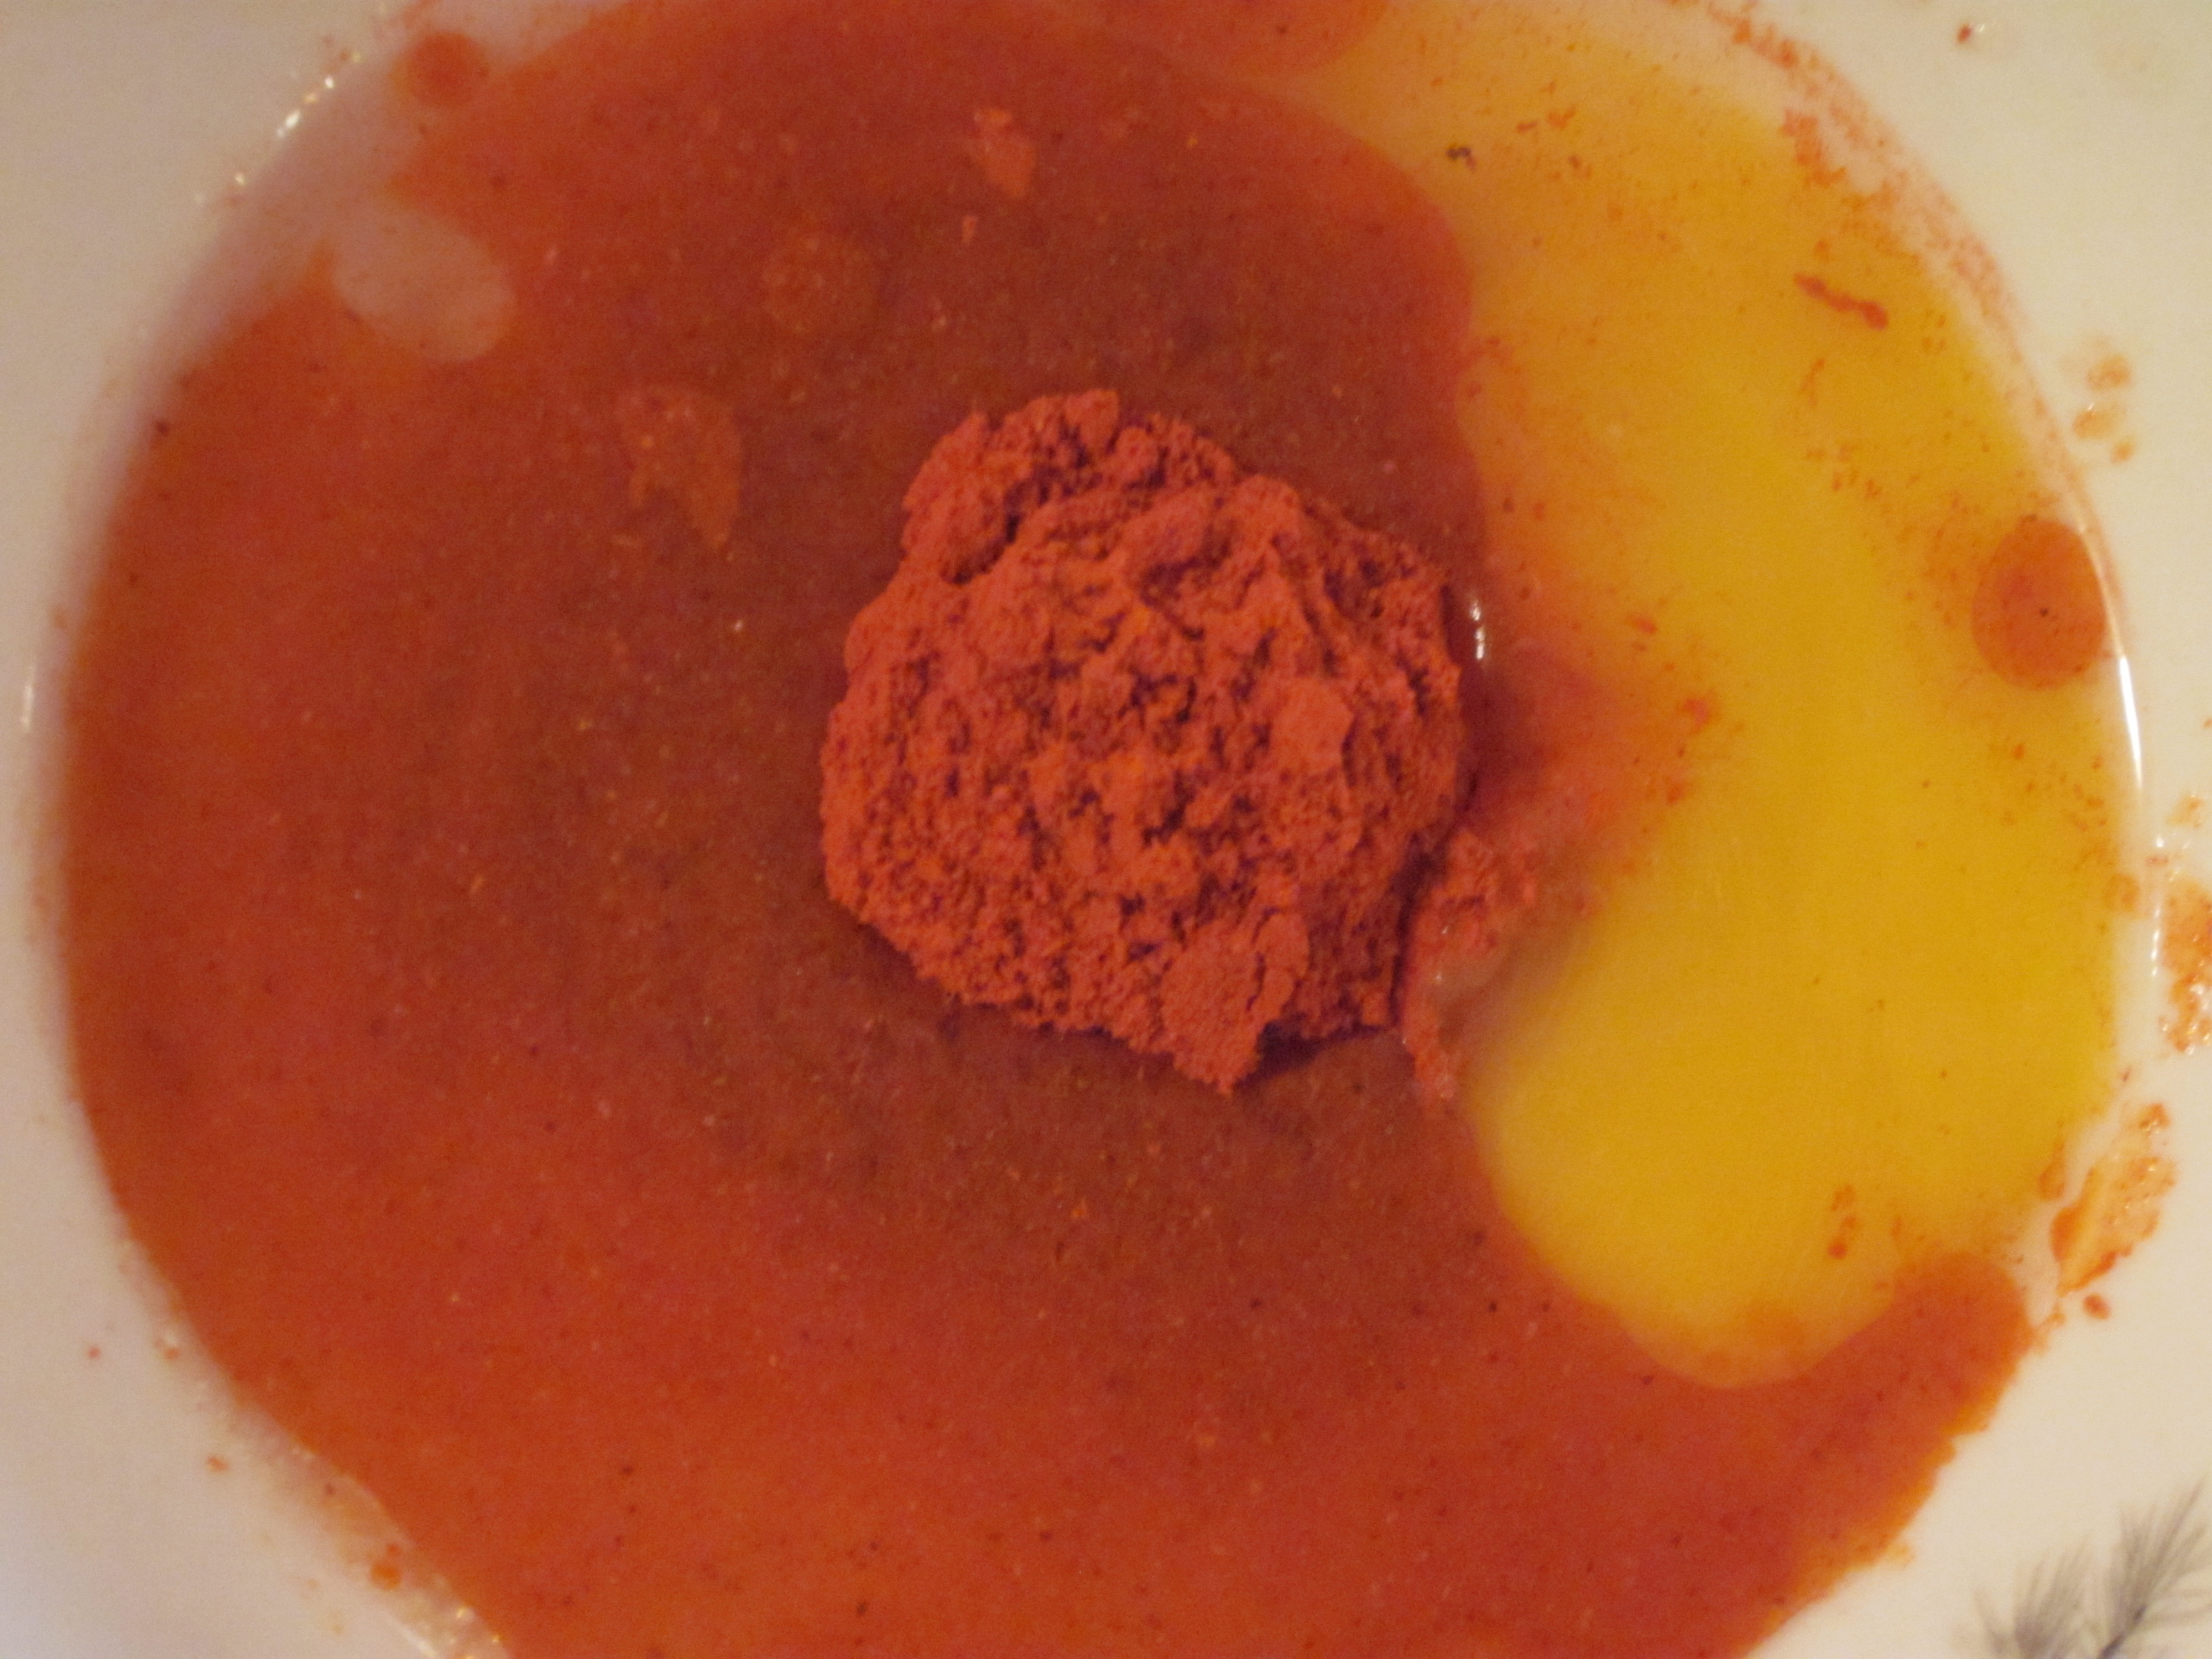
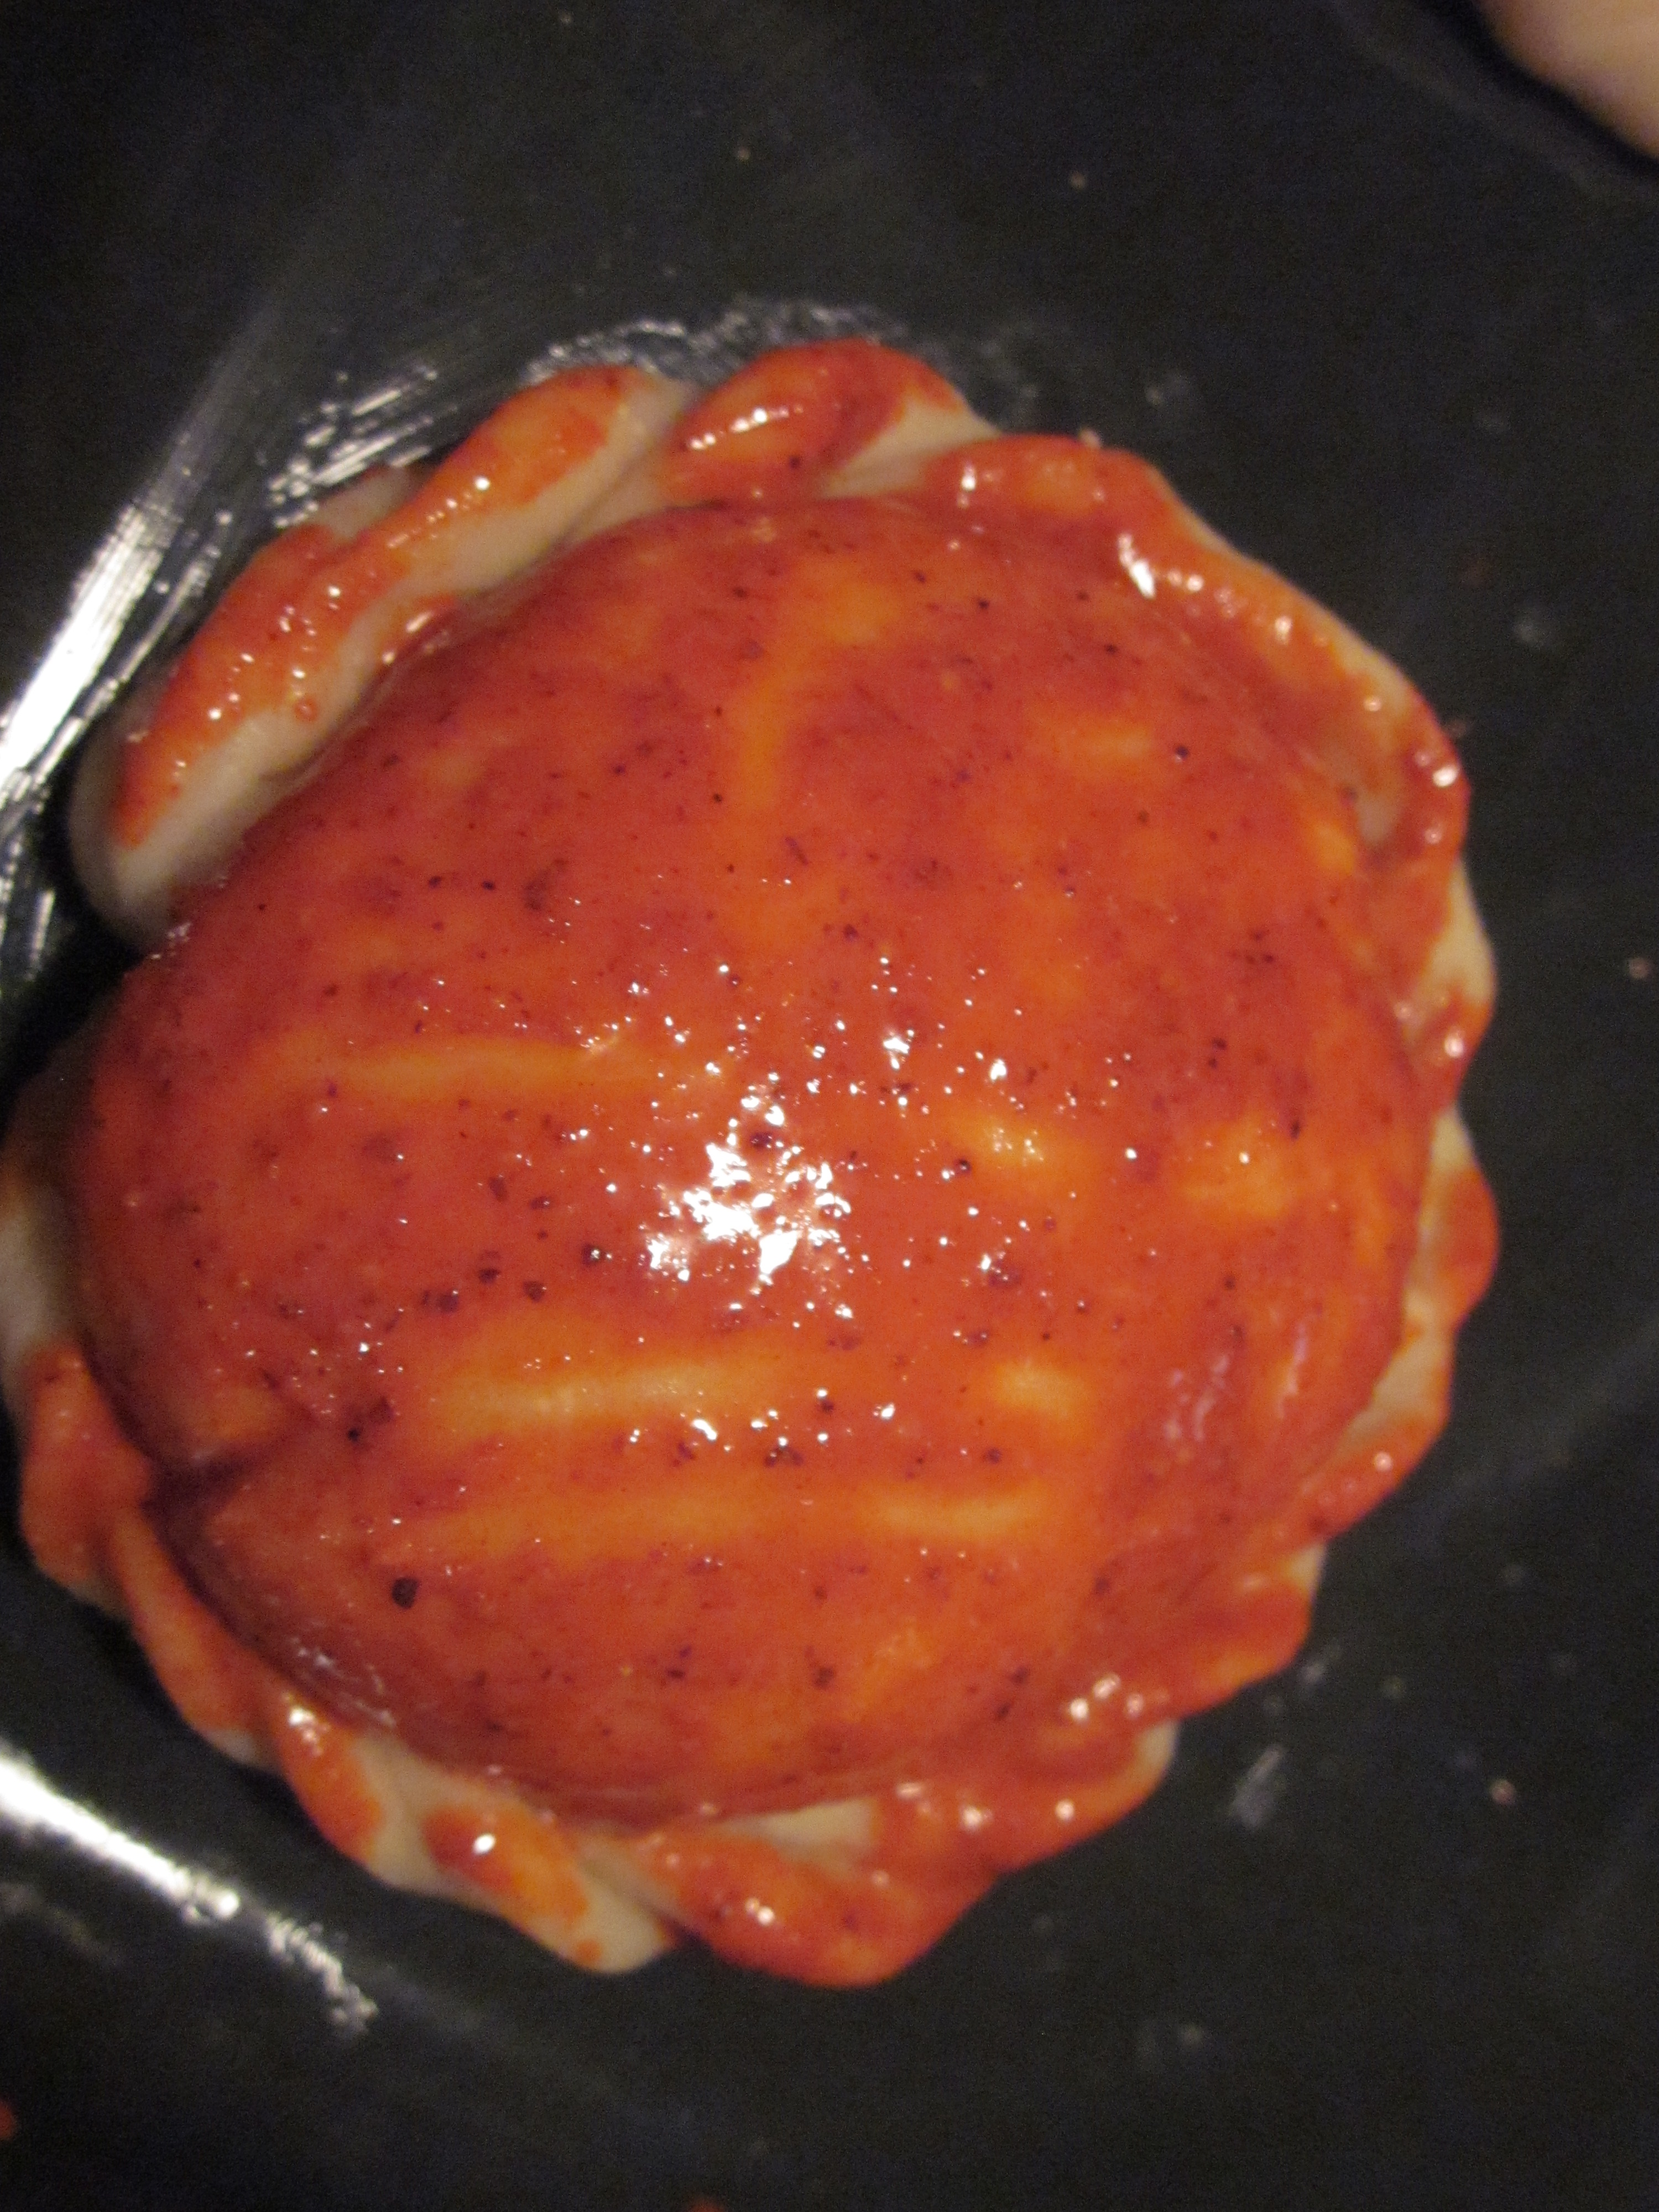
Red dough wash
2 Tbsp paprika
1 egg yolk
2 Tbsp canola oil
2 Tbsp water
Mix all ingredients and set aside. It has to be well mixed.
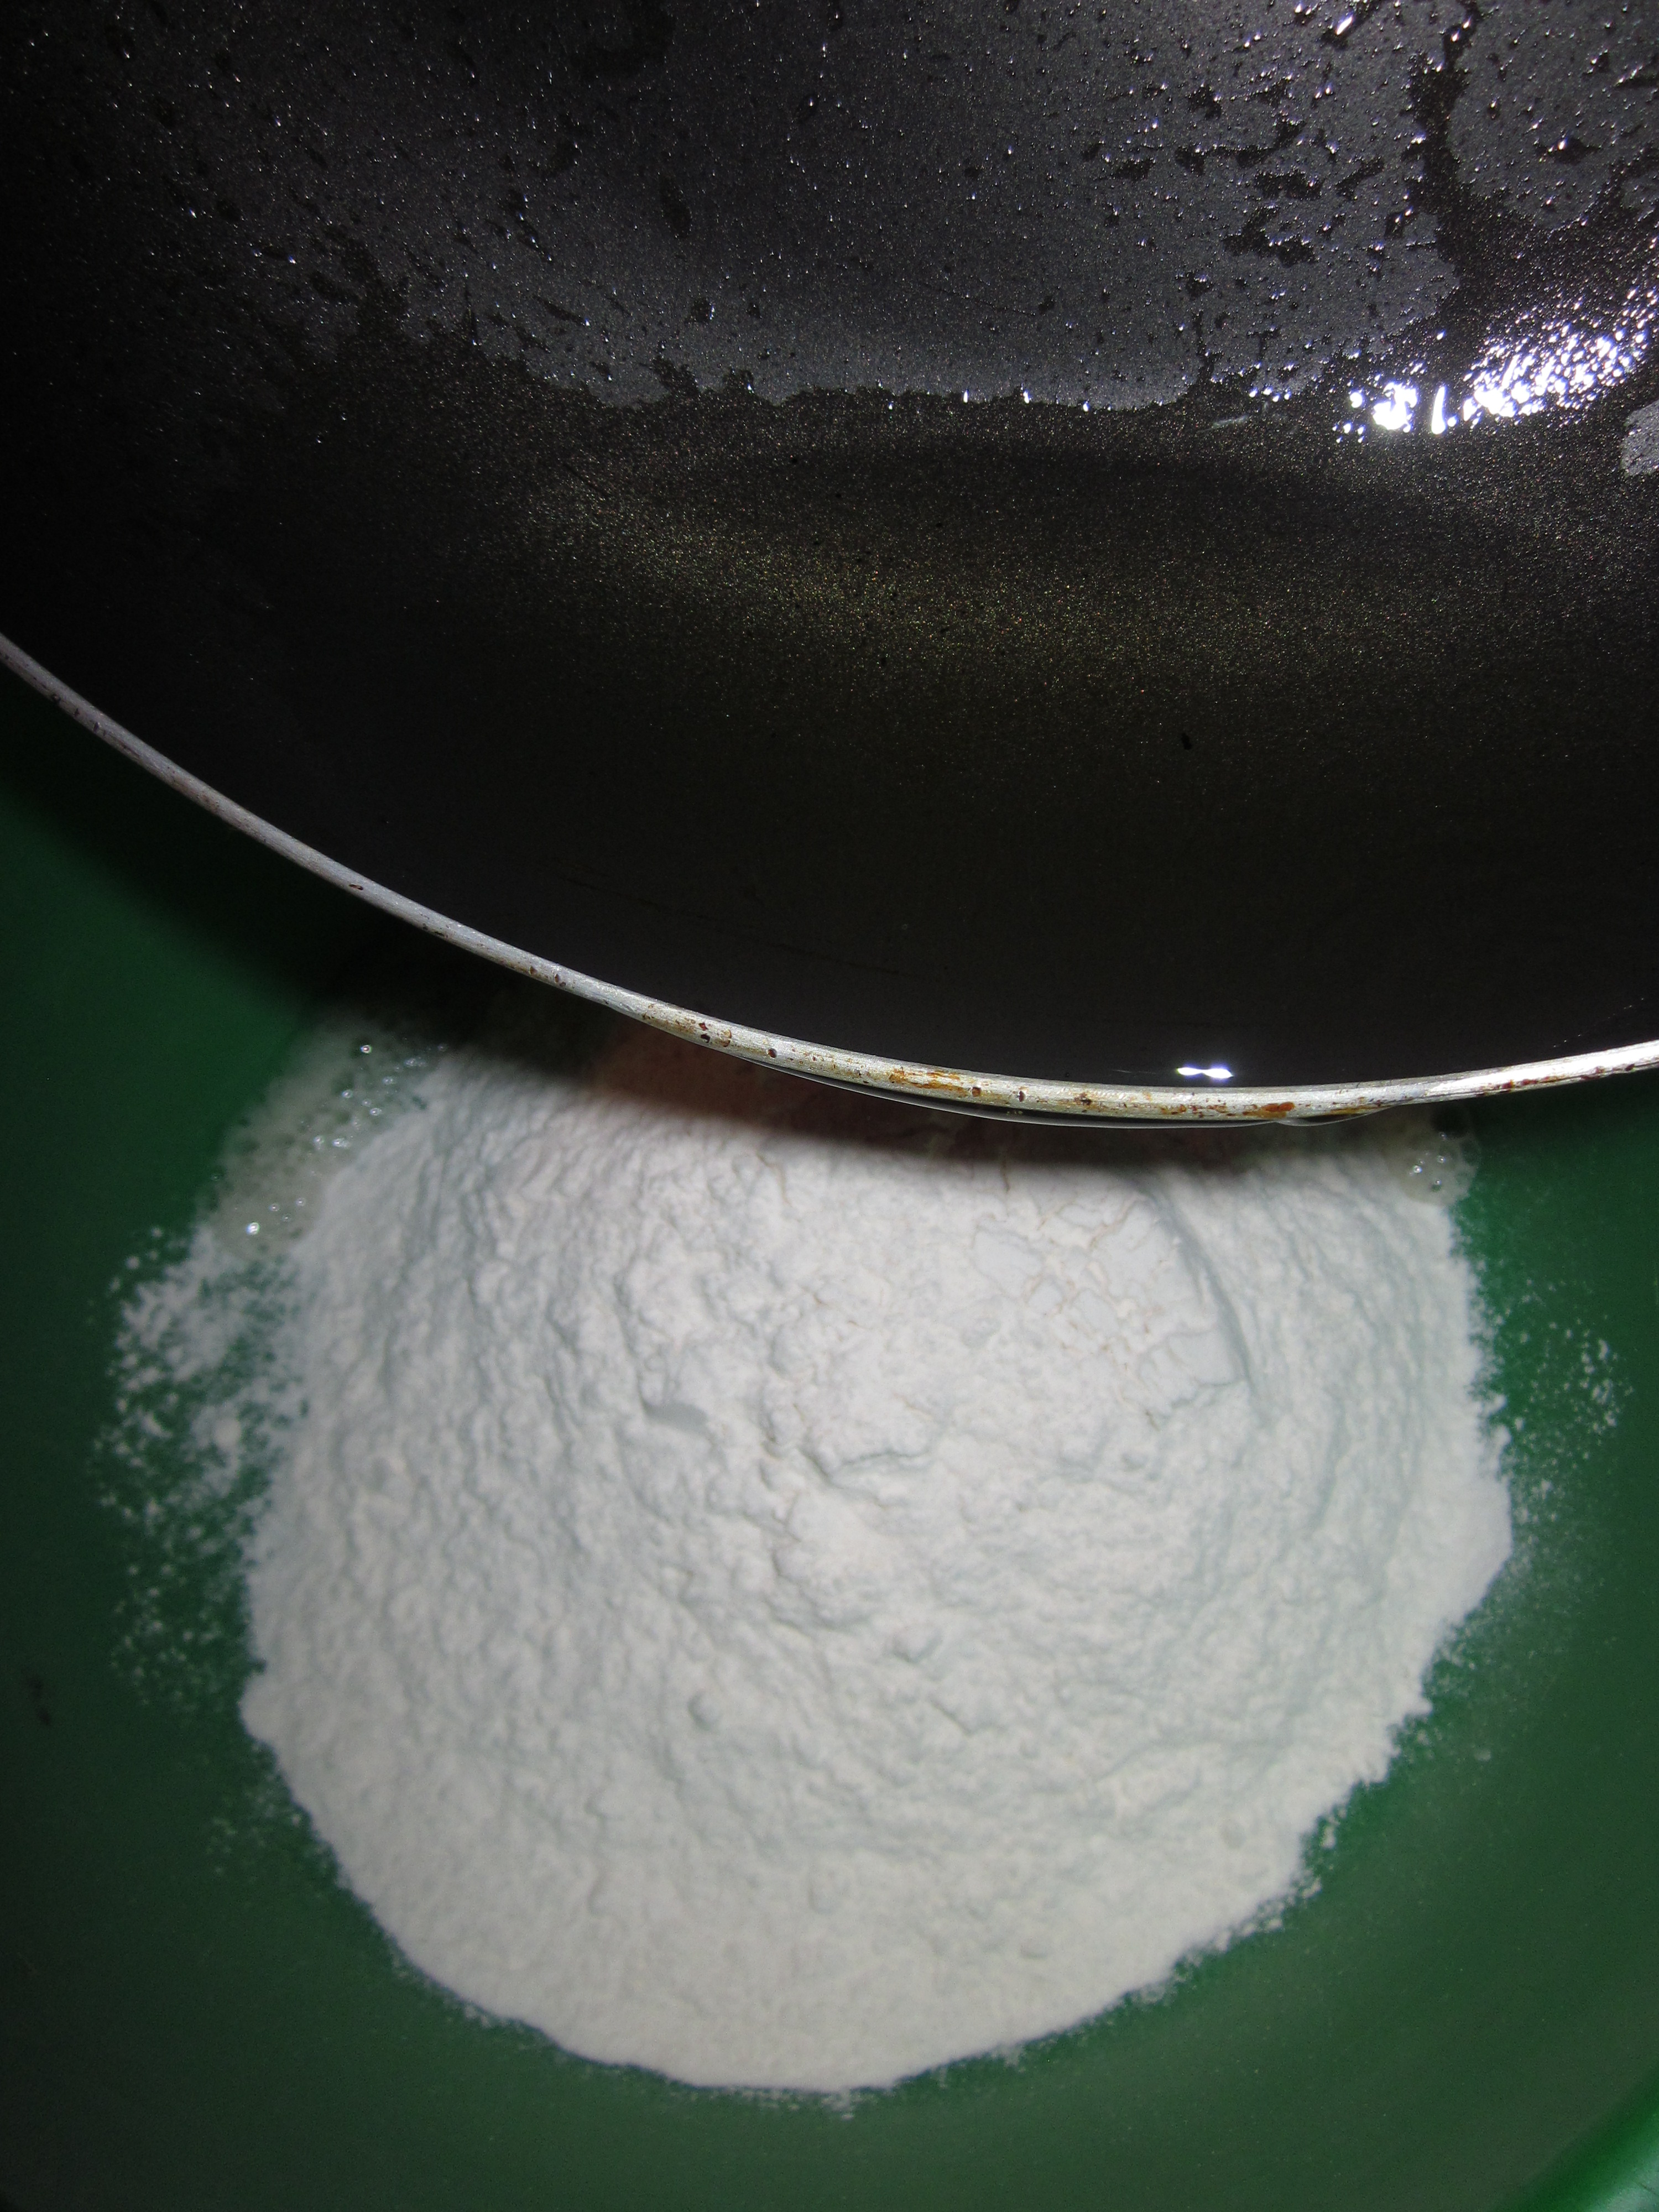
Dough
2 Cups flower
5 Tbsp Crisco
2 eggs yolks
3 Tbsp white sugar
2 Tsp salt
1 1/2 Tsp dry yeast
¼ Cups water
Sift the flower in a mixing bowl. Shape the flower in volcano shape. Heat the crisco close to boil. Add this hot oil to the flour, you will see how the flower effervesces. Mix with a wooden spoon.
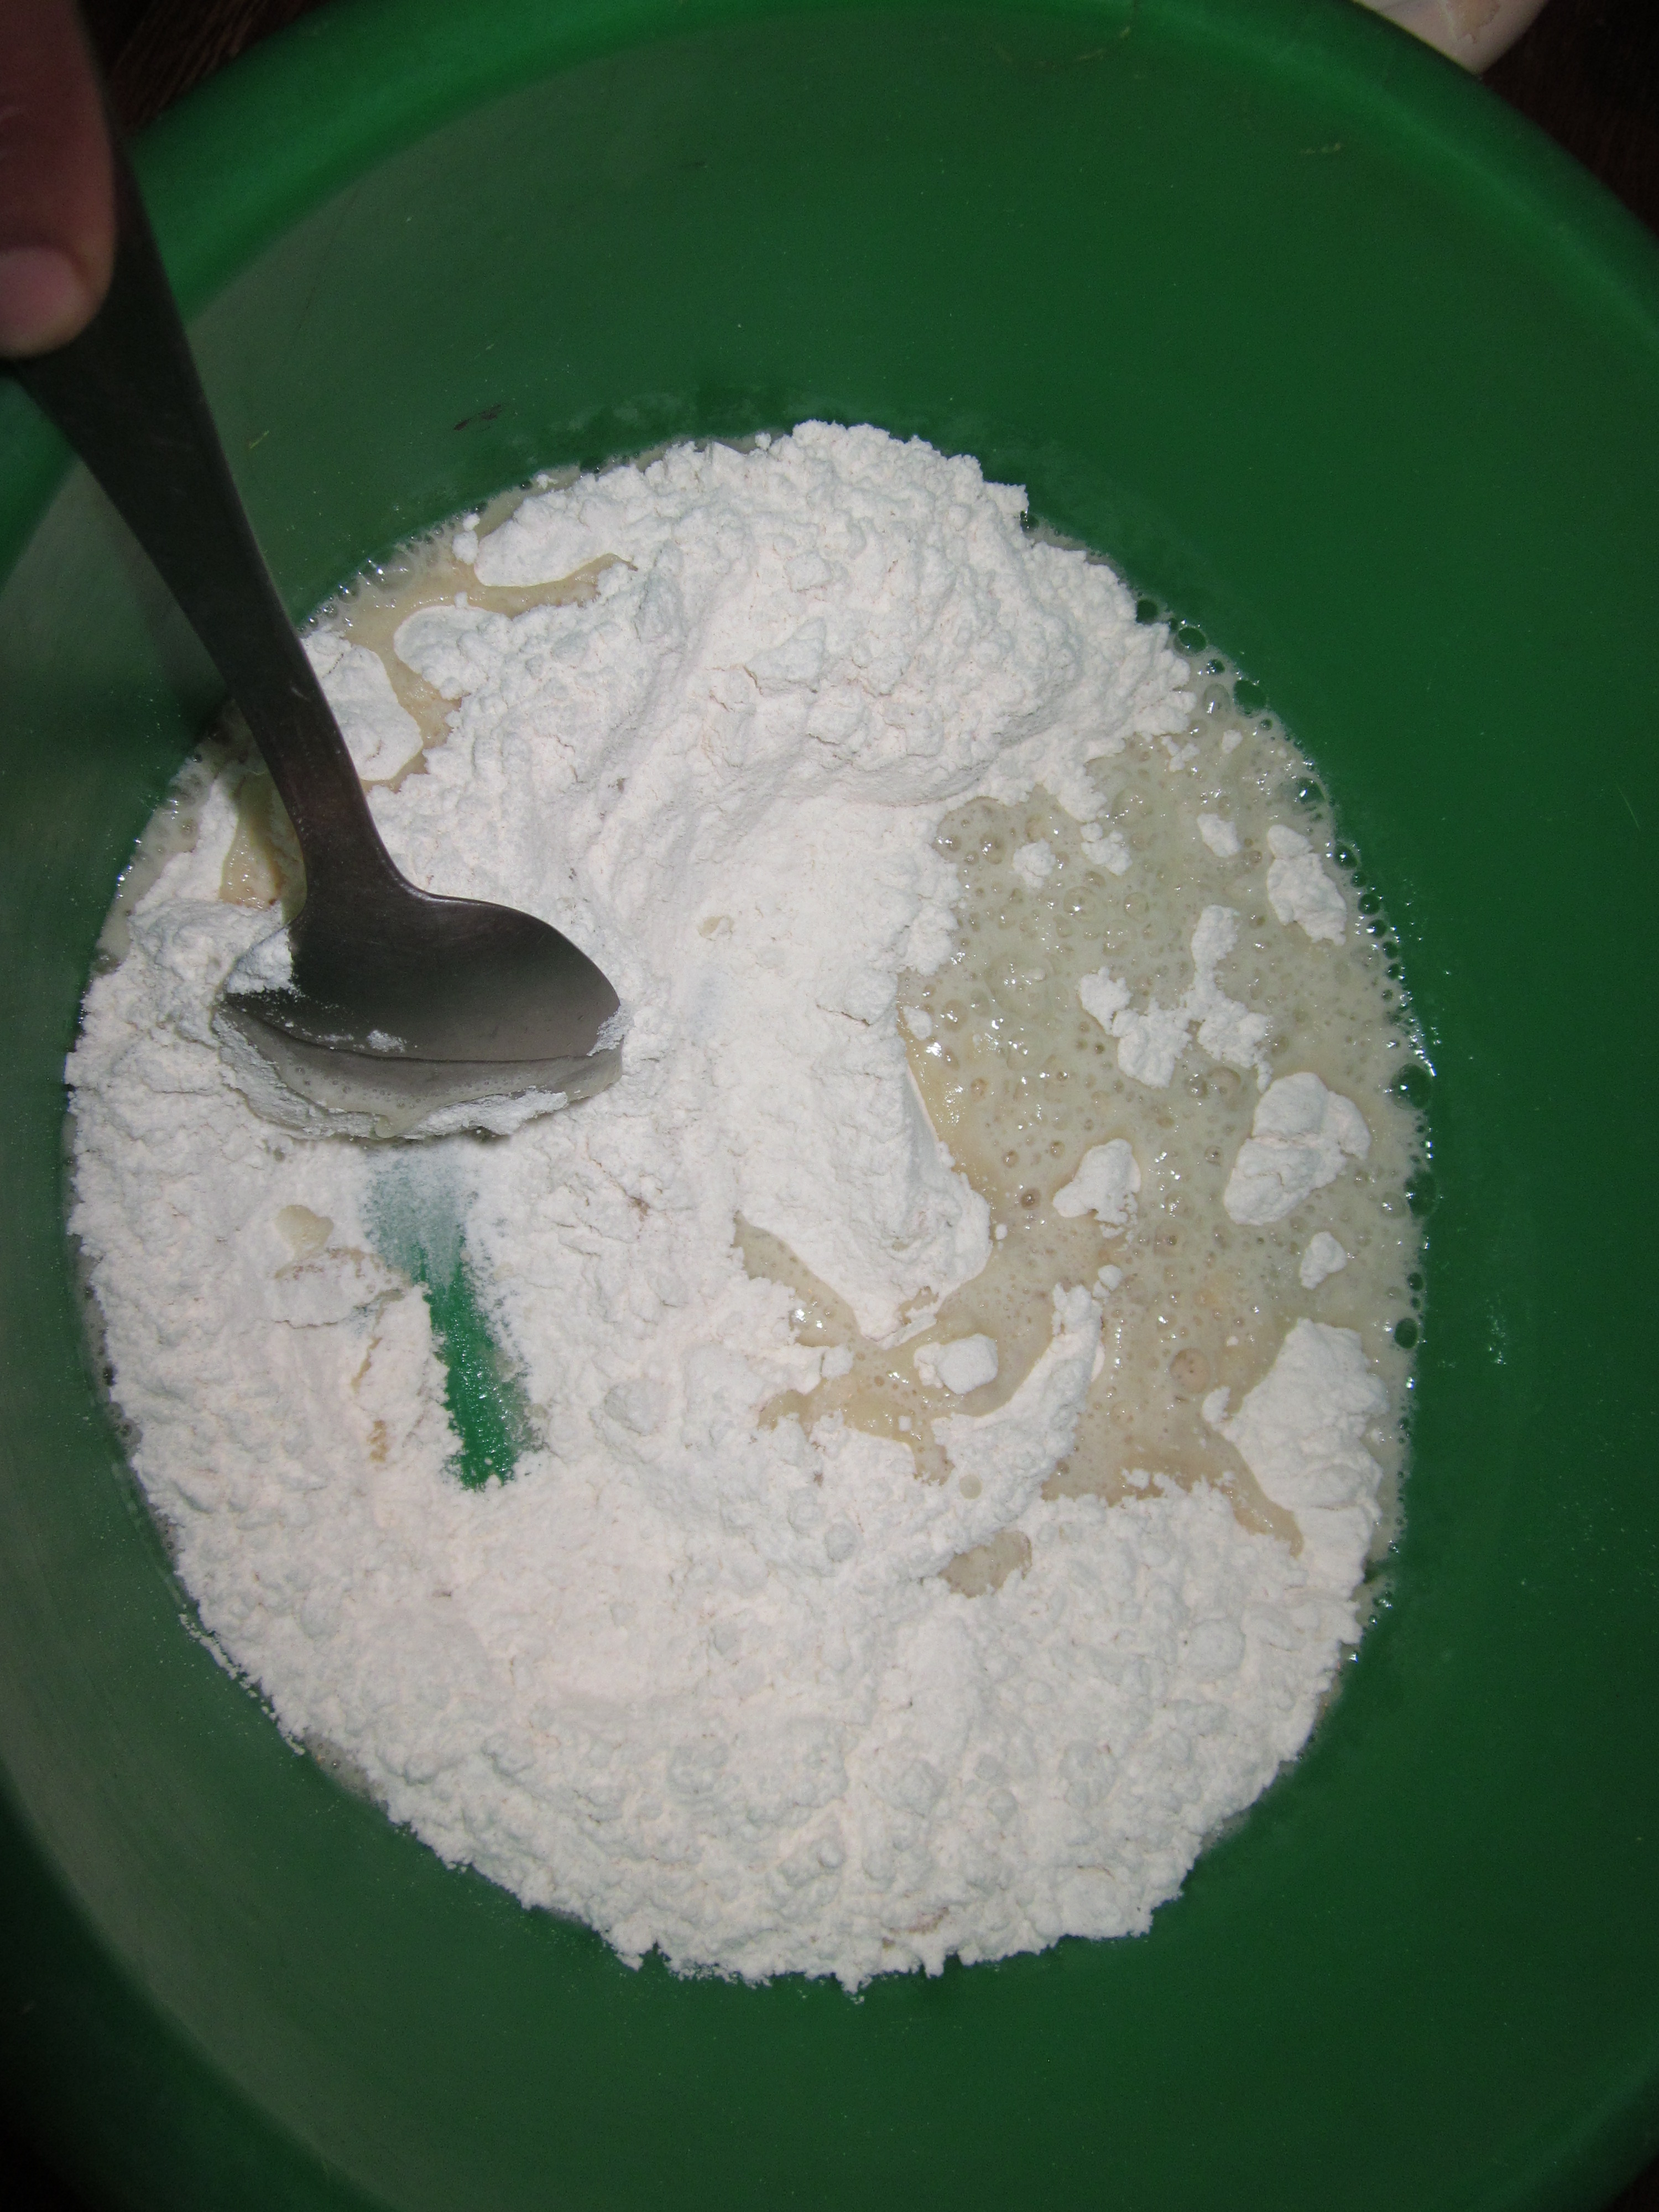
Disolve the yeast in the water.
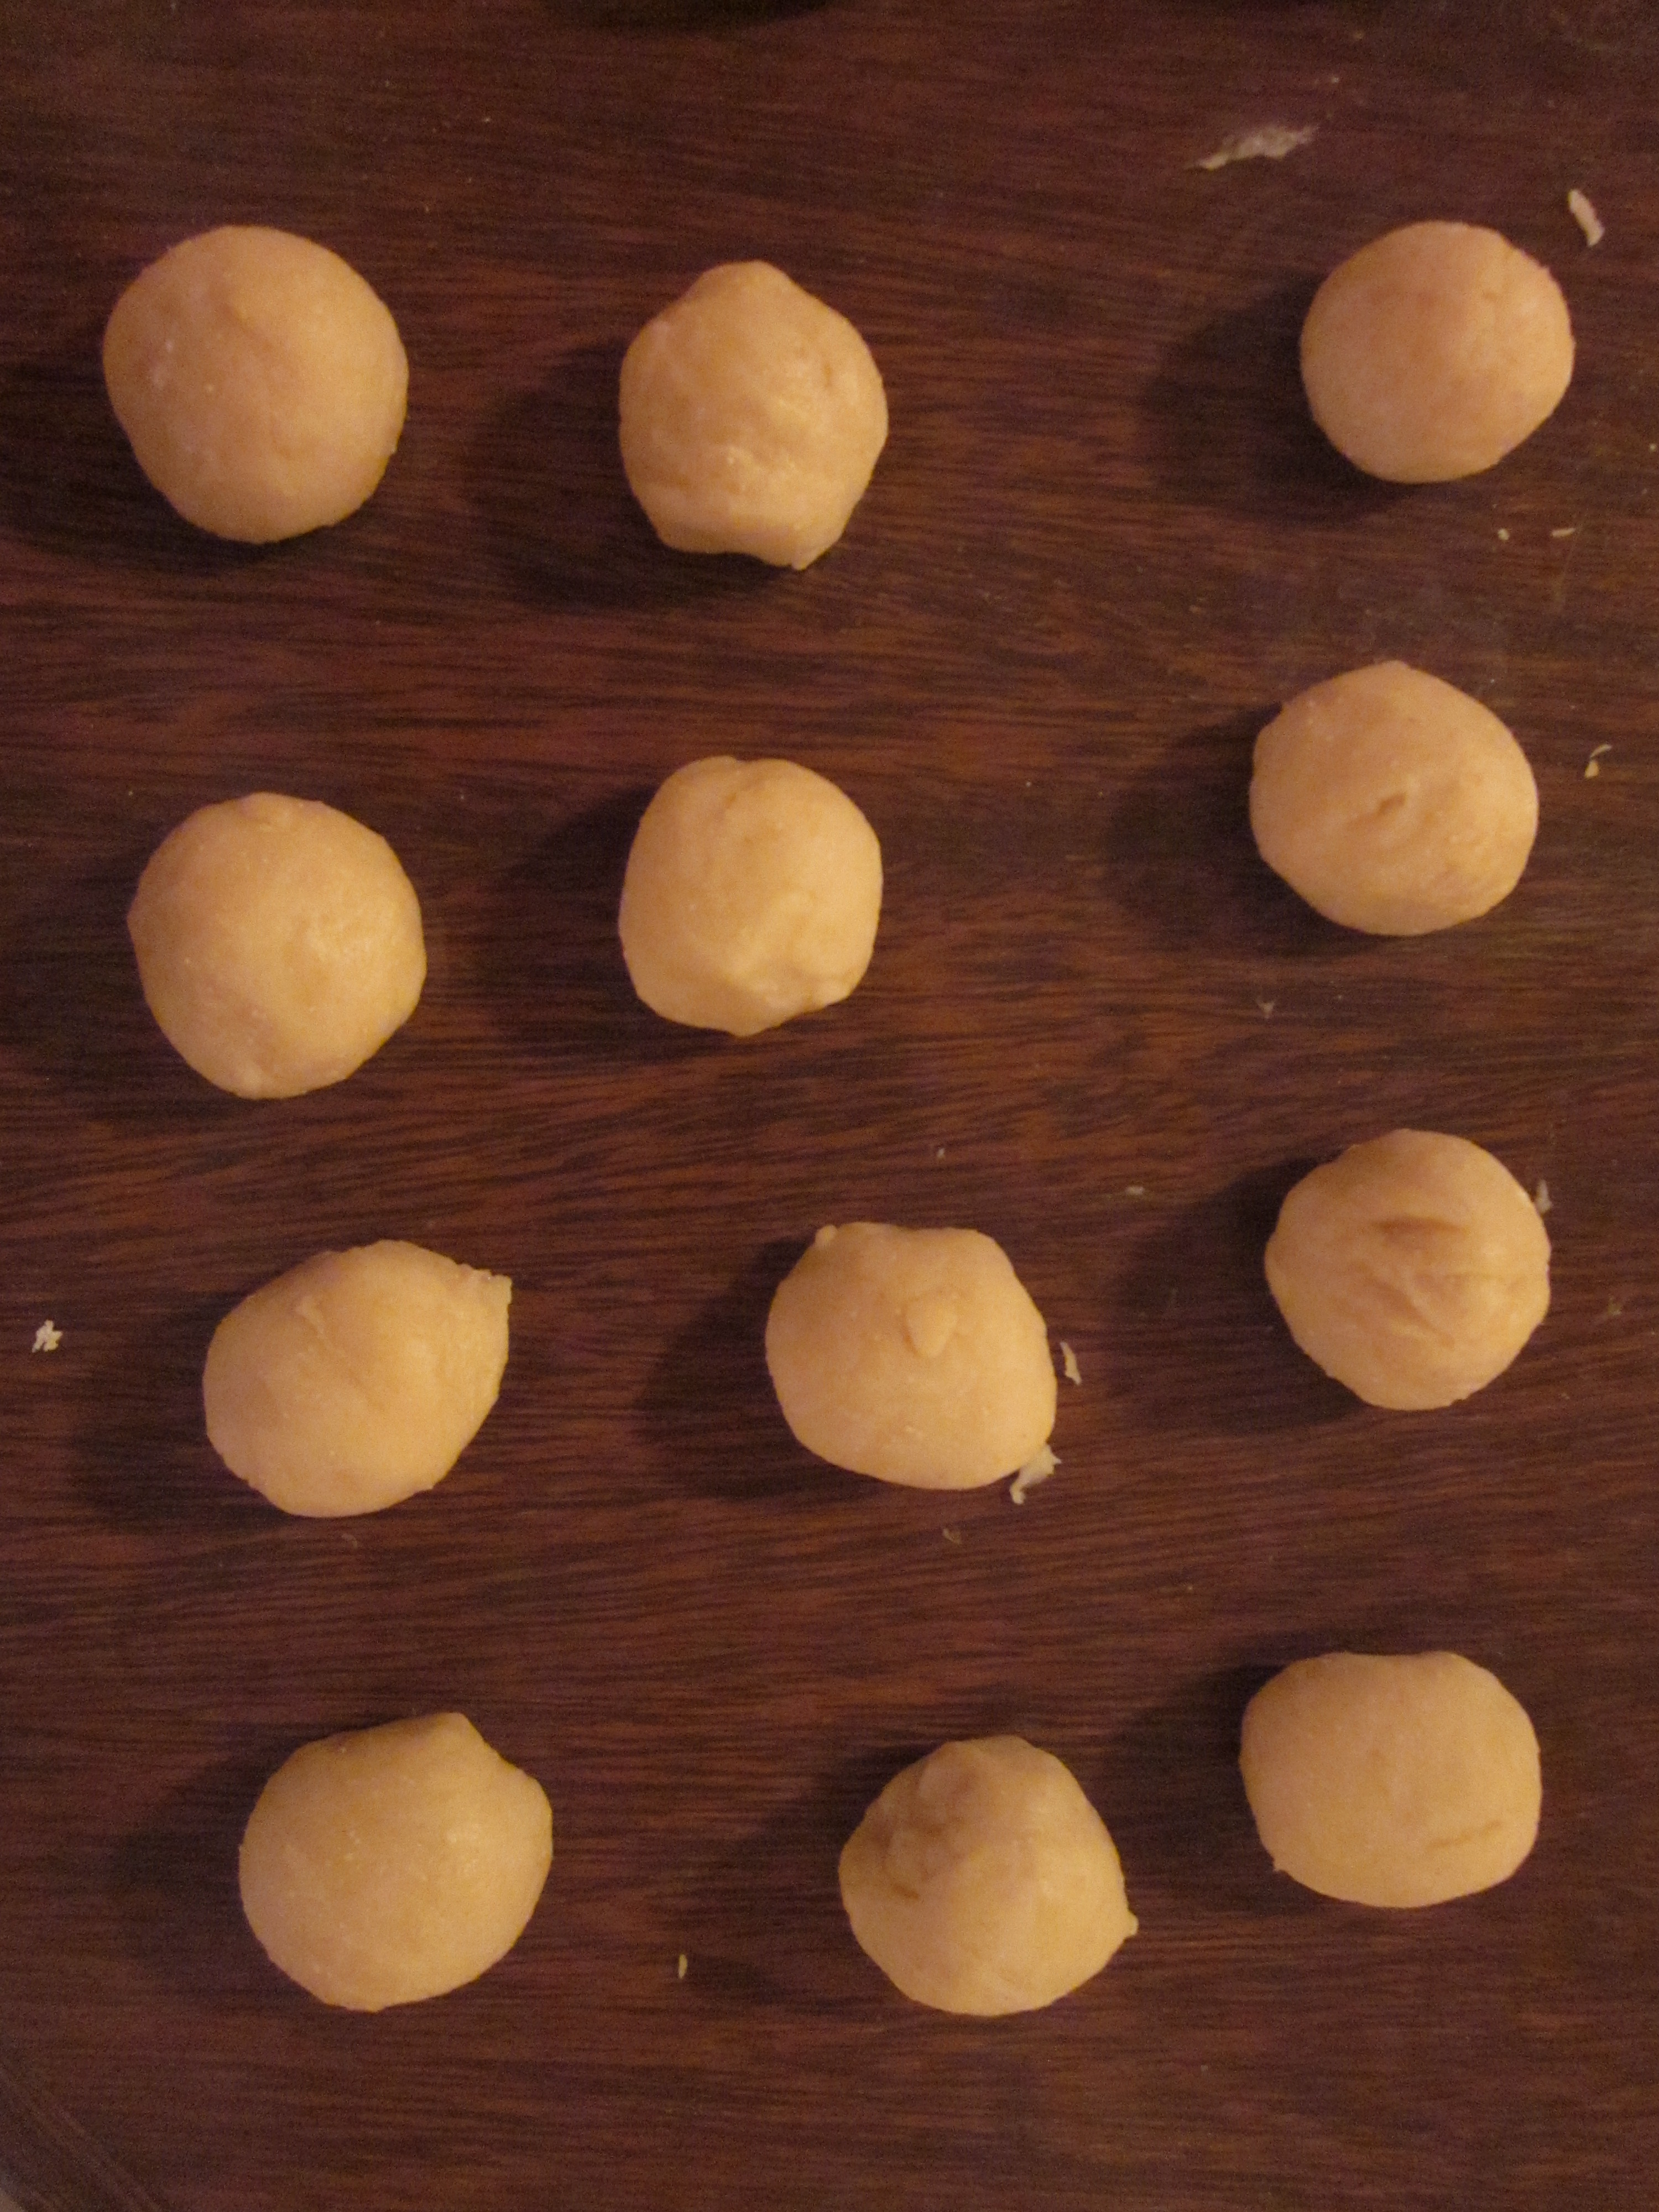
Add this mix to the flour along with the eggs yolks , salt and sugar. Mix until all the ingredients are well mixed in the dough. It’s very important to knead the dough forcefully on the table the dough for at least 5 min. (My Mom slams the dough down on the table, throwing it from up high for about 3 minutes). Make a nice ball and divide in 30 pieces.

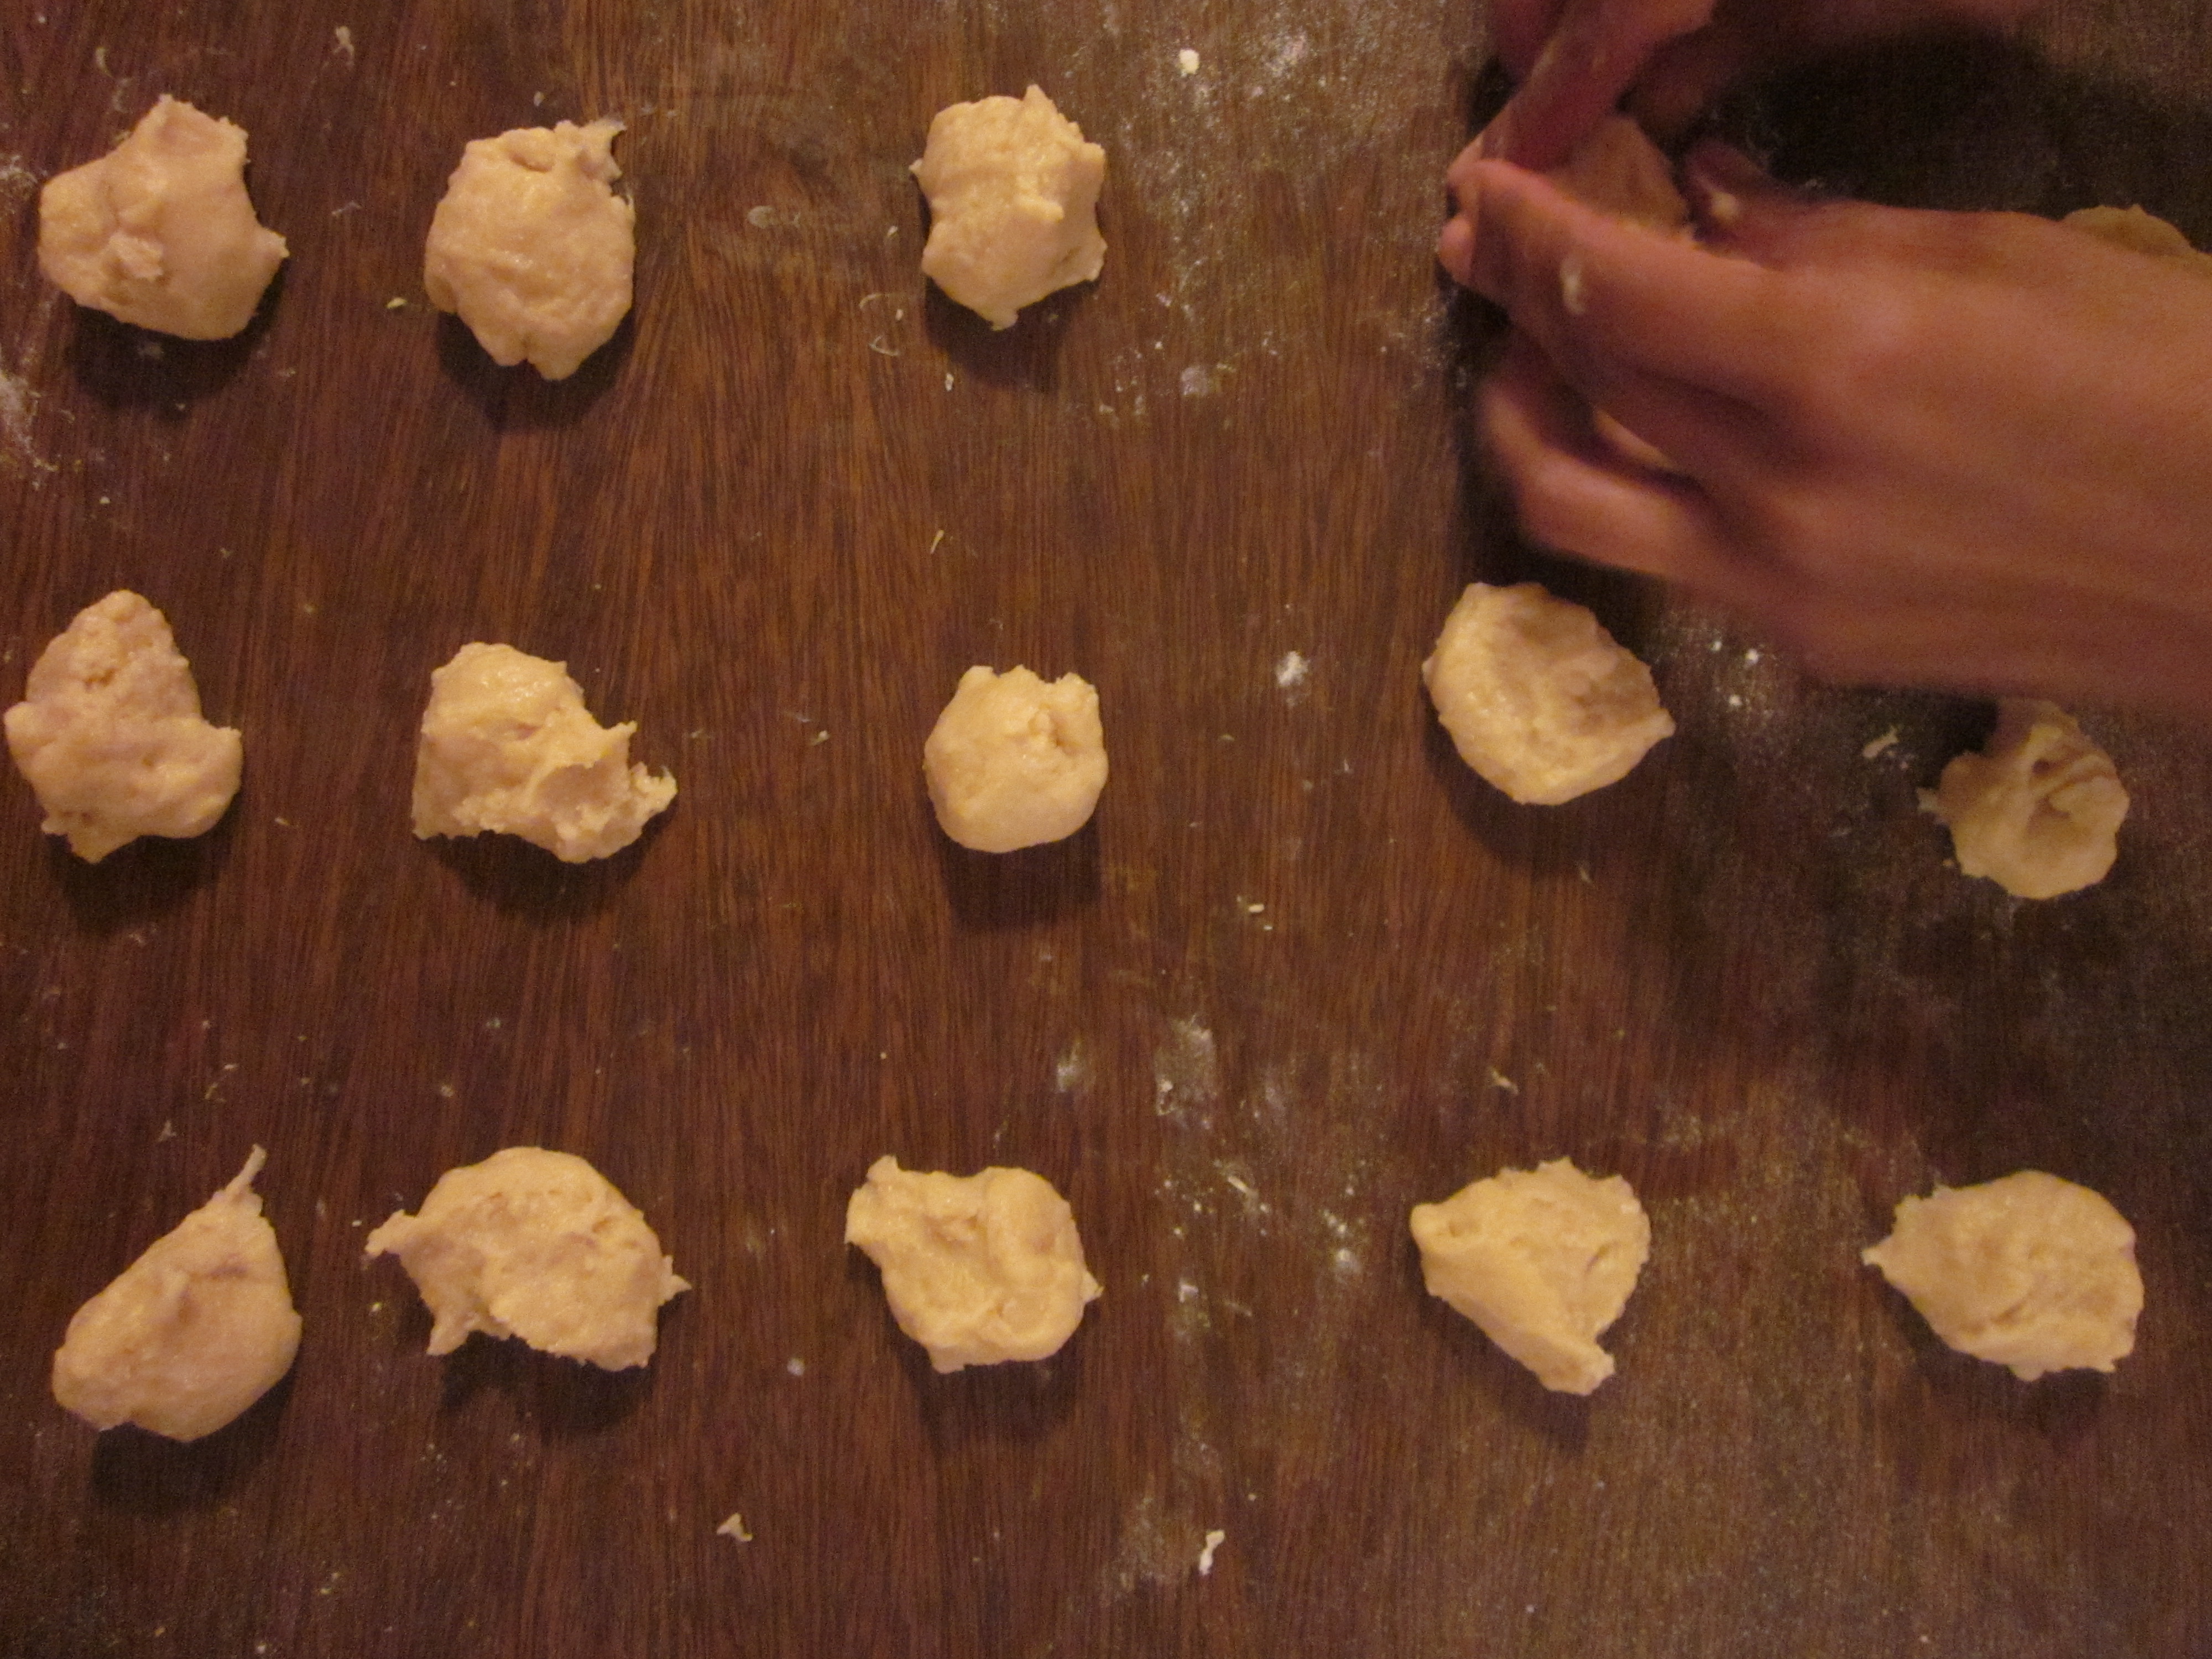
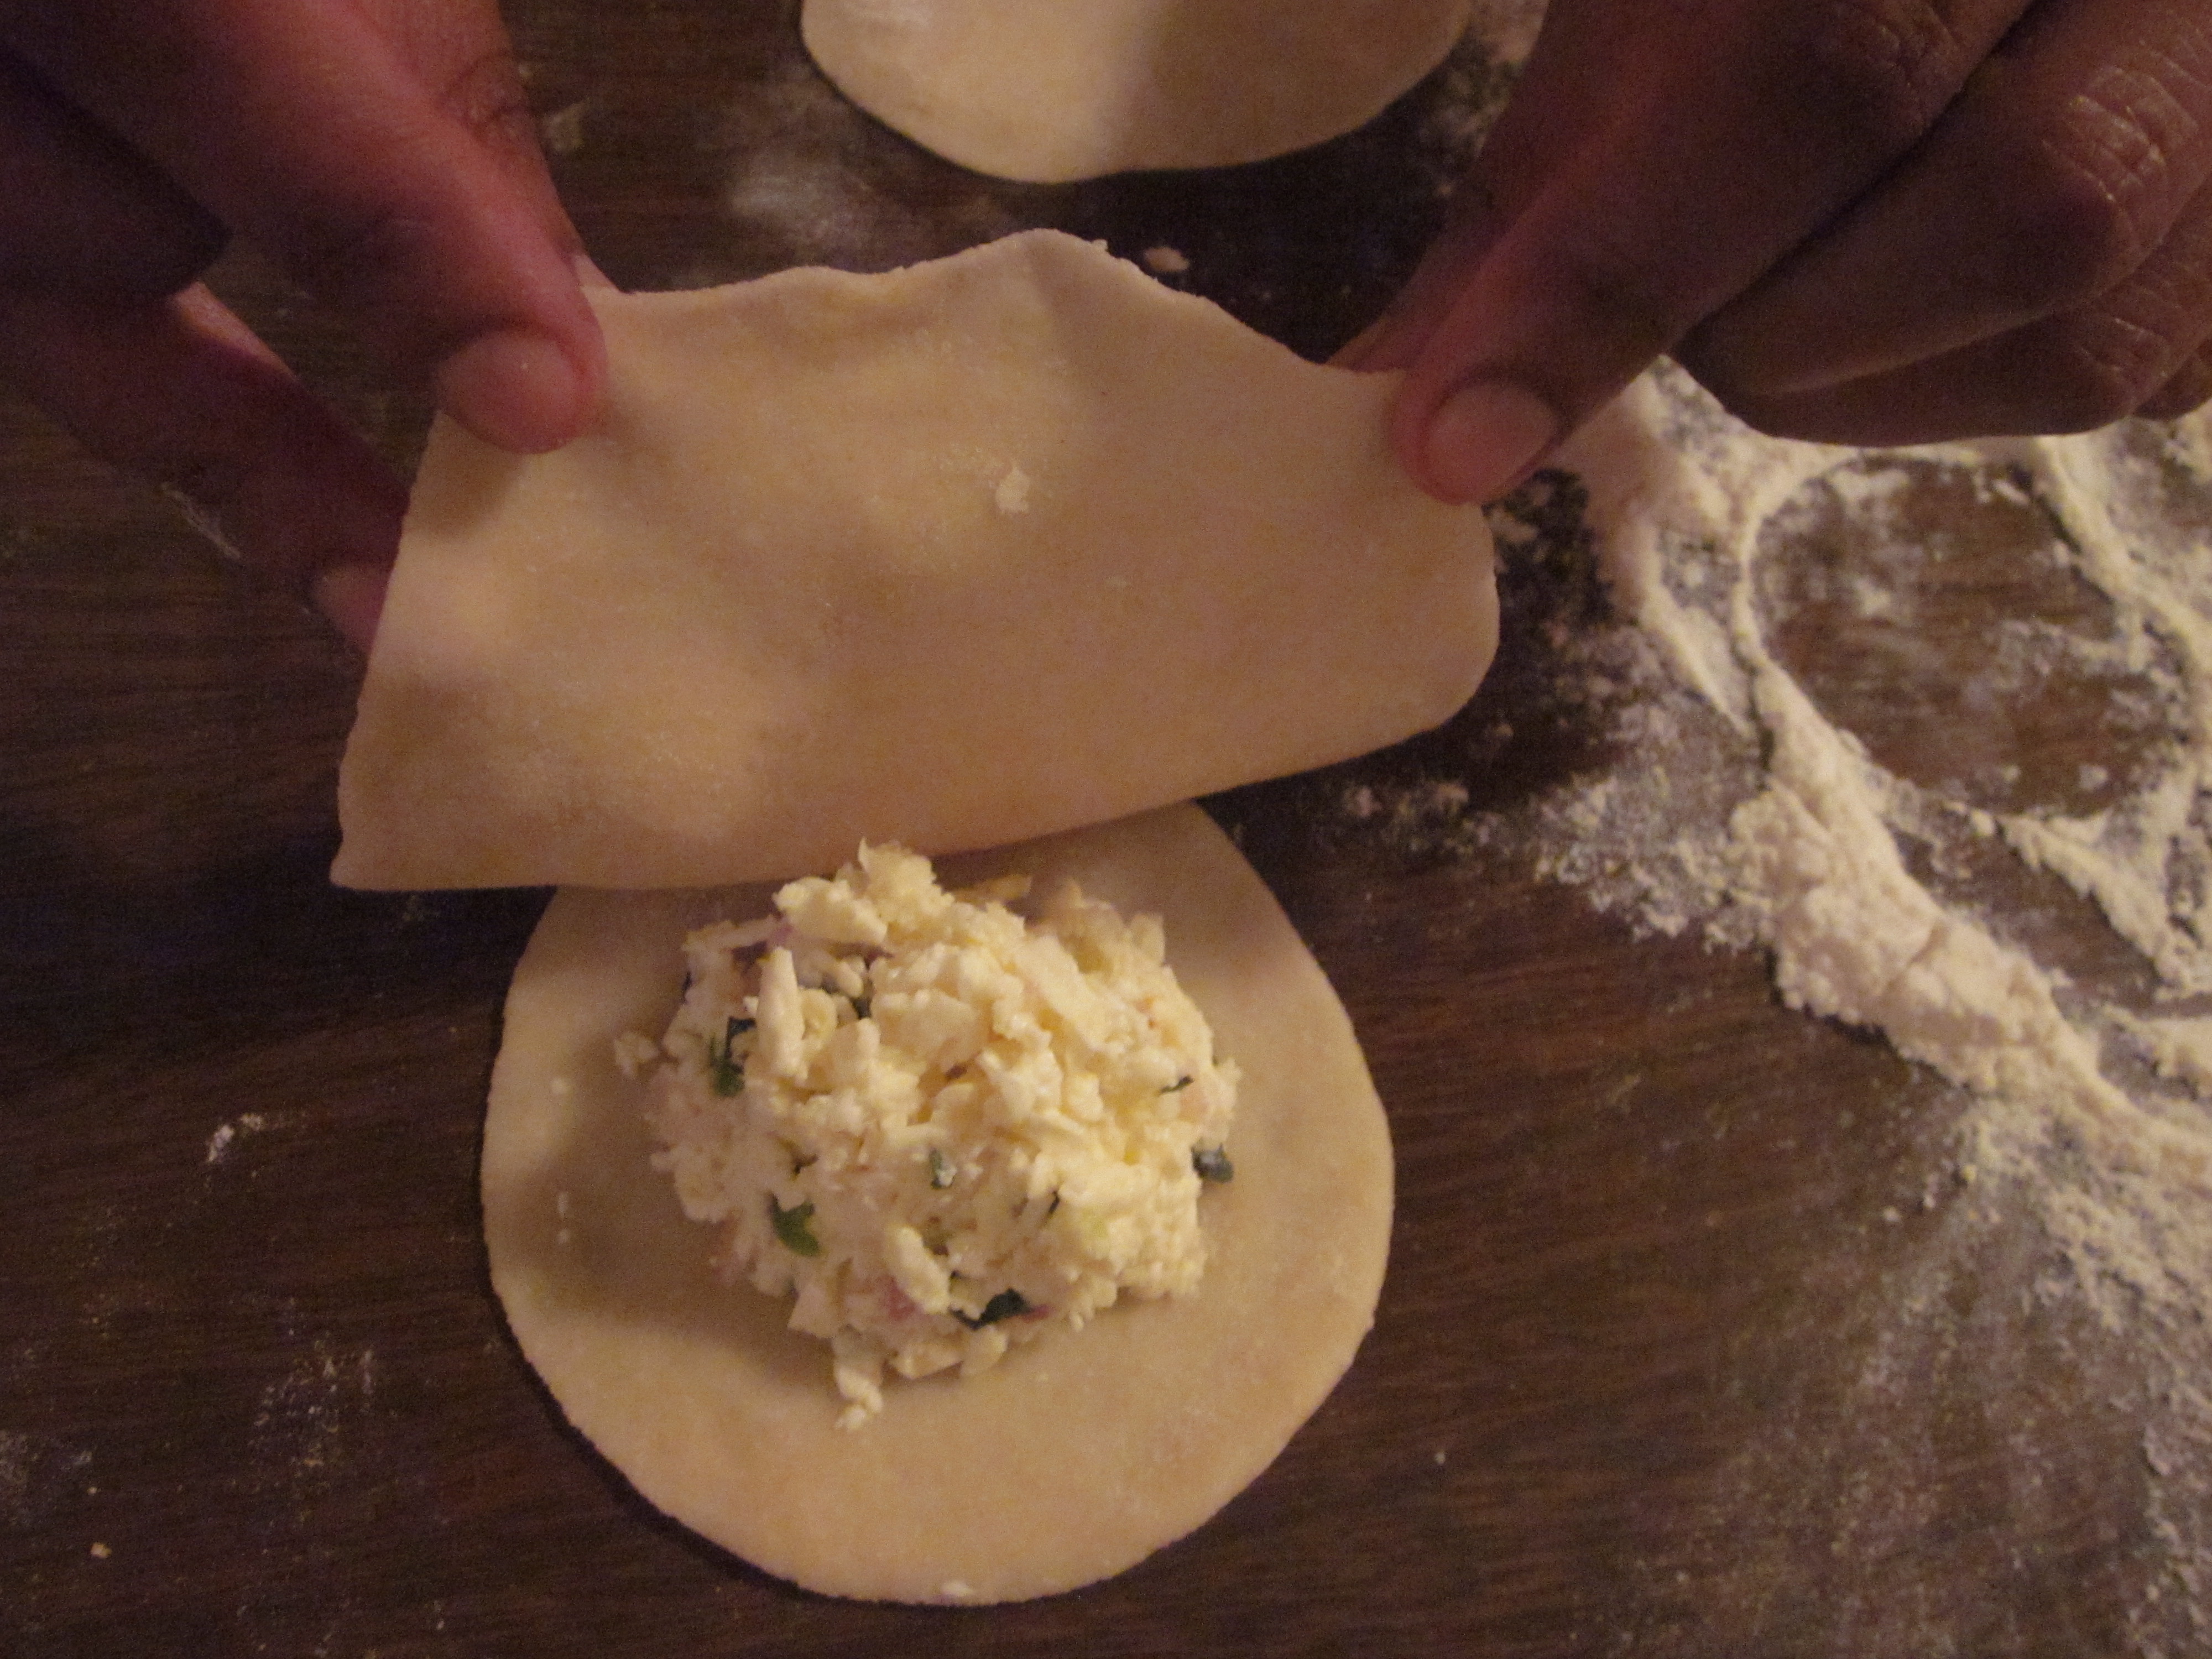
Shape each piece in small balls and with a roller pin, flatten each piece until it’s the size of the cup,. If the dough is a little bit too sticky, add some flour to your surface working area.
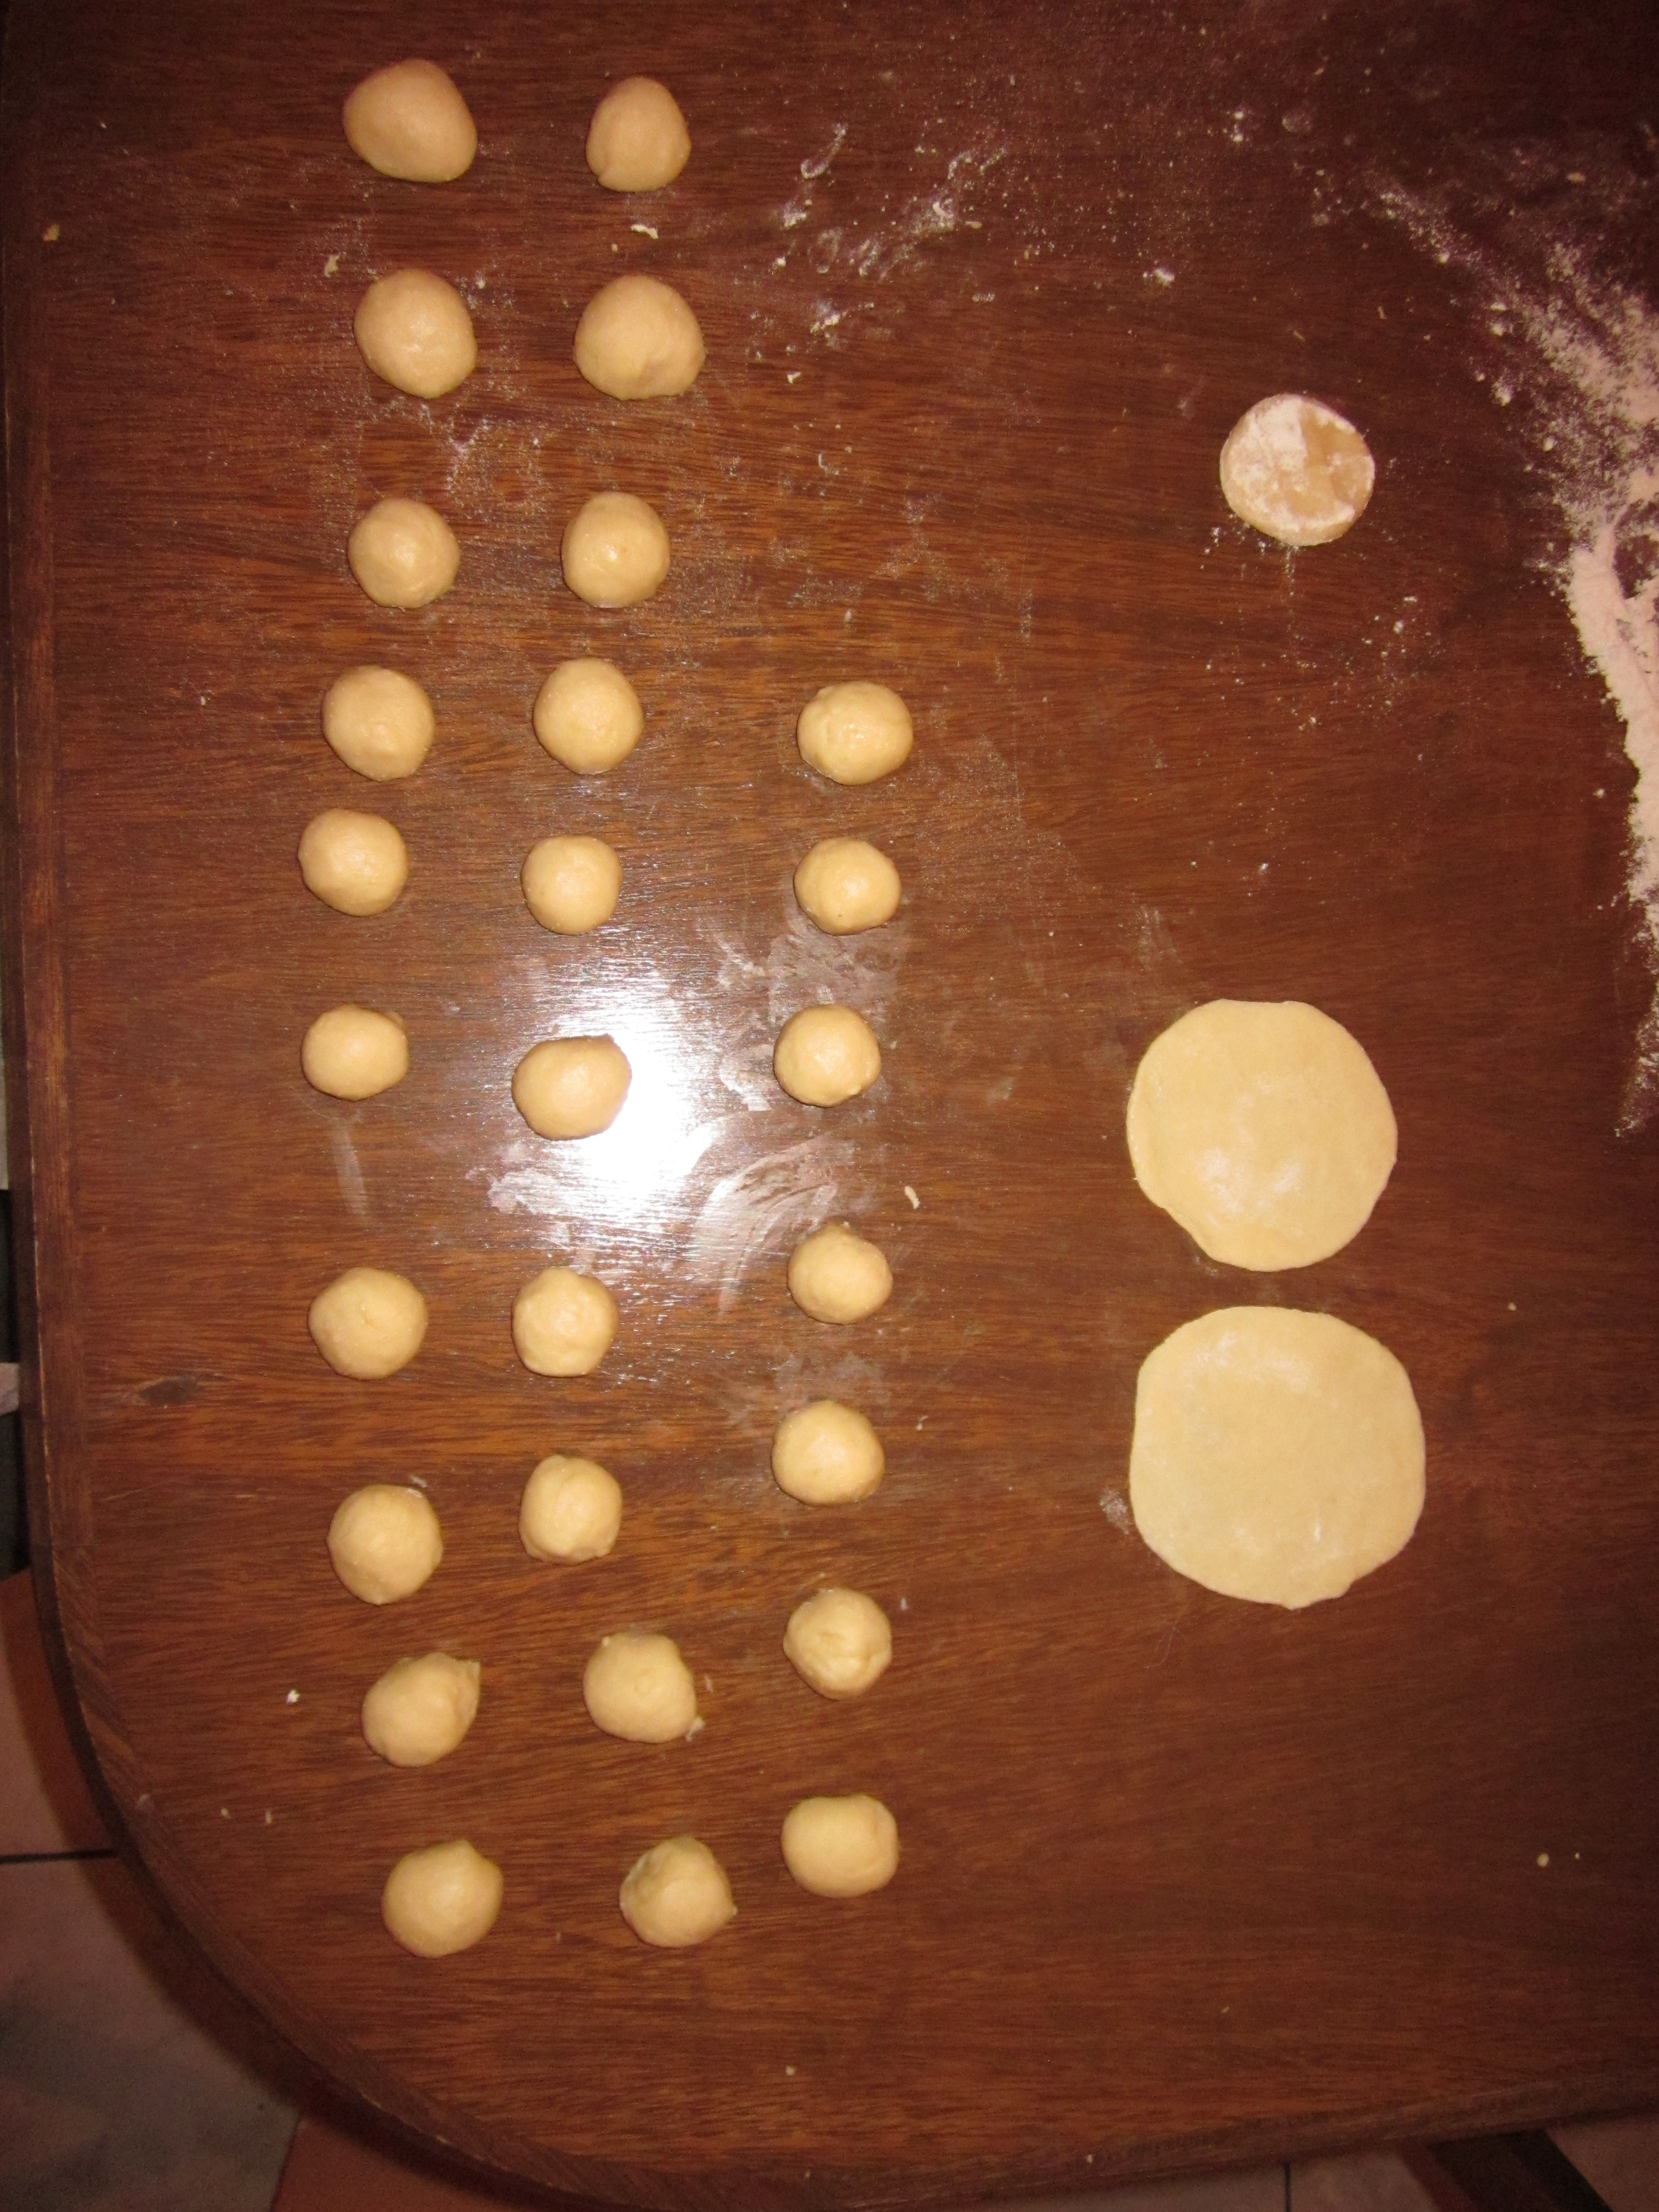
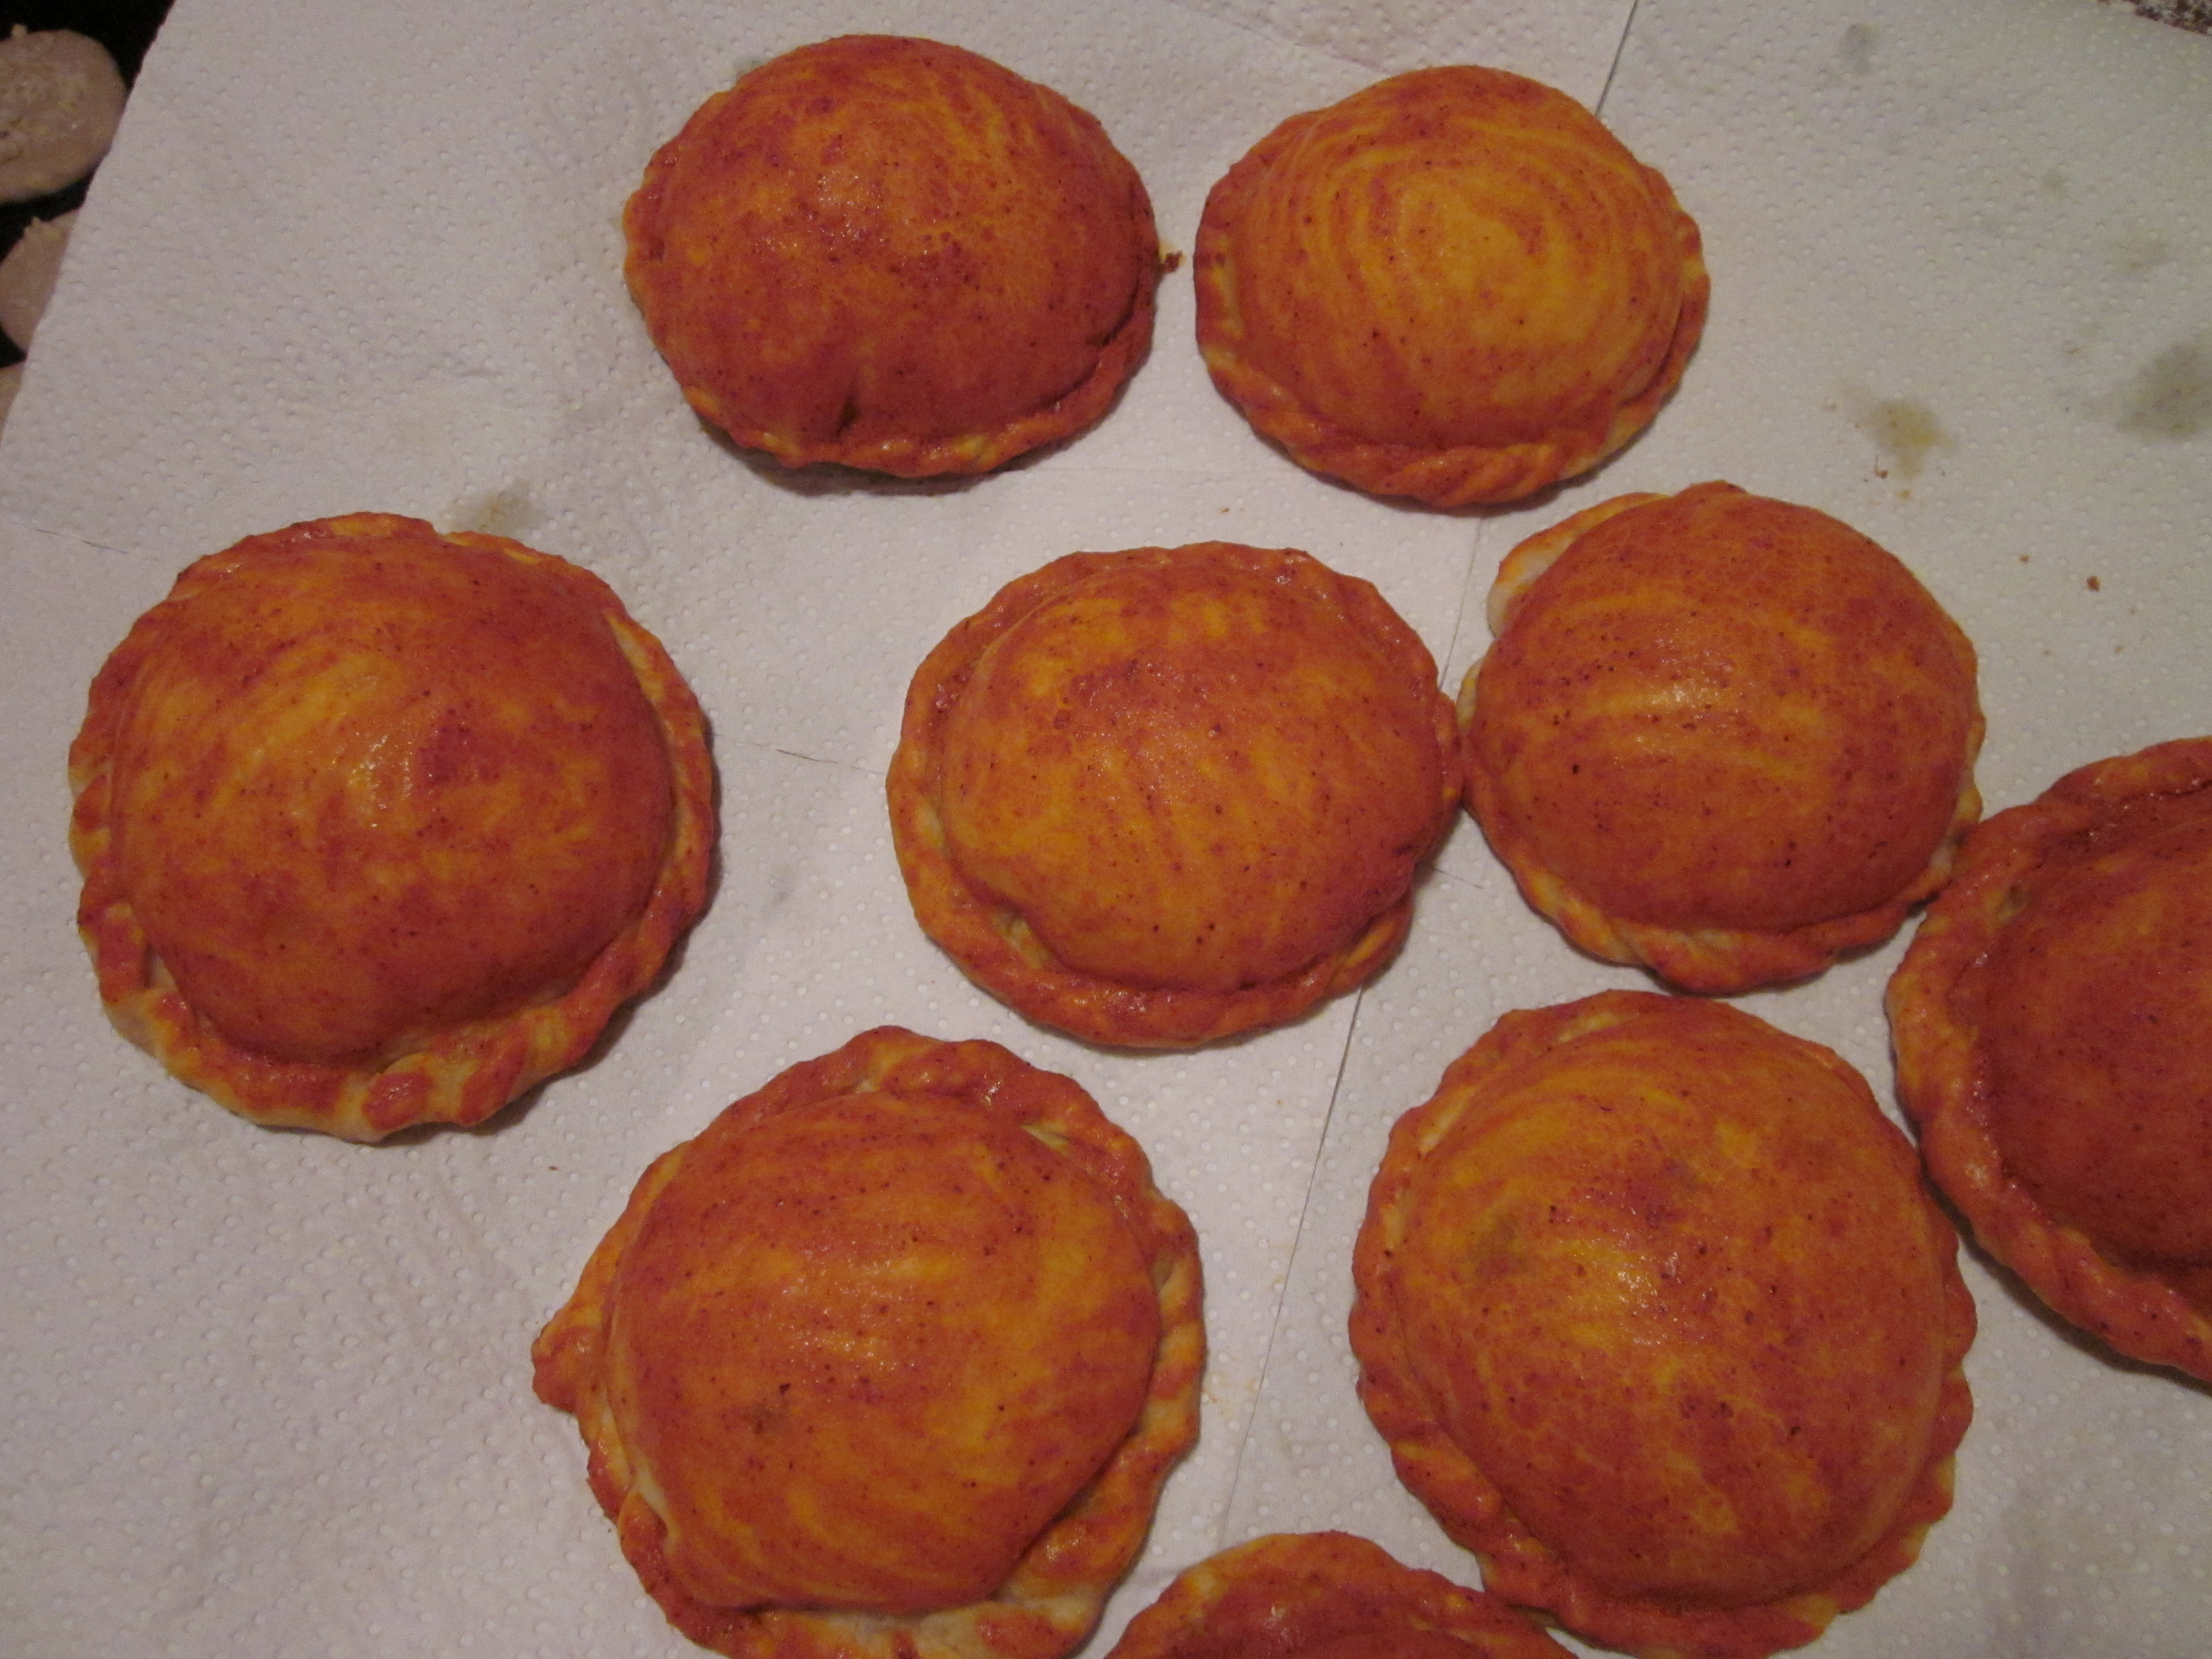
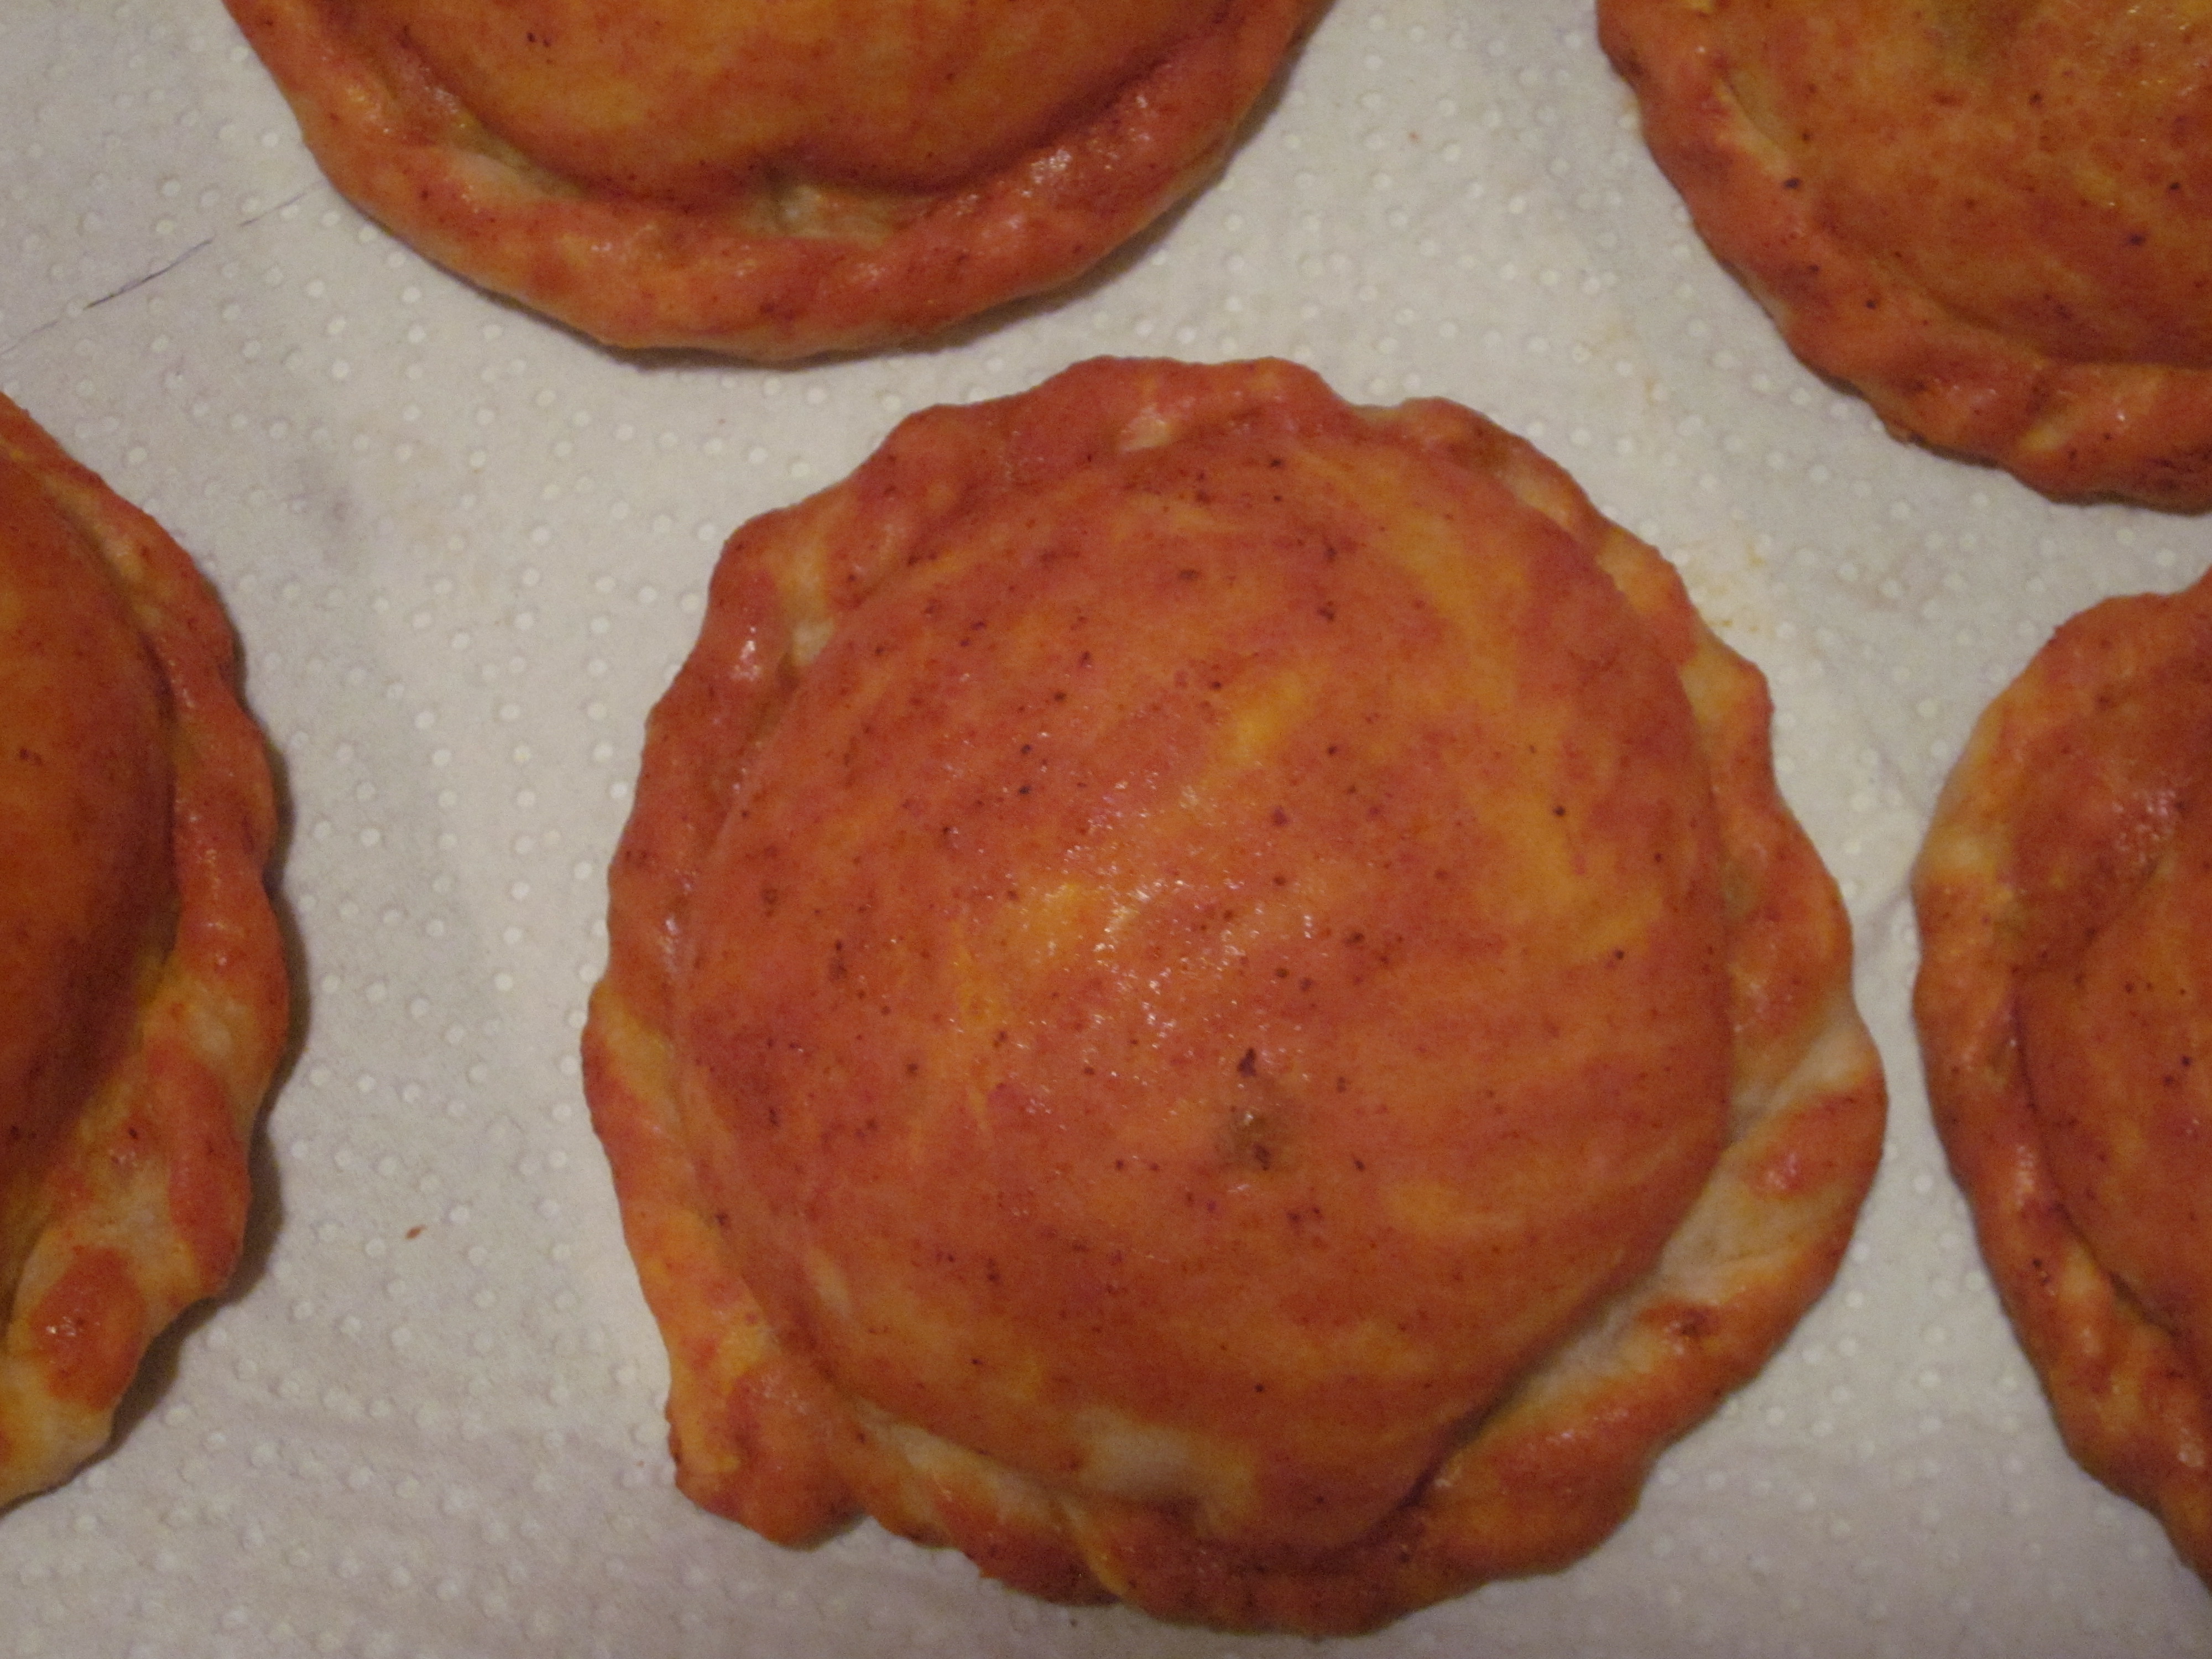
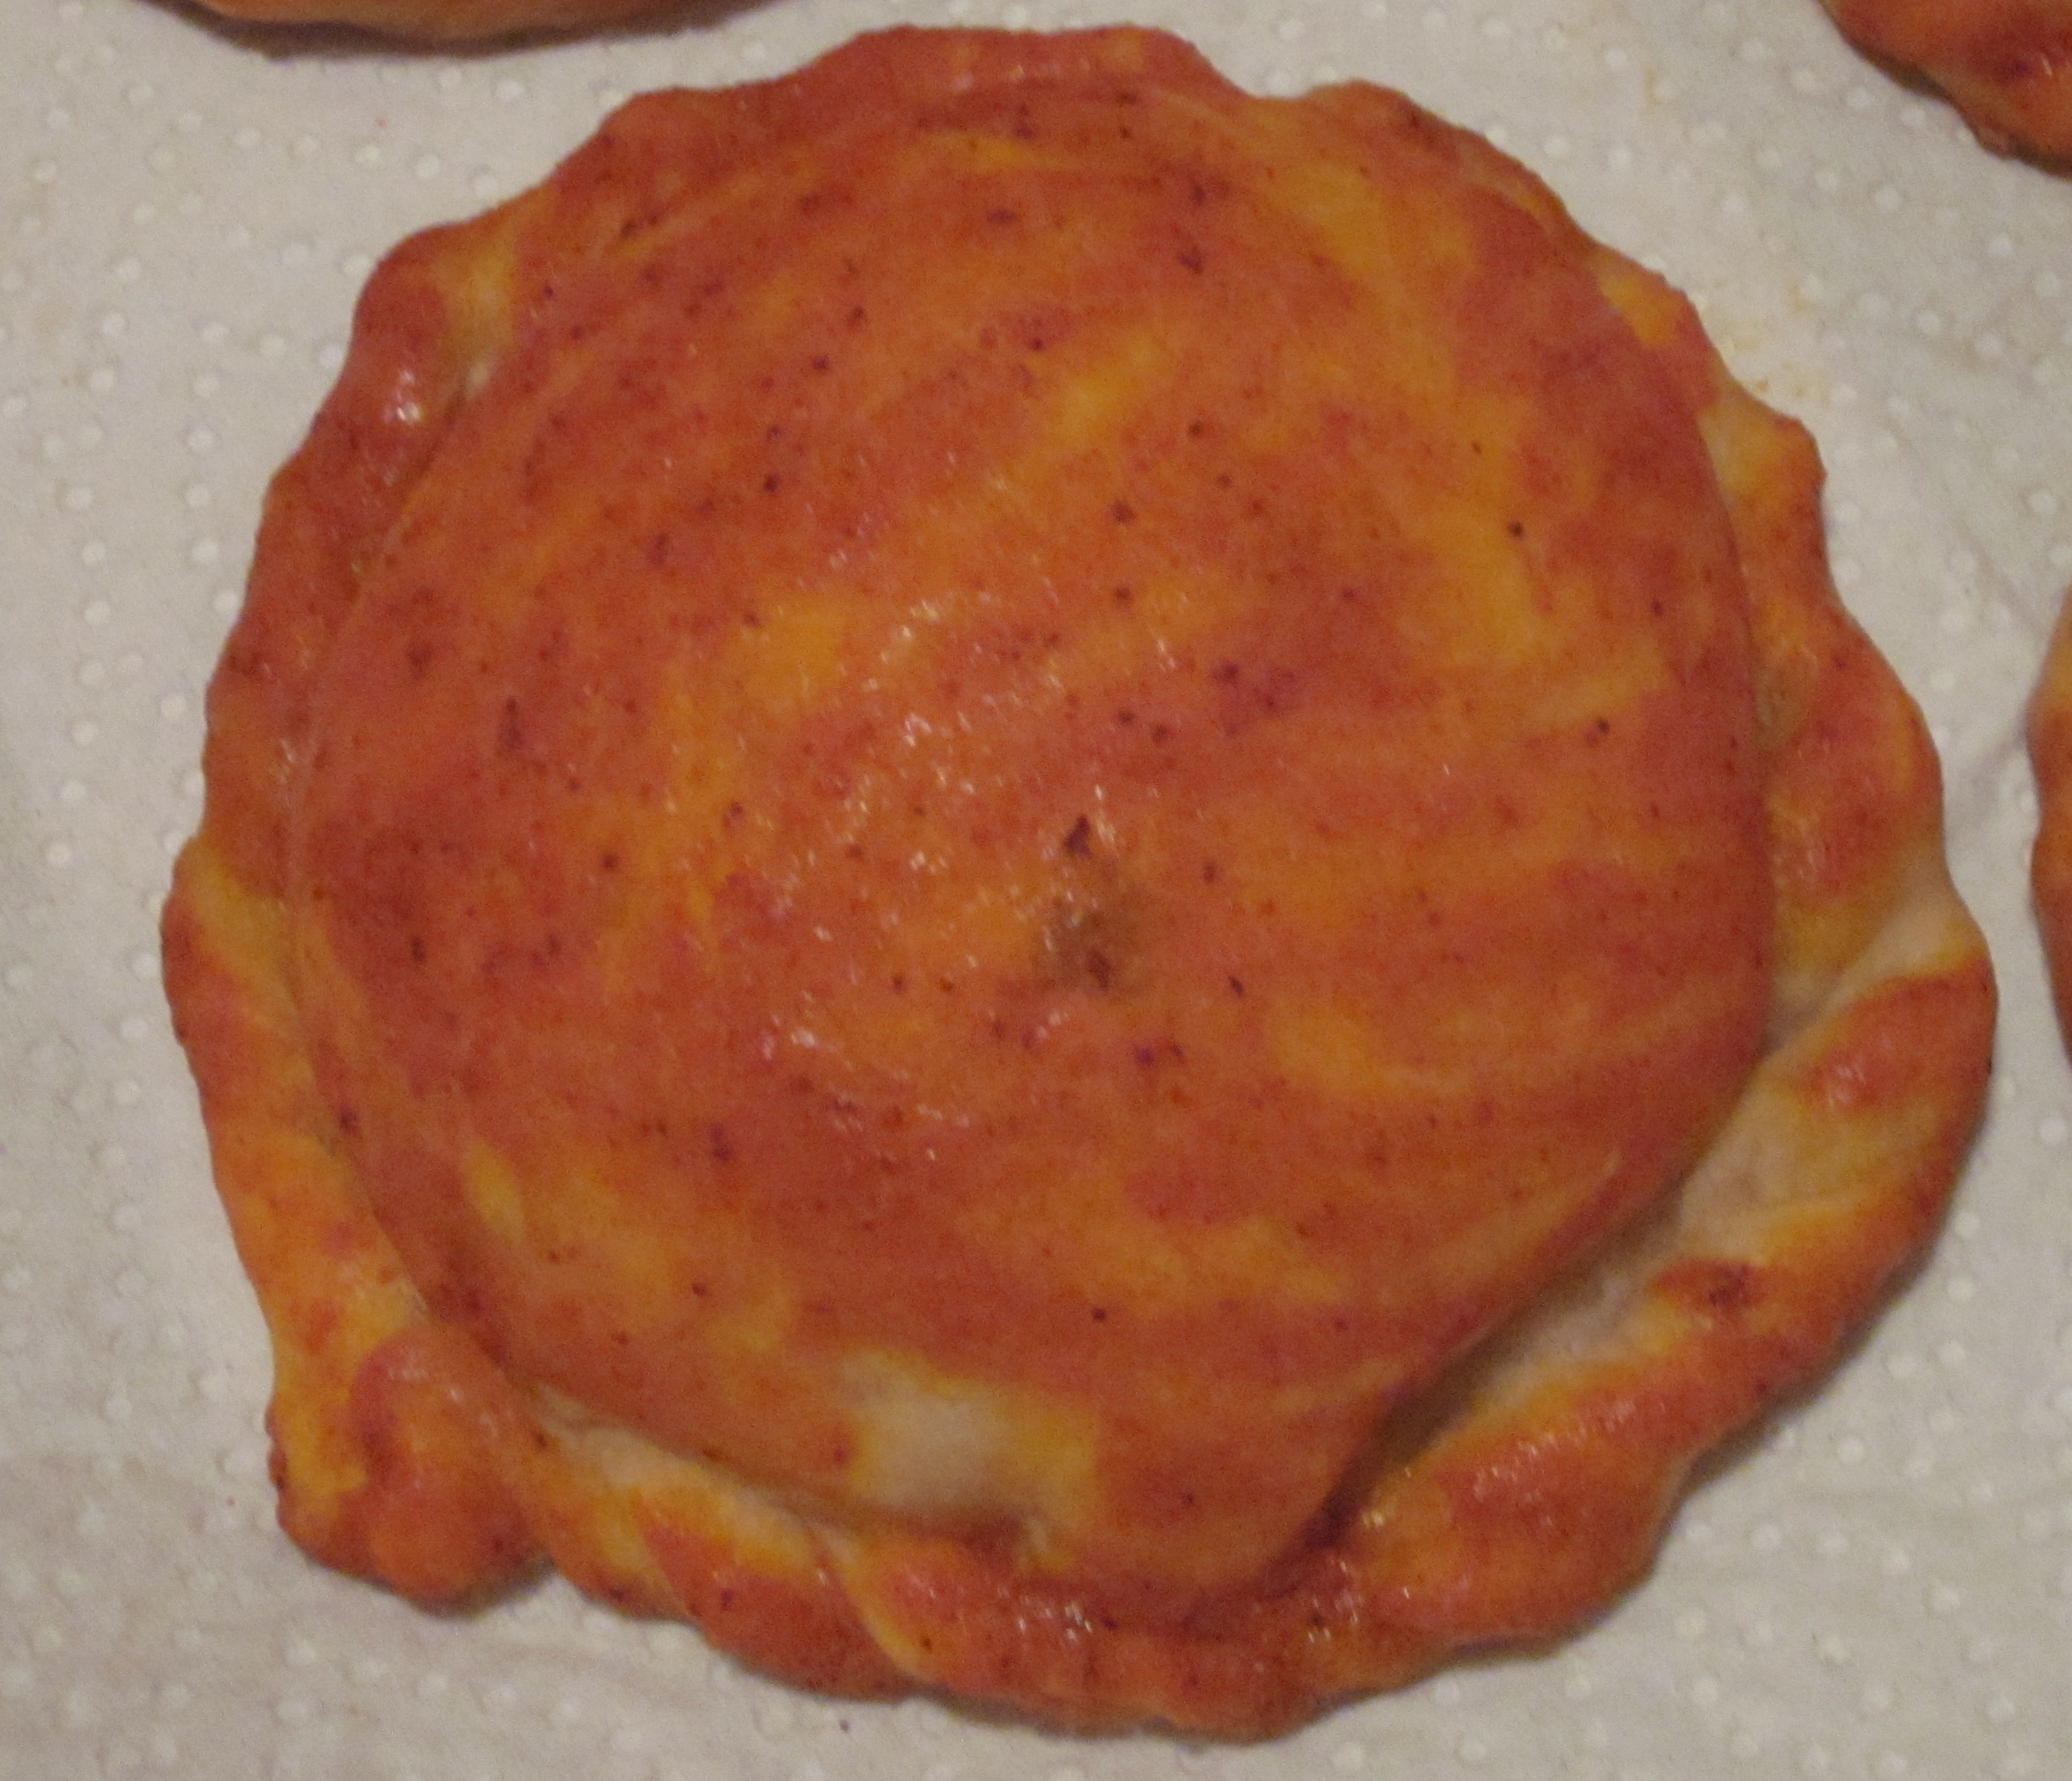
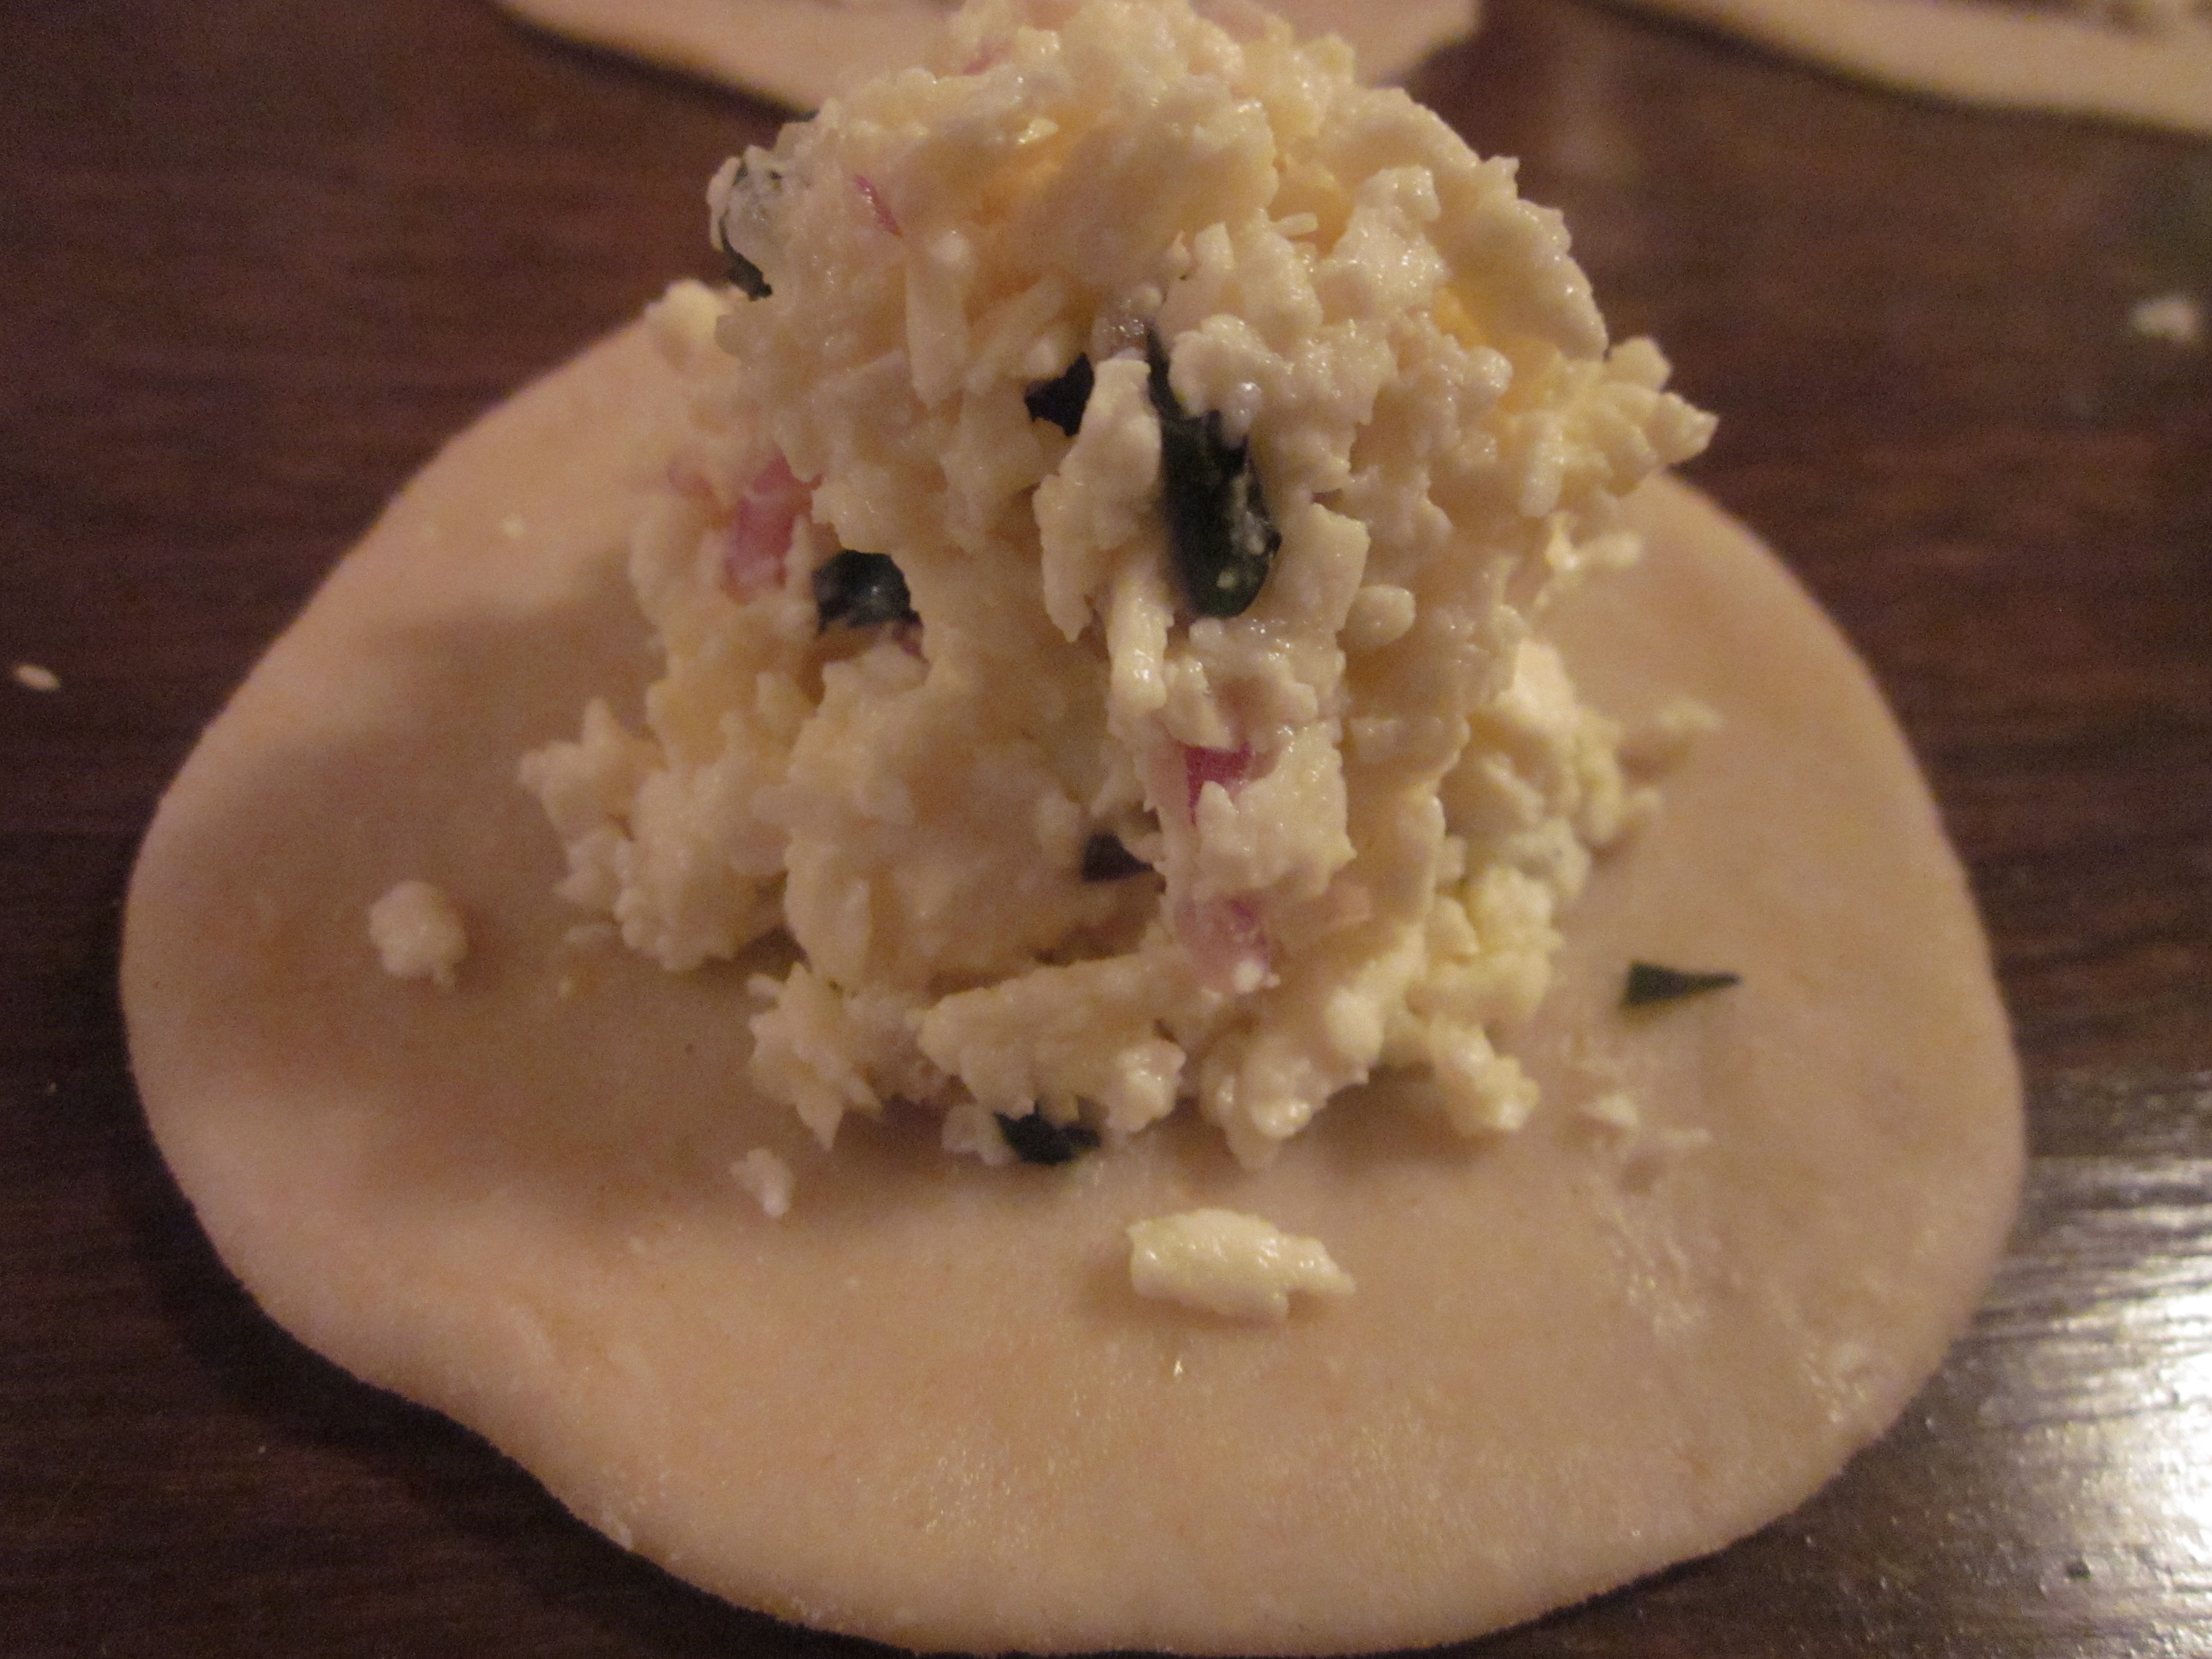
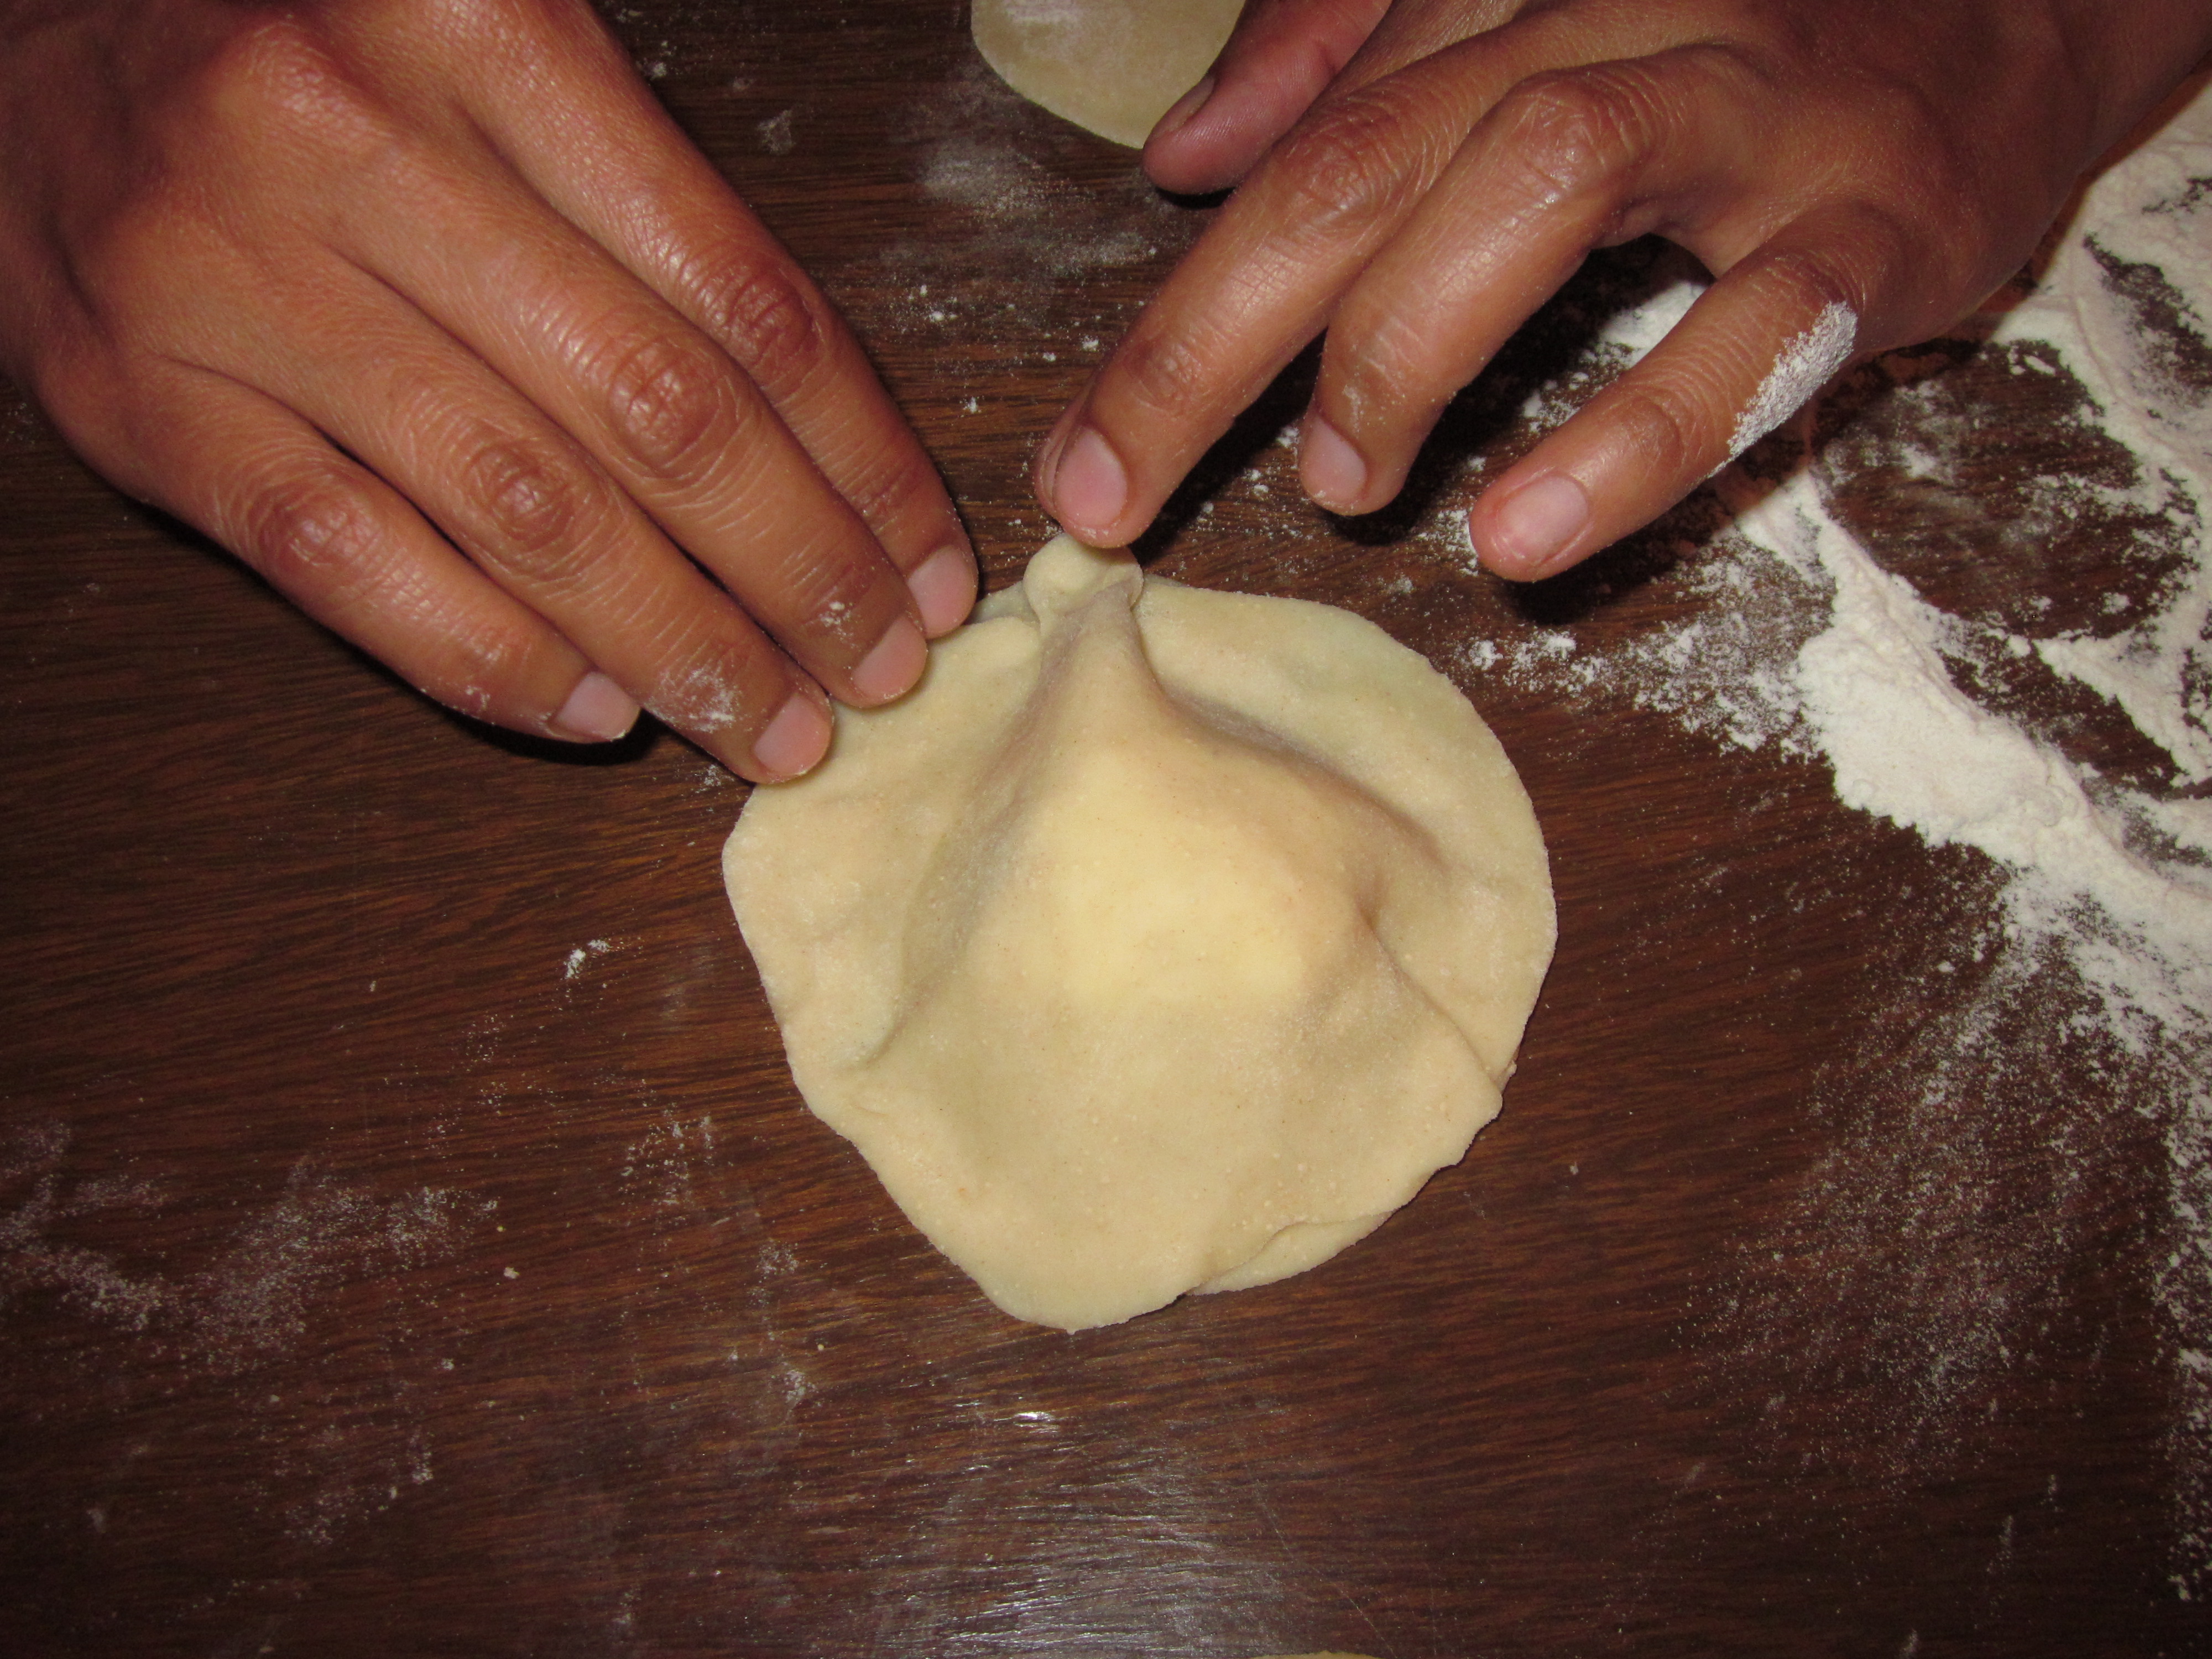
After all of them are flat, add 1 tbs of the filling mix in the center of the 15 discs, making sure ther is a nice pile with no filling on the edges of the disc. Use another disc to cover and press well to seal the edges. After sealed, do a nice braid twist around the edges of the dough. If you don’t know out to braid the dough, you can use a fork to press the edges down.

Preheat the oven to 350F
Put the pukacapas on a baking sheet and using a brush, cover with the paprika and yolk mix.
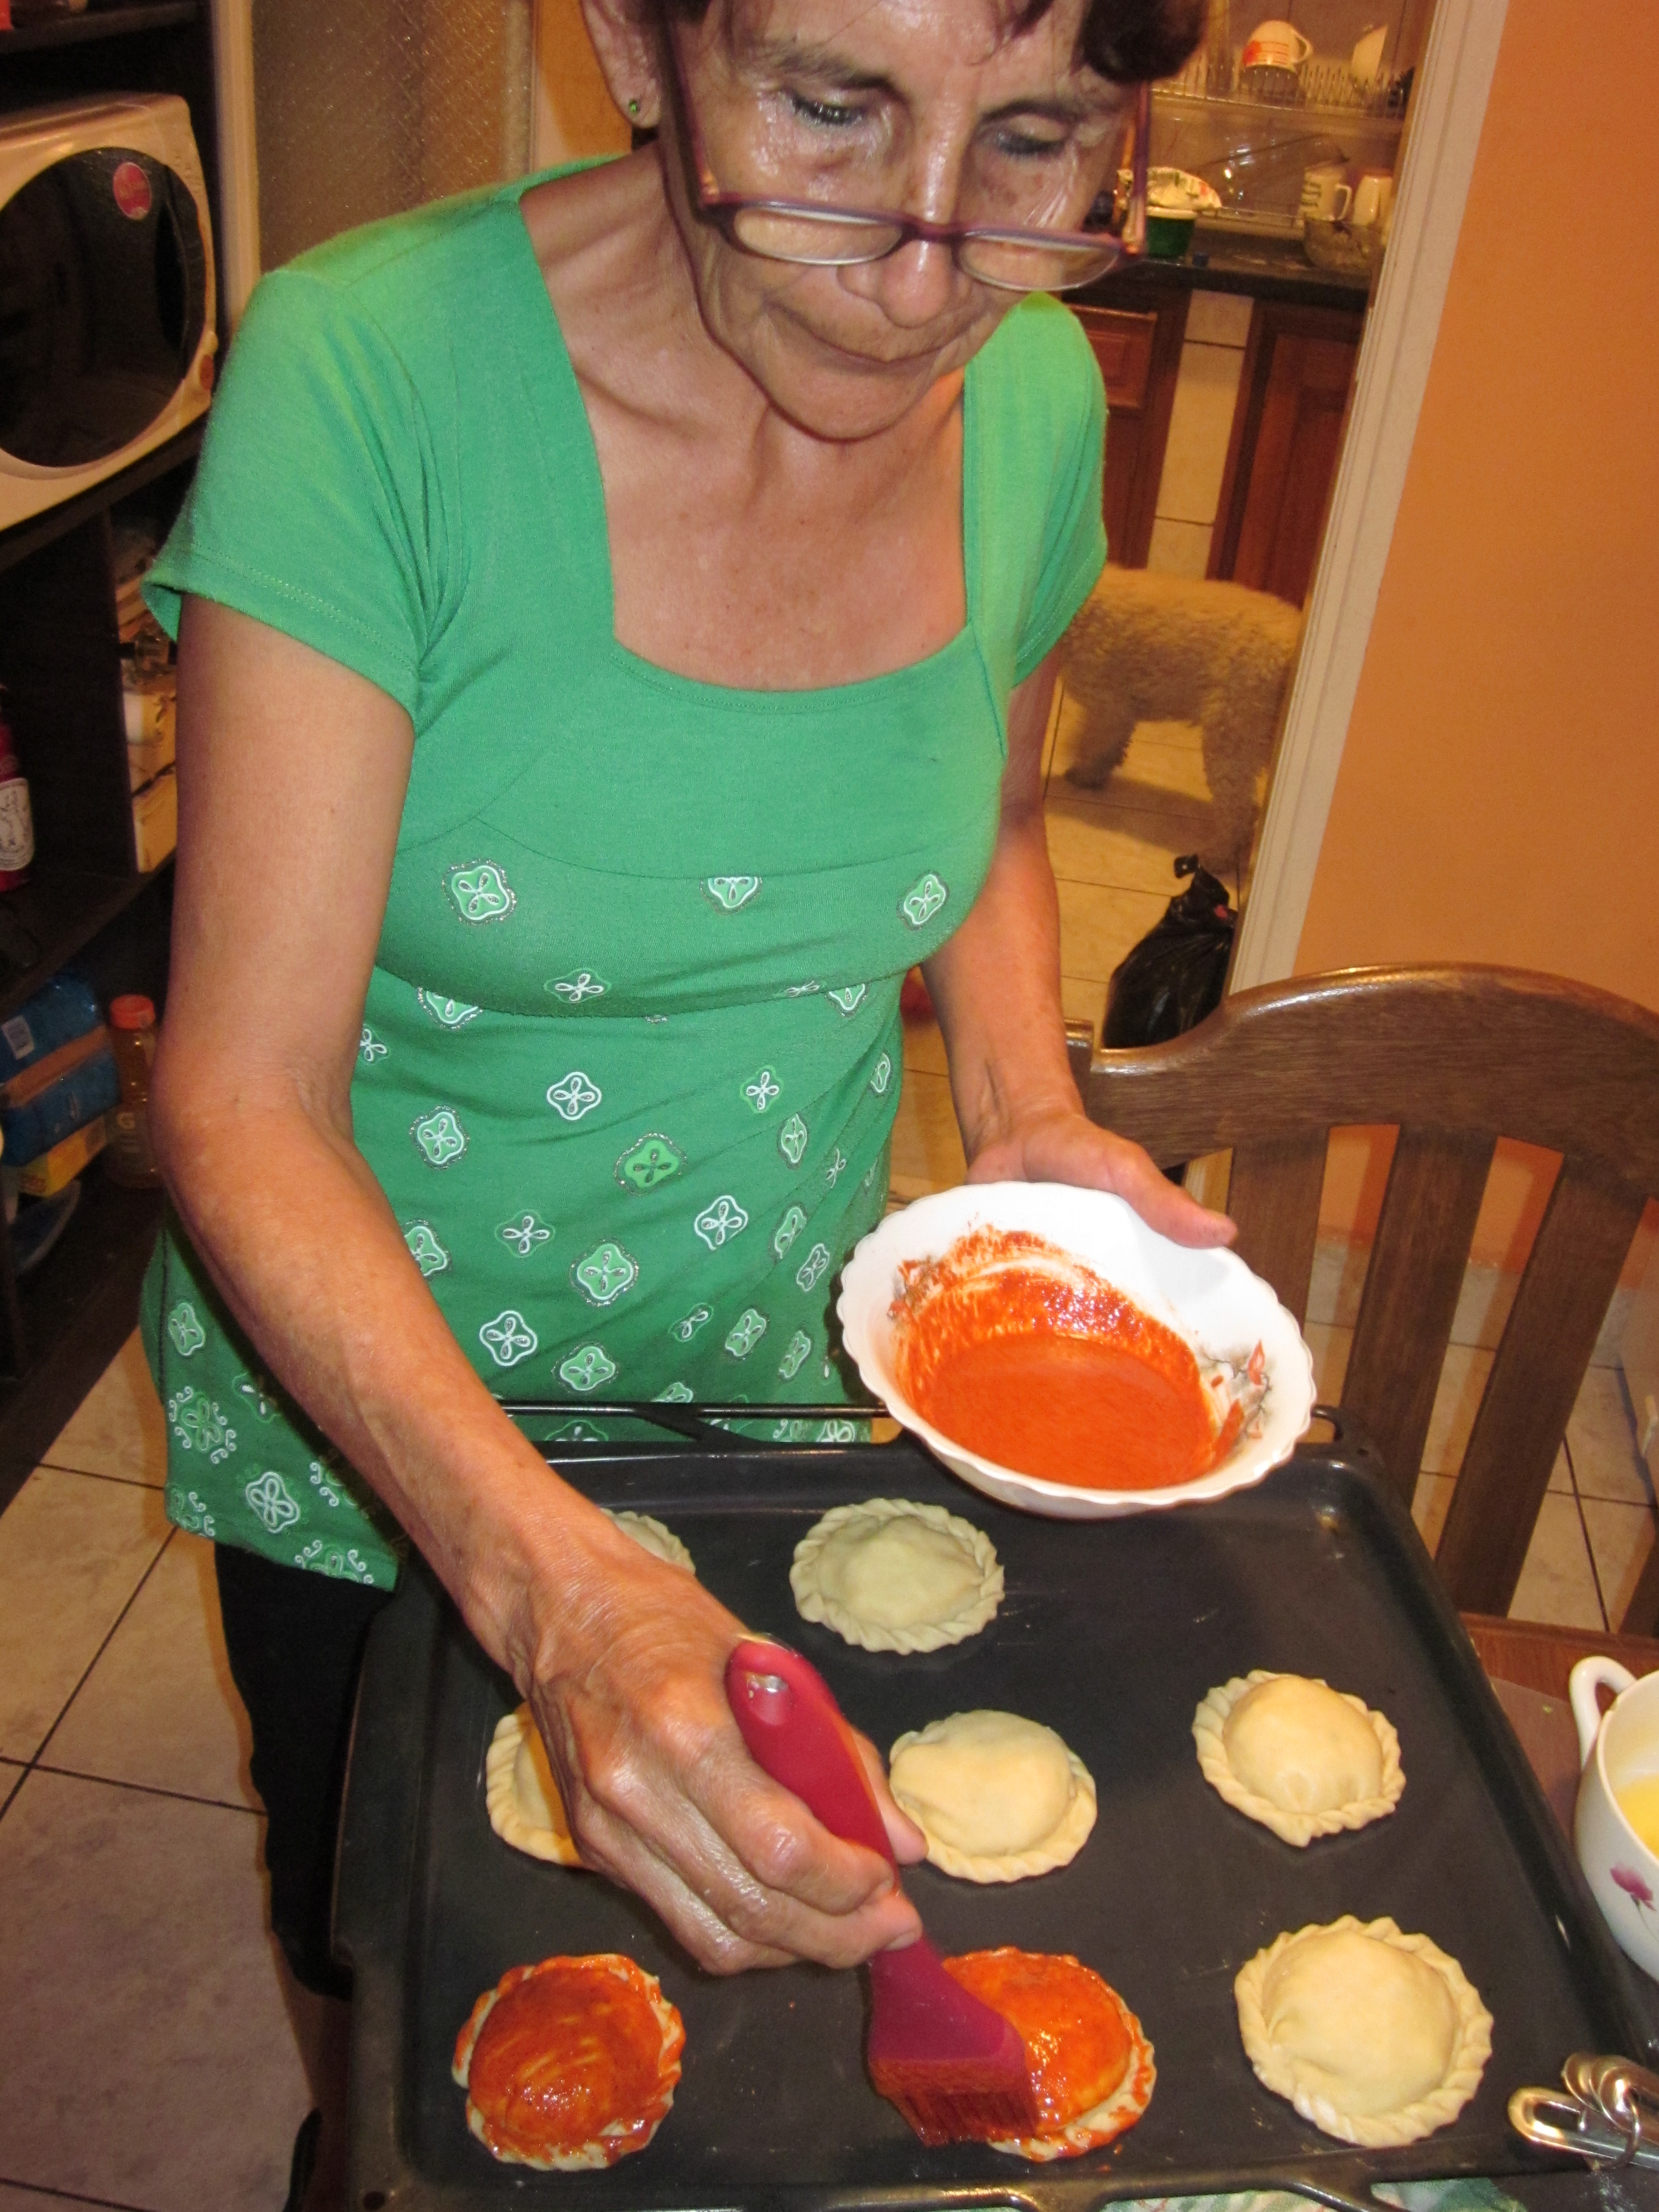
Bake them for 15 min the bottoms look golden.
I