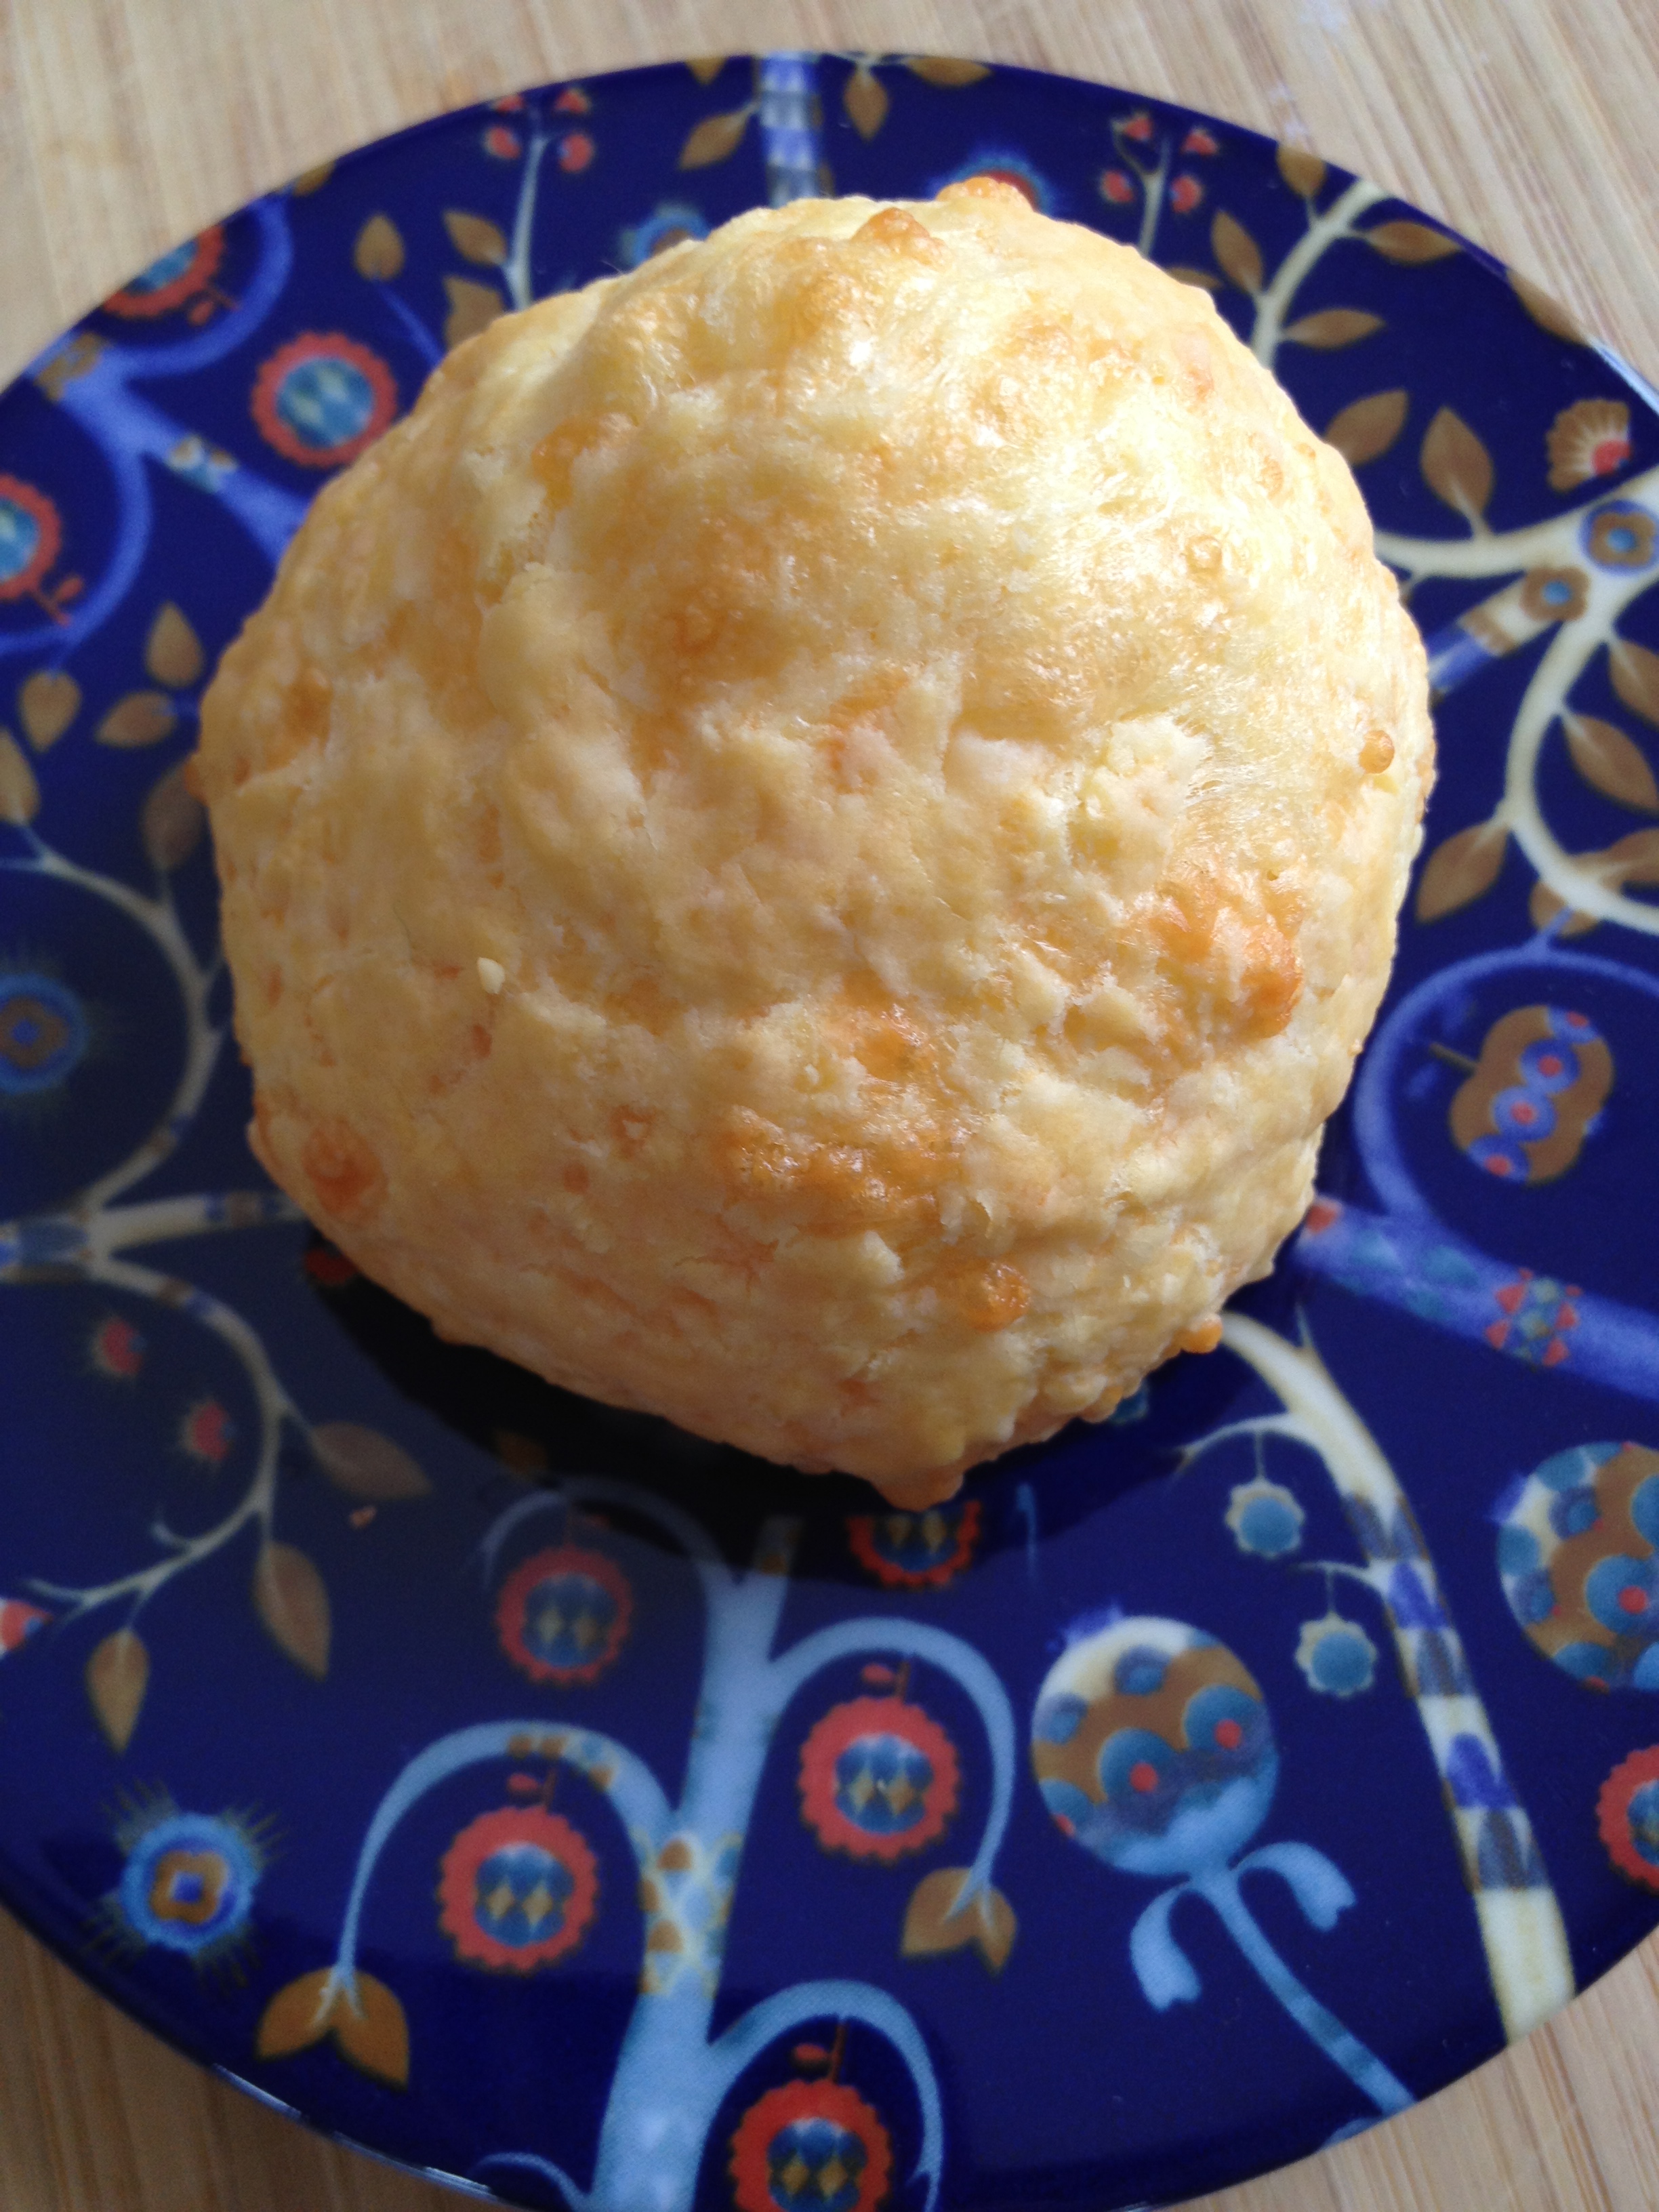
Biscocho de Semana Santa
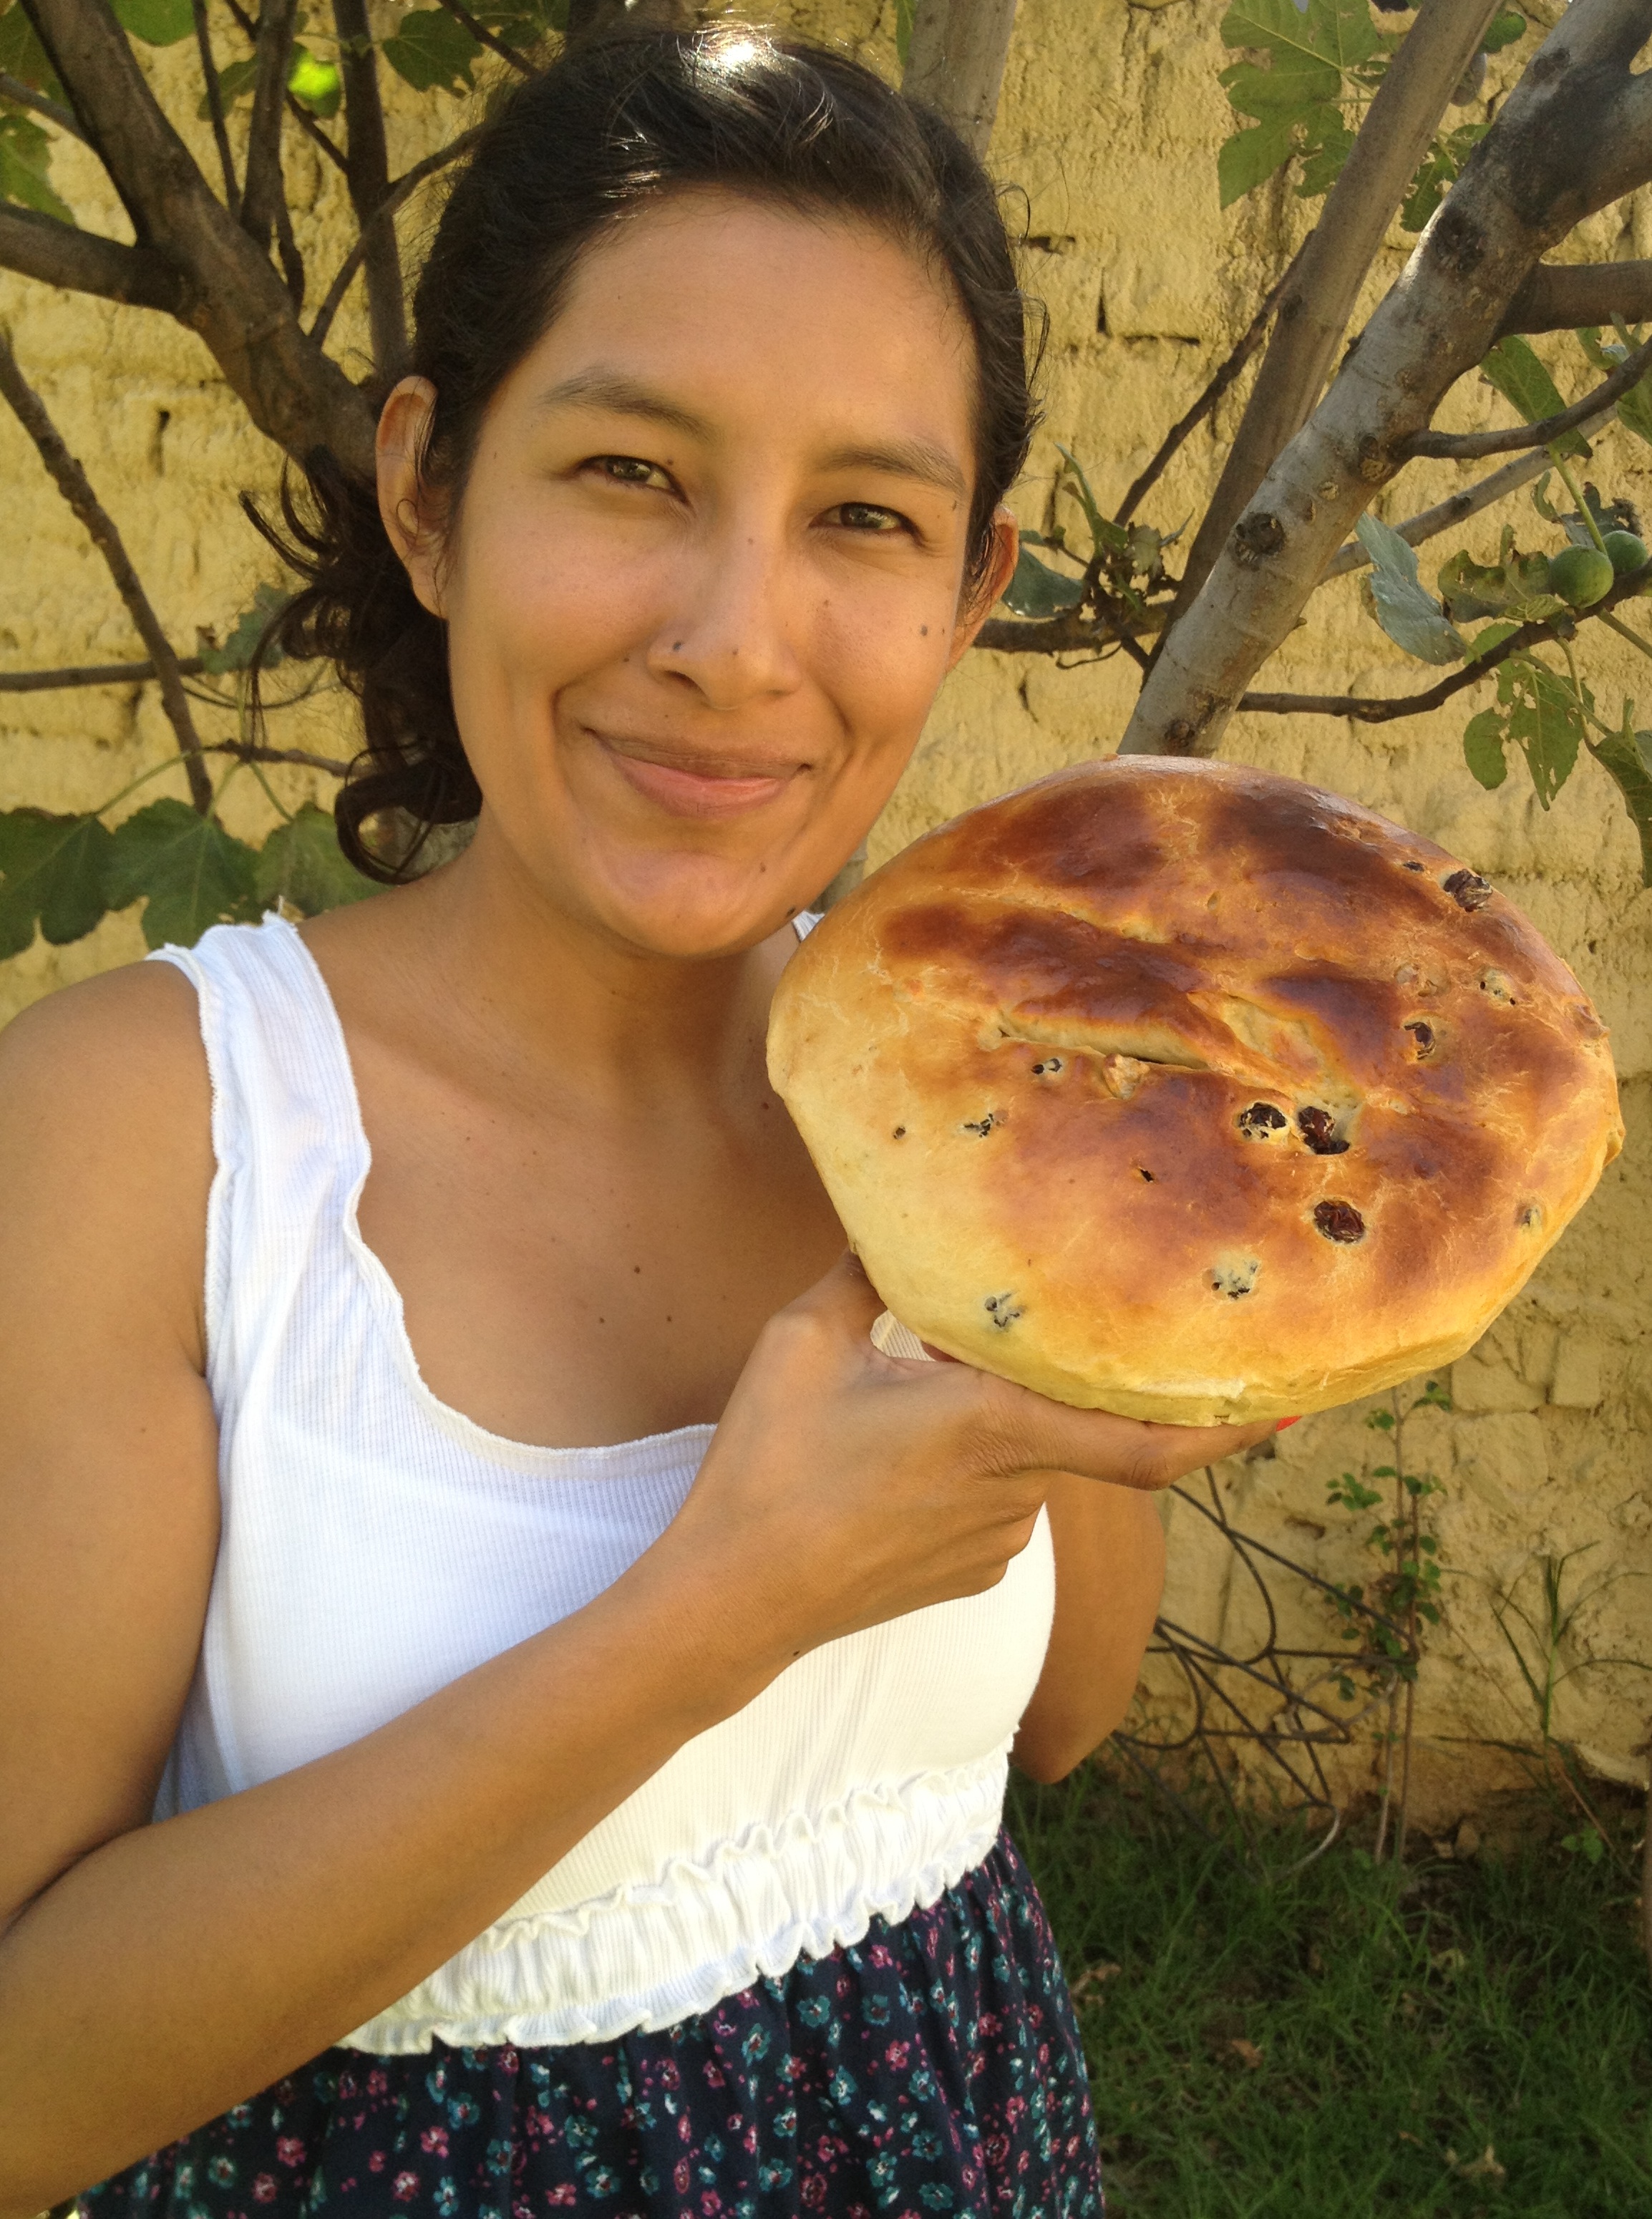
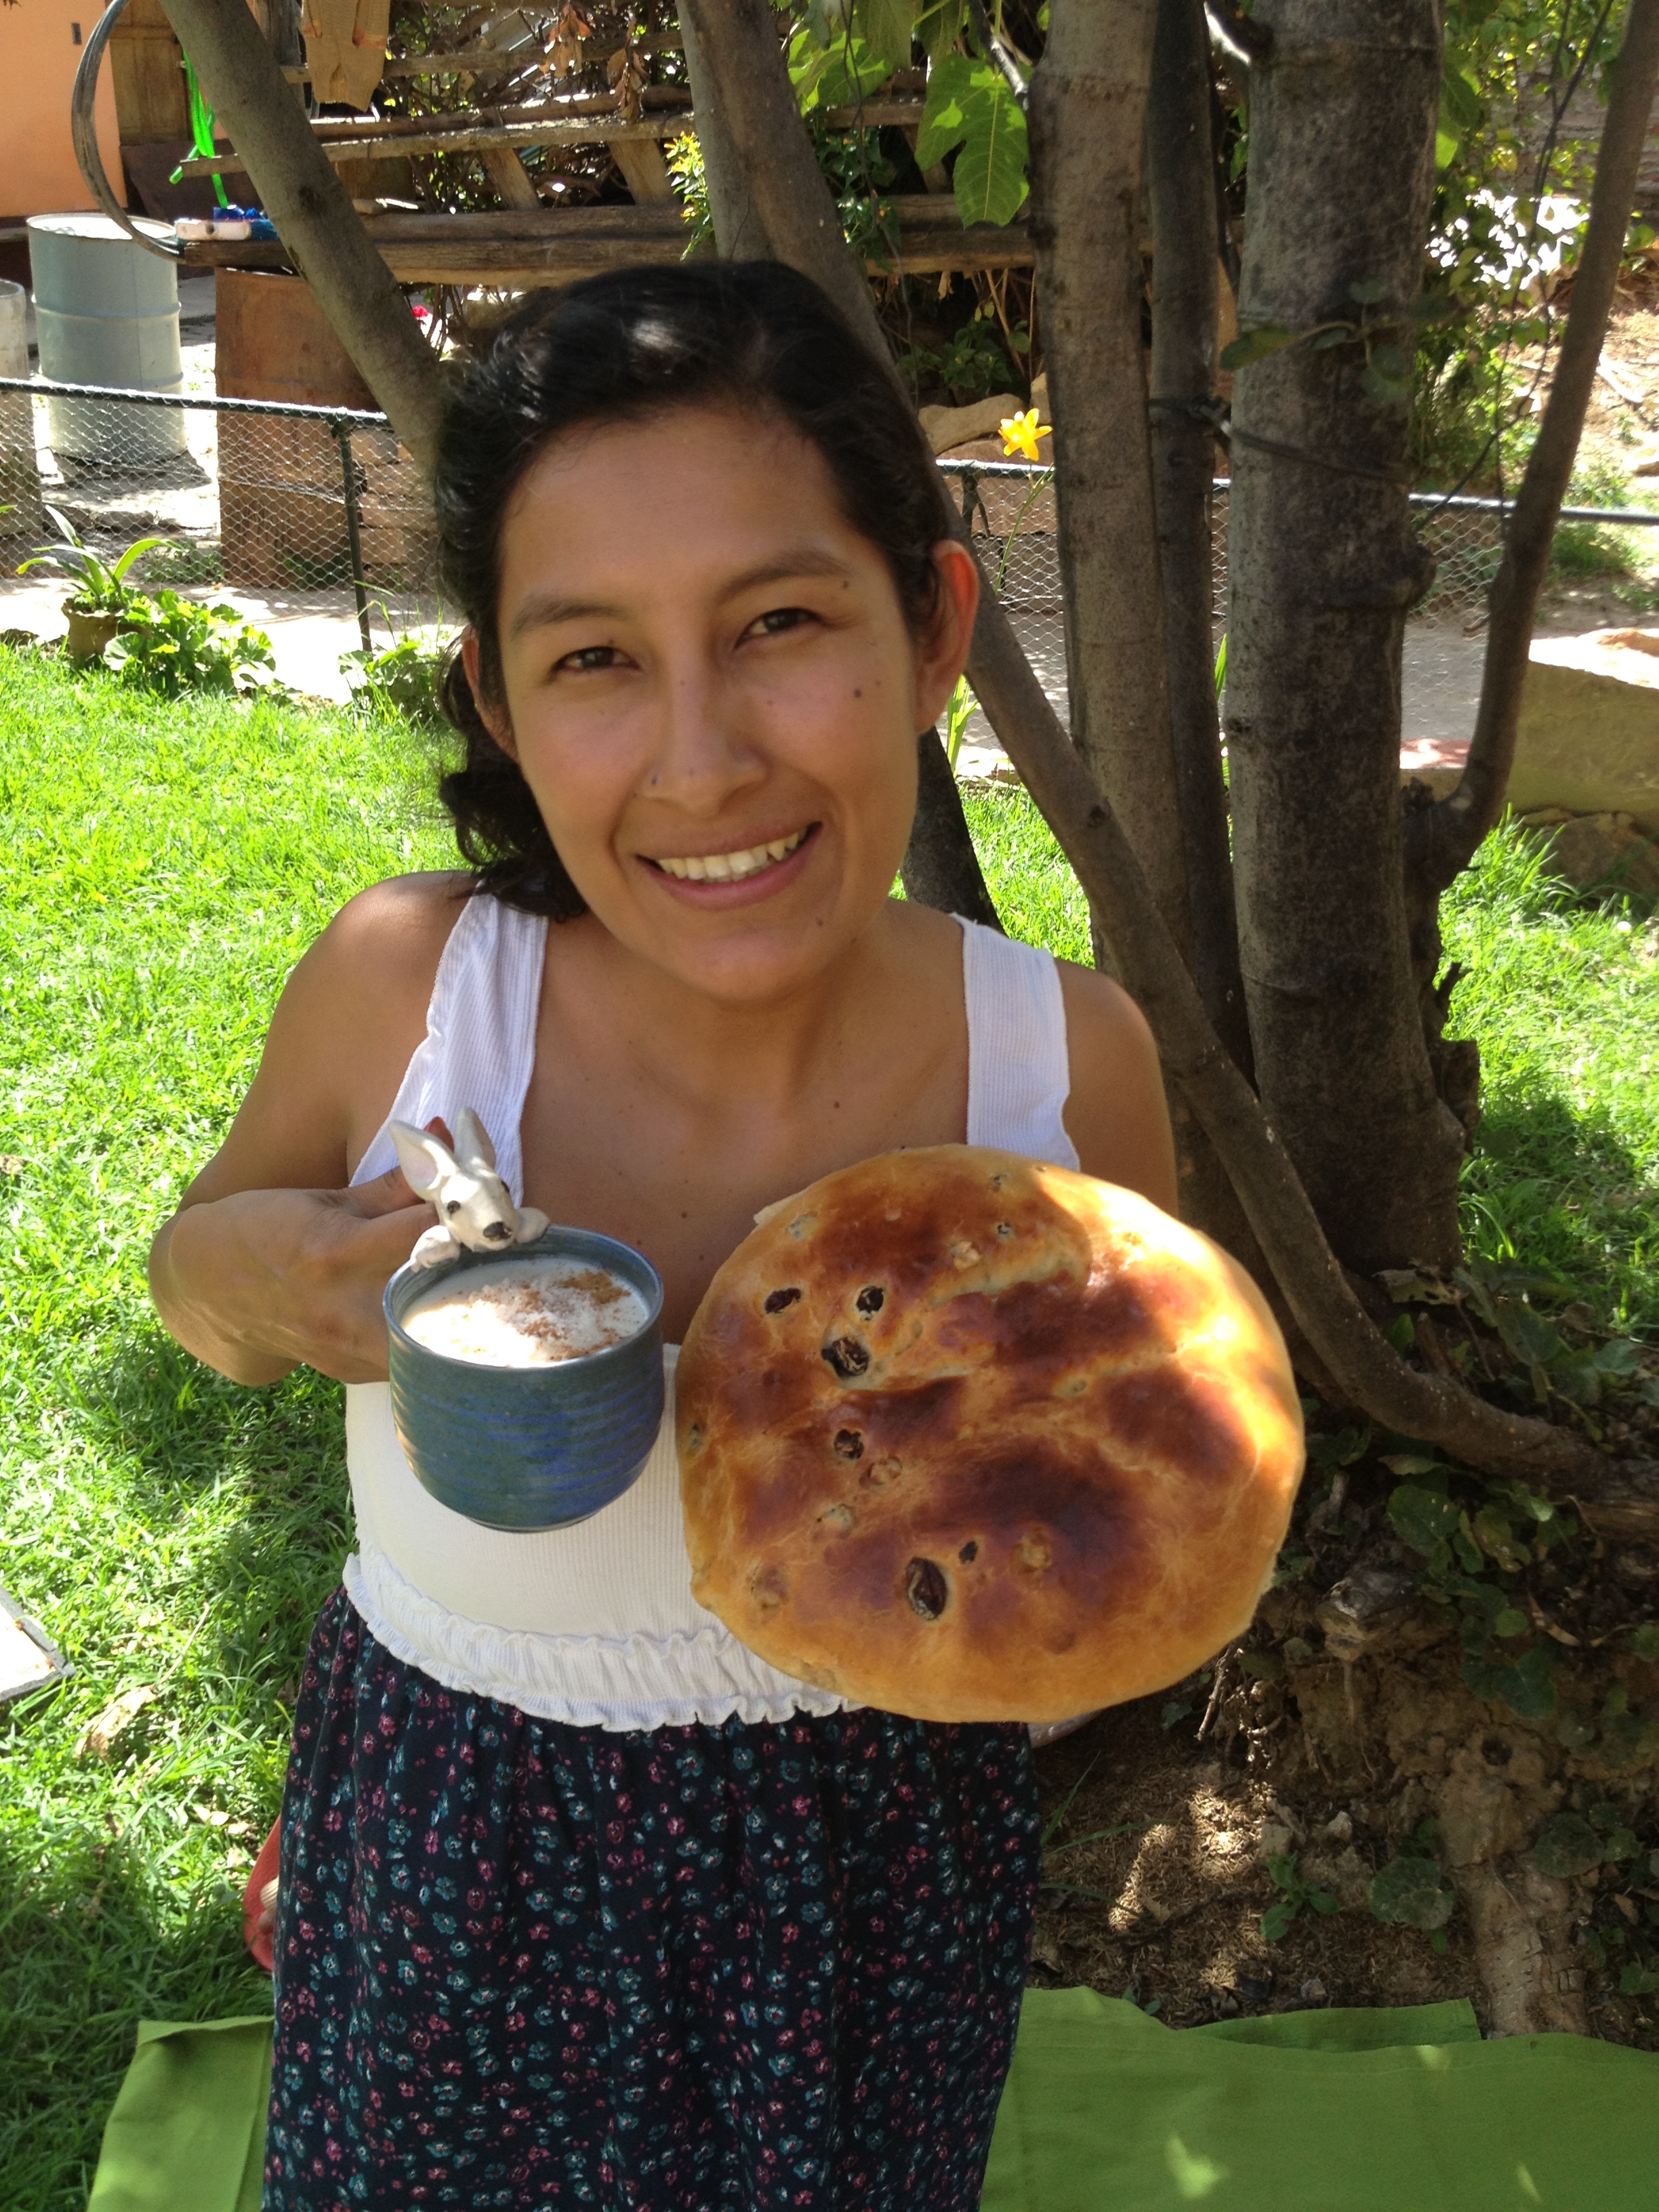
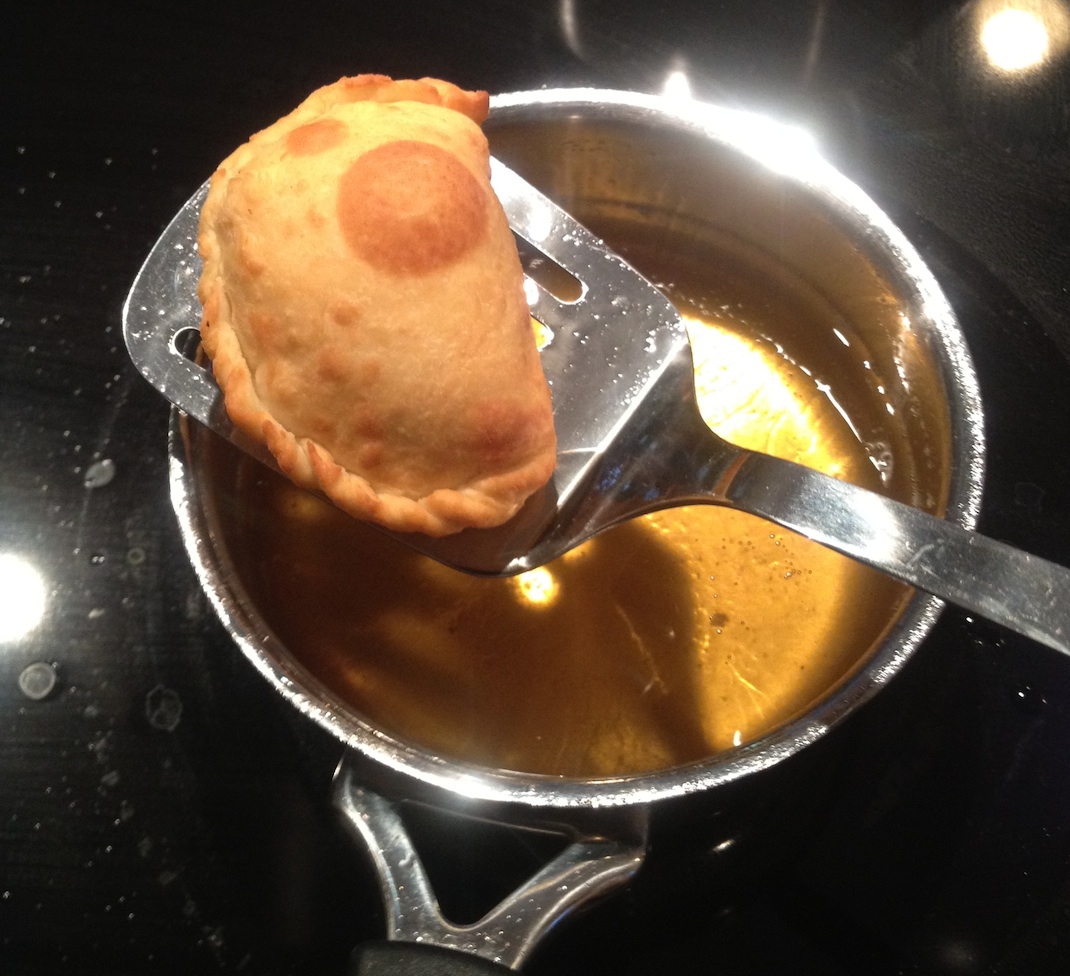
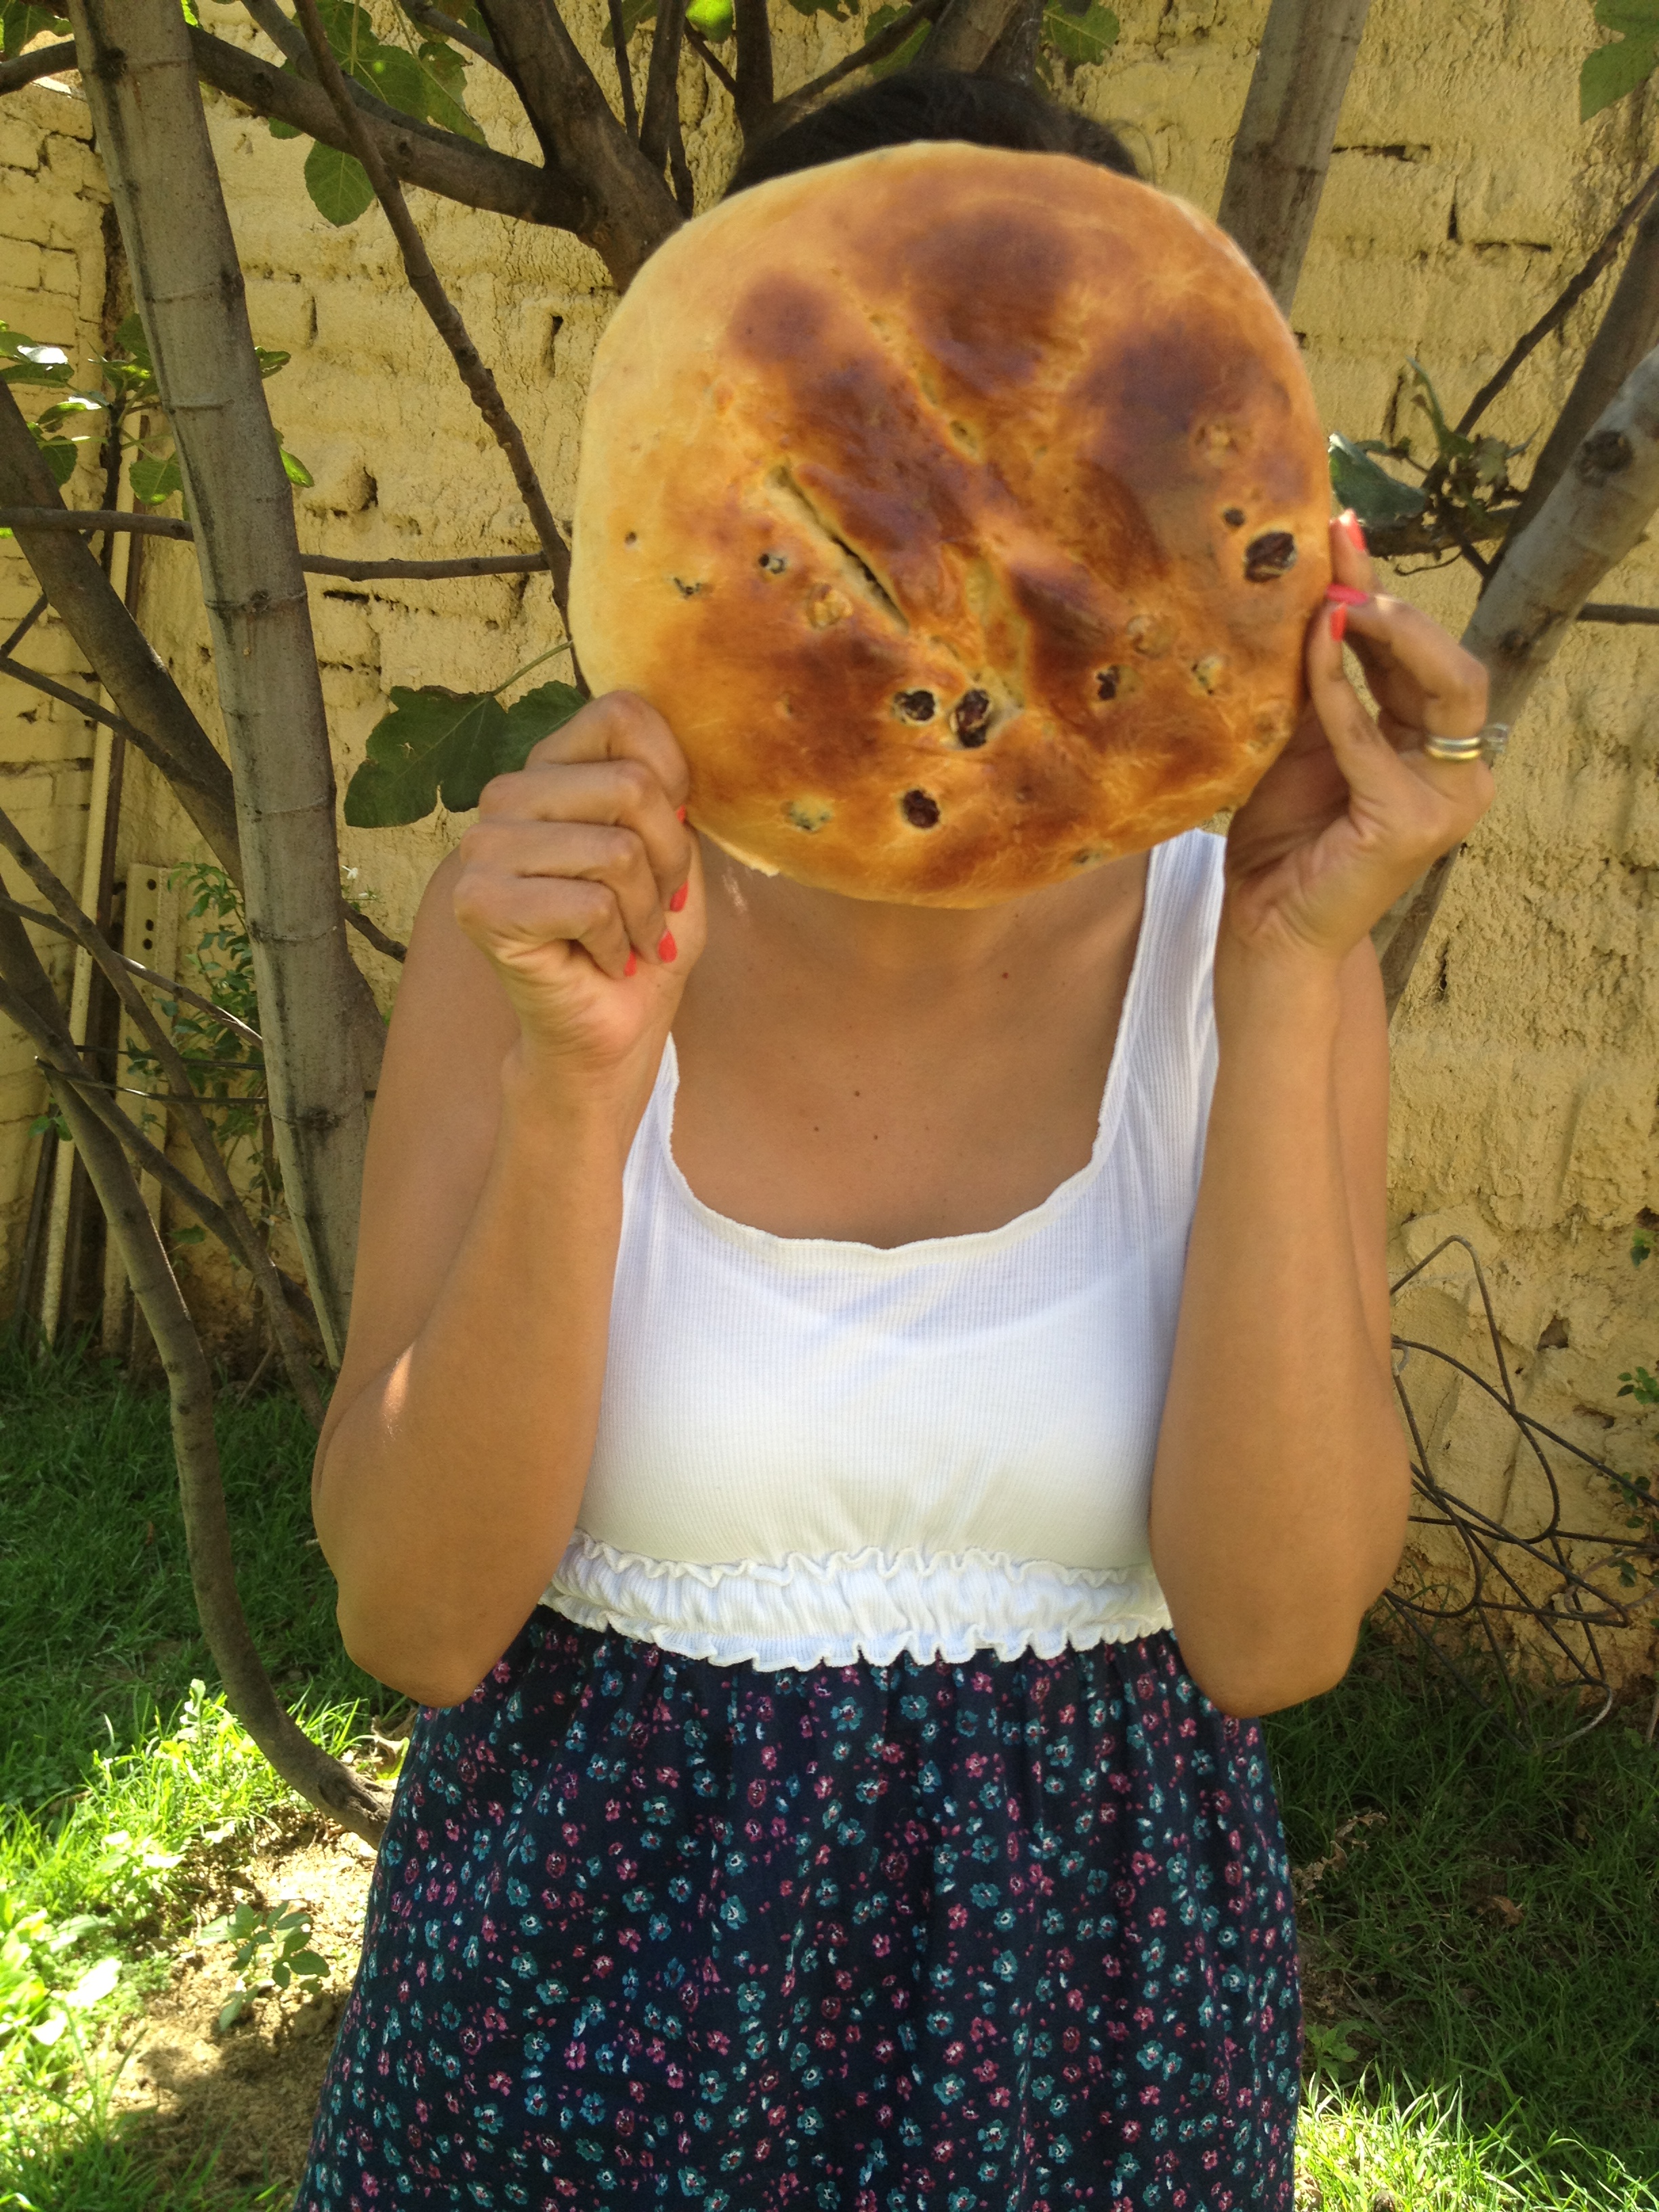 I have so many memories of Semana Santa. My mom and aunts would get together for Sunday and cook 12 dishes all day and they would fast until noon. We used to try to cheat because we were very hungry kids and running around takes a lot of energy :-). So one of us would go with our big eyes and convince one of our moms to give us some biscocho. Because there were so many of us, we would send the little ones first to beg our moms for a piece of sweet biscocho. But the first try never worked and we kept trying until they would get tired and send a big biscocho for all of us. These biscochos were so big that they were the size of your head. I miss my family and these big gatherings. You can make this bread in small sizes too. My Mom’s friend shared this recipe with me, thank you Doña Alieta. Enjoy!
Serves 10 large portions or 20 small portions.
You can cut this recipe in half.
Ingredients:
2 1/2 cup sugar
12 eggs
2 tsp salt
4 cups margarine or crisco
3/4 cups water
5 tbsp yeast
1/4 tsp orange zest
1/4 tsp lemon peeled
4 tbsp oil + 1 tbs to brush
16 cups flour
1 cups raisins soaked in water
3 tbsp cinnamon
1/2 cup walnuts
1/4 cup evaporated milk
Preparation:
Melt the margarine or Crisco. Set aside.
Dissolve the yeast in the water. Set aside.
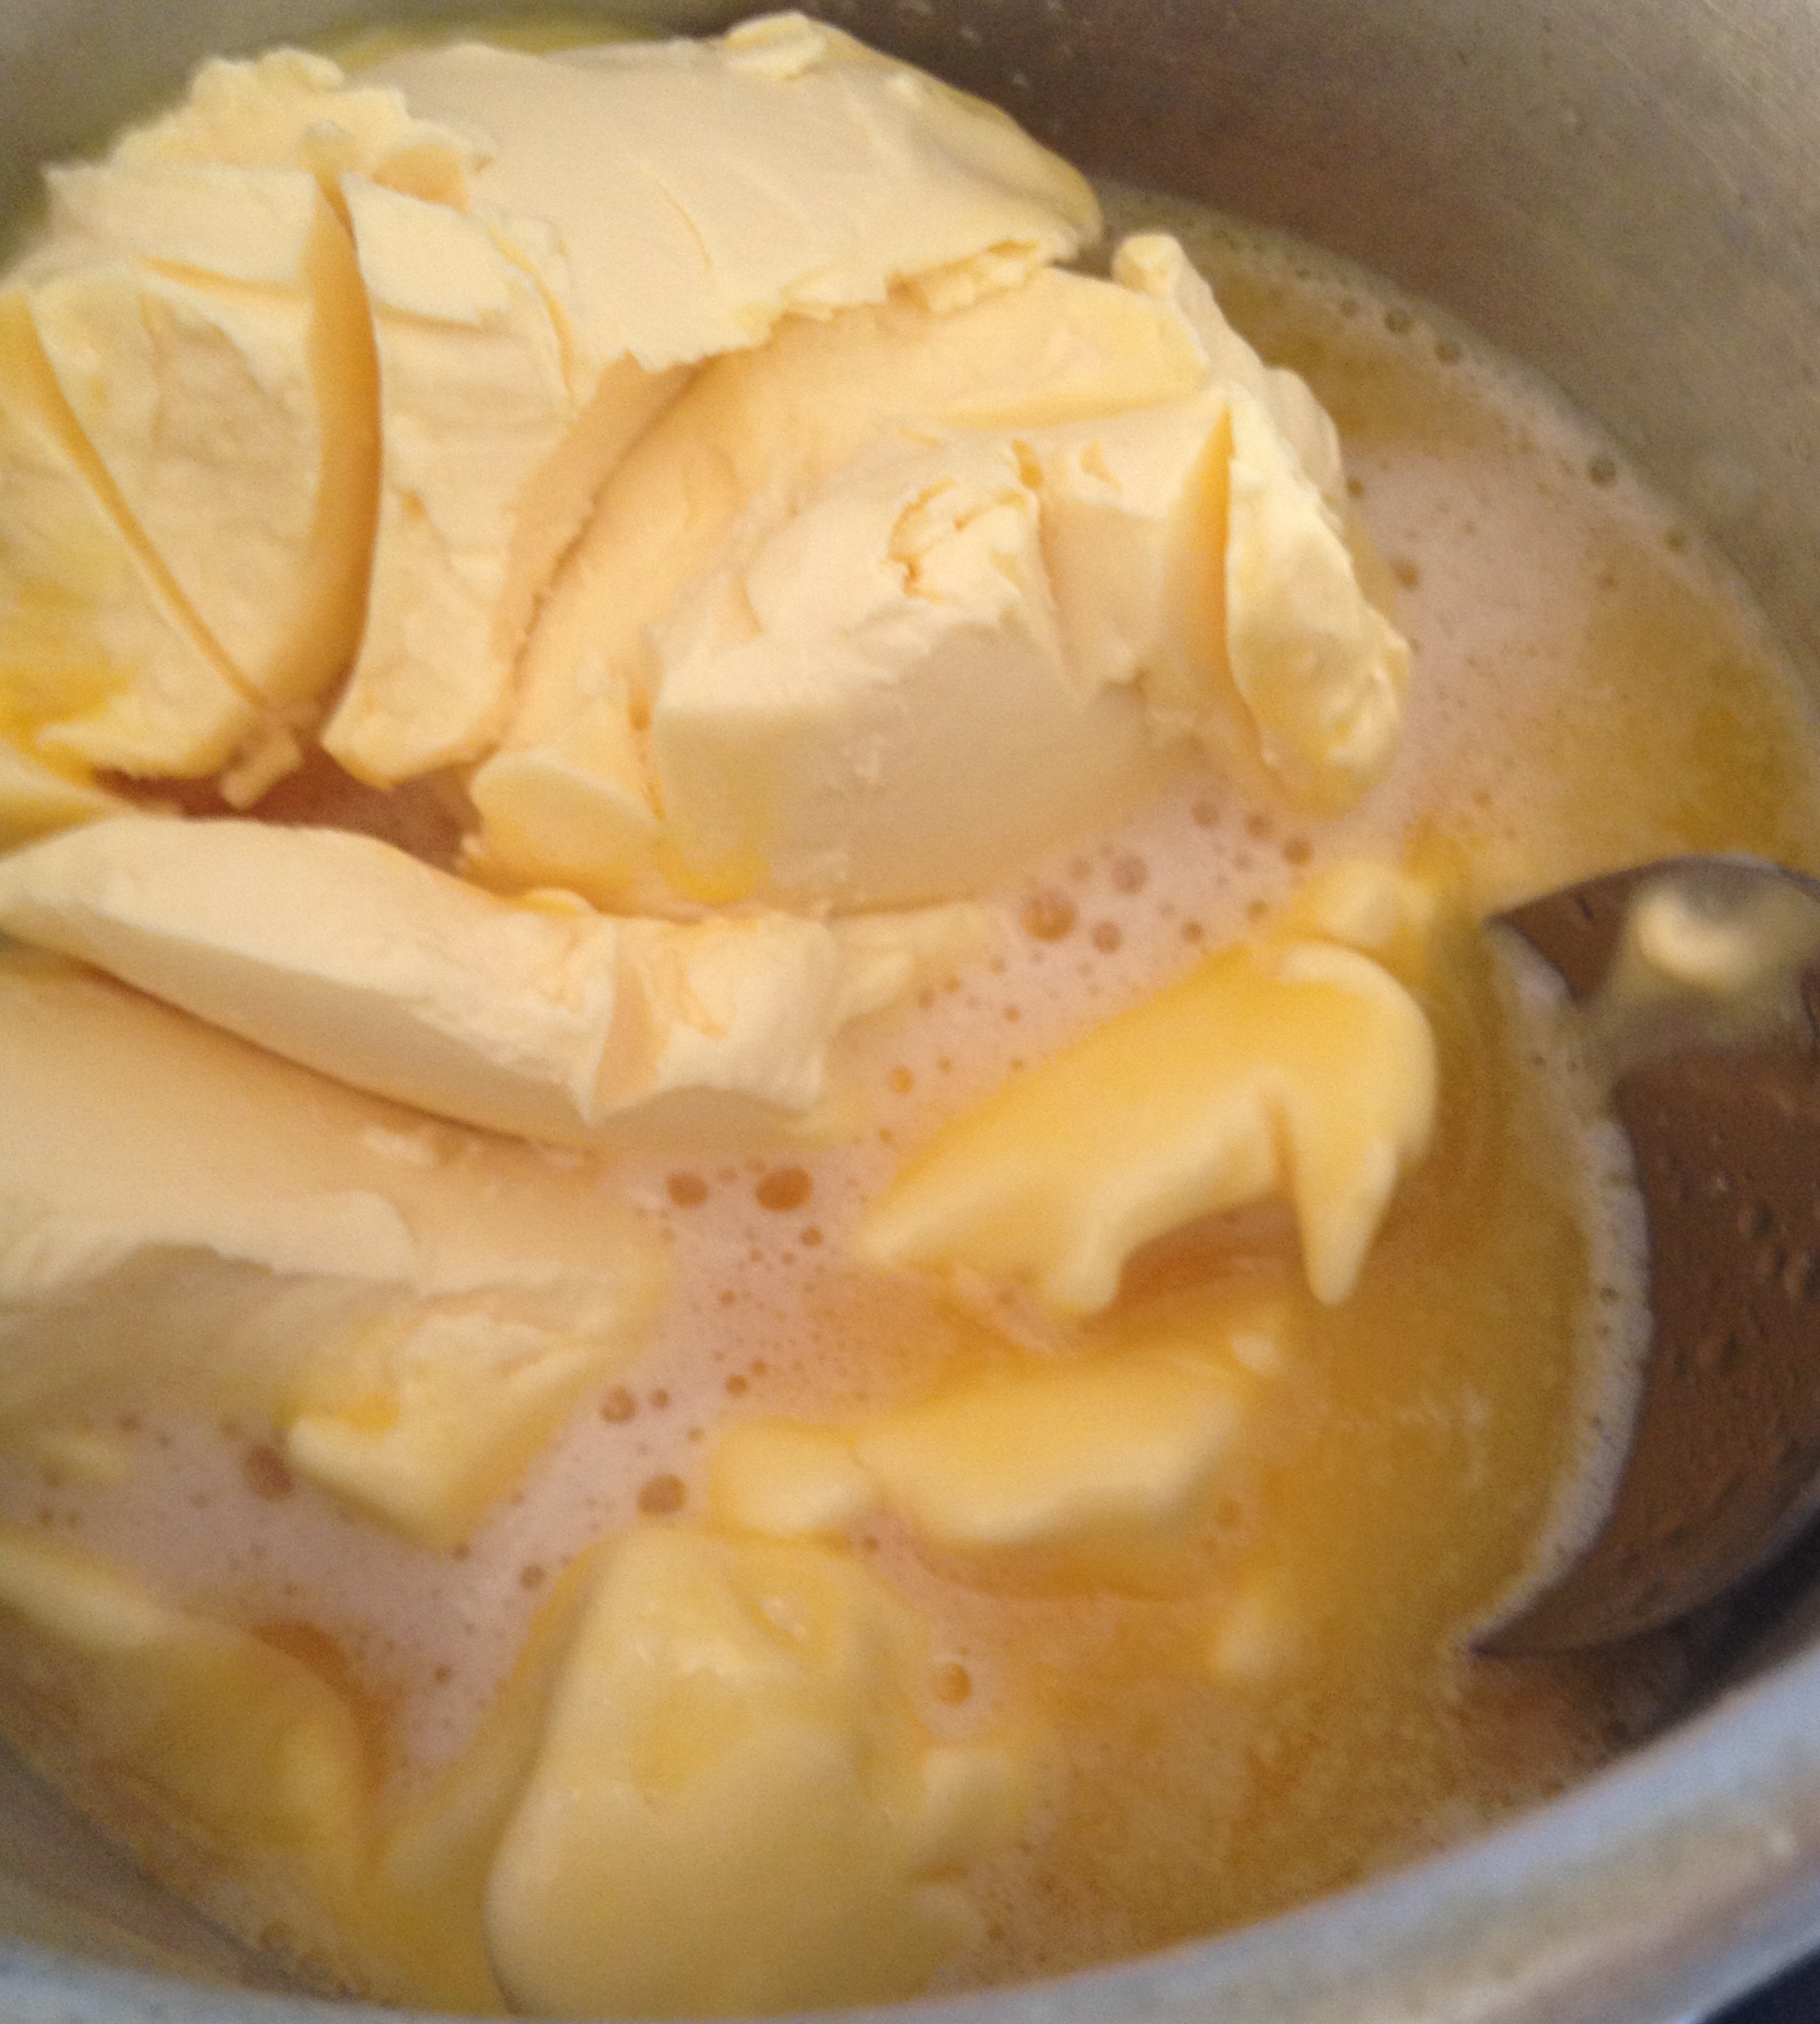
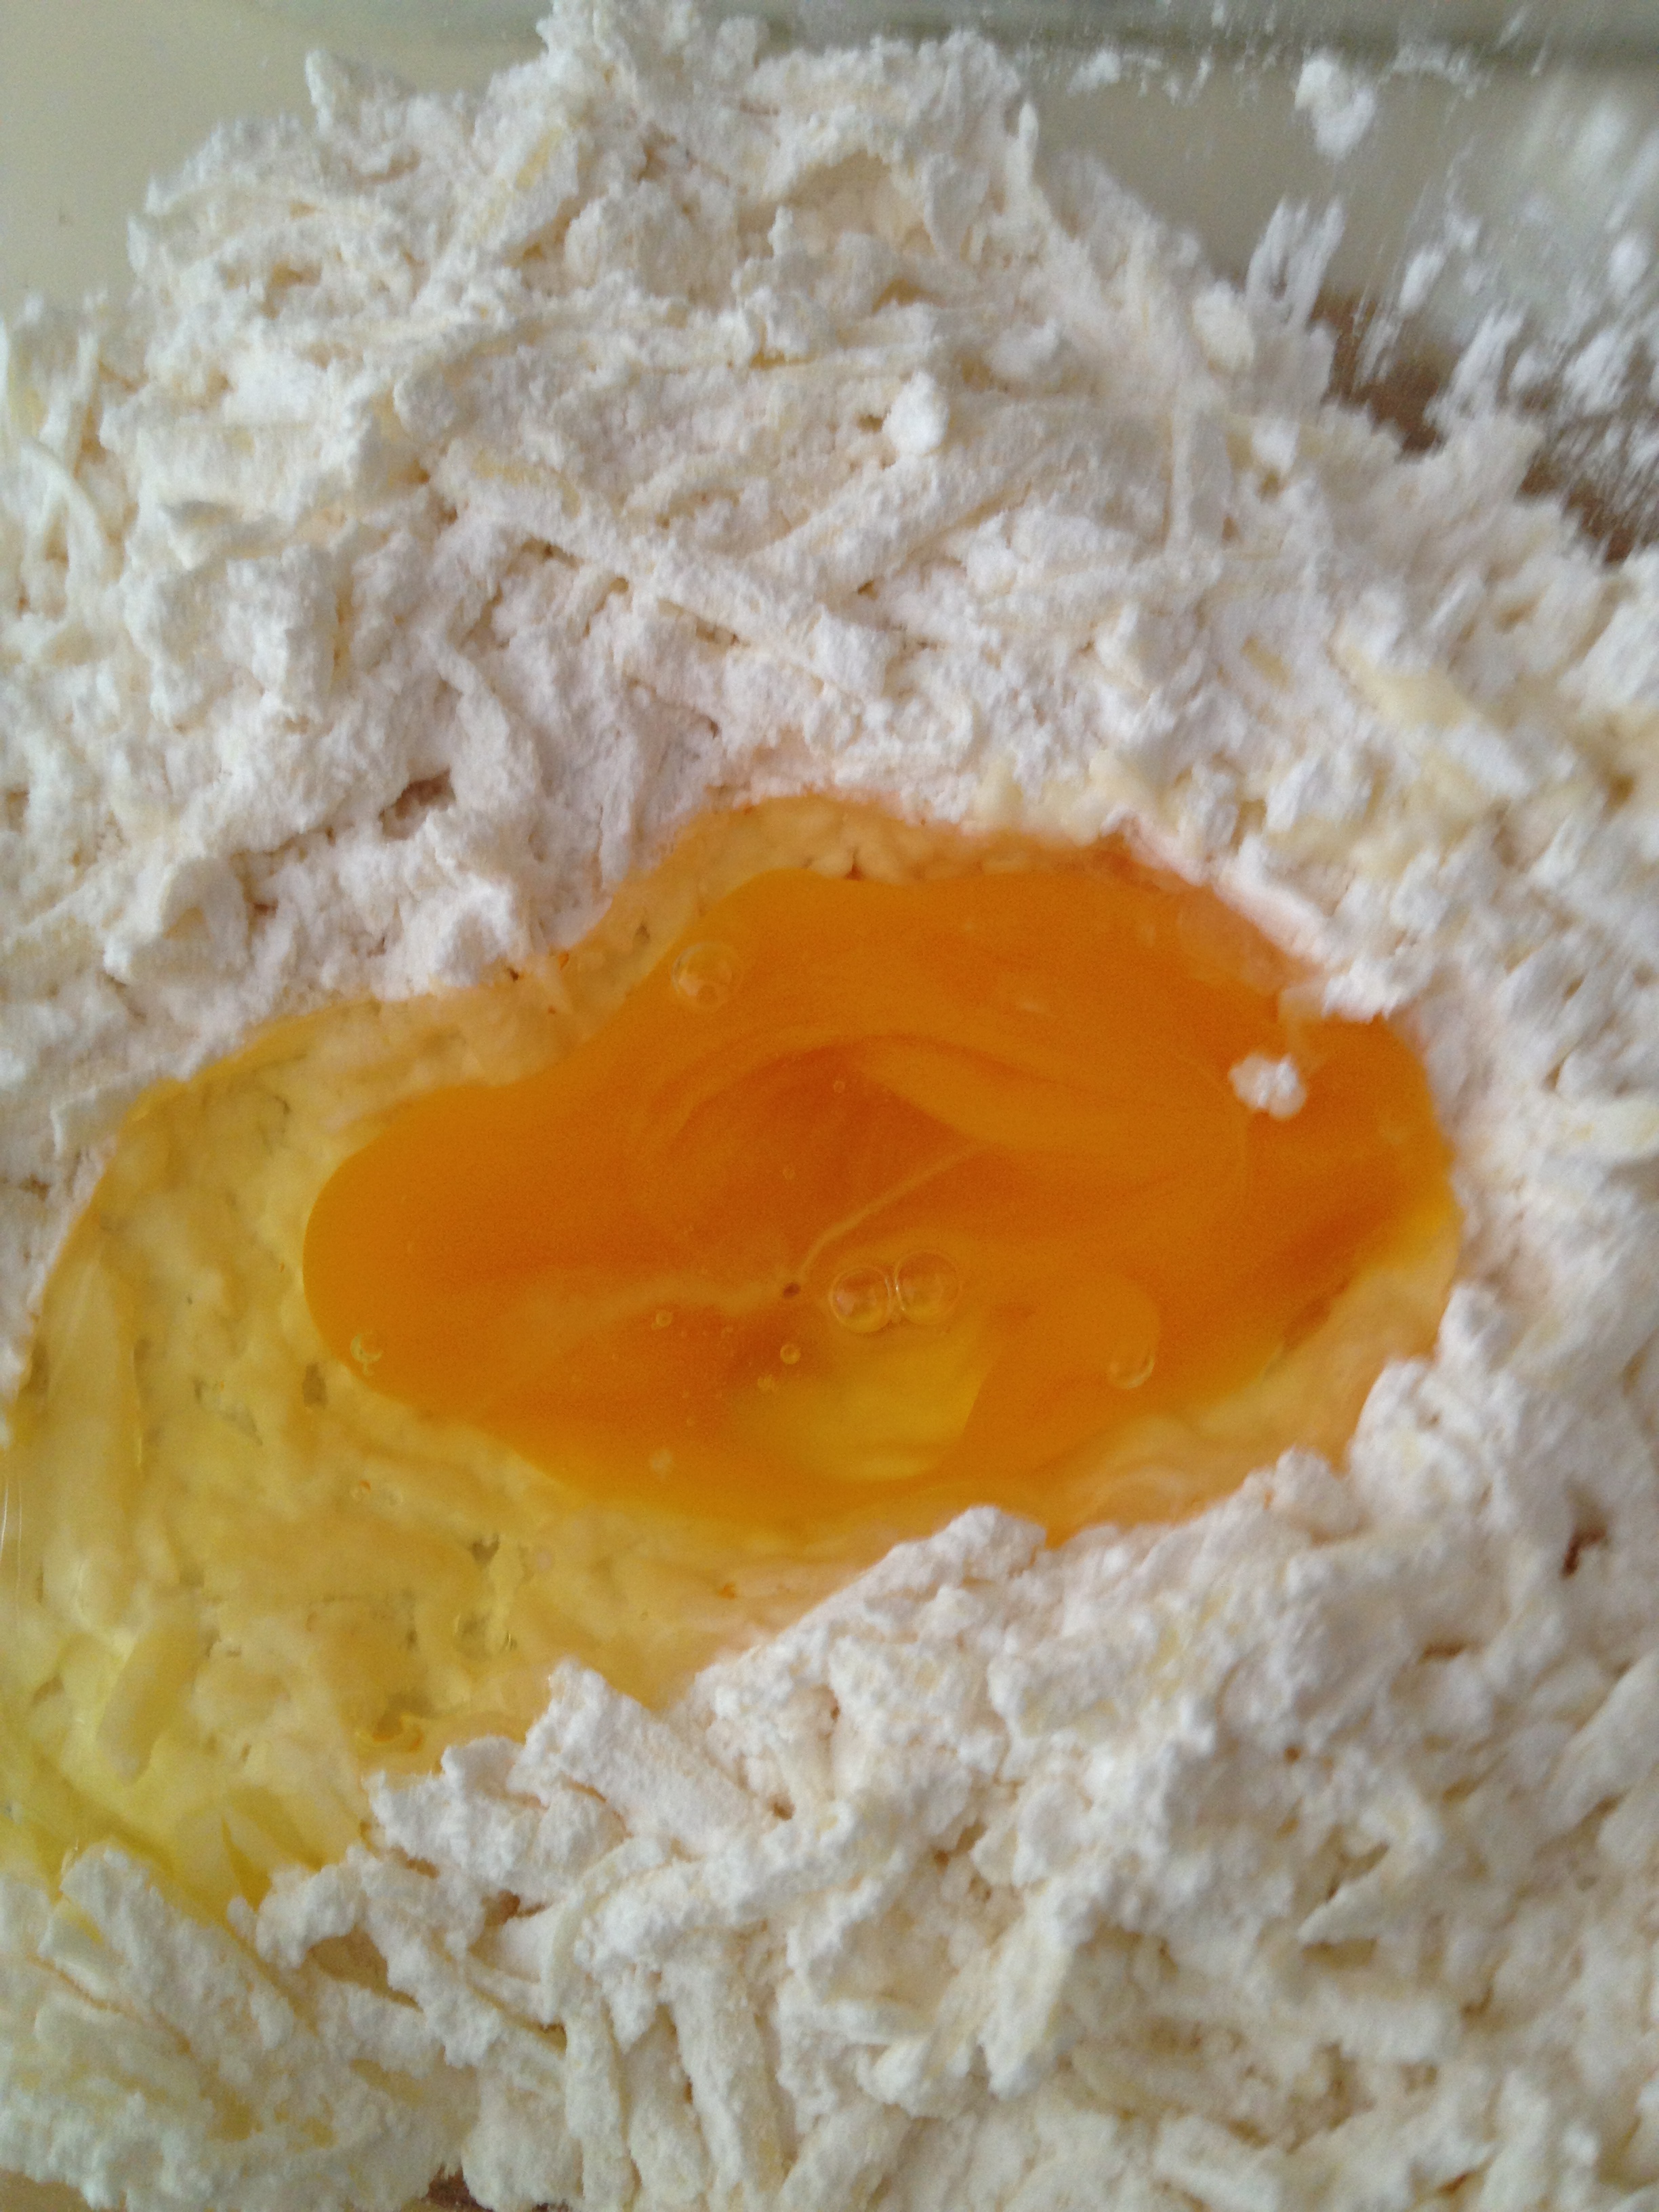
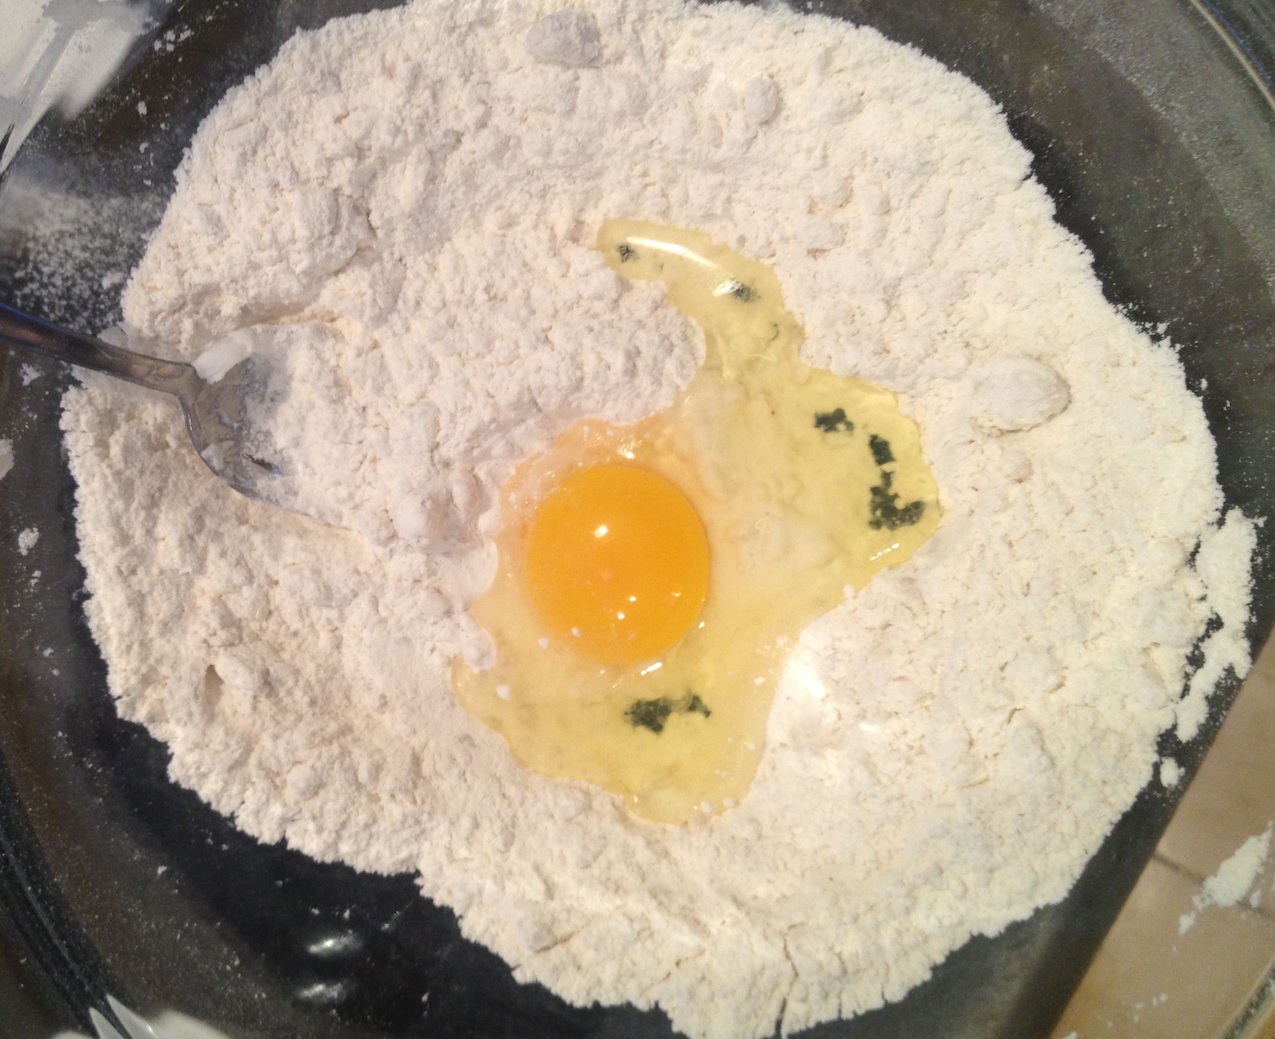
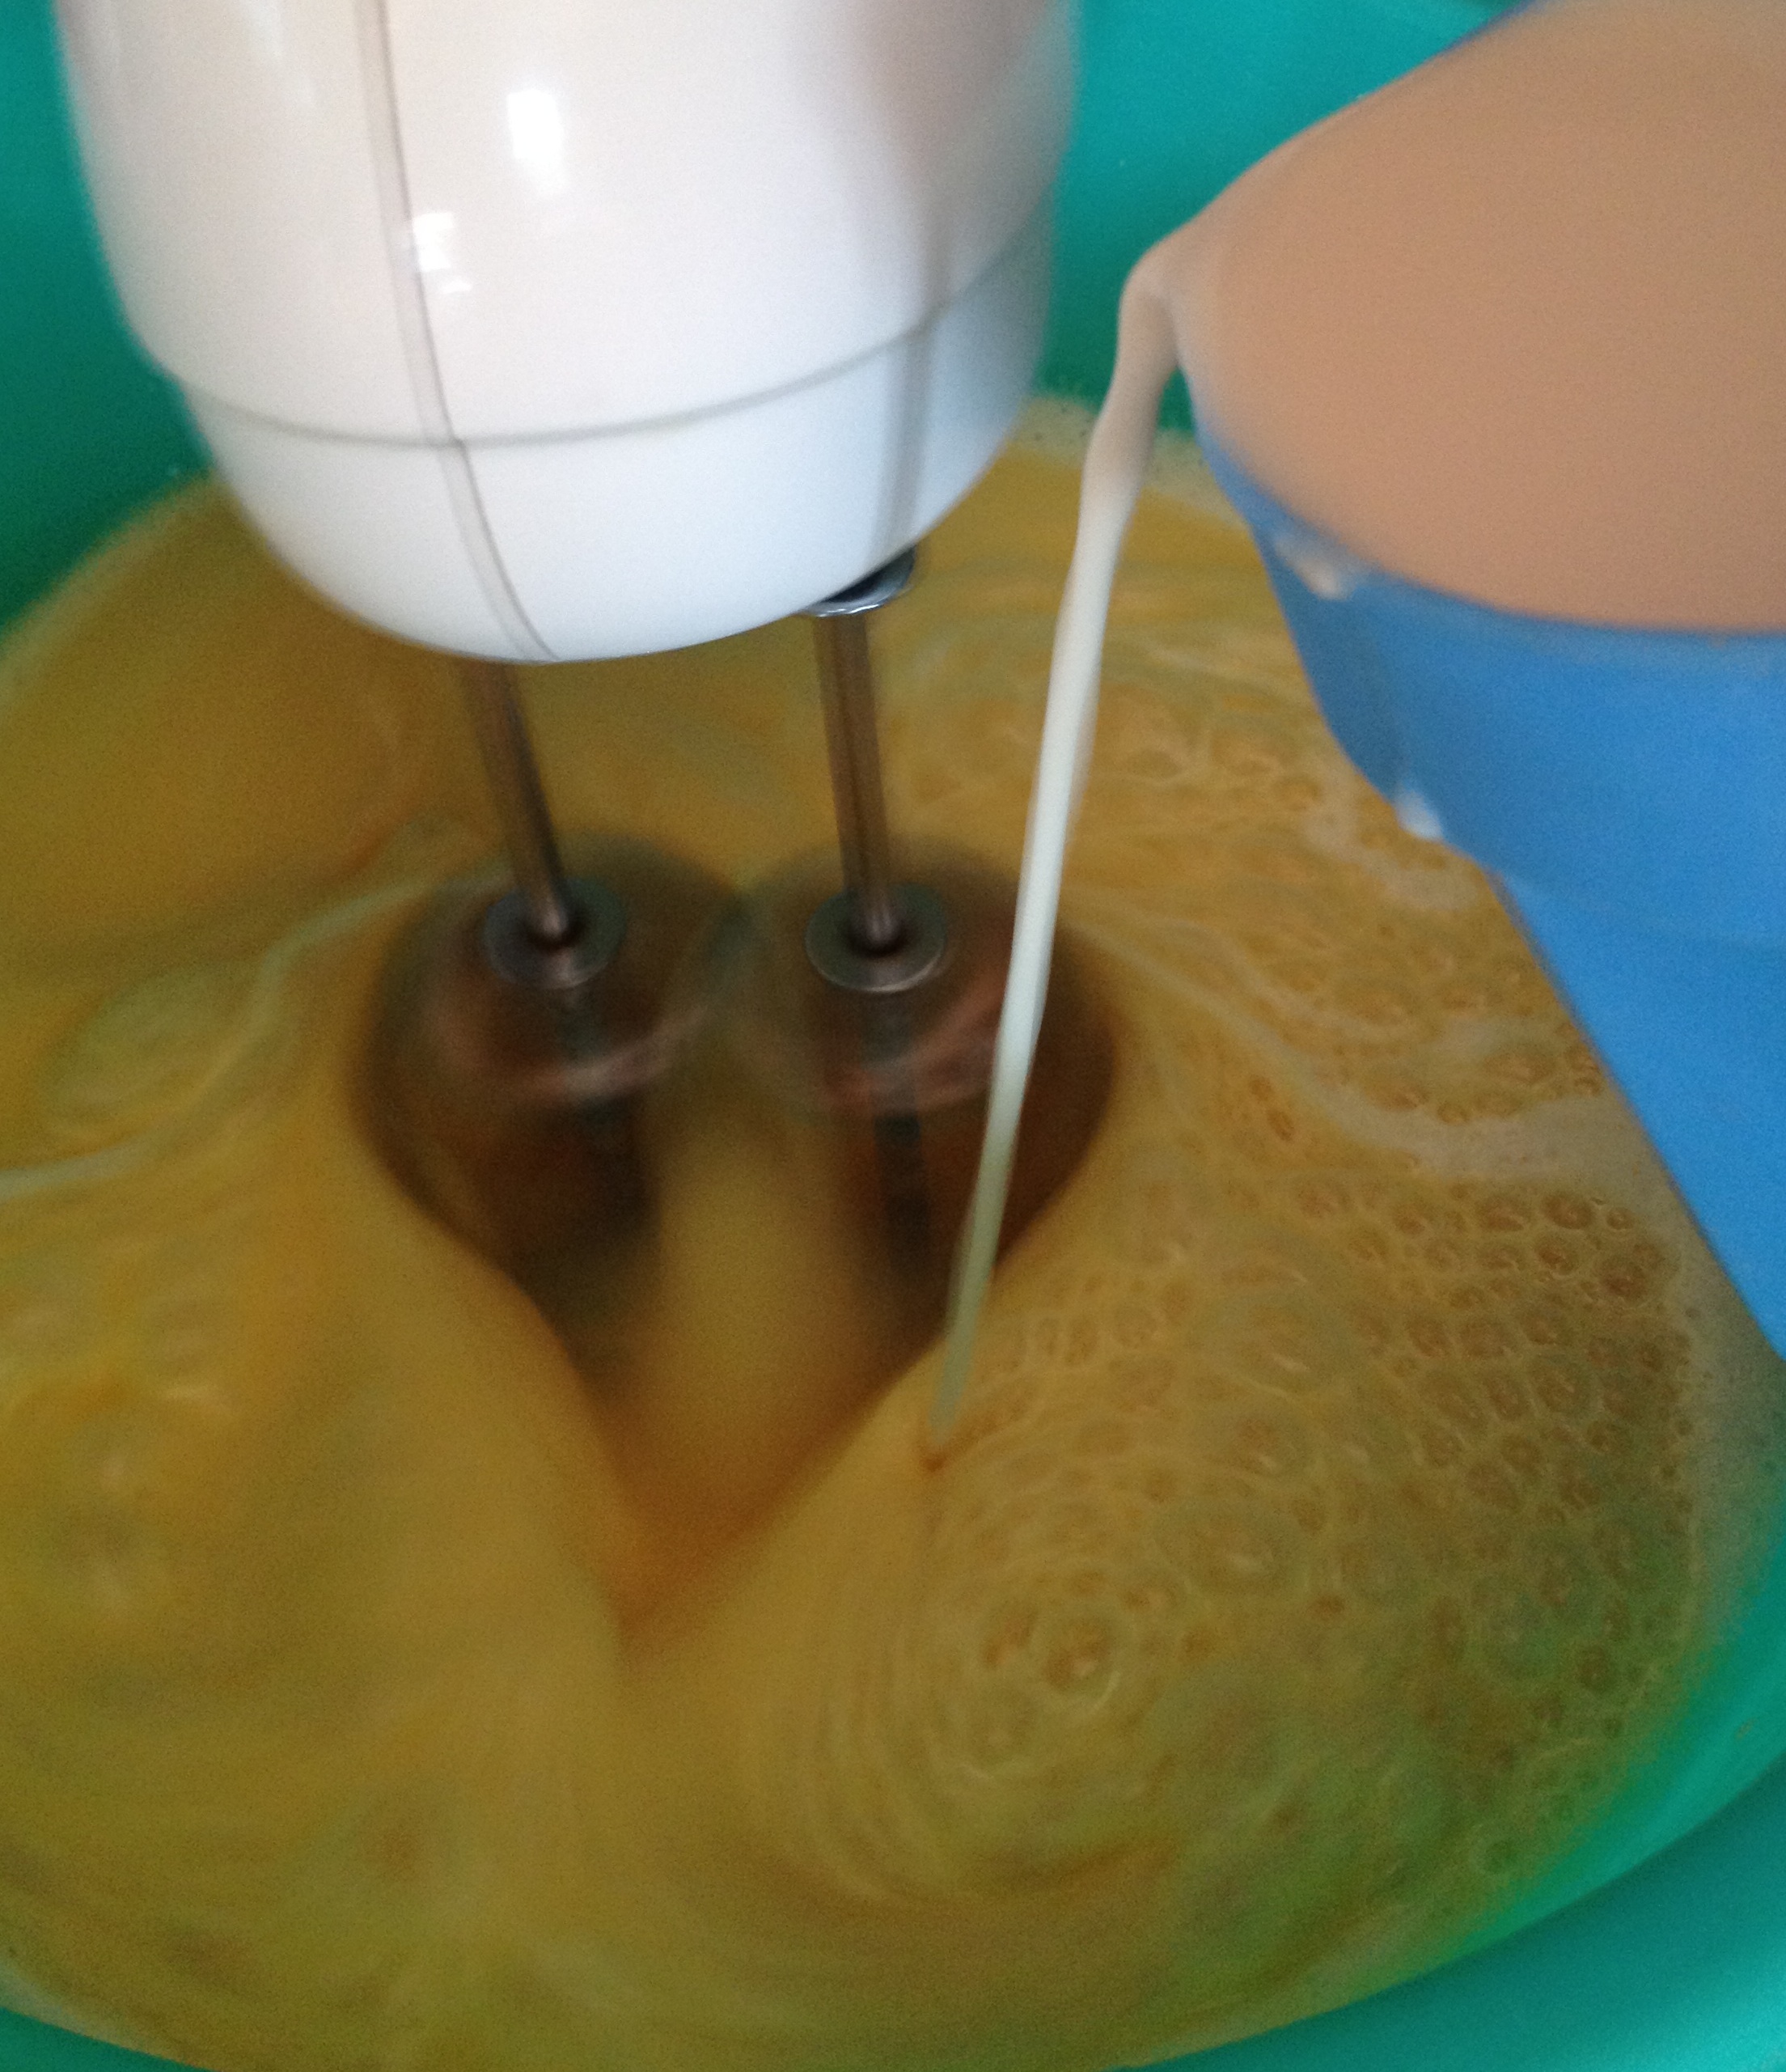
With an electric mixer, beat the eggs with the sugar.
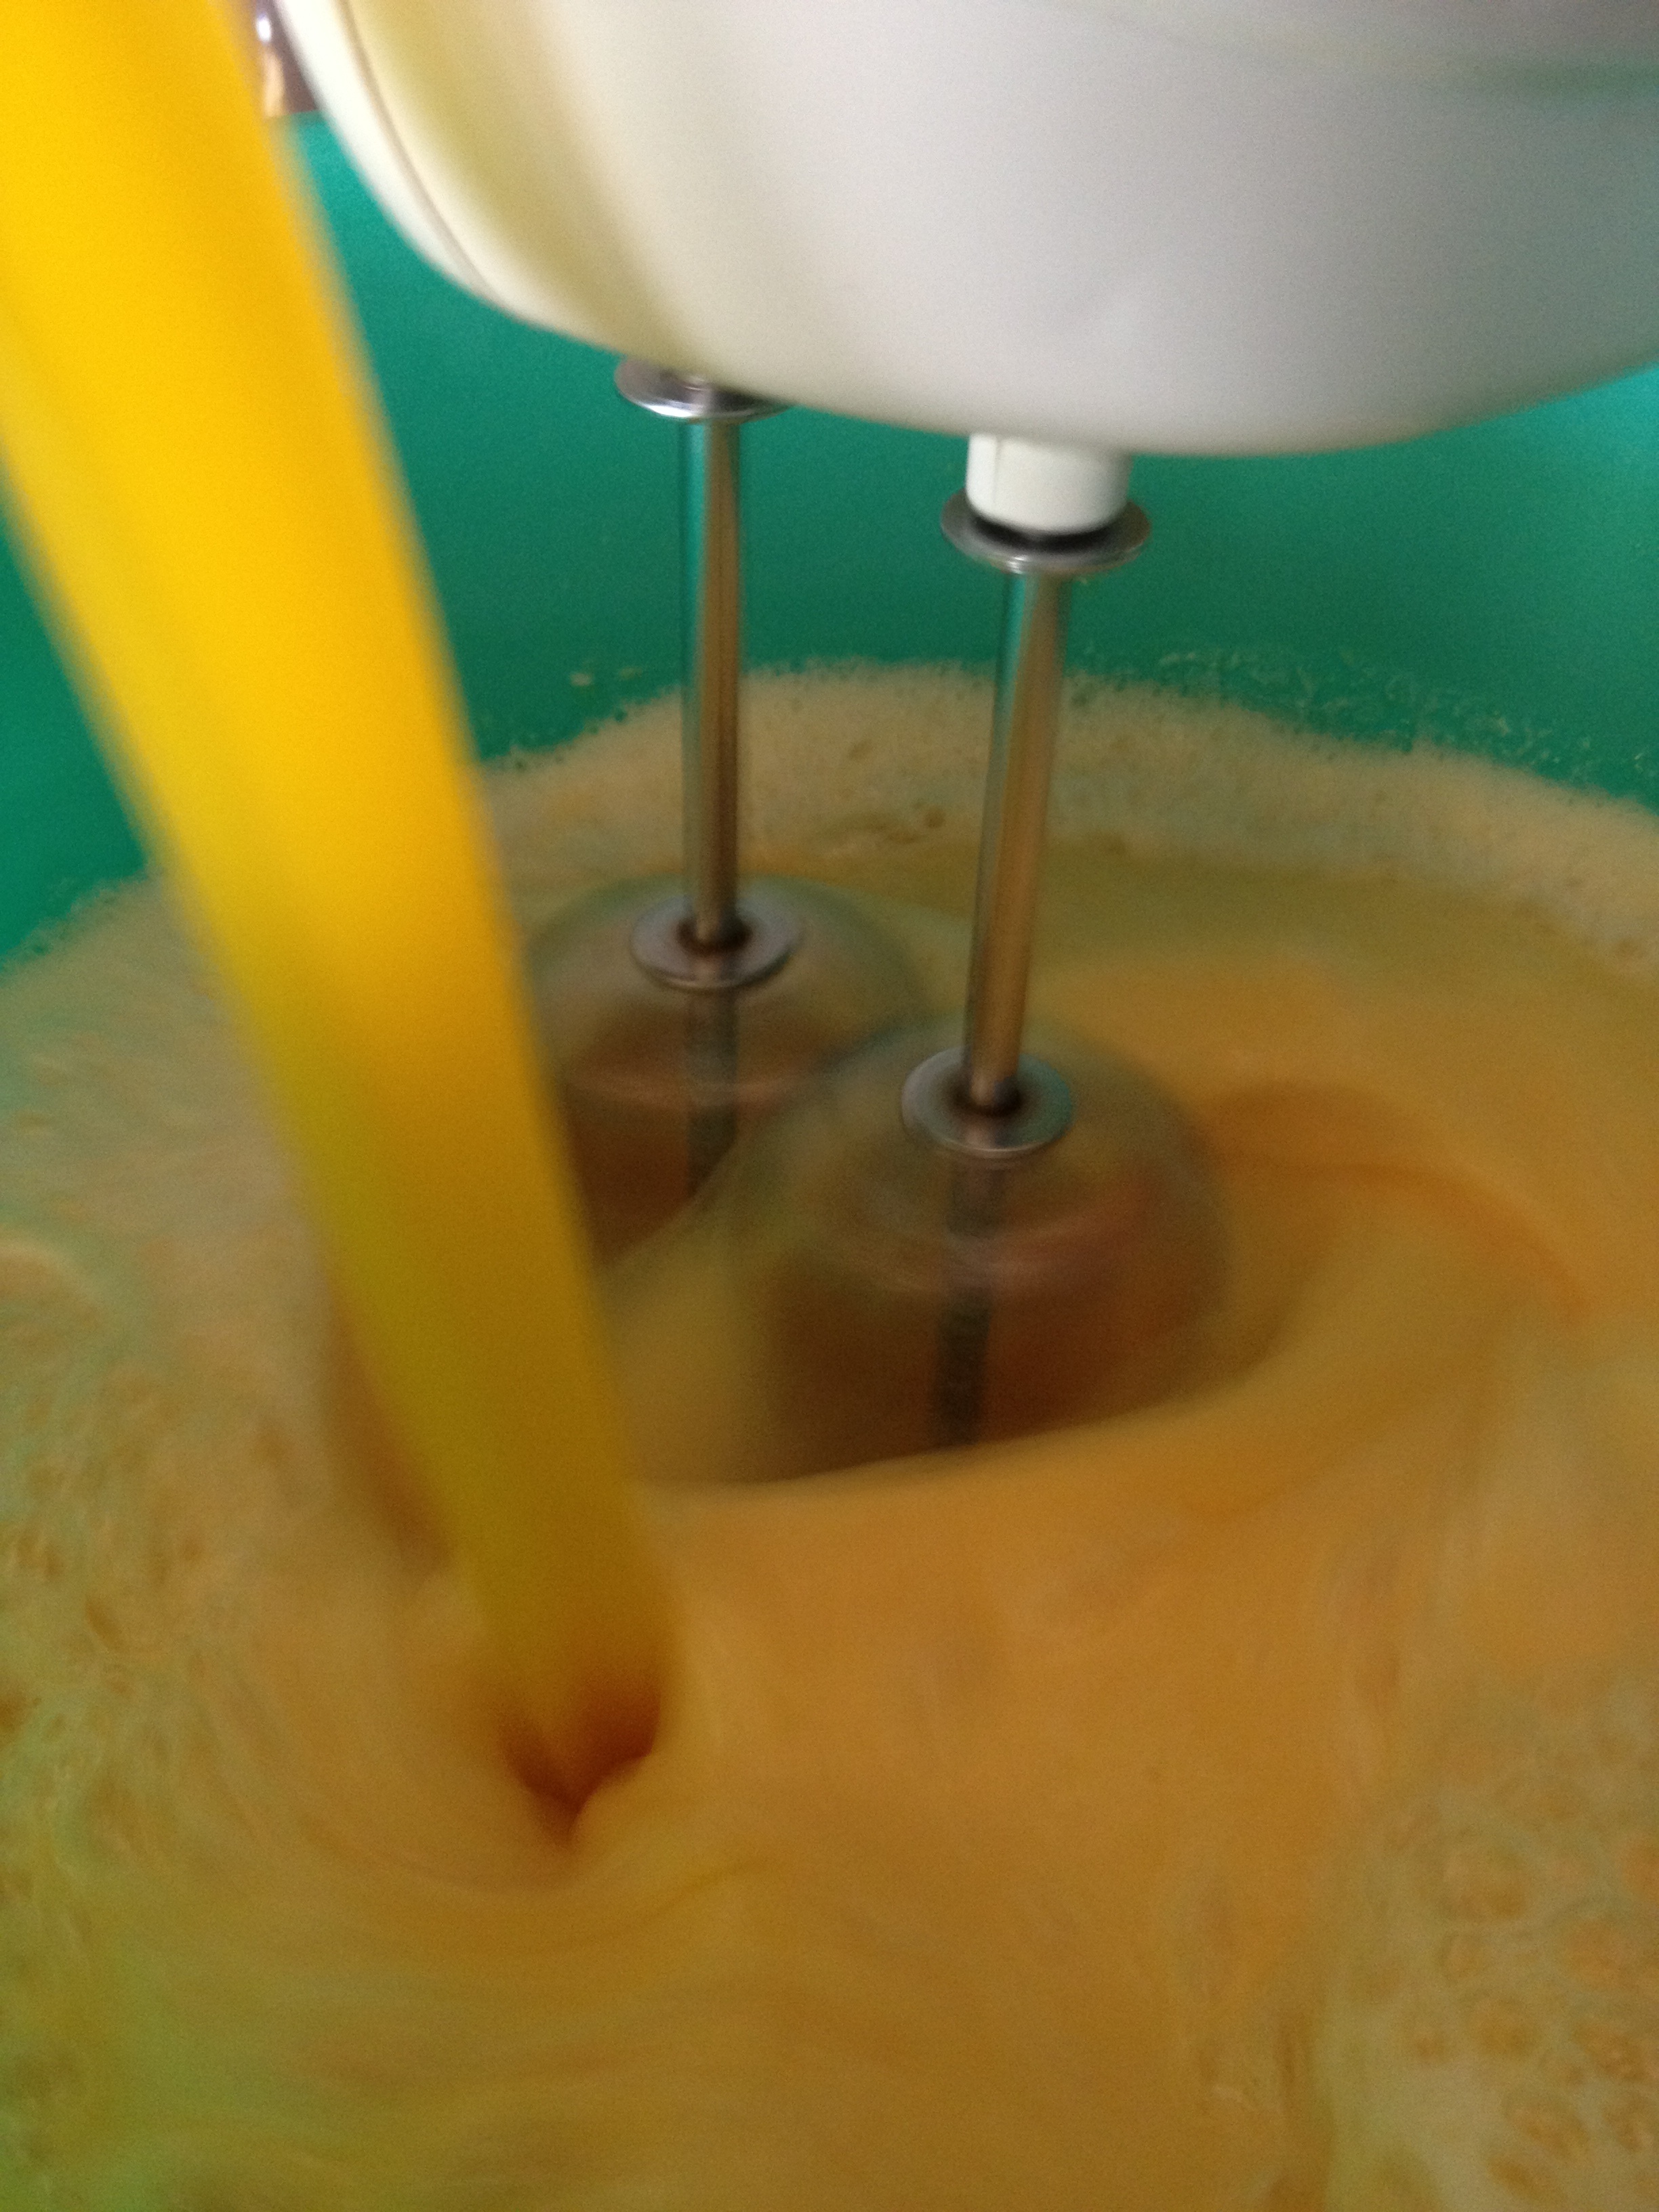
Add the melted margarine and the yeast mix.
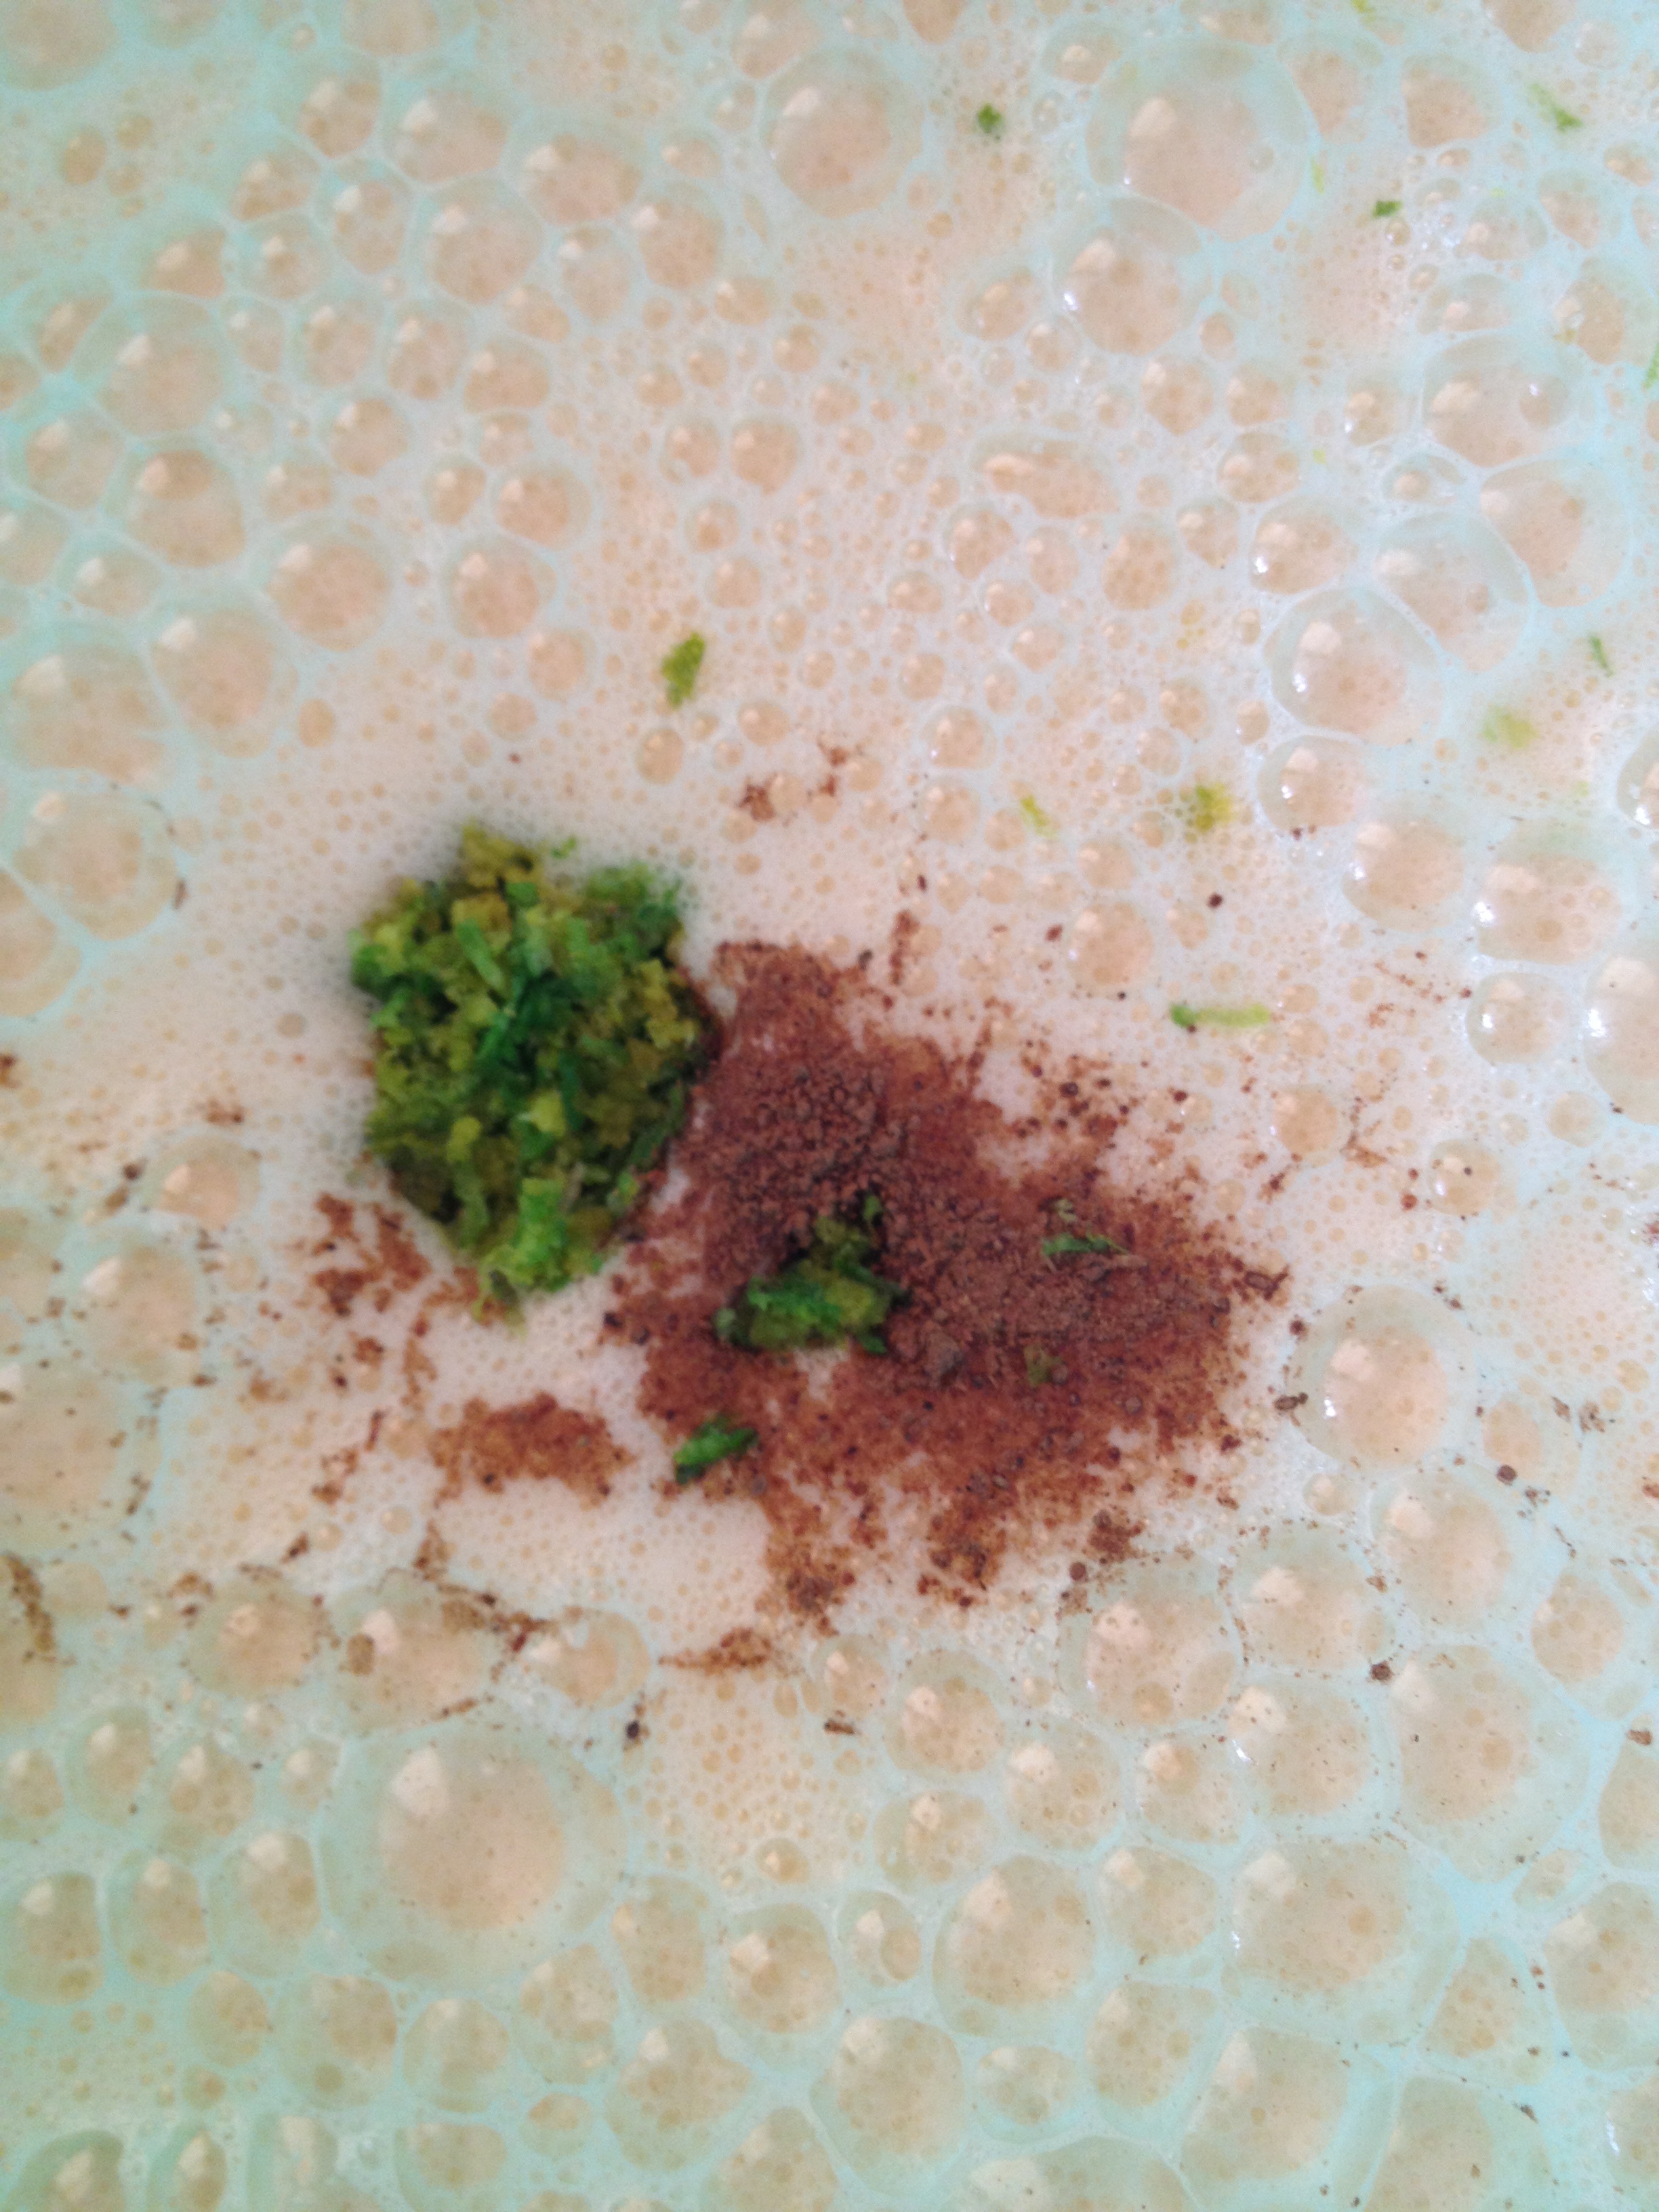
Add the cinnamon, lemon zest, orange zest, and salt. Mix.
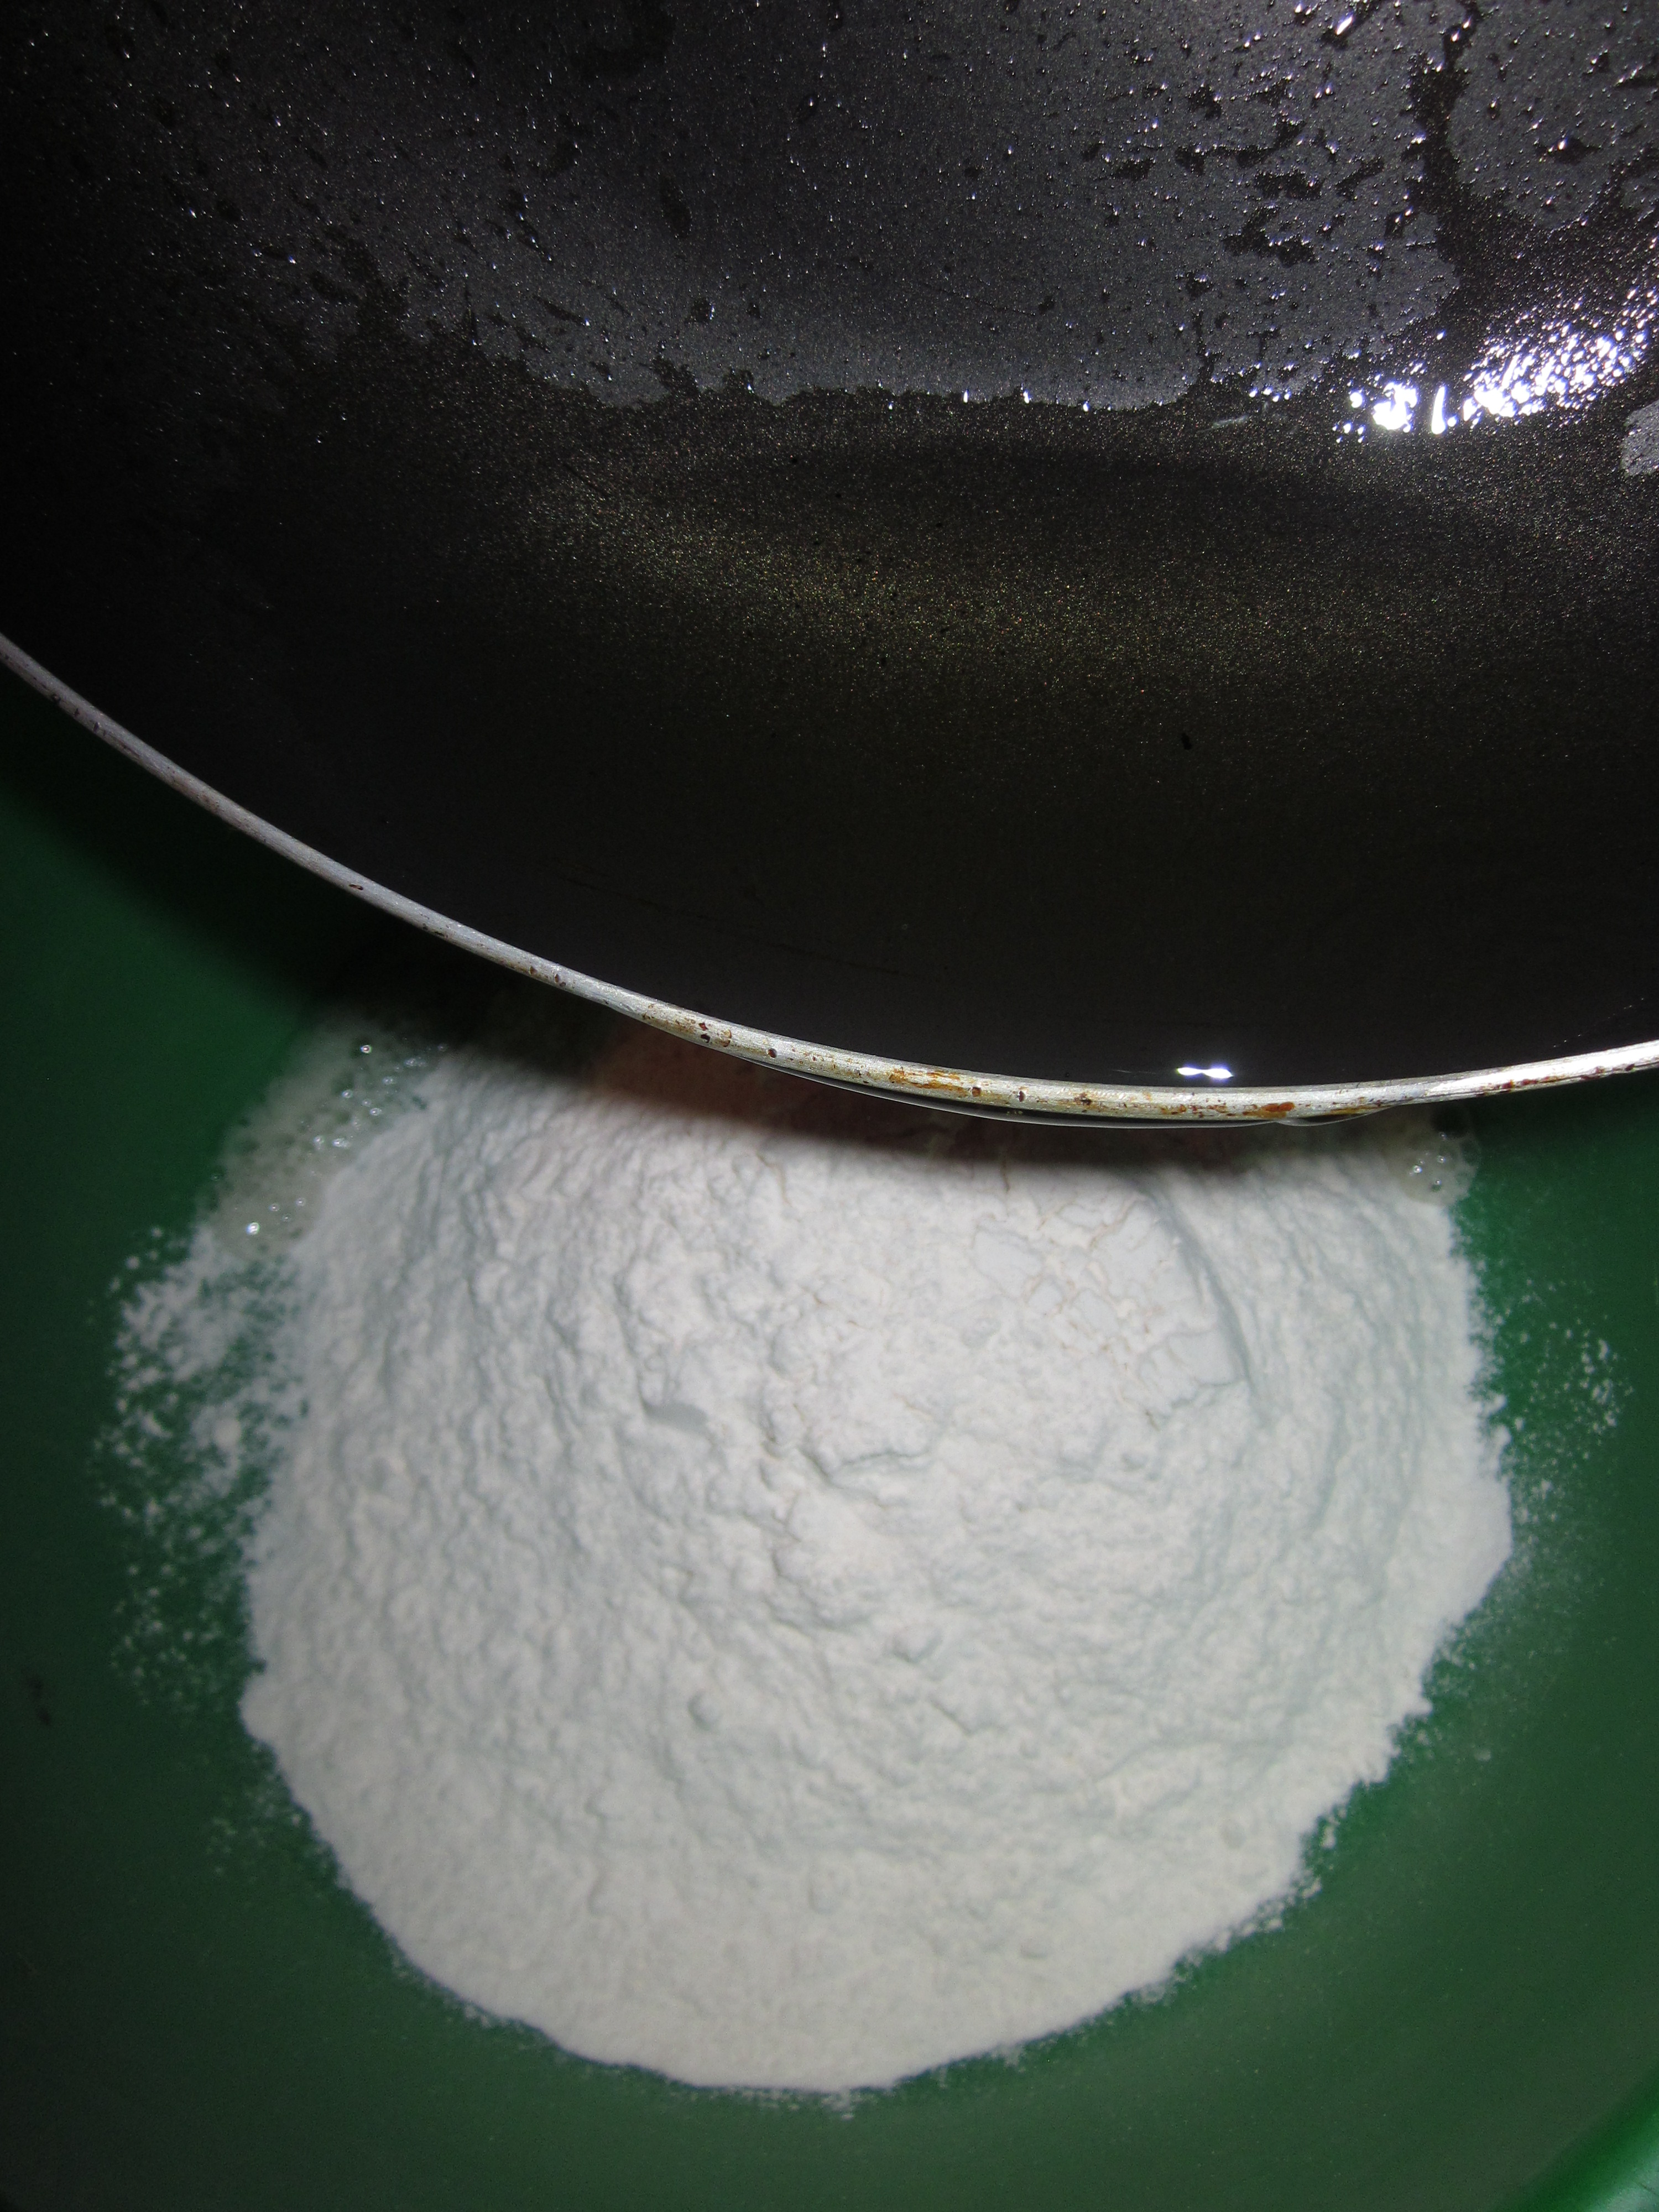
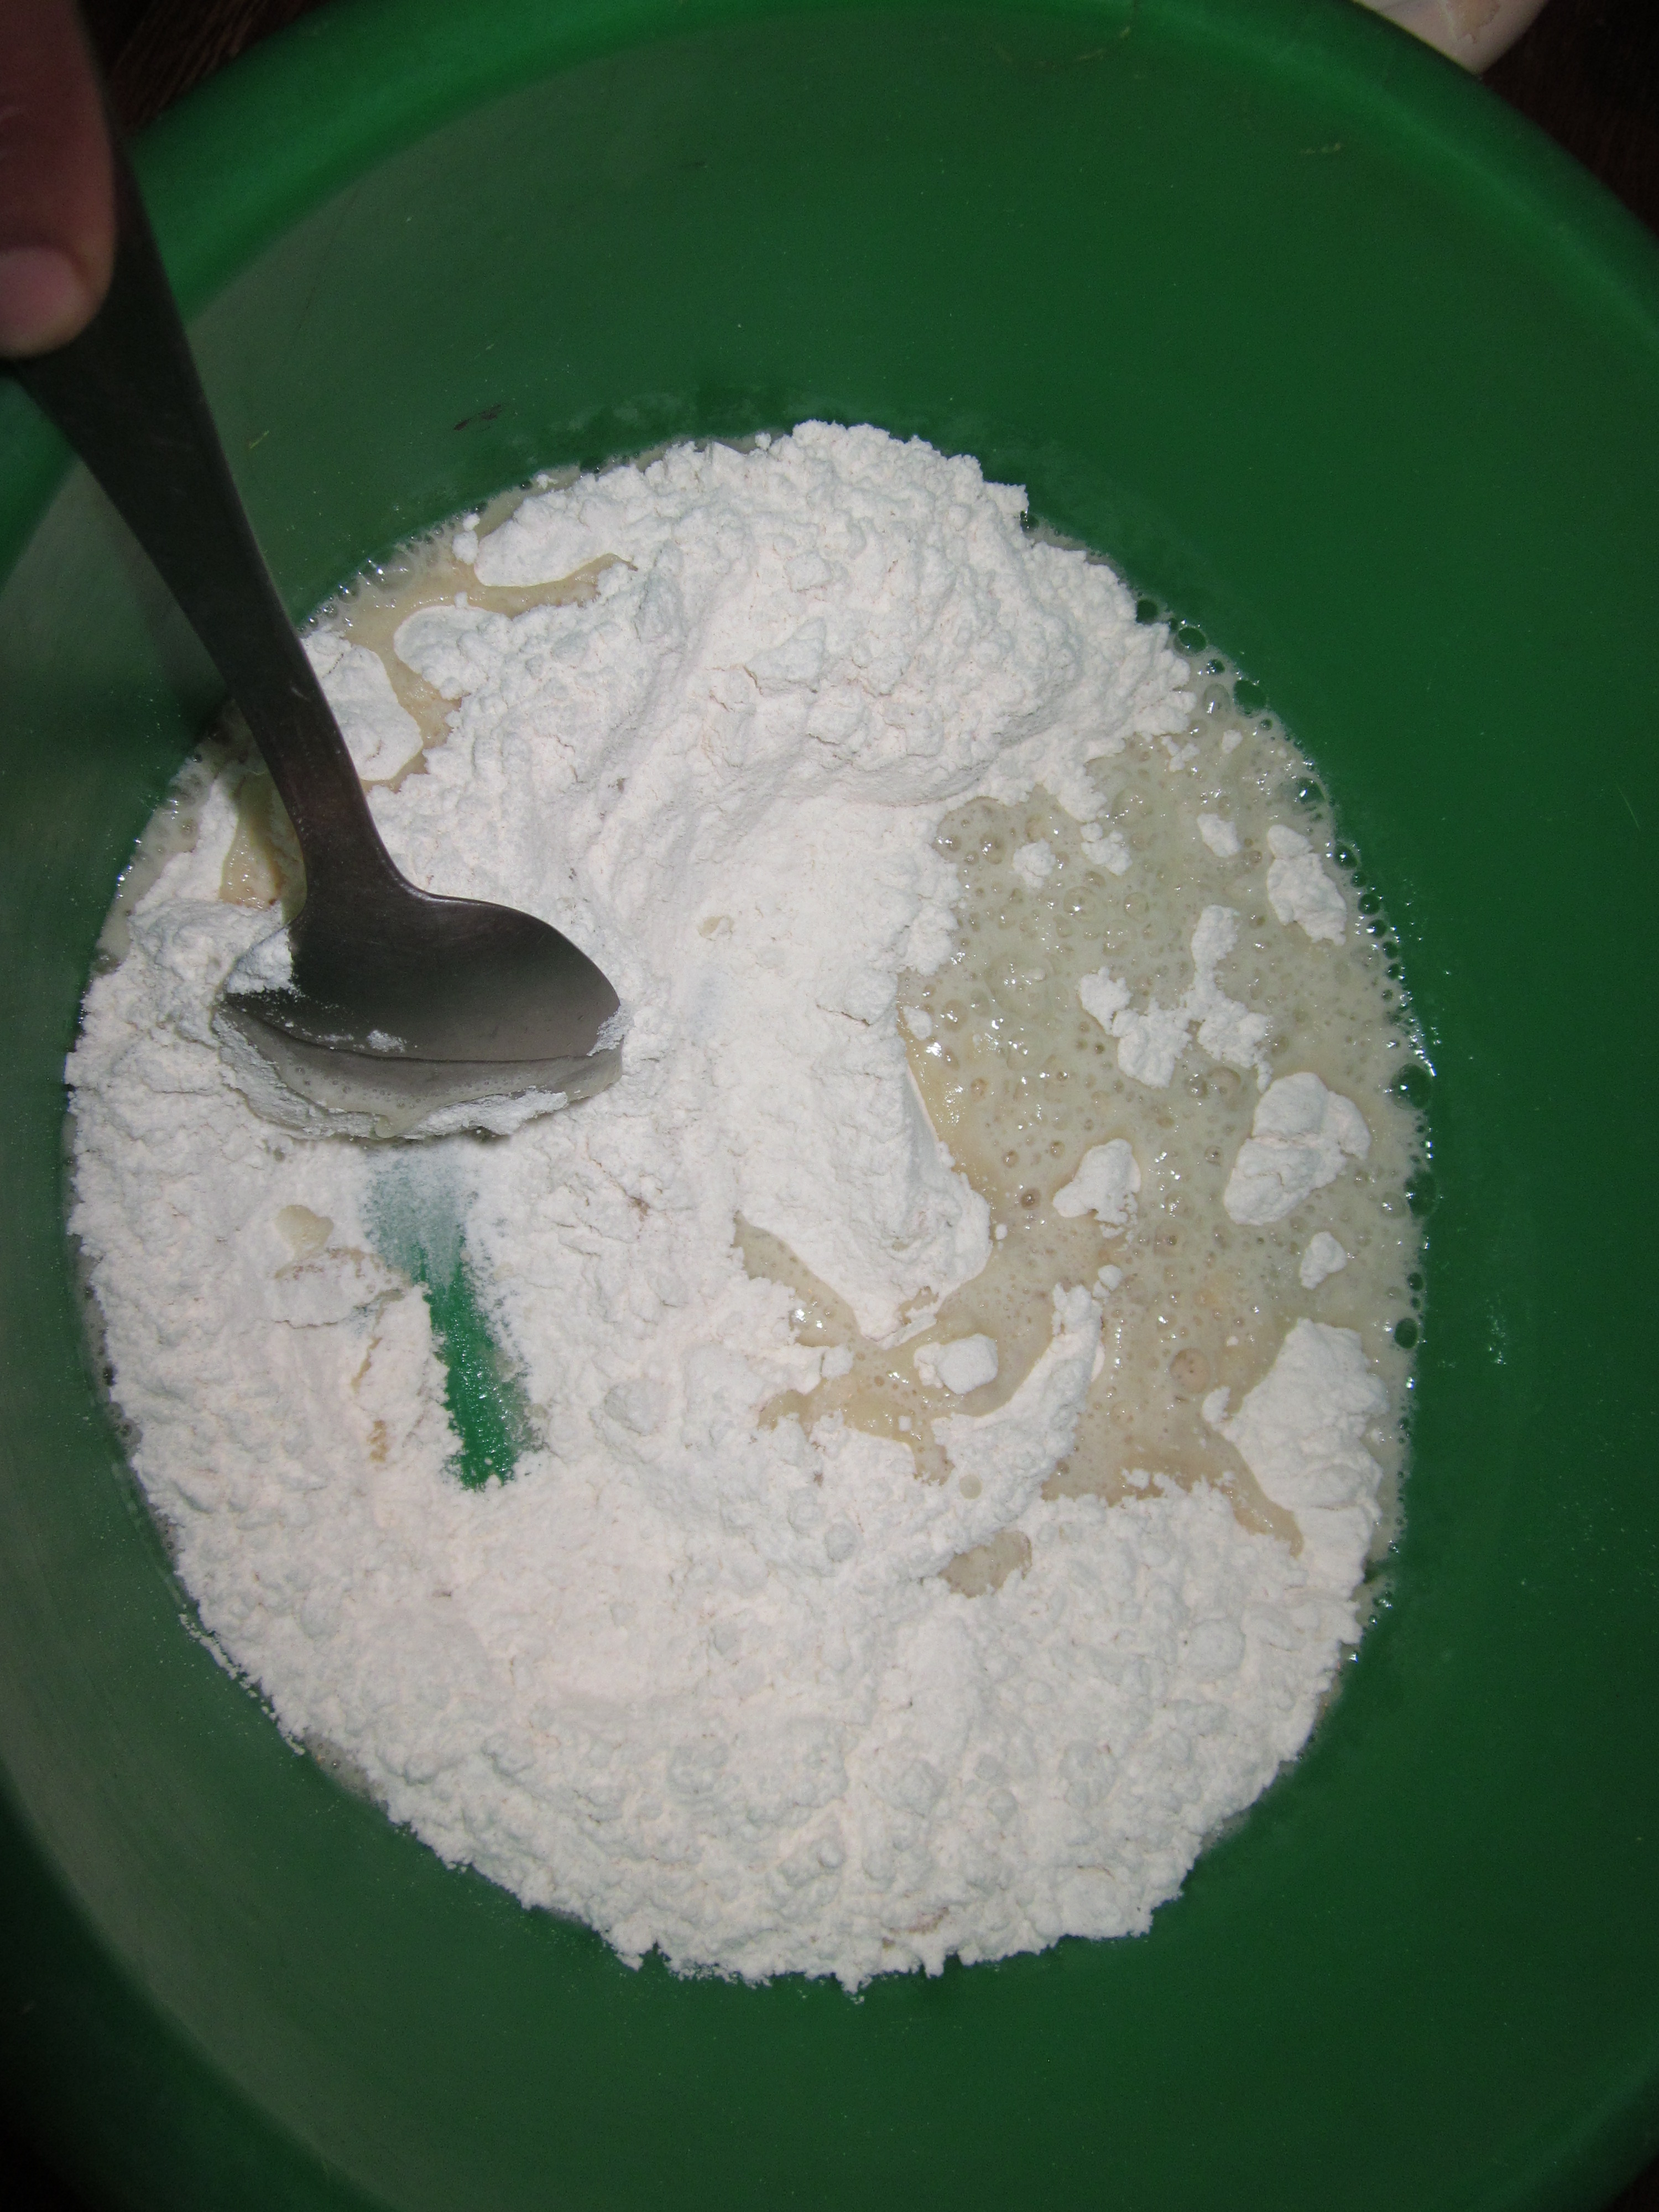
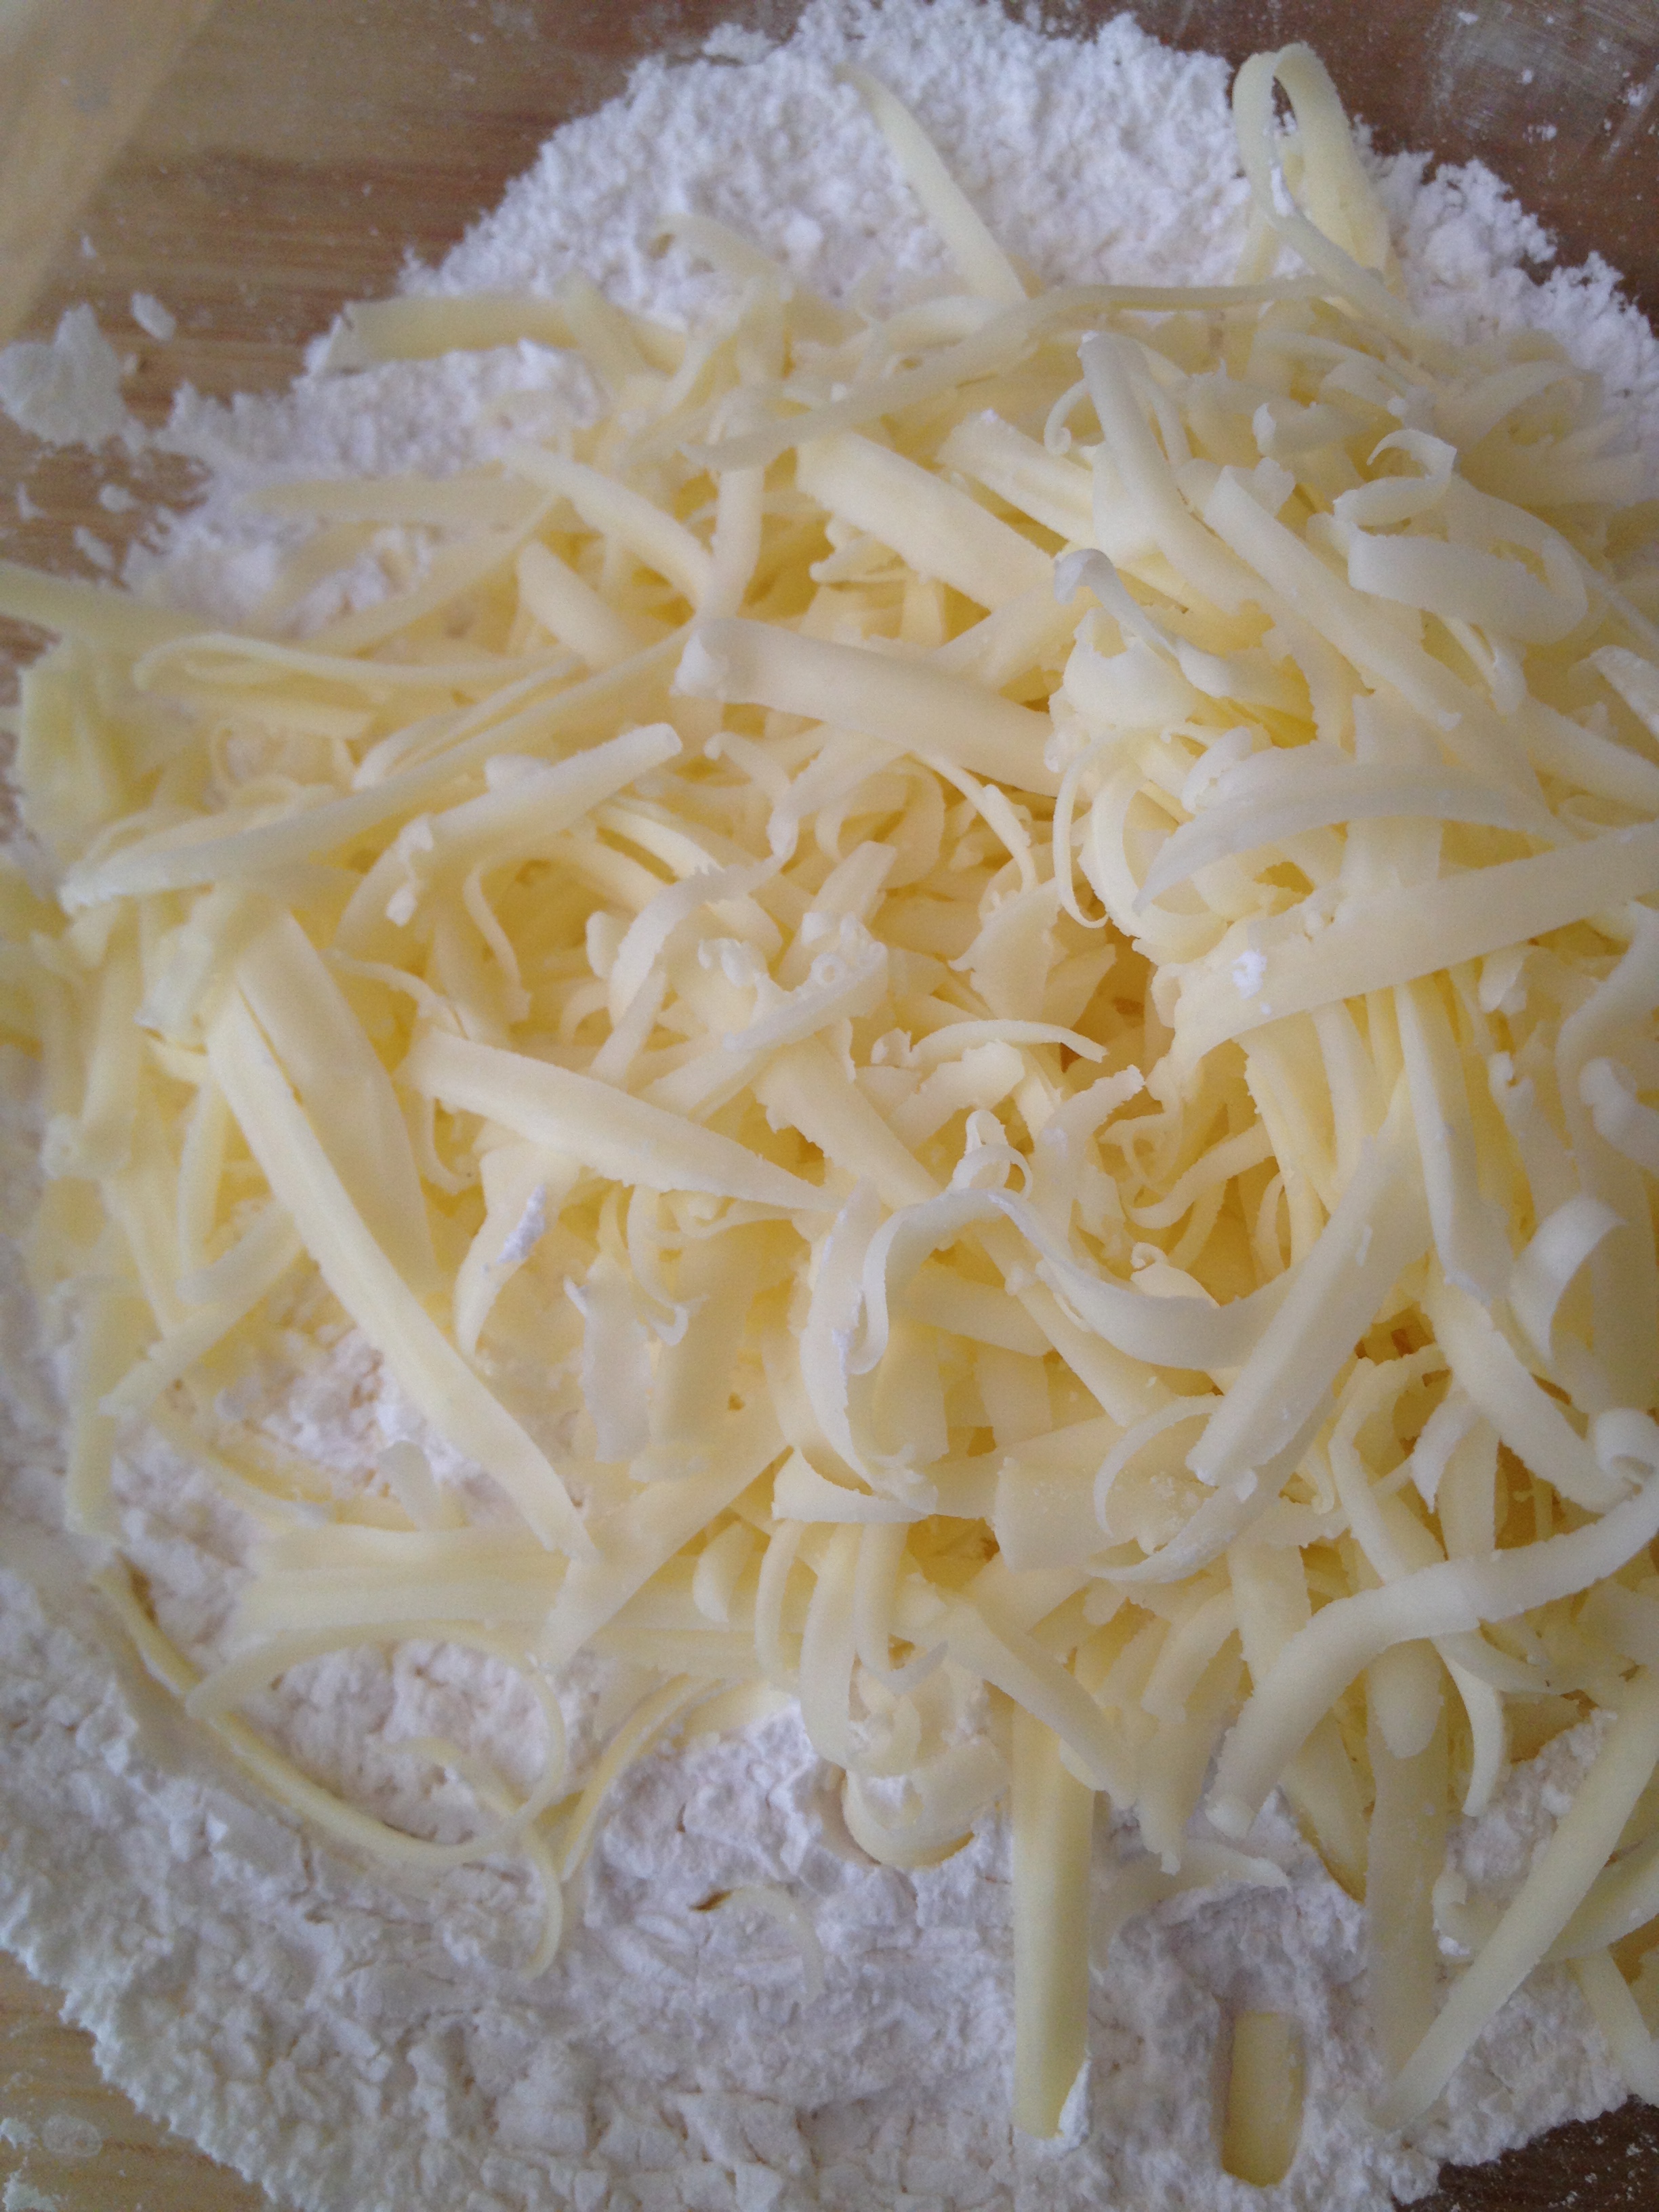
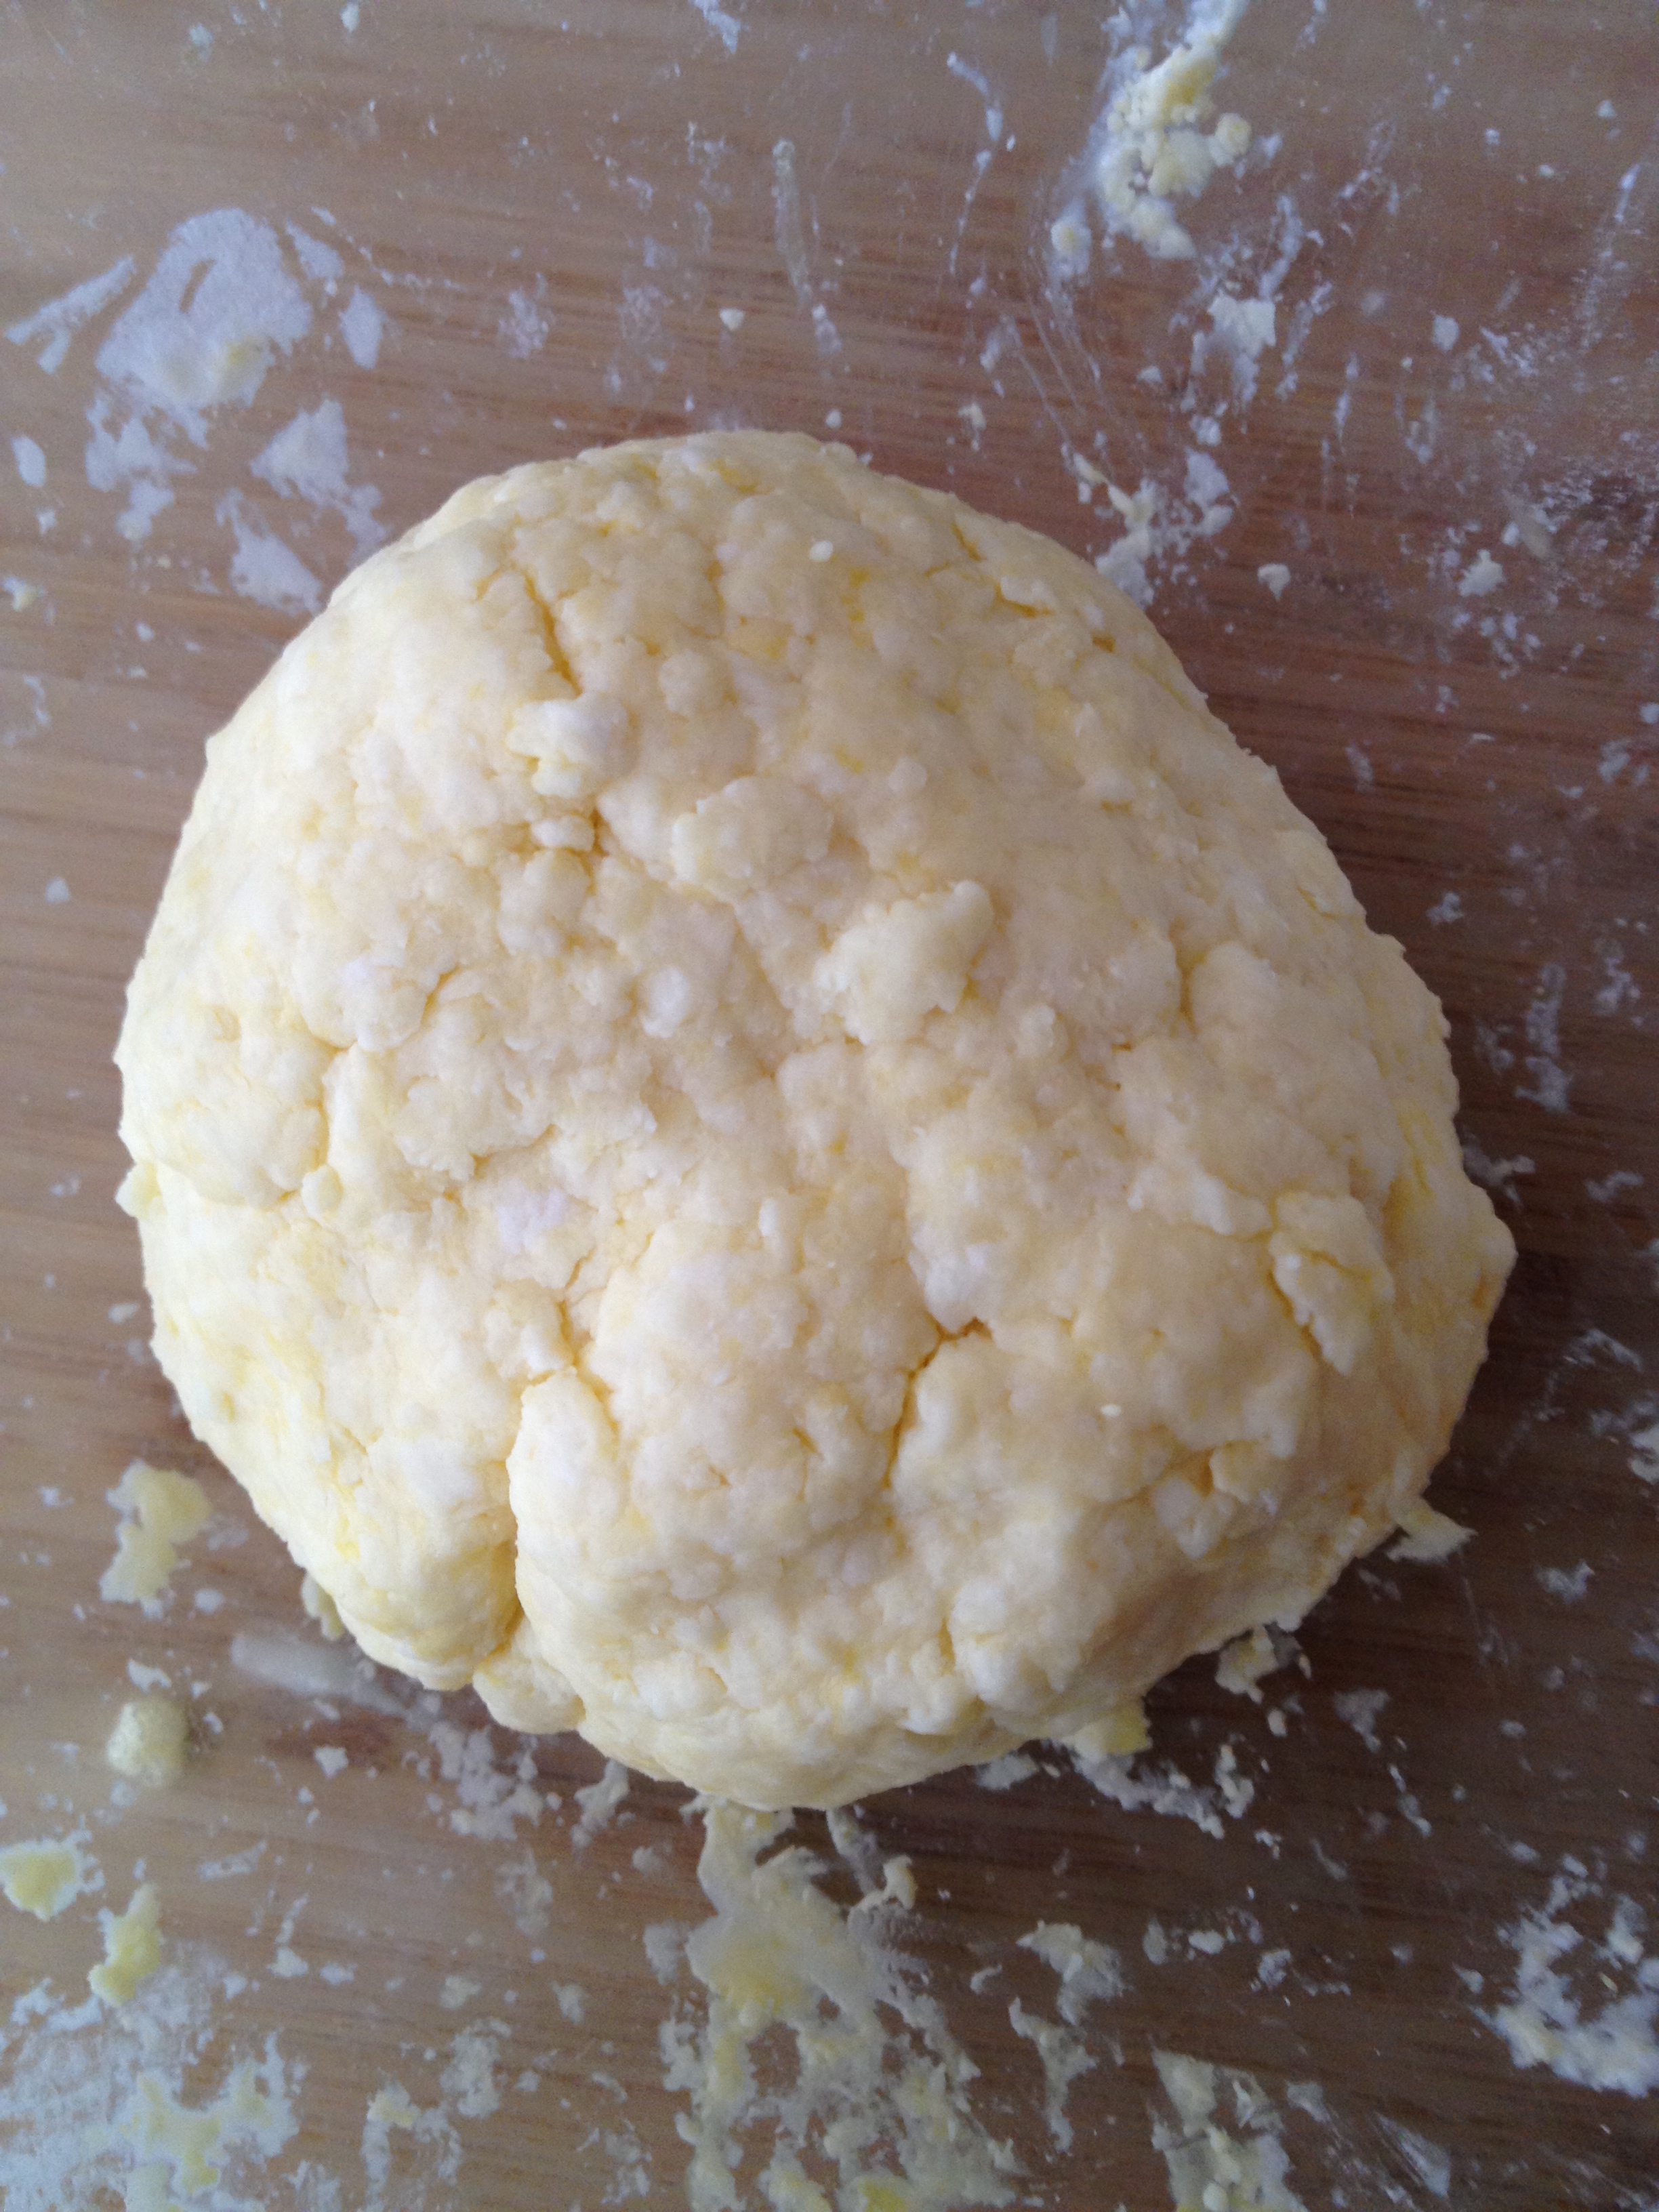
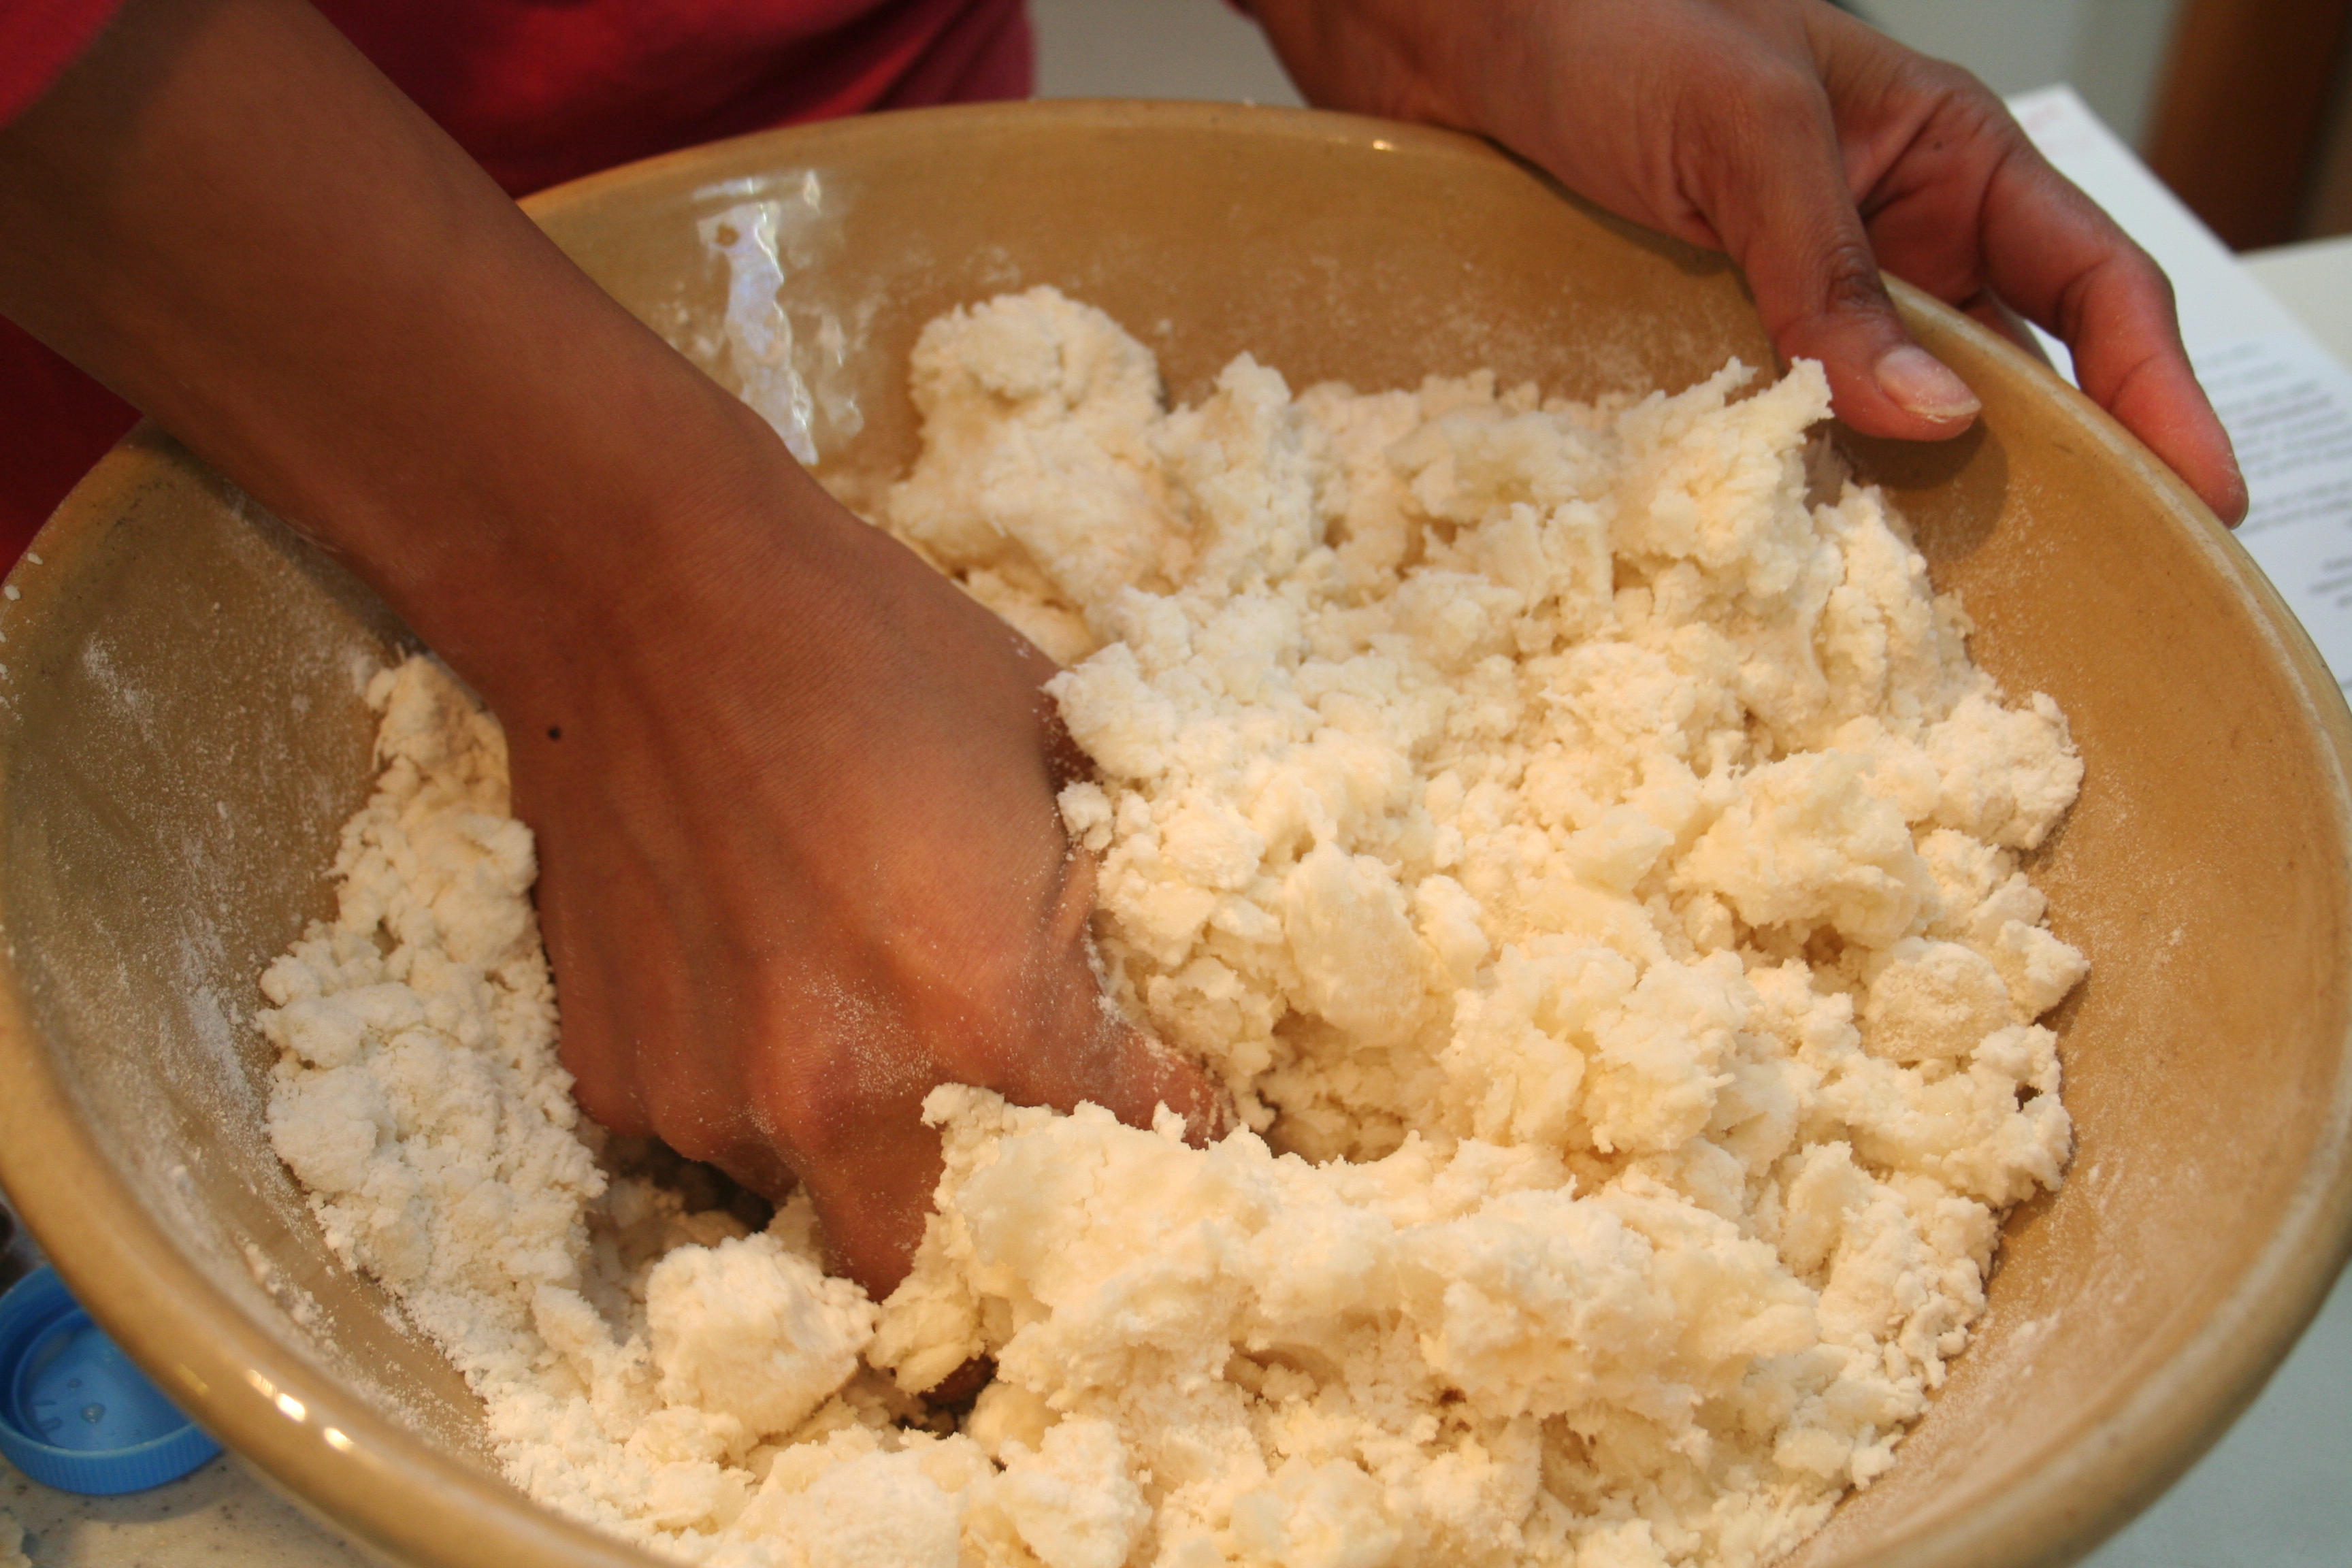
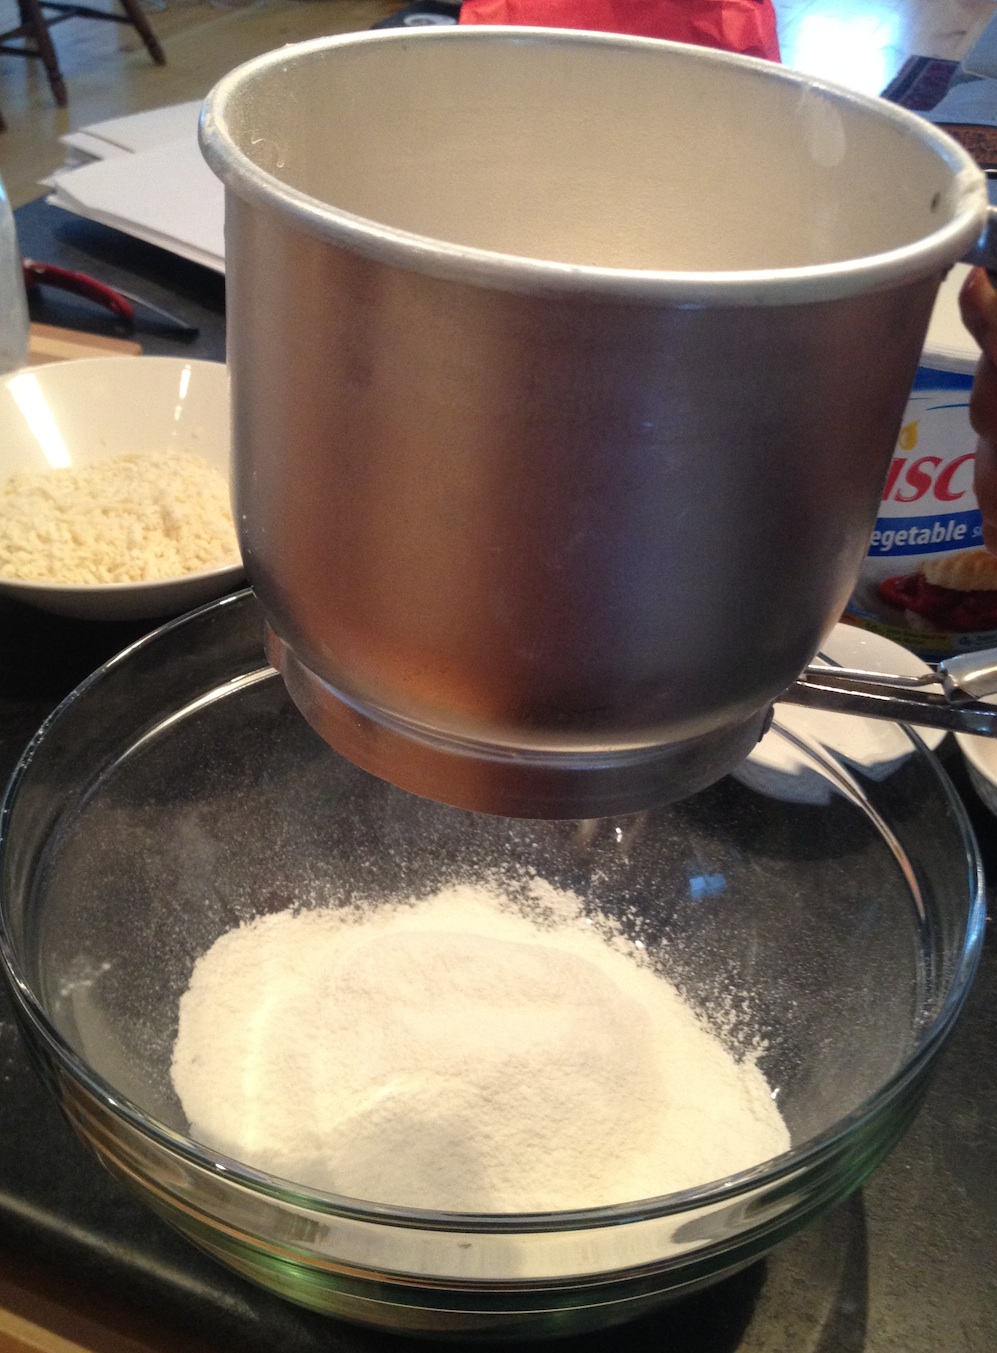
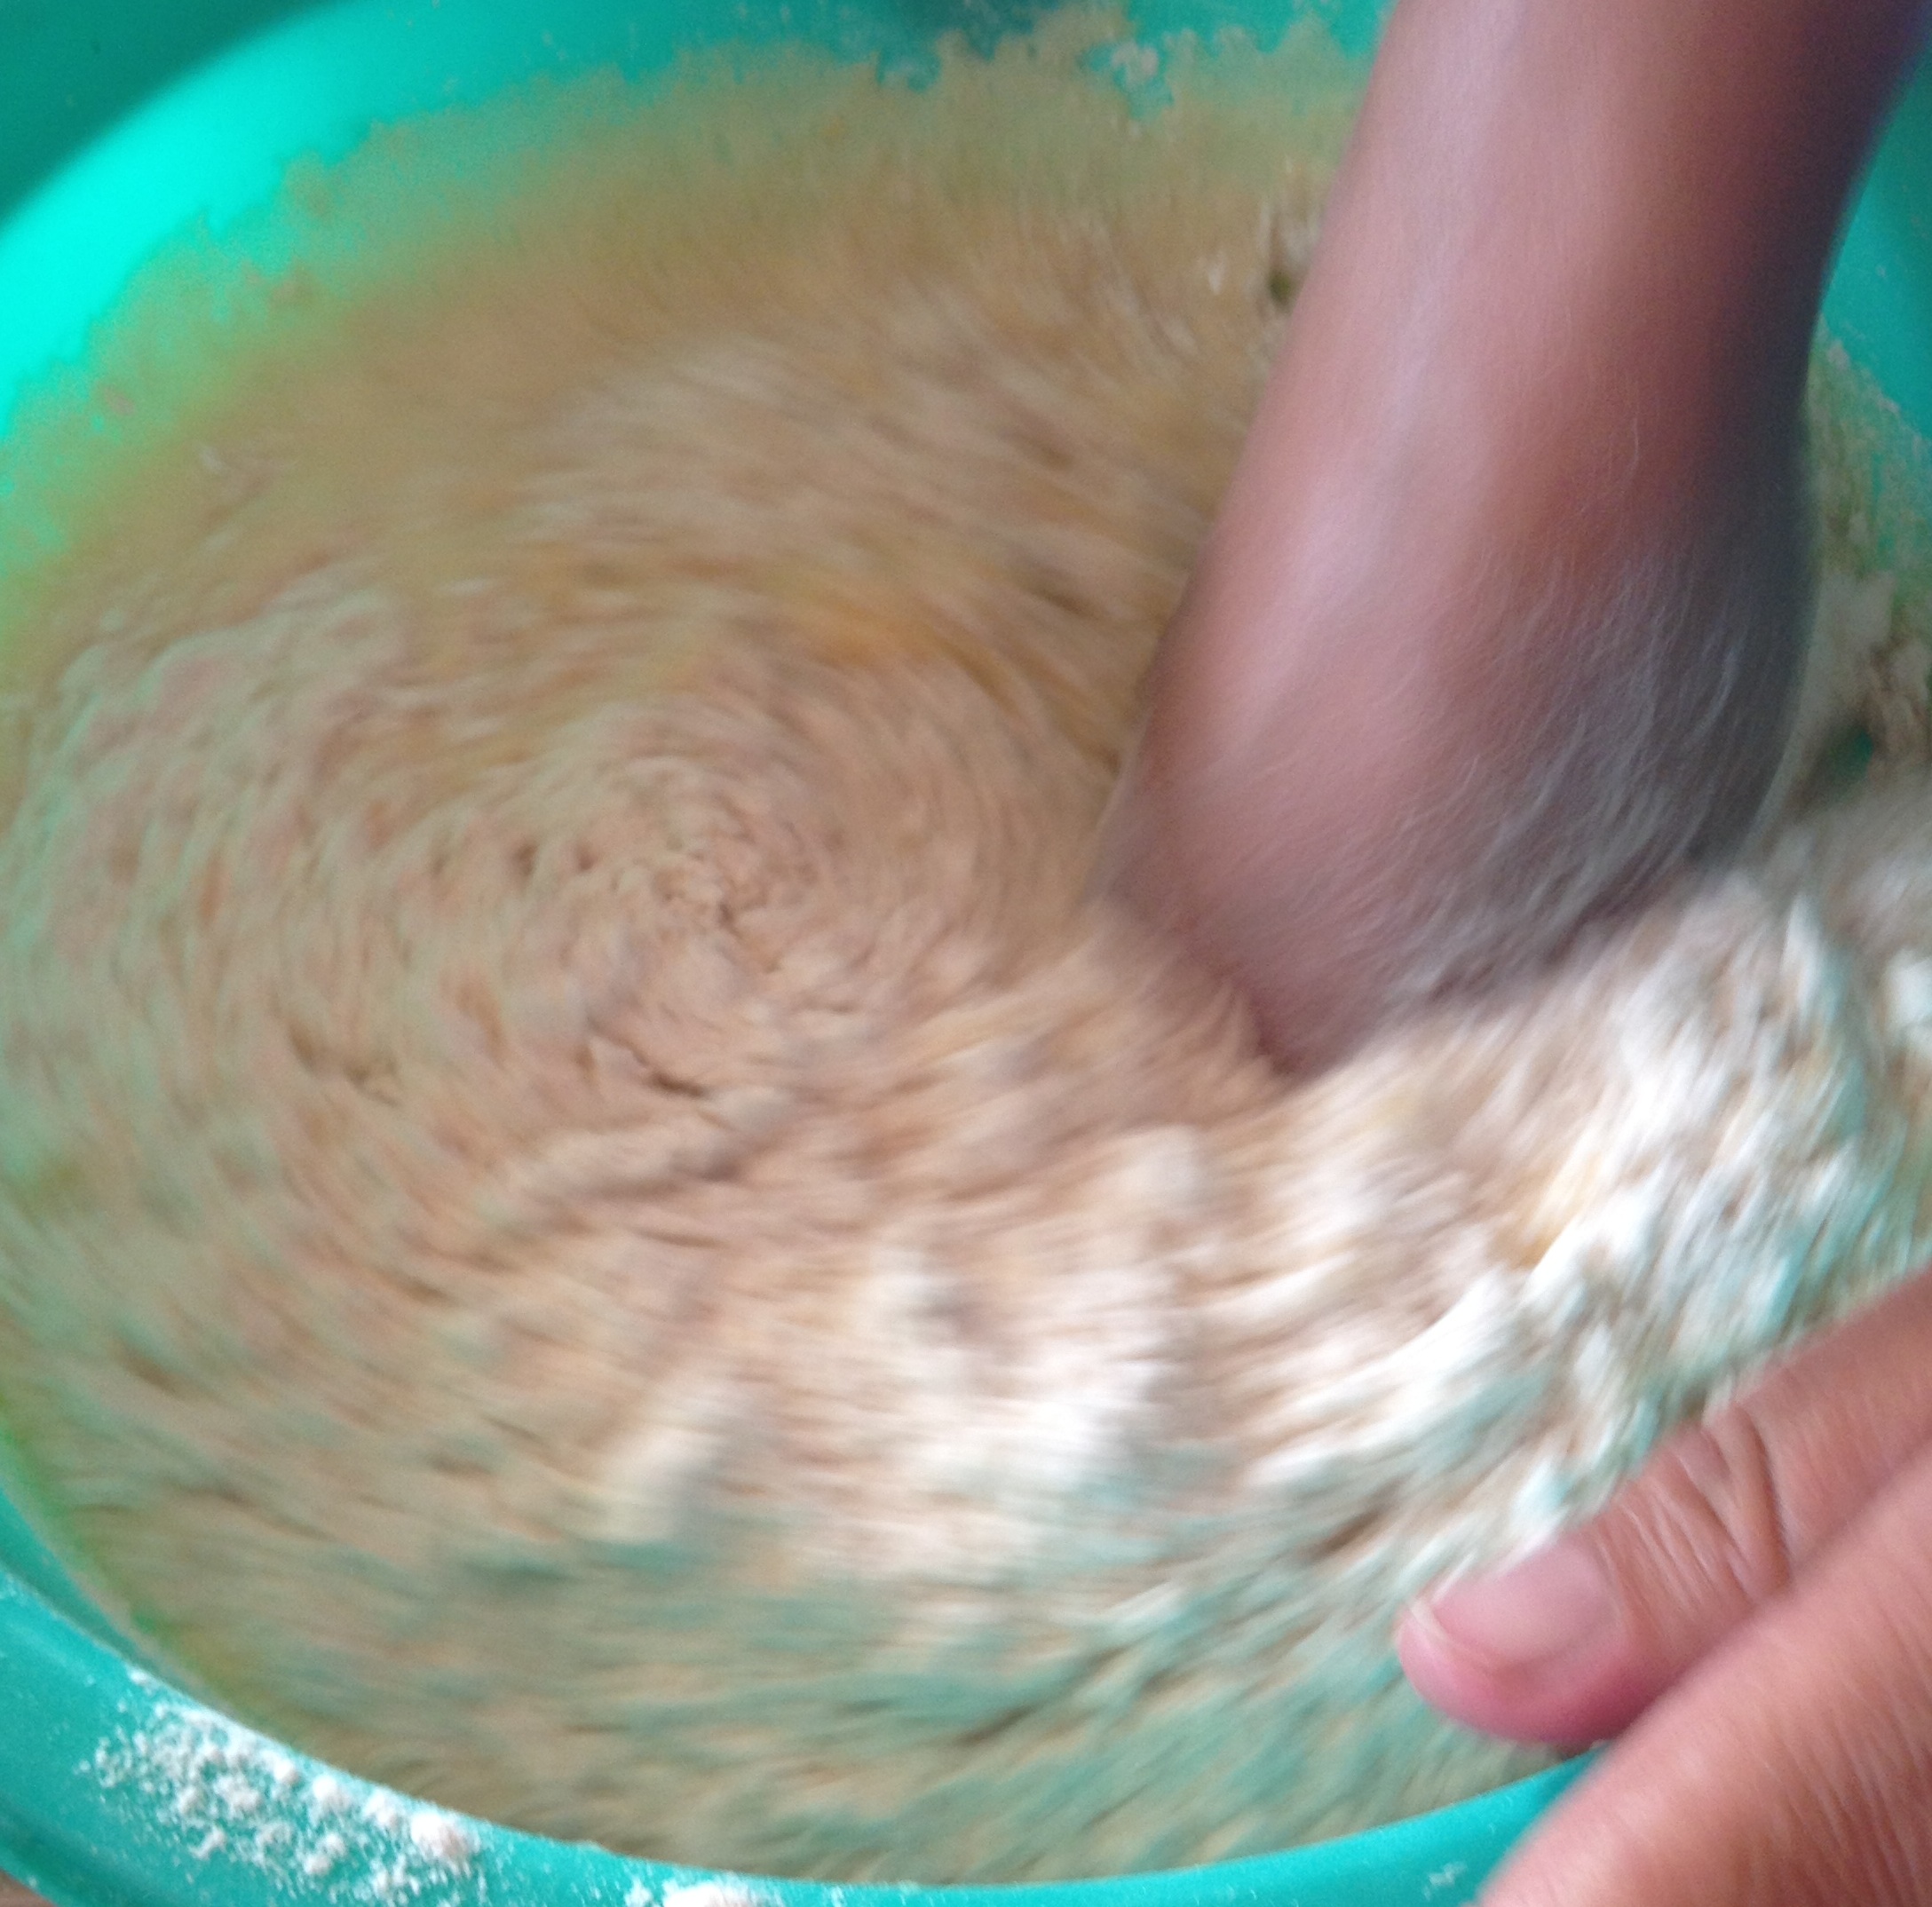
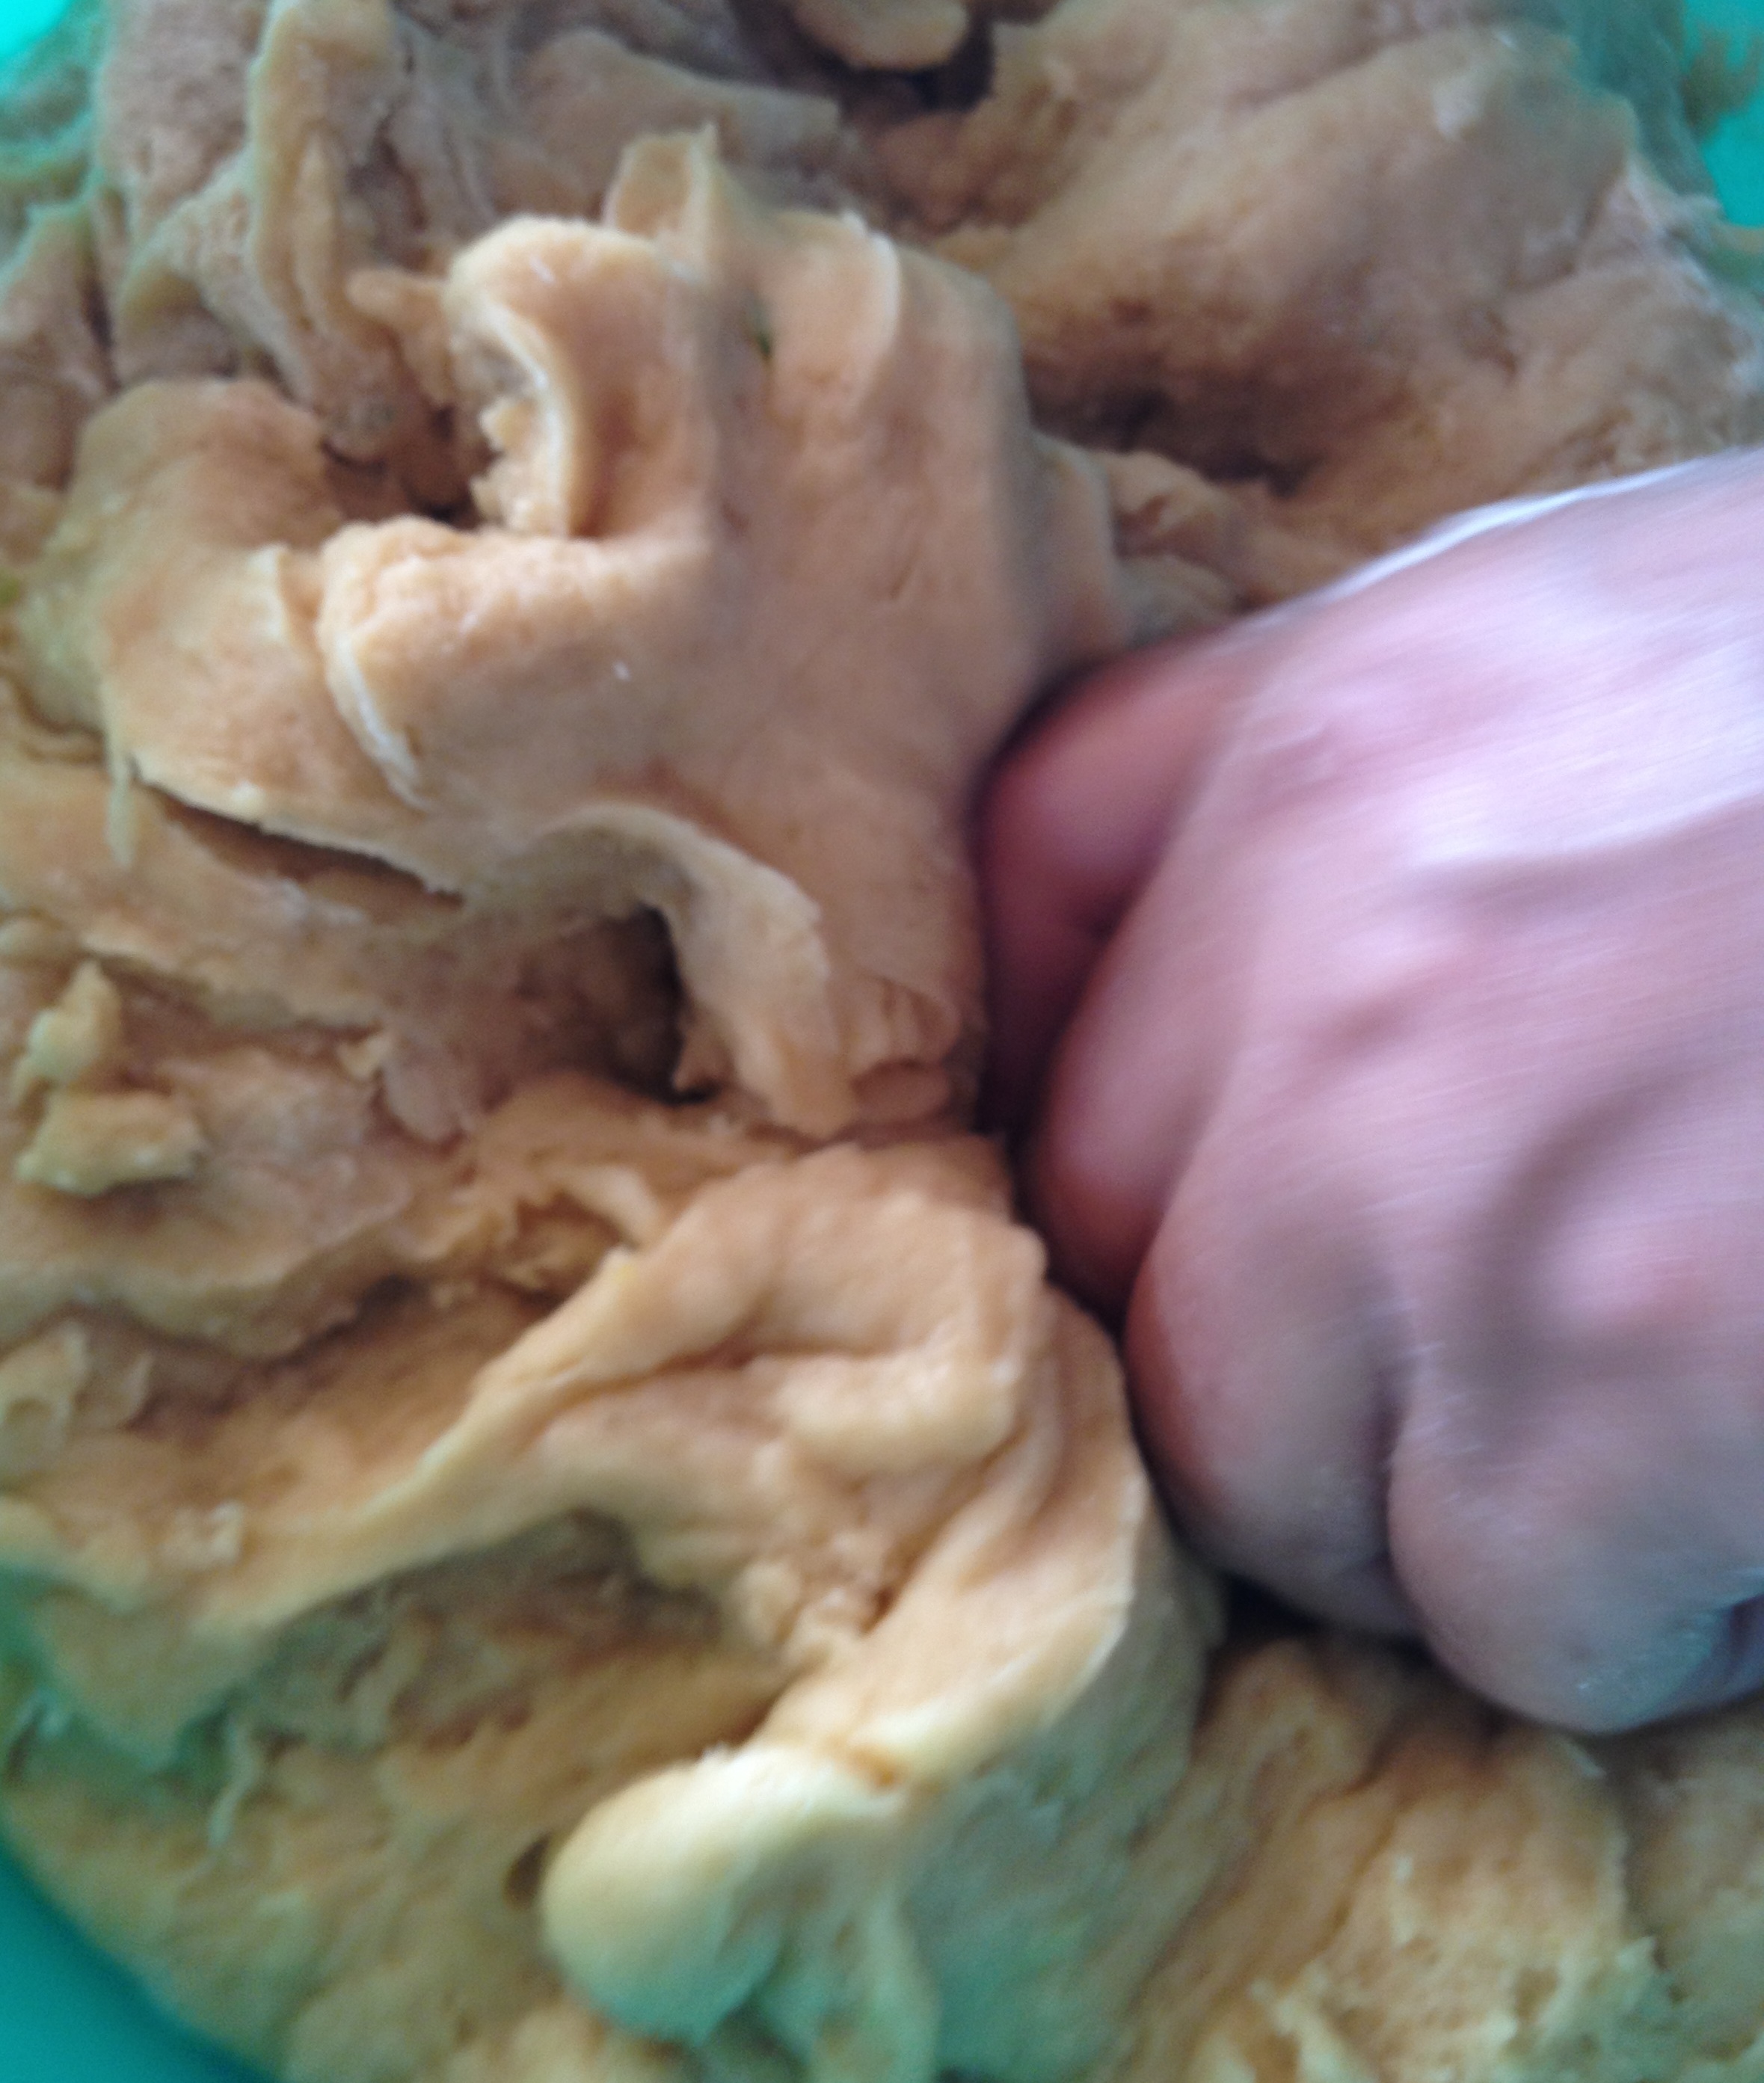
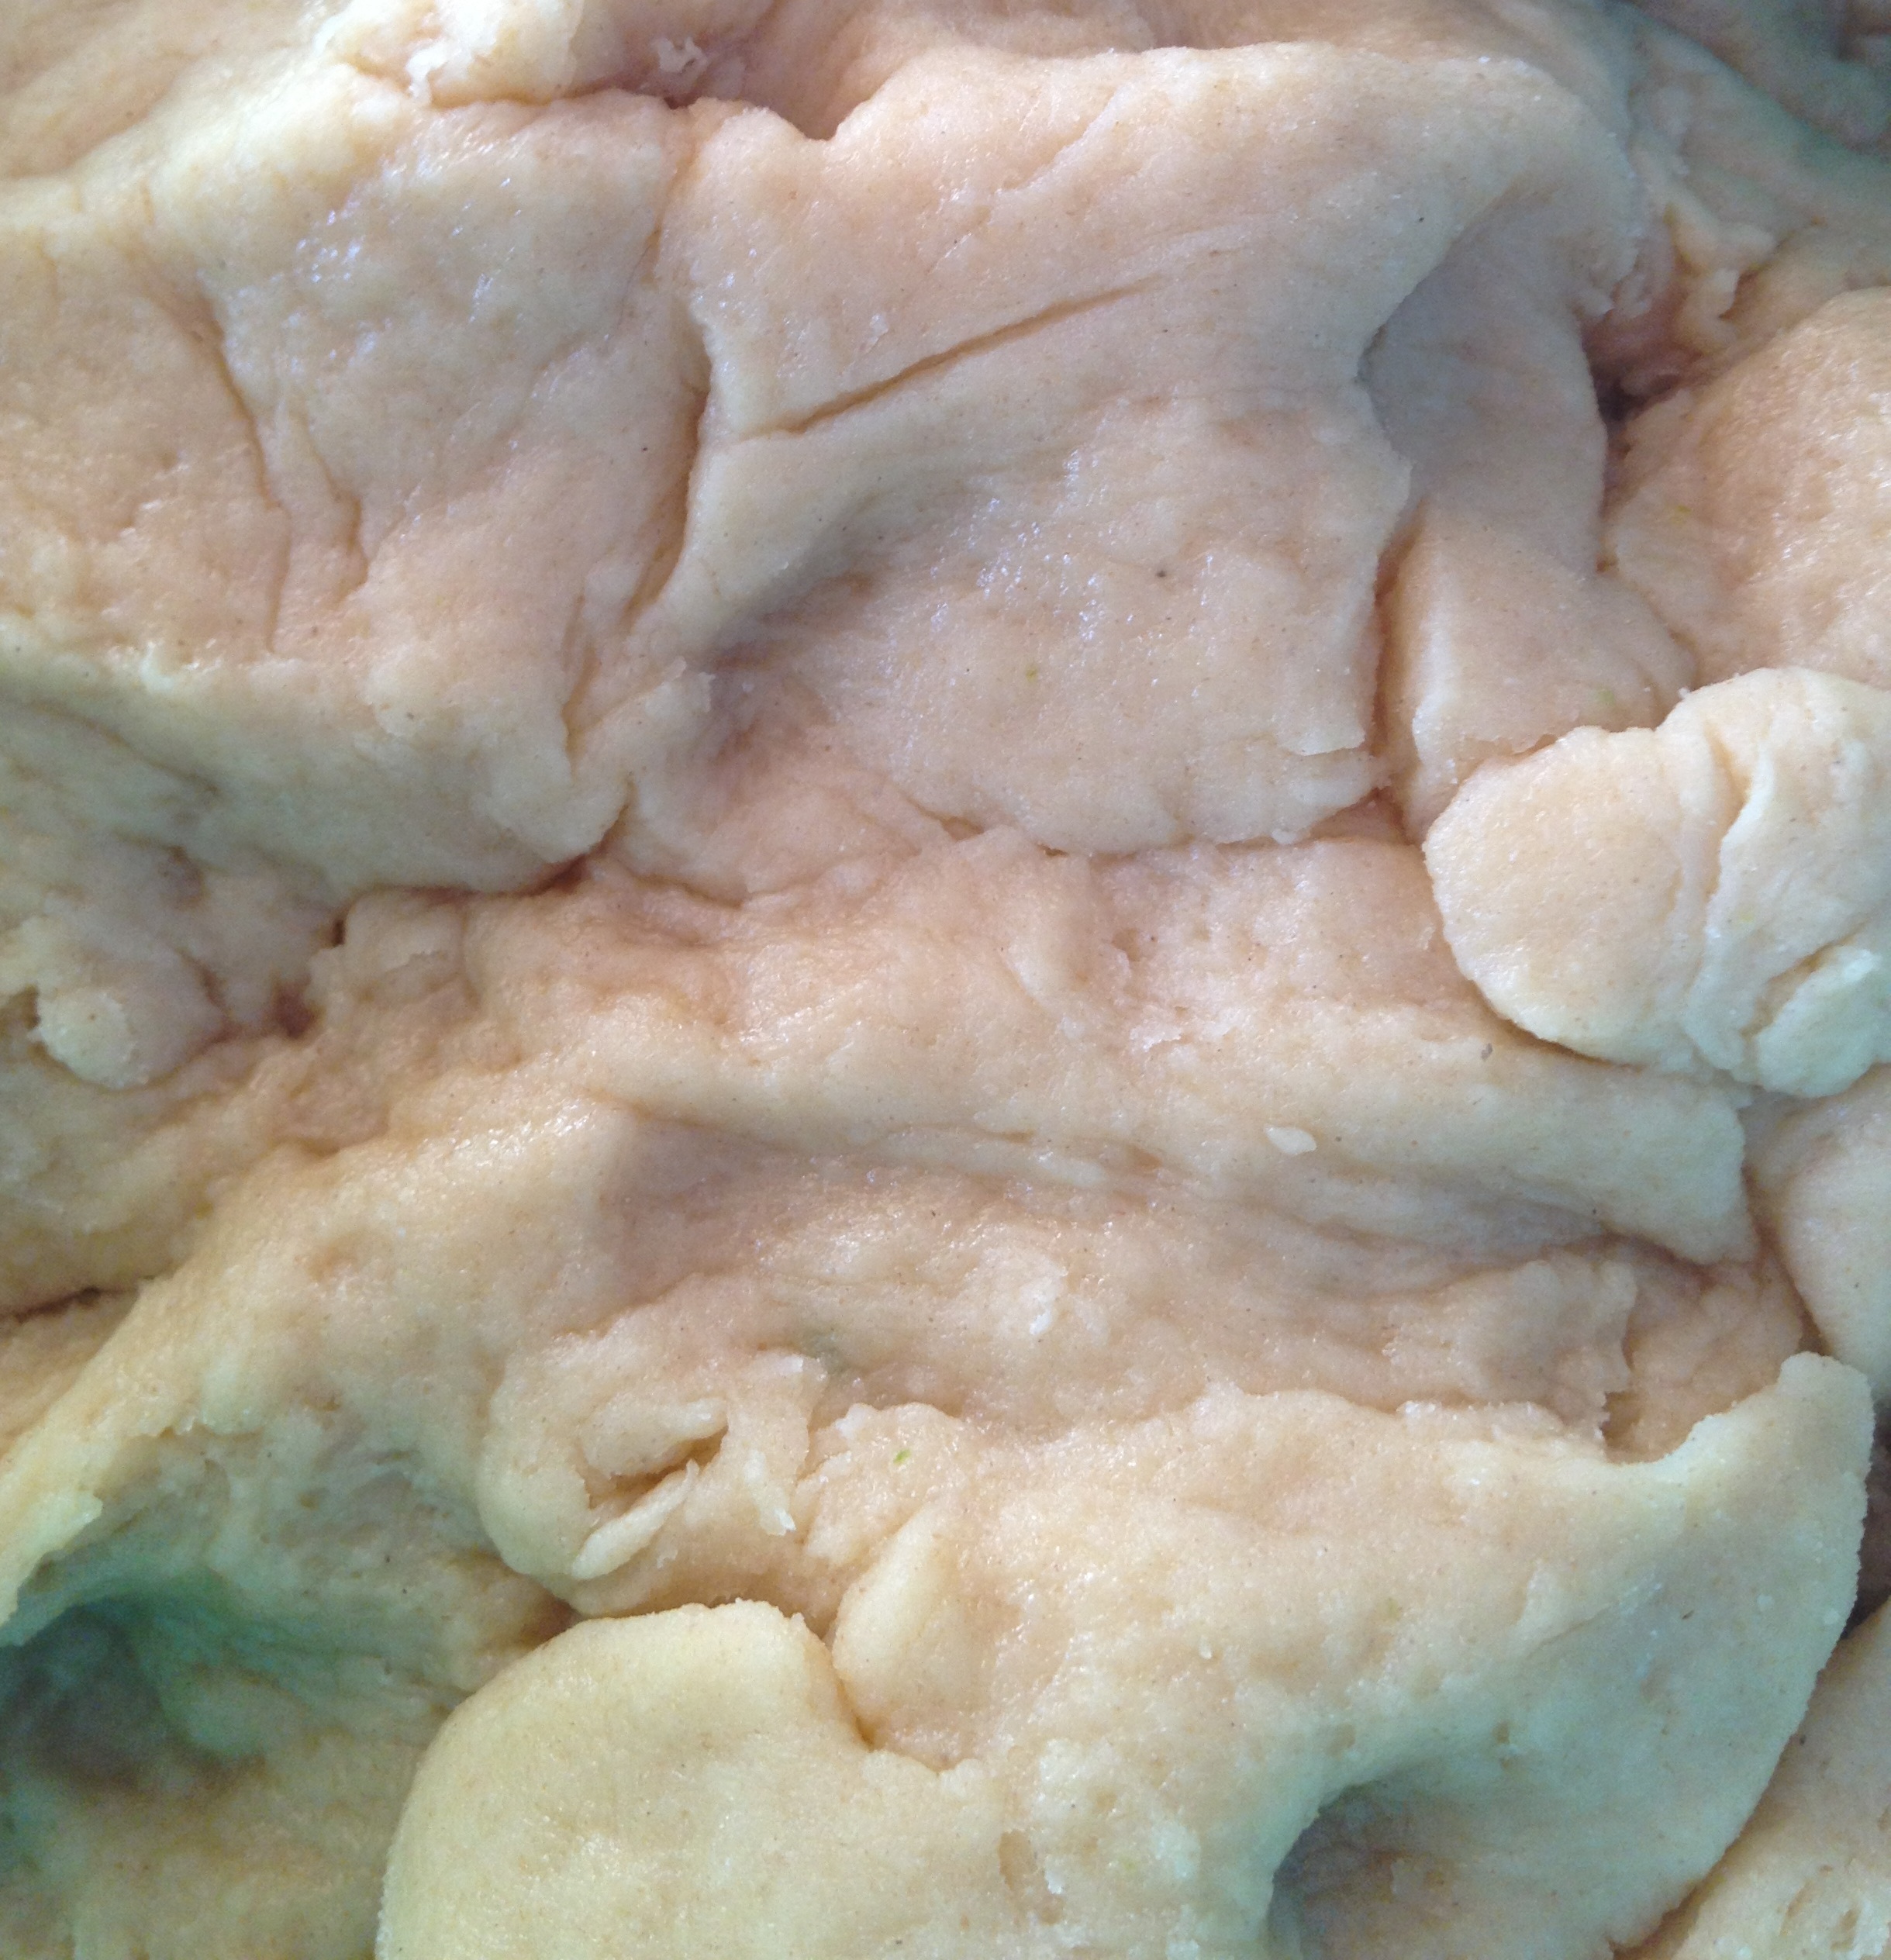
Add the flour slowly and mix with your hands until all the flour is well blended. Add the 4 tbs oil at the last minute and blend well.
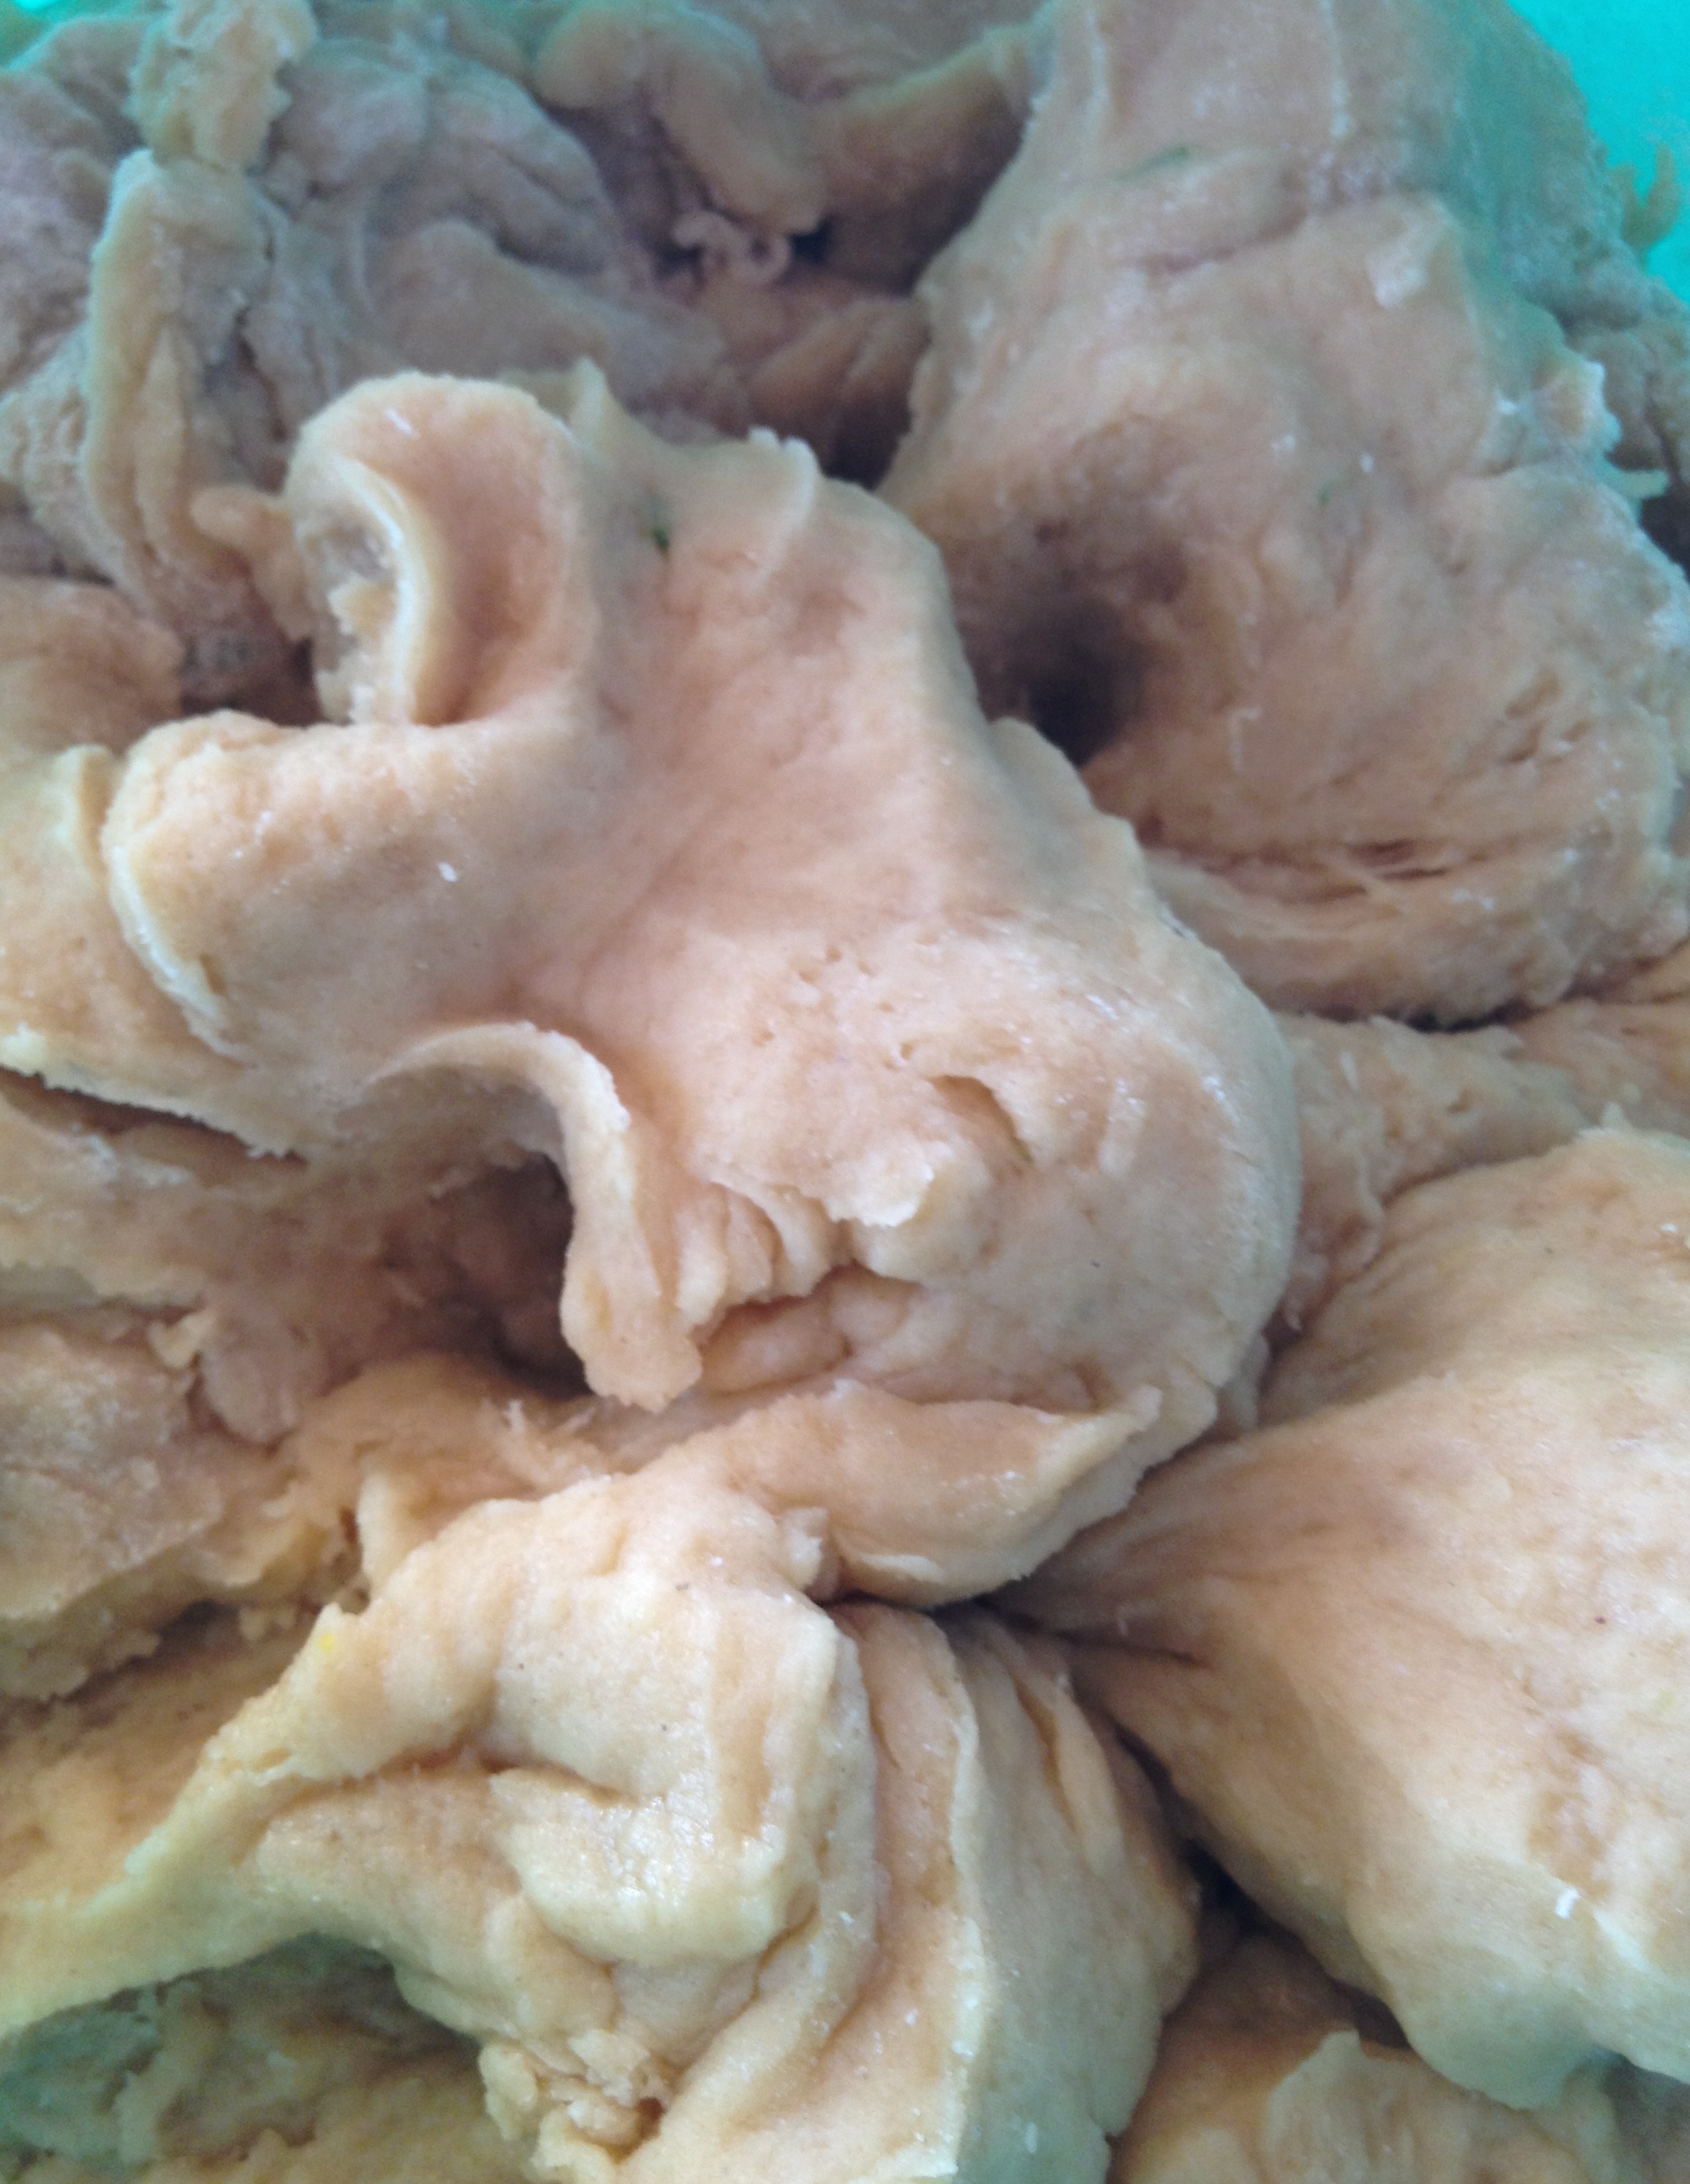
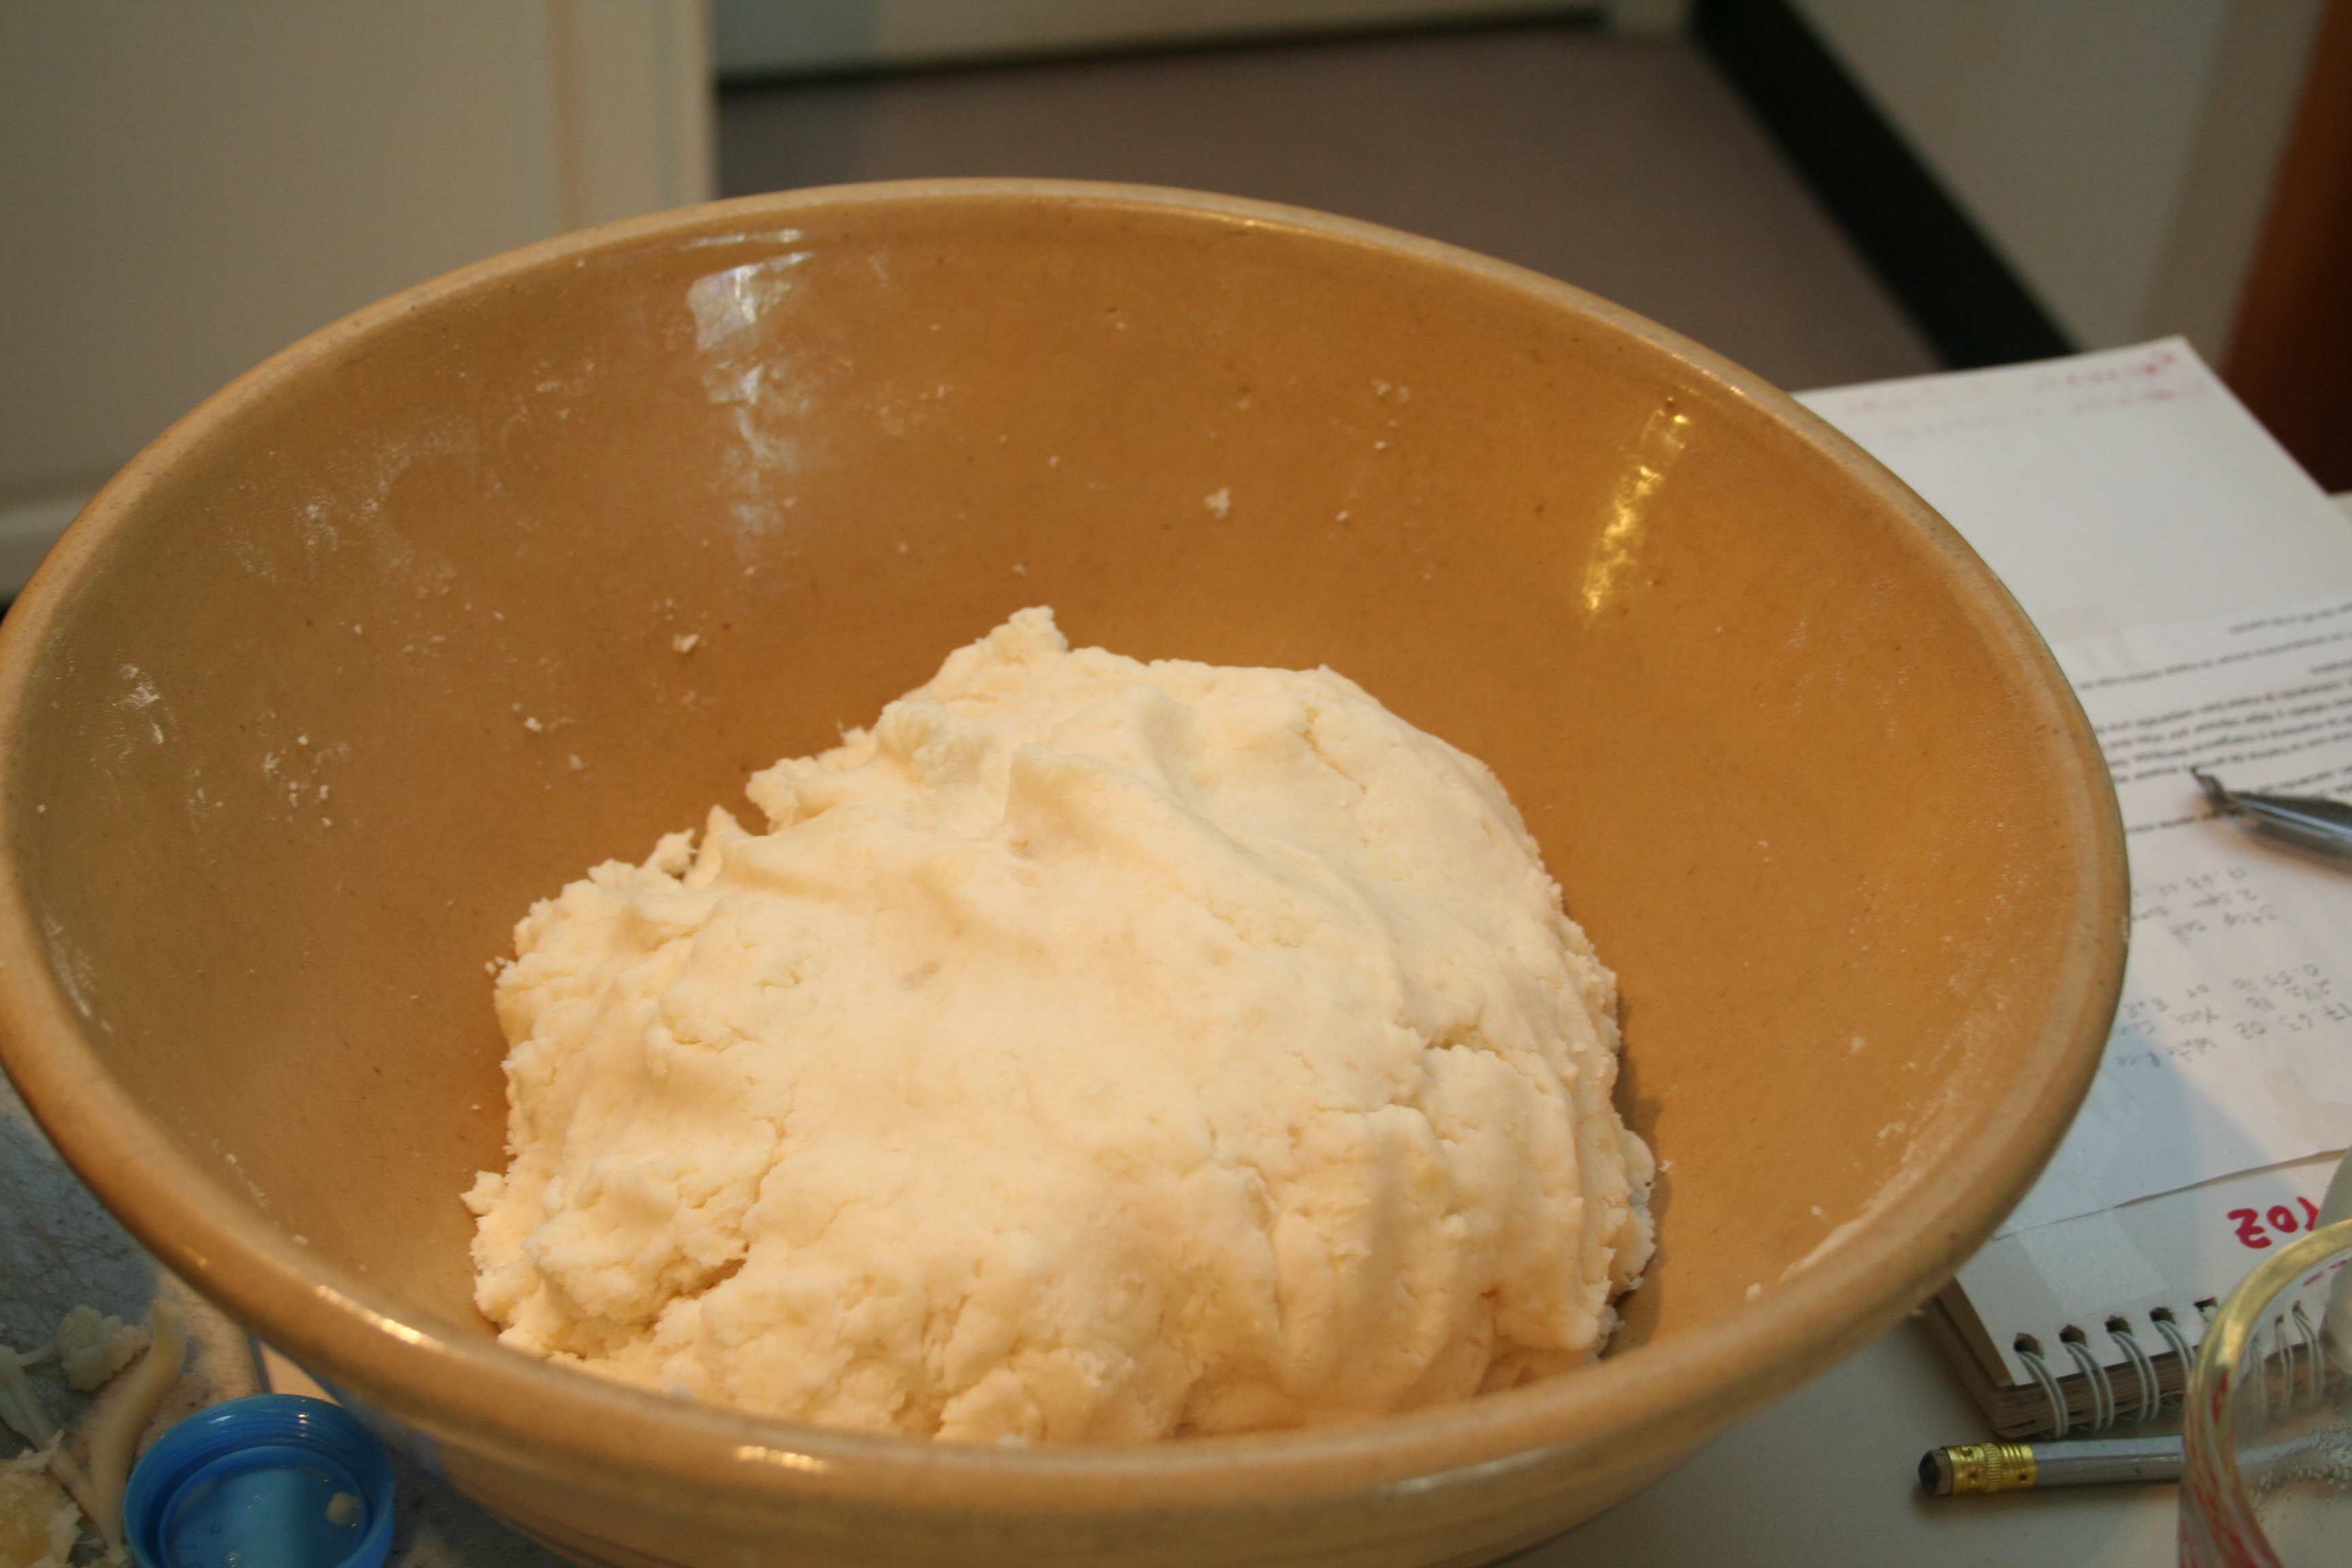
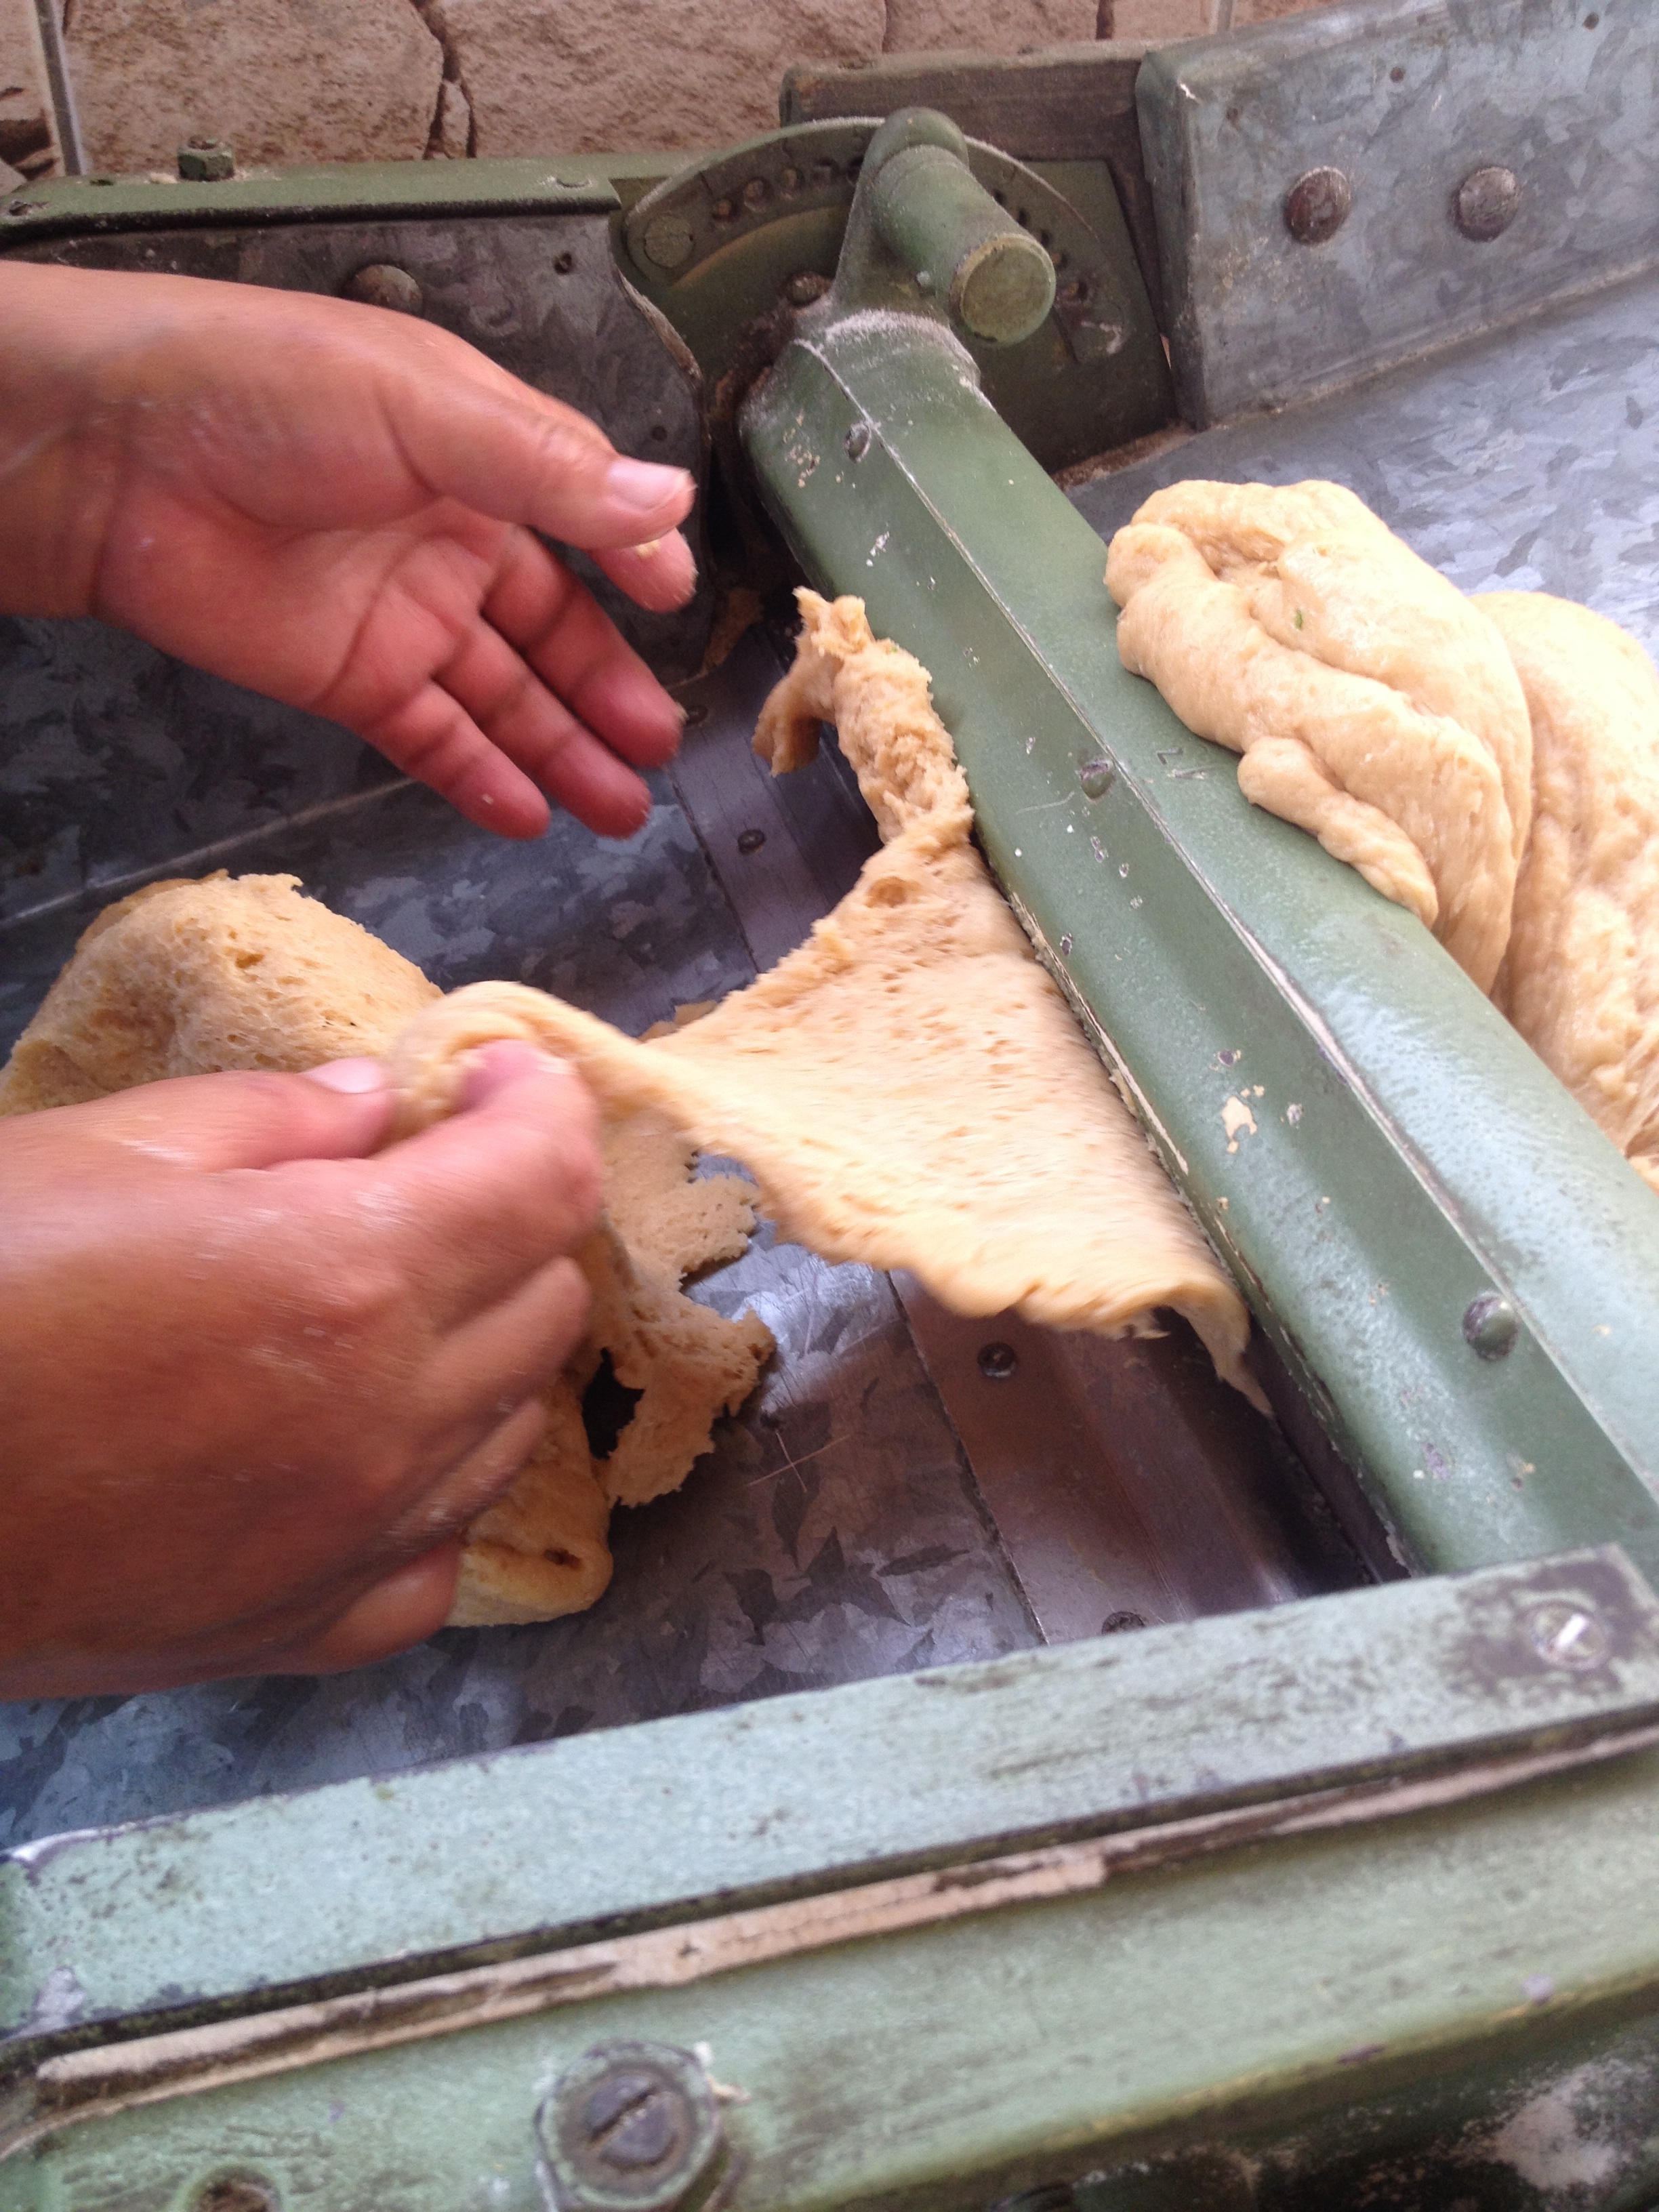
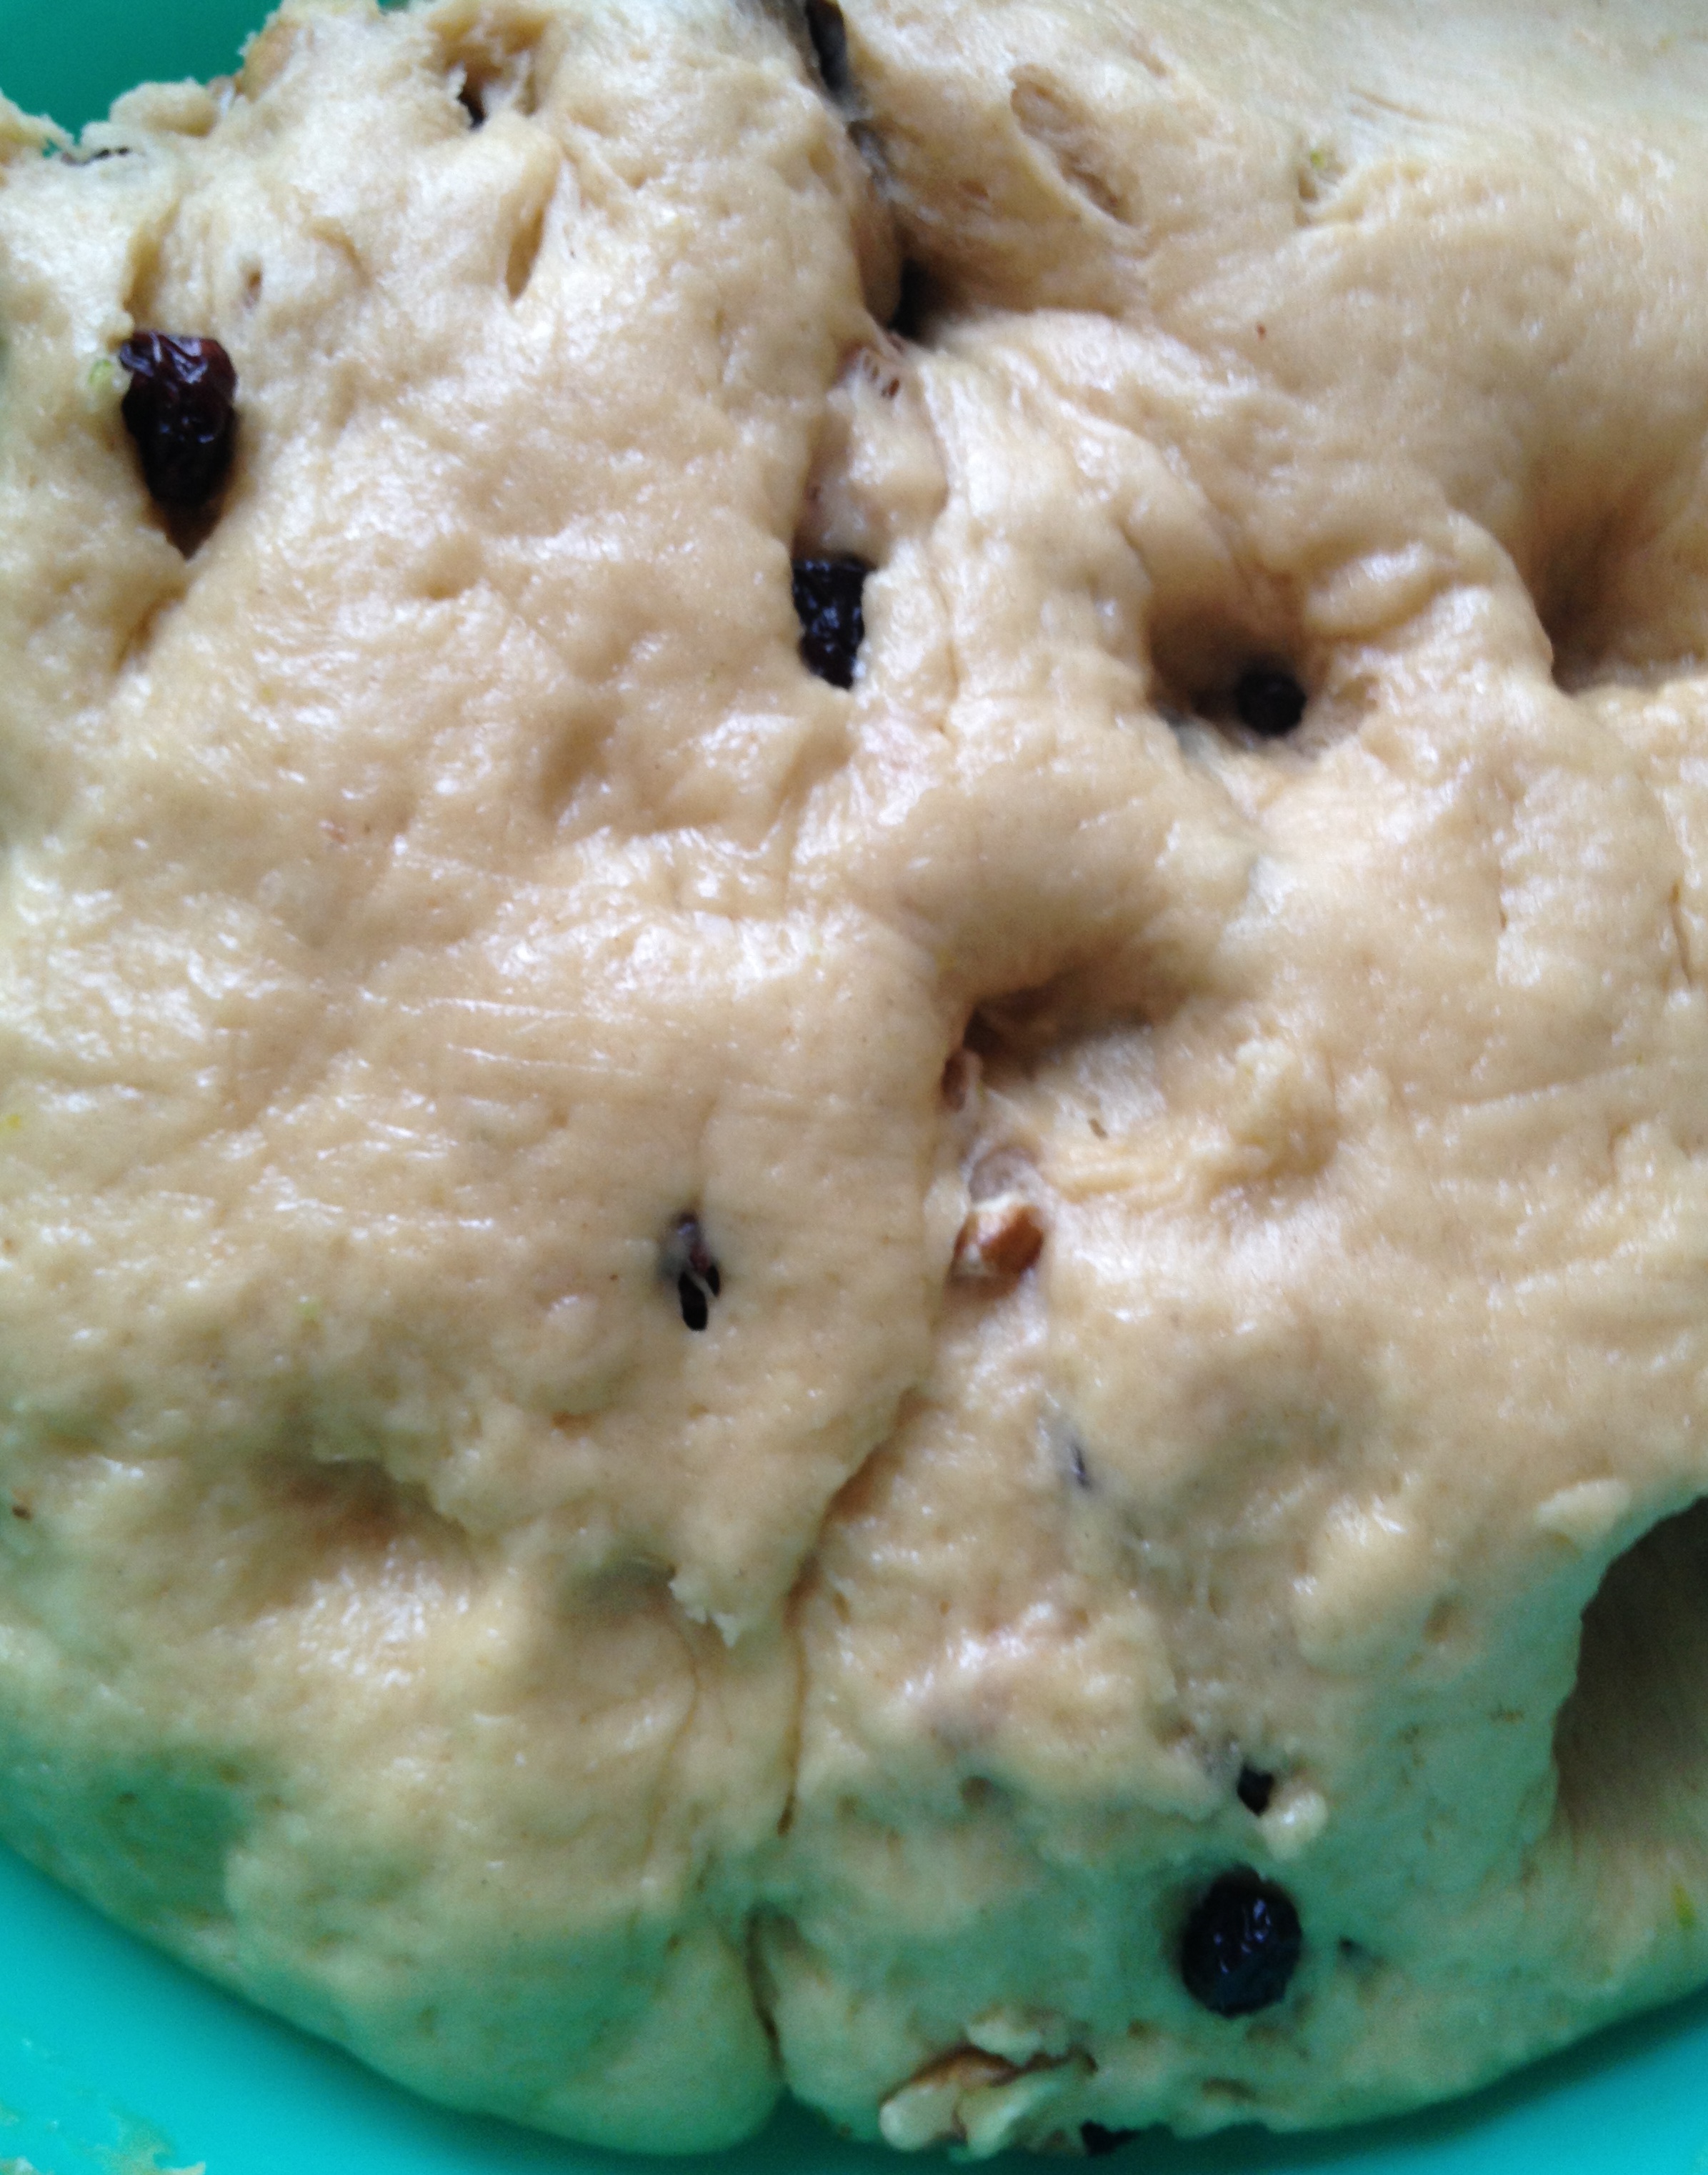
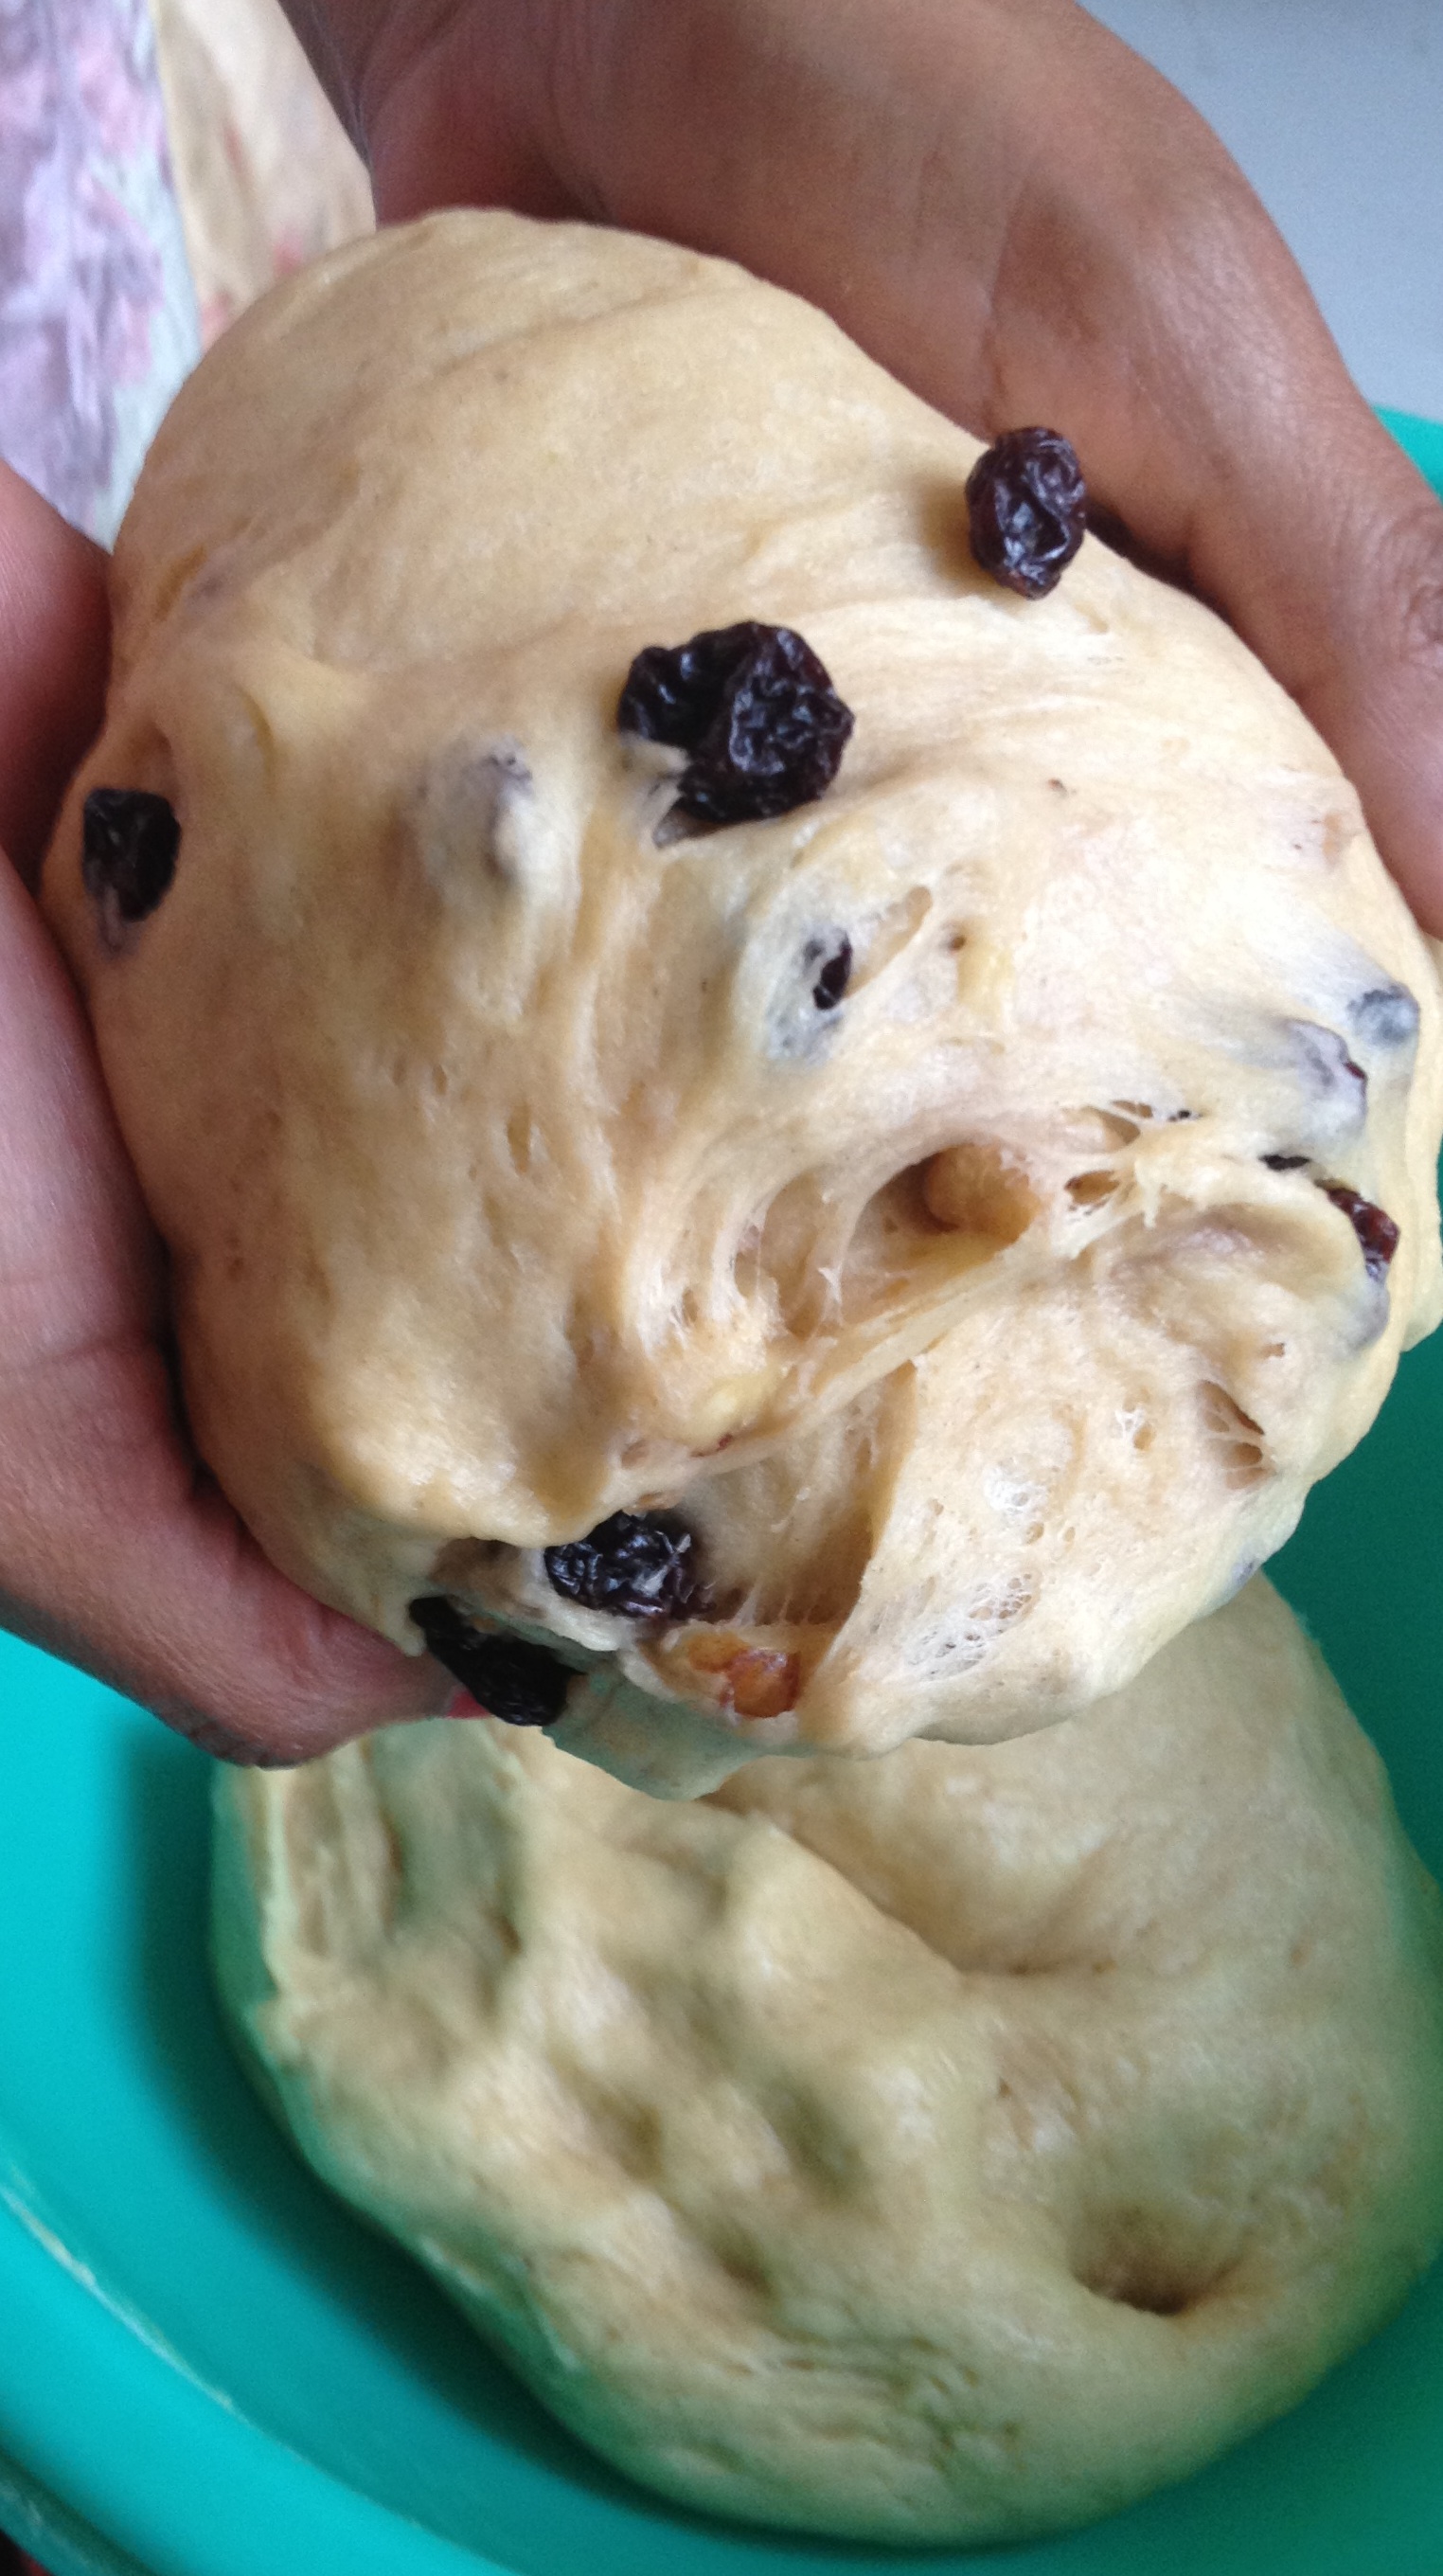
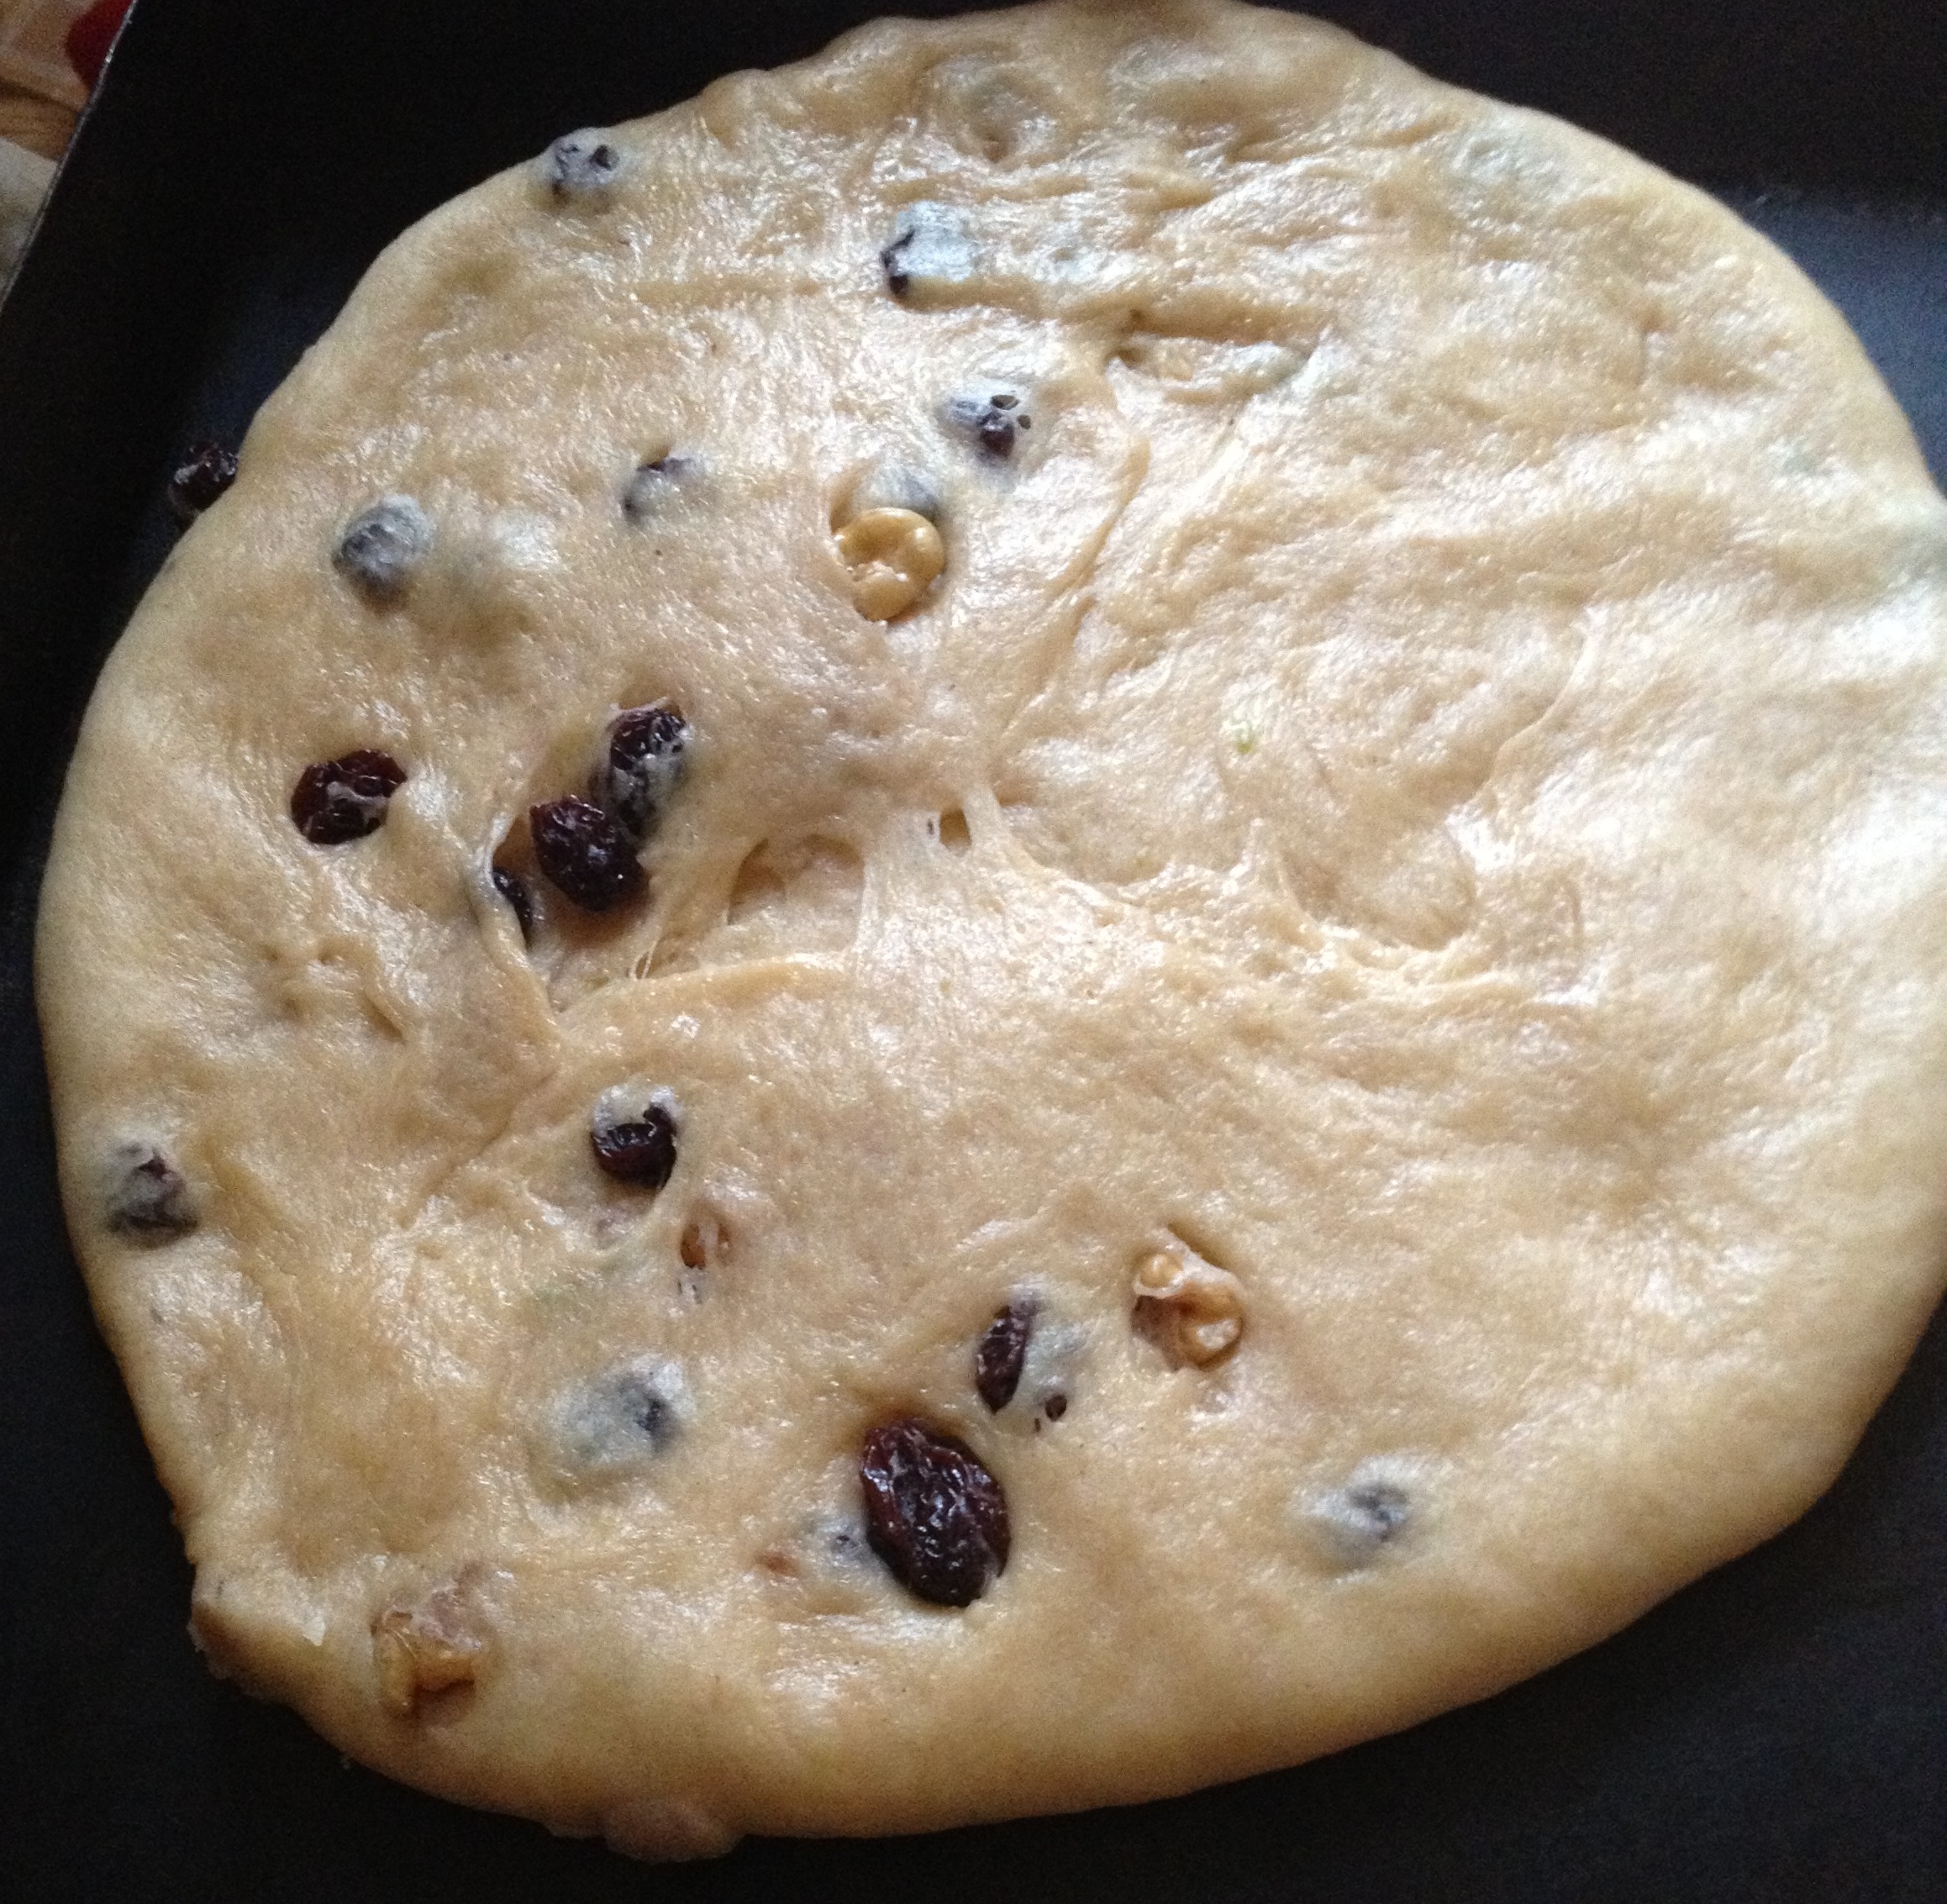
Pass the dough trough a kneader (sobadora) machine 3 times. Add the raisins and walnuts. Let it rise, about 1/2 hour.
If you don’t have a kneader let the dough rise three times and push it down after each time that it rises. In the last rise add raisins and walnuts. About 2 hours.
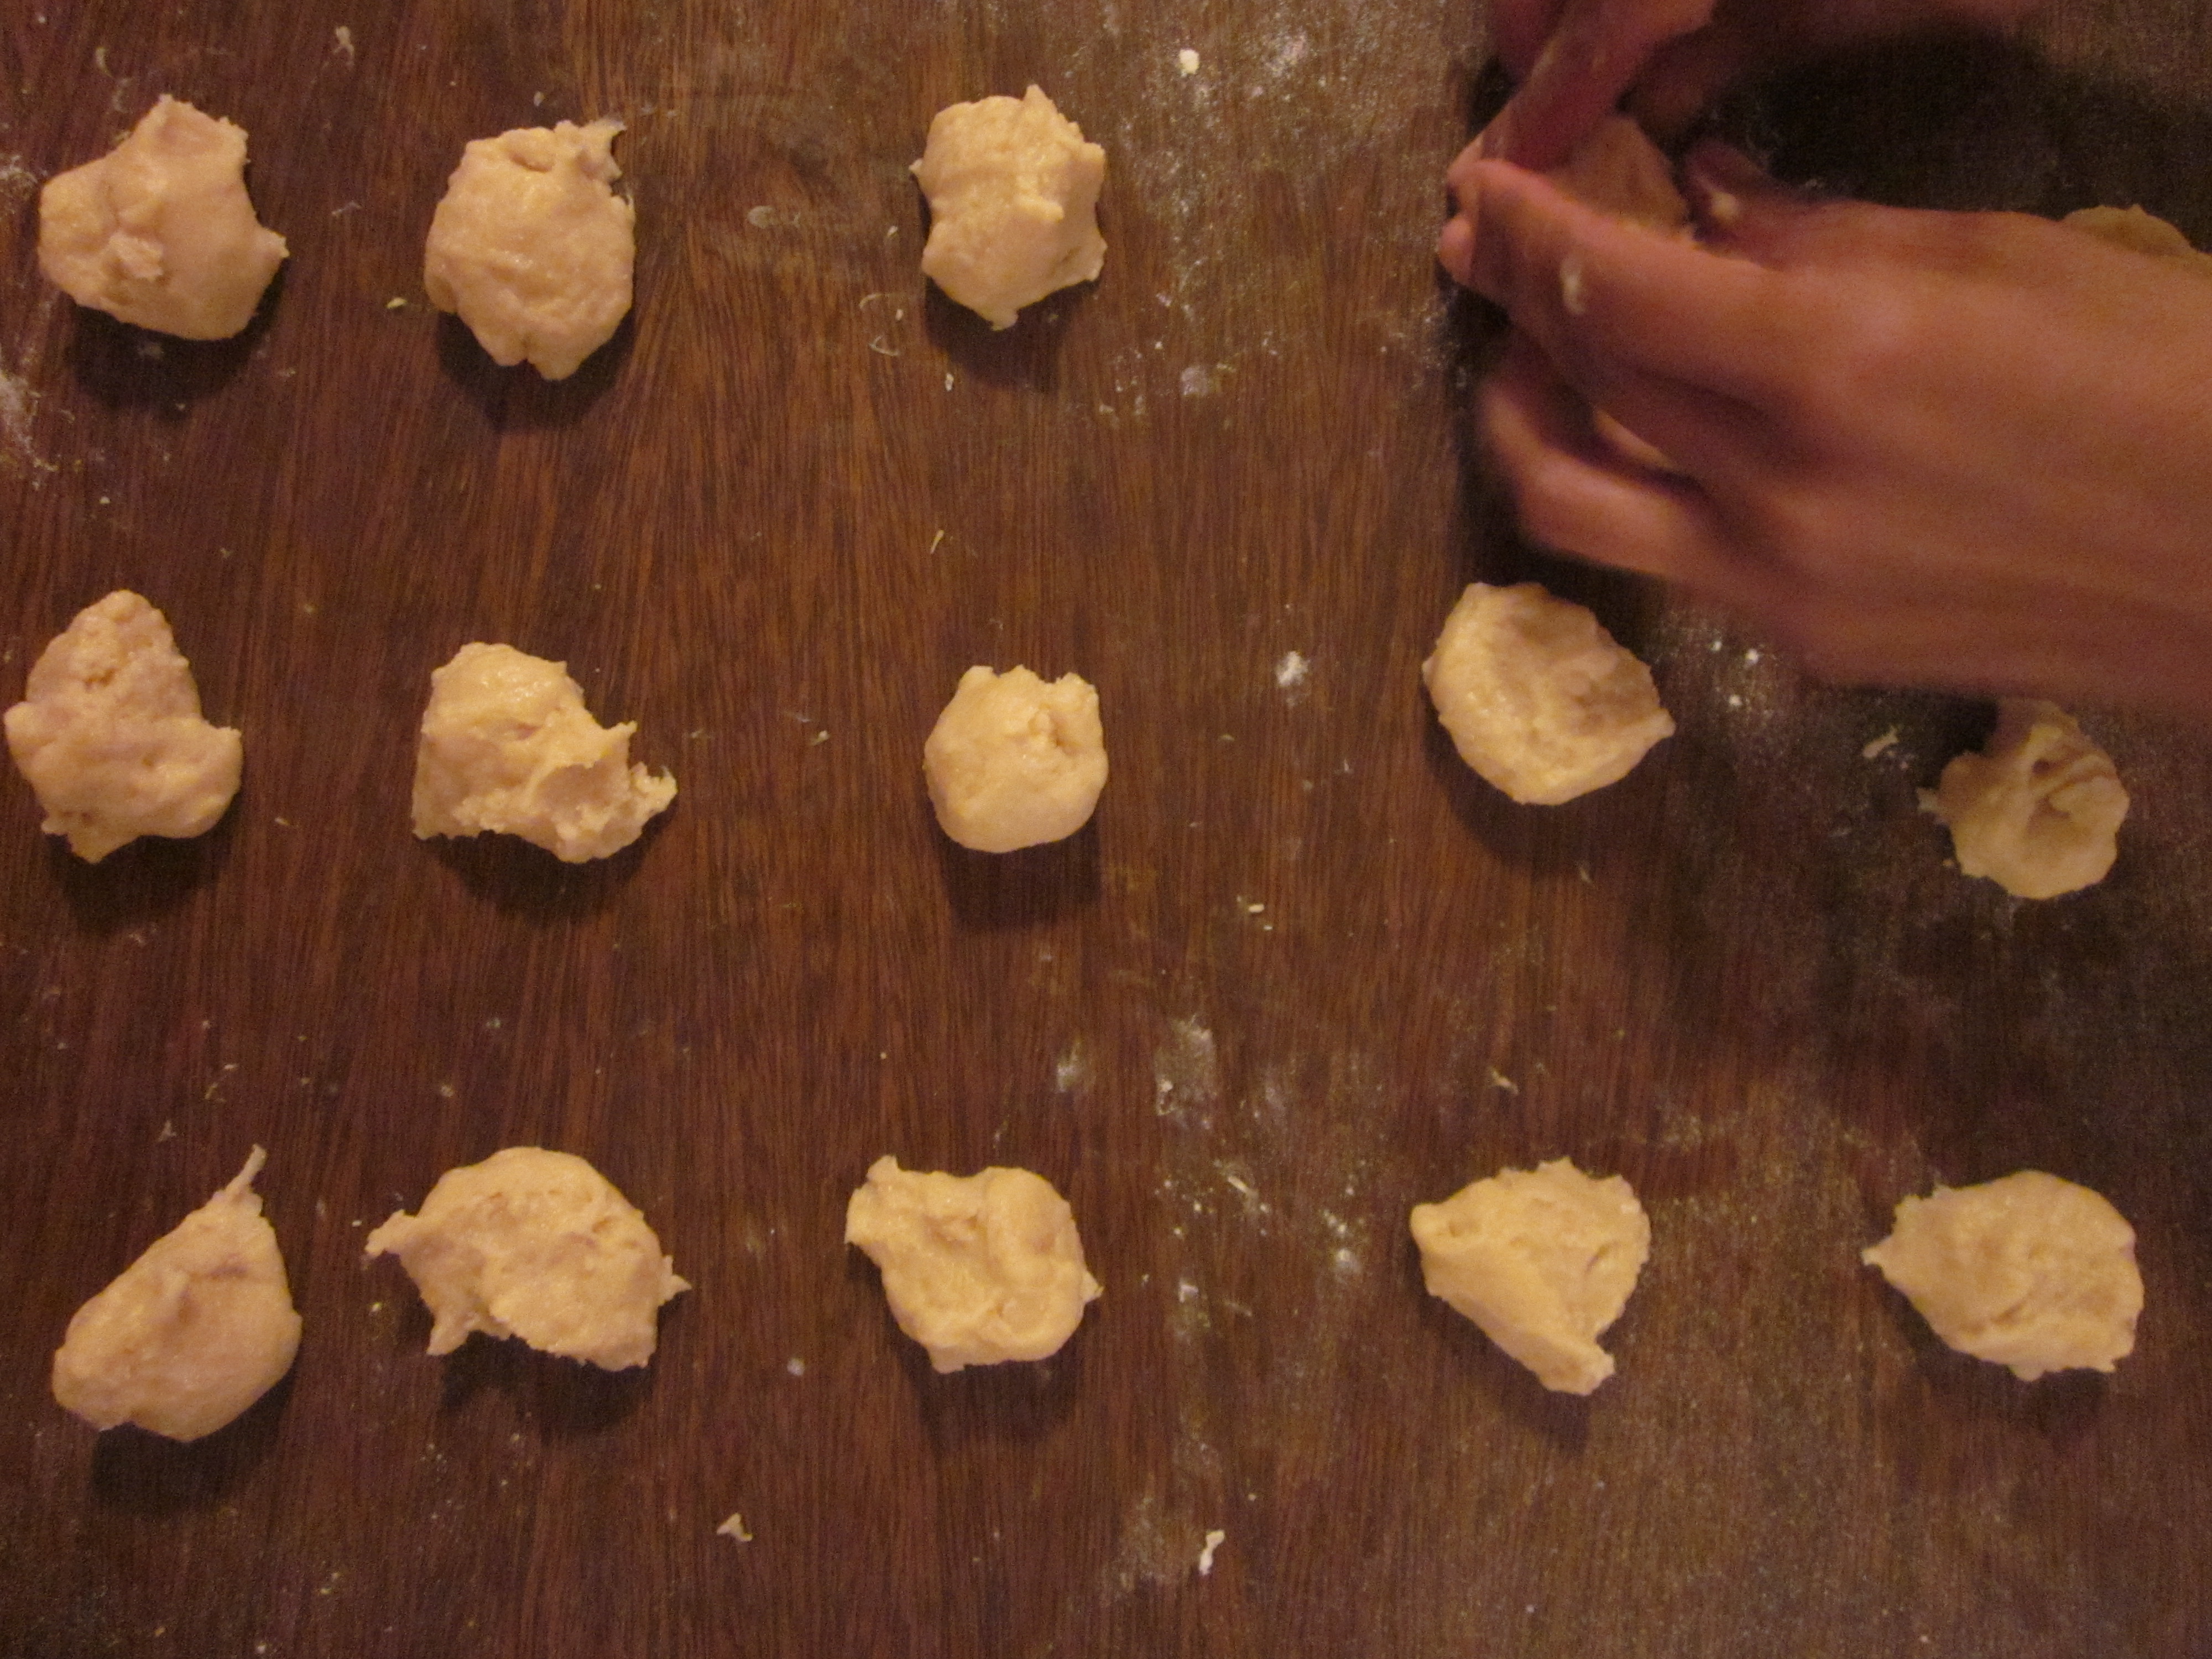
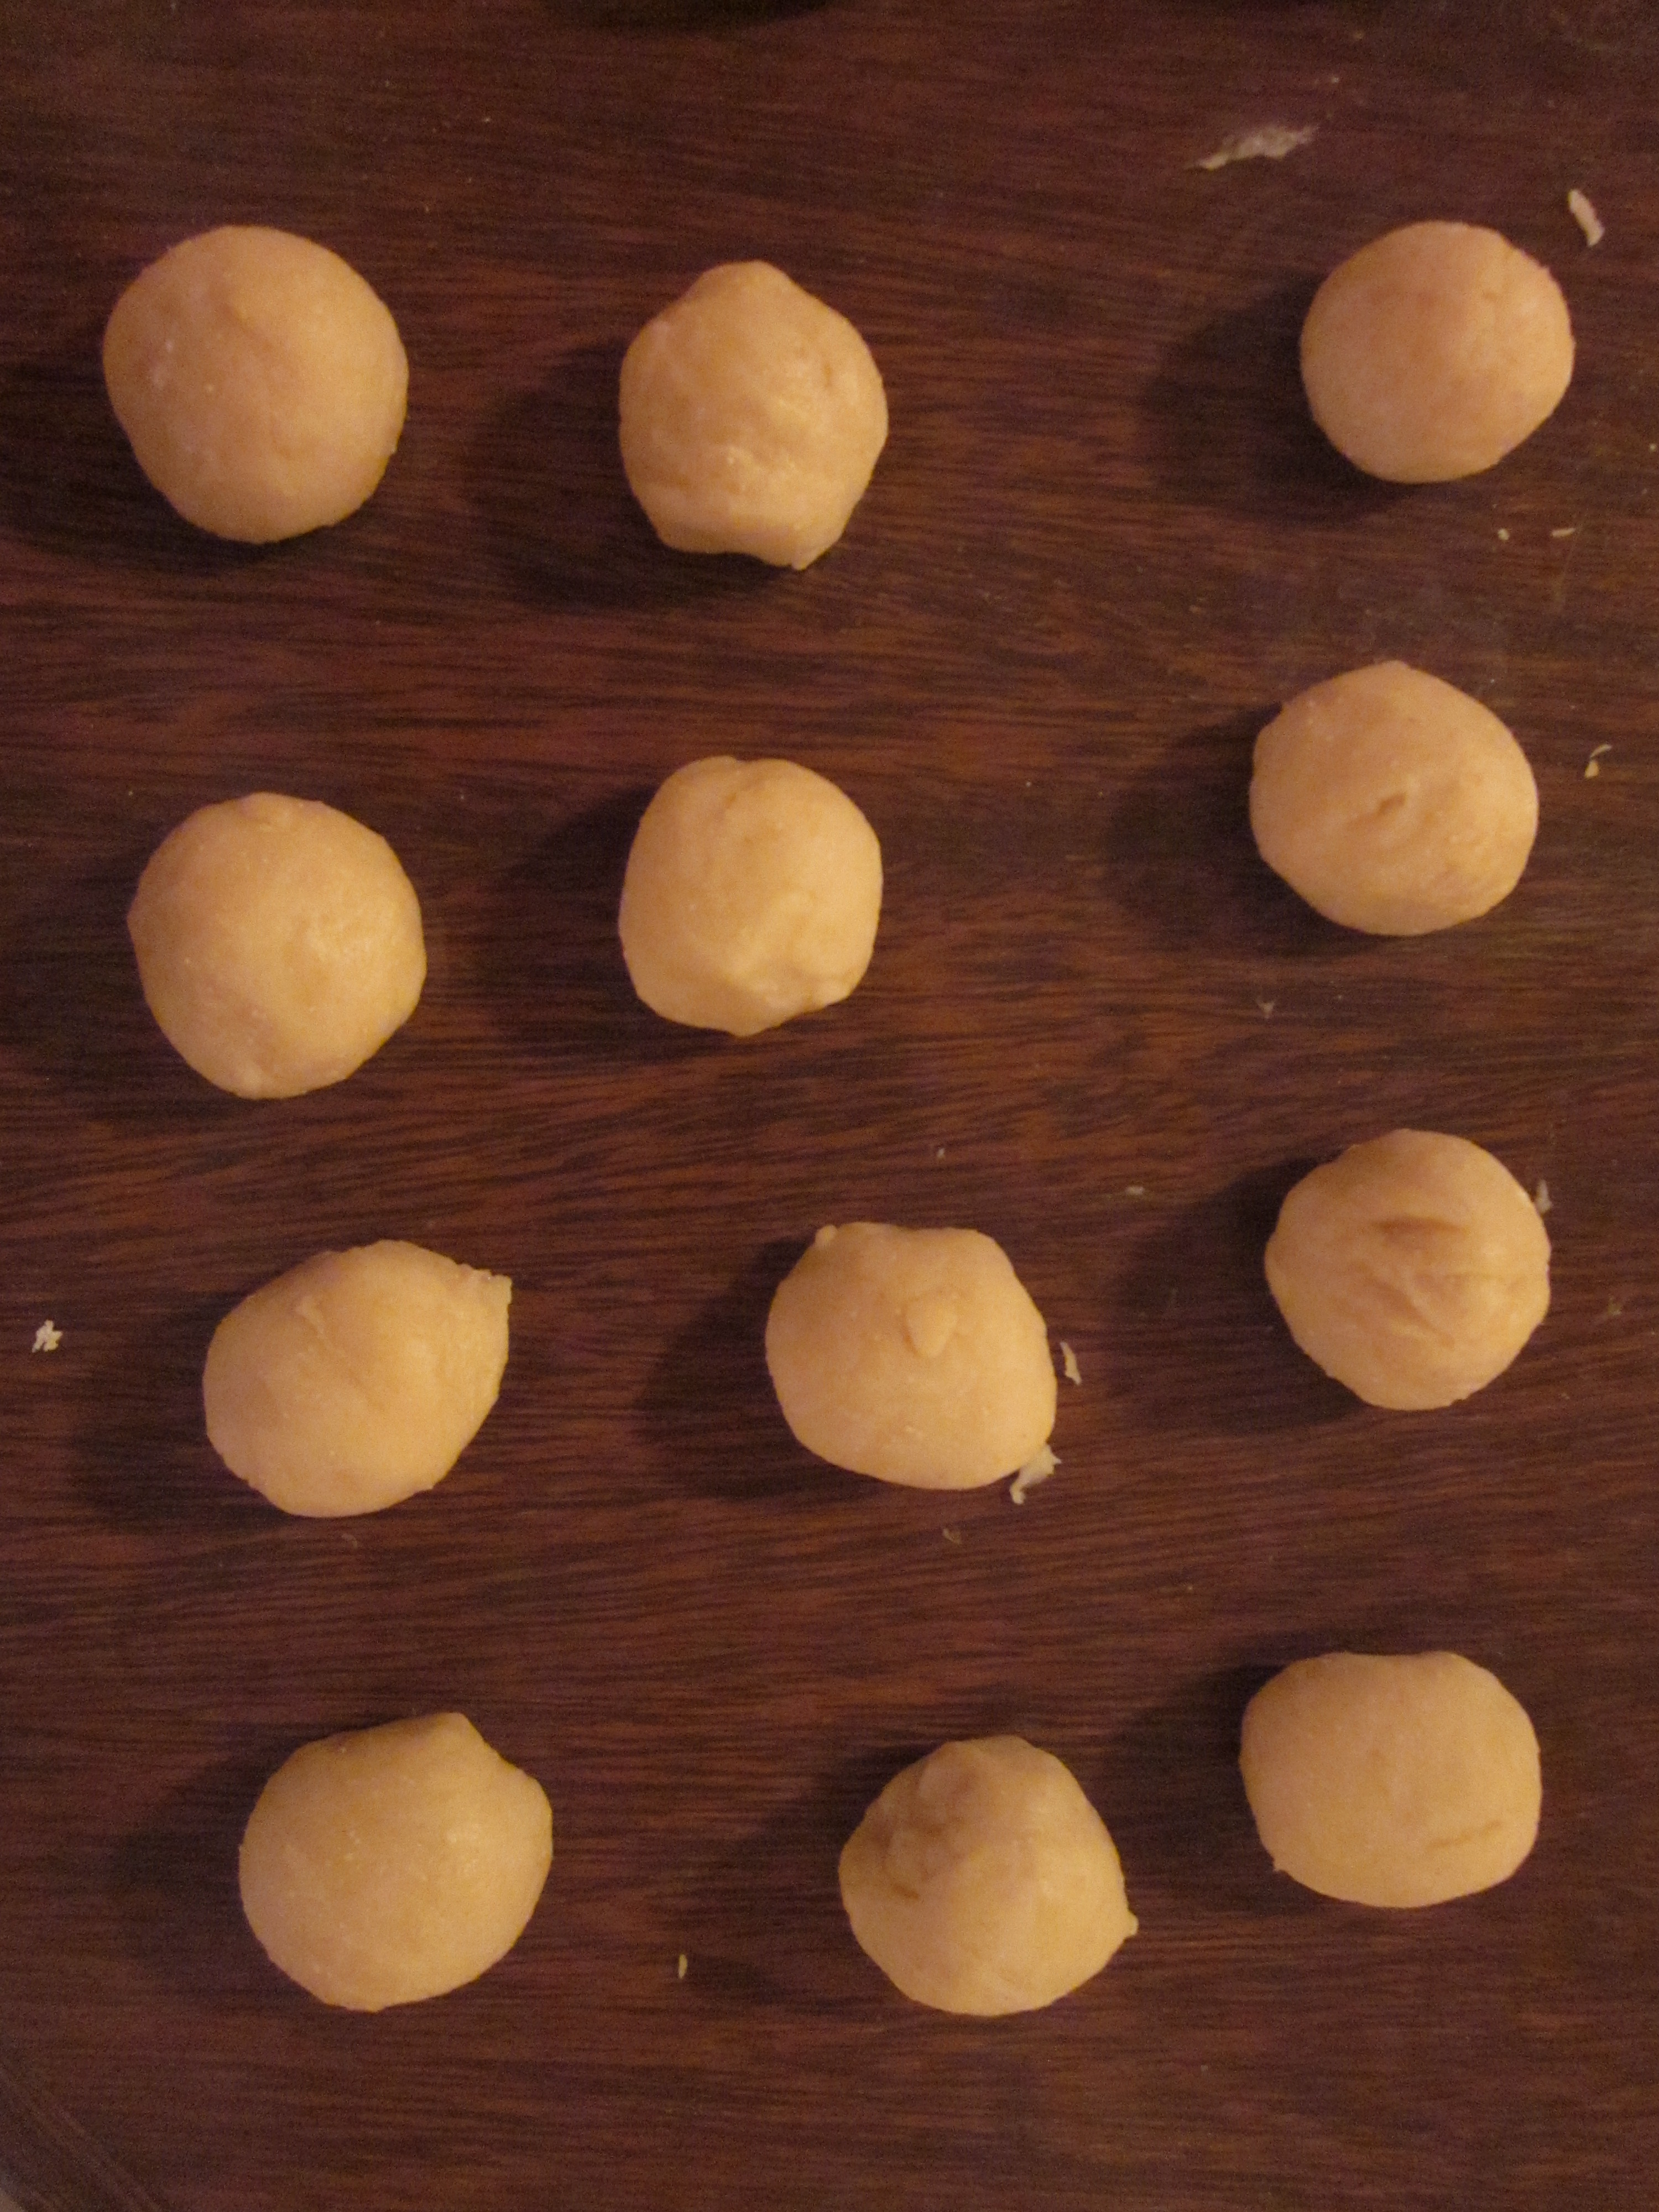
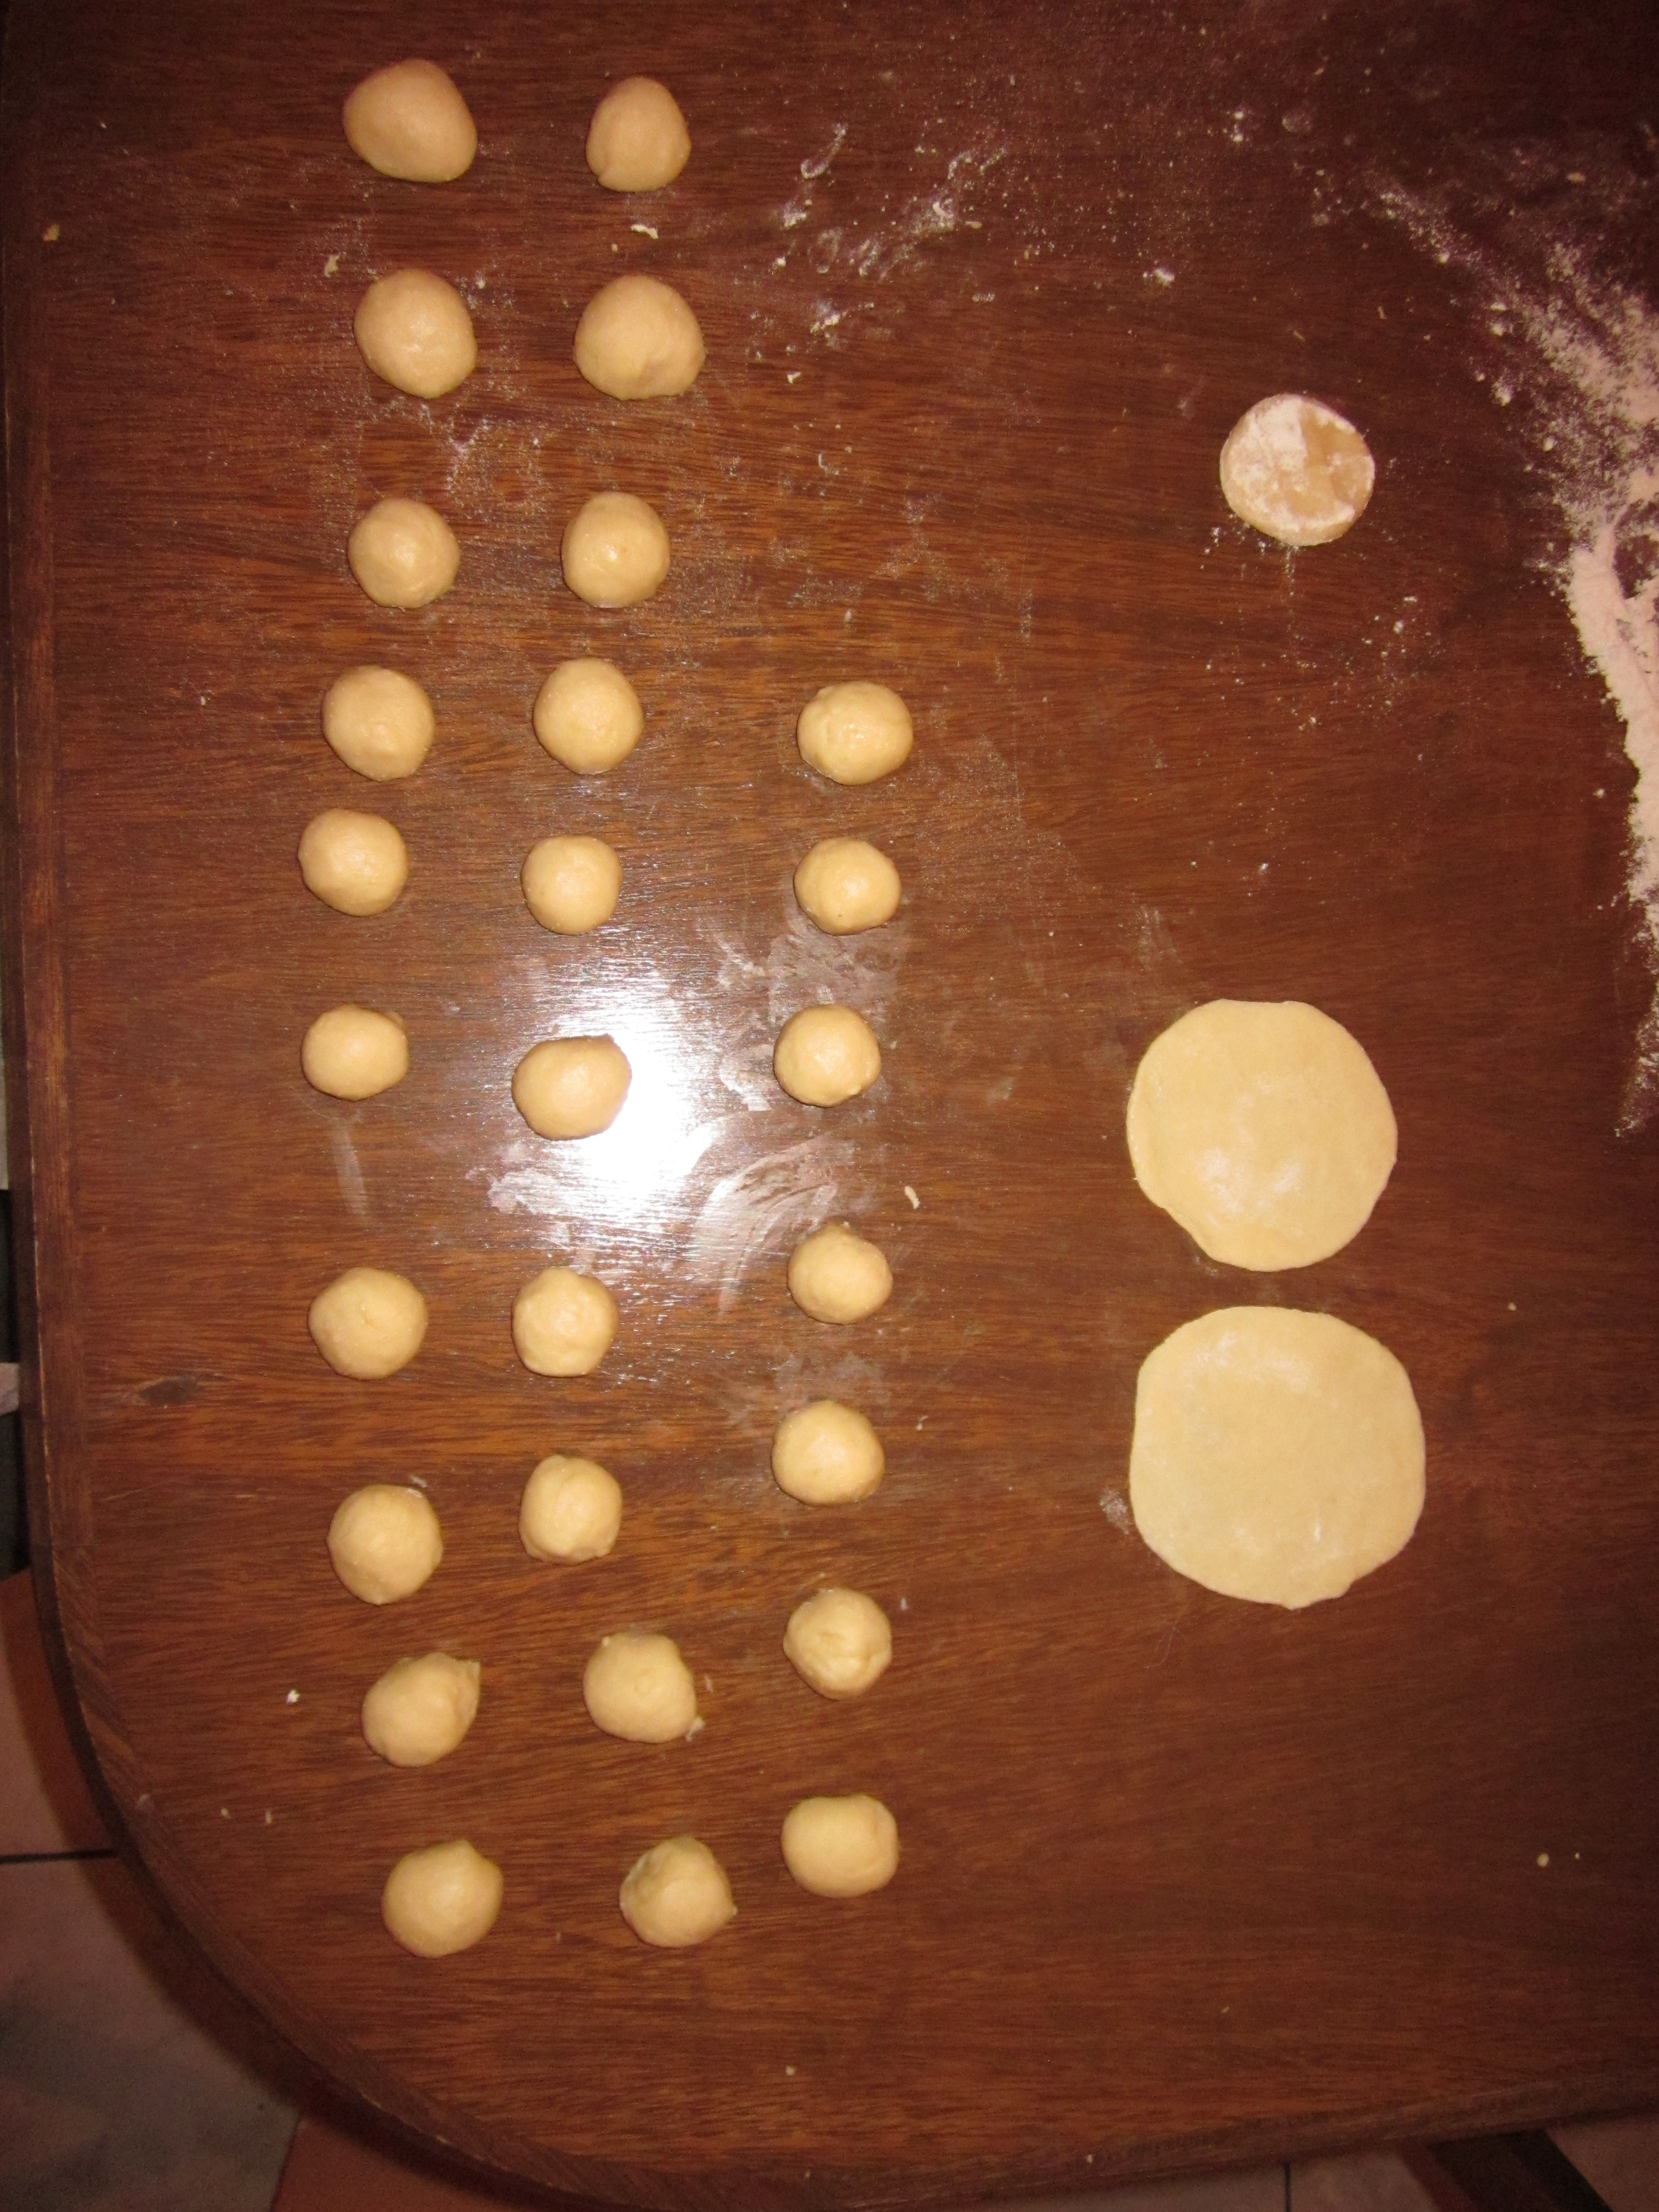
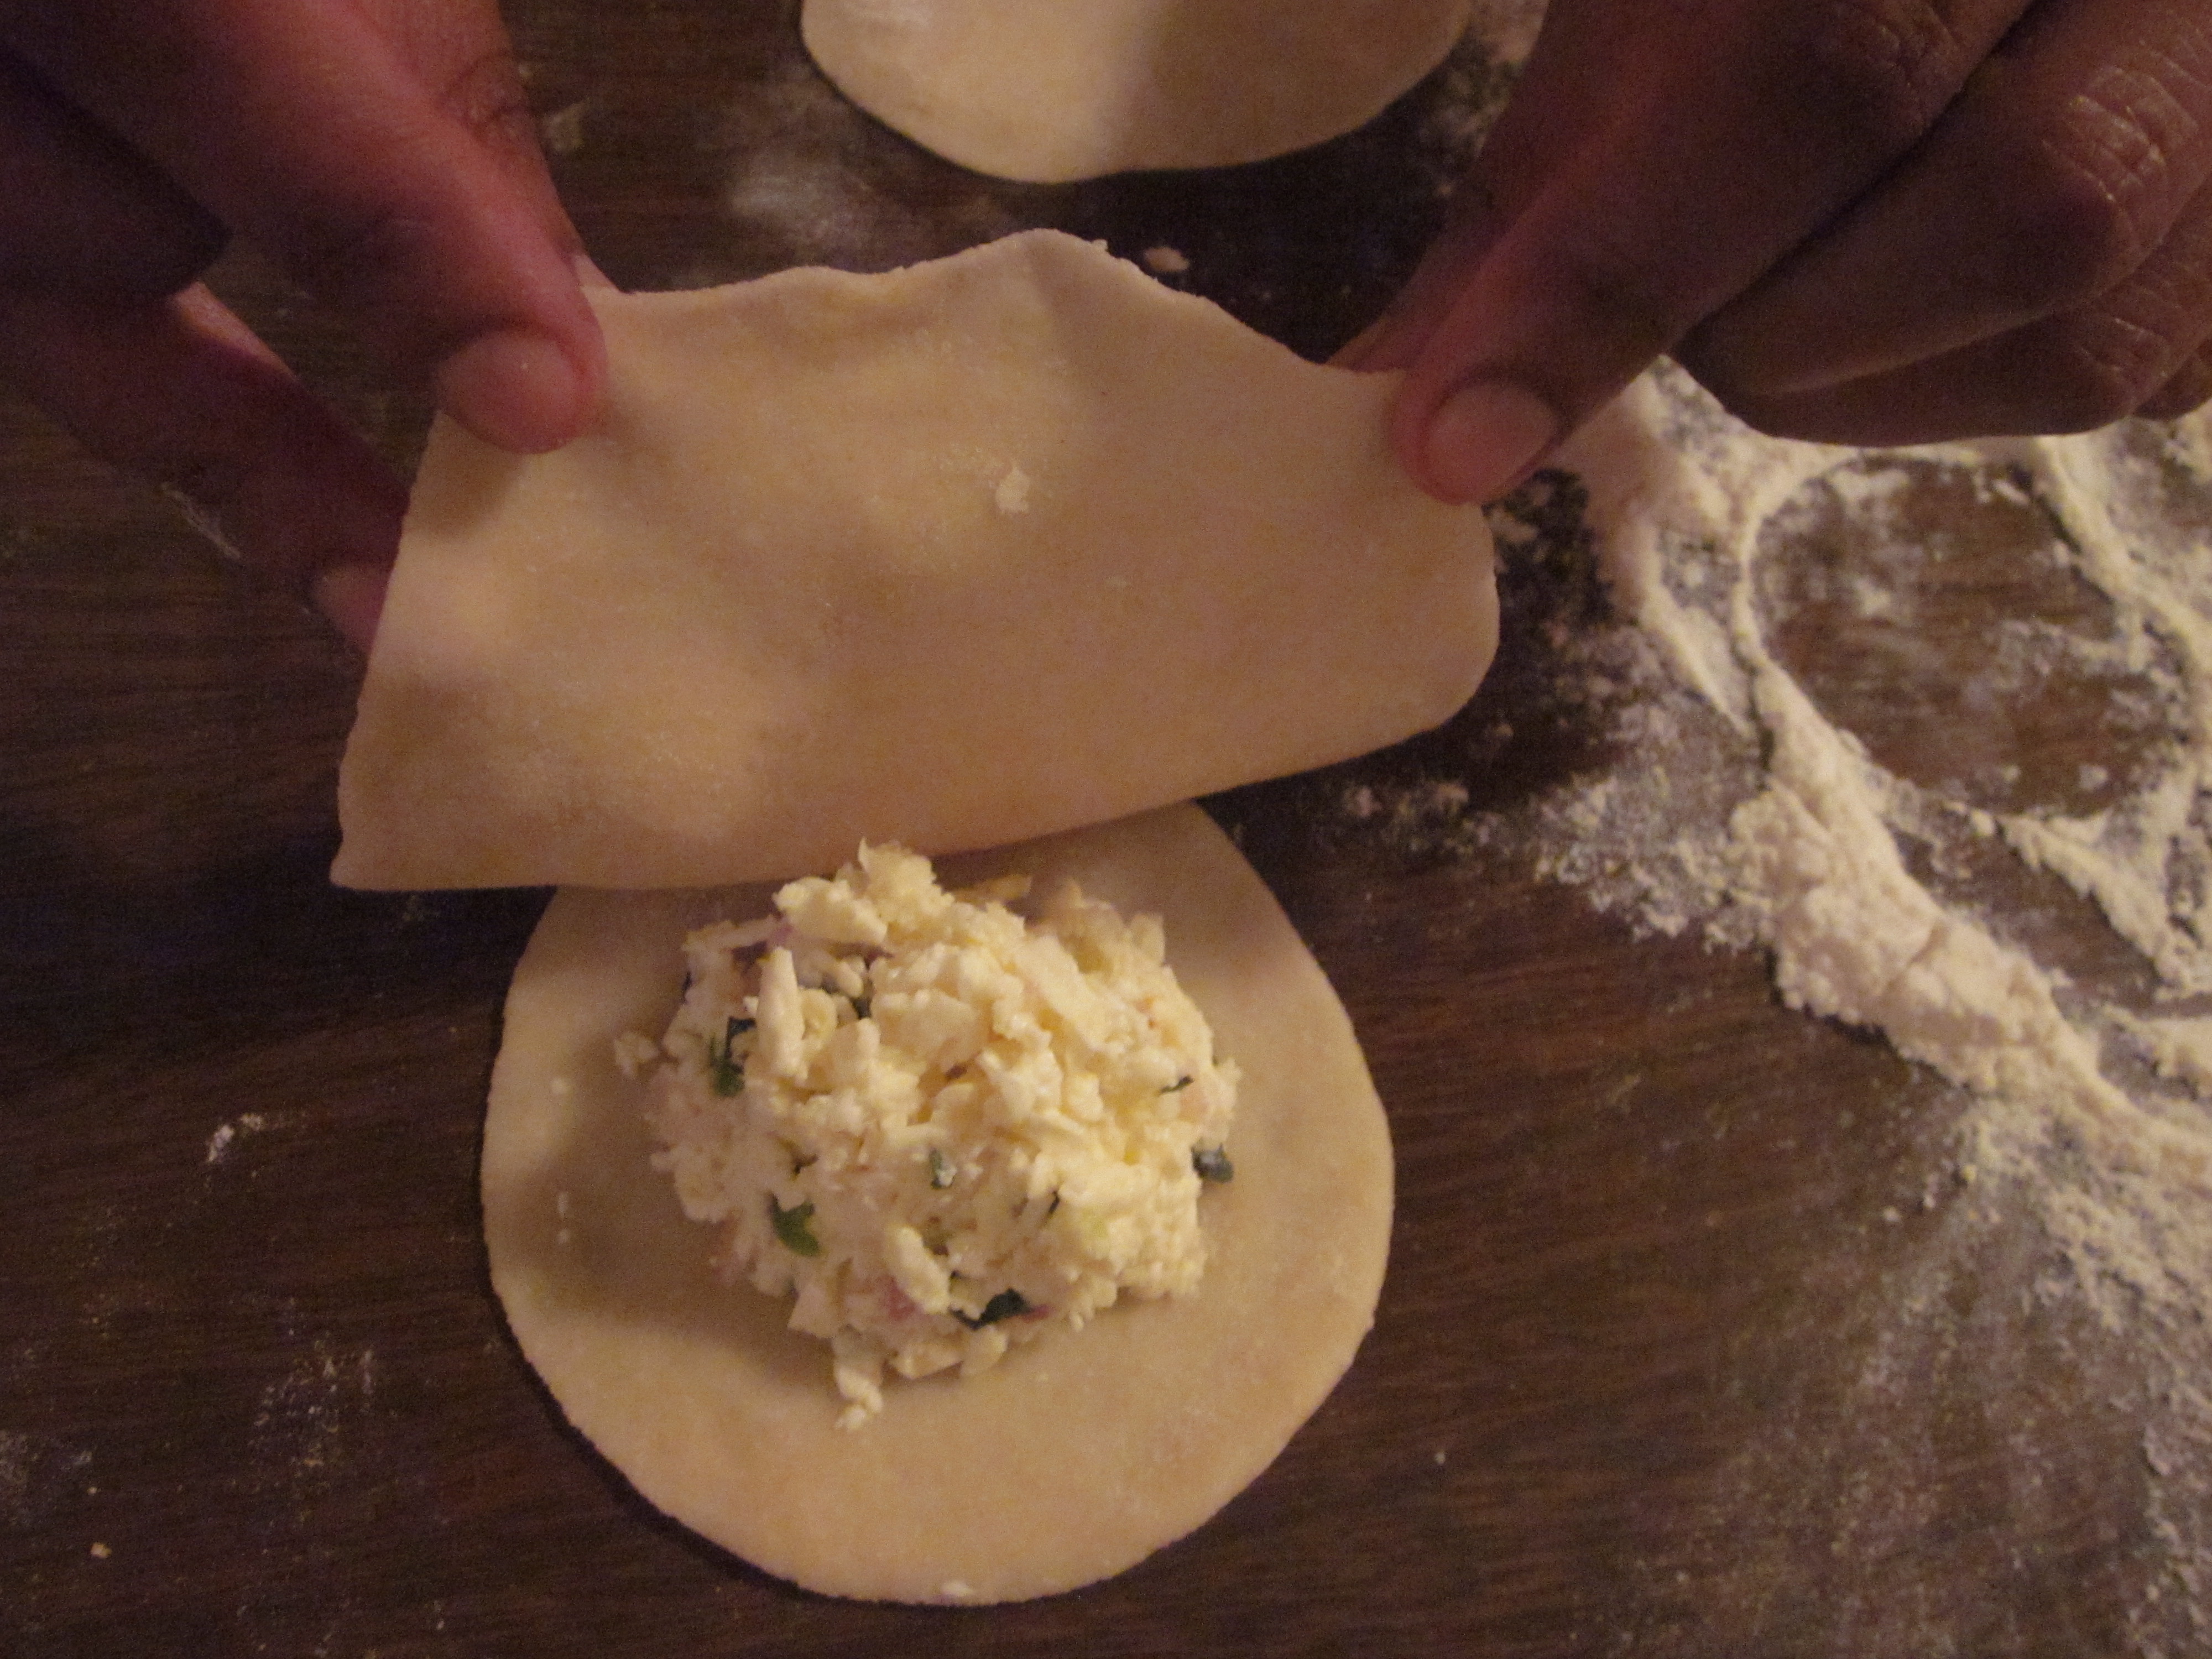
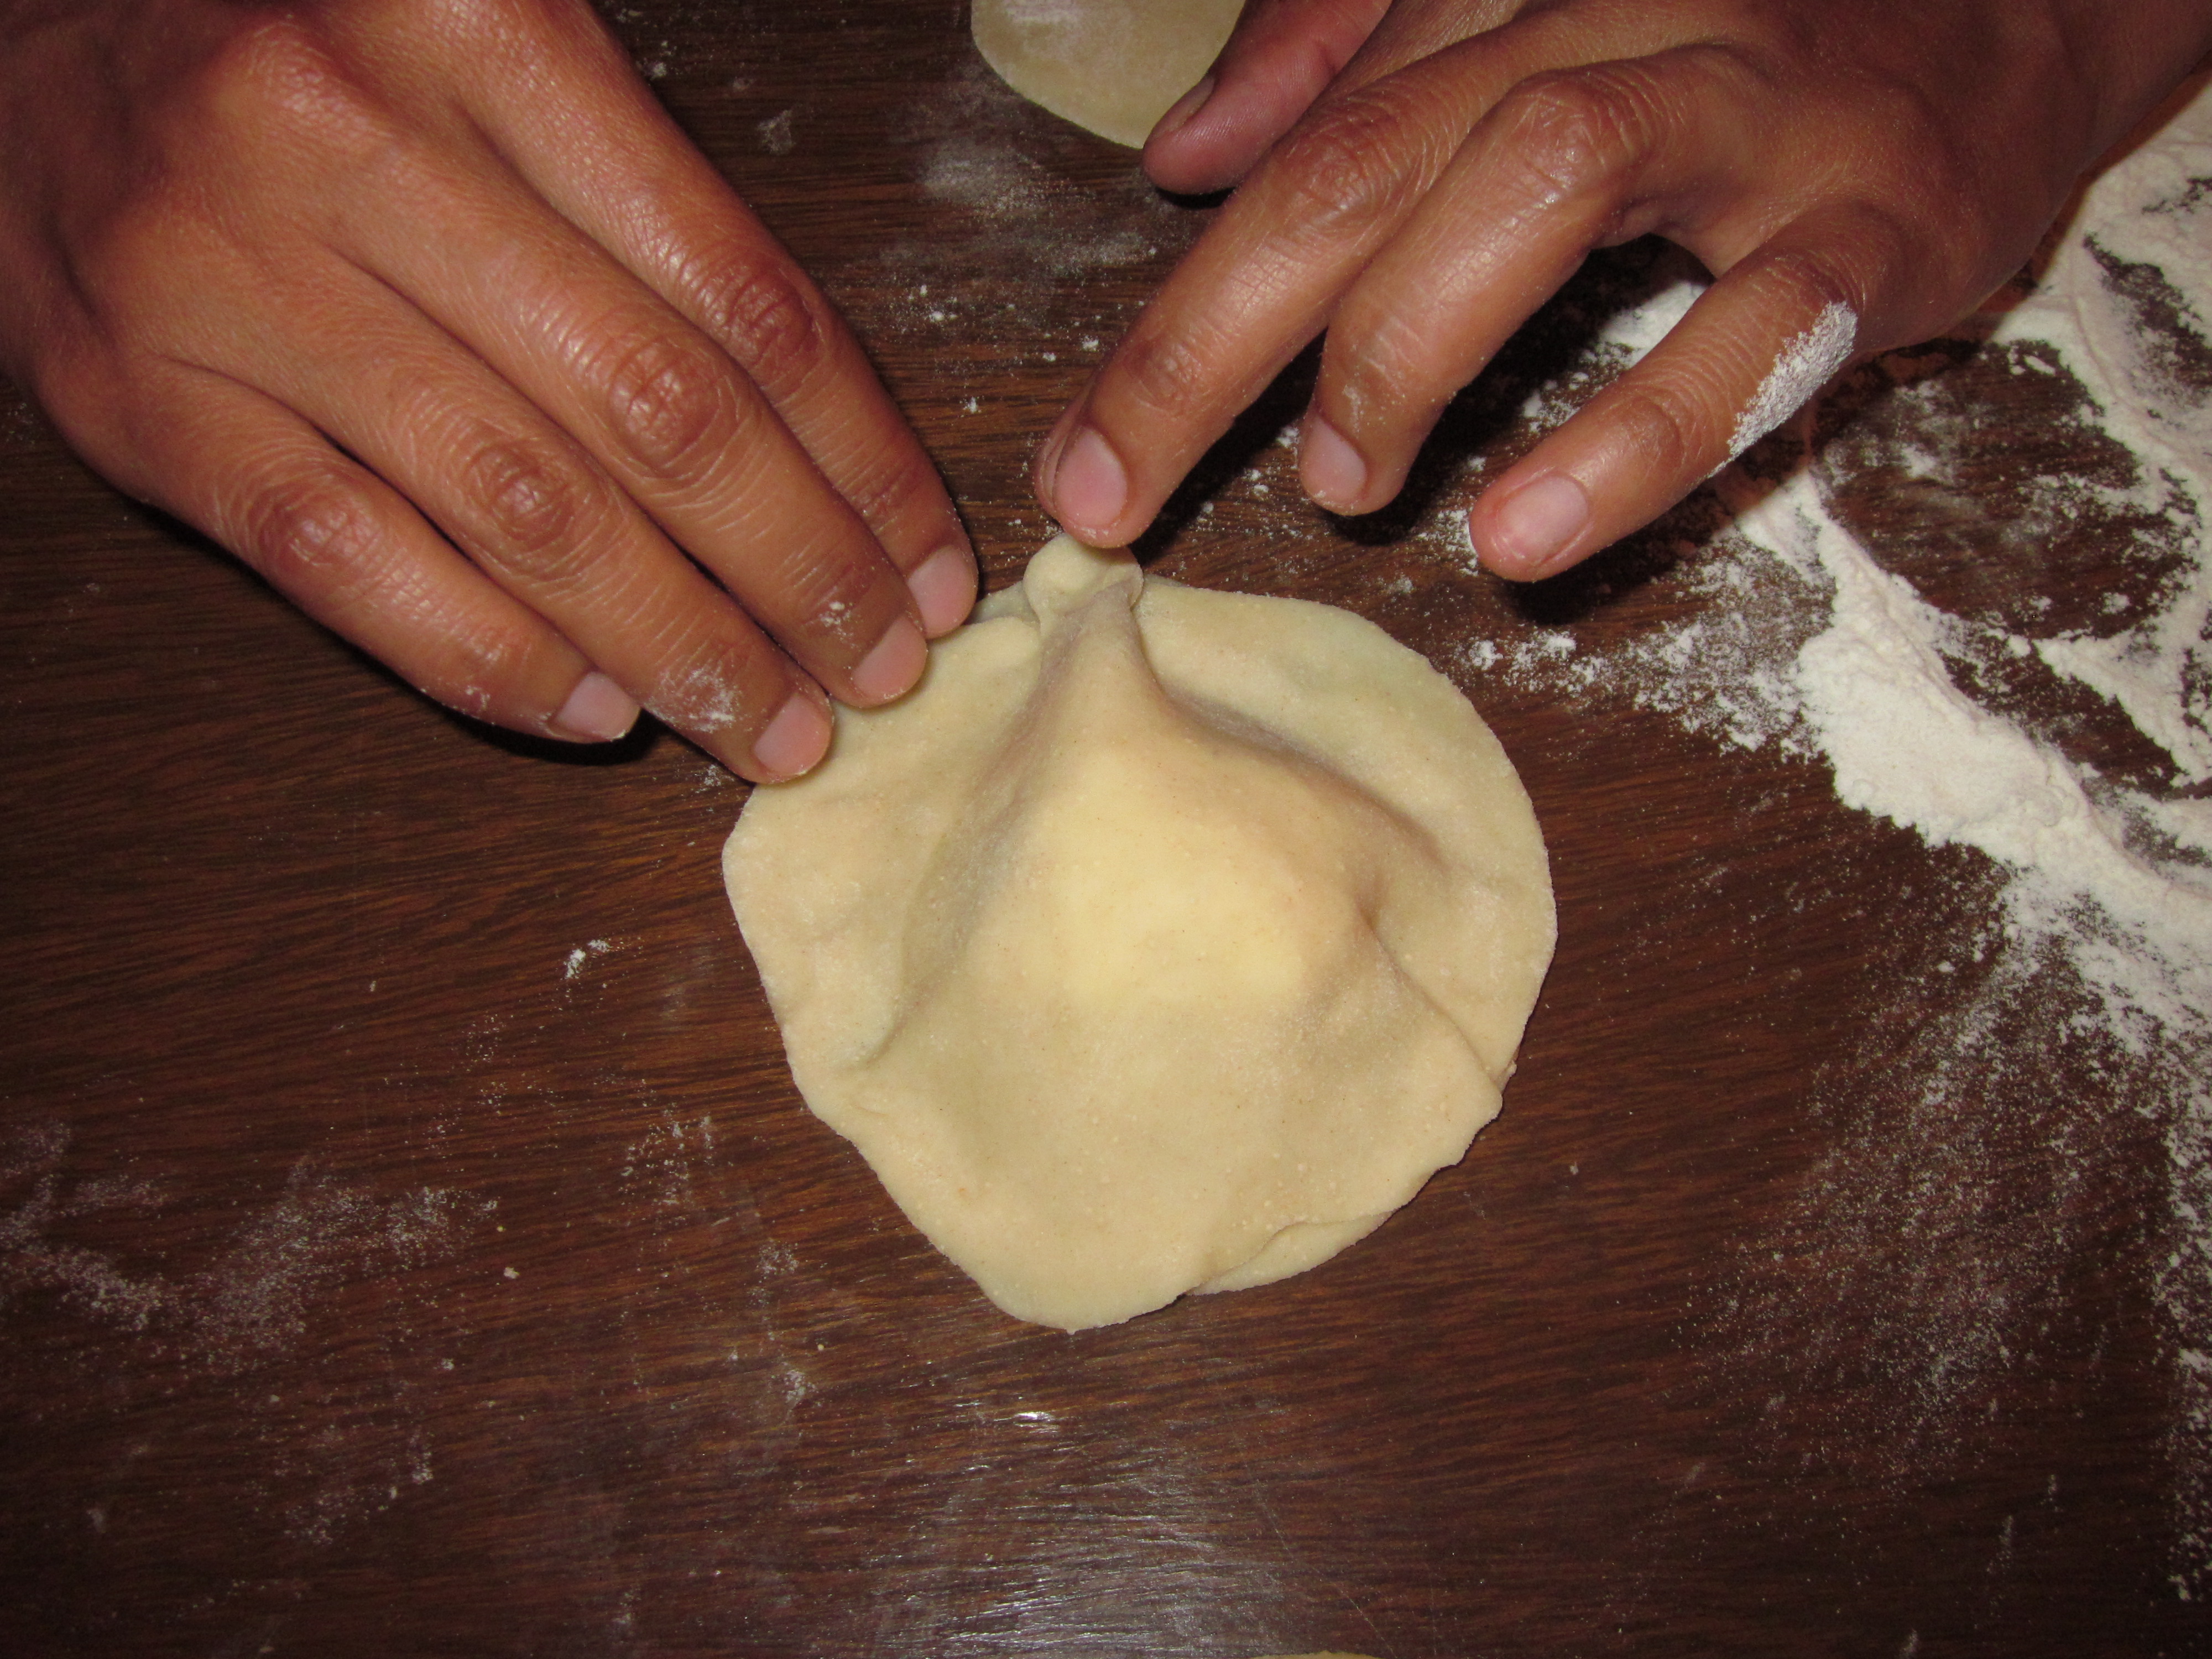
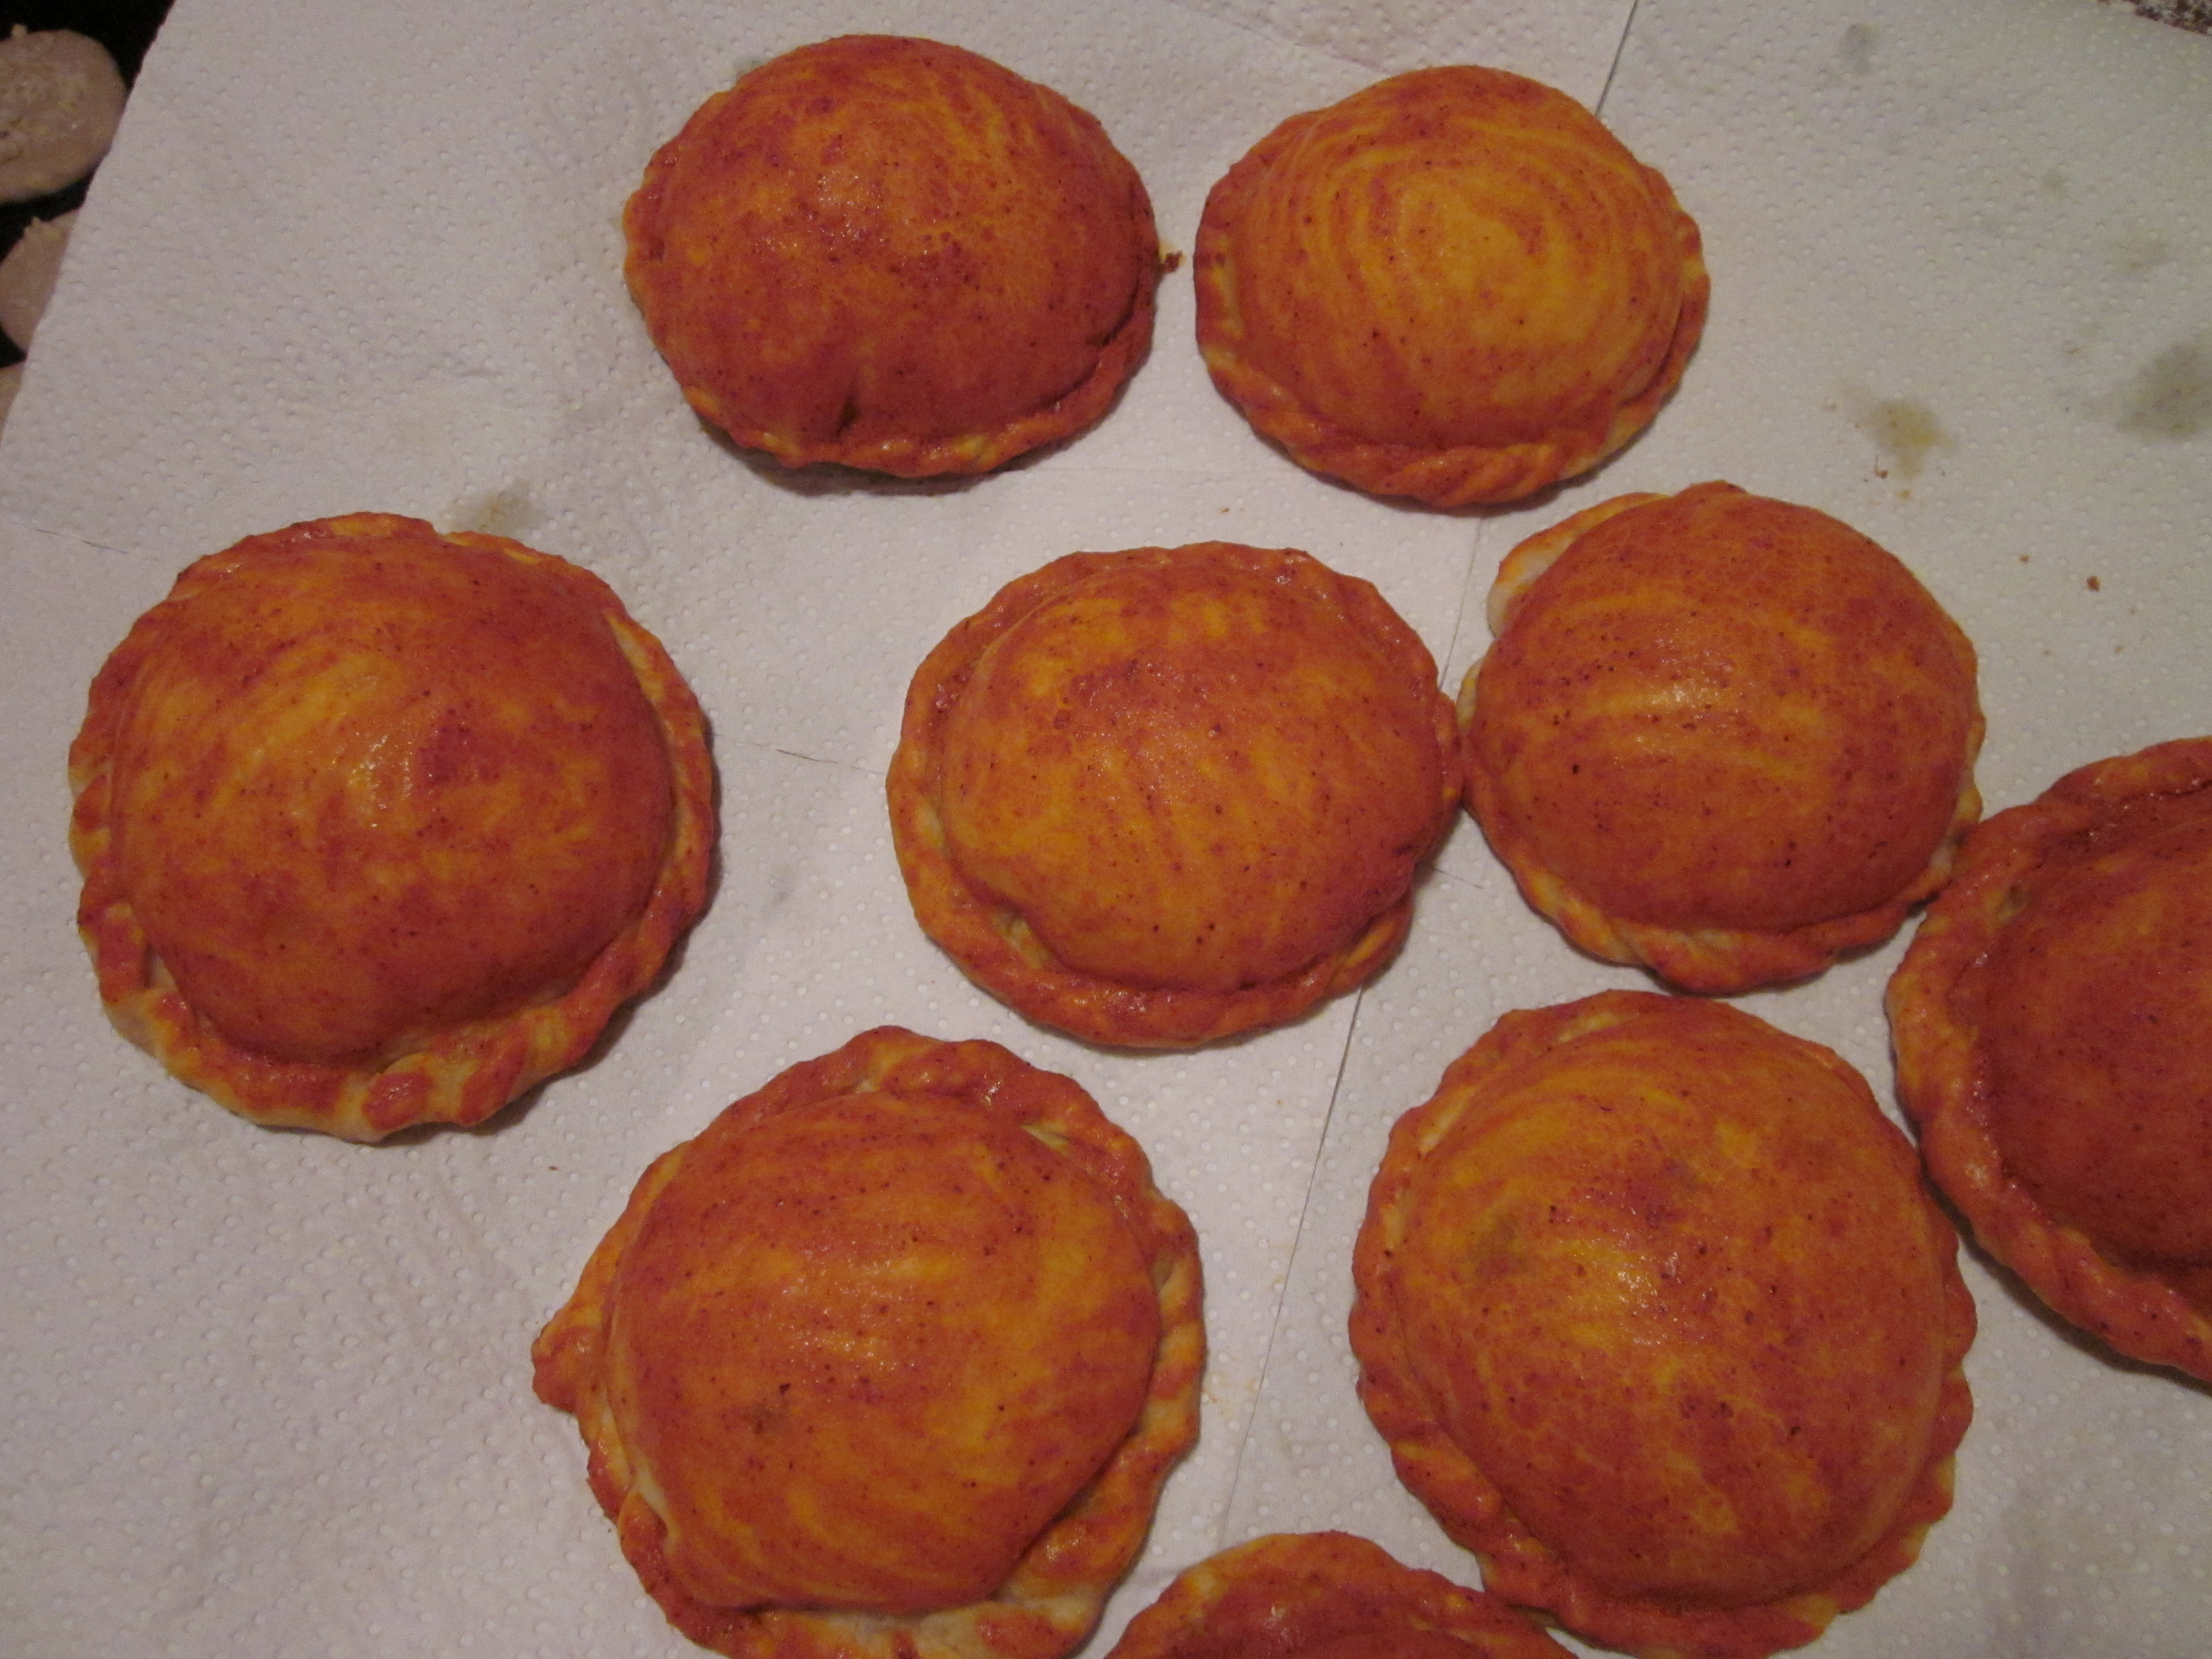
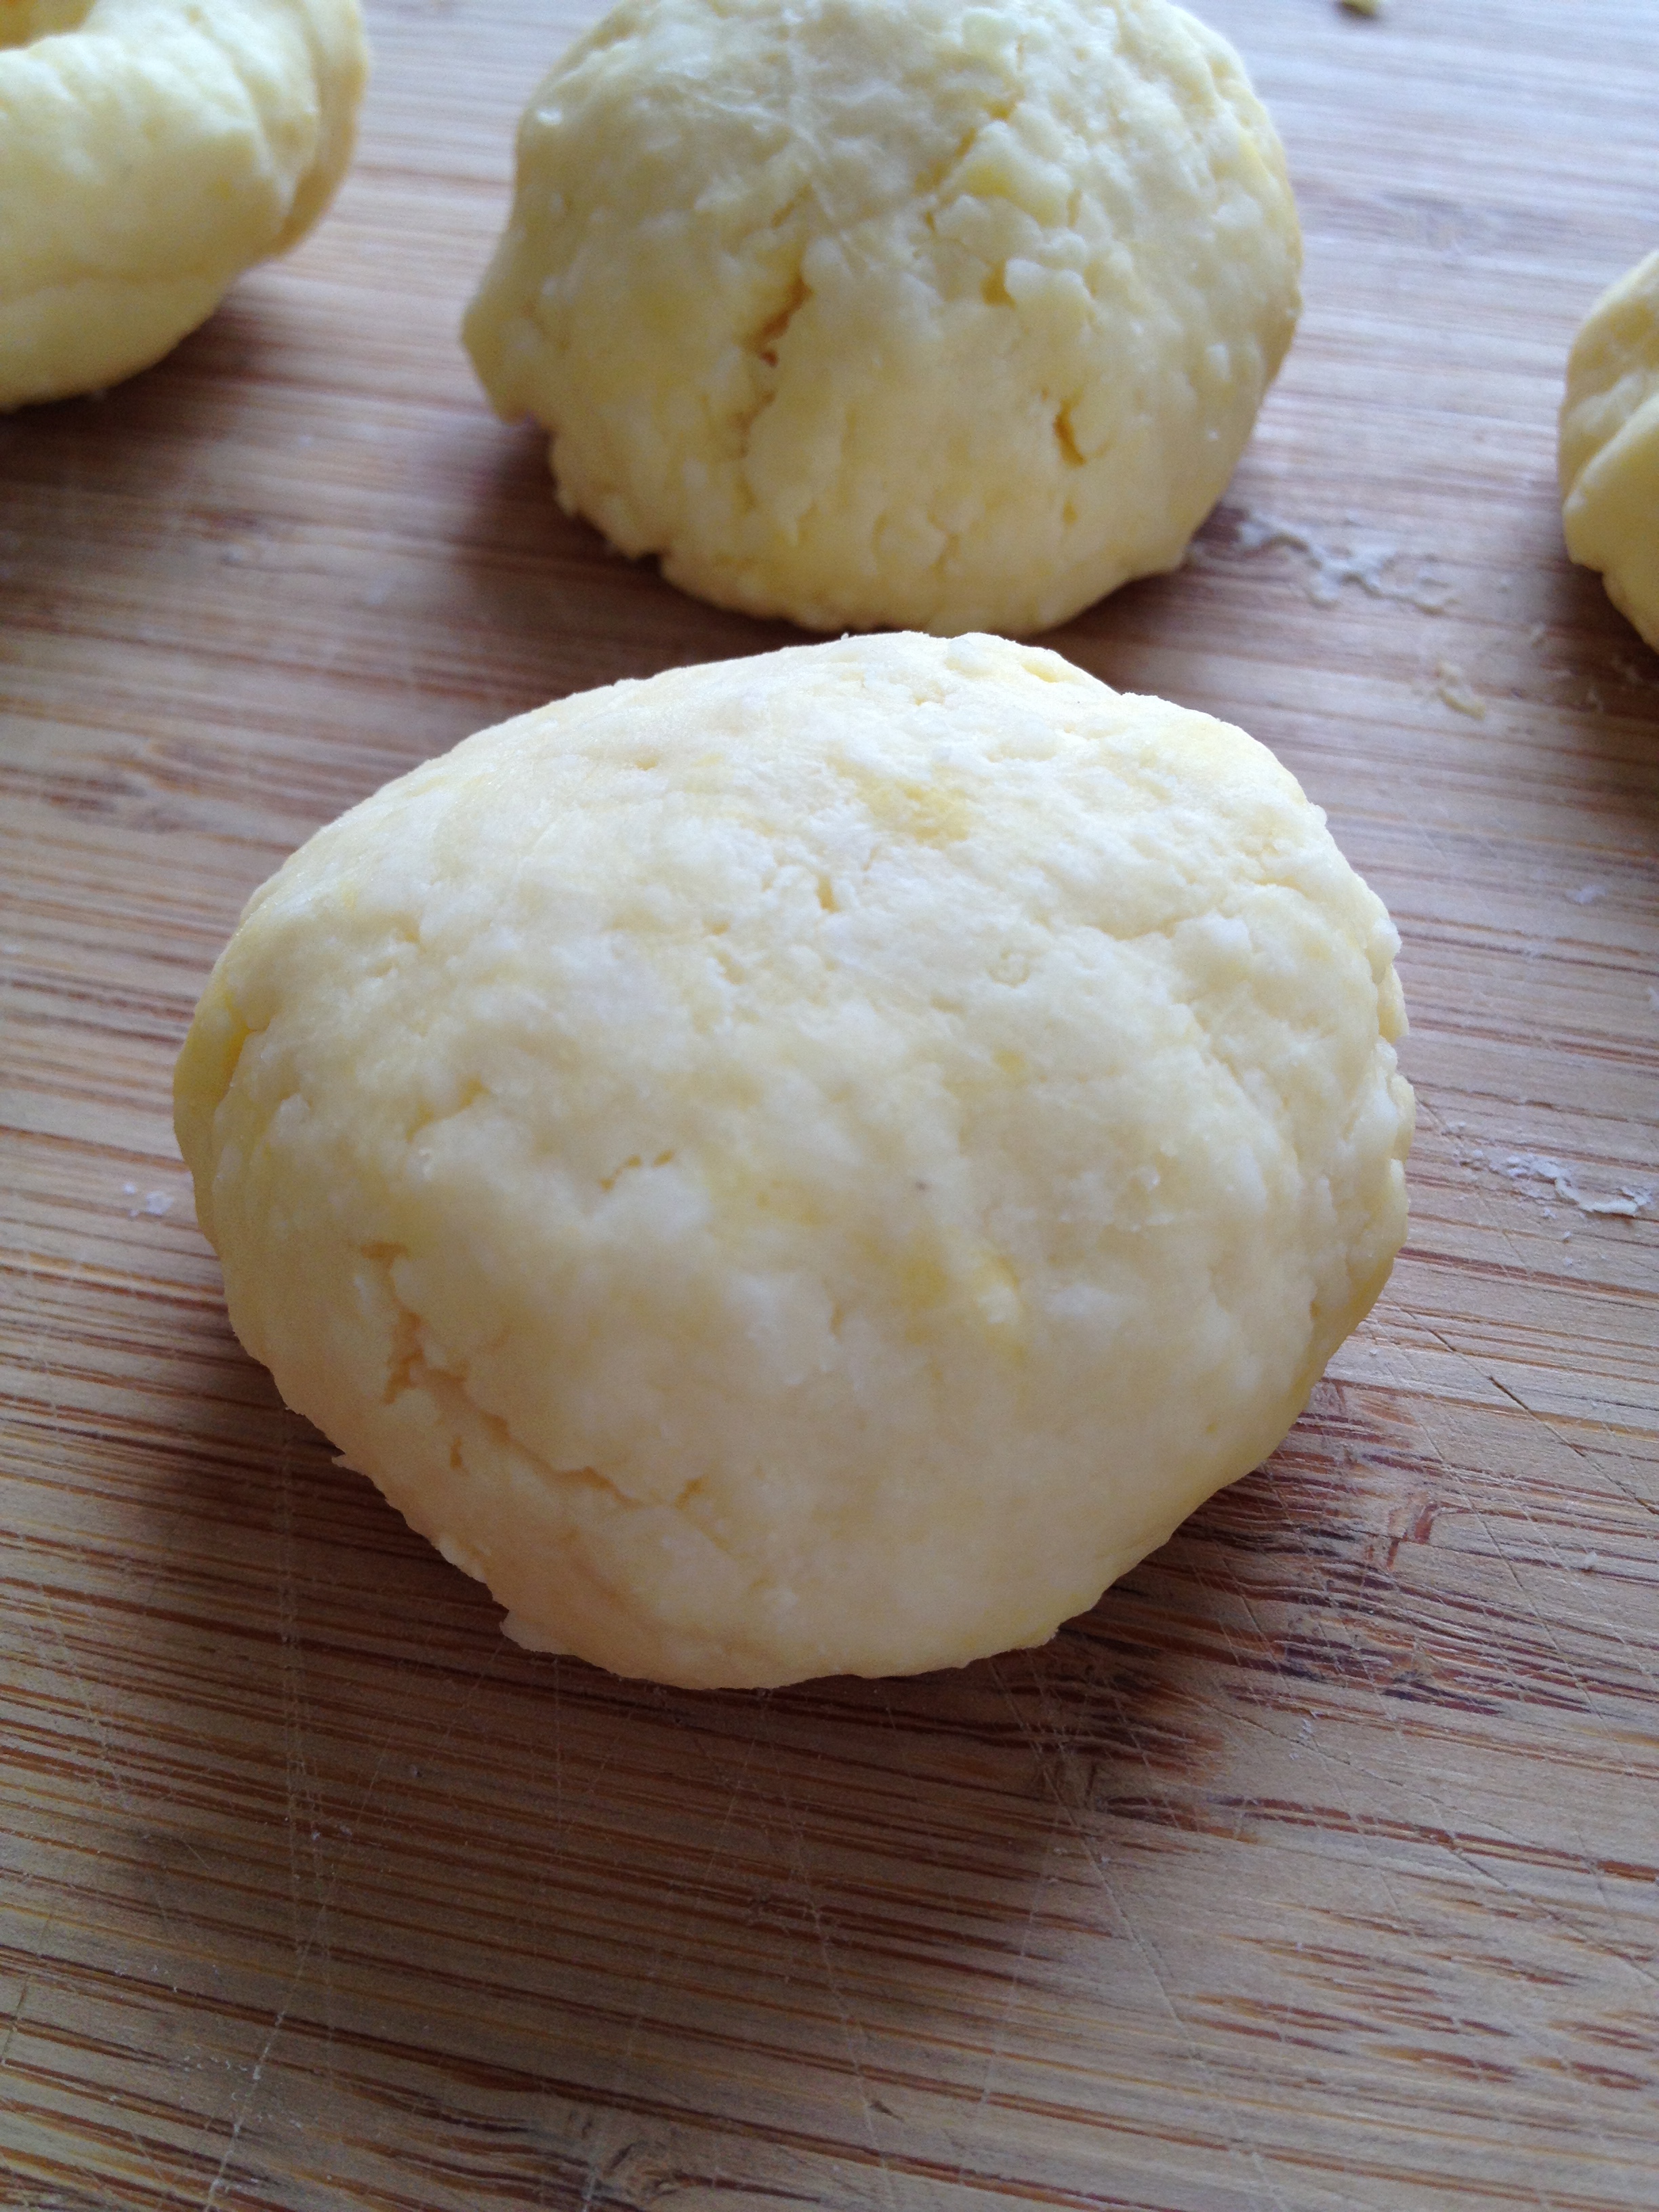
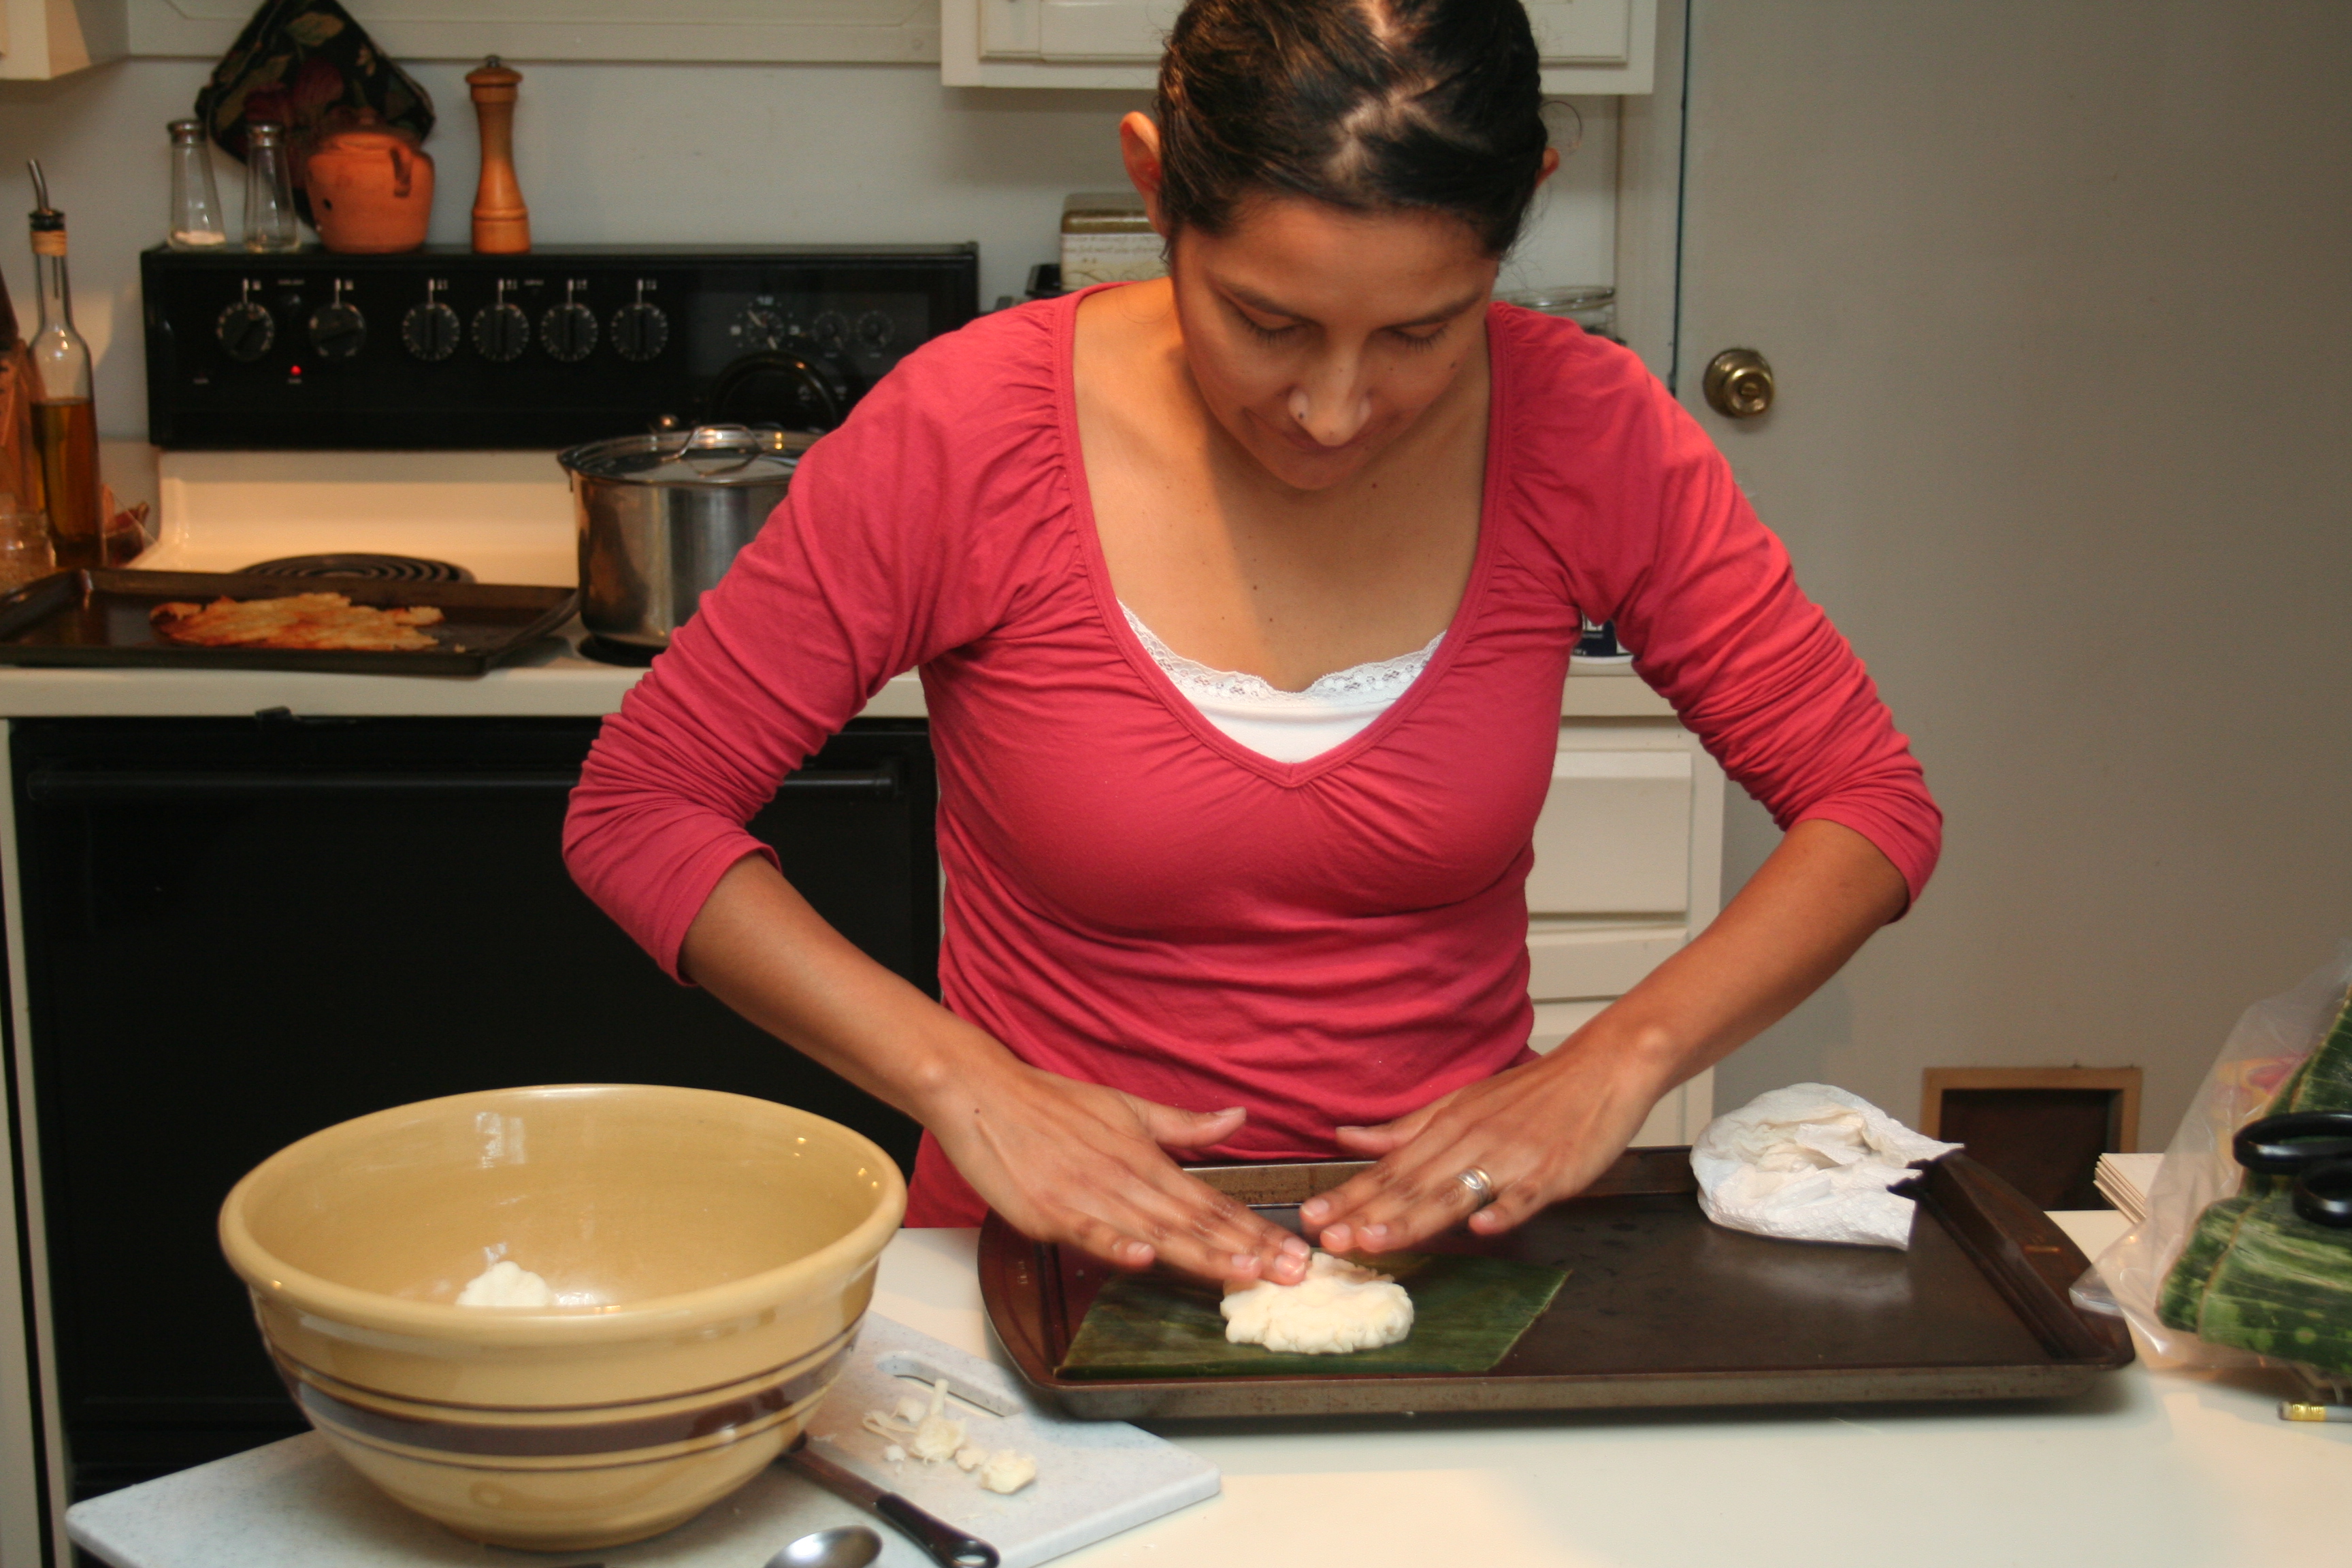
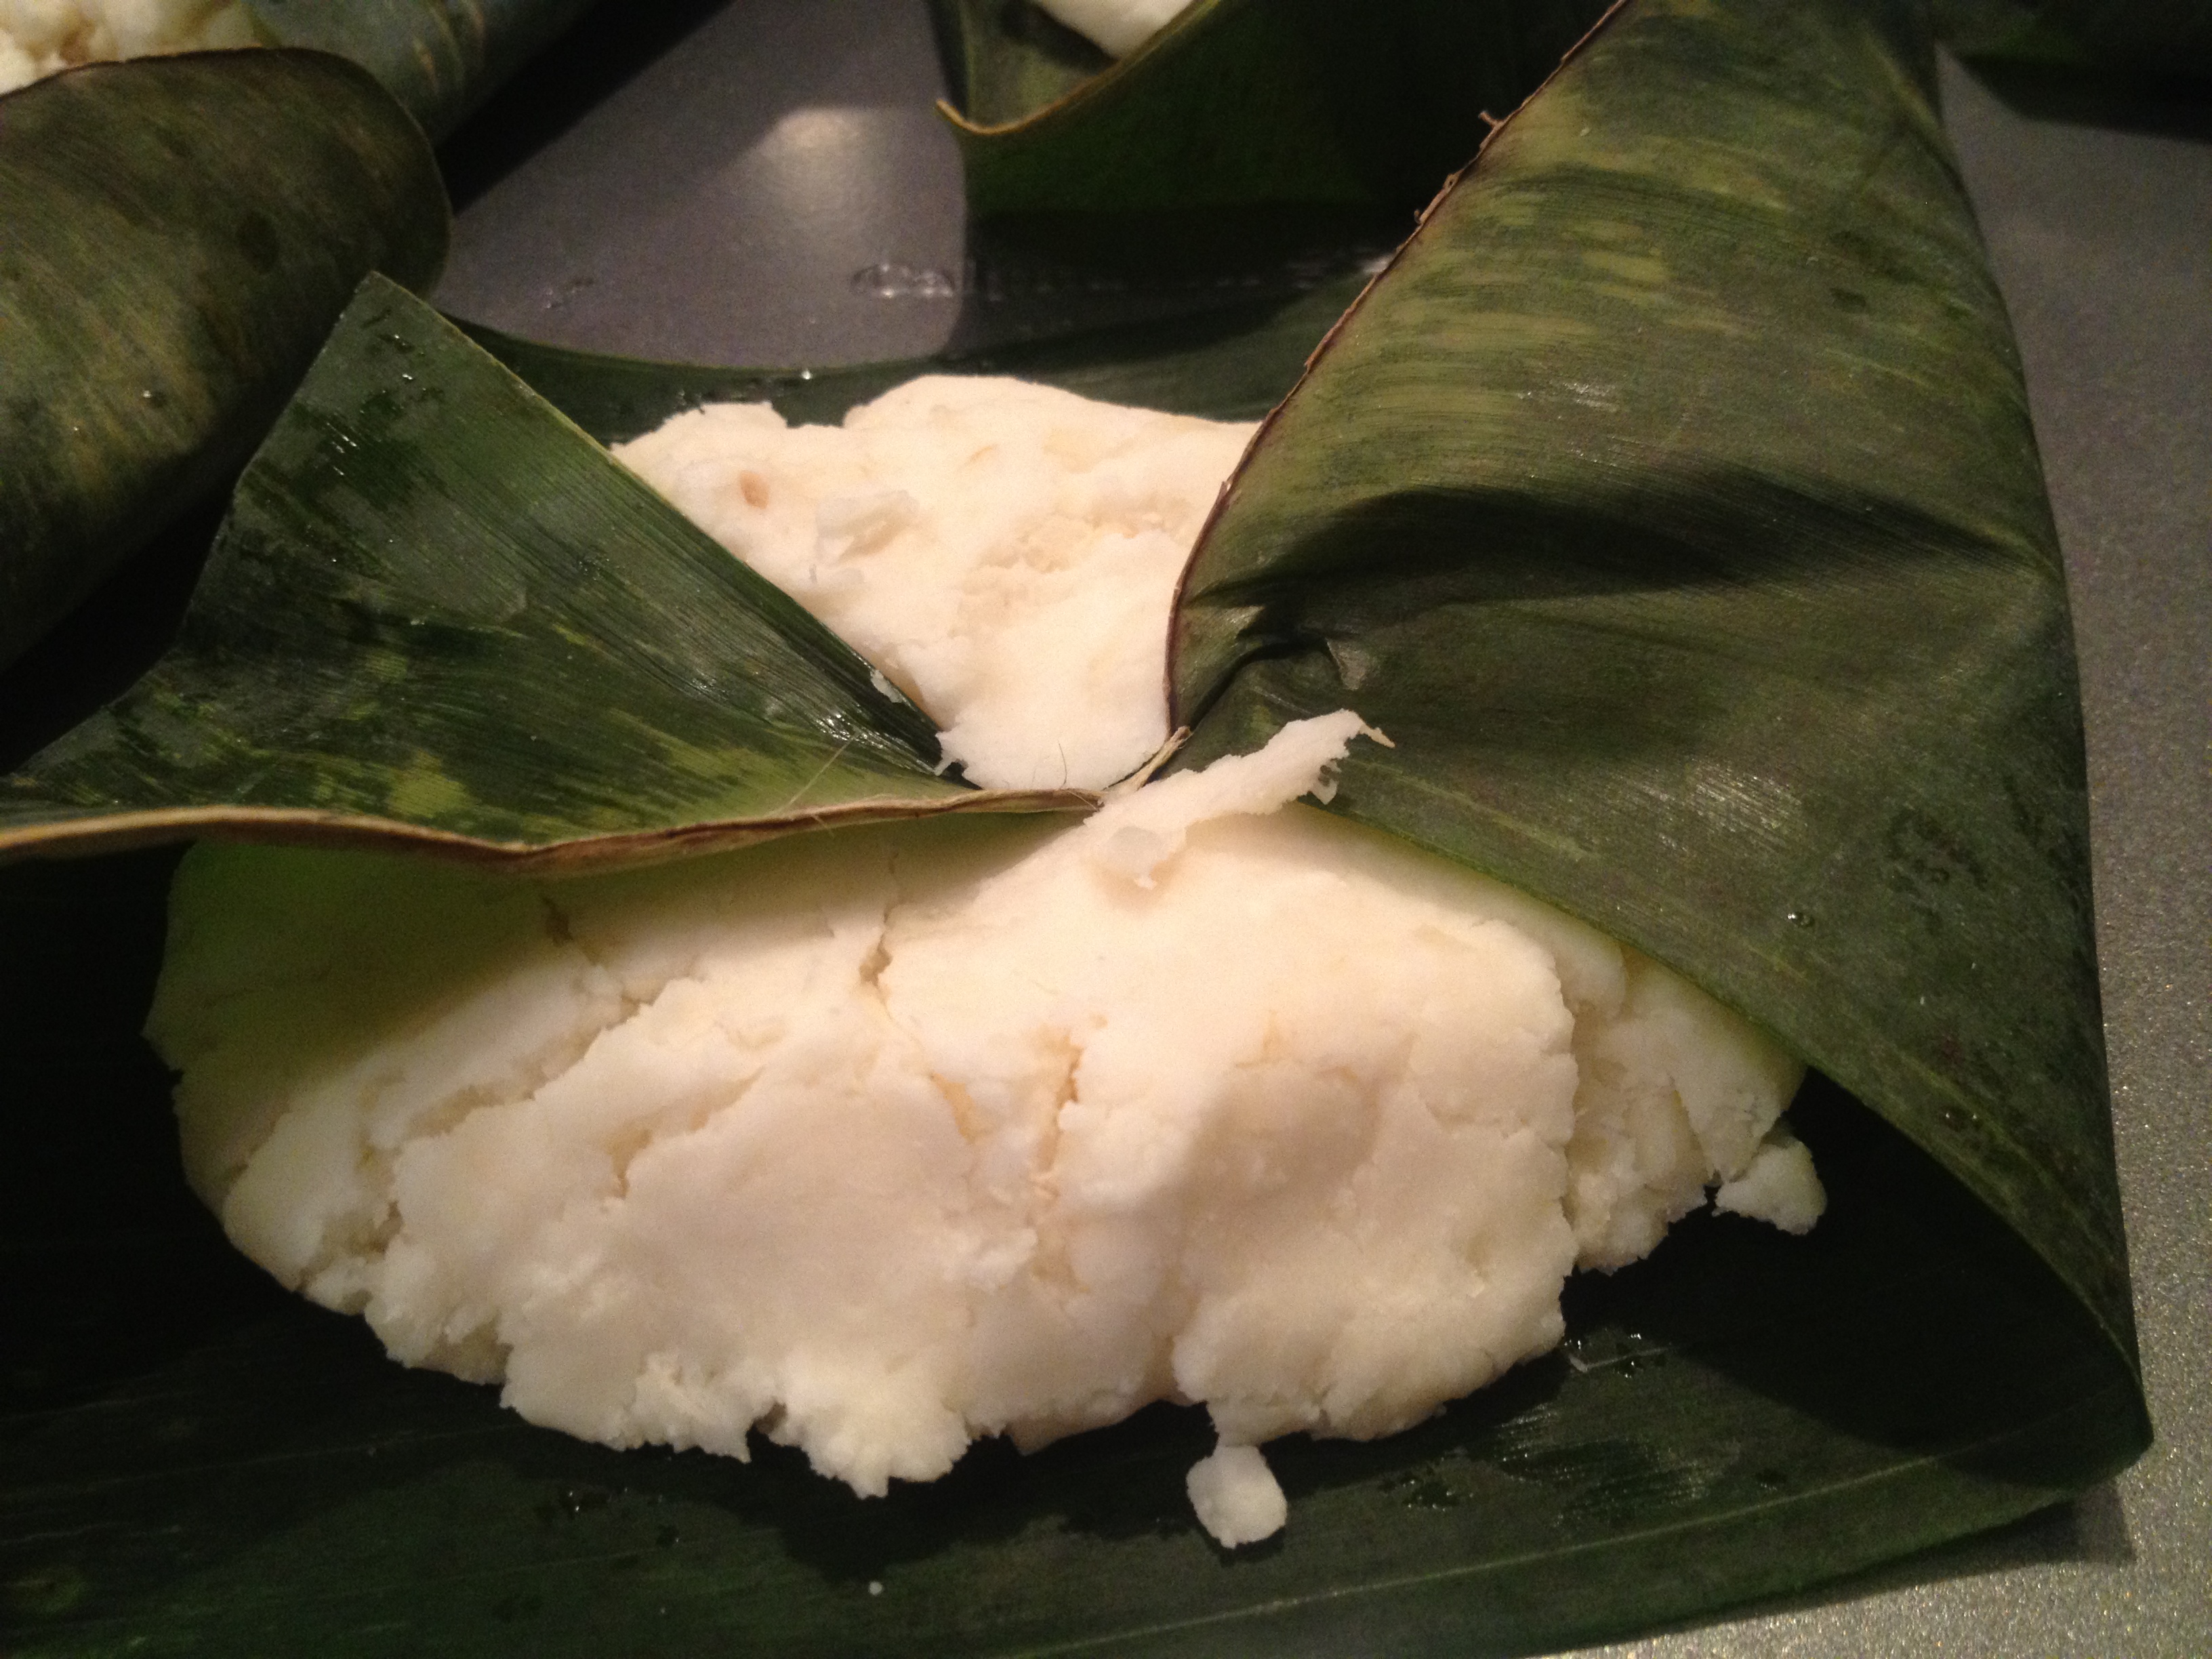
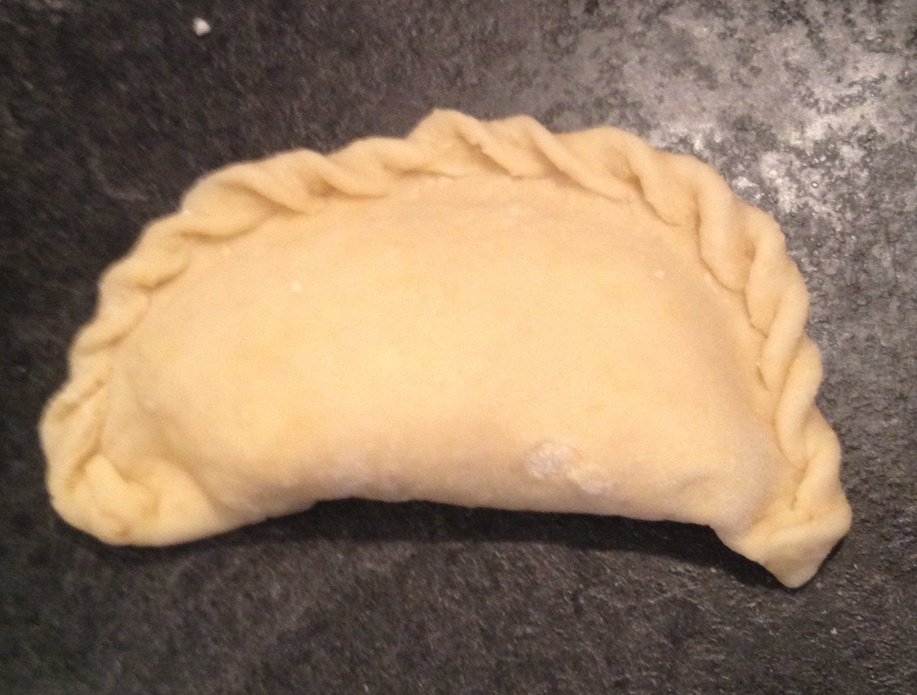
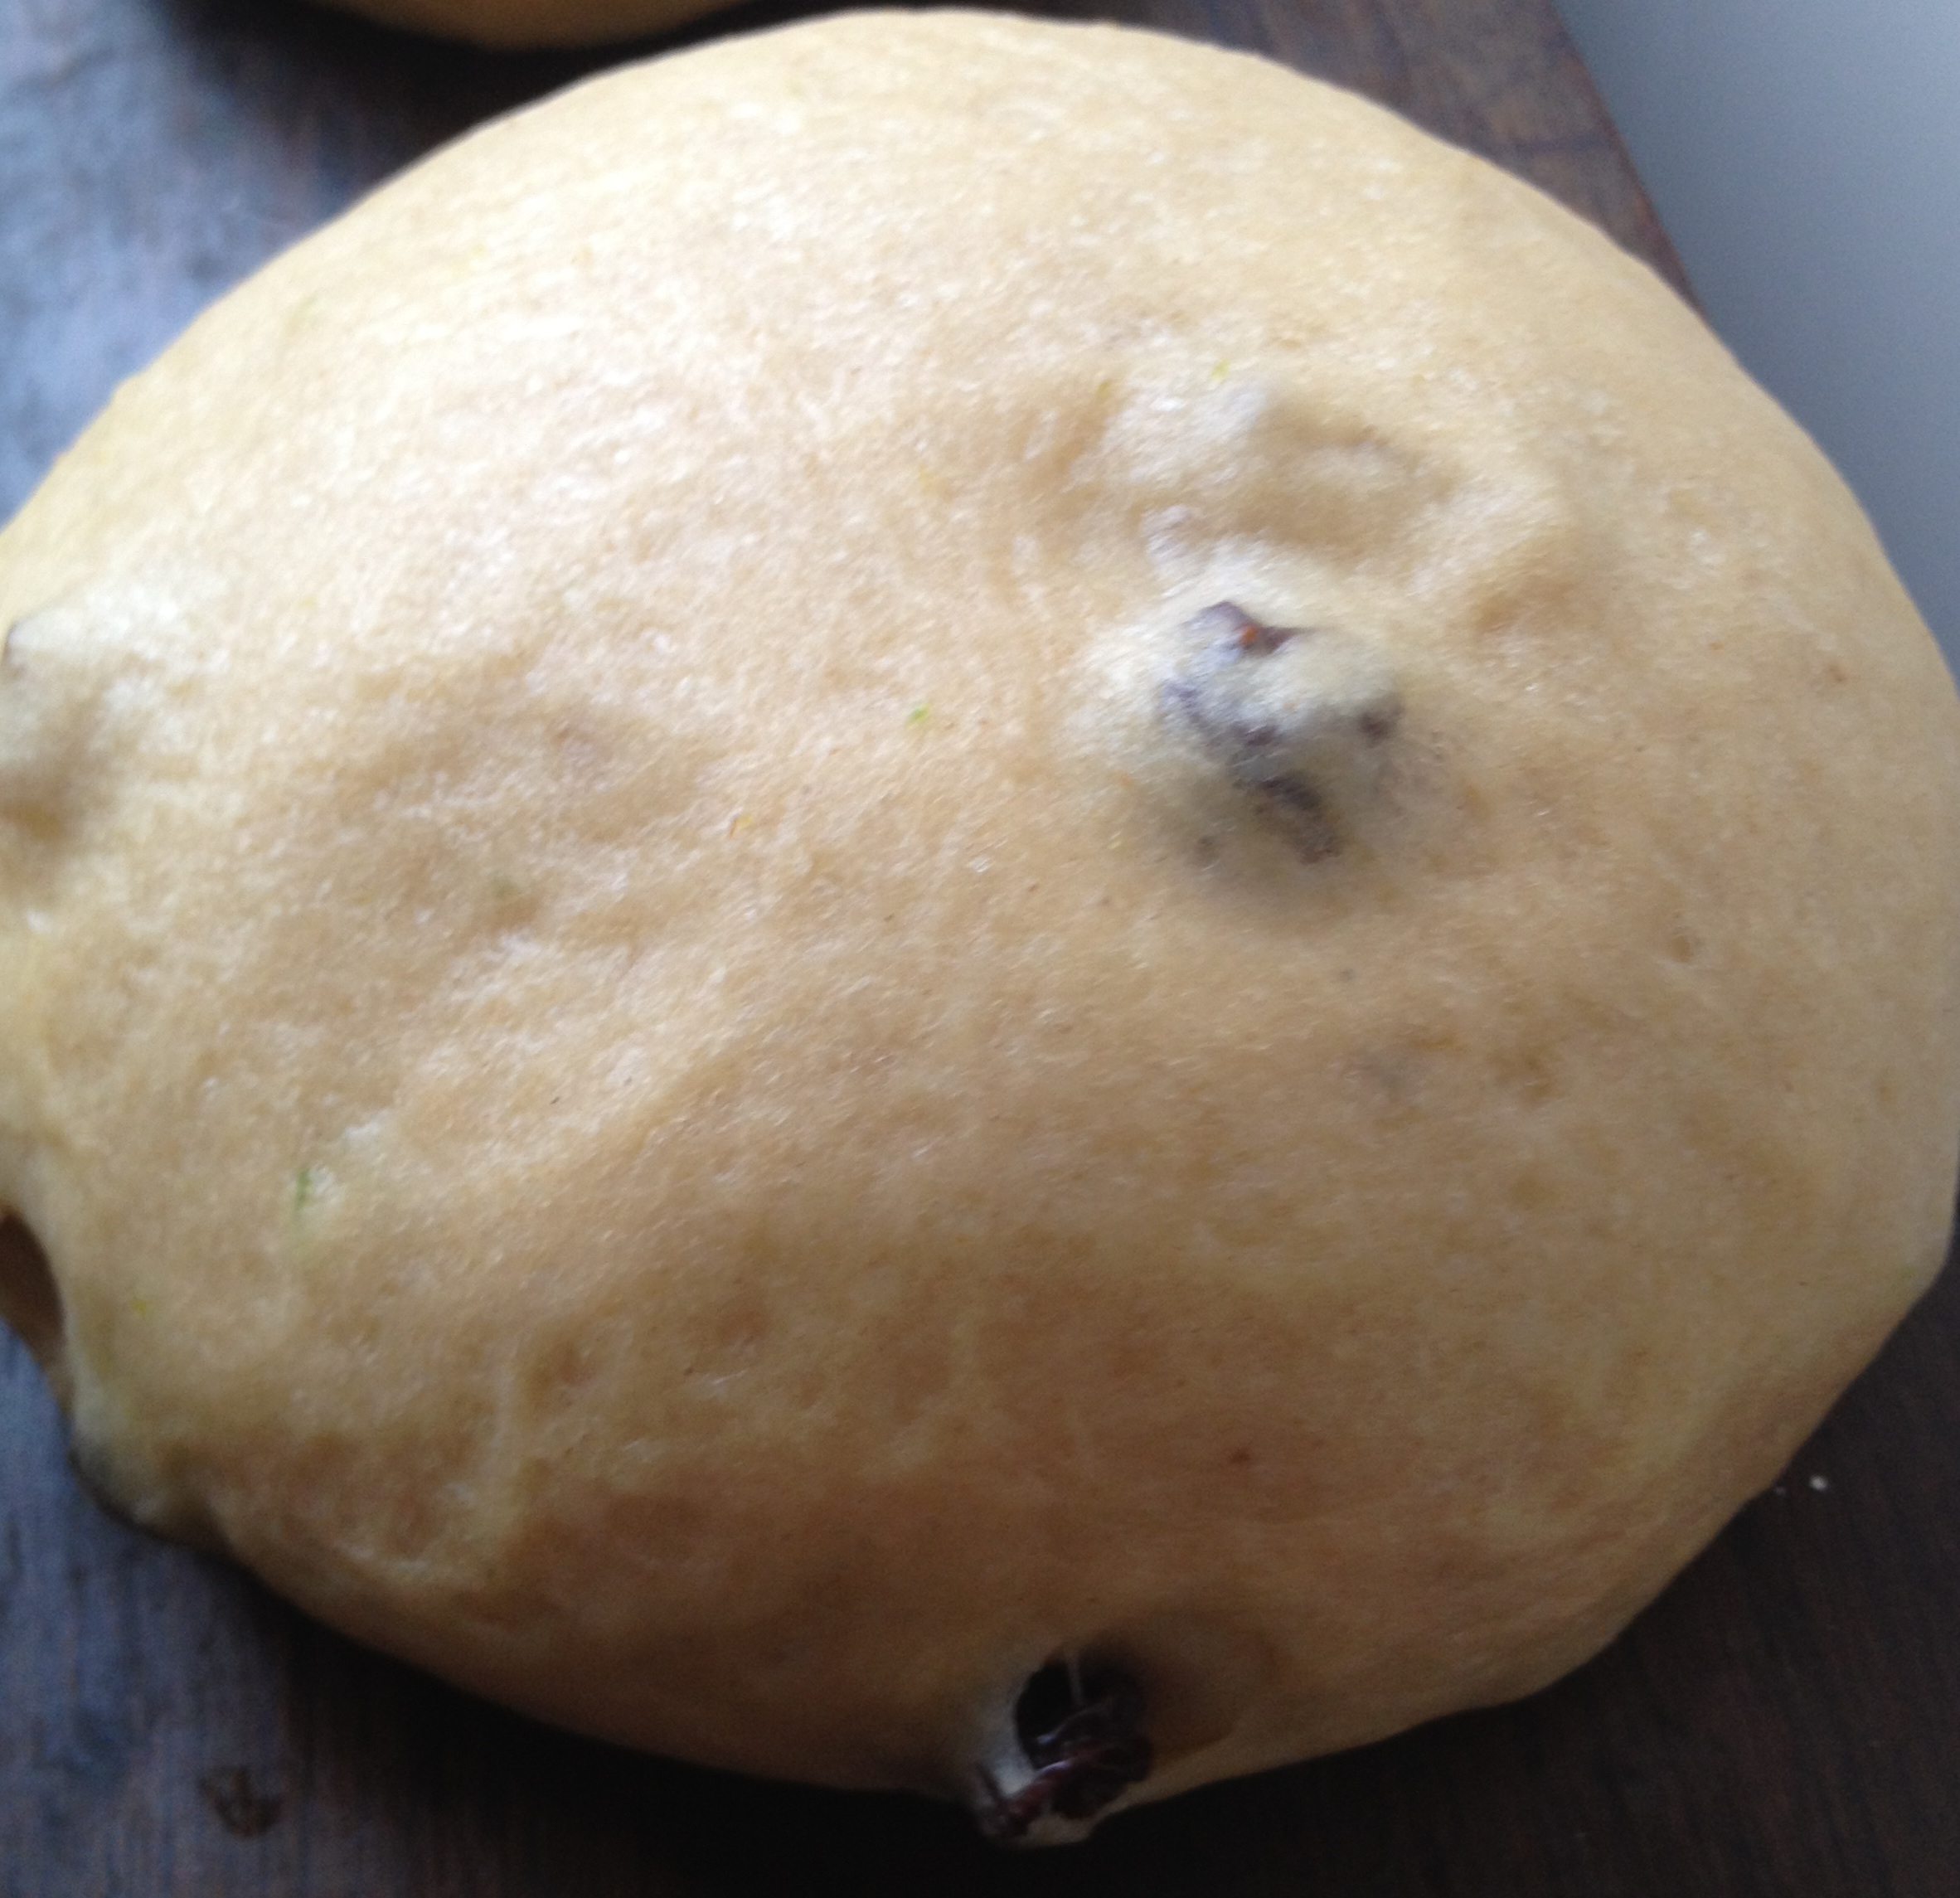
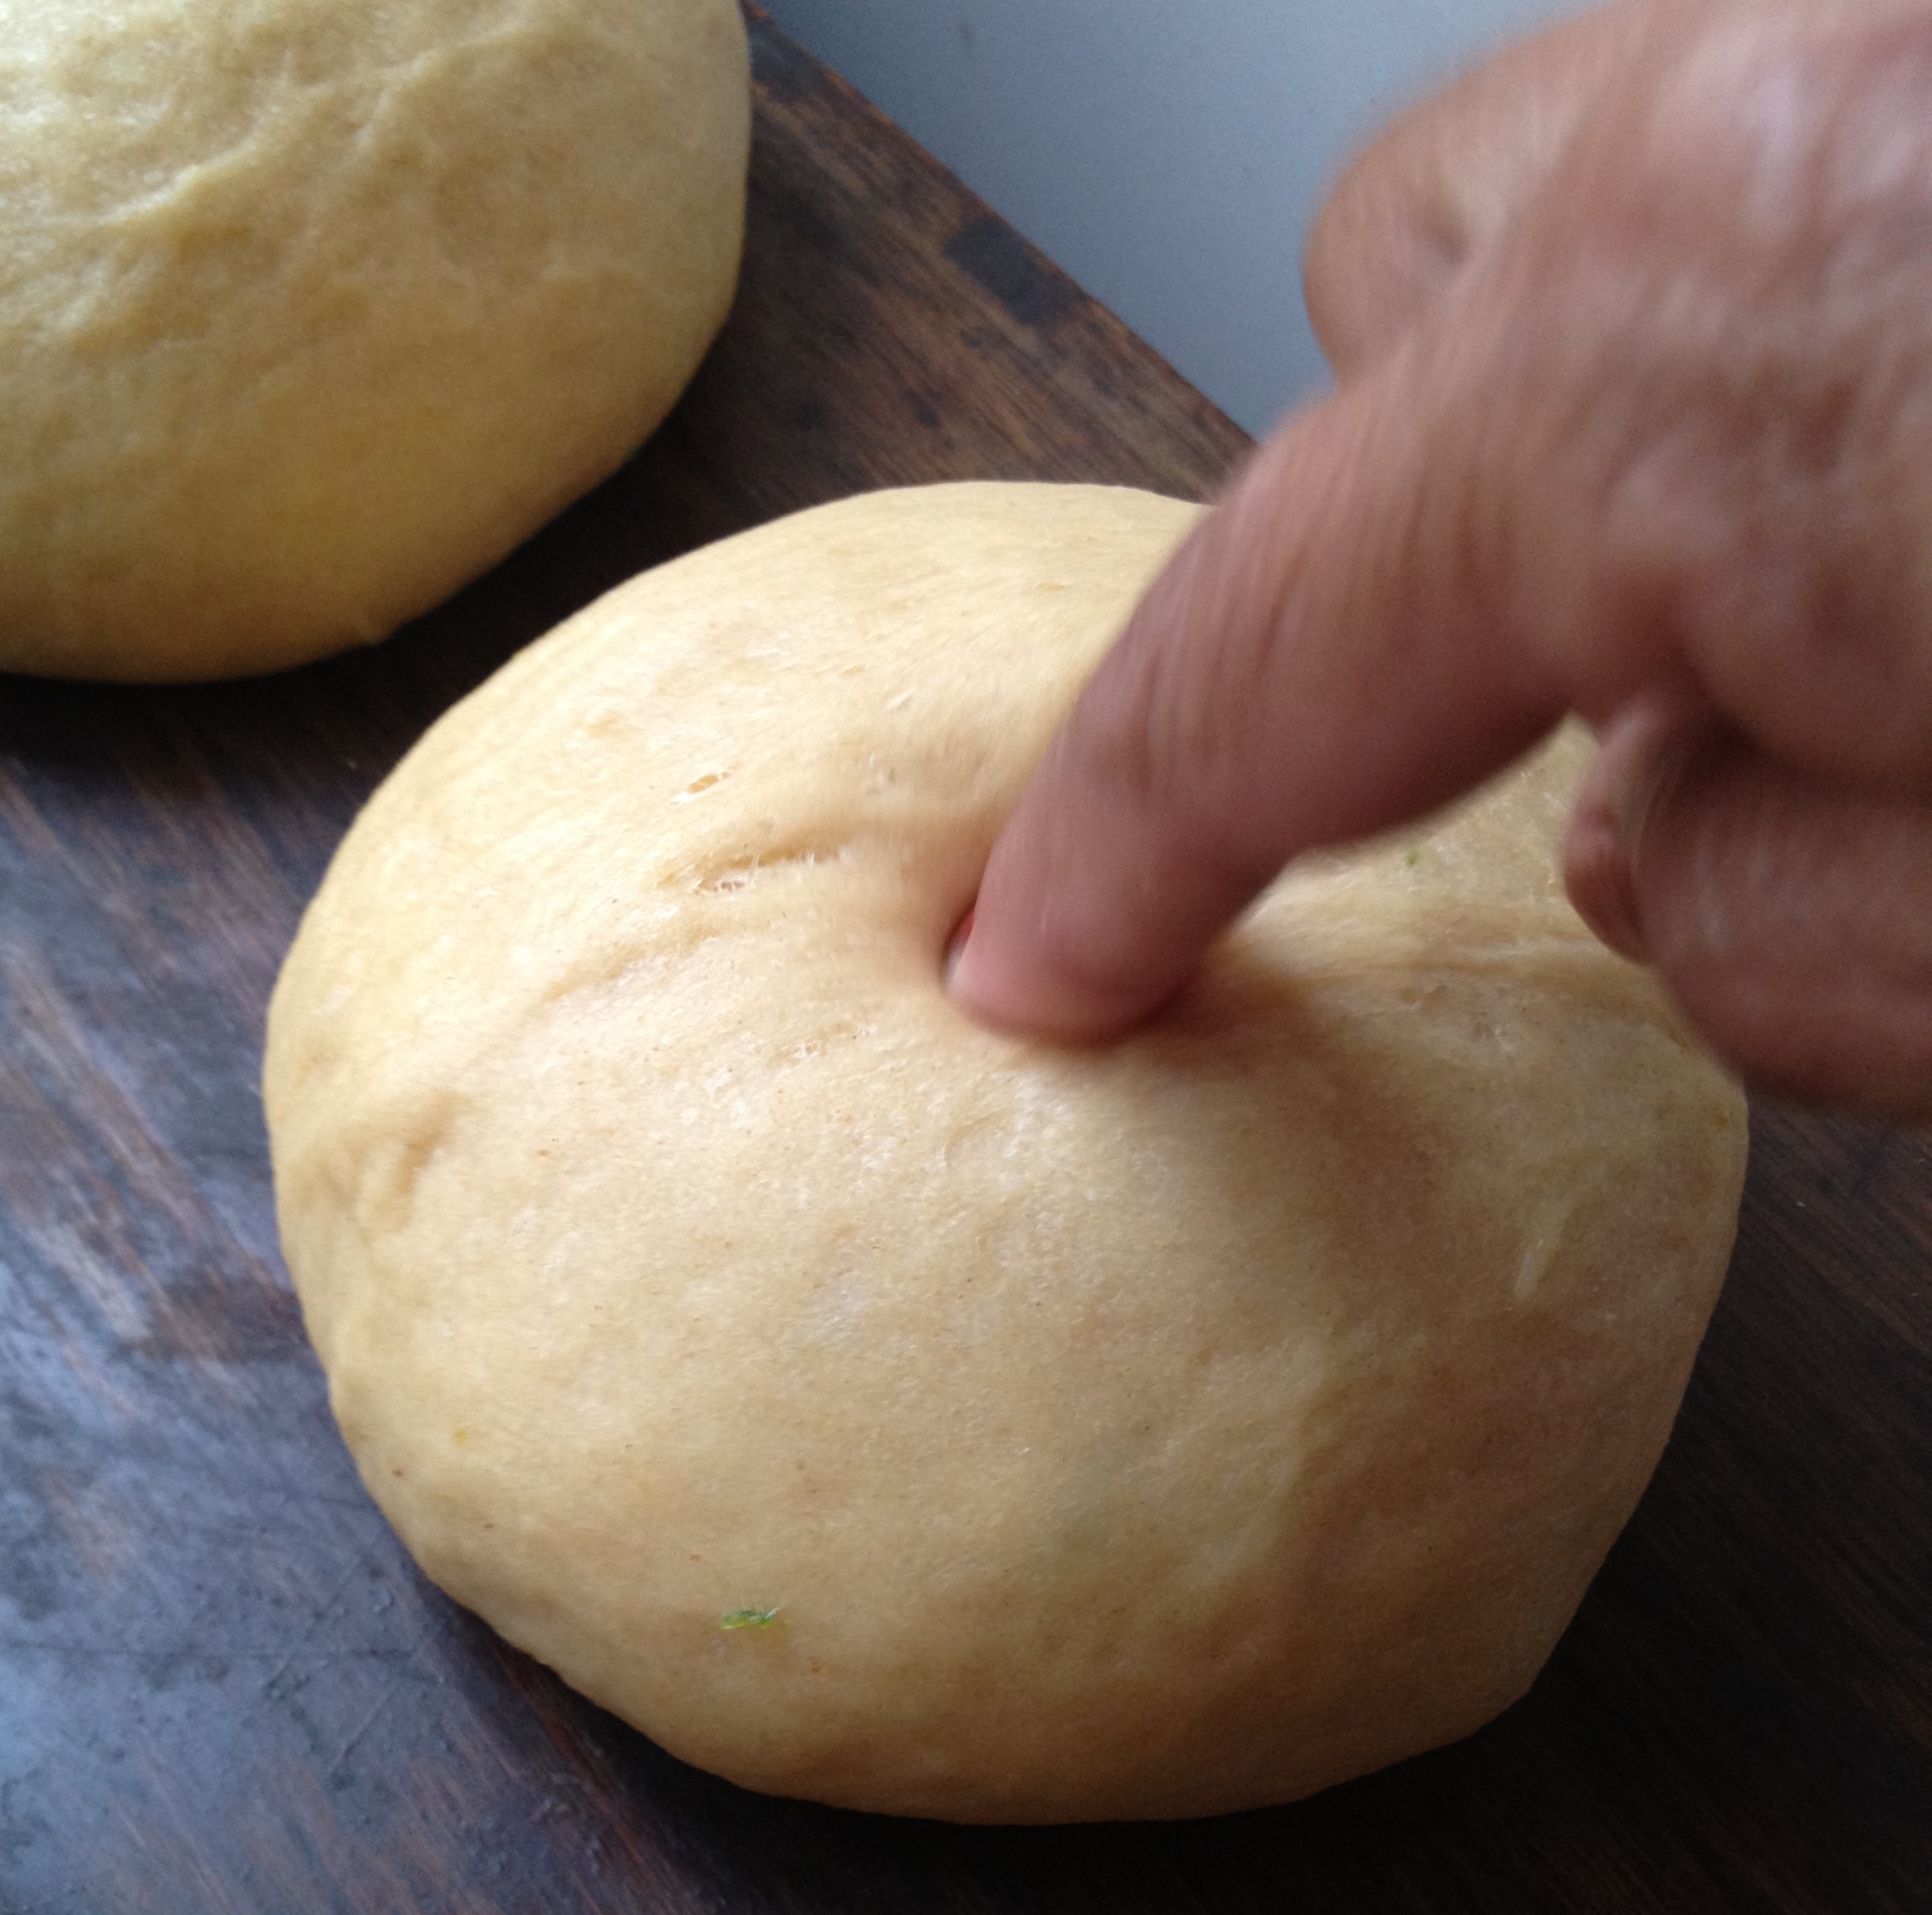
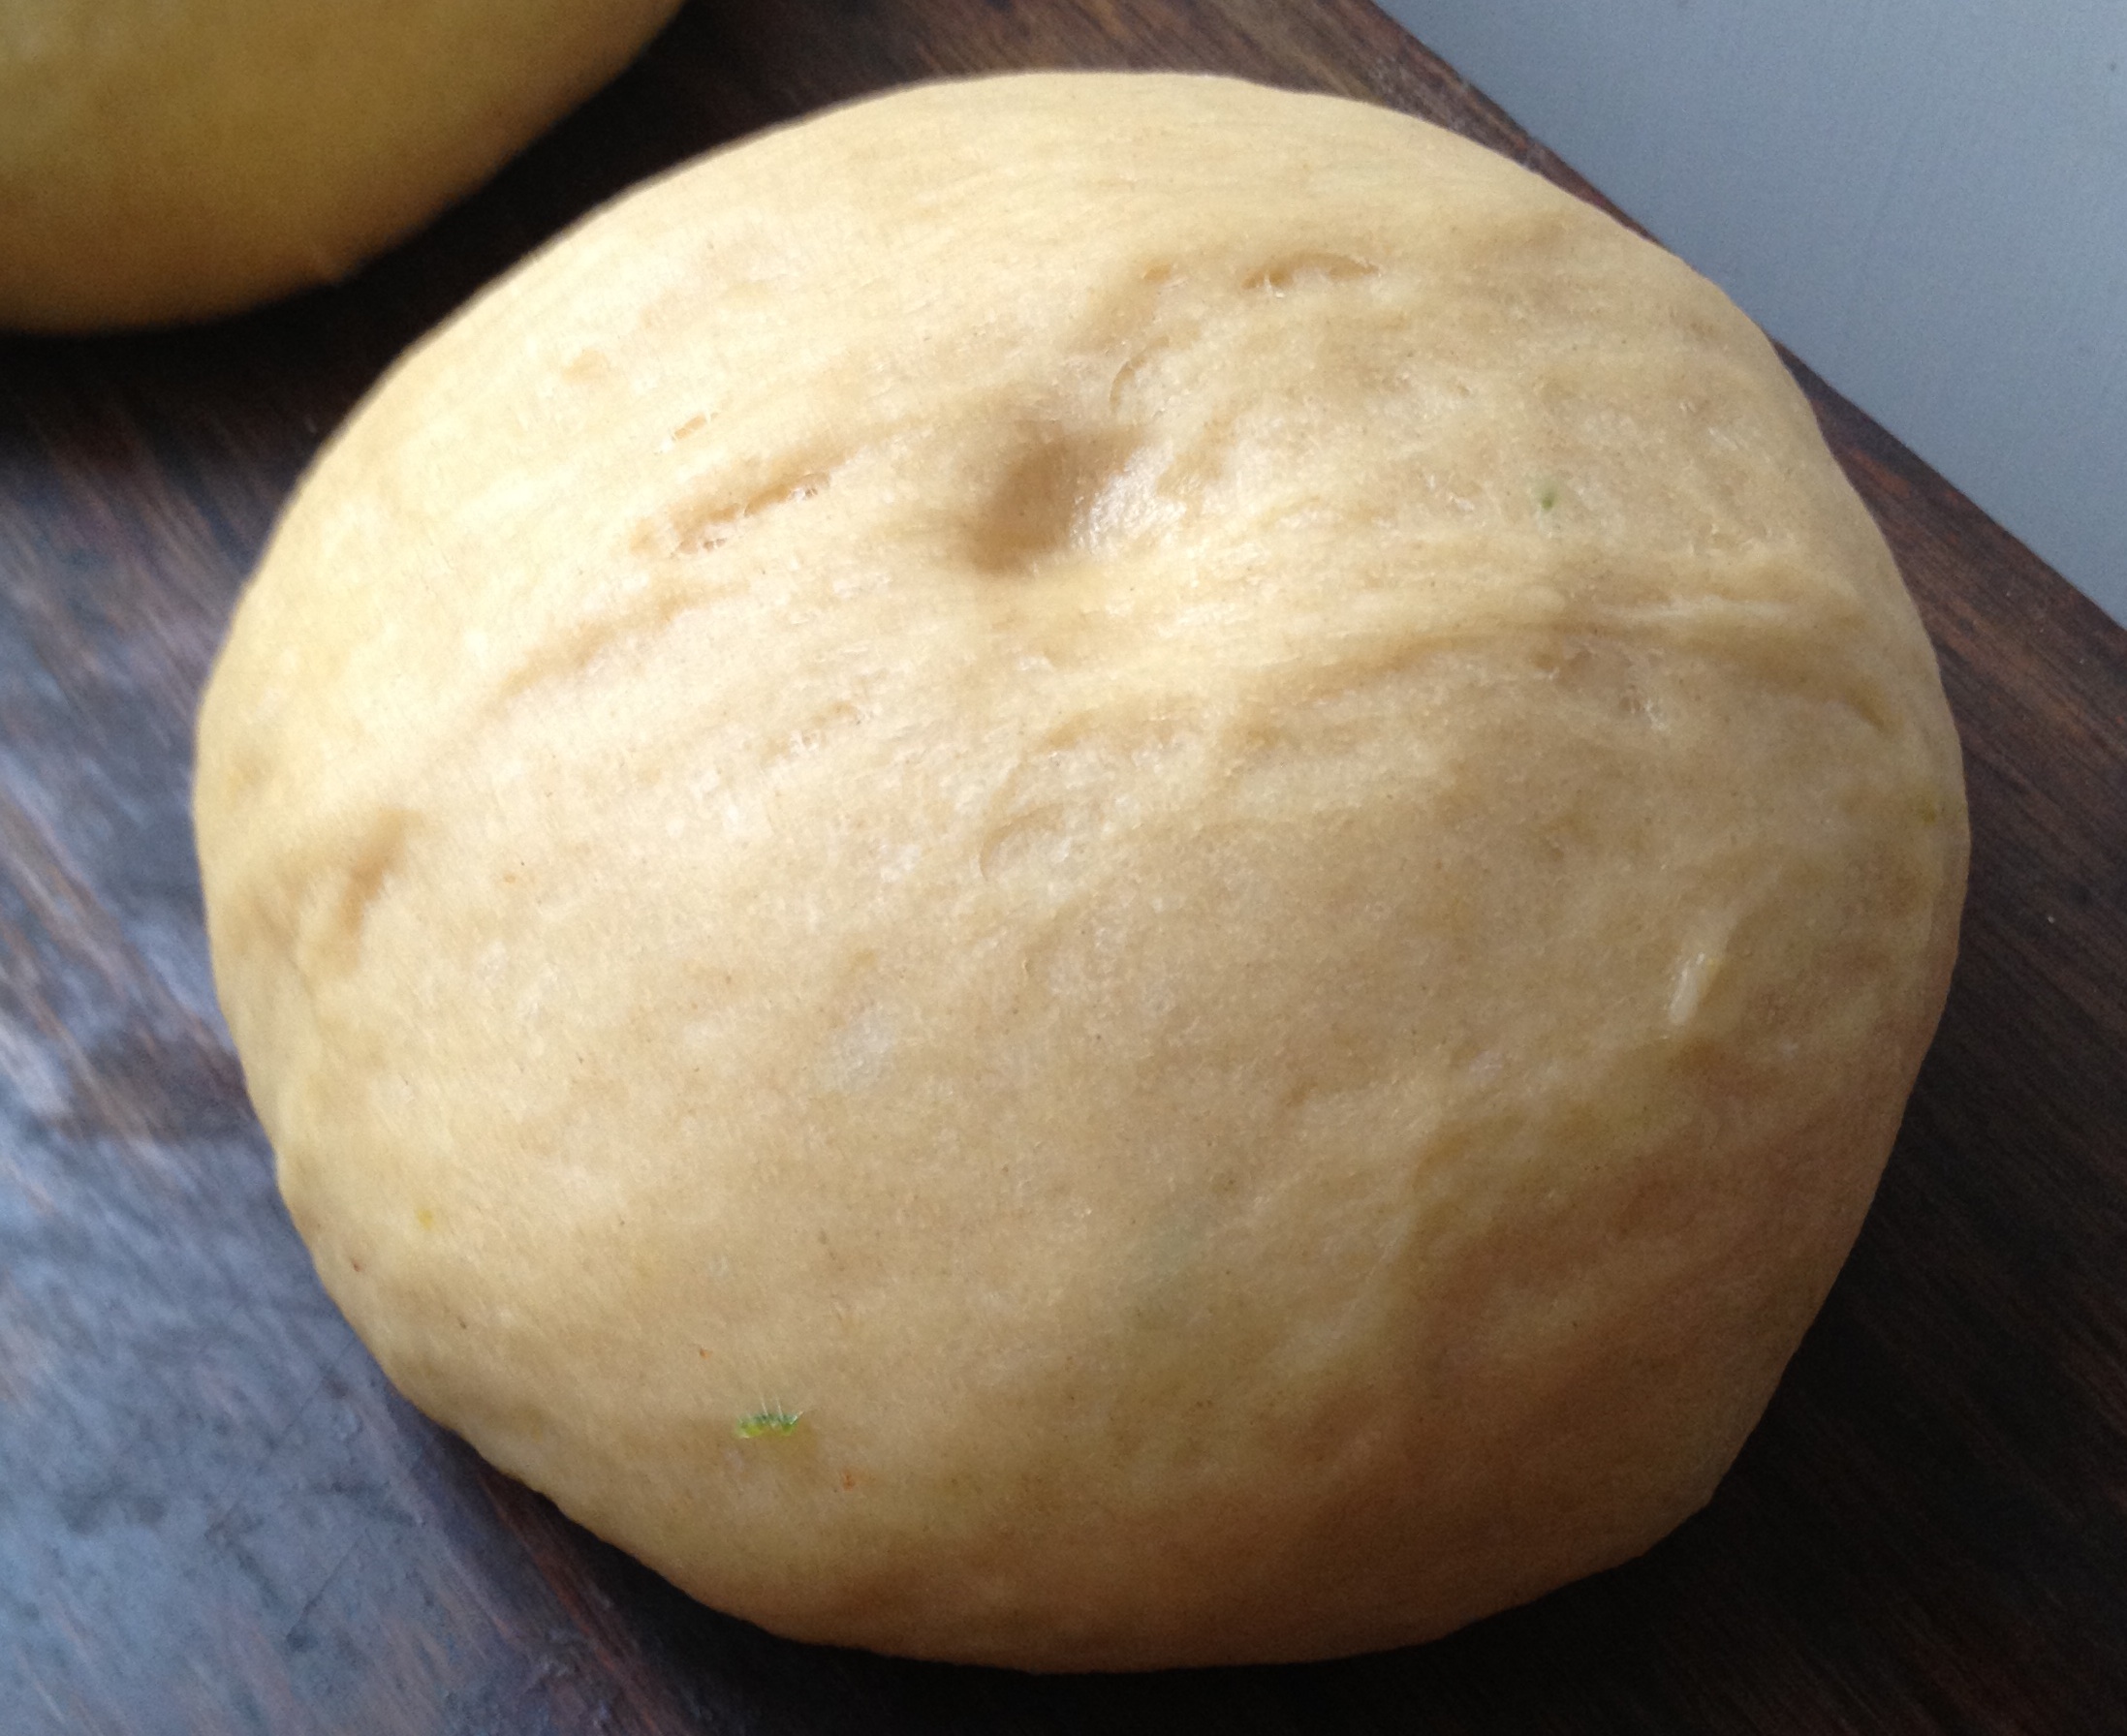
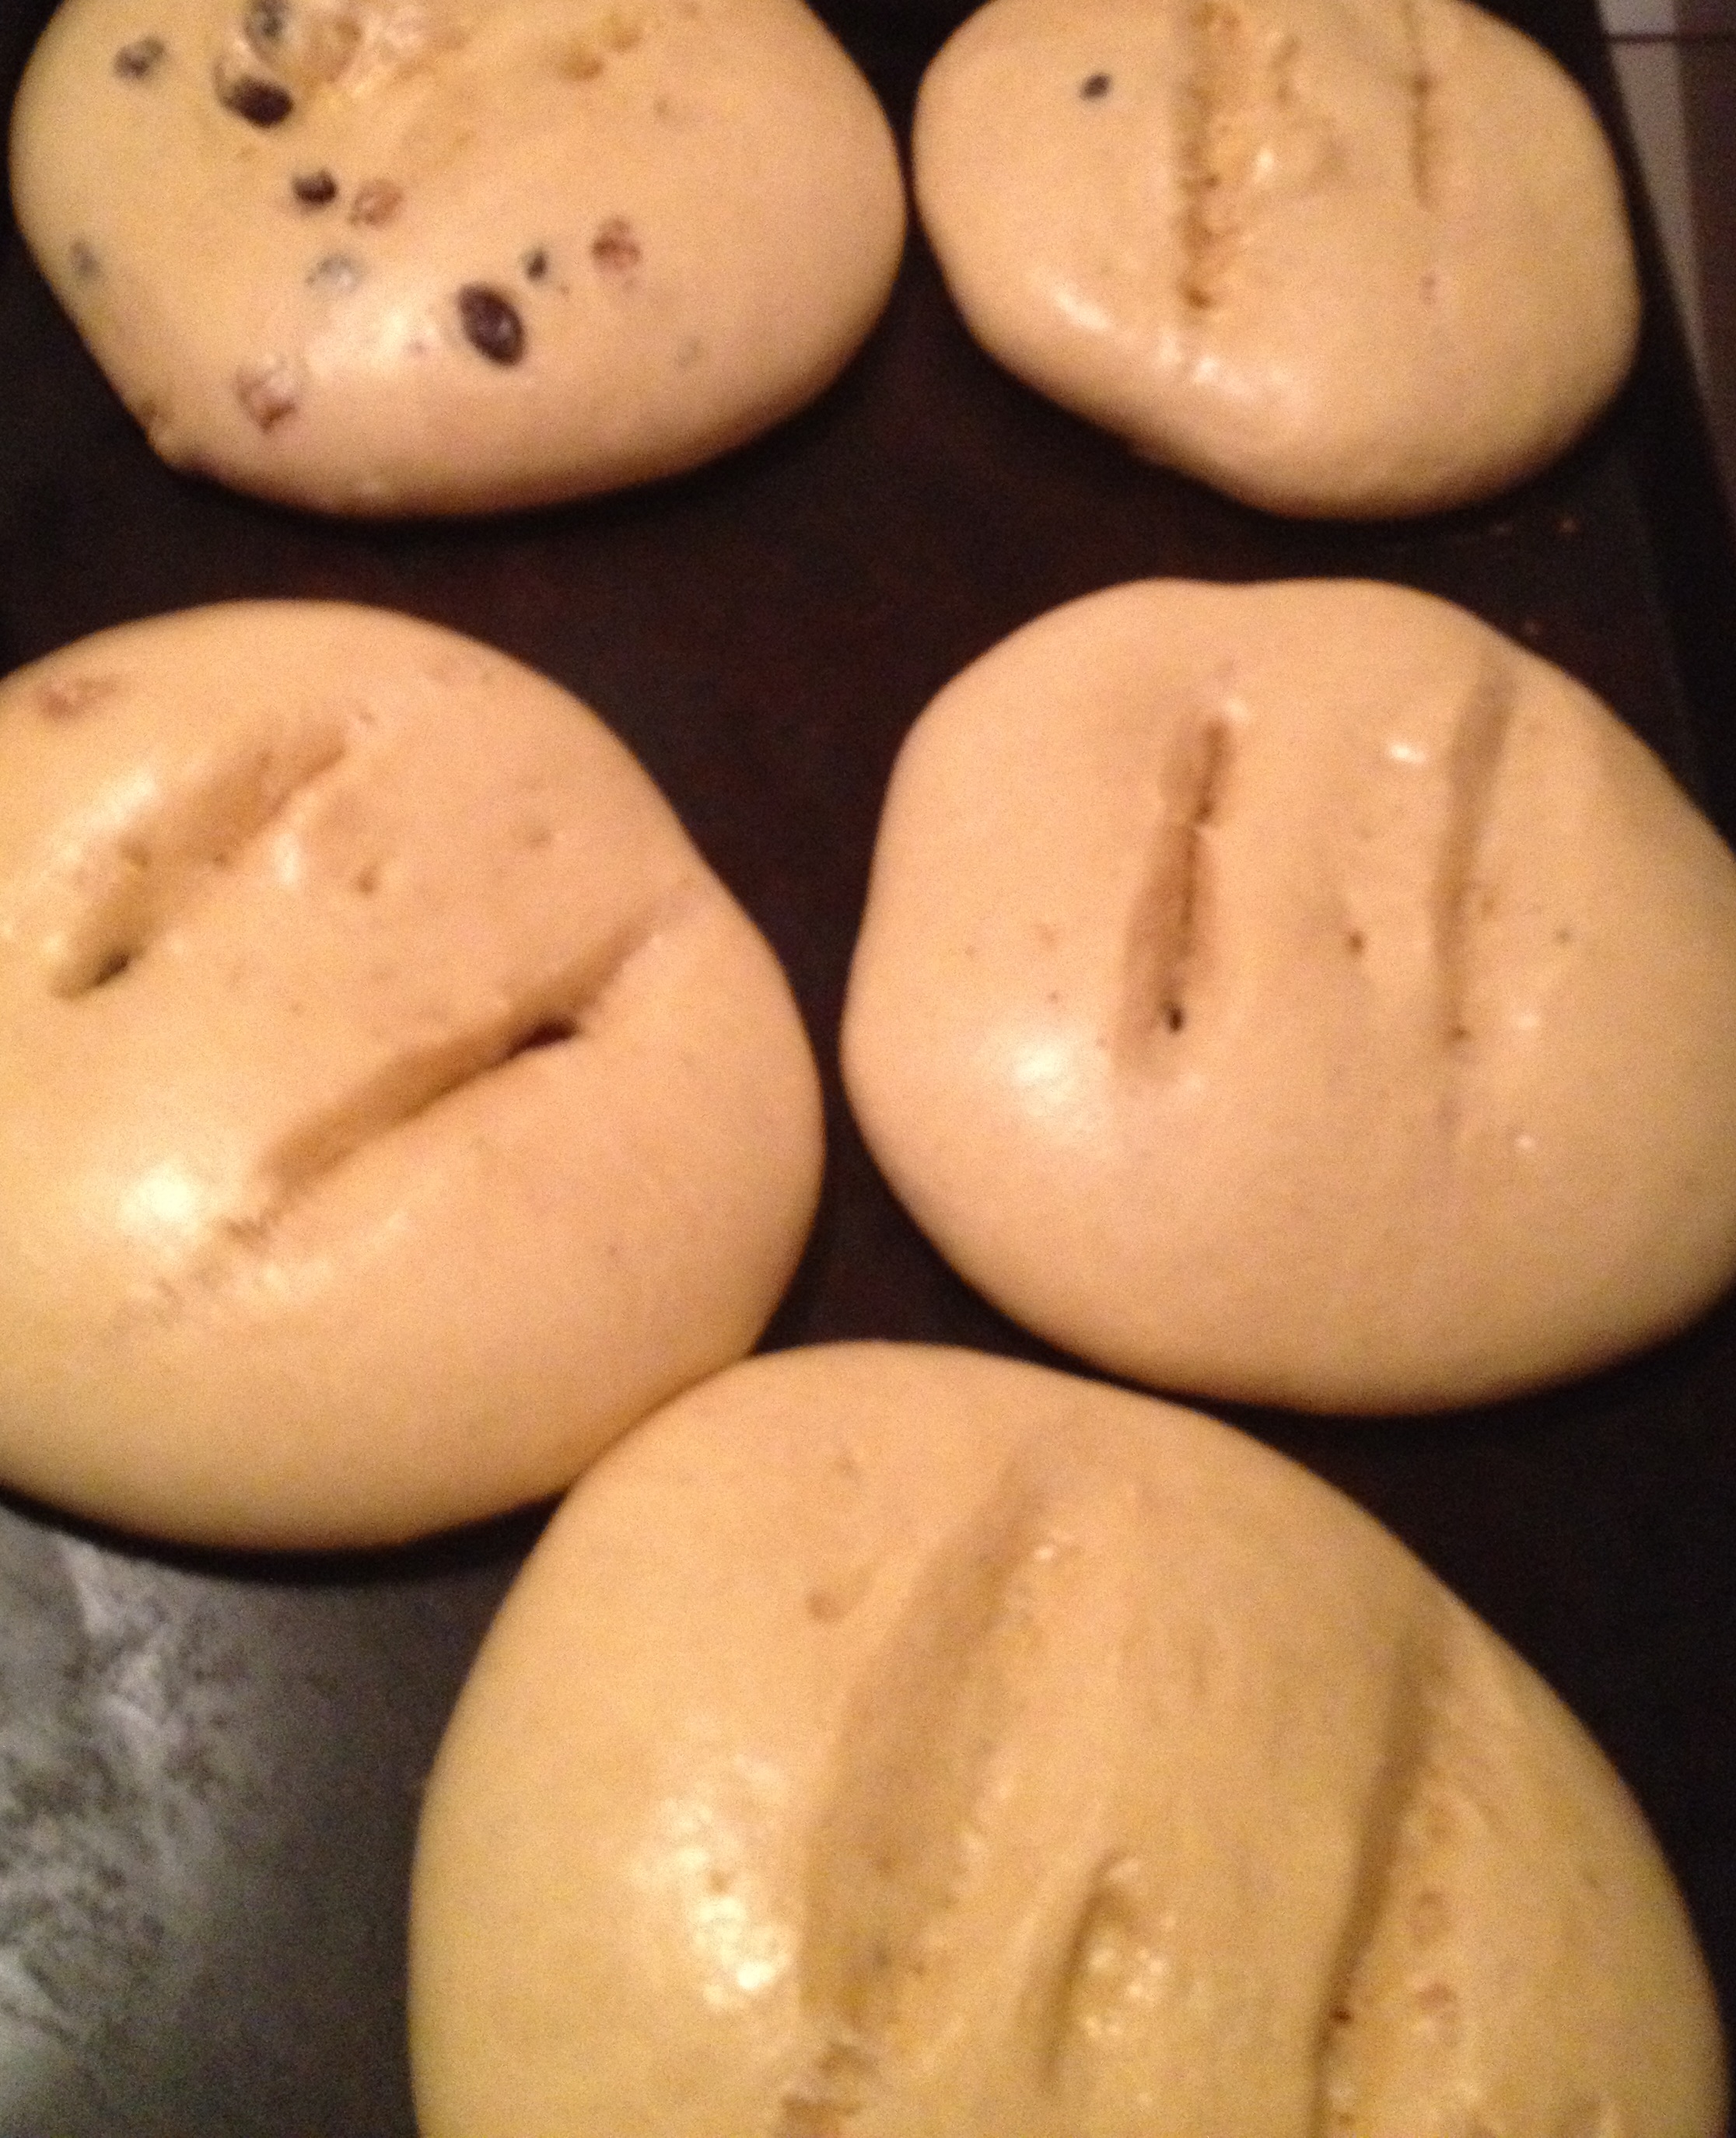
Divide the dough in balls the size of your hand or bigger. Make balls and let it sit to rise. Brush with the oil so the surface doesn’t dry.

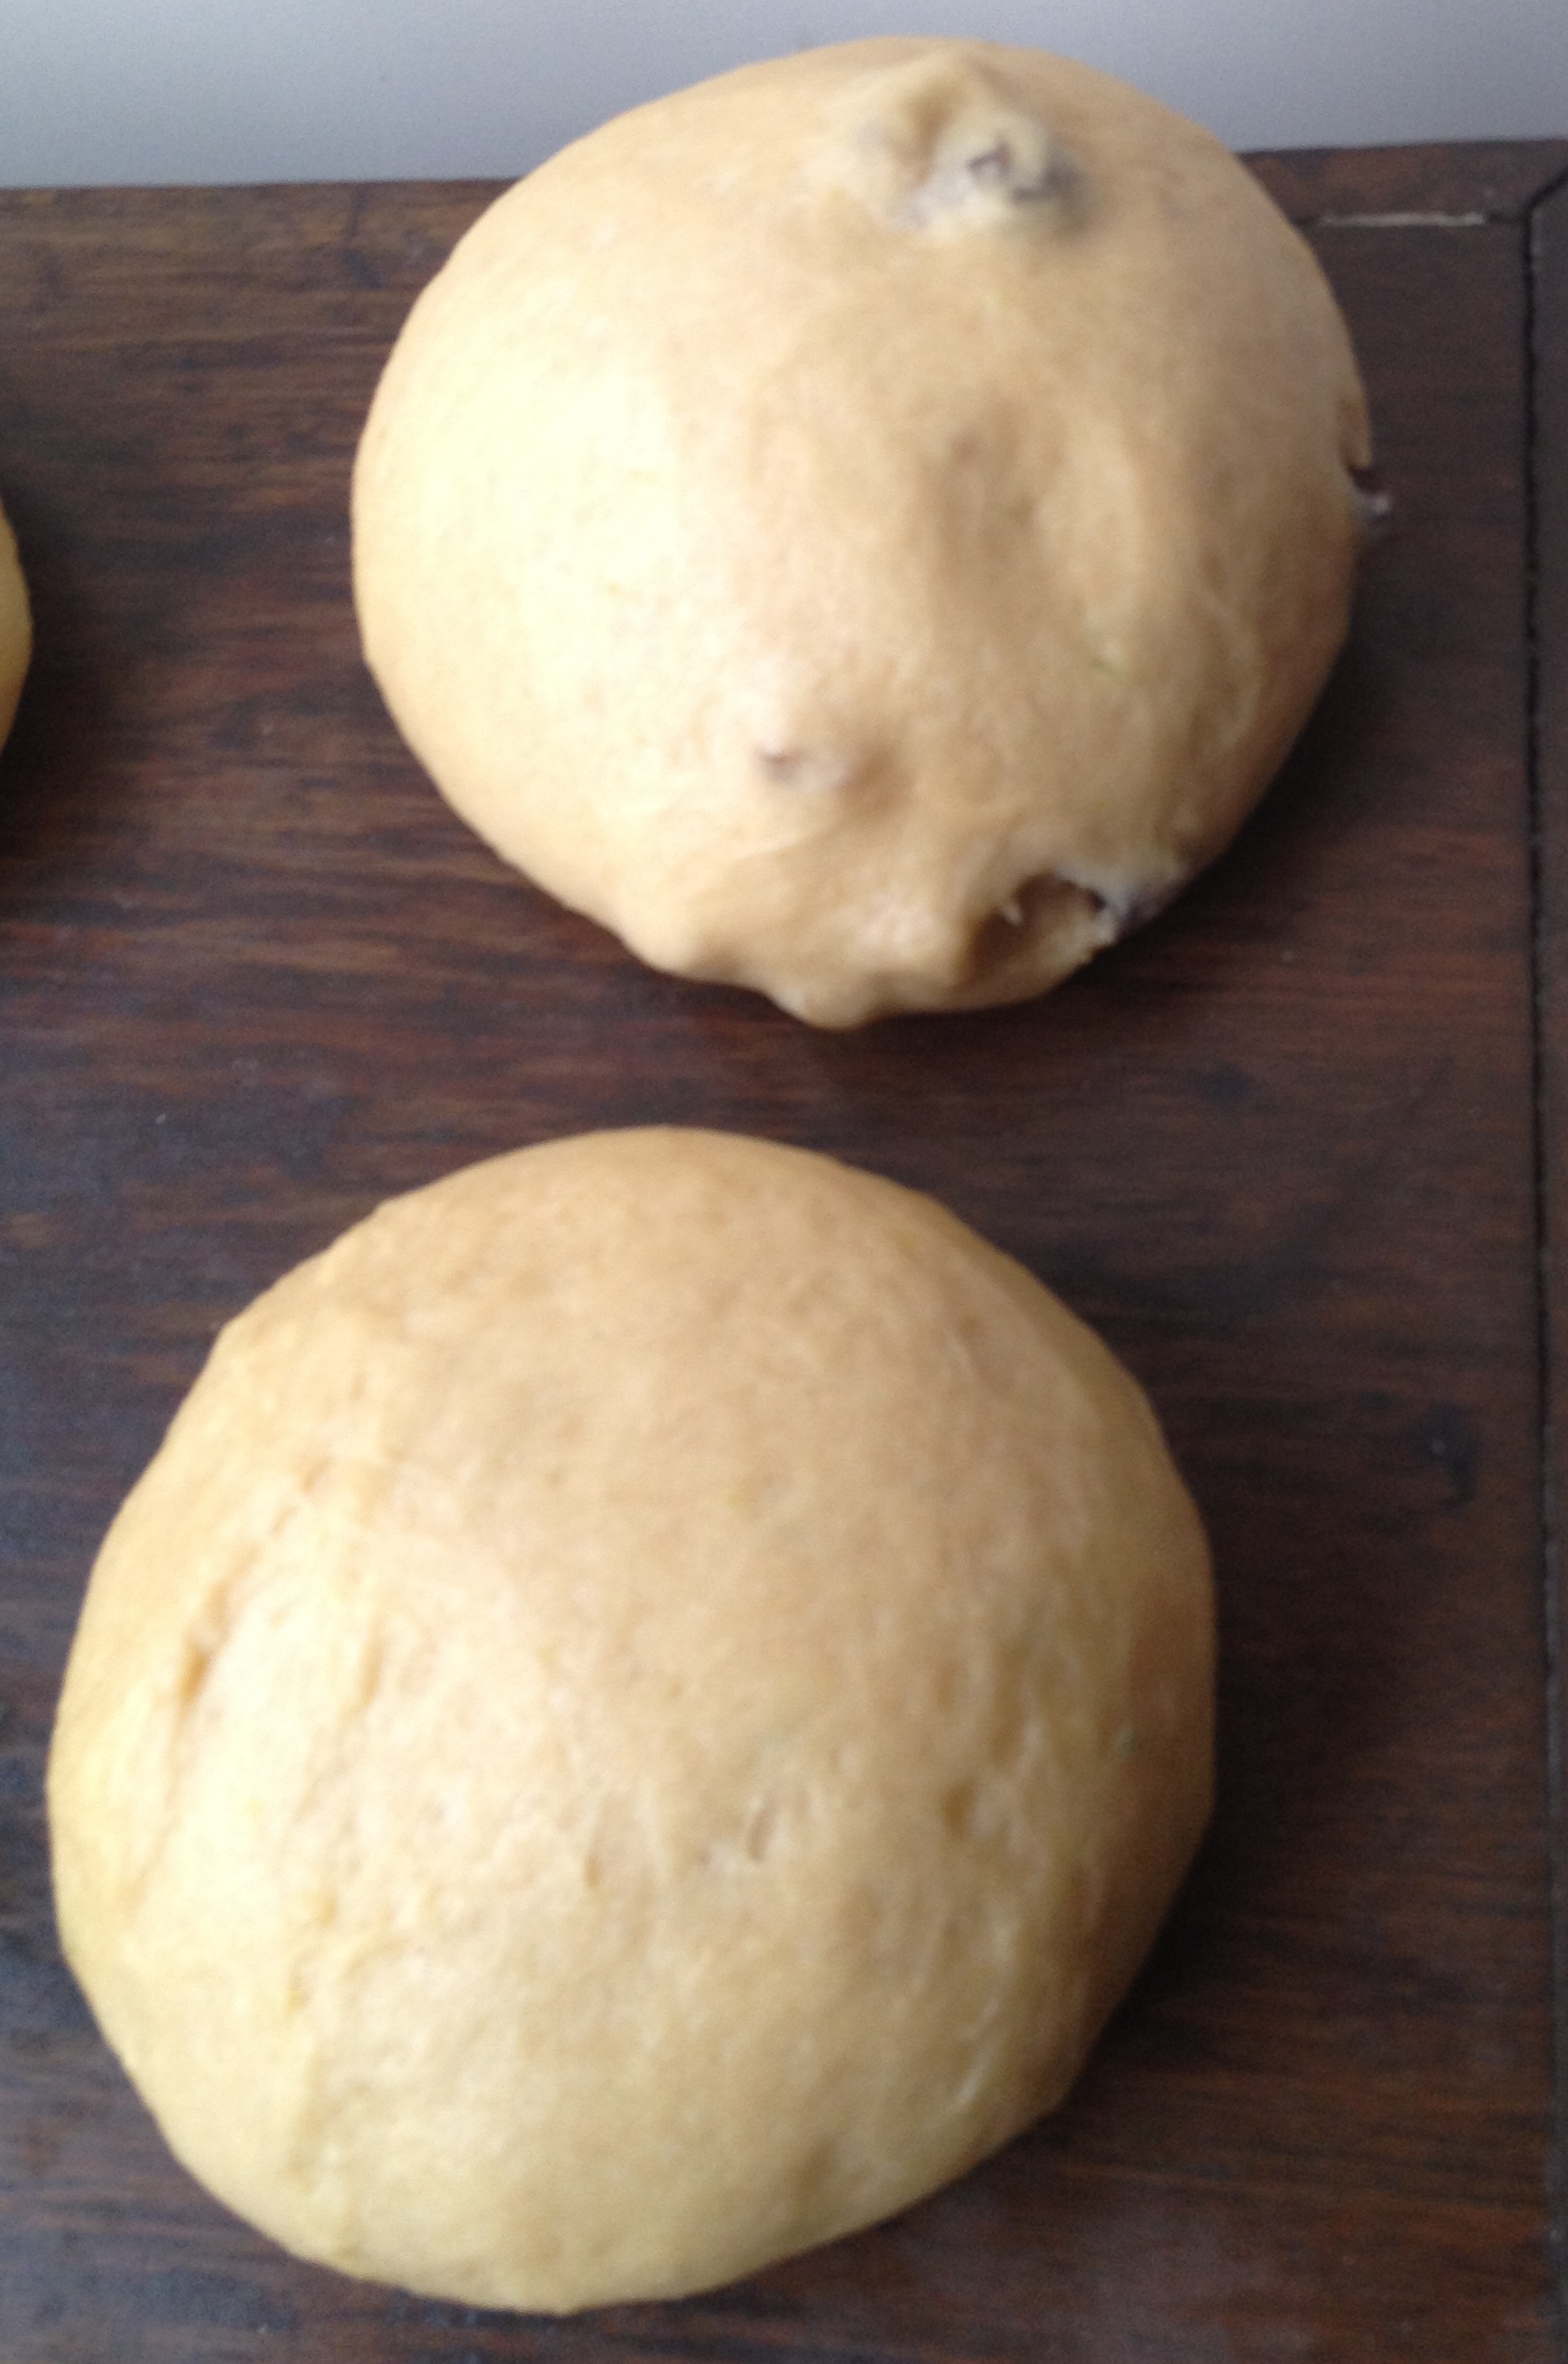
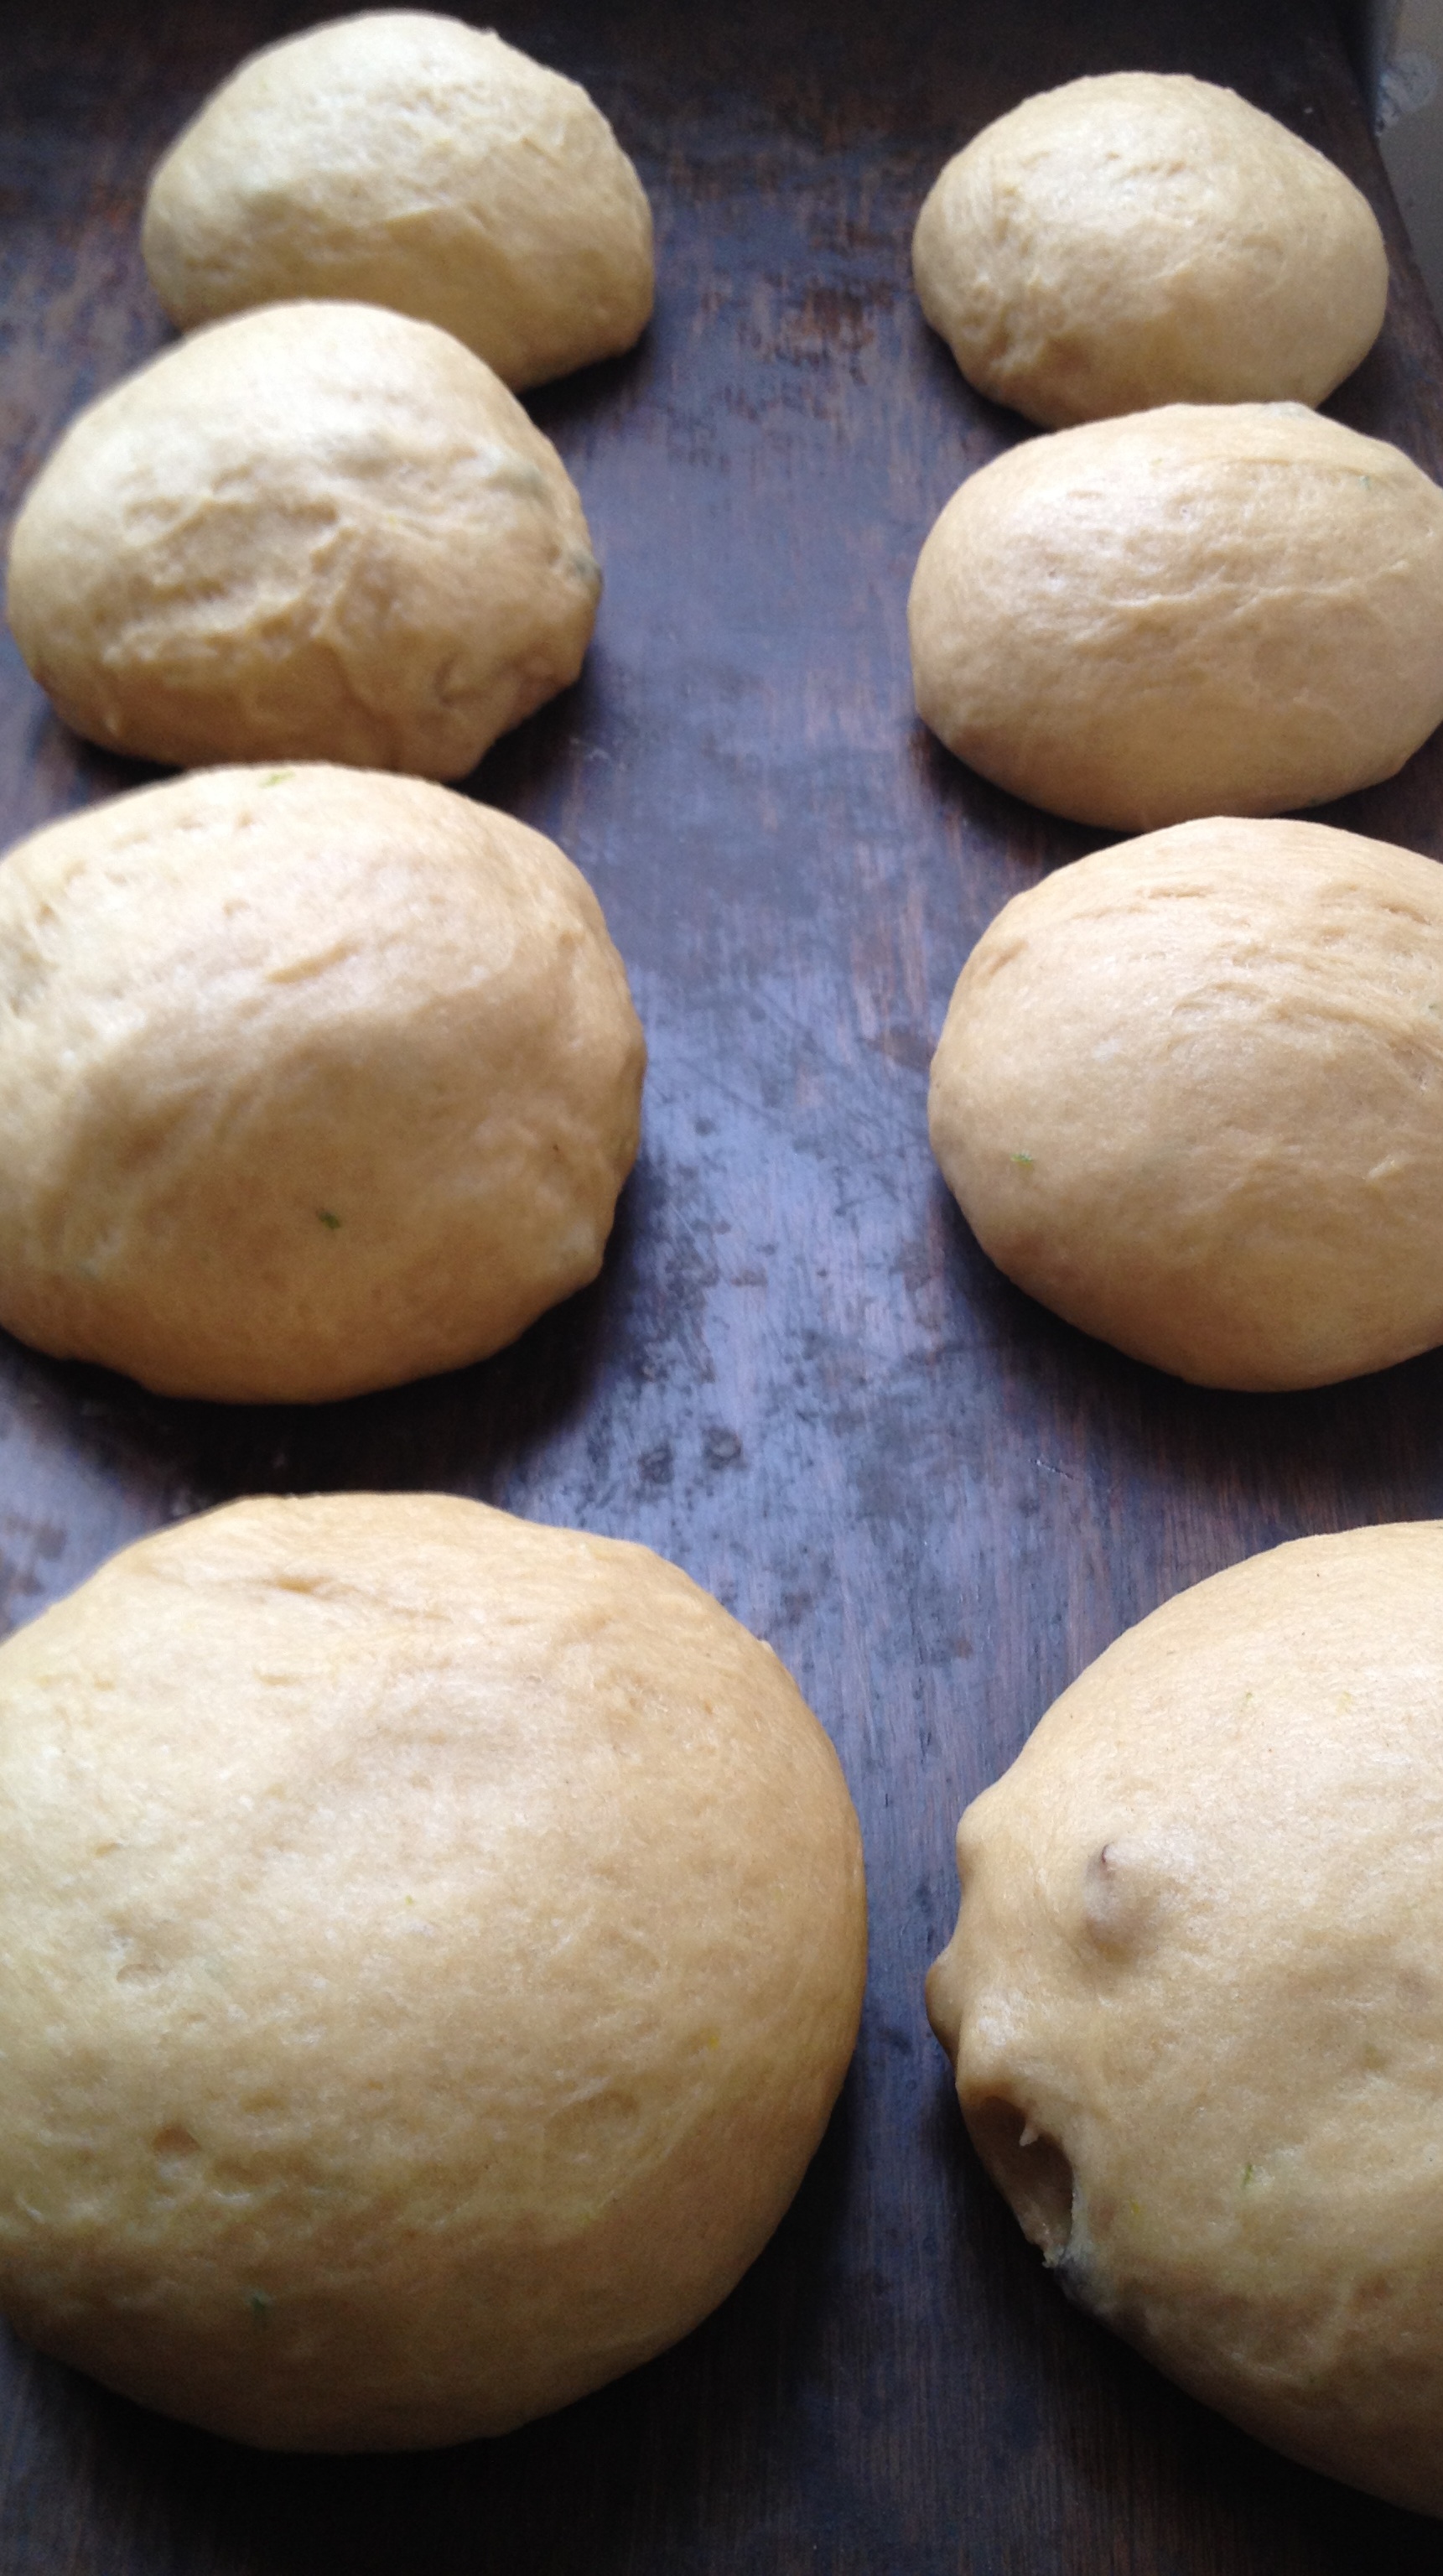
They are ready when you poke them with your finger and they pop back.
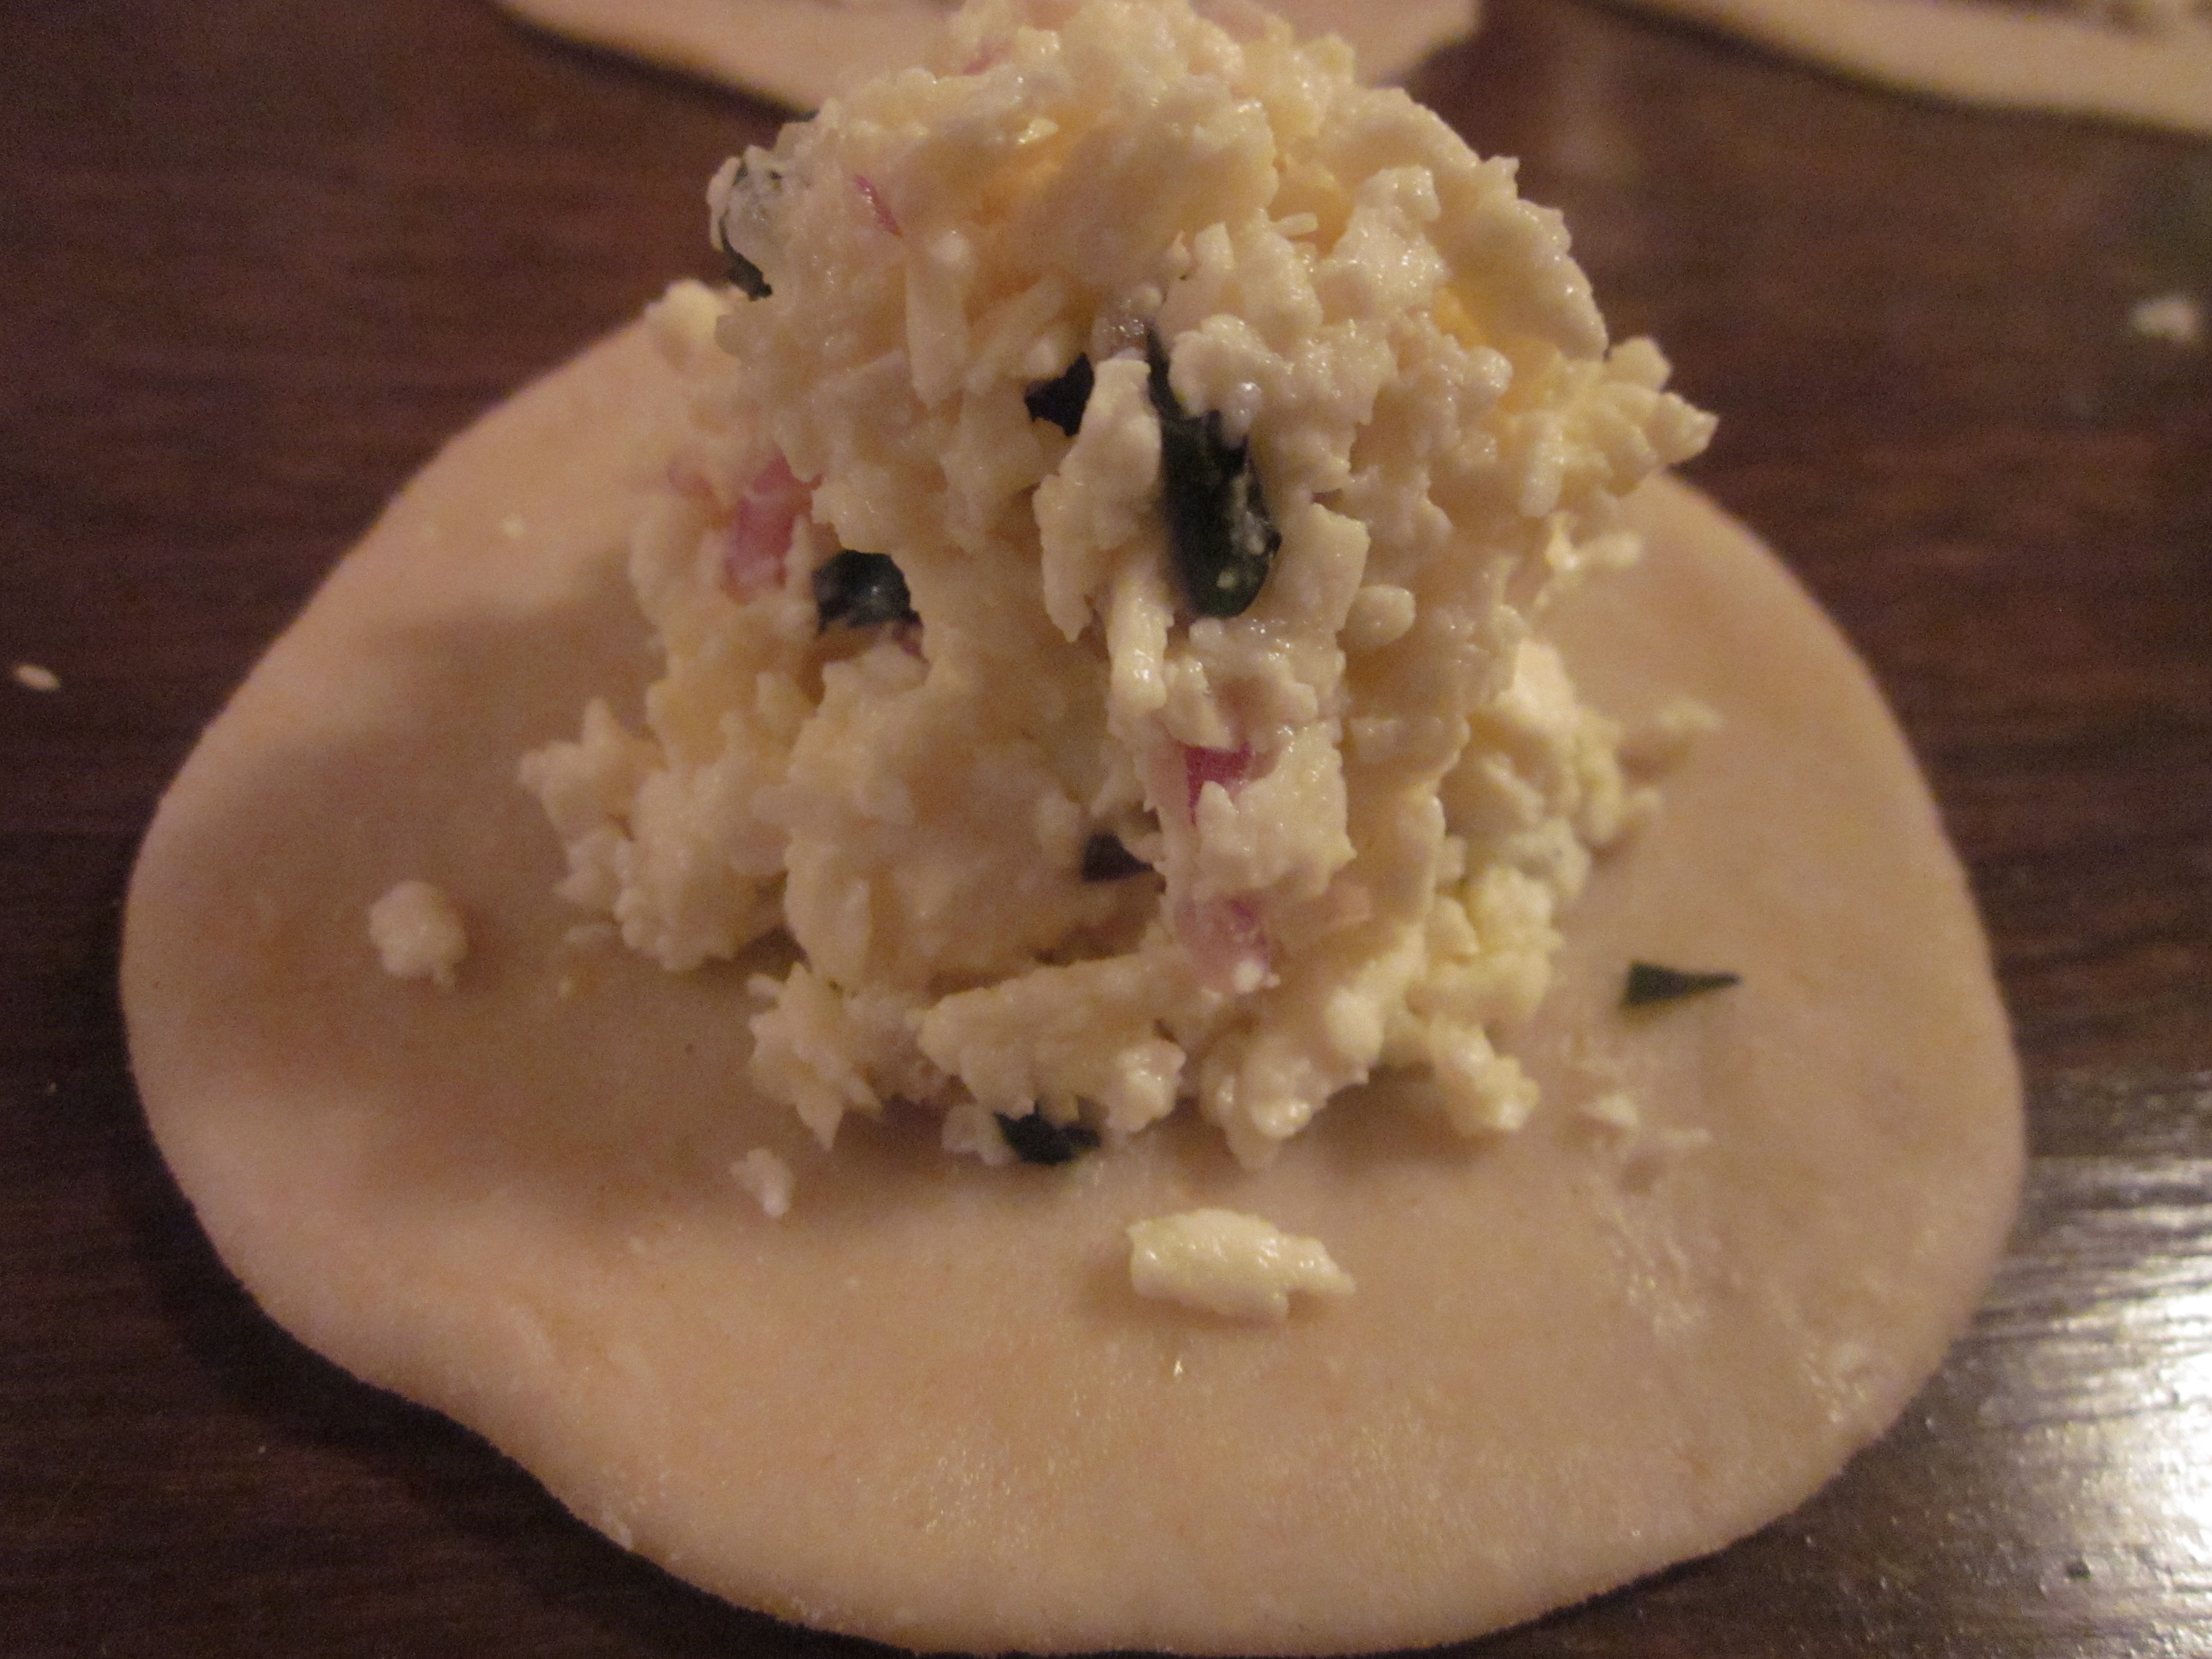
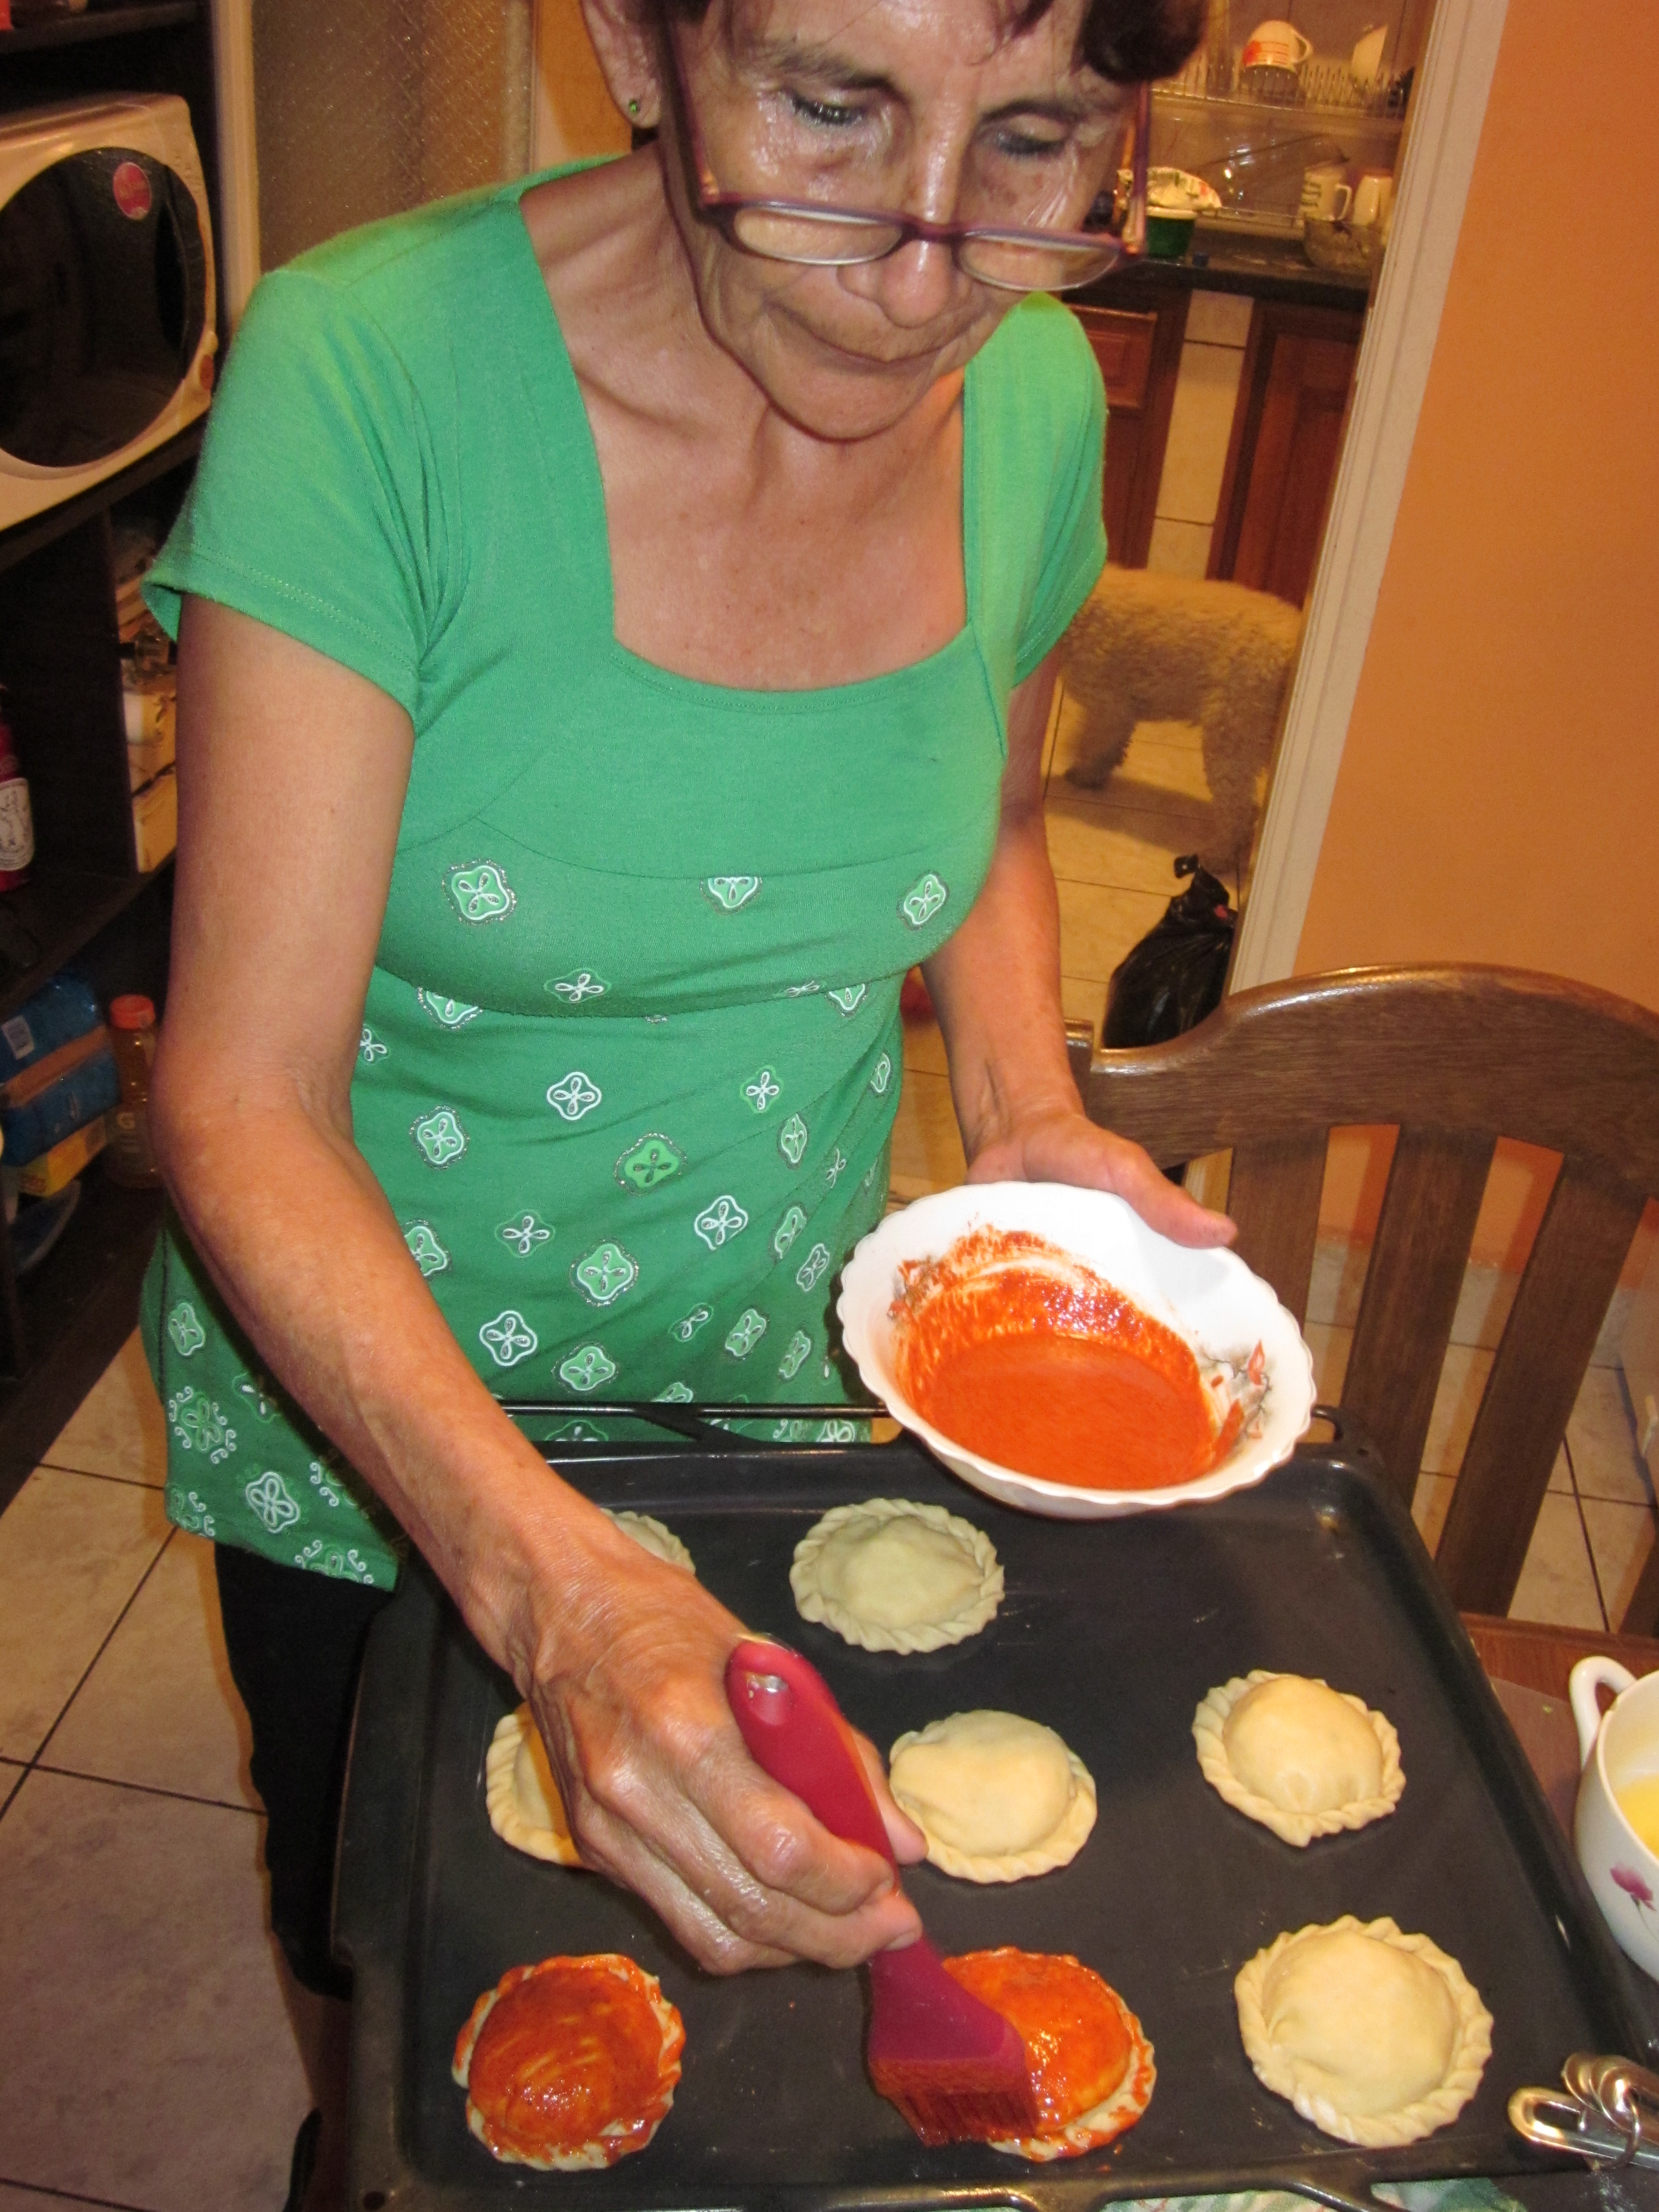
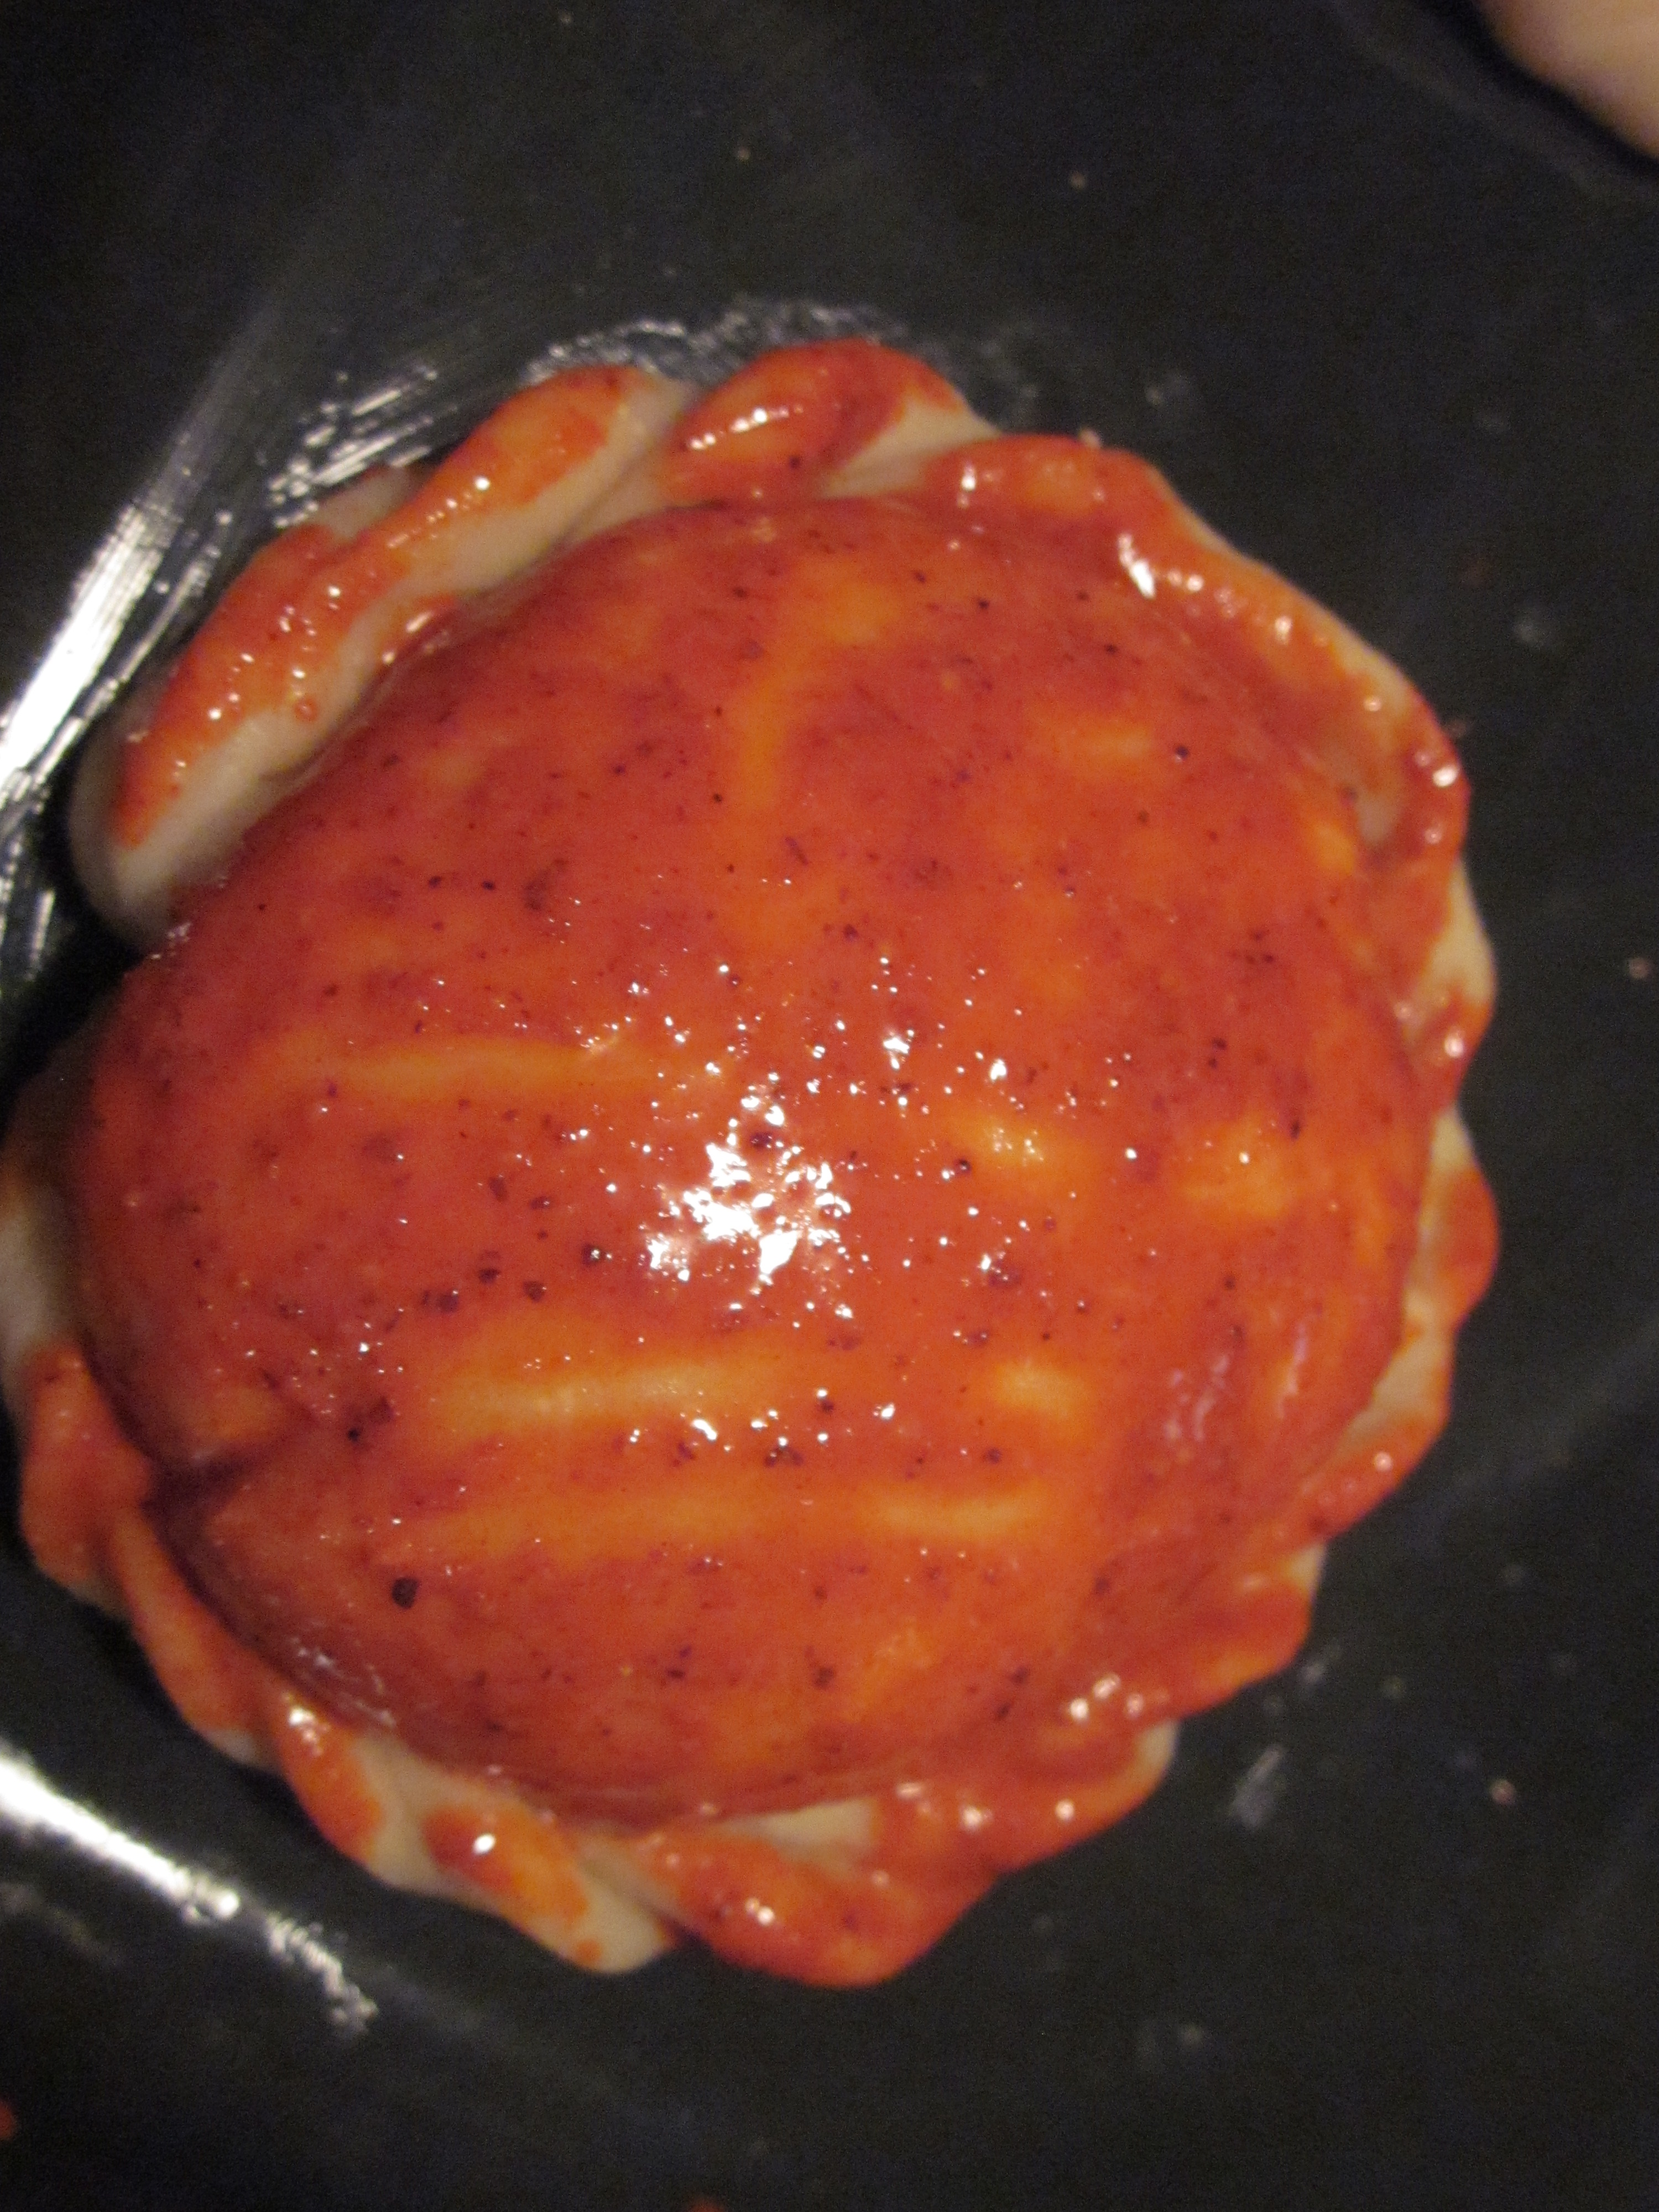
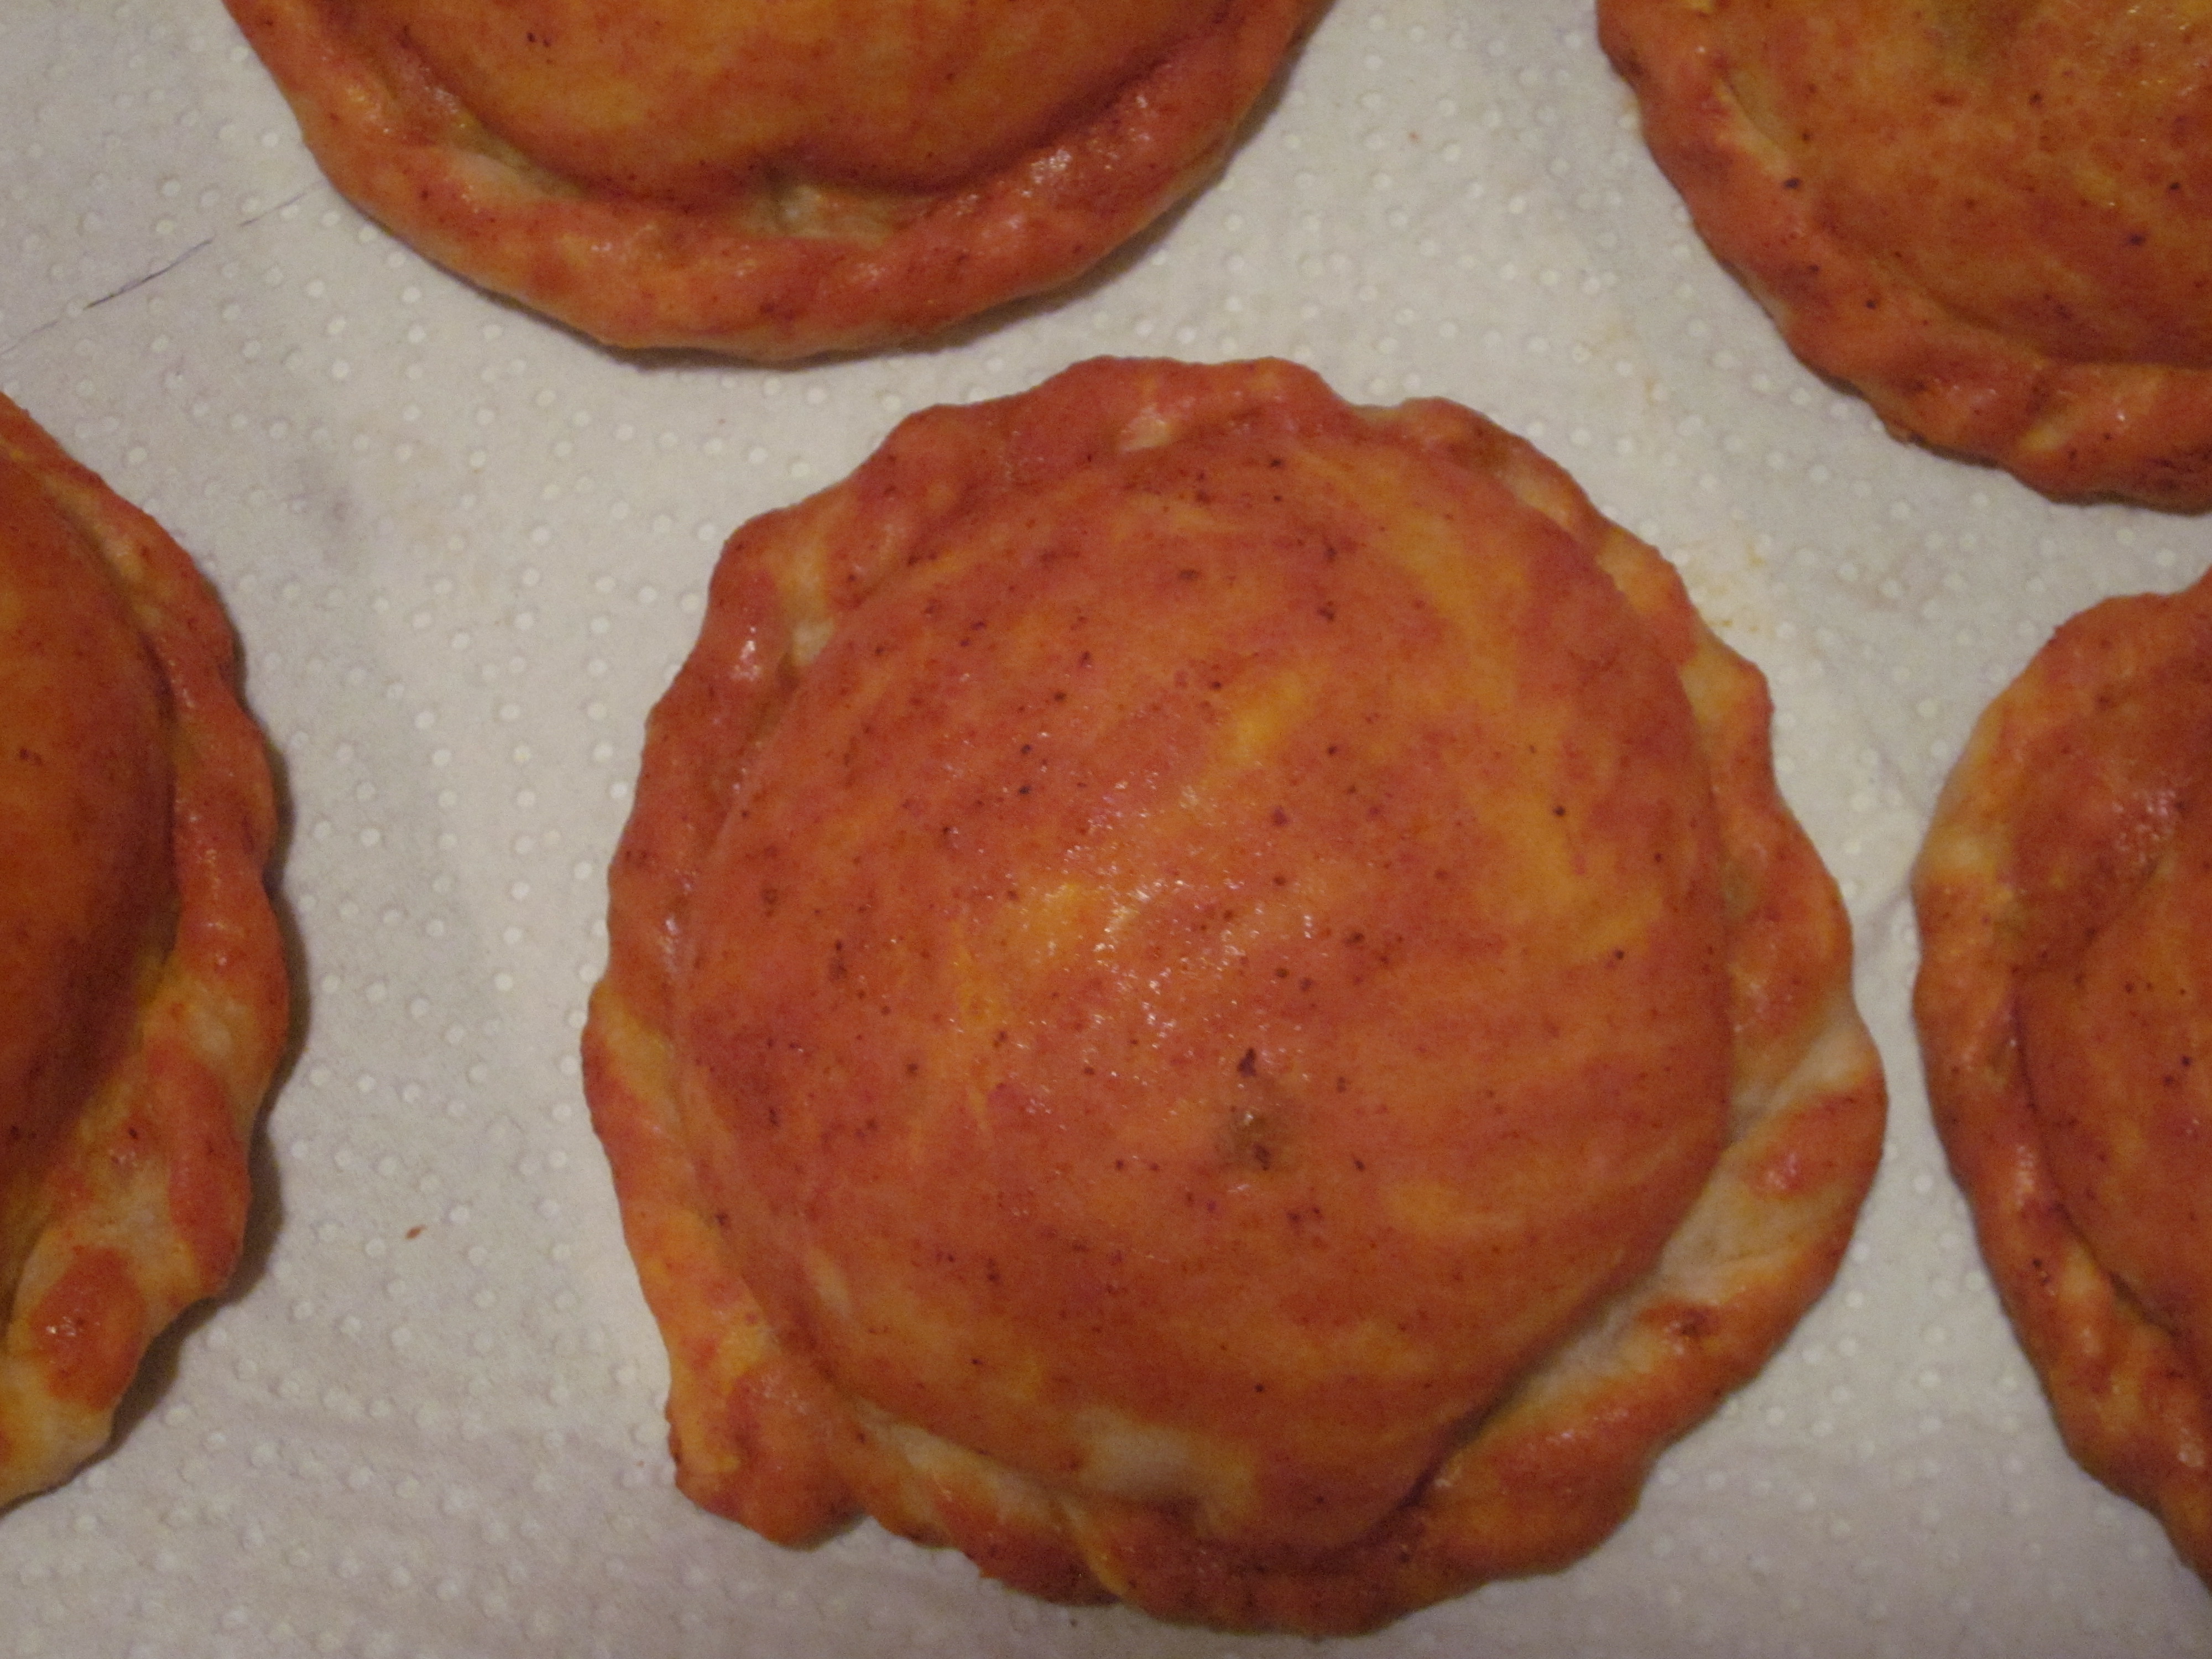
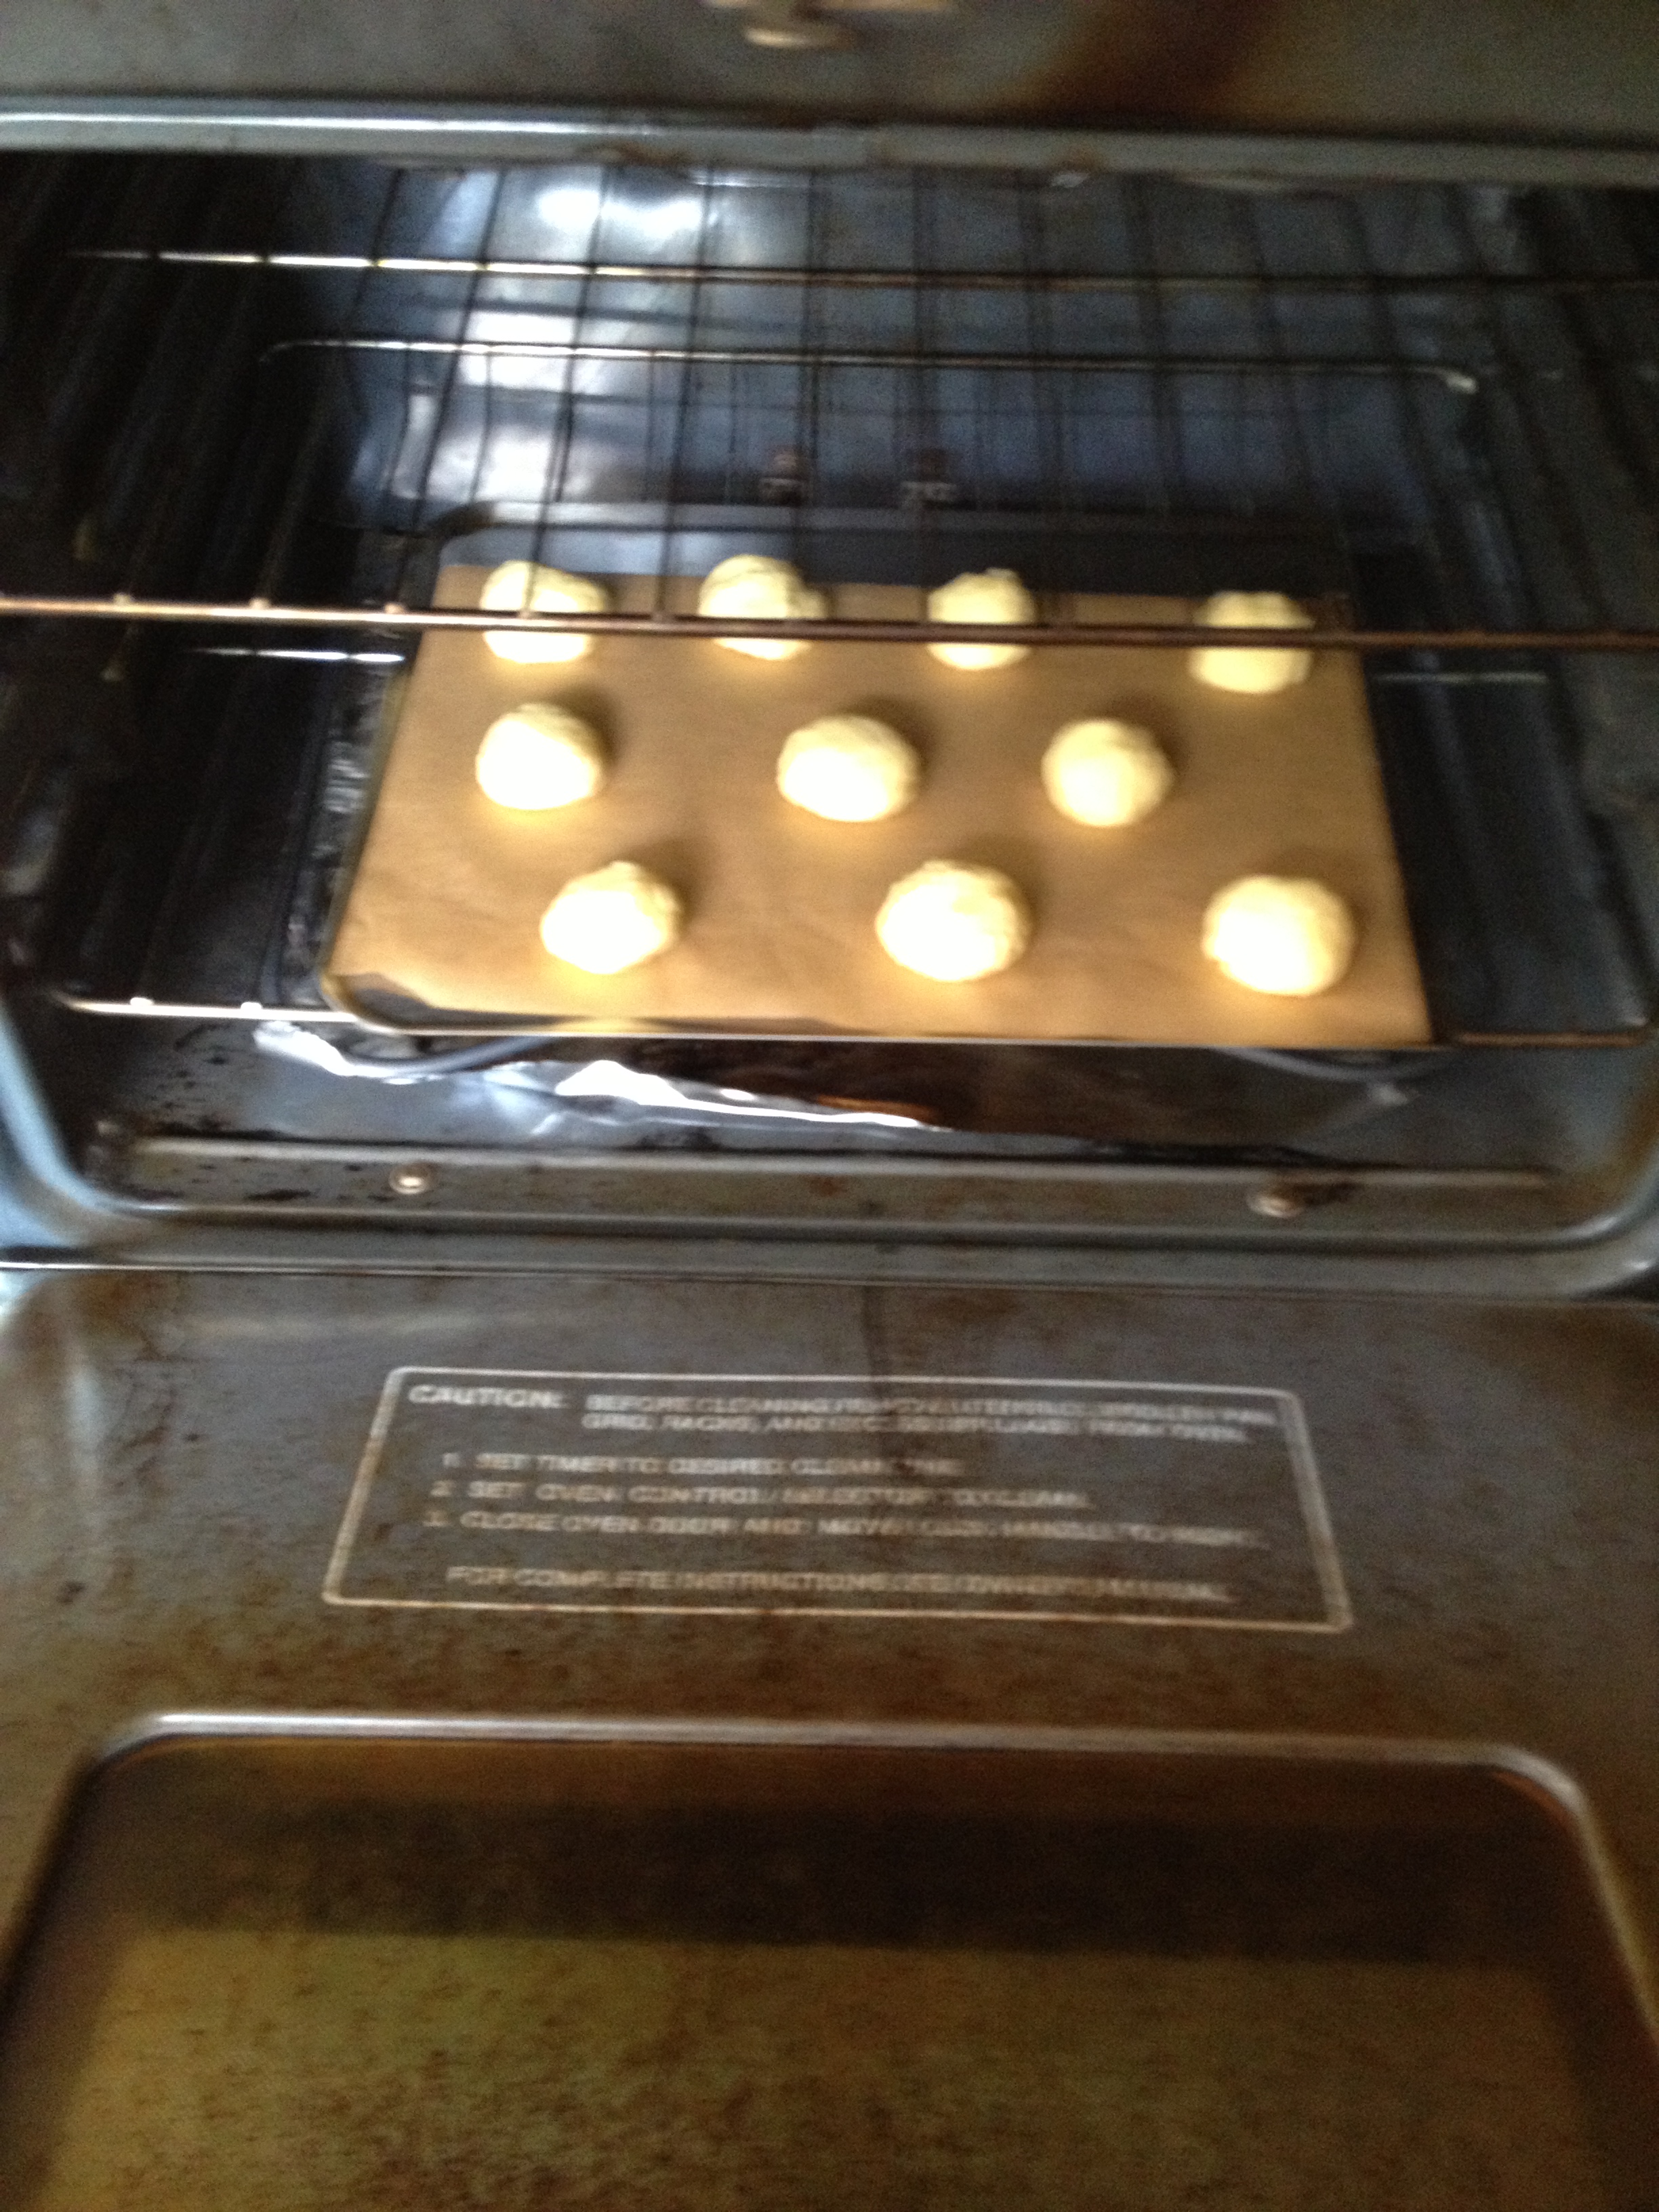
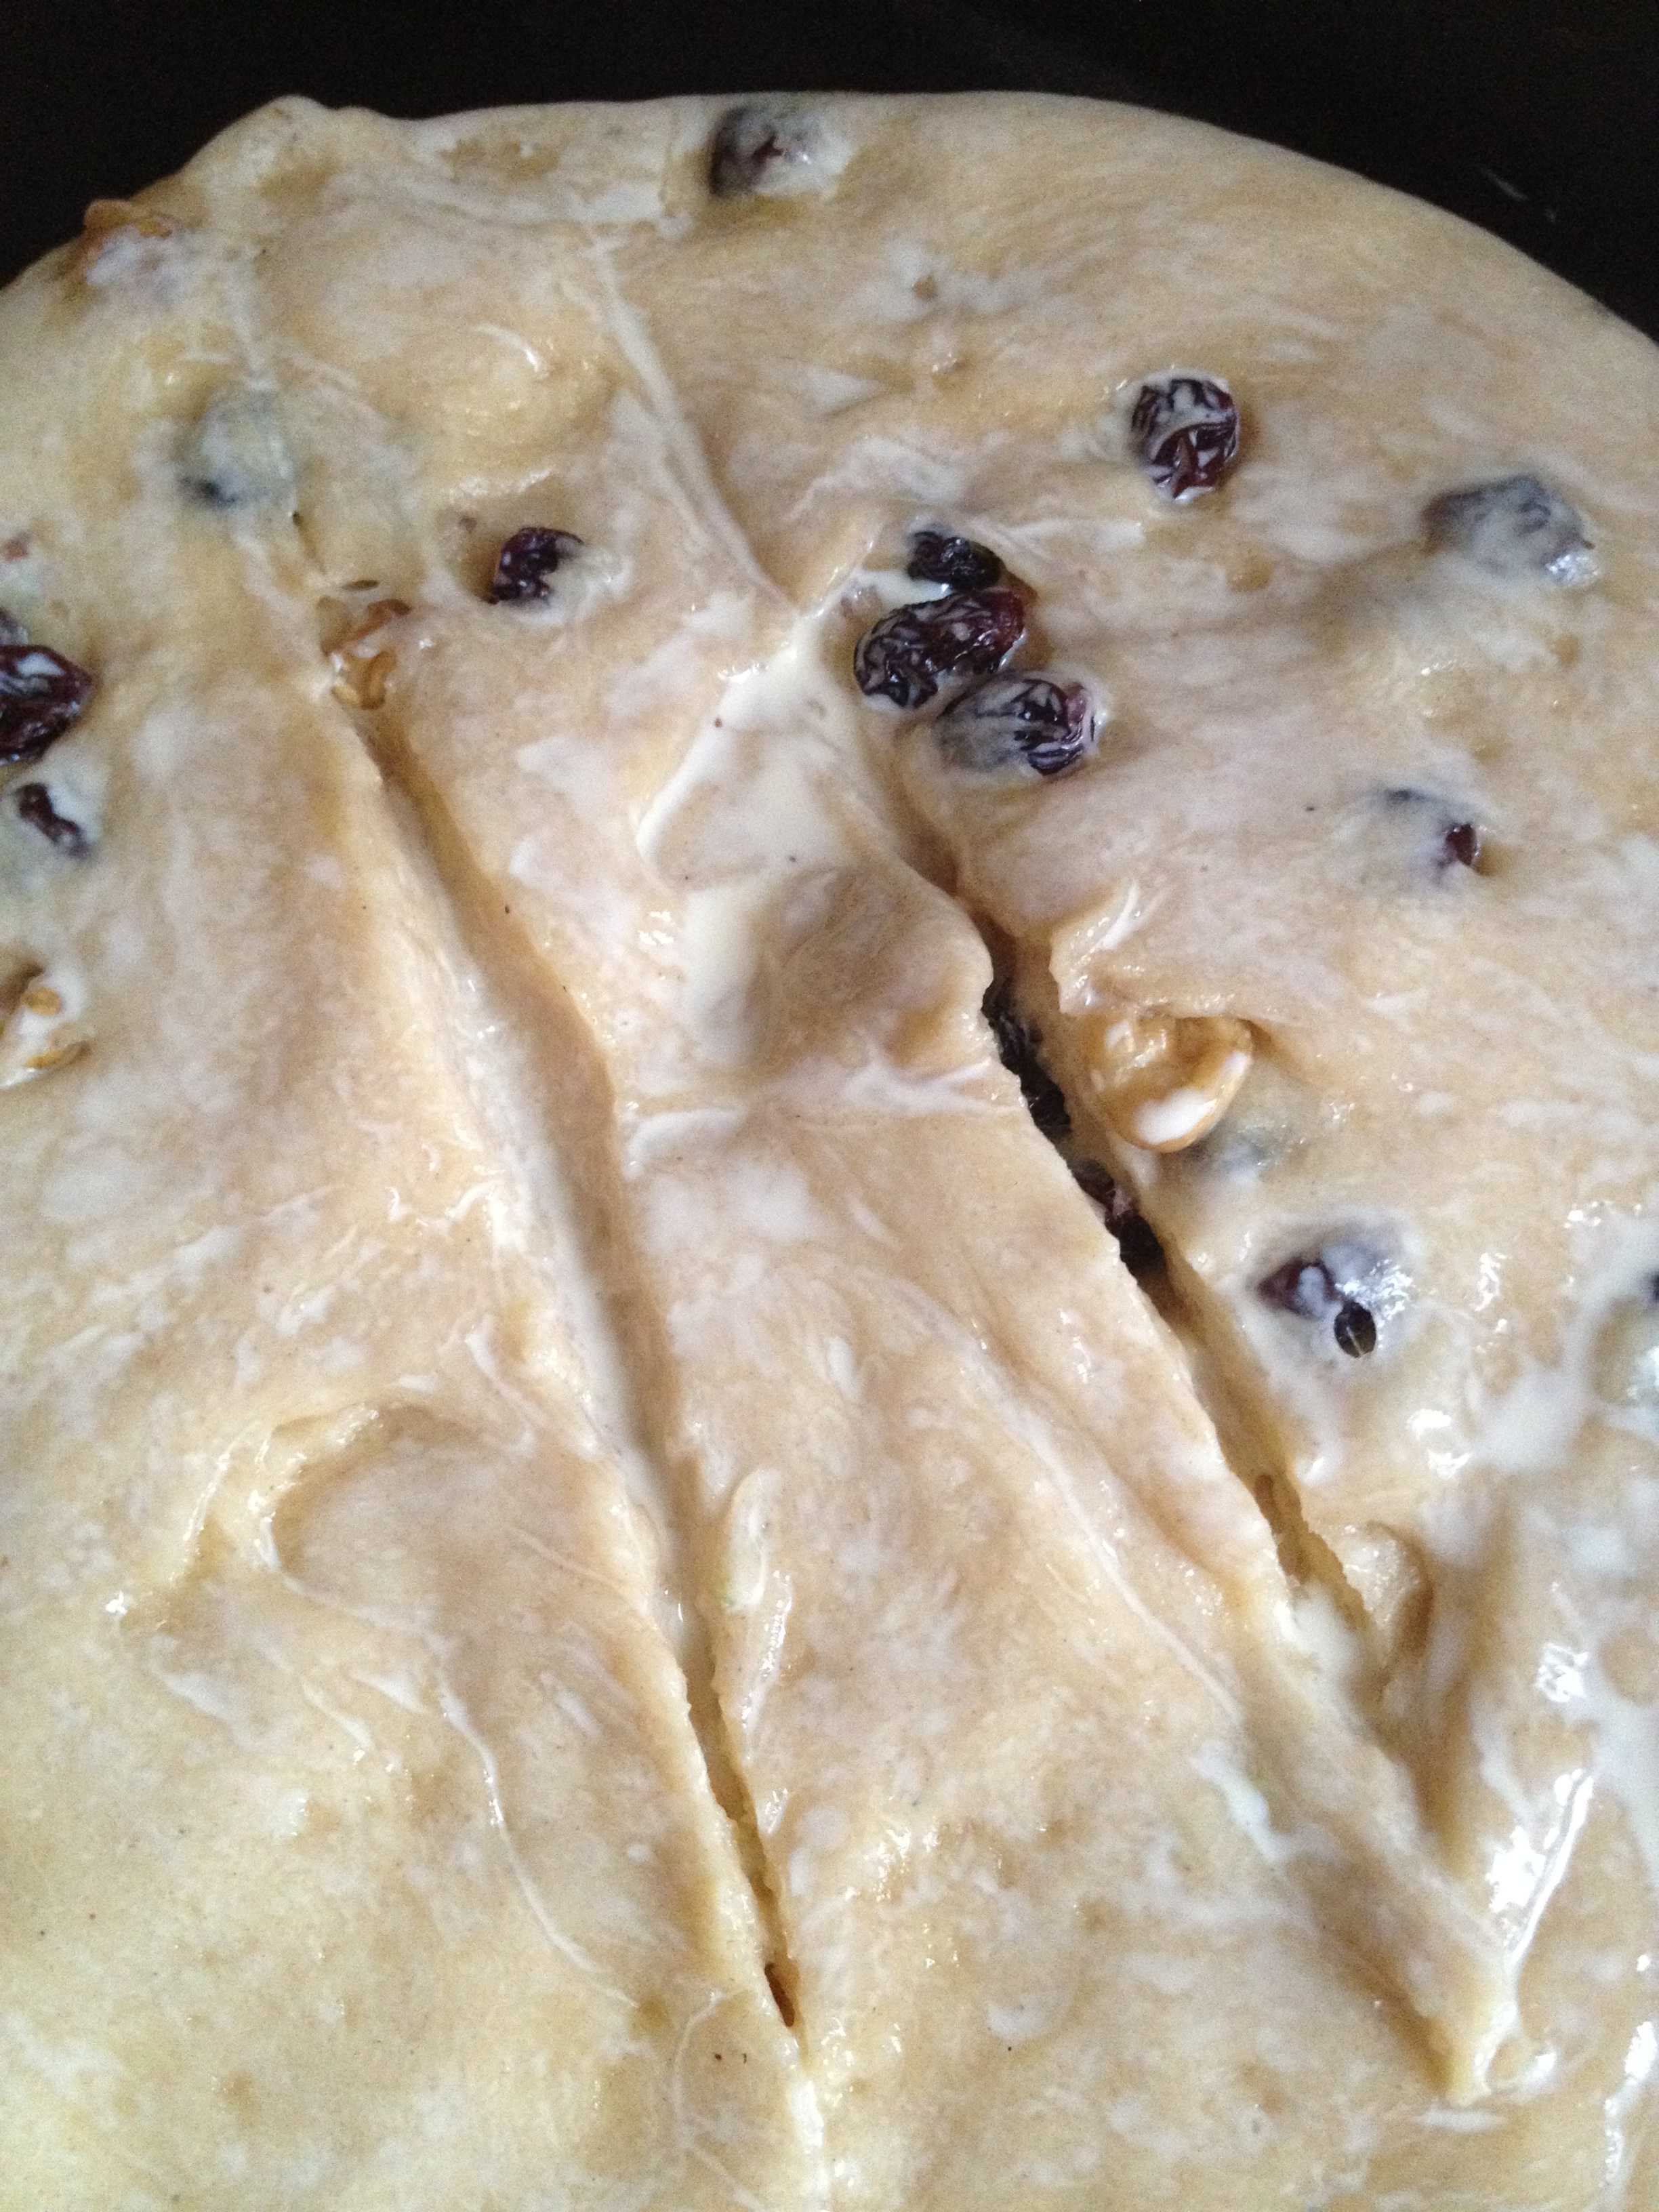
Flatten each ball to about 10 mm thick. And make 2 narrow cuts along the top surface of the bread. Brush them with the evaporated milk and place them on a baking tray let it rise for a last time.

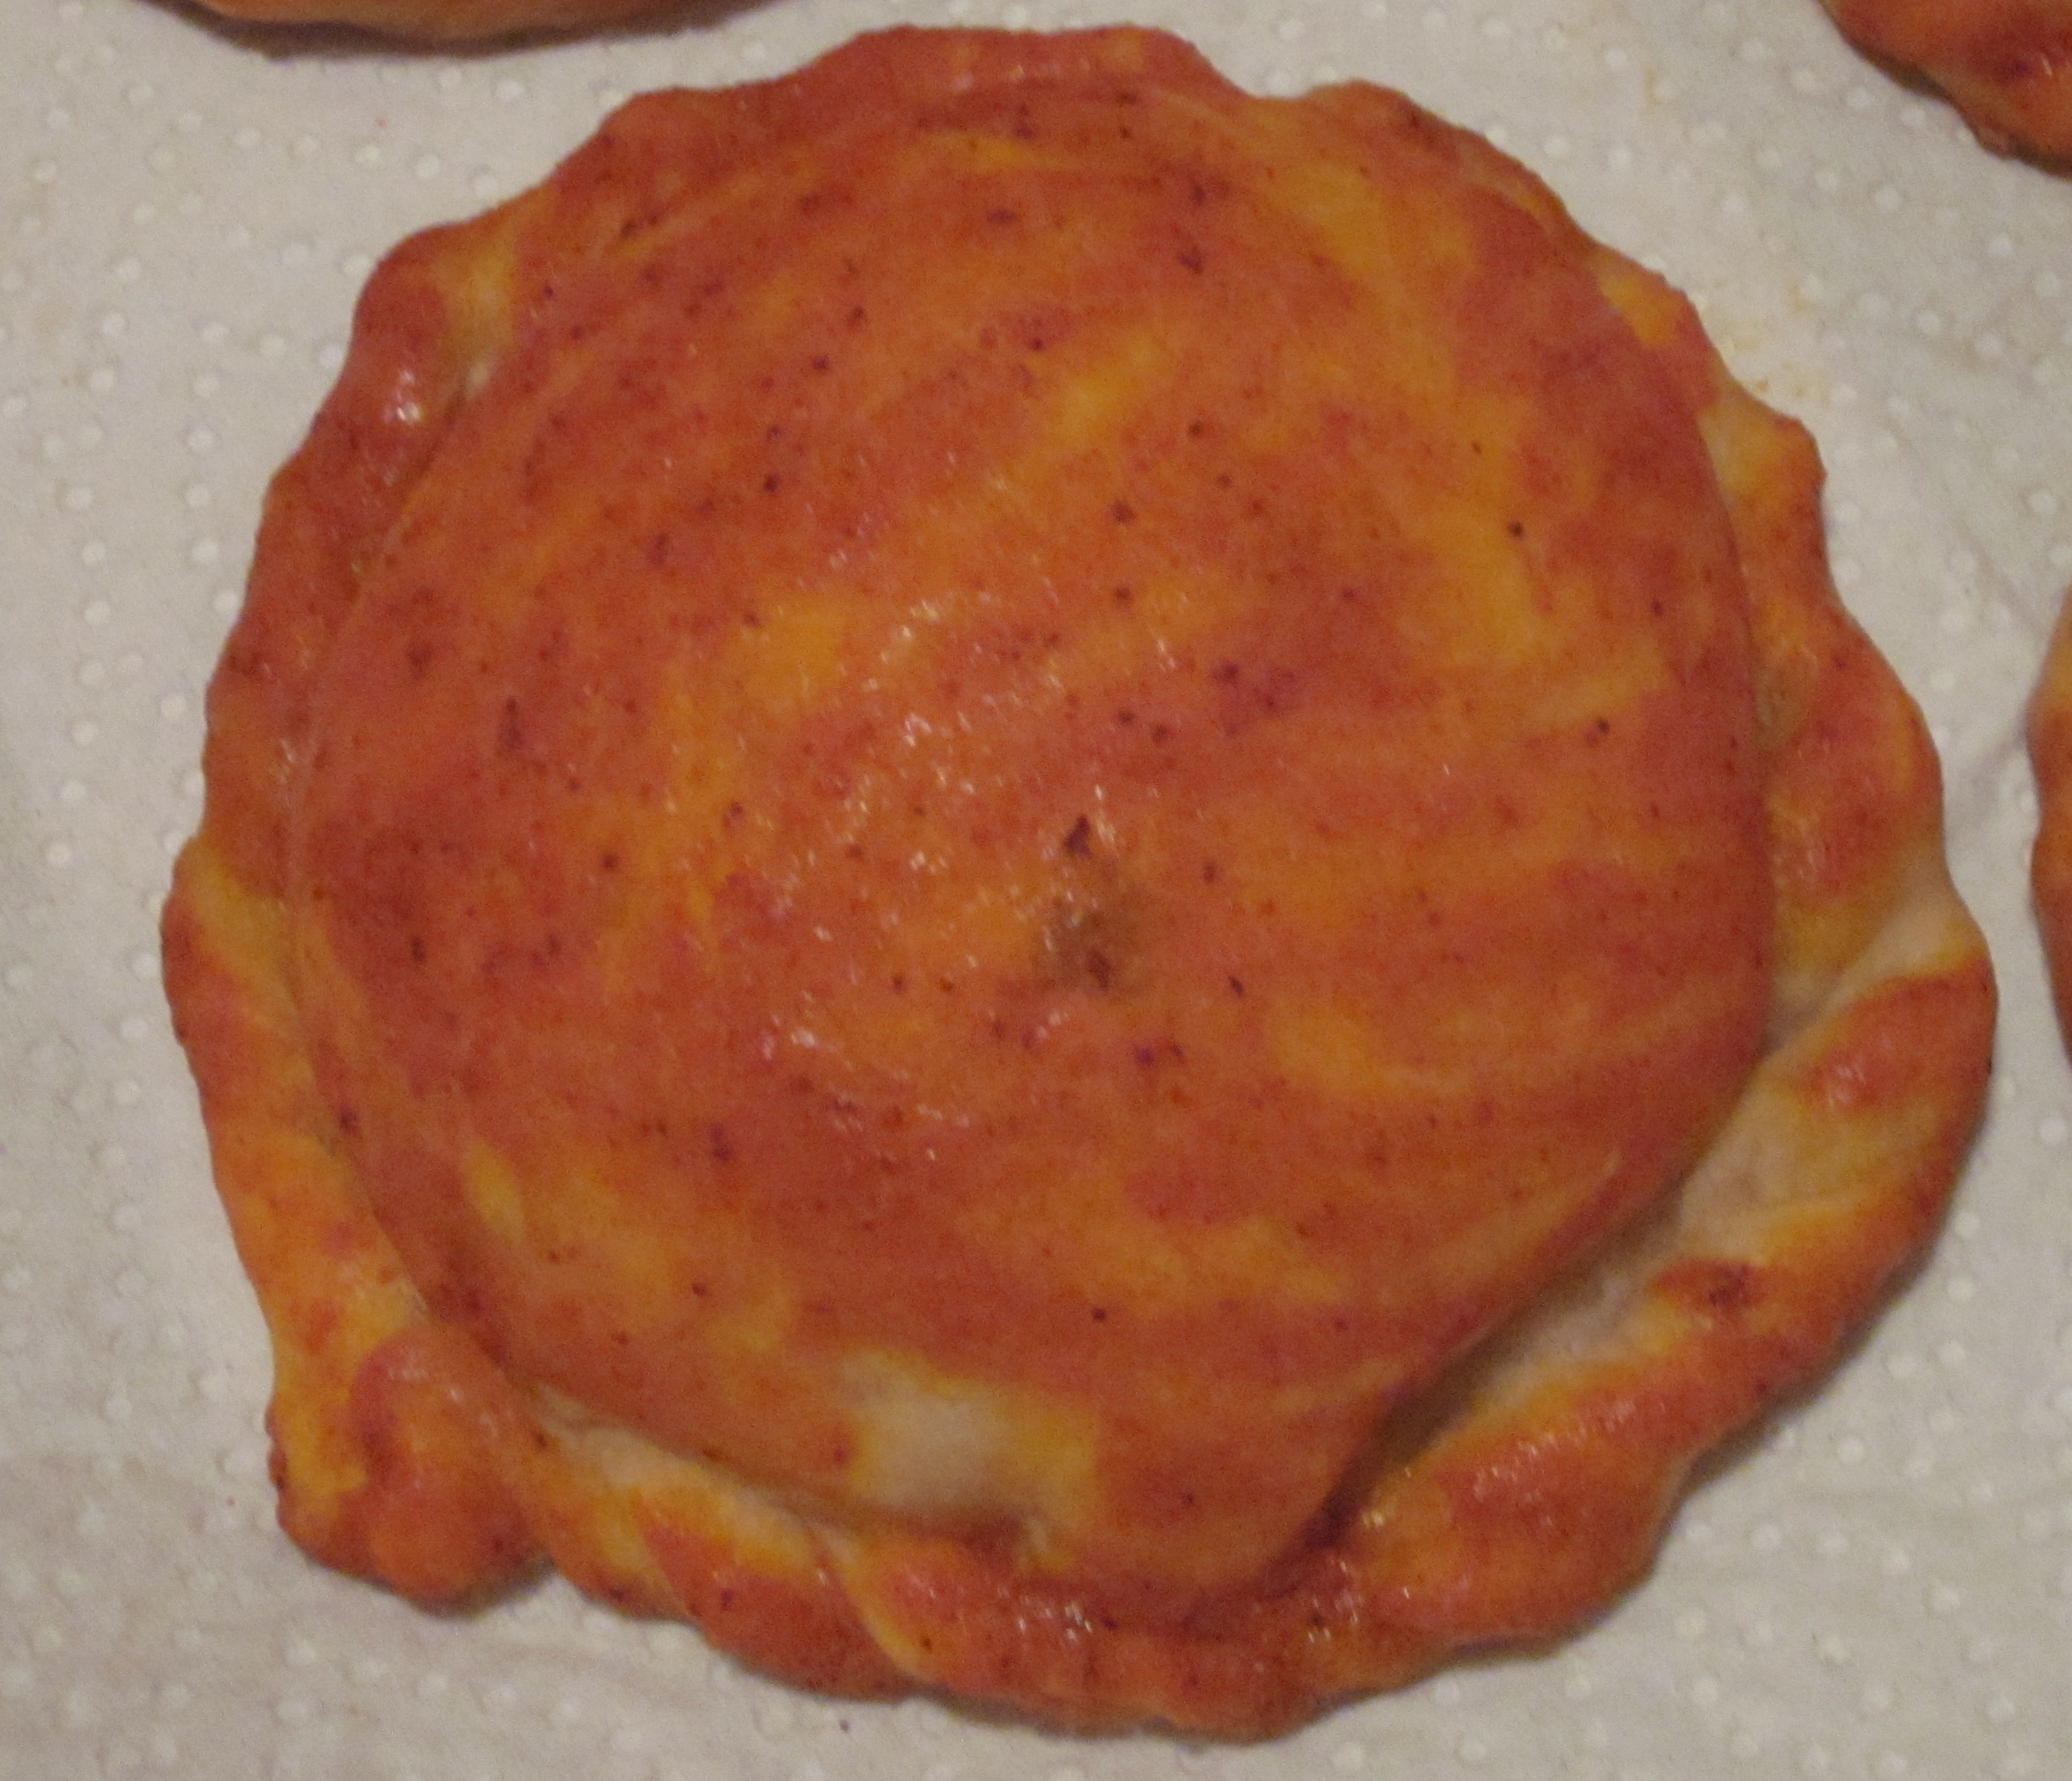
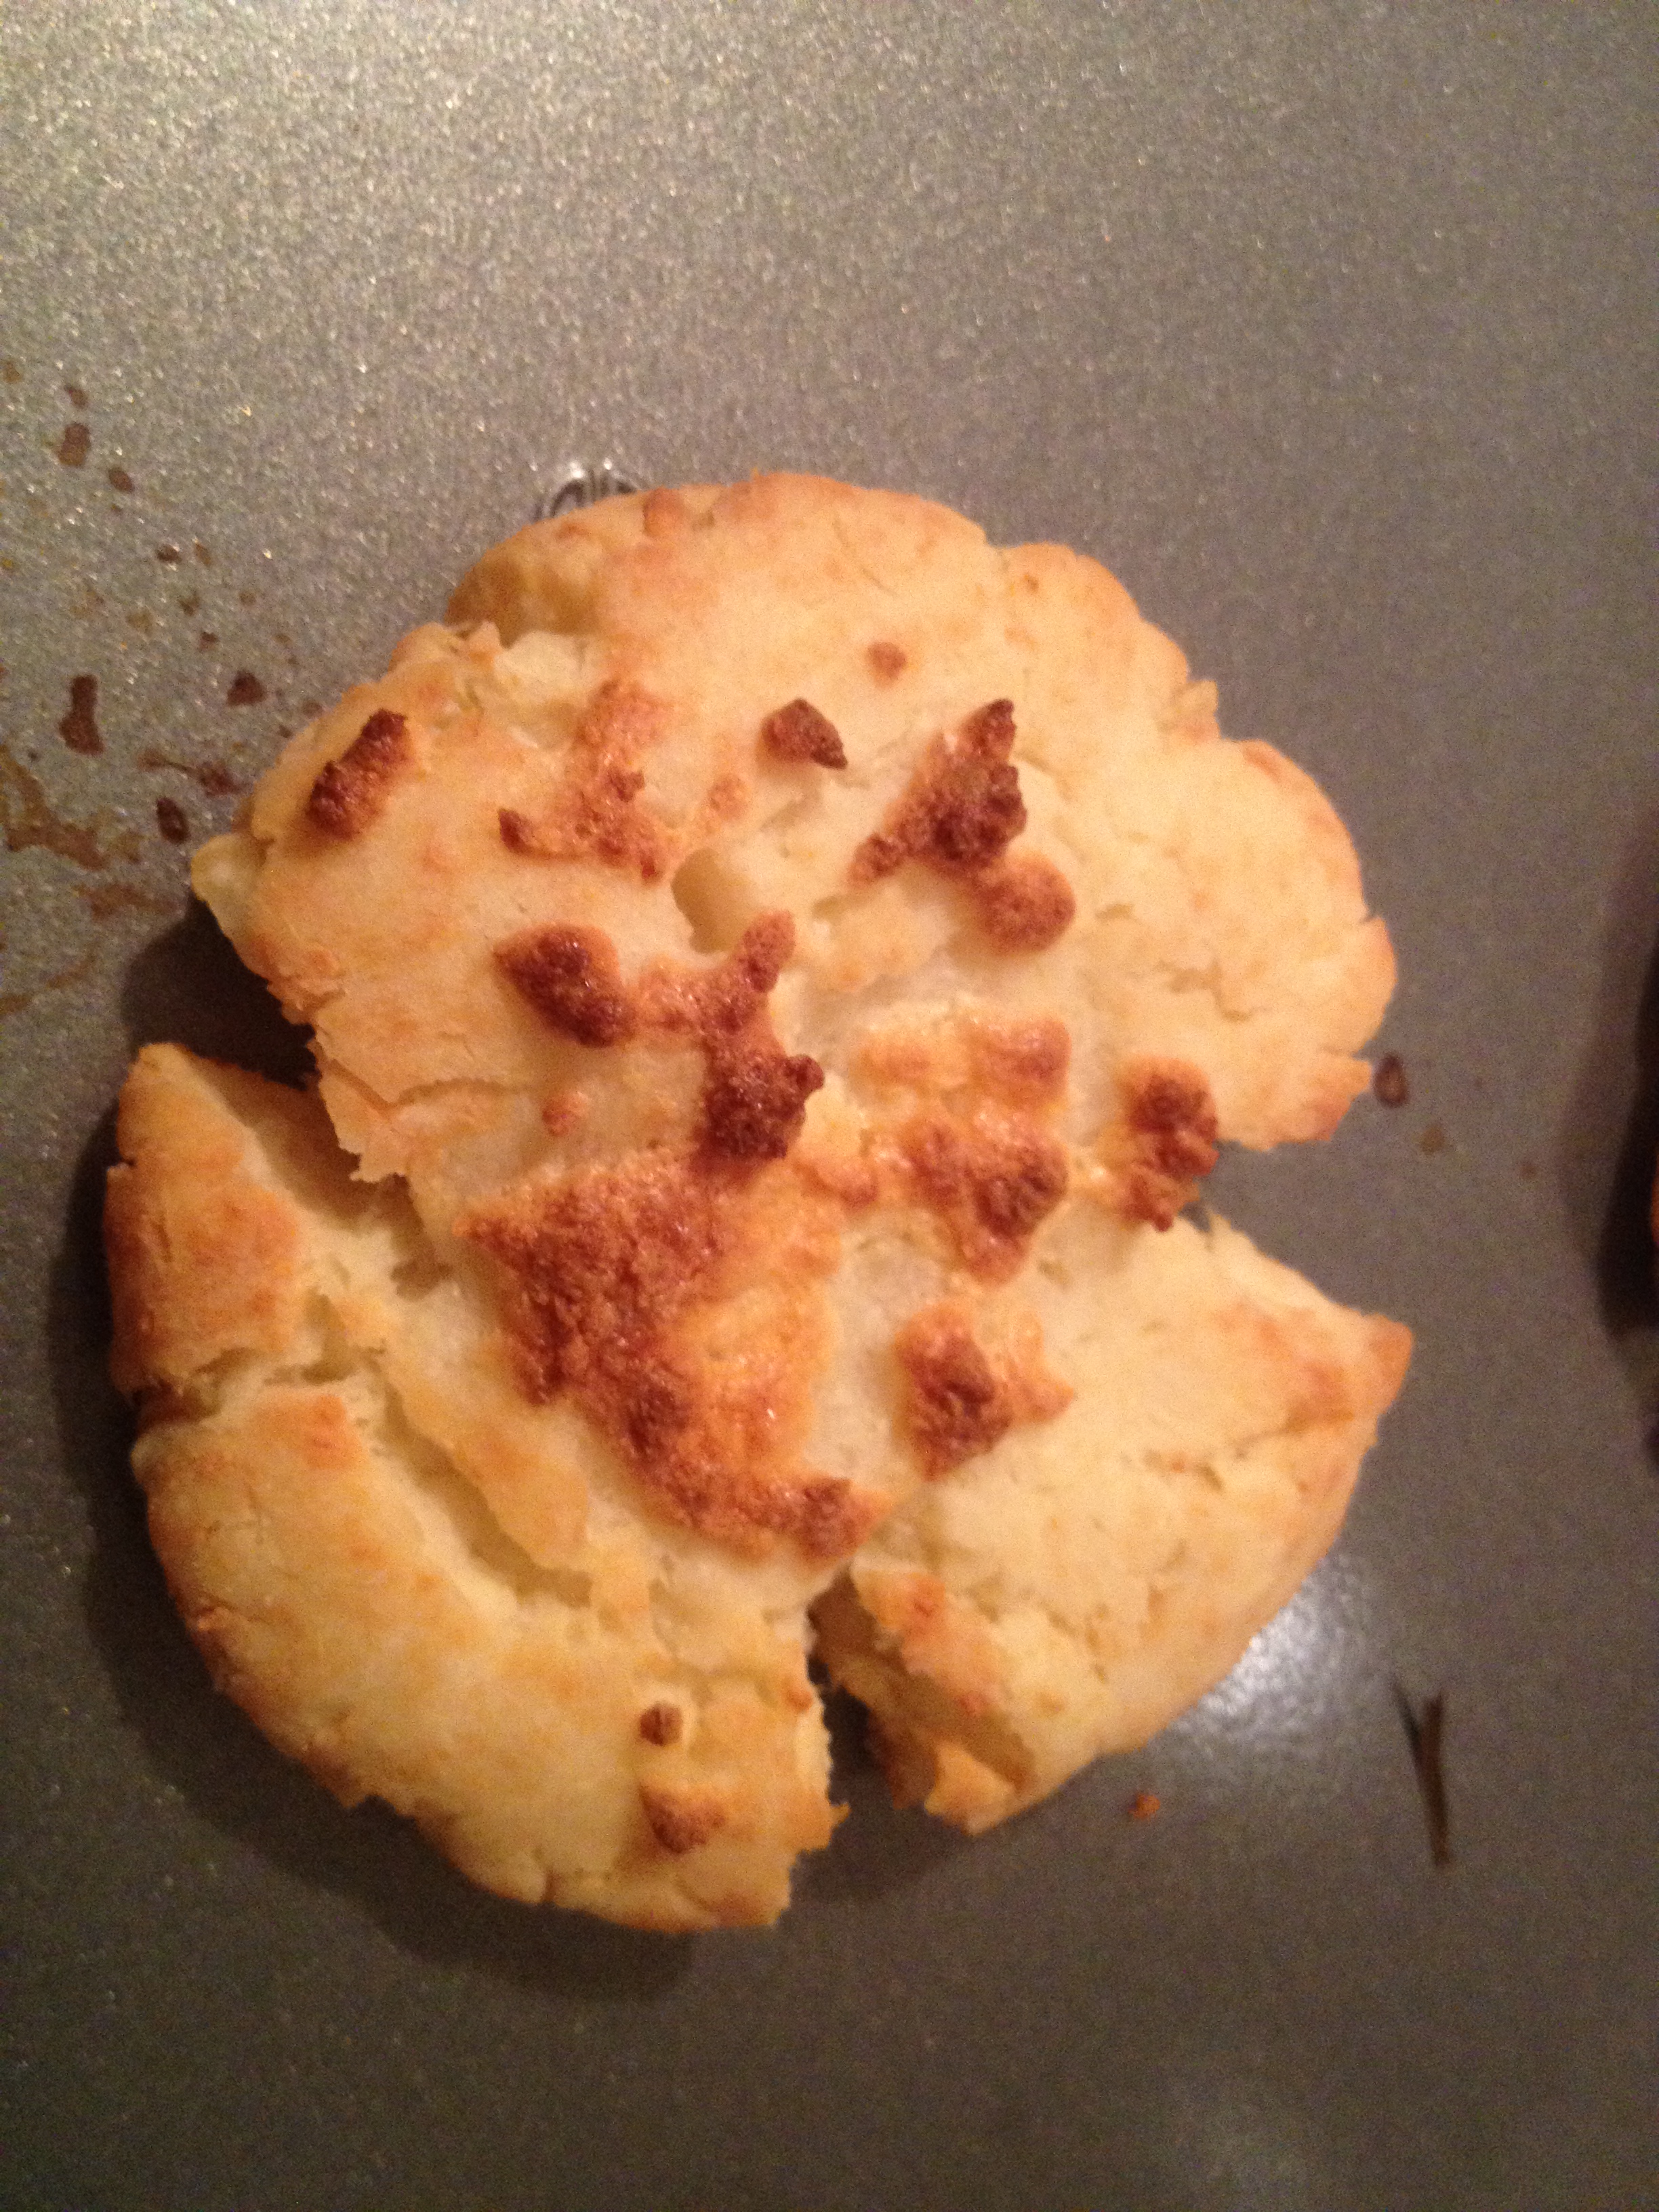
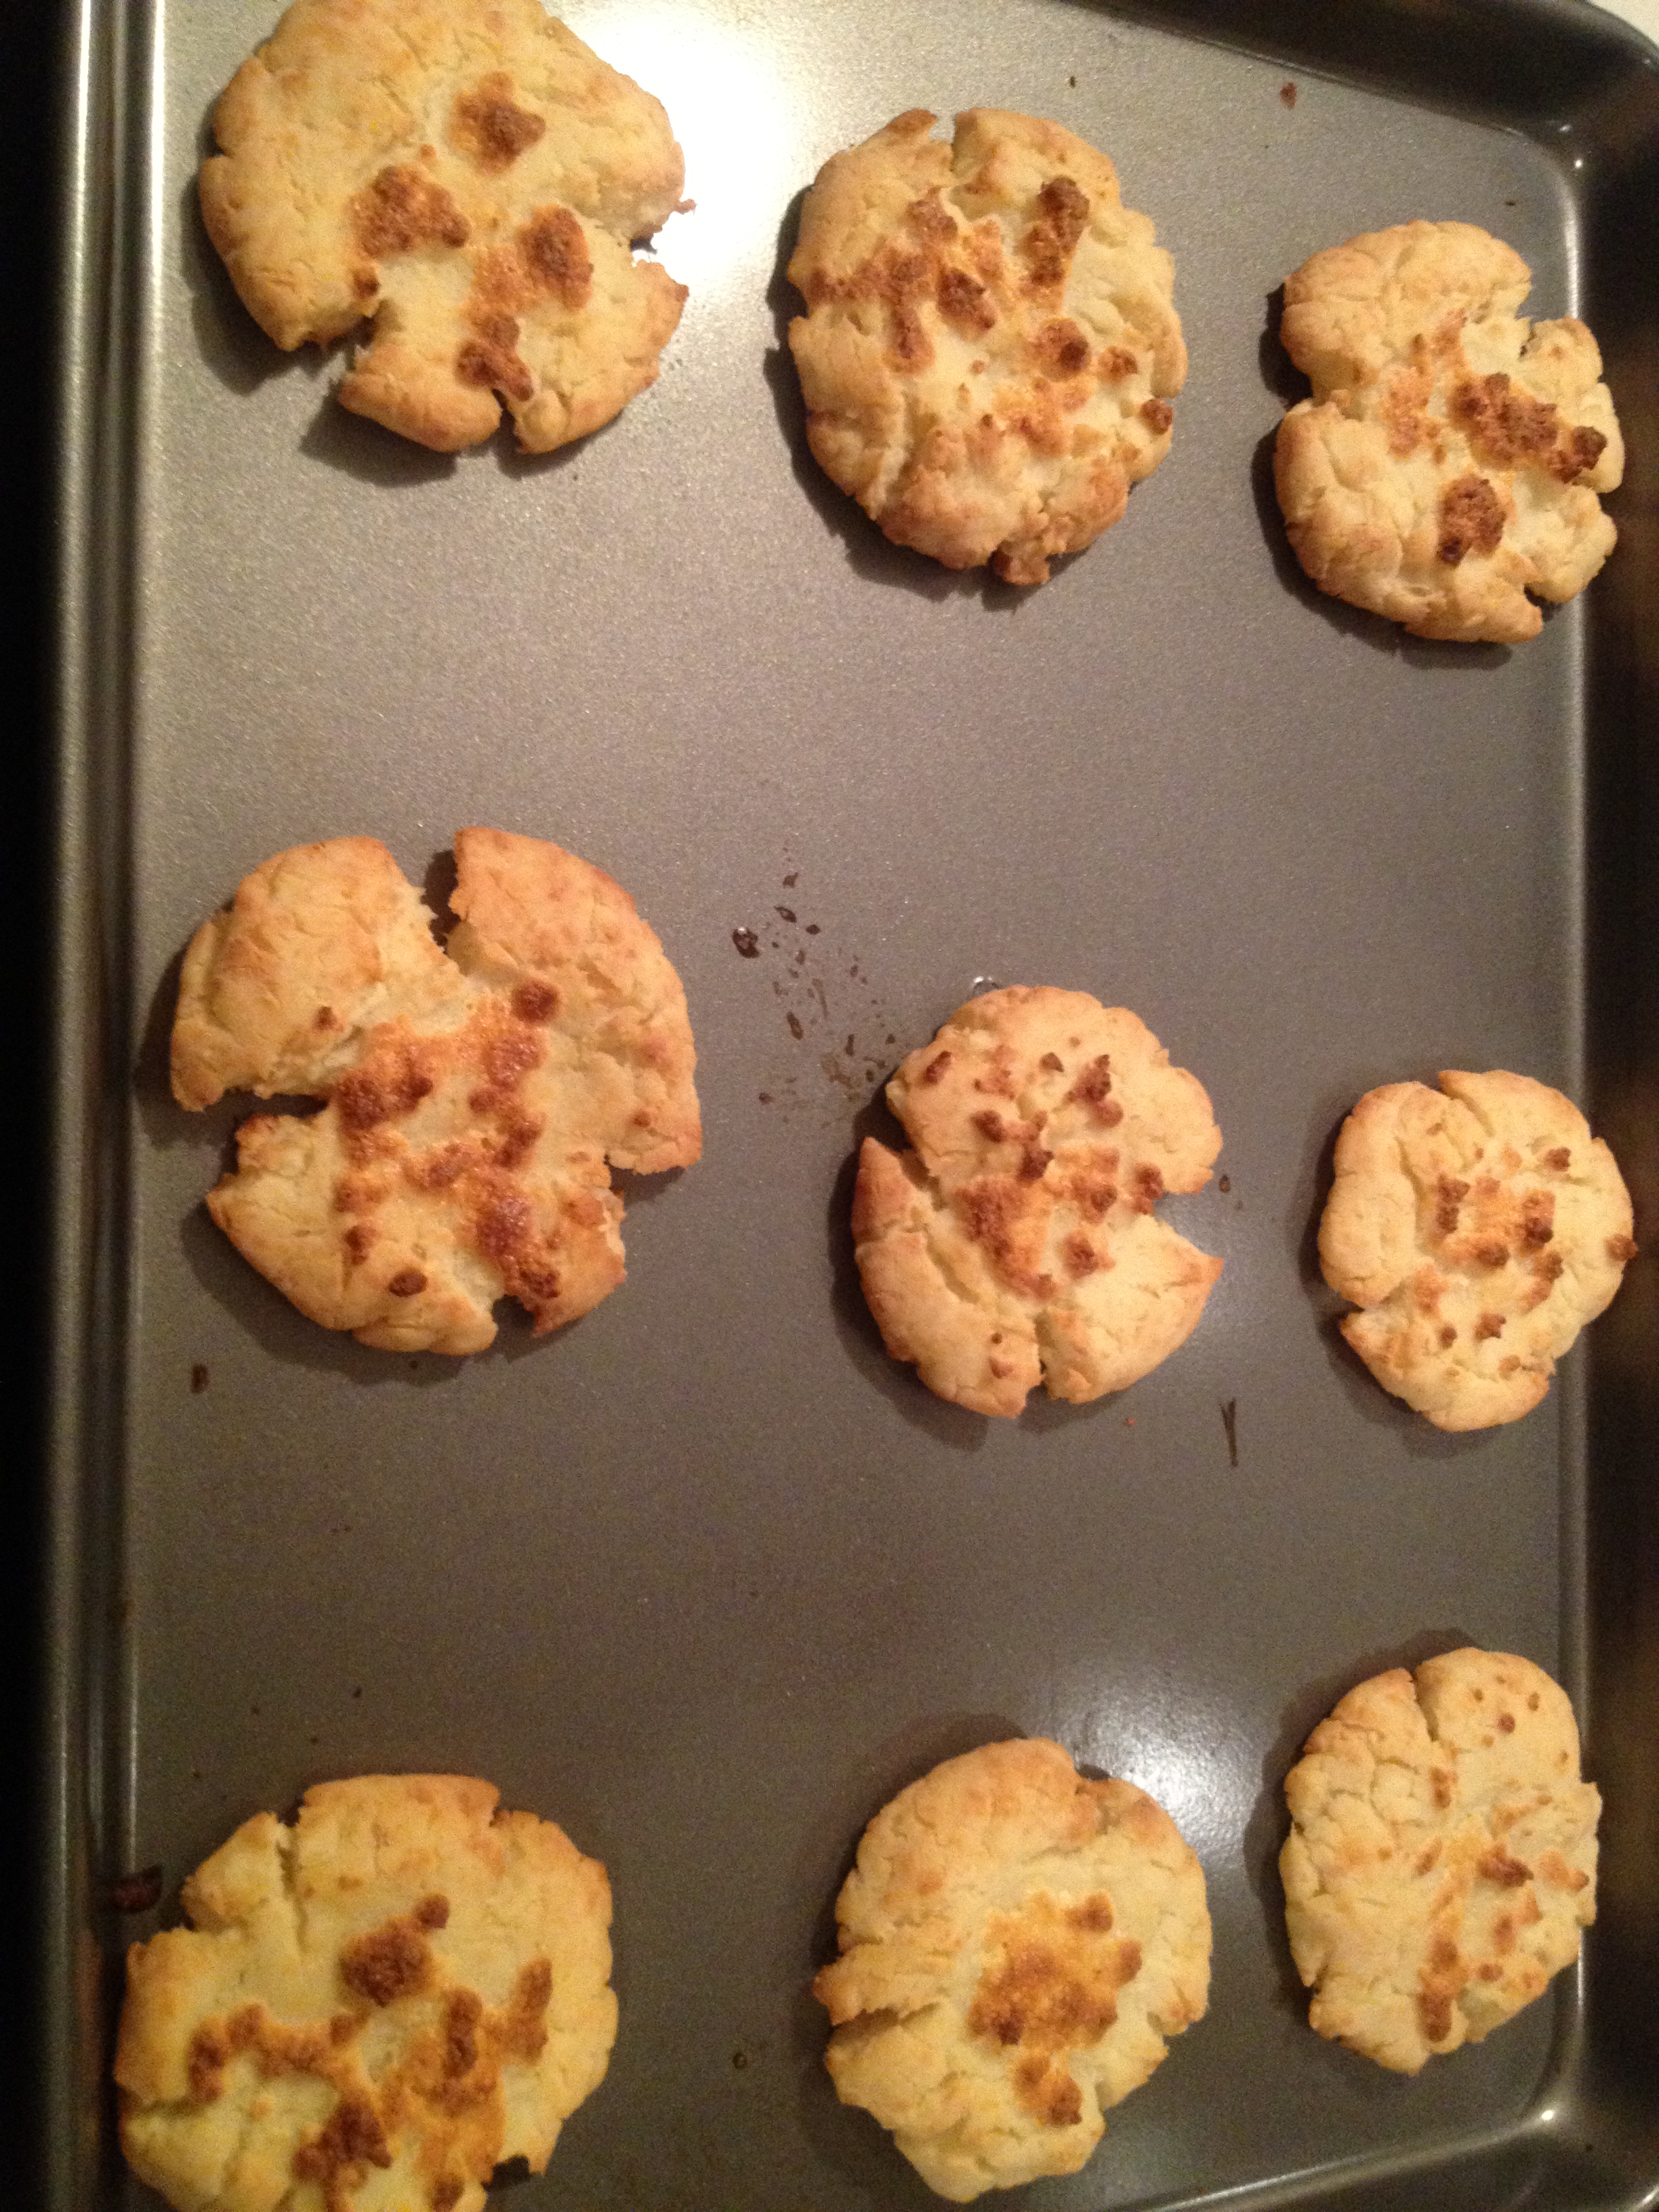
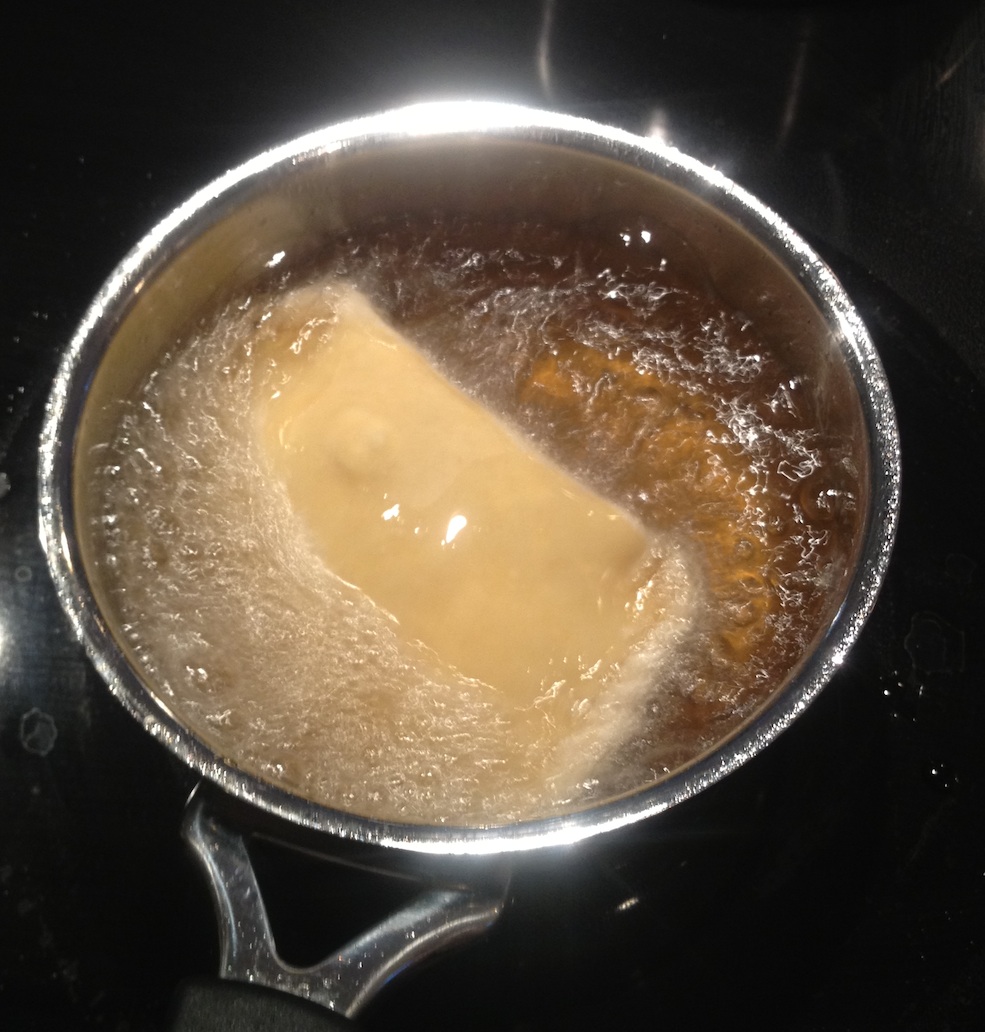
Bake for 30 min at 275F. It takes time to cook and let it rise slowly in the oven once the bottoms are cooked. Turn the broiler on and toast the tops of the bread for 1 min until golden.
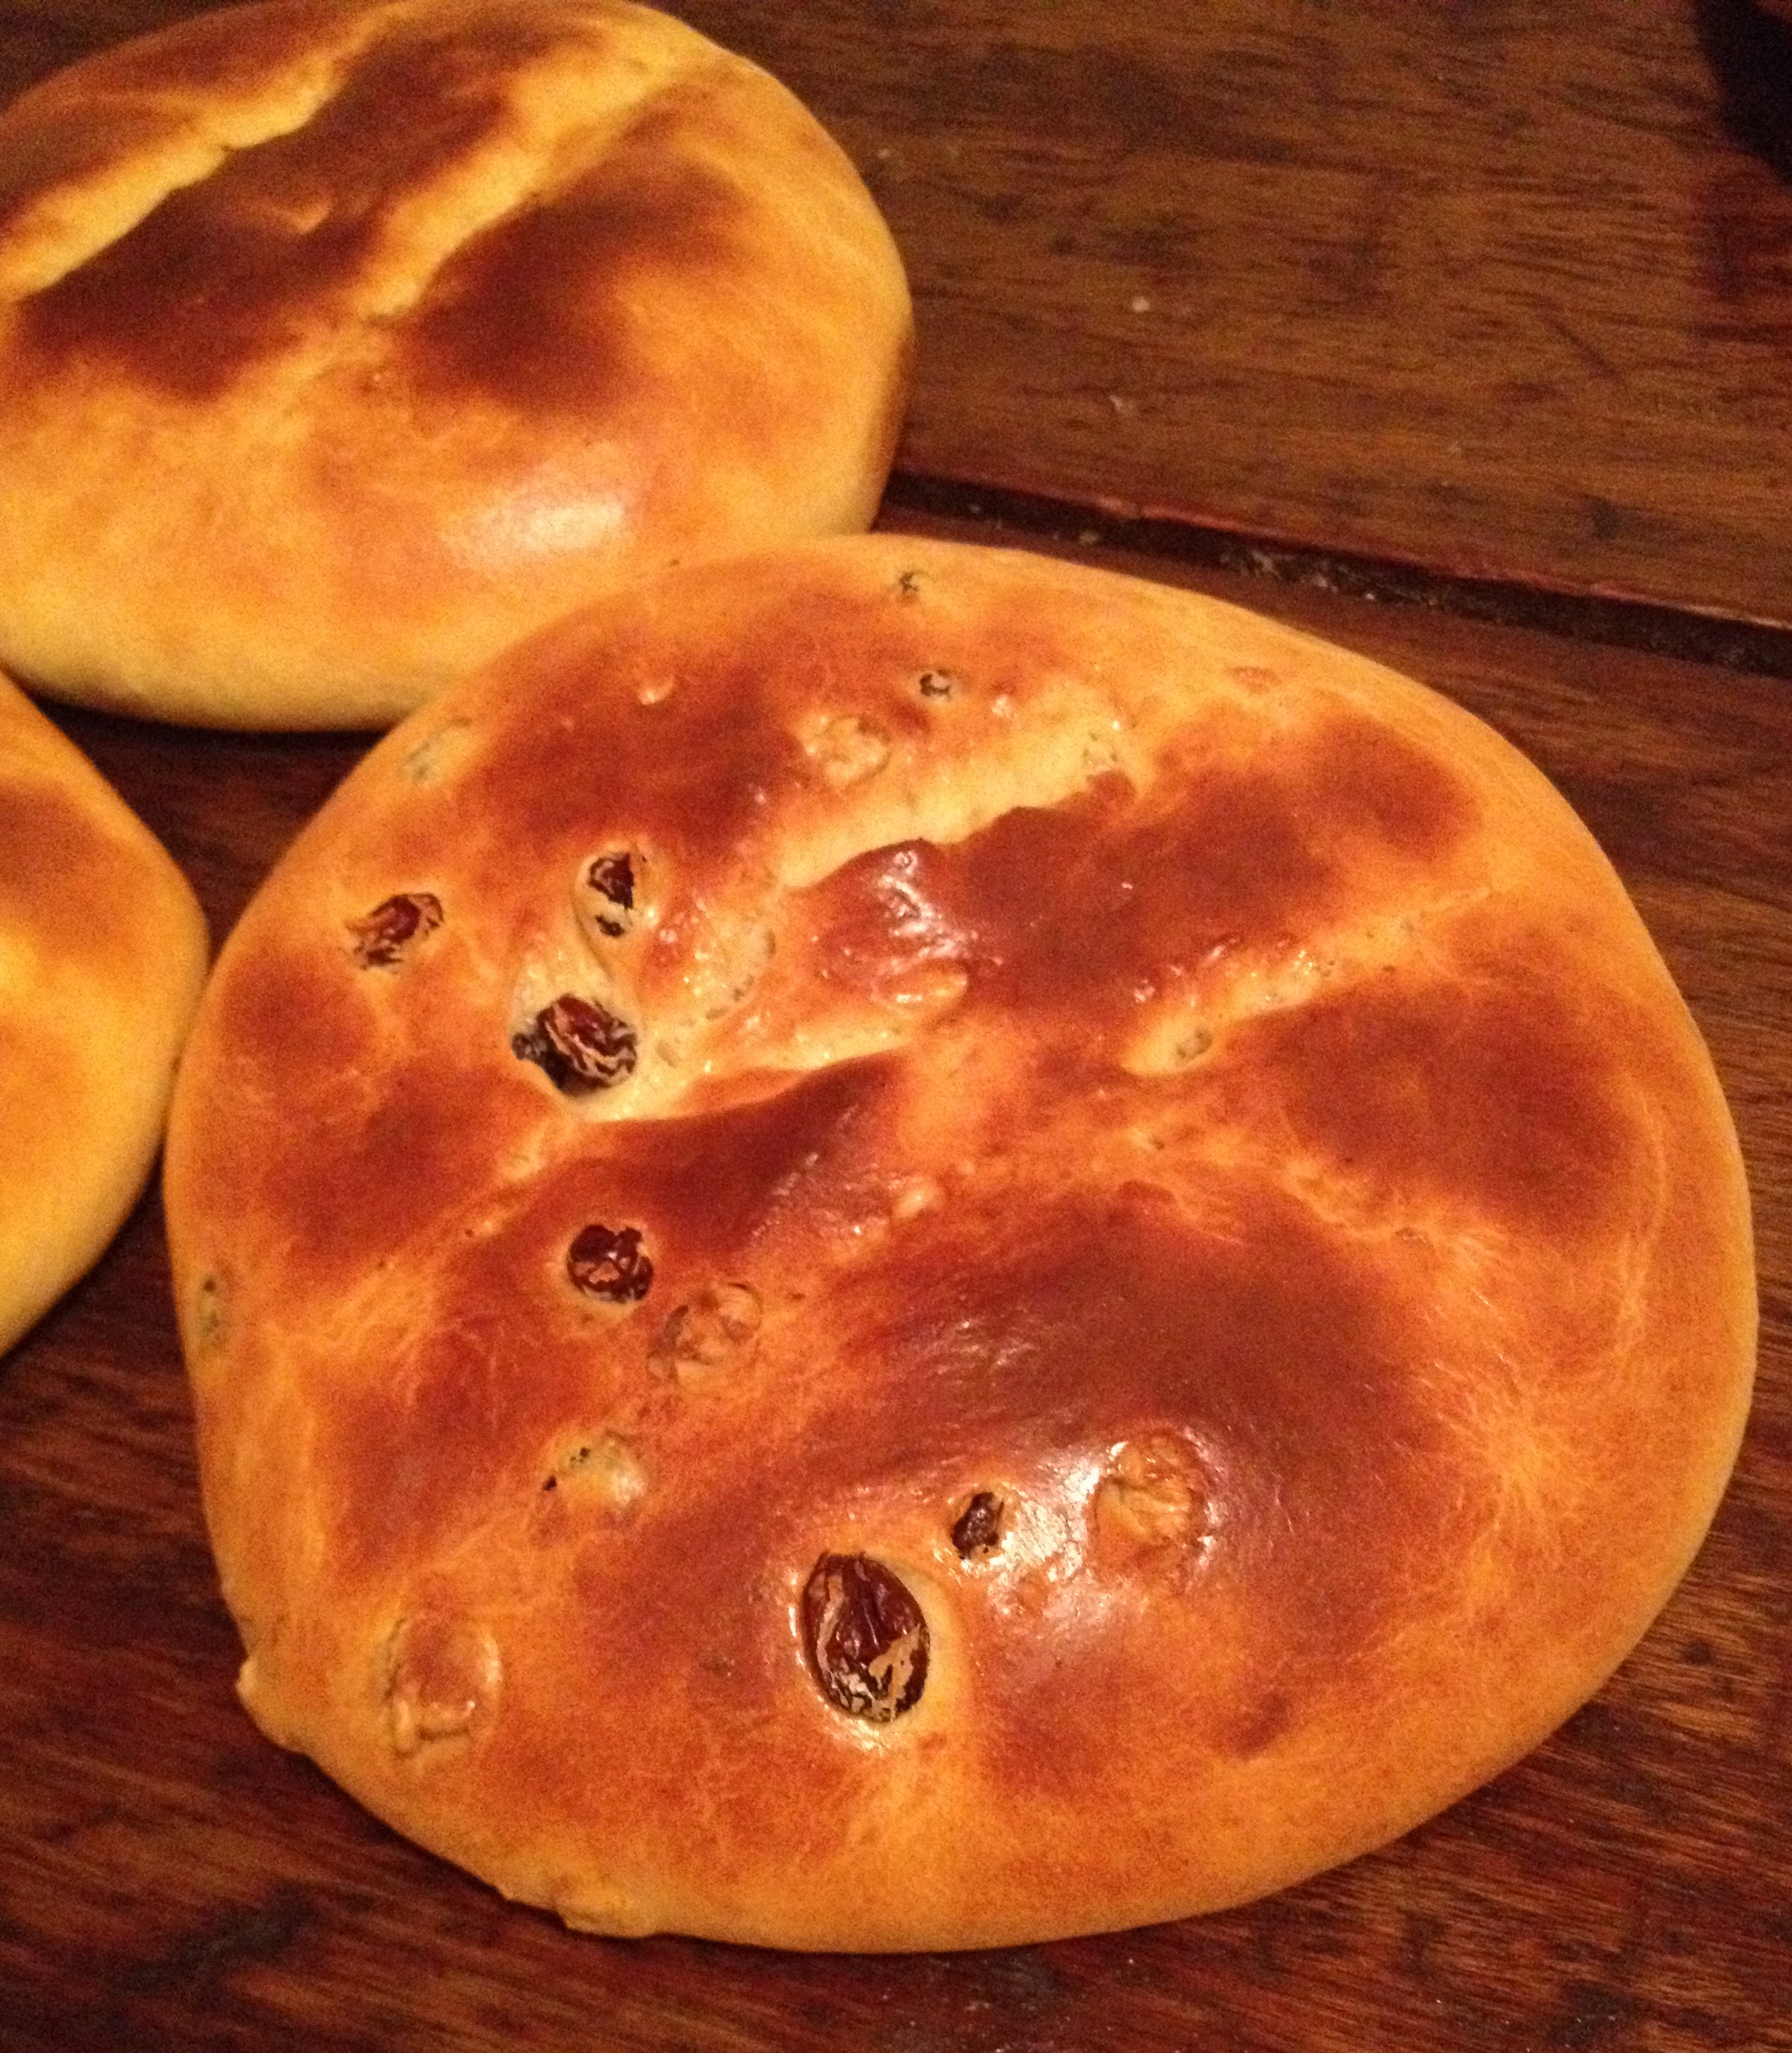
To have those nice bright shiny bread, brush the surface of the hot bread with the milk and if you like coconut you can sprinkled with shredded coconut.